
Frame rails are a tricky thing on these cars… For one thing – it’s simply AMAZING how much abuse they will take in an accident – believe me, I know! Unfortunately, for every frame rail that survives a bad wreck, there’s a bonnet that doesn’t… – bonnets sure do make good “crumple zones” though!
The problem with frame rails is that they suffer the typical fate of the E-Types monocoque shell – they rust from the inside out. Now, read this next part carefully, because I am going to divulge a BIG “secret” about old frame rails:
The big thing with asessing the condition of frame rails is to get them off the car and turn and shake them, listening for the sound of sand (some rust), or kitty litter (lots of rust), that is flaking off from the inside of the tubes. If they sound especially loud, then they are no good – right? Well, not necessarily…
Frame rails are entirely brazed together. Whoever did the job originally got LOTS of practice on 72,000 E-Types, and it shows! The brazed joints are nearly works of art in themselves, and it comes from three things – skill, a good specialized brazing torch, and LOTS of flux. Did you get that last part? LOTS OF FLUX! Flux is the key to brazing, and these guys were not bashful with it, and that’s the secret.
When you pick up a frame rail that has NO pinholes anywhere, and looks great, but sounds like it is full of rocks – that’s not rust – it is big chunks of coagulated flux inside the tubes! It comes out looking like hardened chunks of glass with bubbles in it. I have dissected frame rails and found an 1/8″ thick layer of this hardened flux covering the entire bottom side of the lower tubes! Furthermore, flux absorbs moisture! So you basically have big chunks of moisture absorbing sponges in the lower tubes and THAT is what makes them rust! The upper tubes often look brand new inside, and they almost never have any dried flux in them either!
SO – we get alot of frame rails that have the “typical” tubes rusted out, but are otherwise straight and solid. The first tube to go is the short tube in the bottom at the front that cuts the corner. Next, and almost simultaneously, is the tube it is in line with, that goes back at an angle below the battery and the air cleaner canister. This tube is also very often rusted from the outside-in under the battery from acid. Next, you lose the lower edge of the round tube that goes from the outer edge of the cowl, down and in to the bottom of the engine mount support. The other tubes almost never rust.
And so finally, if this is the damage we see, and there are otherwise no kinks, cracks, or damage anywhere else, we carefully remove the damaged tubes and replaced them by brazing in new tubes. Now, right now you might be thinking, “OH GREAT – I’m going to do that myself!” Well, not so fast…
First of all, you need to be skilled at brazing – REAL skilled – these are important joints and this is no place for learning. Second, you need a jig – and while you might think the fireall of the car itself will work (which it would), you have to be able to turn things during the brazing to do a good job. Finally, and what kills it for hobbyists at home – you can’t get the tubing. The tubing is very thin, very high-tensile tubing from the 60’s in England called “Reynolds tubing” – although chrome moly or even thicker walled mild steel would work, but you cannot get it in the correct dimension. The few suppliers of new frame rails have it manufactured special for them in bulk, I’m sure.
However, at a shop like ours, with so many E-Types going through, we end up with ALOT of “dead” frame rails that can be used to donate tubing to frame rails that are saveable. By definition, it takes two frame rails to make one when repairing them. We cut sections from the upper tubes and inspect the inside surfaces, then use those sections to replace whole sections in other frame rails.
Here are some shots of this work being performed in our shop – if you think your frame rails are salvageable – give us a ring! If they are not – there is only one place to call – E-Type Fabs in the UK – ask for Uryk. I have never met or spoken to him, but his product is a true work of art – the tubing is thick-walled, the brazed joints are phenomenal, and they actually fit BETTER than the originals!
How to know if your frame rails are salvagable – first you have to blast them completely bare:
1) The large main tube in the bottom is perfect – NO cracks, NOT bent, and only one or two VERY MINOR dents – if any. NO rust – look for pinholes in the bottom edge.
2) The top two rectangular tubes are good – NO cracks, NOT bent, and only one or two VERY MINOR dents – if any. If someone has drilled a couple small holes in them (1/8″ max), that is OK. NO rust – look for pinholes in the bottom edge.
3) The round tube that runs alongside the engine is good – NO cracks, NOT bent, NO rust – look for pinholes in the bottom edge.
4) After that, it is OK if the lower outer angled tube, the small corner cutting tube, and the outer angled inward round tube are toast. Basically – everything in the “plane” that is paralell to the engine has to be perfect, and everything in the angled “plane” can be fixed.
-

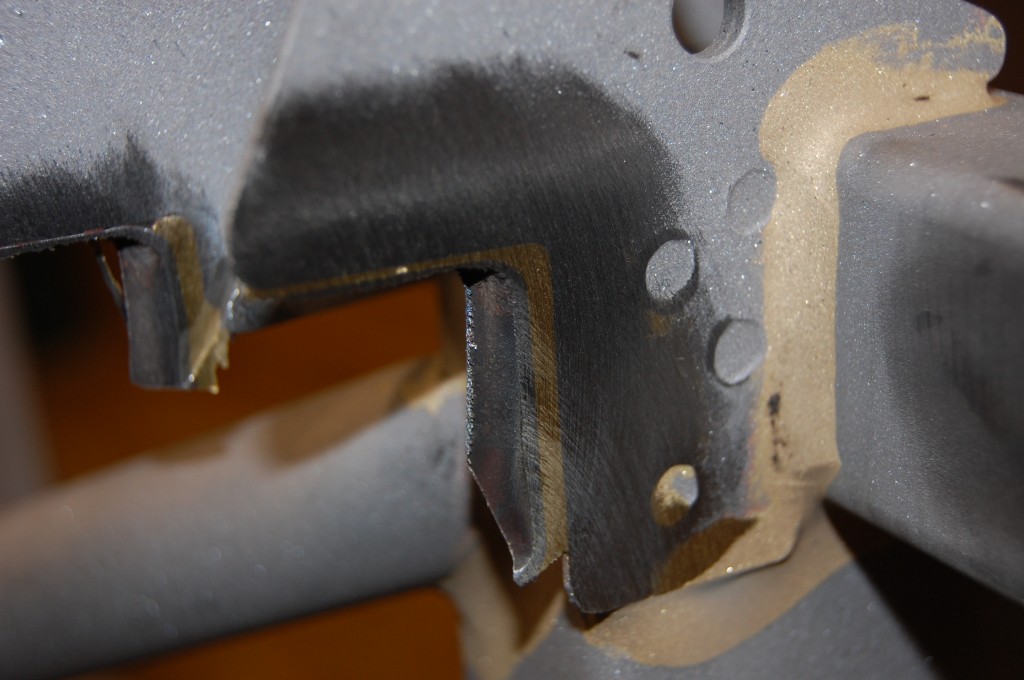
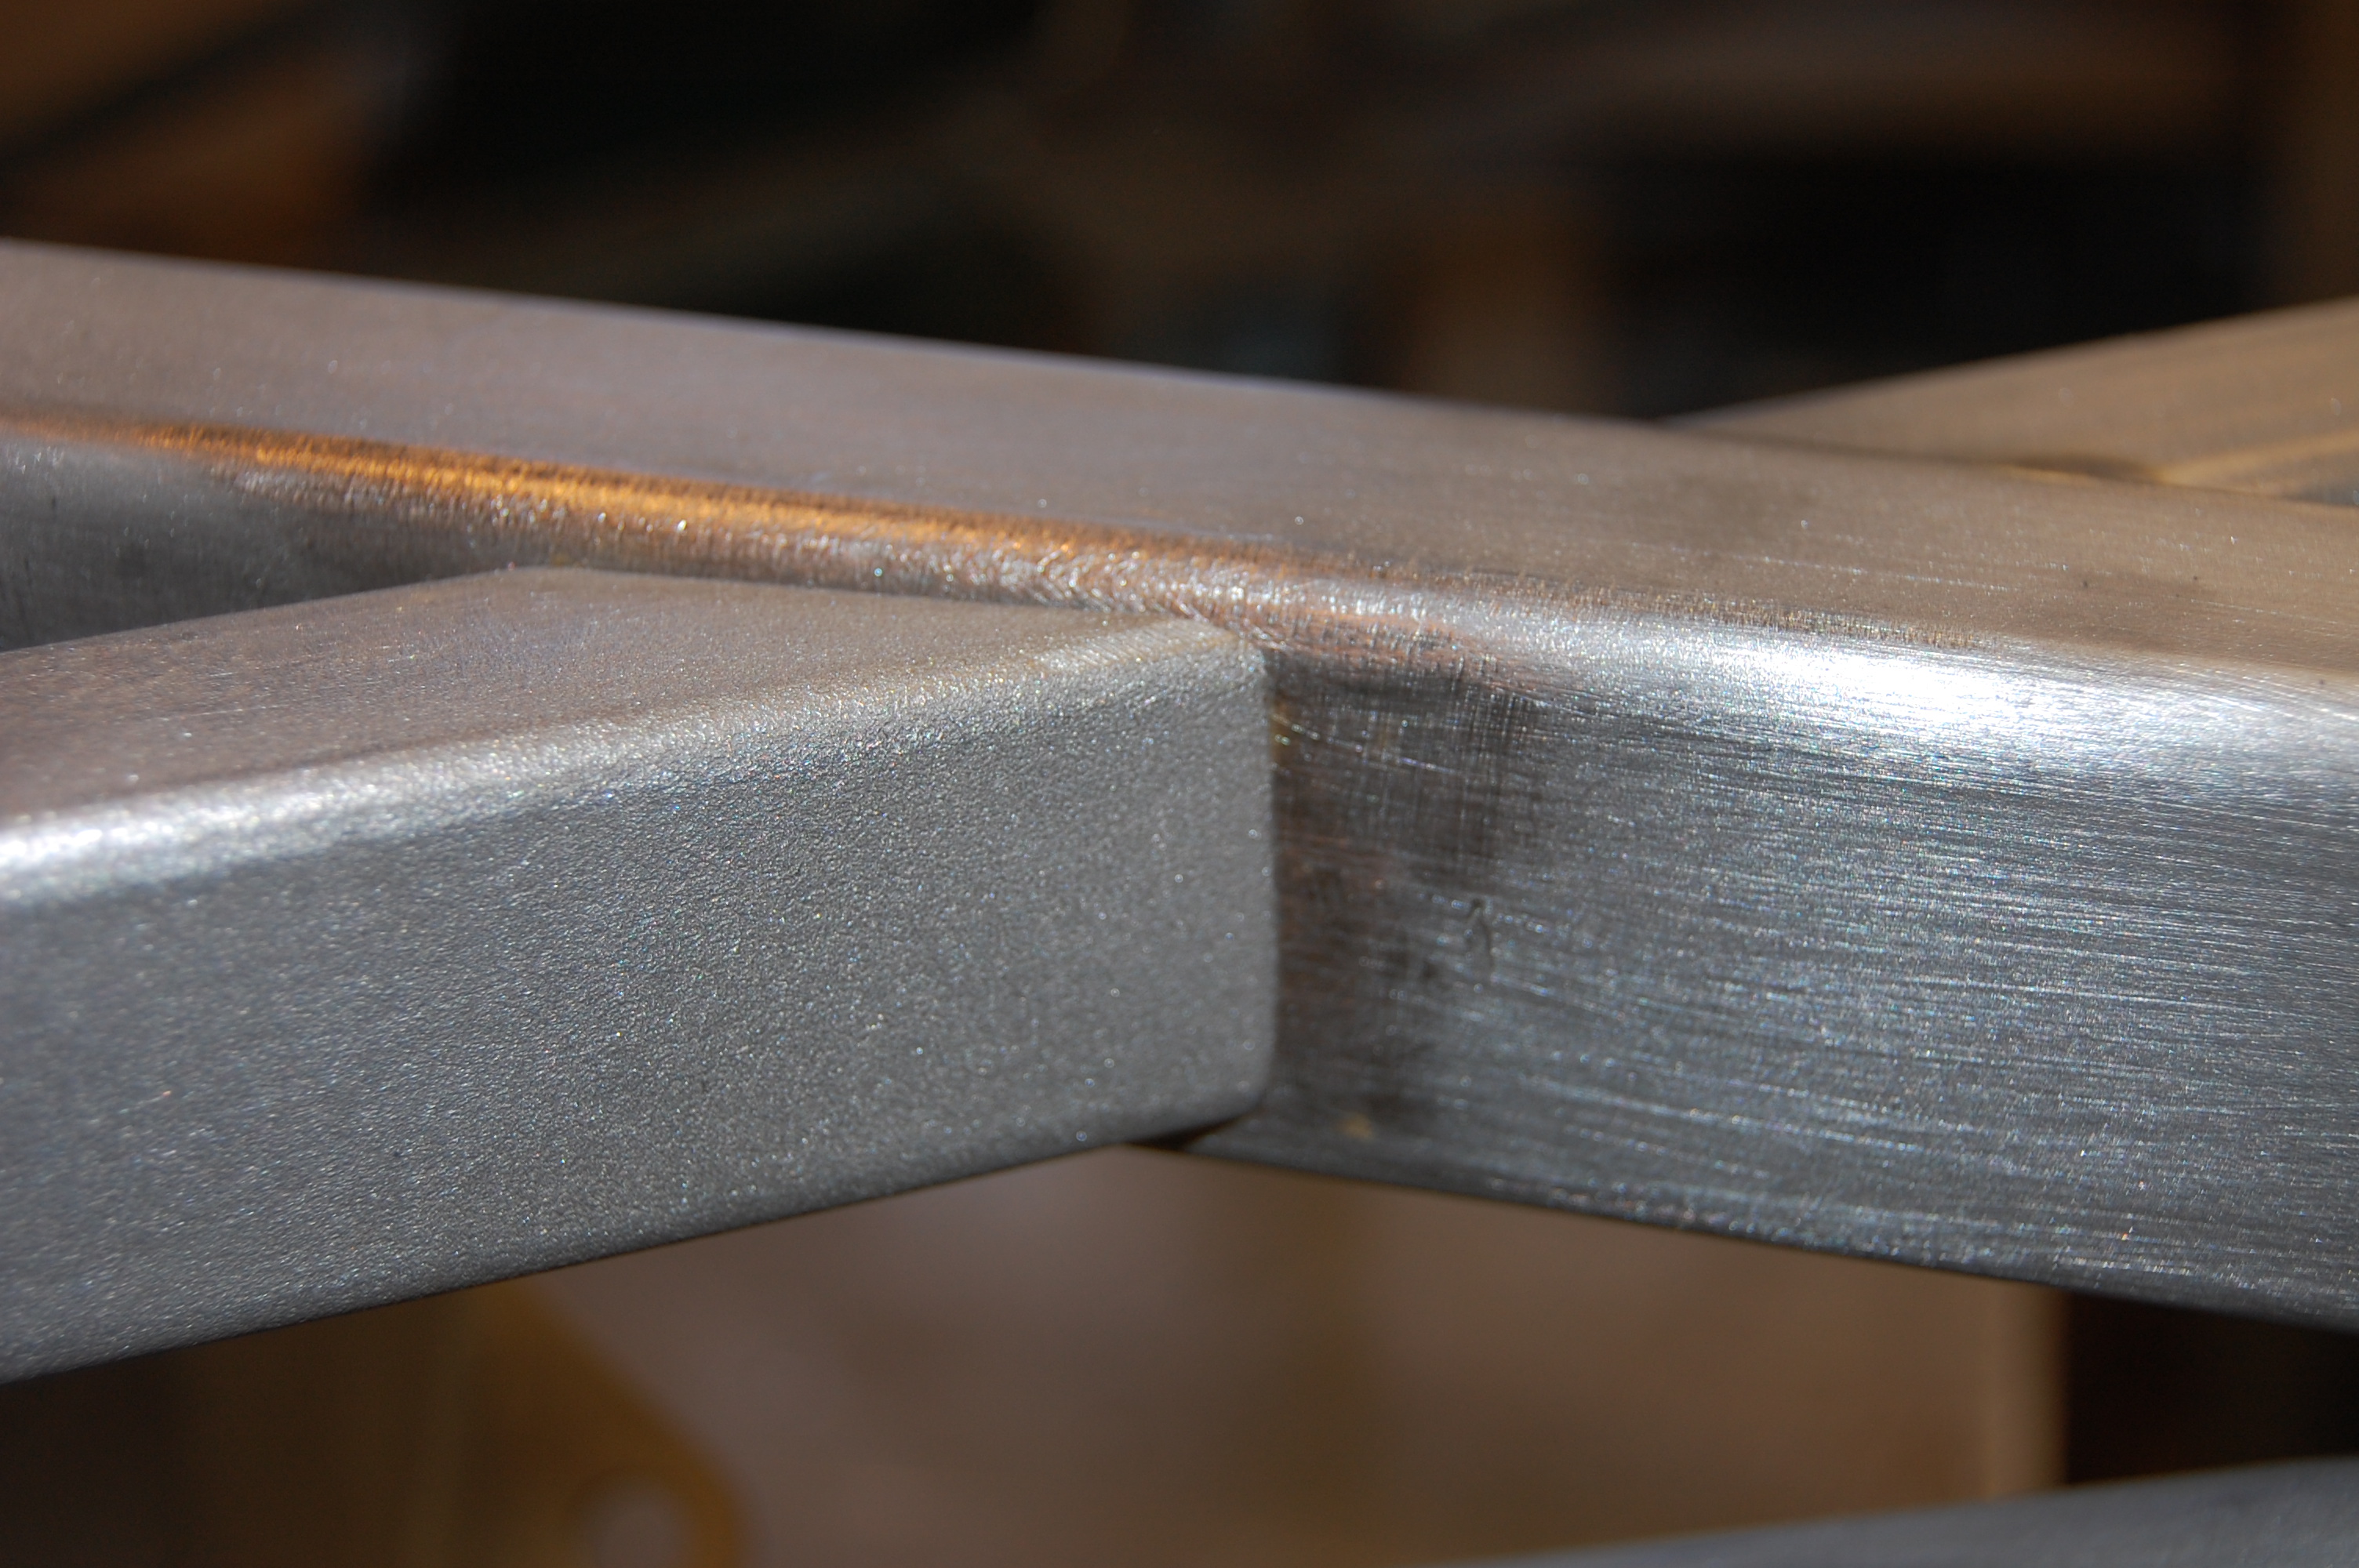
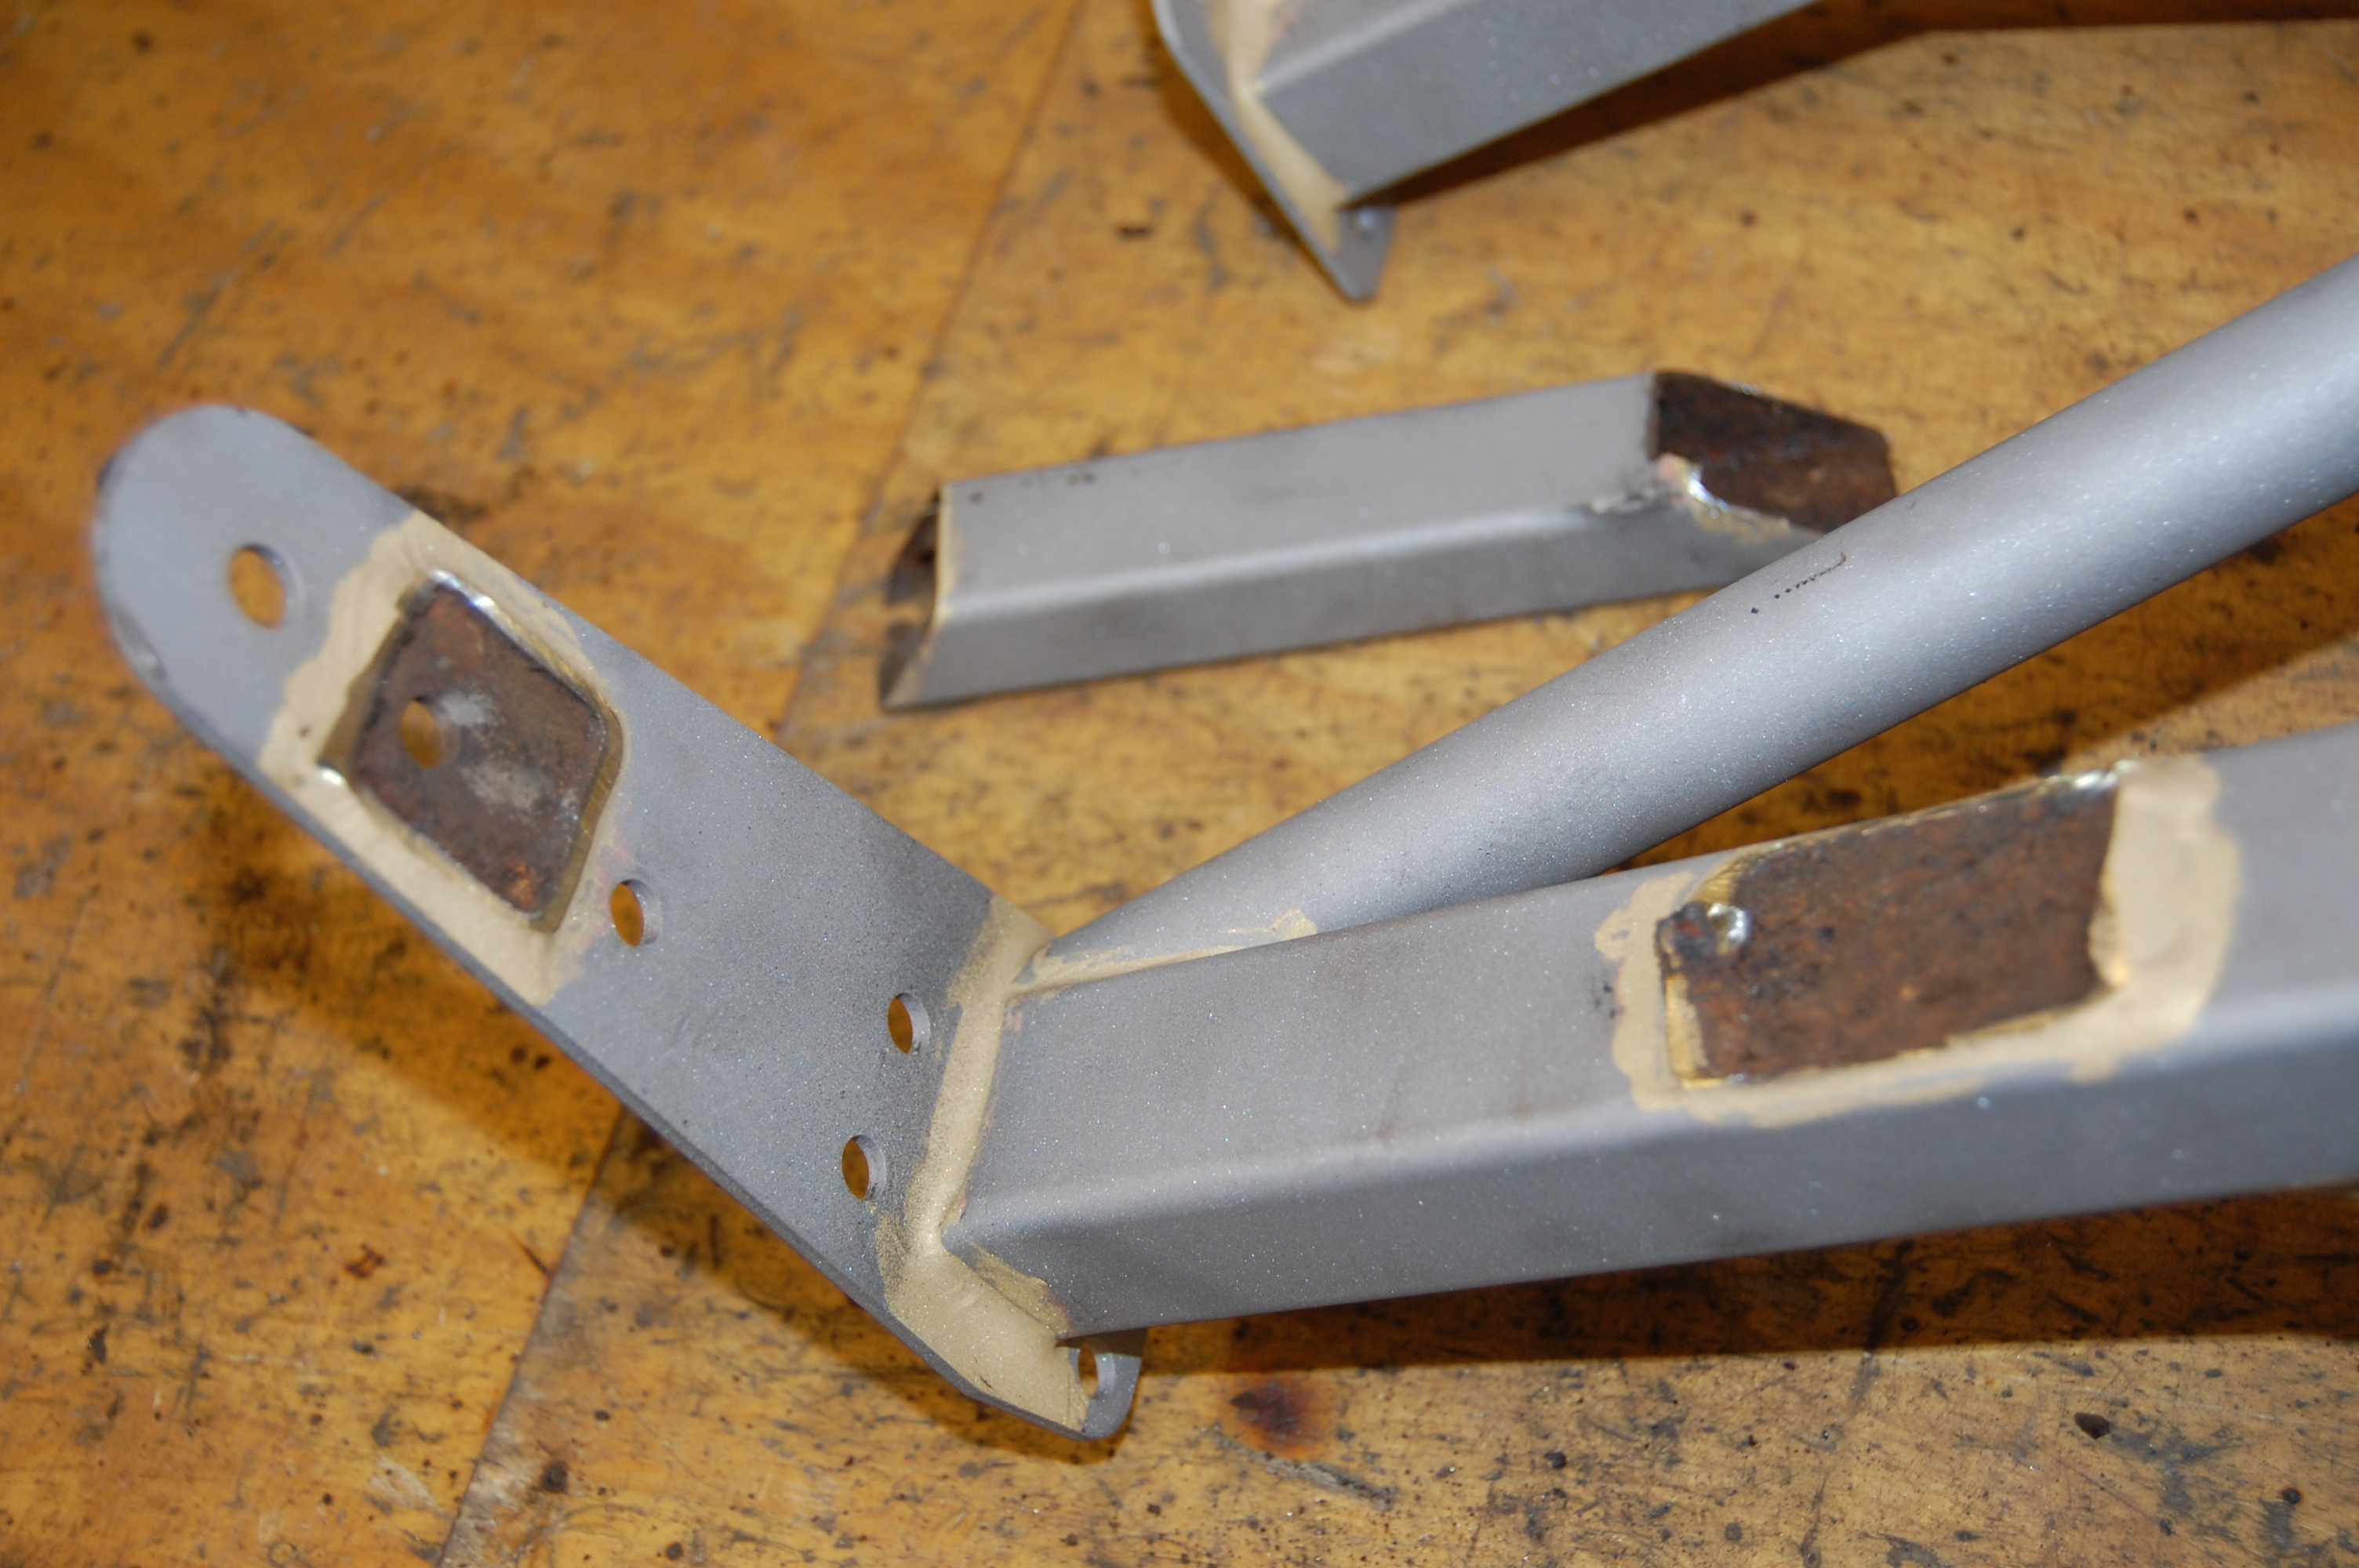
- OK – there are ALOT of similar looking photos in this post so you need to follow along closely to see what is getting fixed and what is a good frame rail versus bad. This is the frame rail in Job #1.
-

- Job #1 – this is a good frame rail, but the lower short tube and the angled tube that goes back under the battery need to be replaced due to rusting from the inside-out.
-
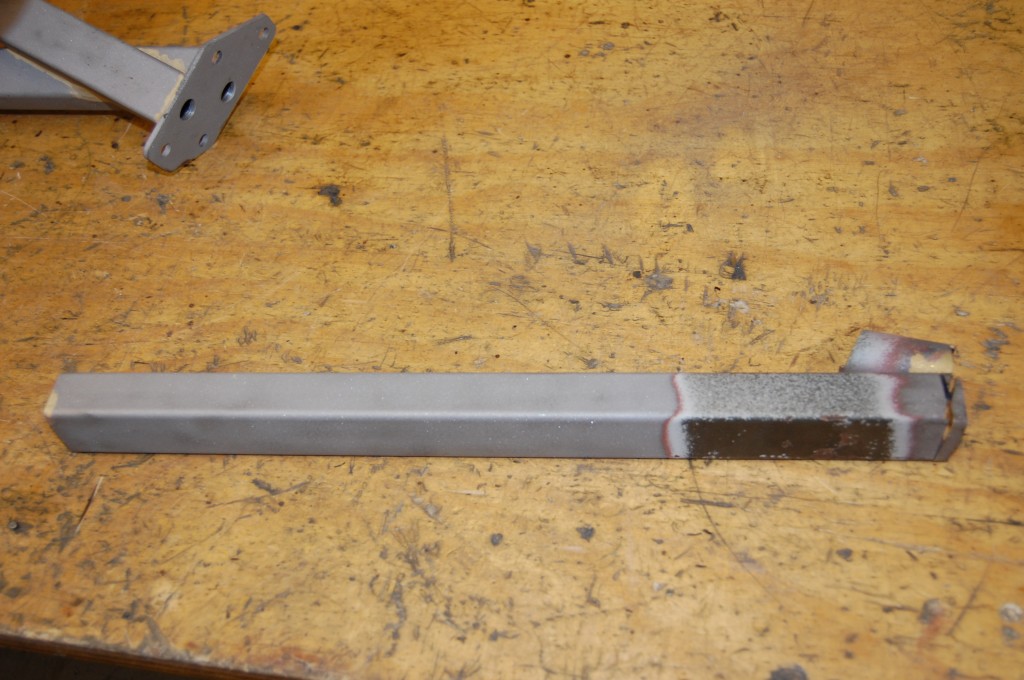
- Job #1 – this is a piece of donor tubing from a “dead” frame rail. This piece of tubing is beautiful inside and out.

-
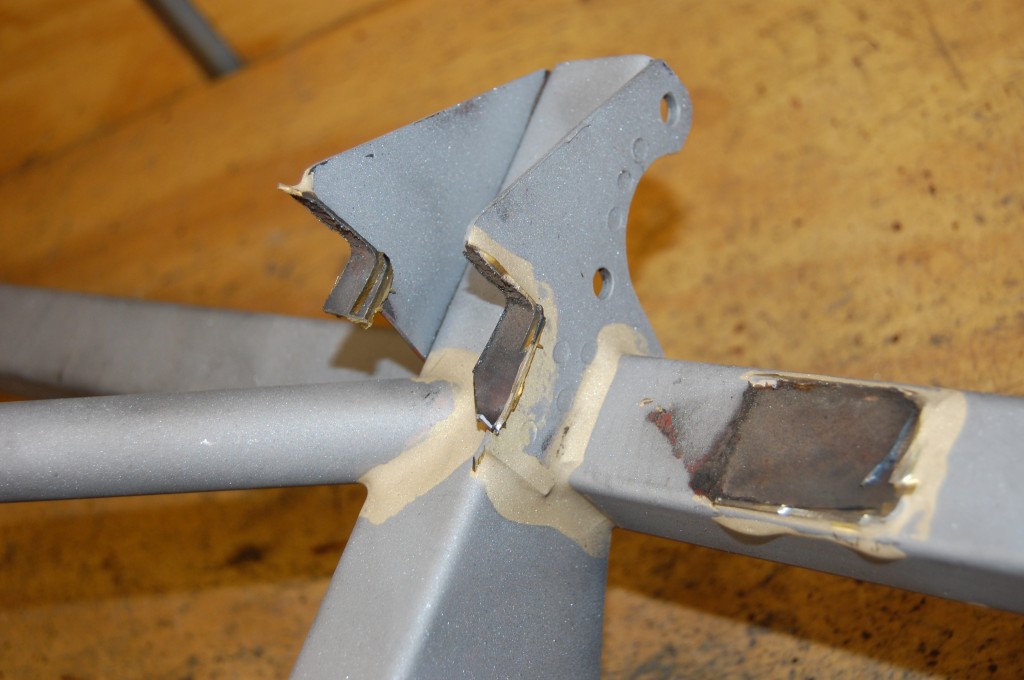
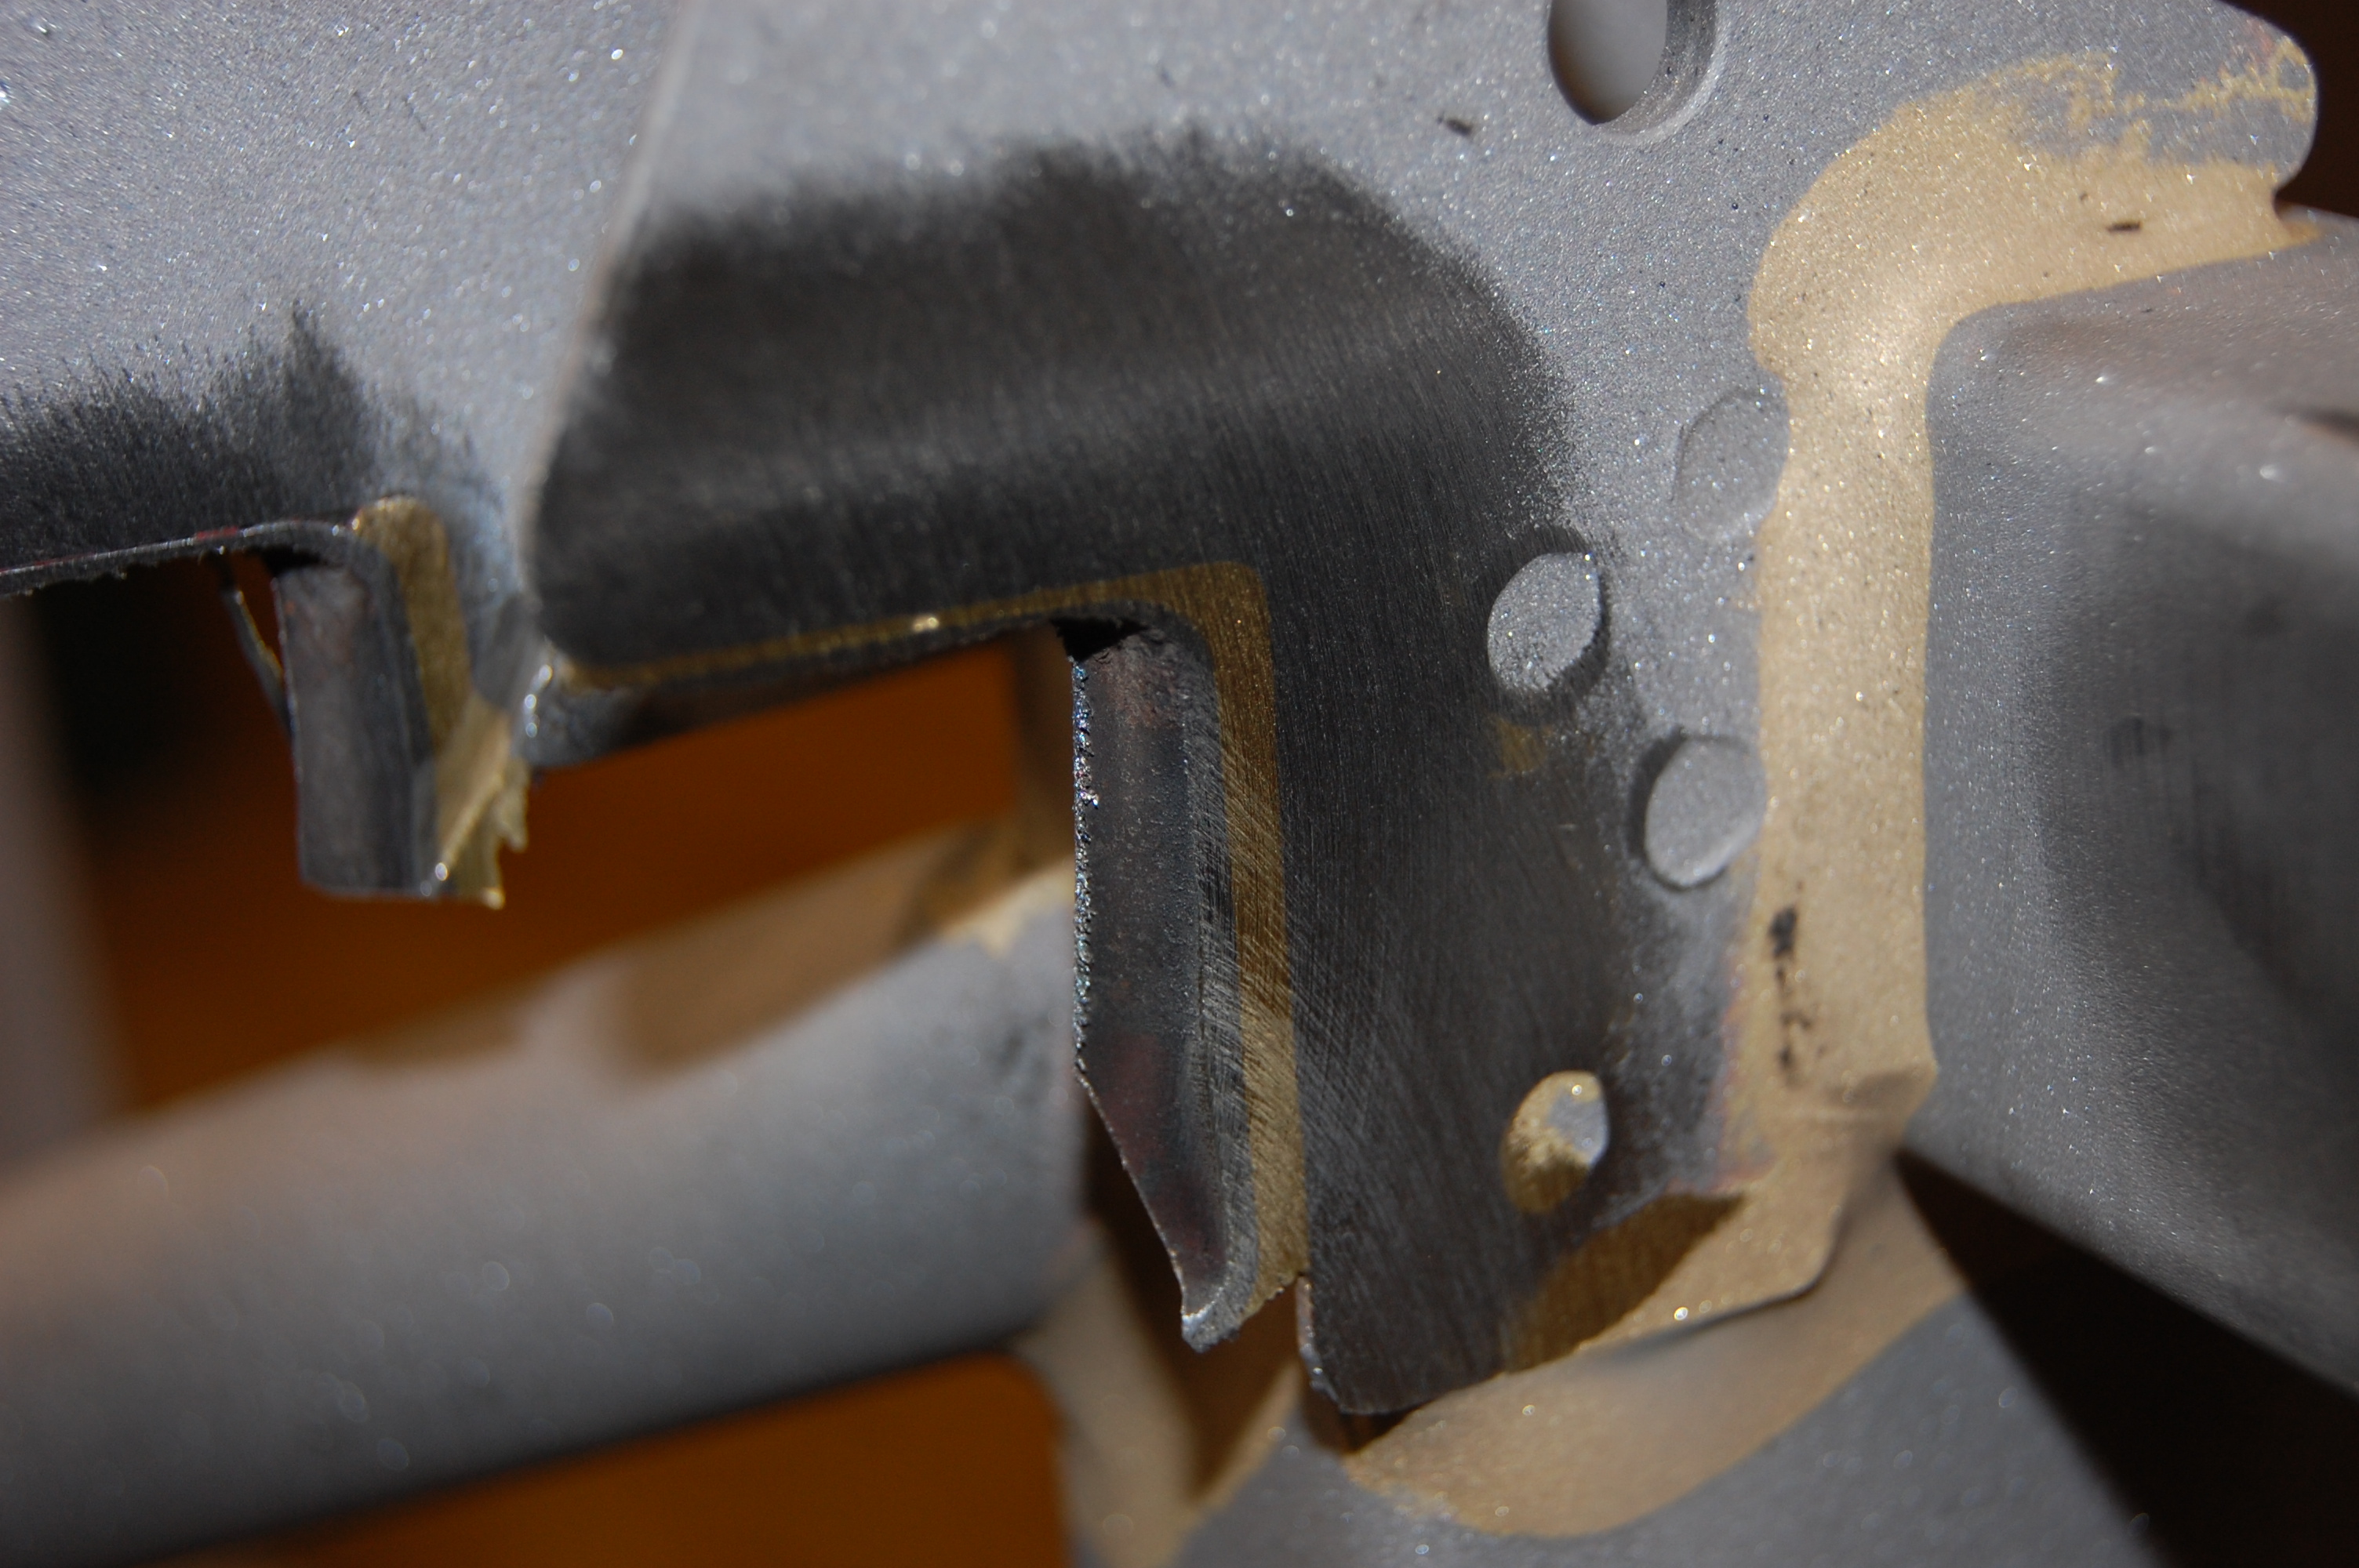
- Job #1 – here, we are carefully removing the damaged tubes. You have to cut and grind them out, heating up the braze and pulling them out that way is not an option, you will destroy the tubes you are trying to keep.

-
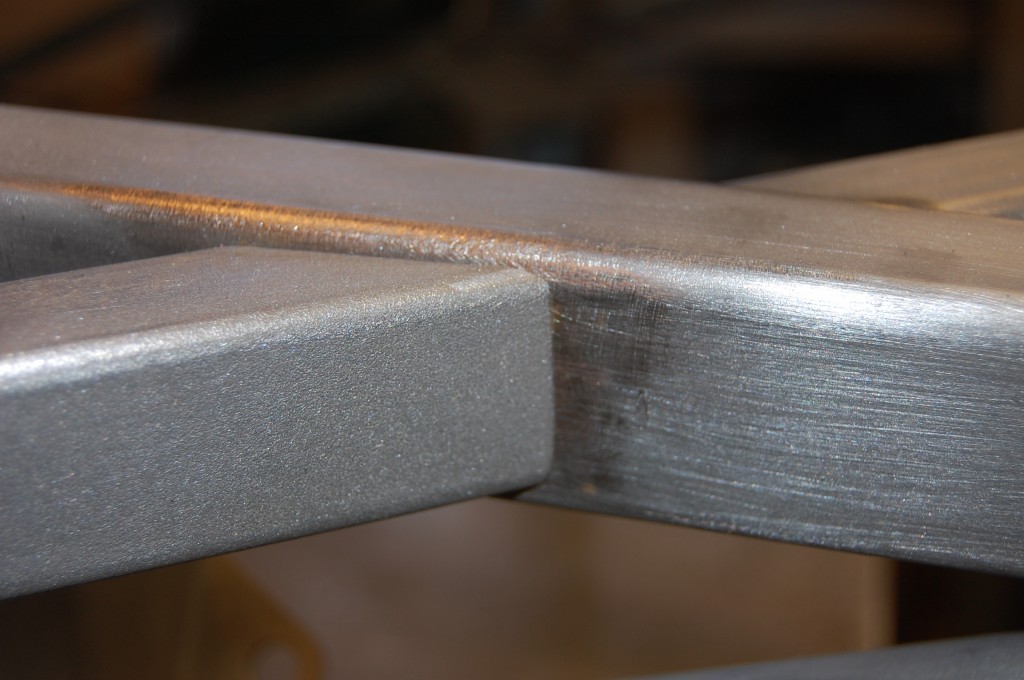
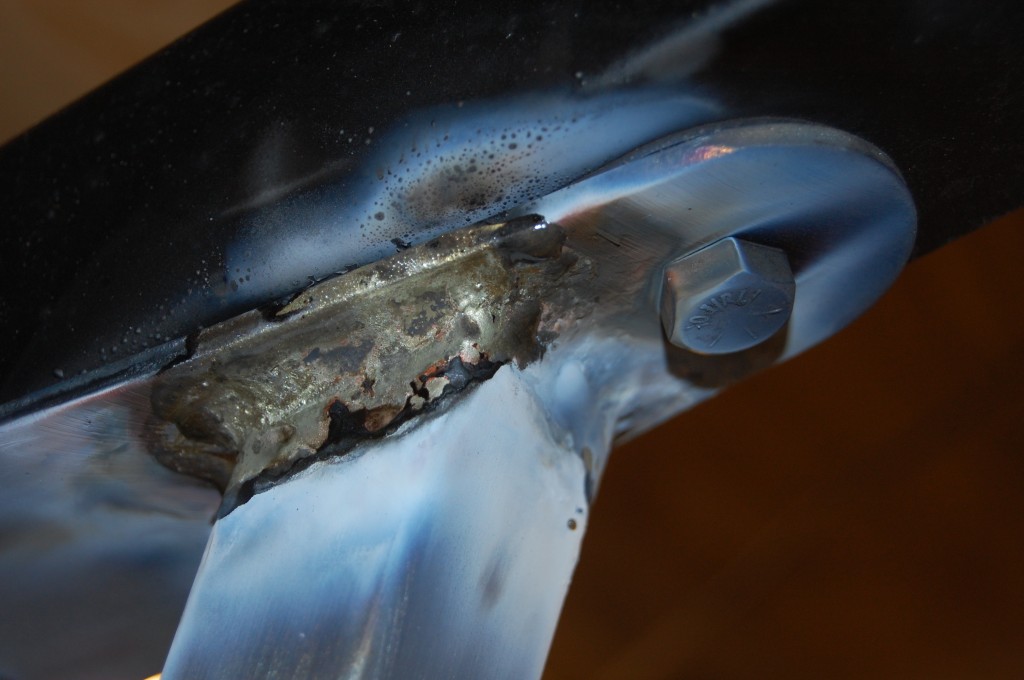
- Job #1 – close up of the dissection process – this shows how the bronze and steel interact in a good brazed joint.
-
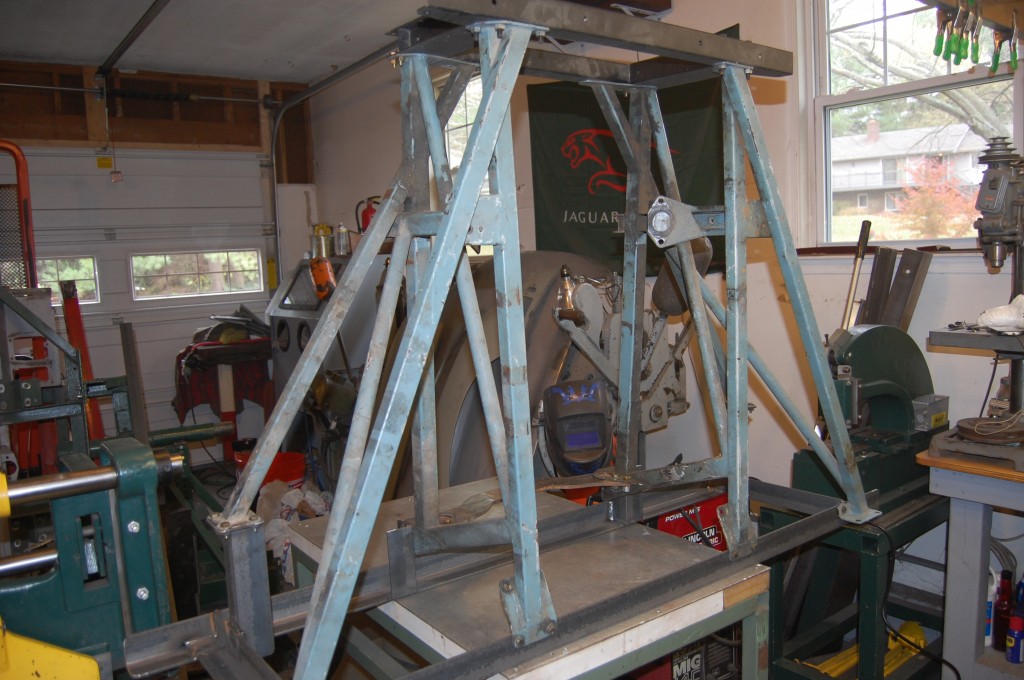
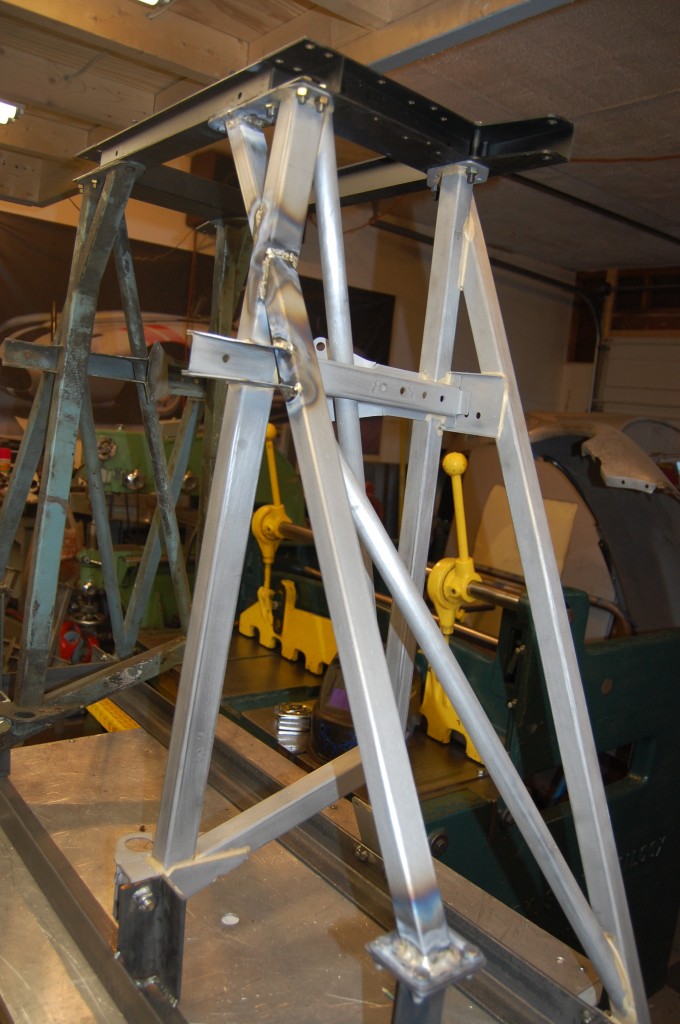
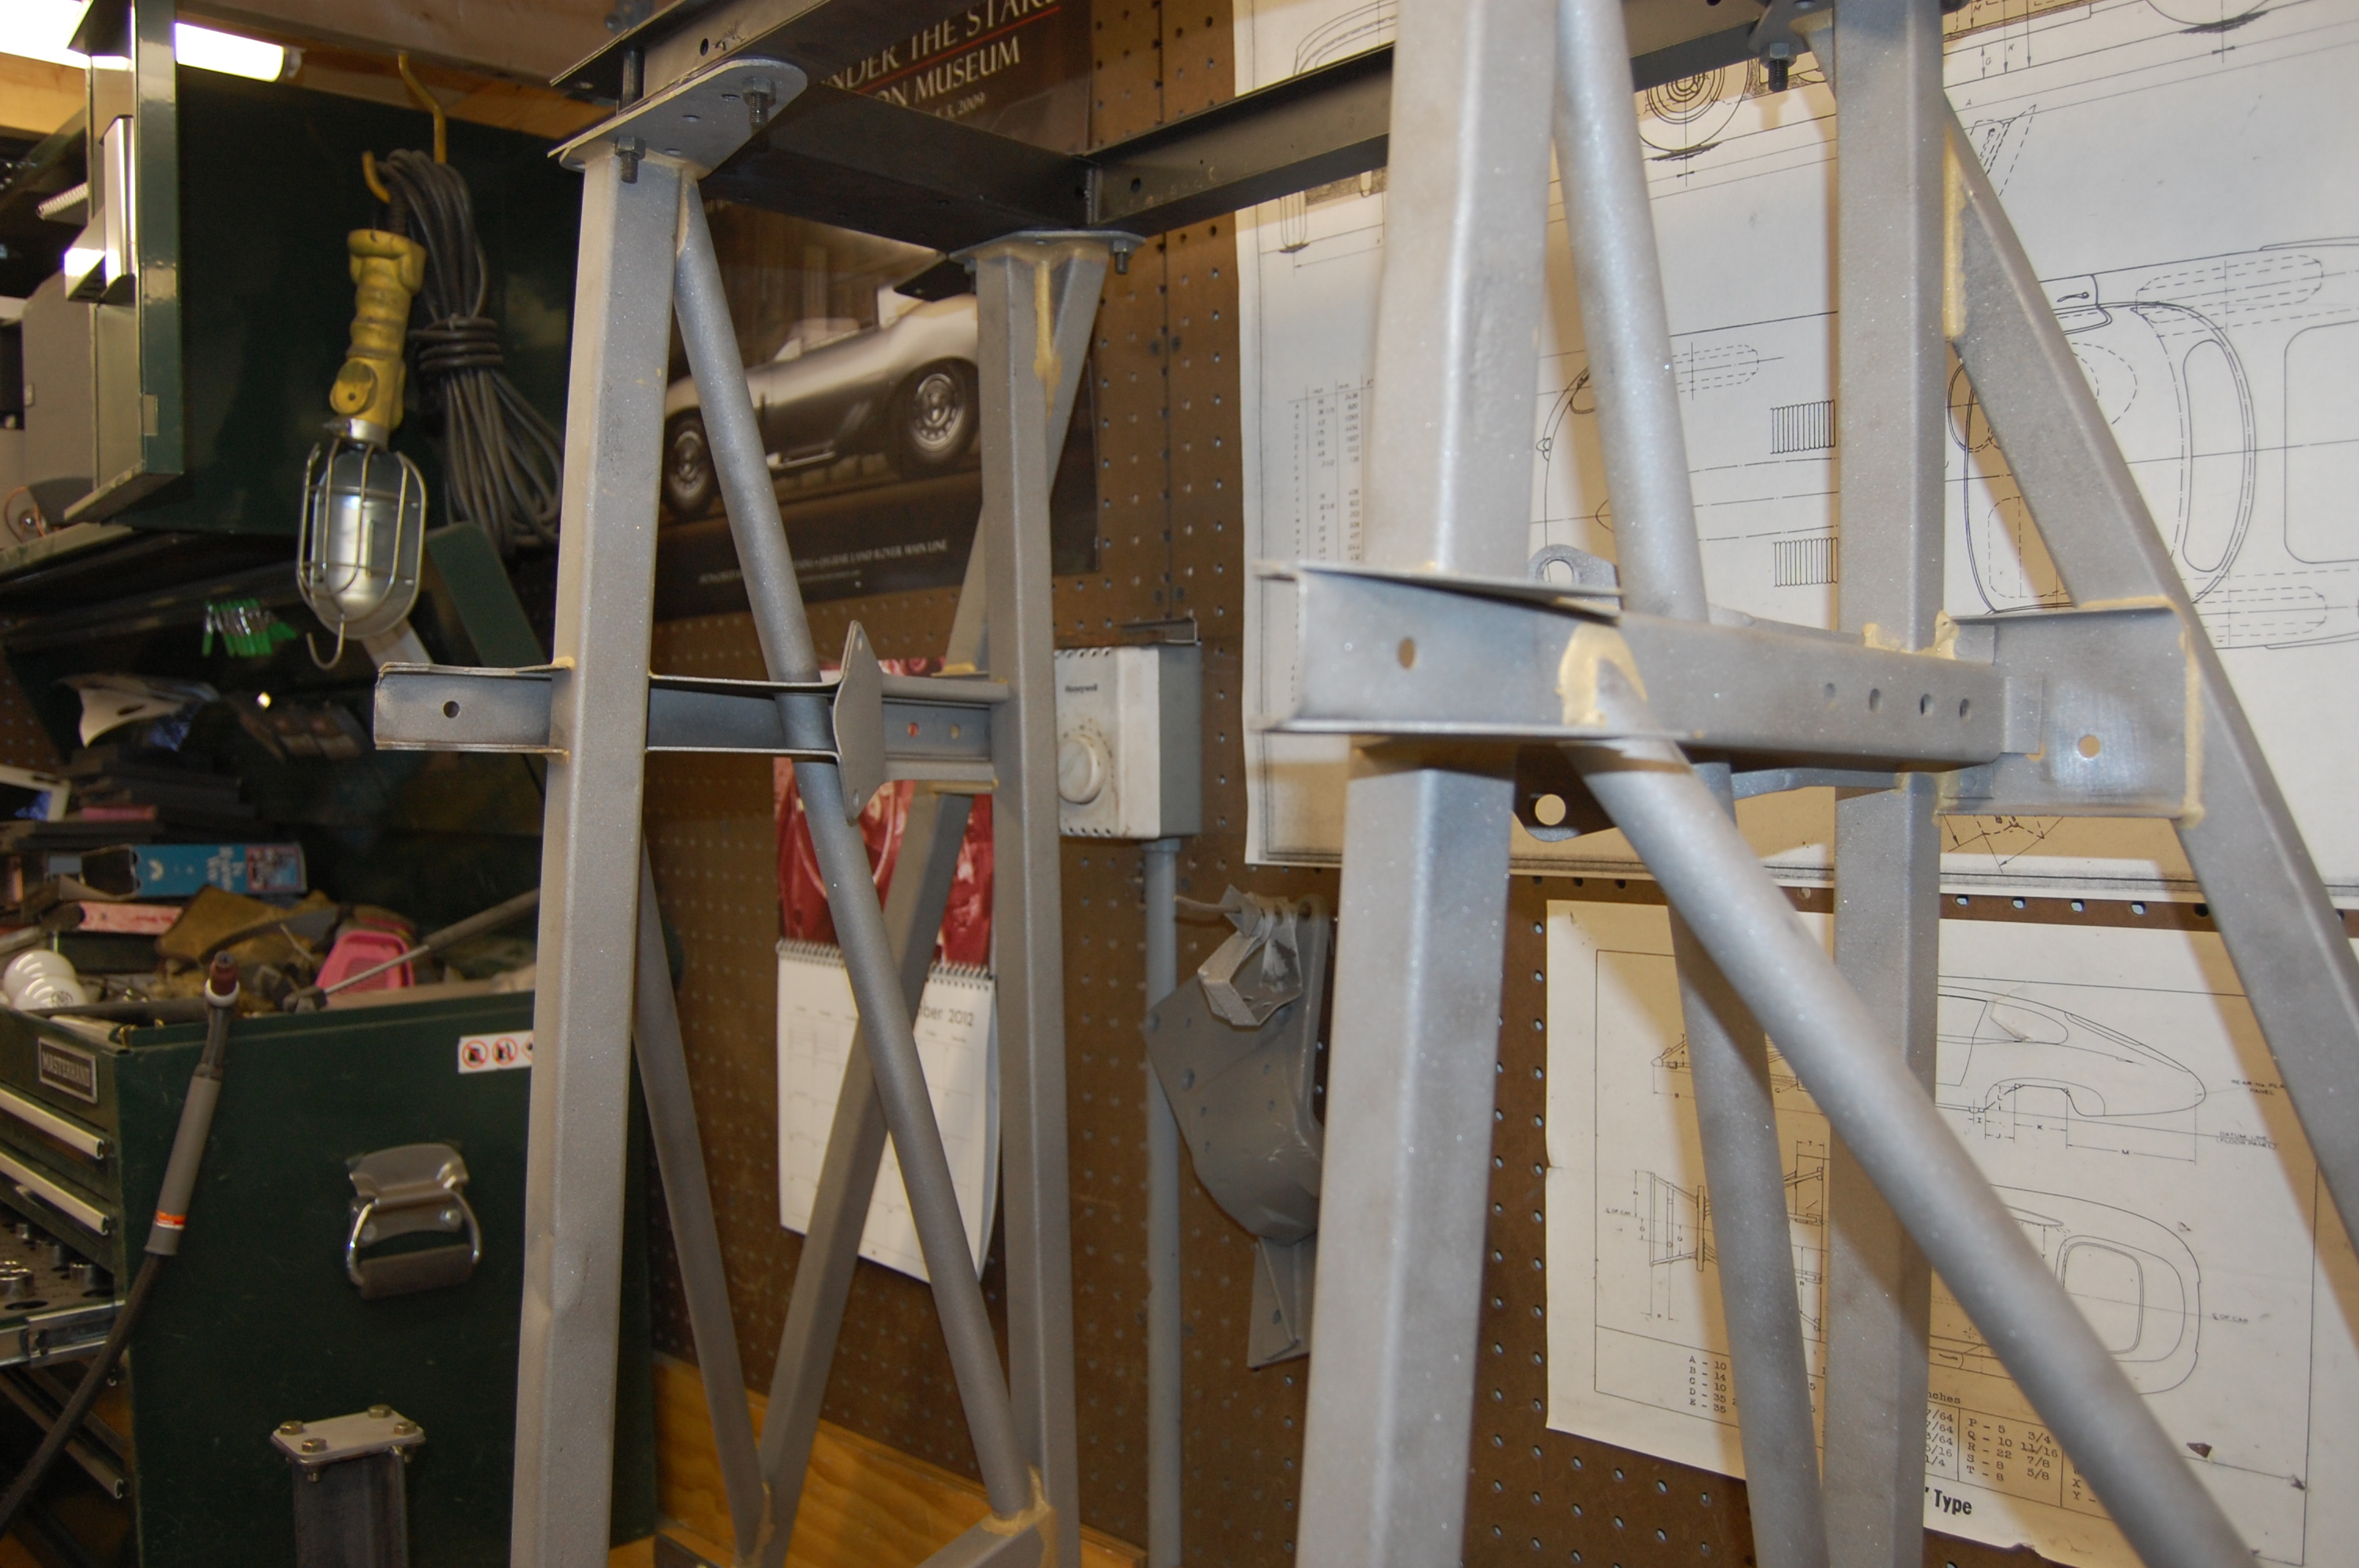
- This is a shot of the fixture we built for this work – these are two excellent original frame rails from a current shop job (which are actually the frame rails you will see below in “Job #2”)

-

- This is a DONOR frame rail – the main tube is completely snapped in half just behind the rear lower control arm mount. DO NOT TRY TO REPAIR SOMETHING LIKE THIS!!!
-
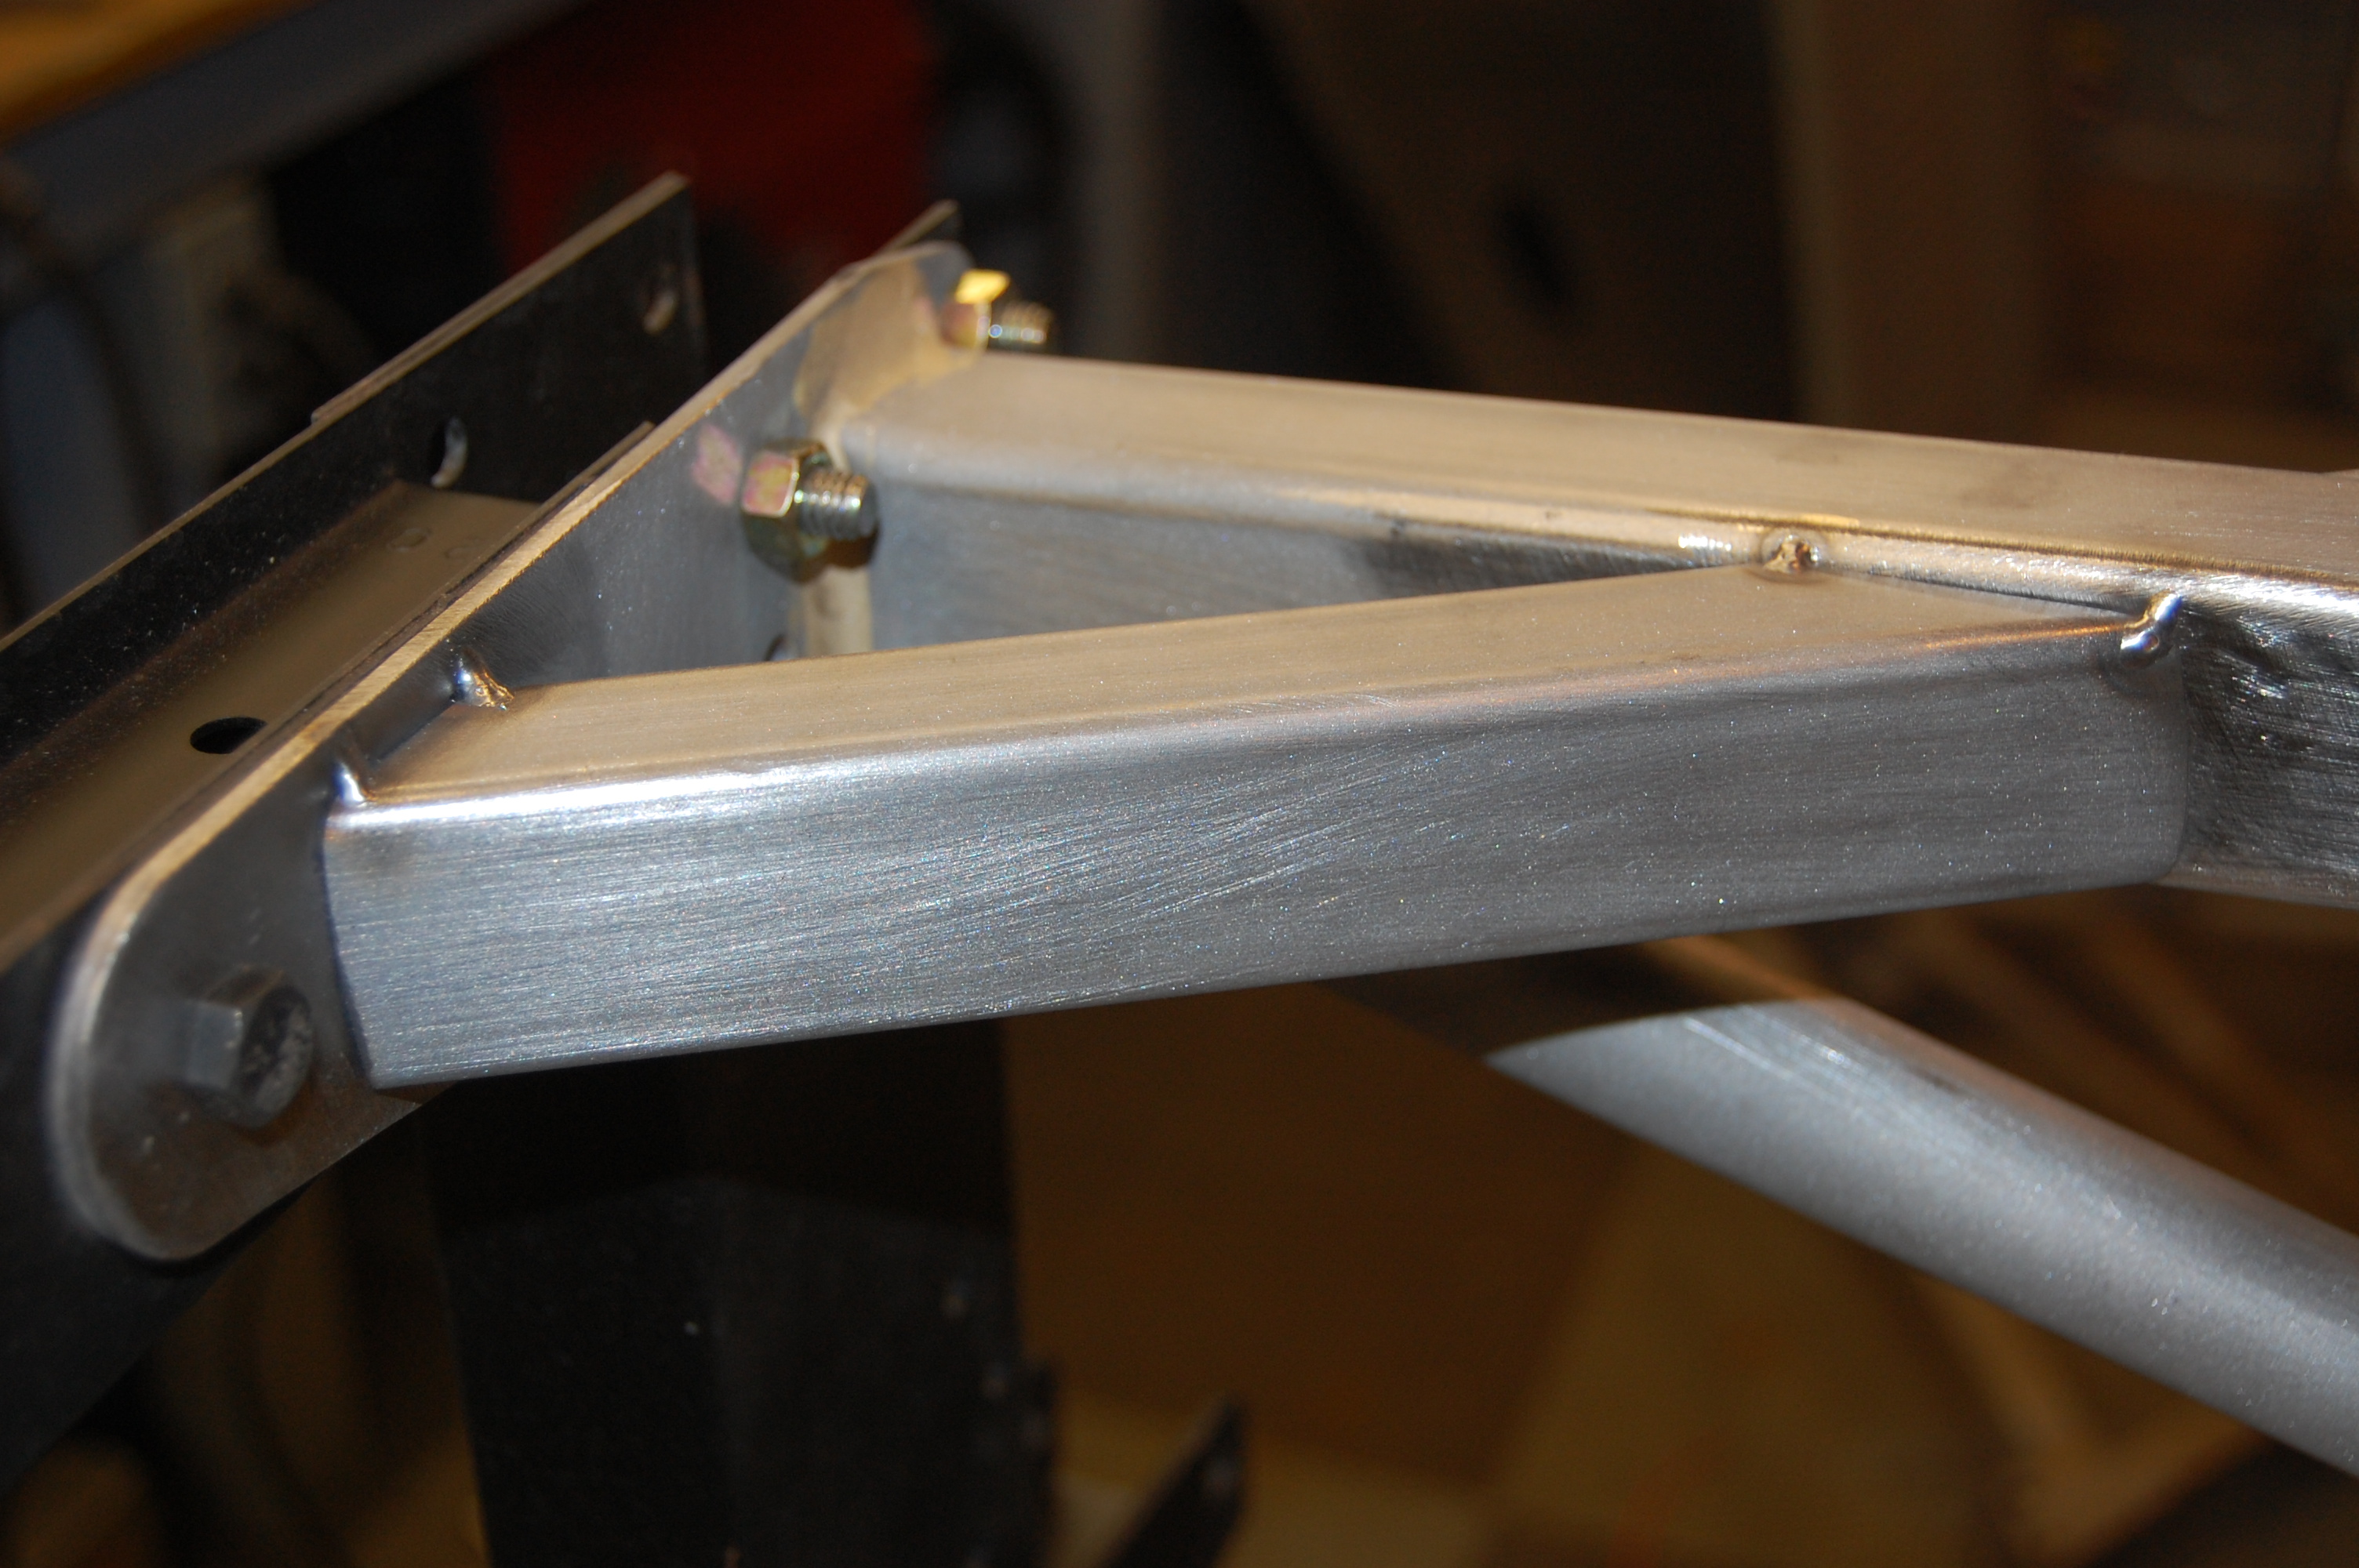
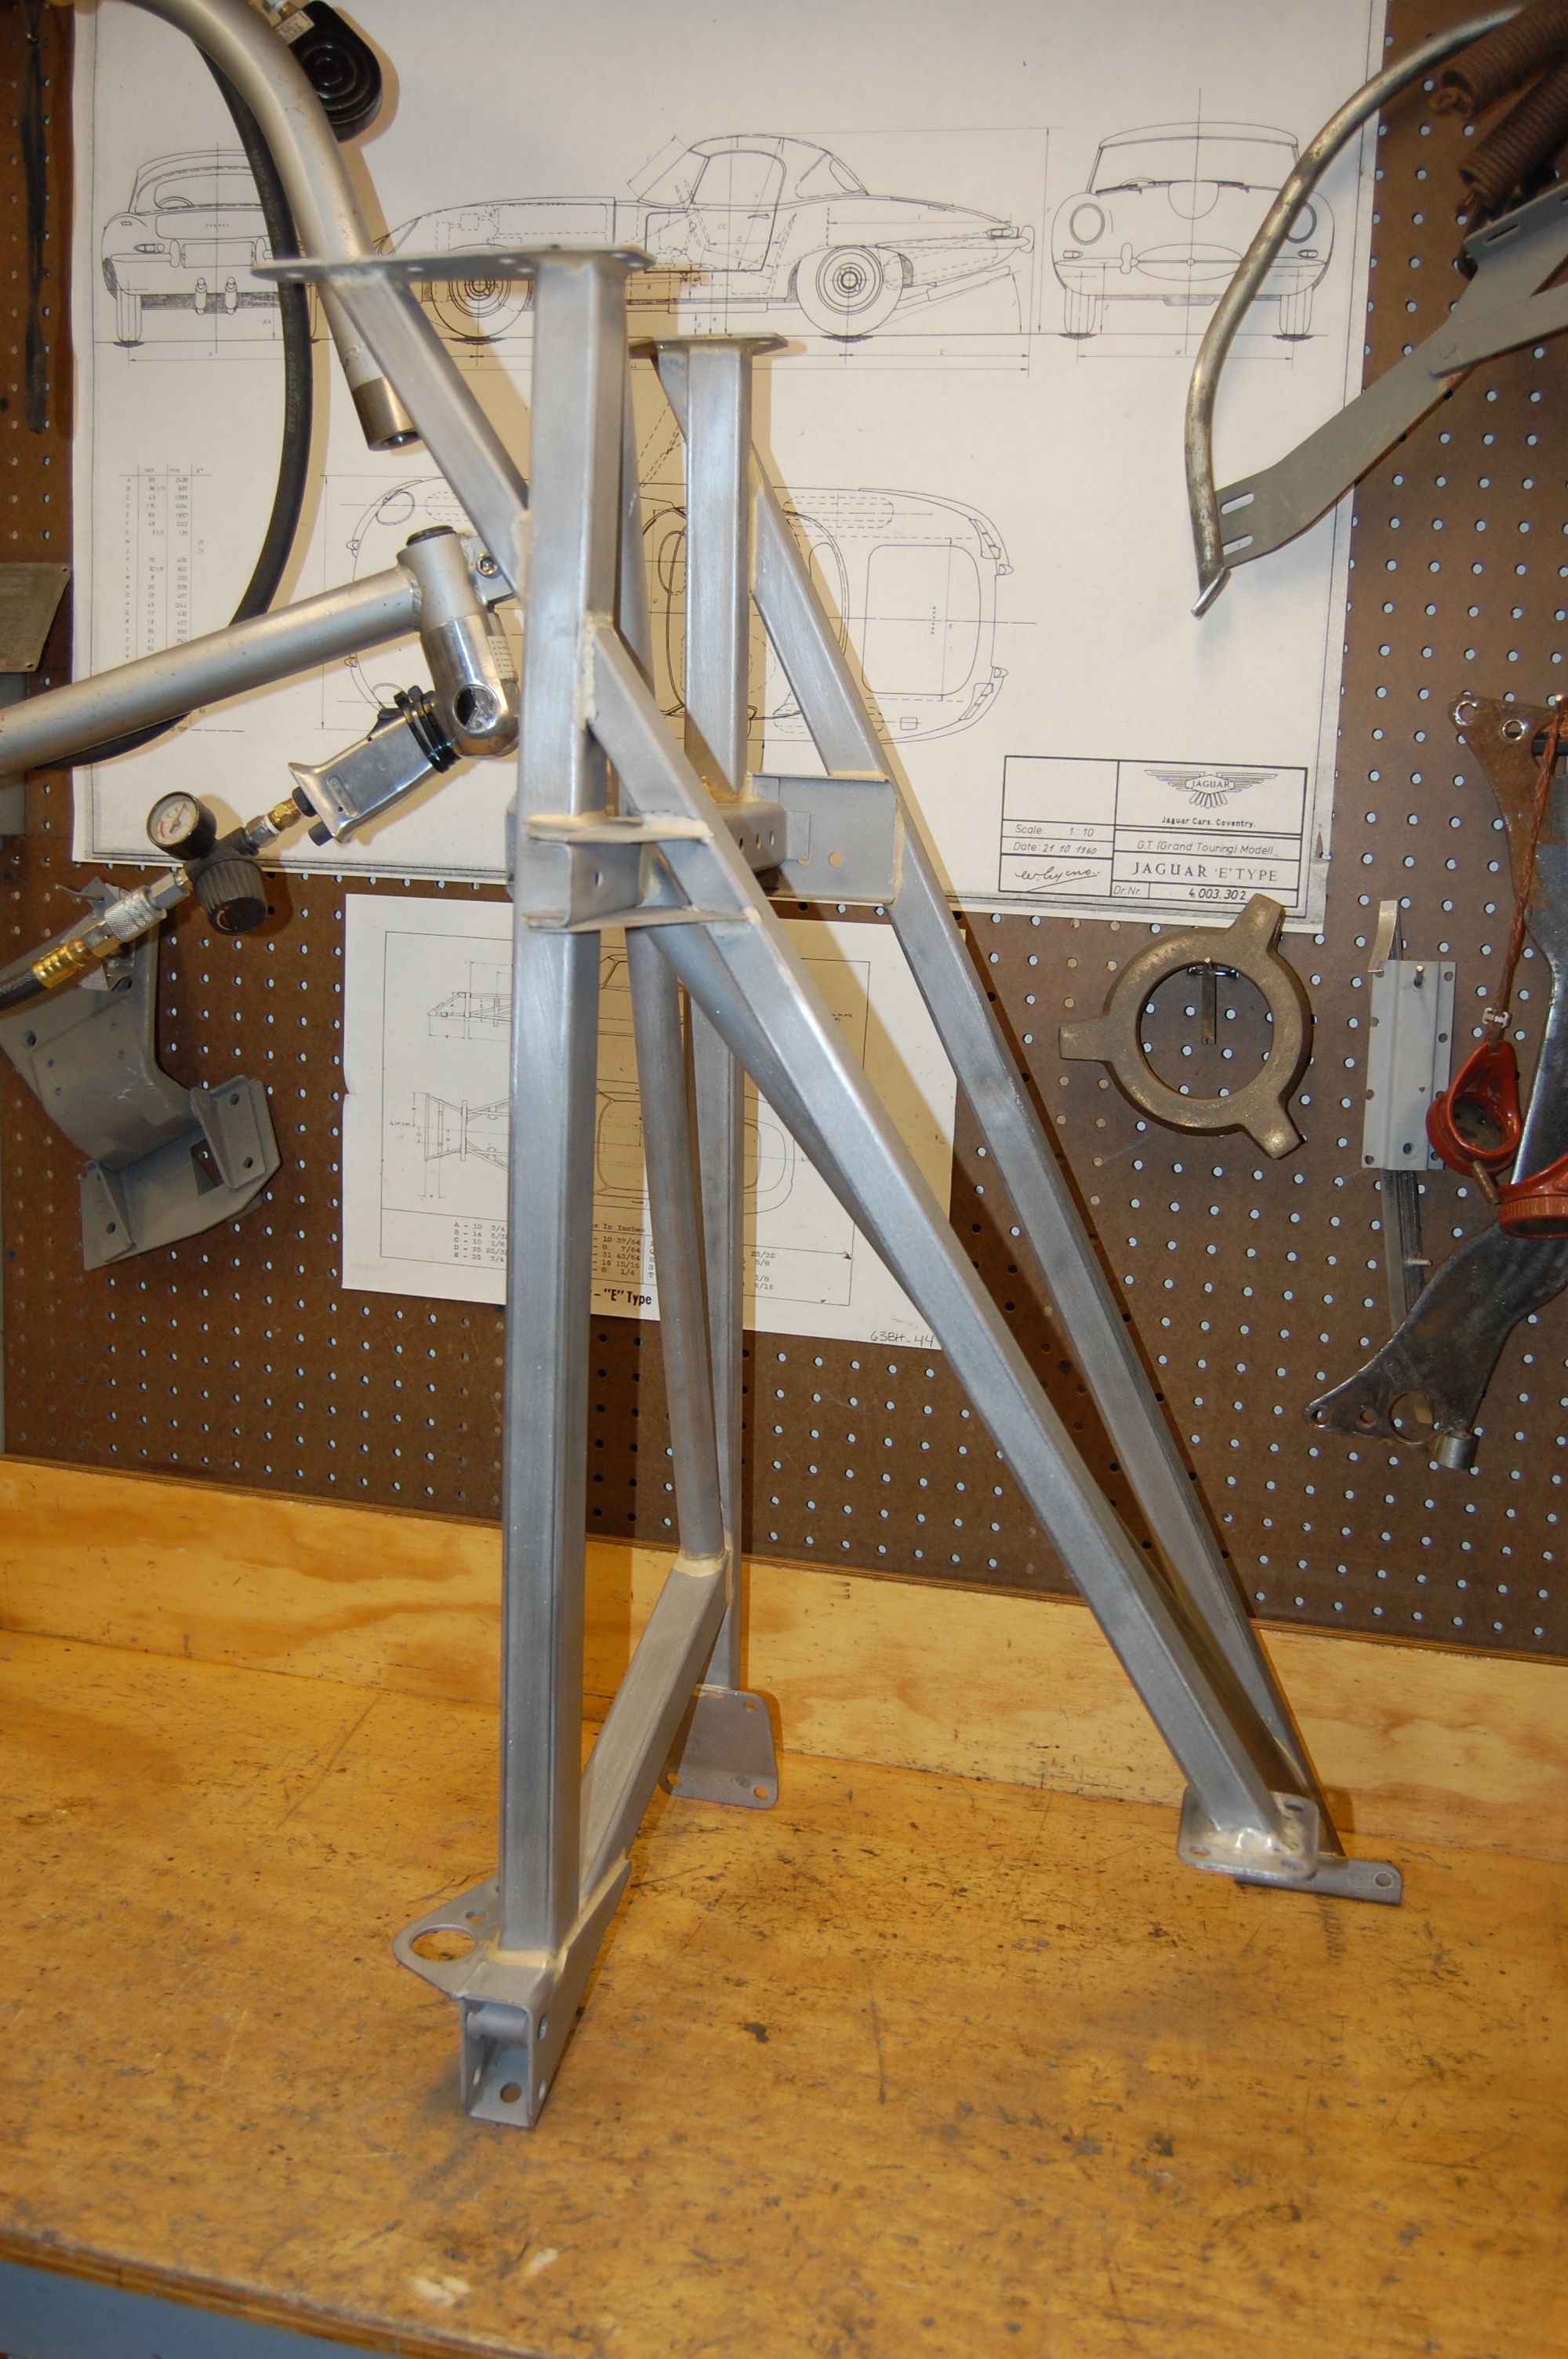
- Job #1 – the bad rails have been removed, and the frame rails has been mounted into the fixture. Here, we are making a new plate for the lower, outer tube that runs under the battery.
-
- Job #1 – everything has been cut to size as accruately as possible (very important), and is tacked into place.

-
- Job #1 – You want this fit to be just about perfect – it will make the joint stronger.
-

- Job #1 – I’ve tacked this piece into place, but I no longer do it this way – there is a small chance this can cause cracks as the bronze cools.
-

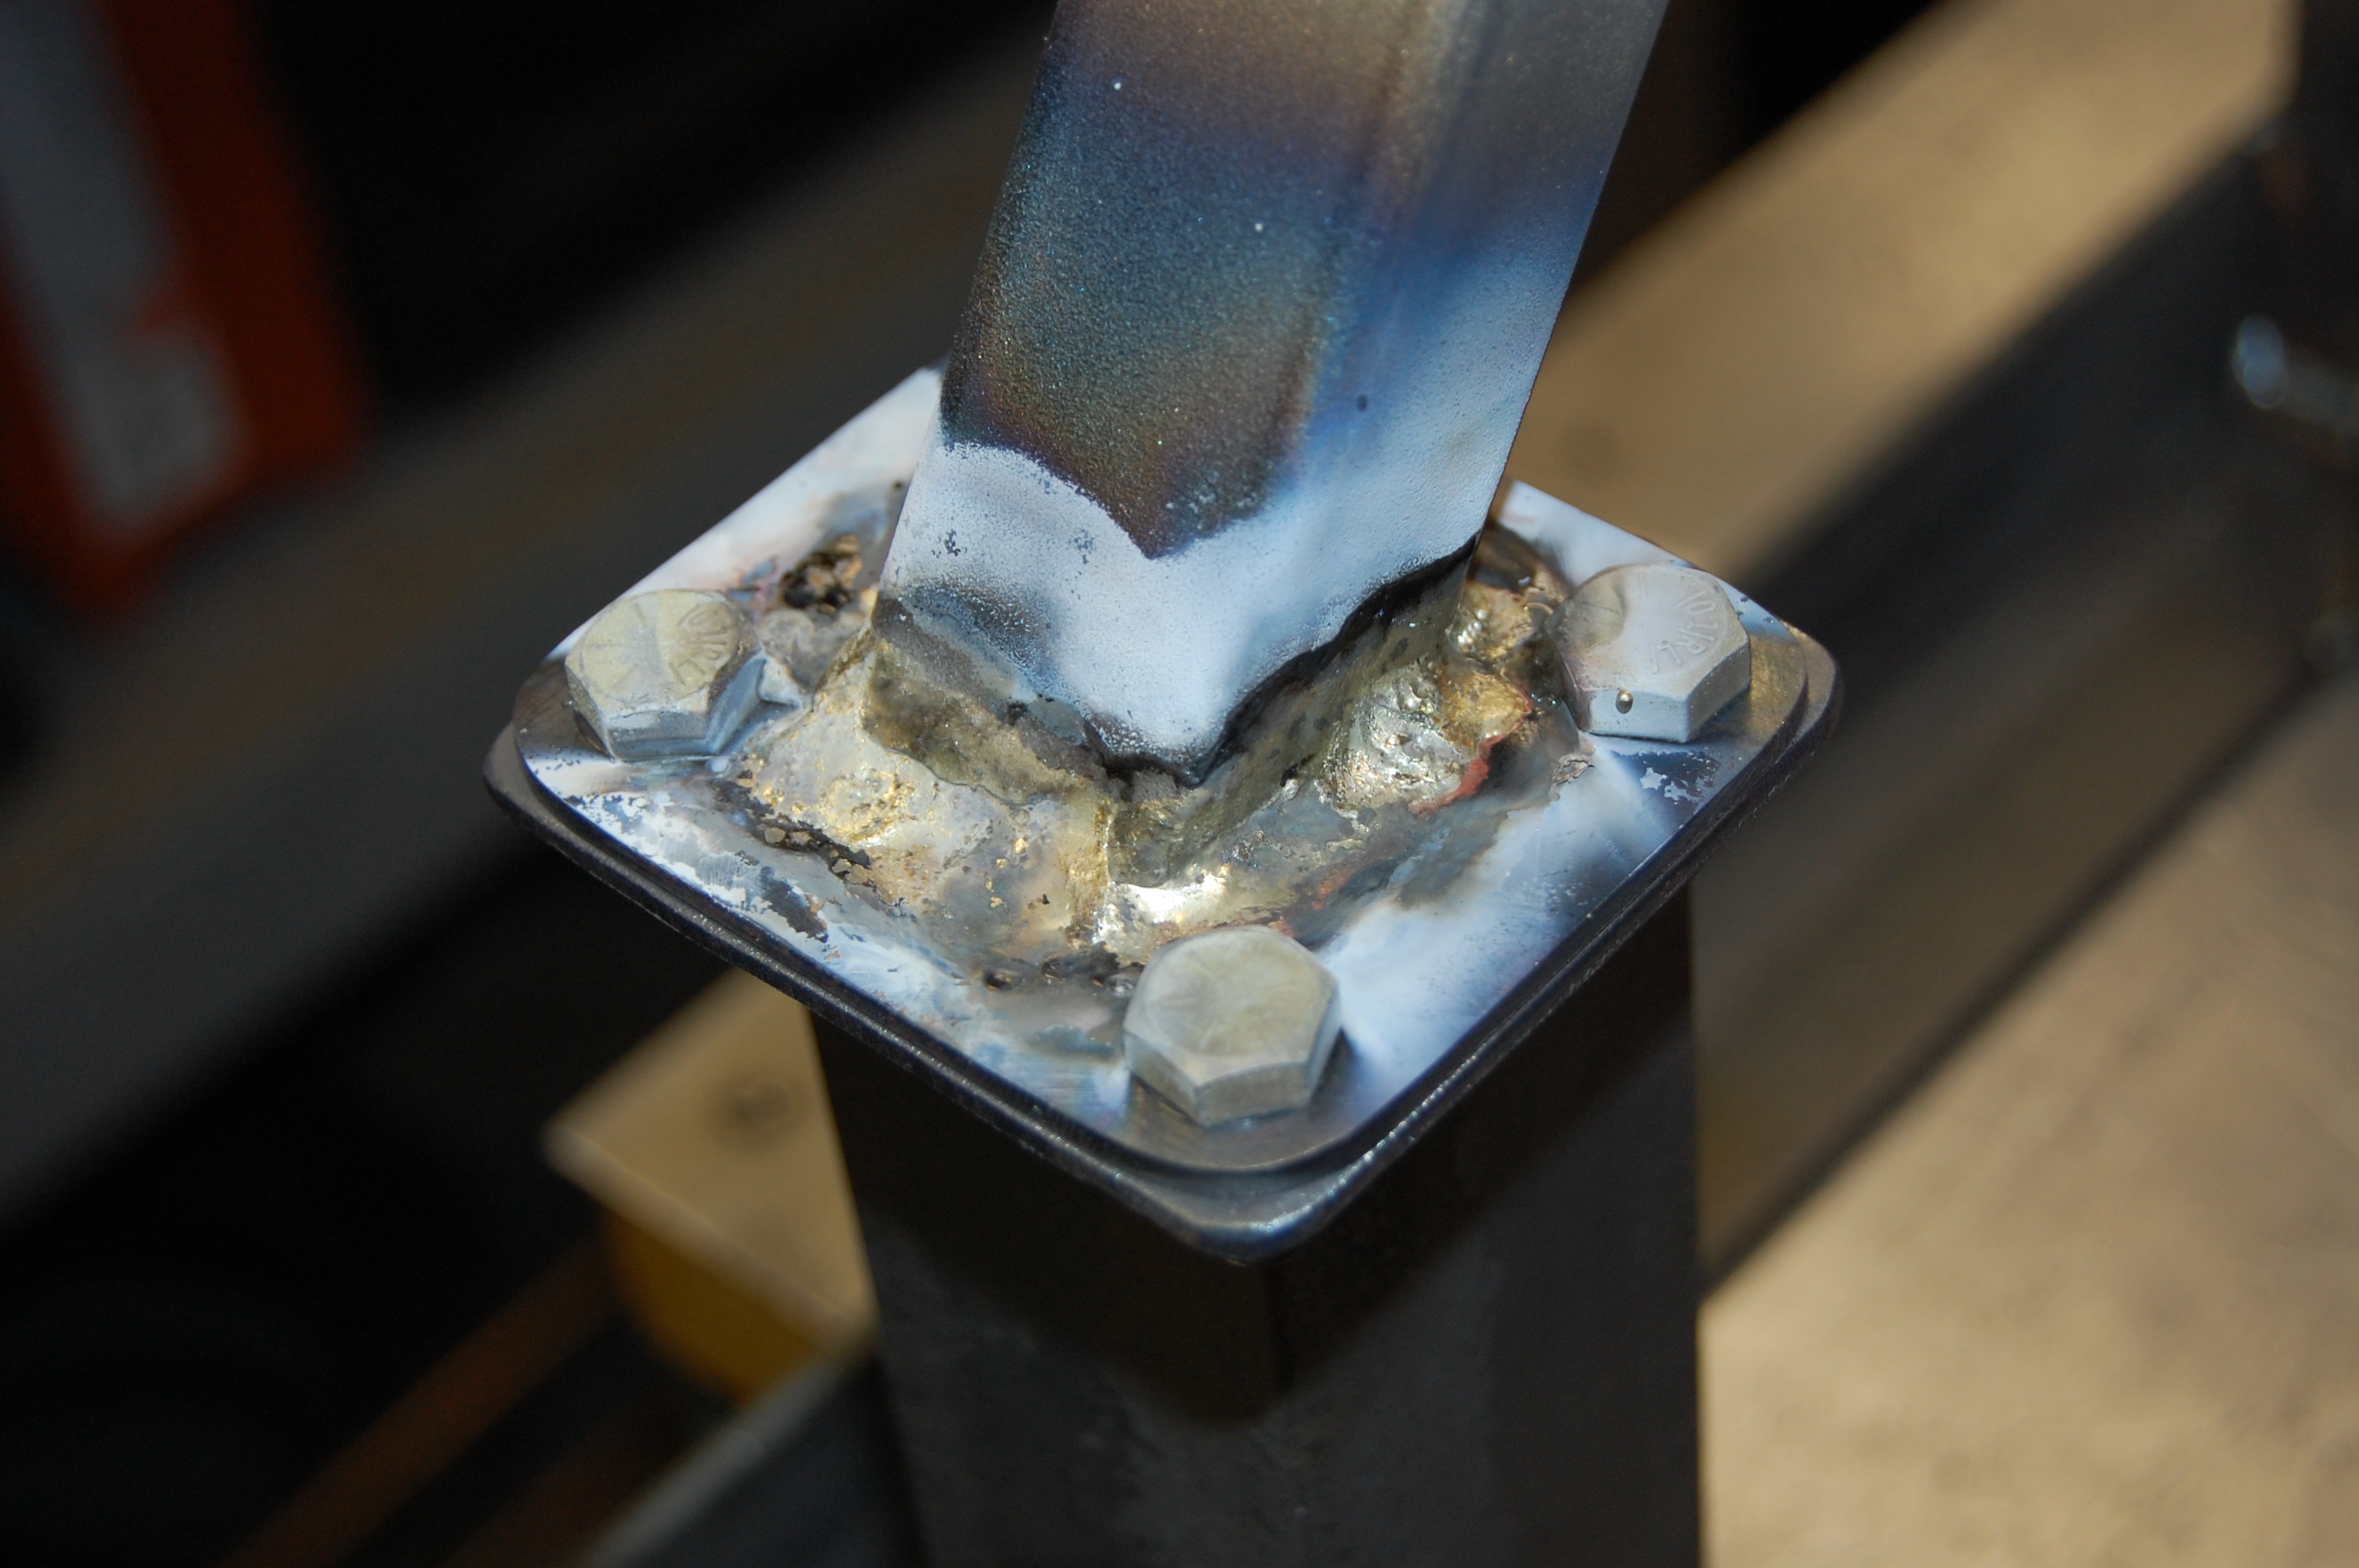
- Job #1 – the excess smoke indicates there was some high heat in the brazing process. This is a very tough joint, because the different thicknesses of the metals causes uneven heating – you better know what you are doing here or you will melt the rail trying to get the plate hot enough!
-
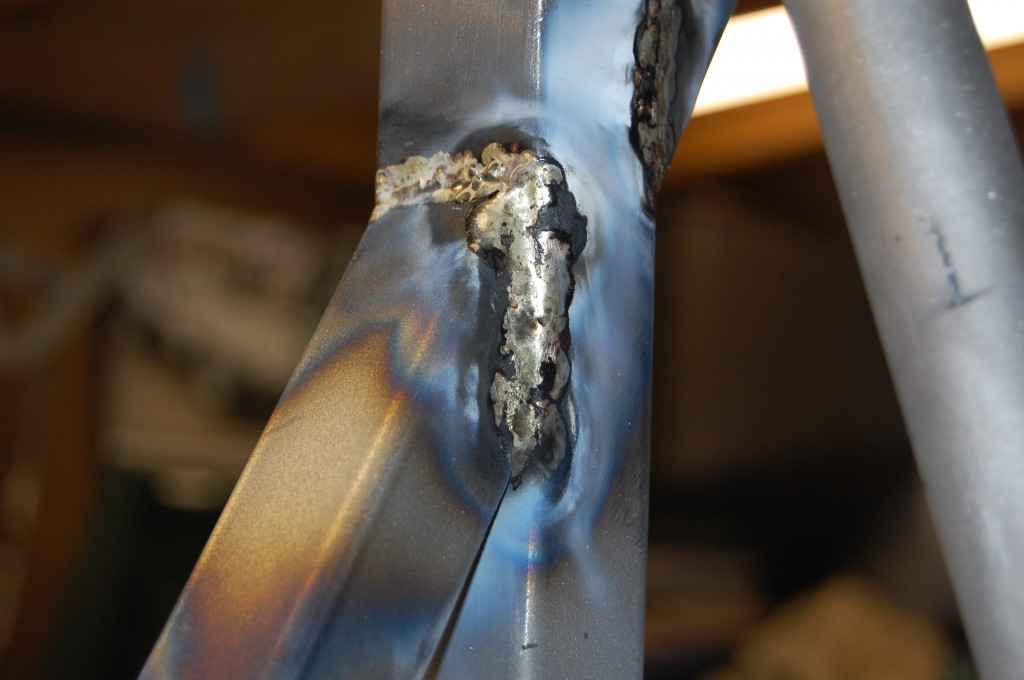
- Job #1 – another joint.

-
- Job #1 – another tricky joint with differeng thickness.

-
- Job #1 – brazing is complete!
-

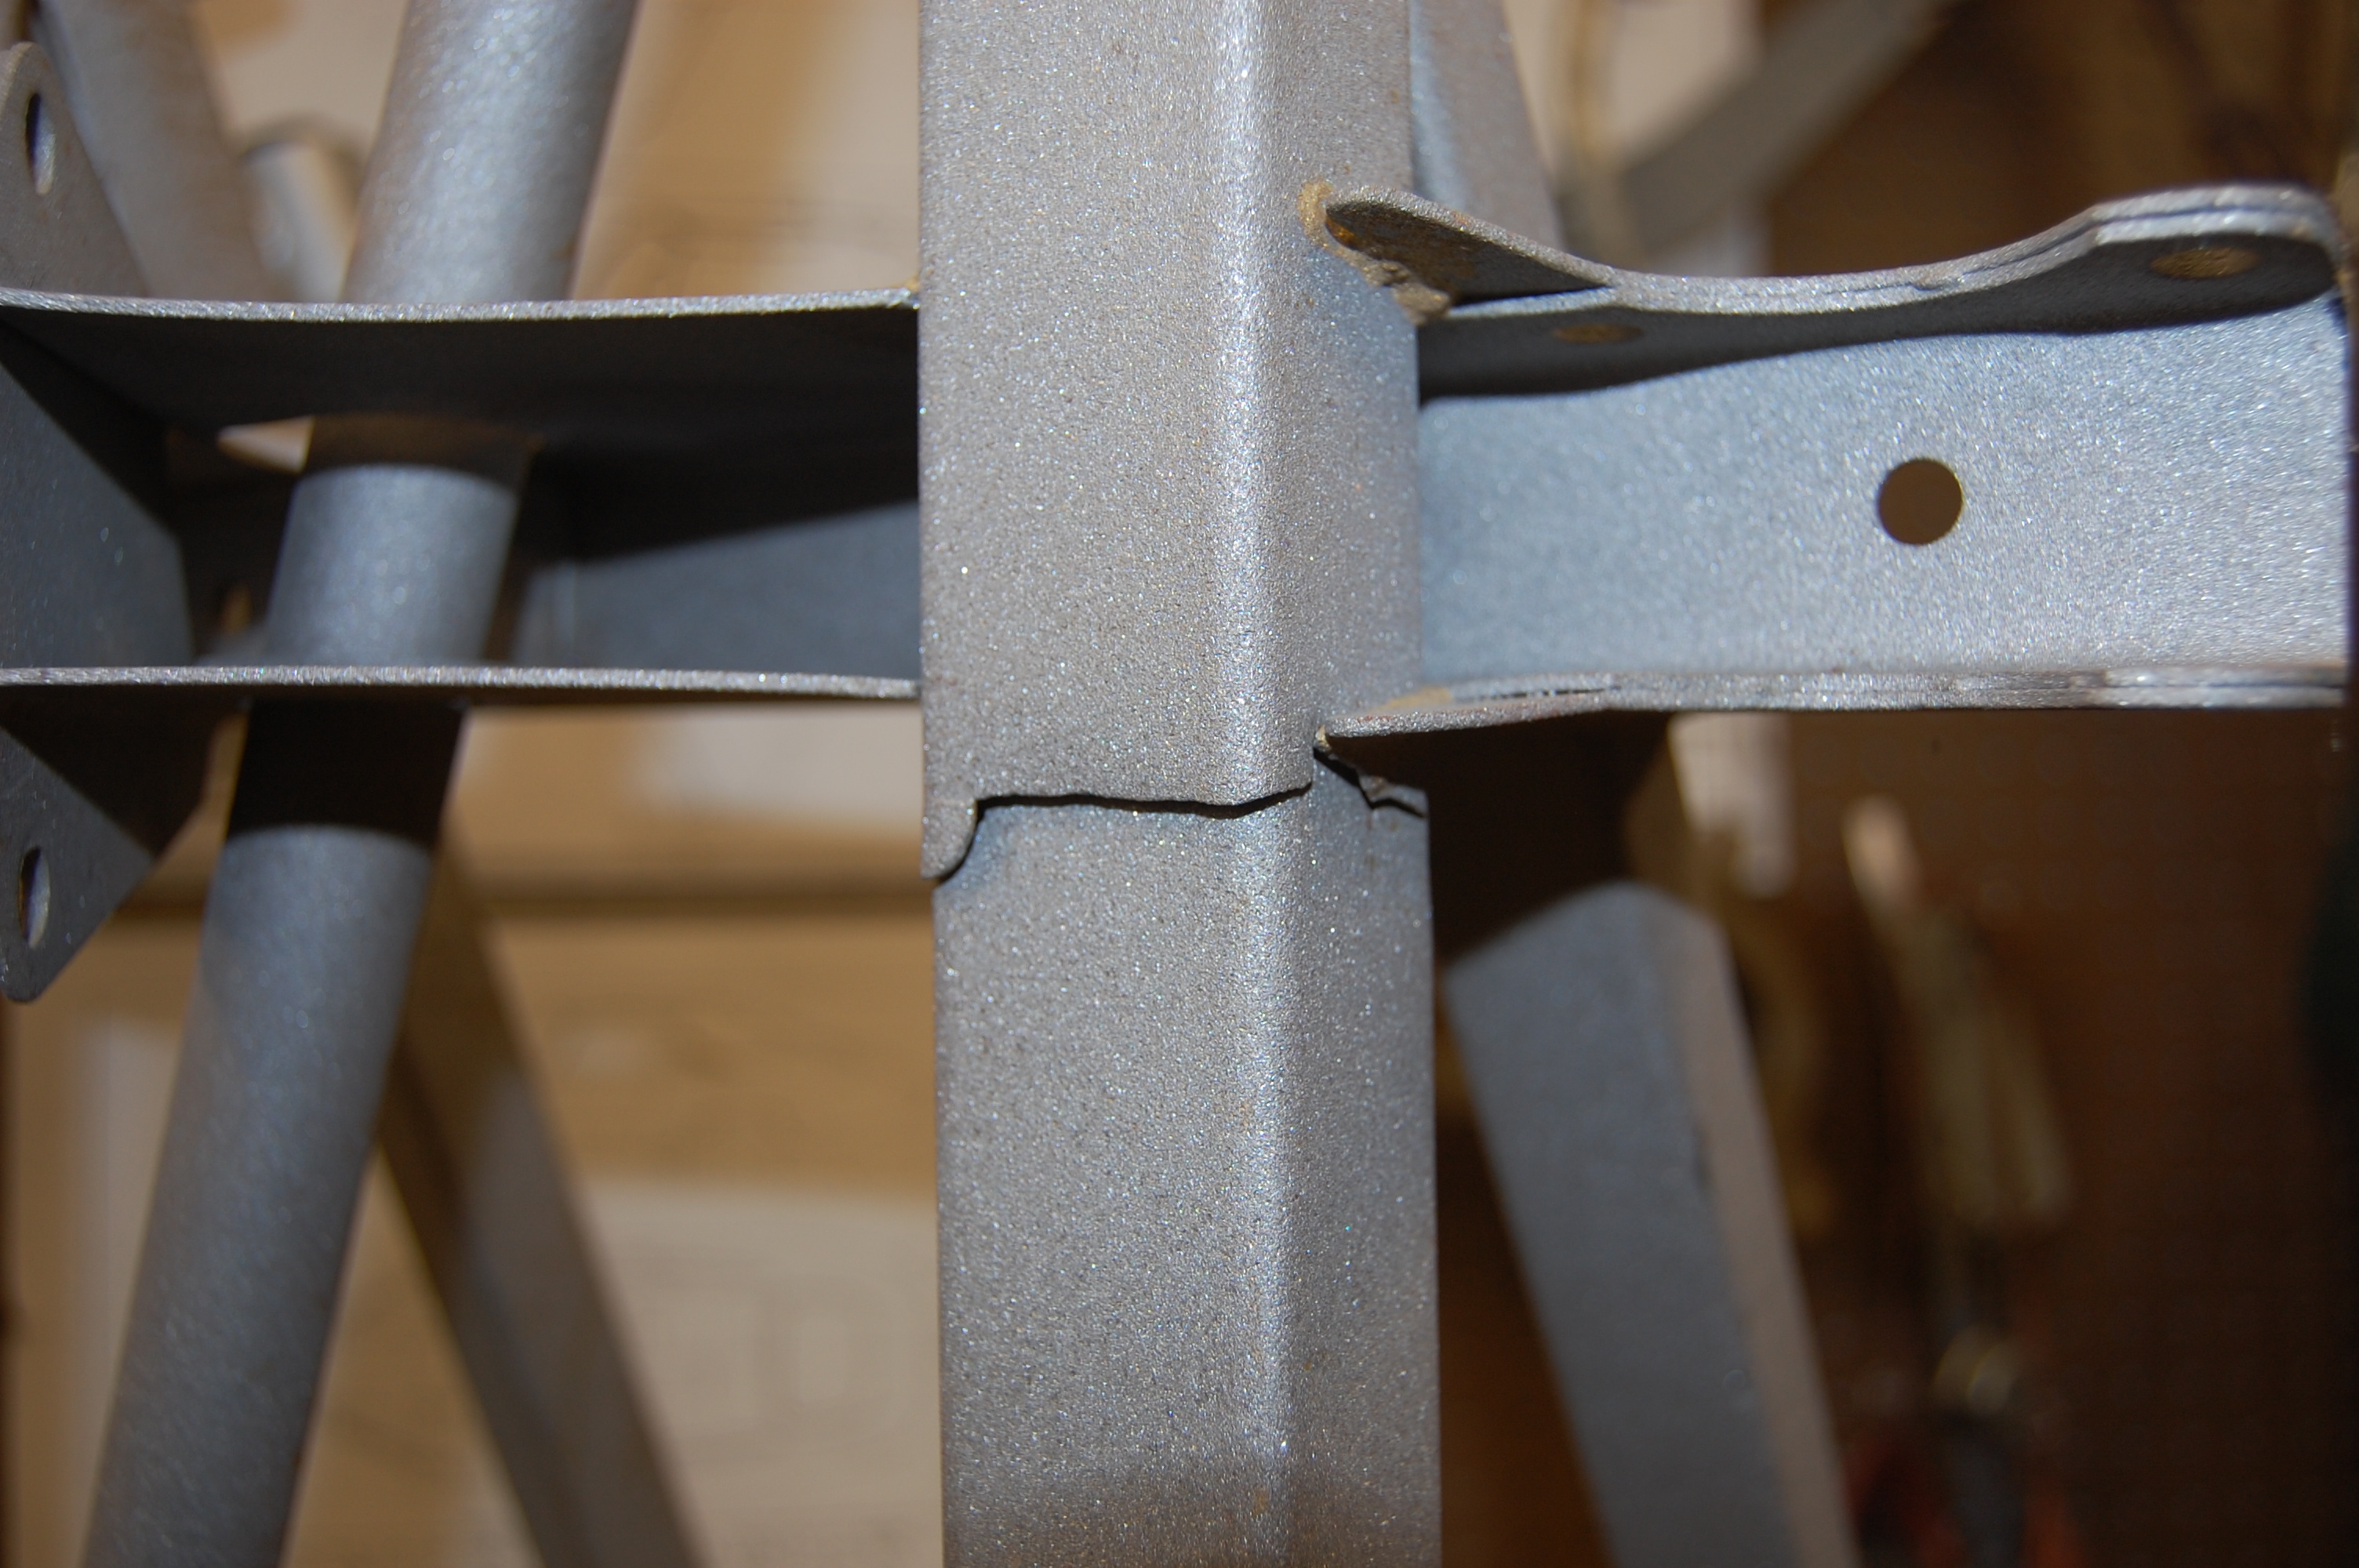
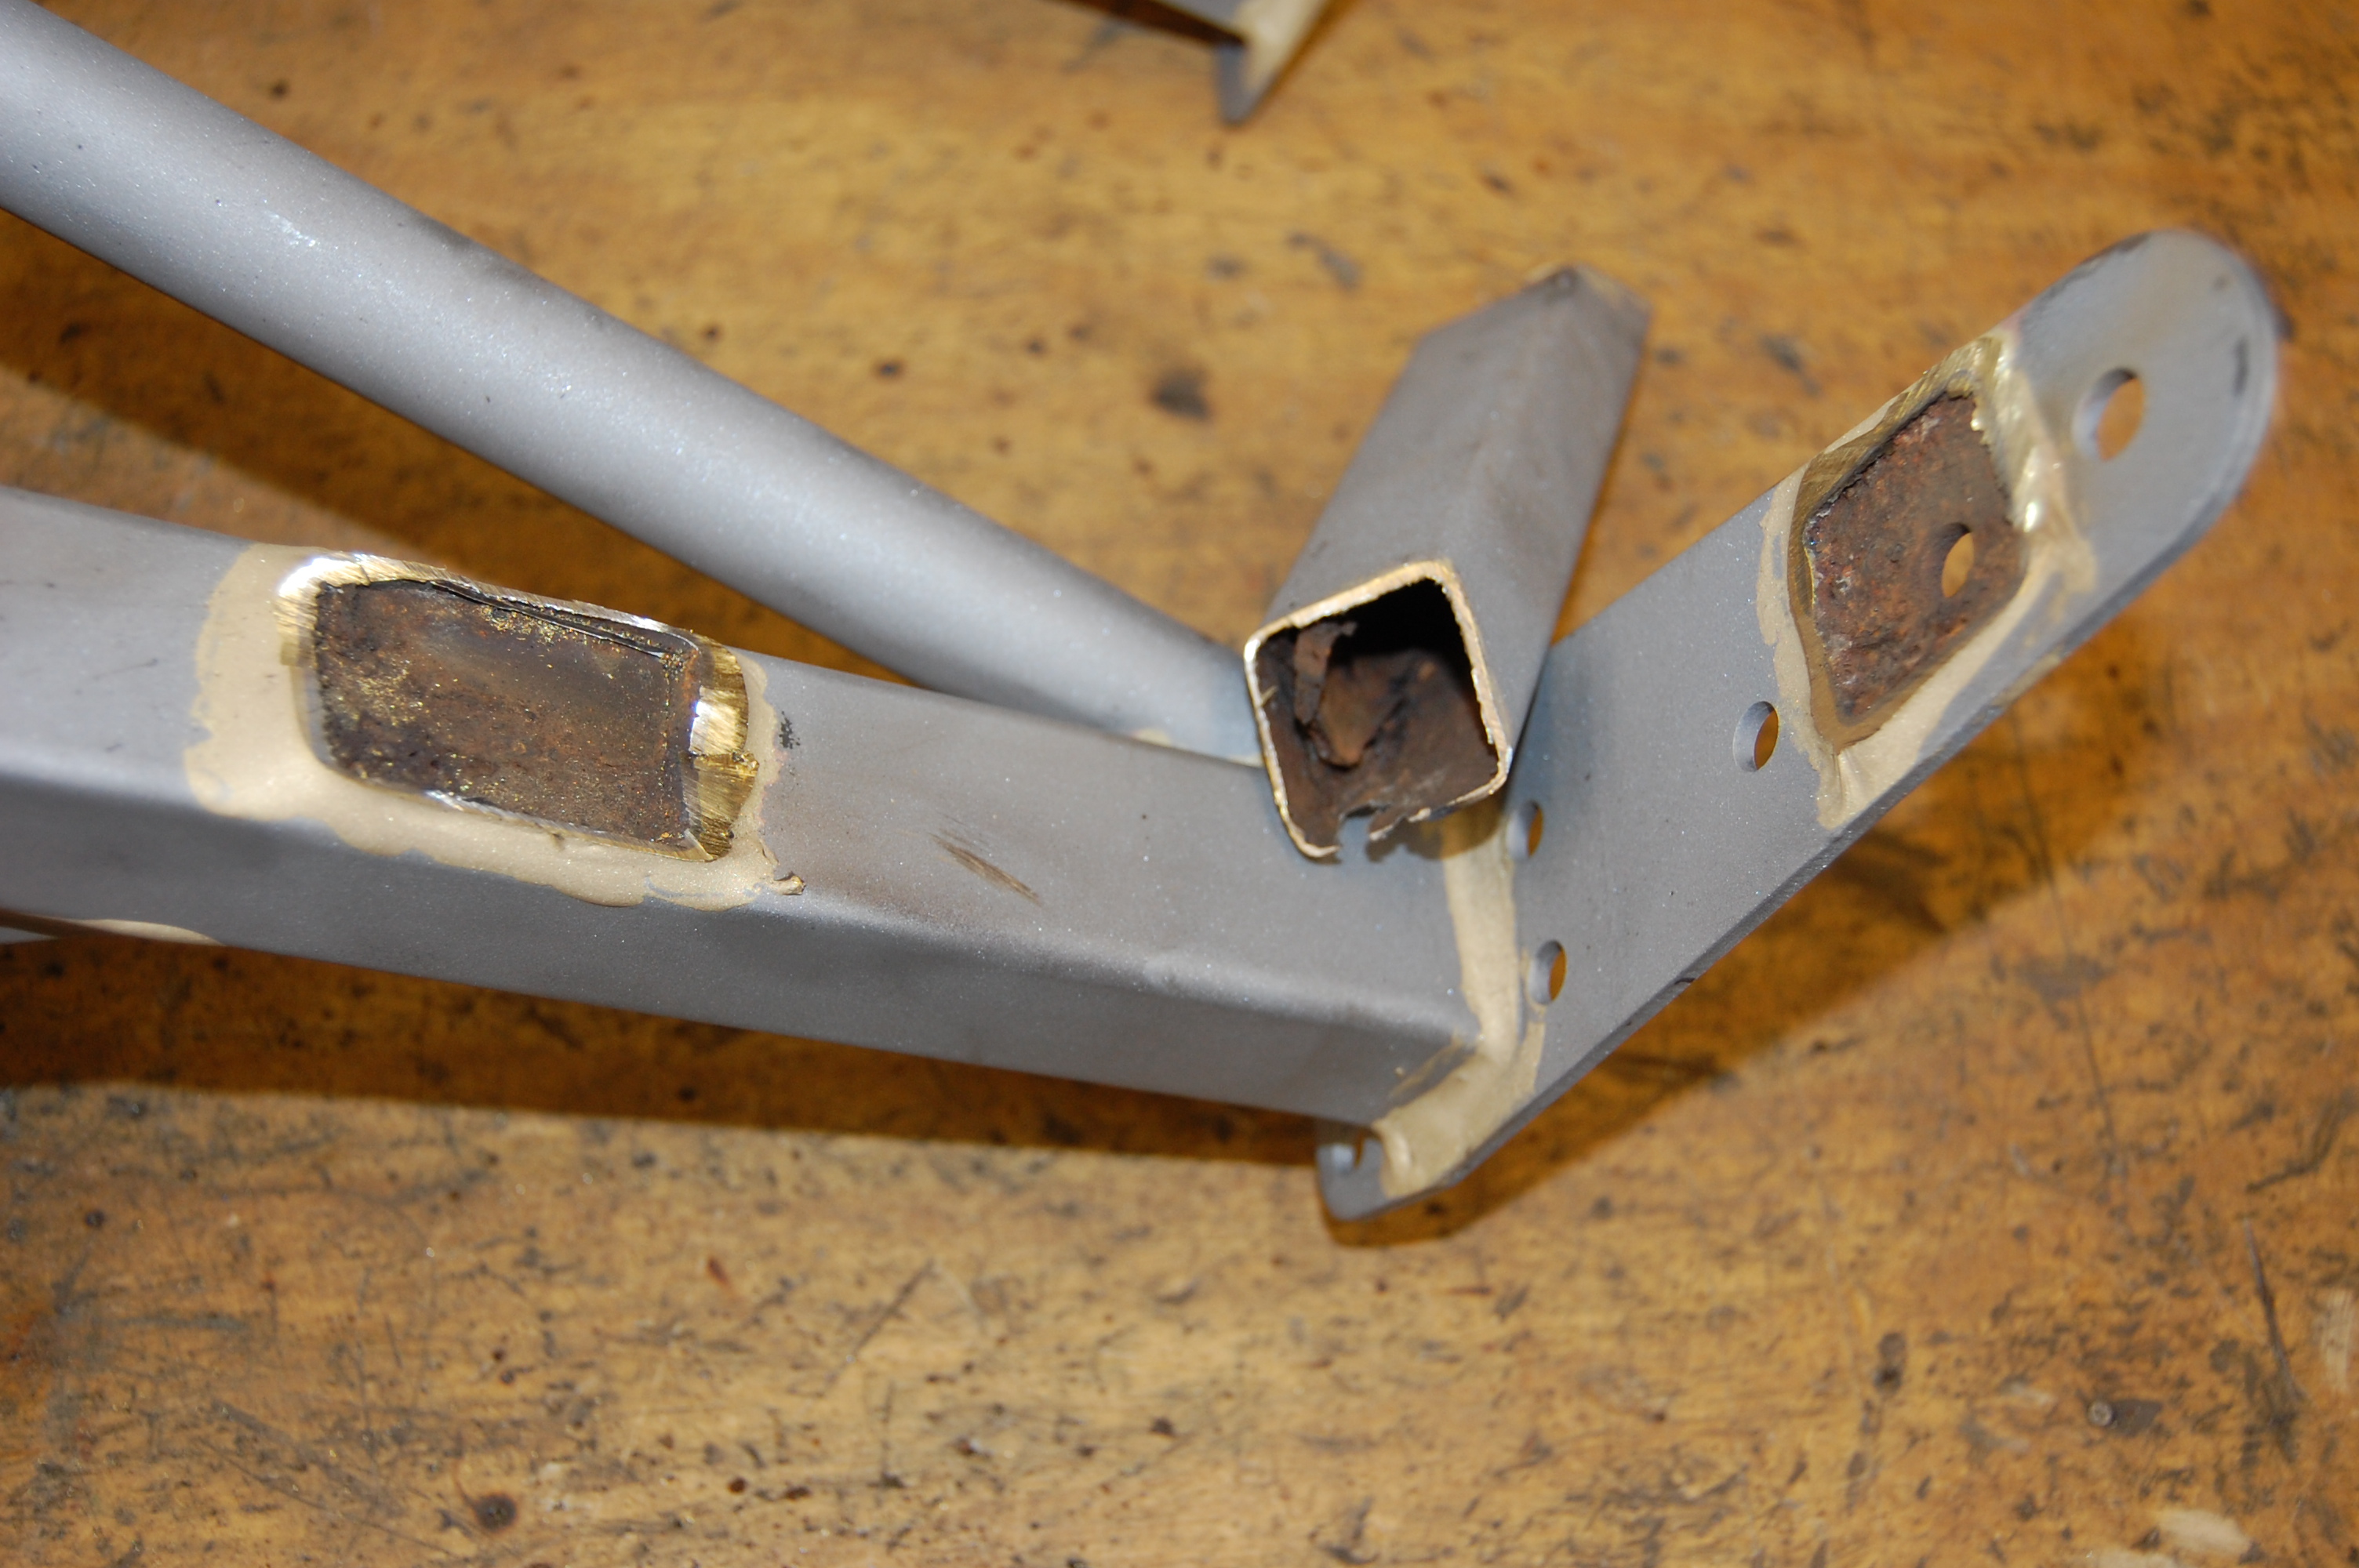
- Job #1 – we pull the rail out of the fixture and bead blast all of the excess flux off the joints. Good as new! (I don’t know why this frame rail looks bent in this photo – I assume it is being caused by the camera lens…)
-

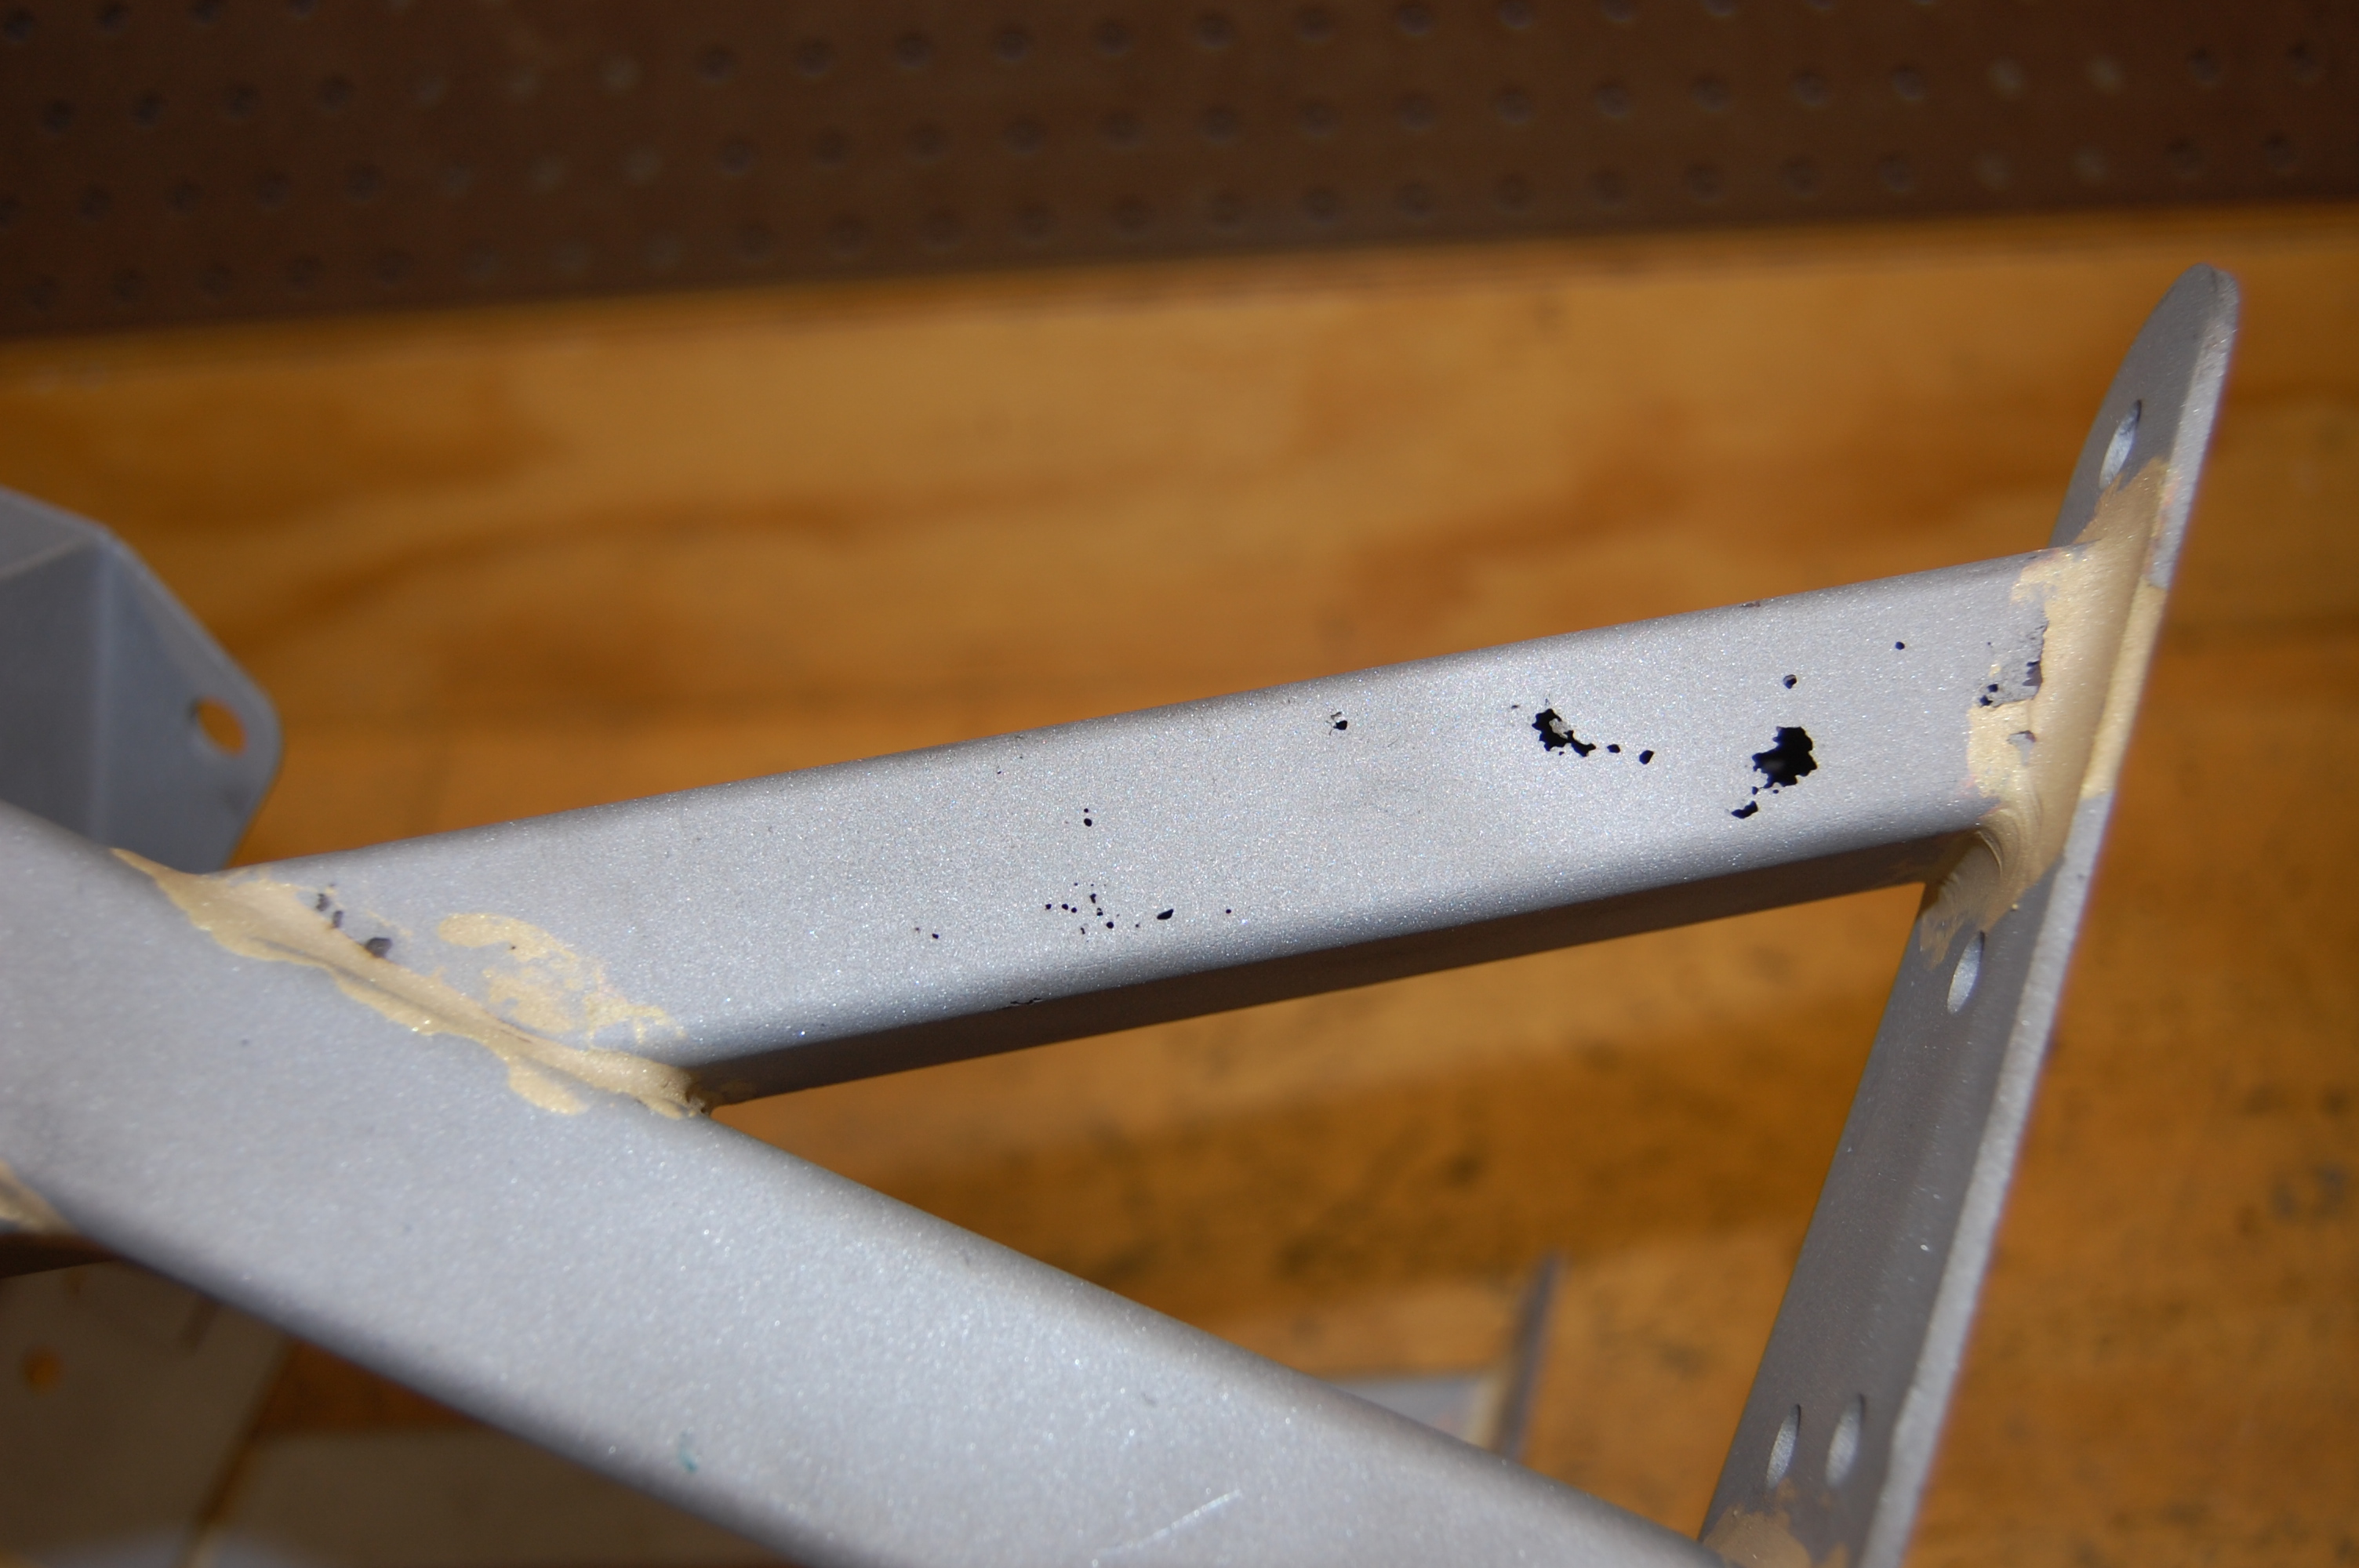
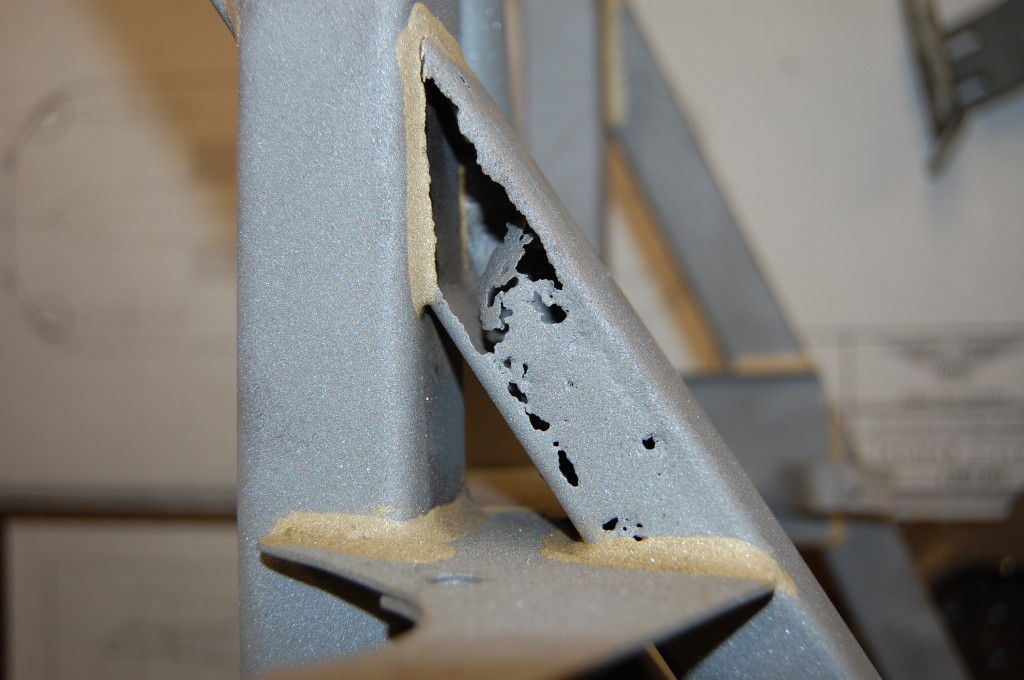
- Job #2 – these are the blue rails shown earlier that were used to build the fixture. This shows the rus inside this tube that has also rusted the side of the main tube, but keep in mind from the earlier discussiuon that this does NOT mean the rest of the frame rail looks like this inside. This littel tube had leftover flux in it that caused this problem and limited it to just this tube.
-
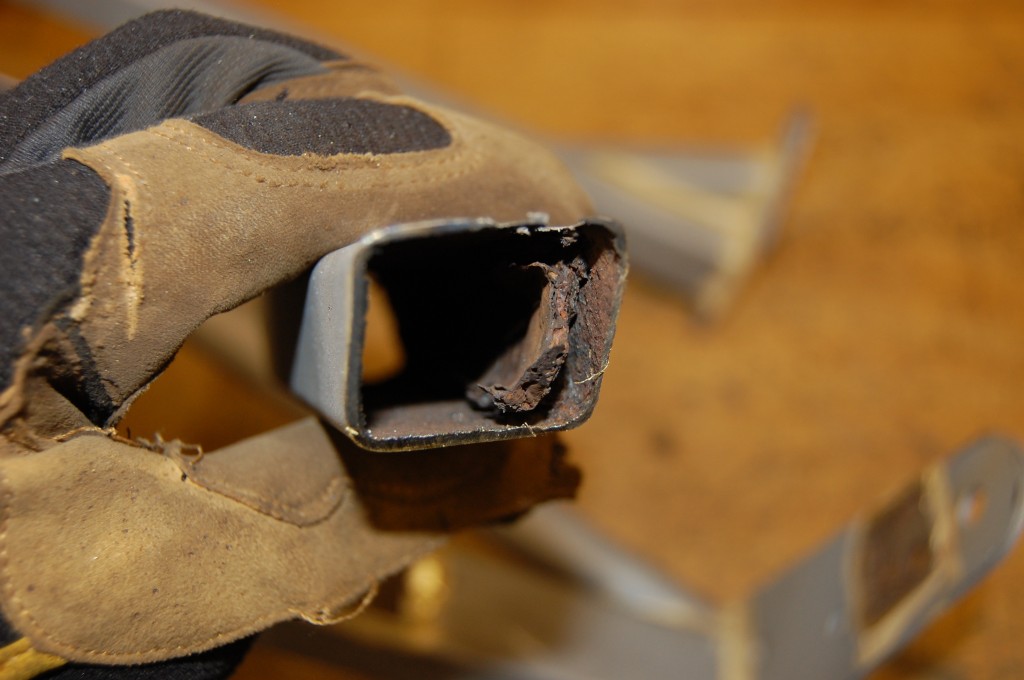
- Job #2 – Here it is – MASSIVE amounts of coagulated flux in the bottom of the tube. Moisture was trapped between this mass and the bottom edge of the tube, causing the rust from the inside-out.
-
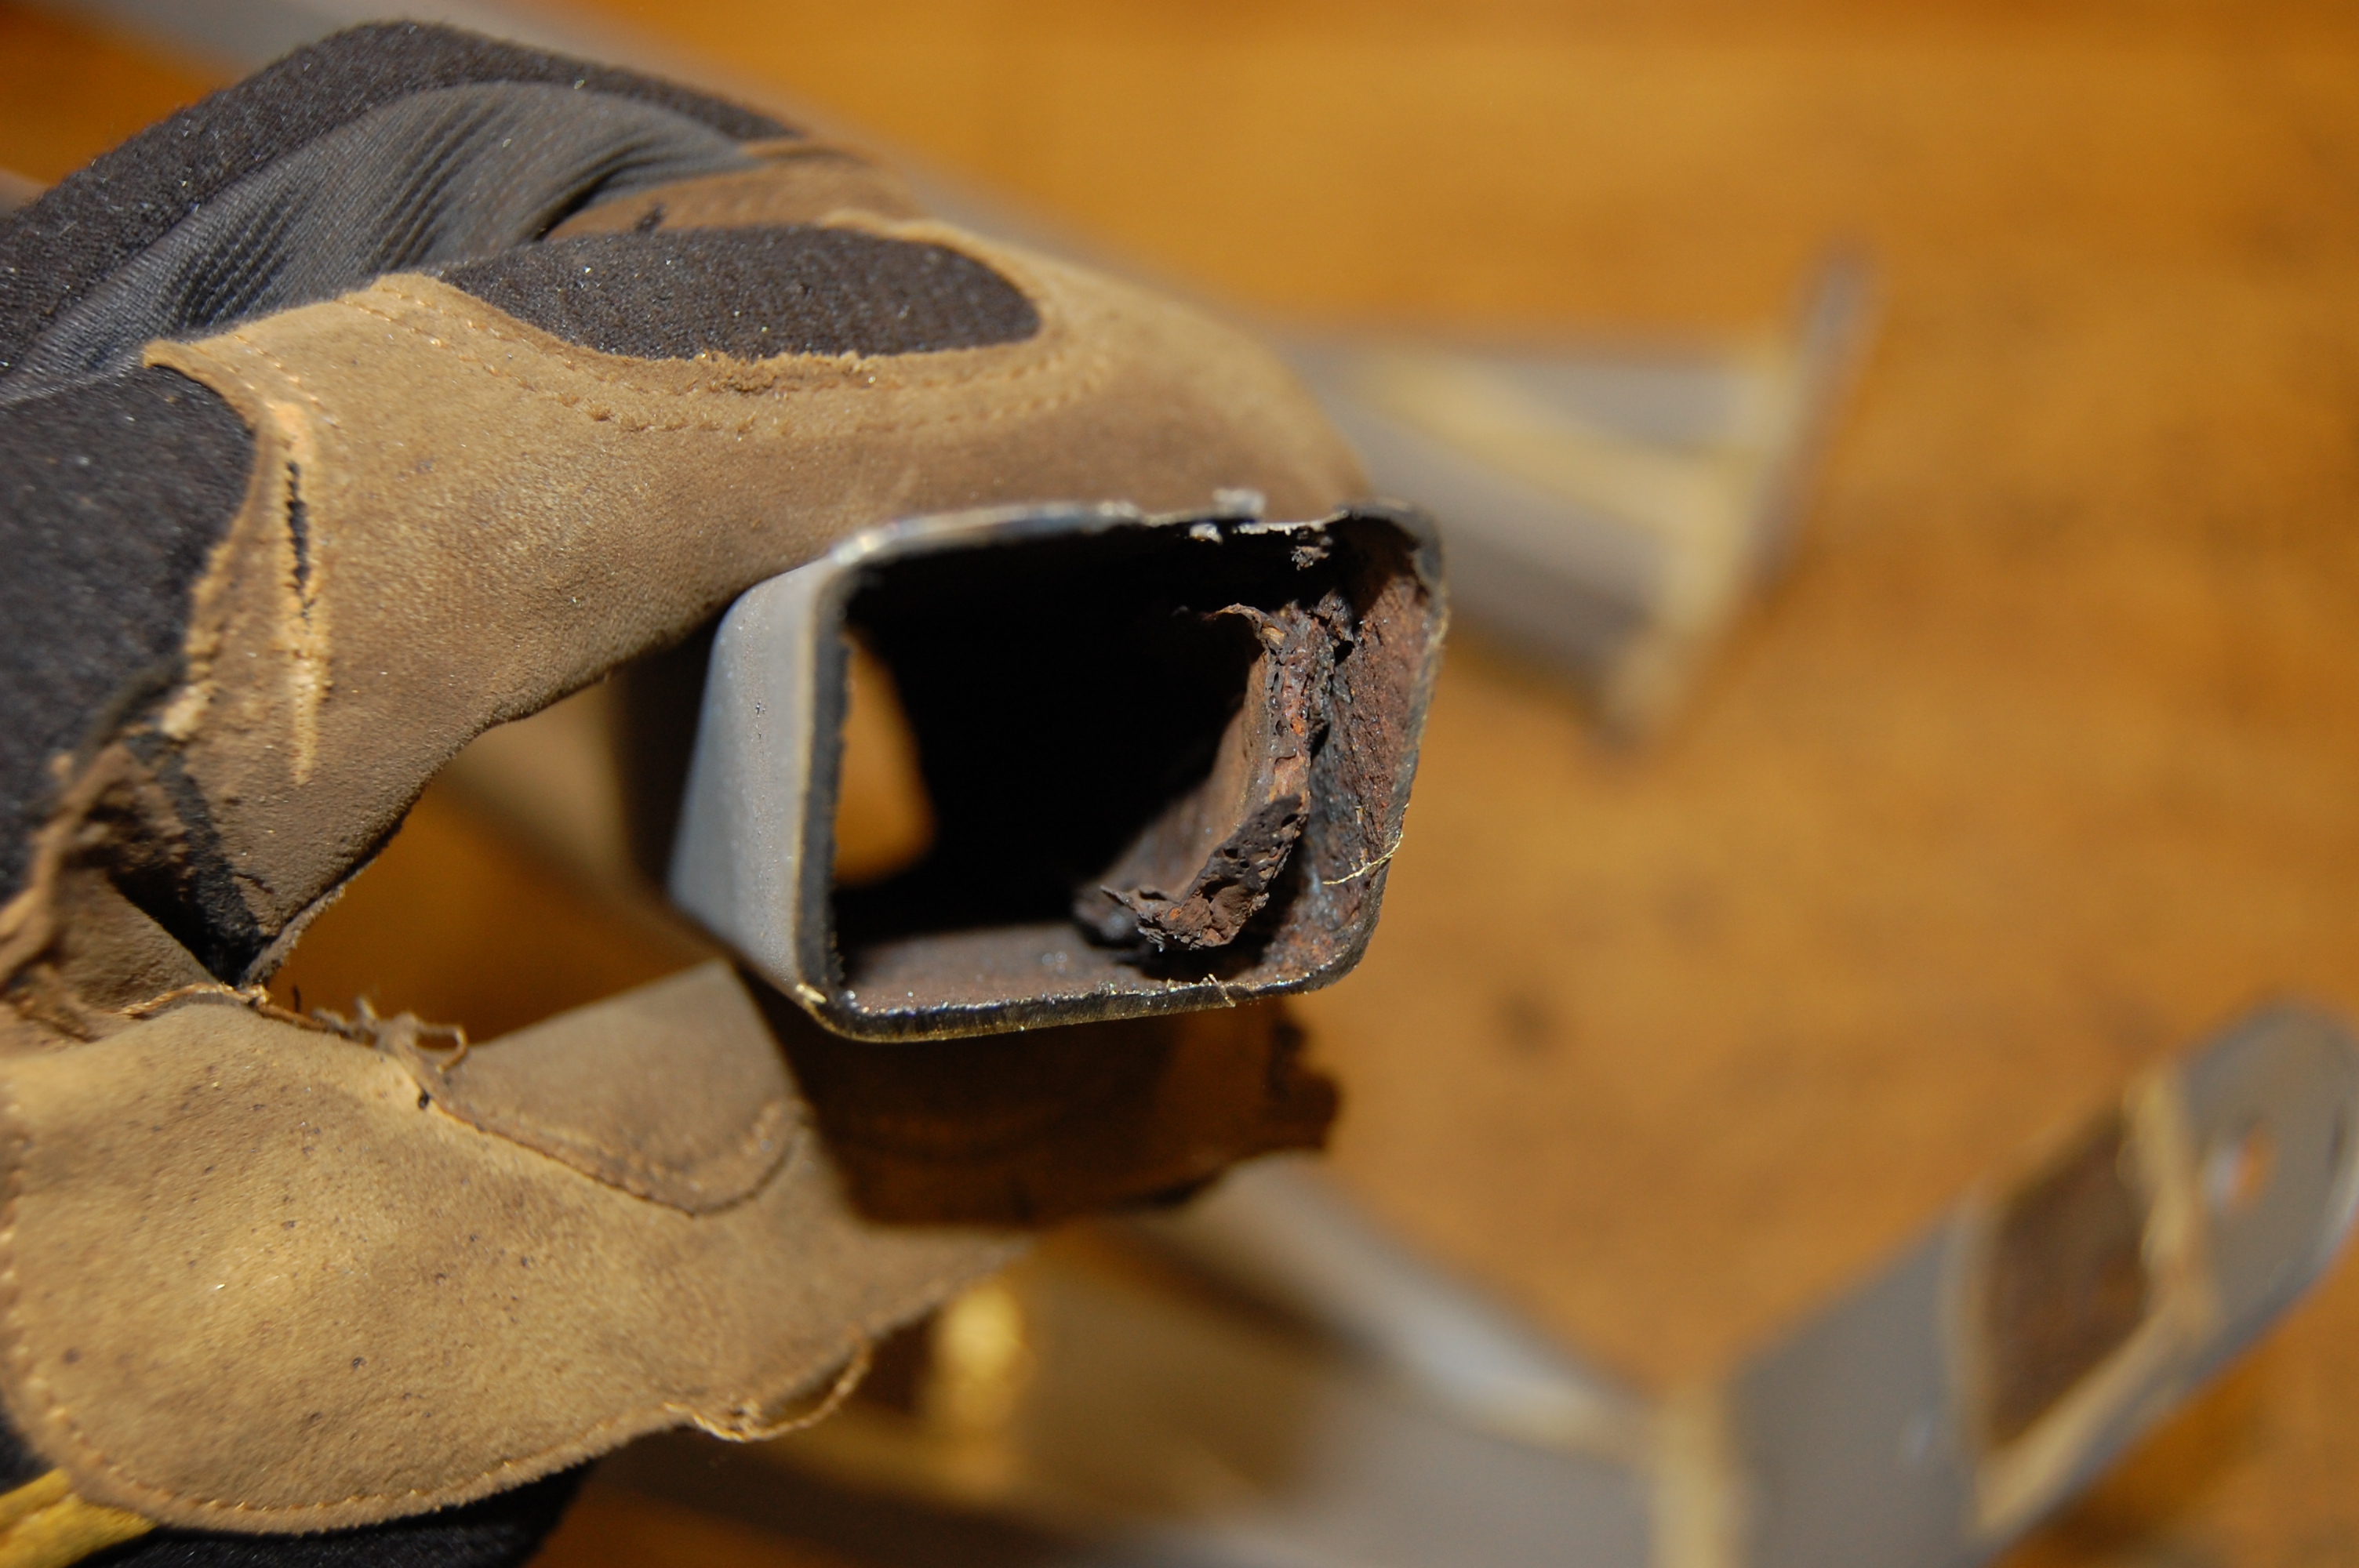
- Job #2 – Another shot of the coagulated flux.

-

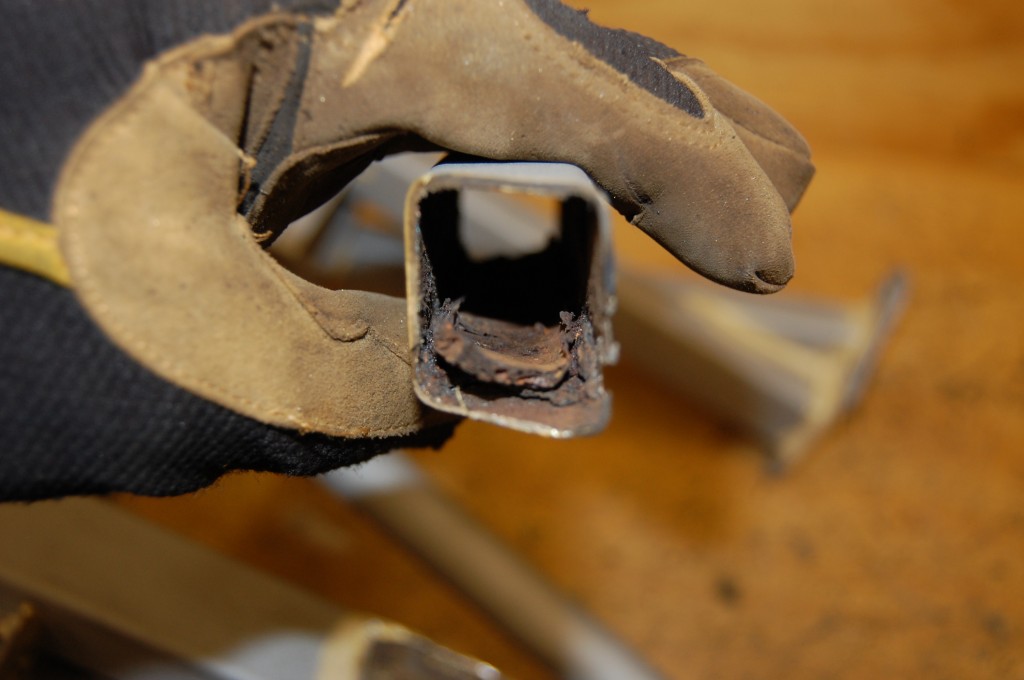
- Job #2 – this is the other rail, which had the same issue on tha same rail – this is very common for this little short rail and almost always where they rust first…
-
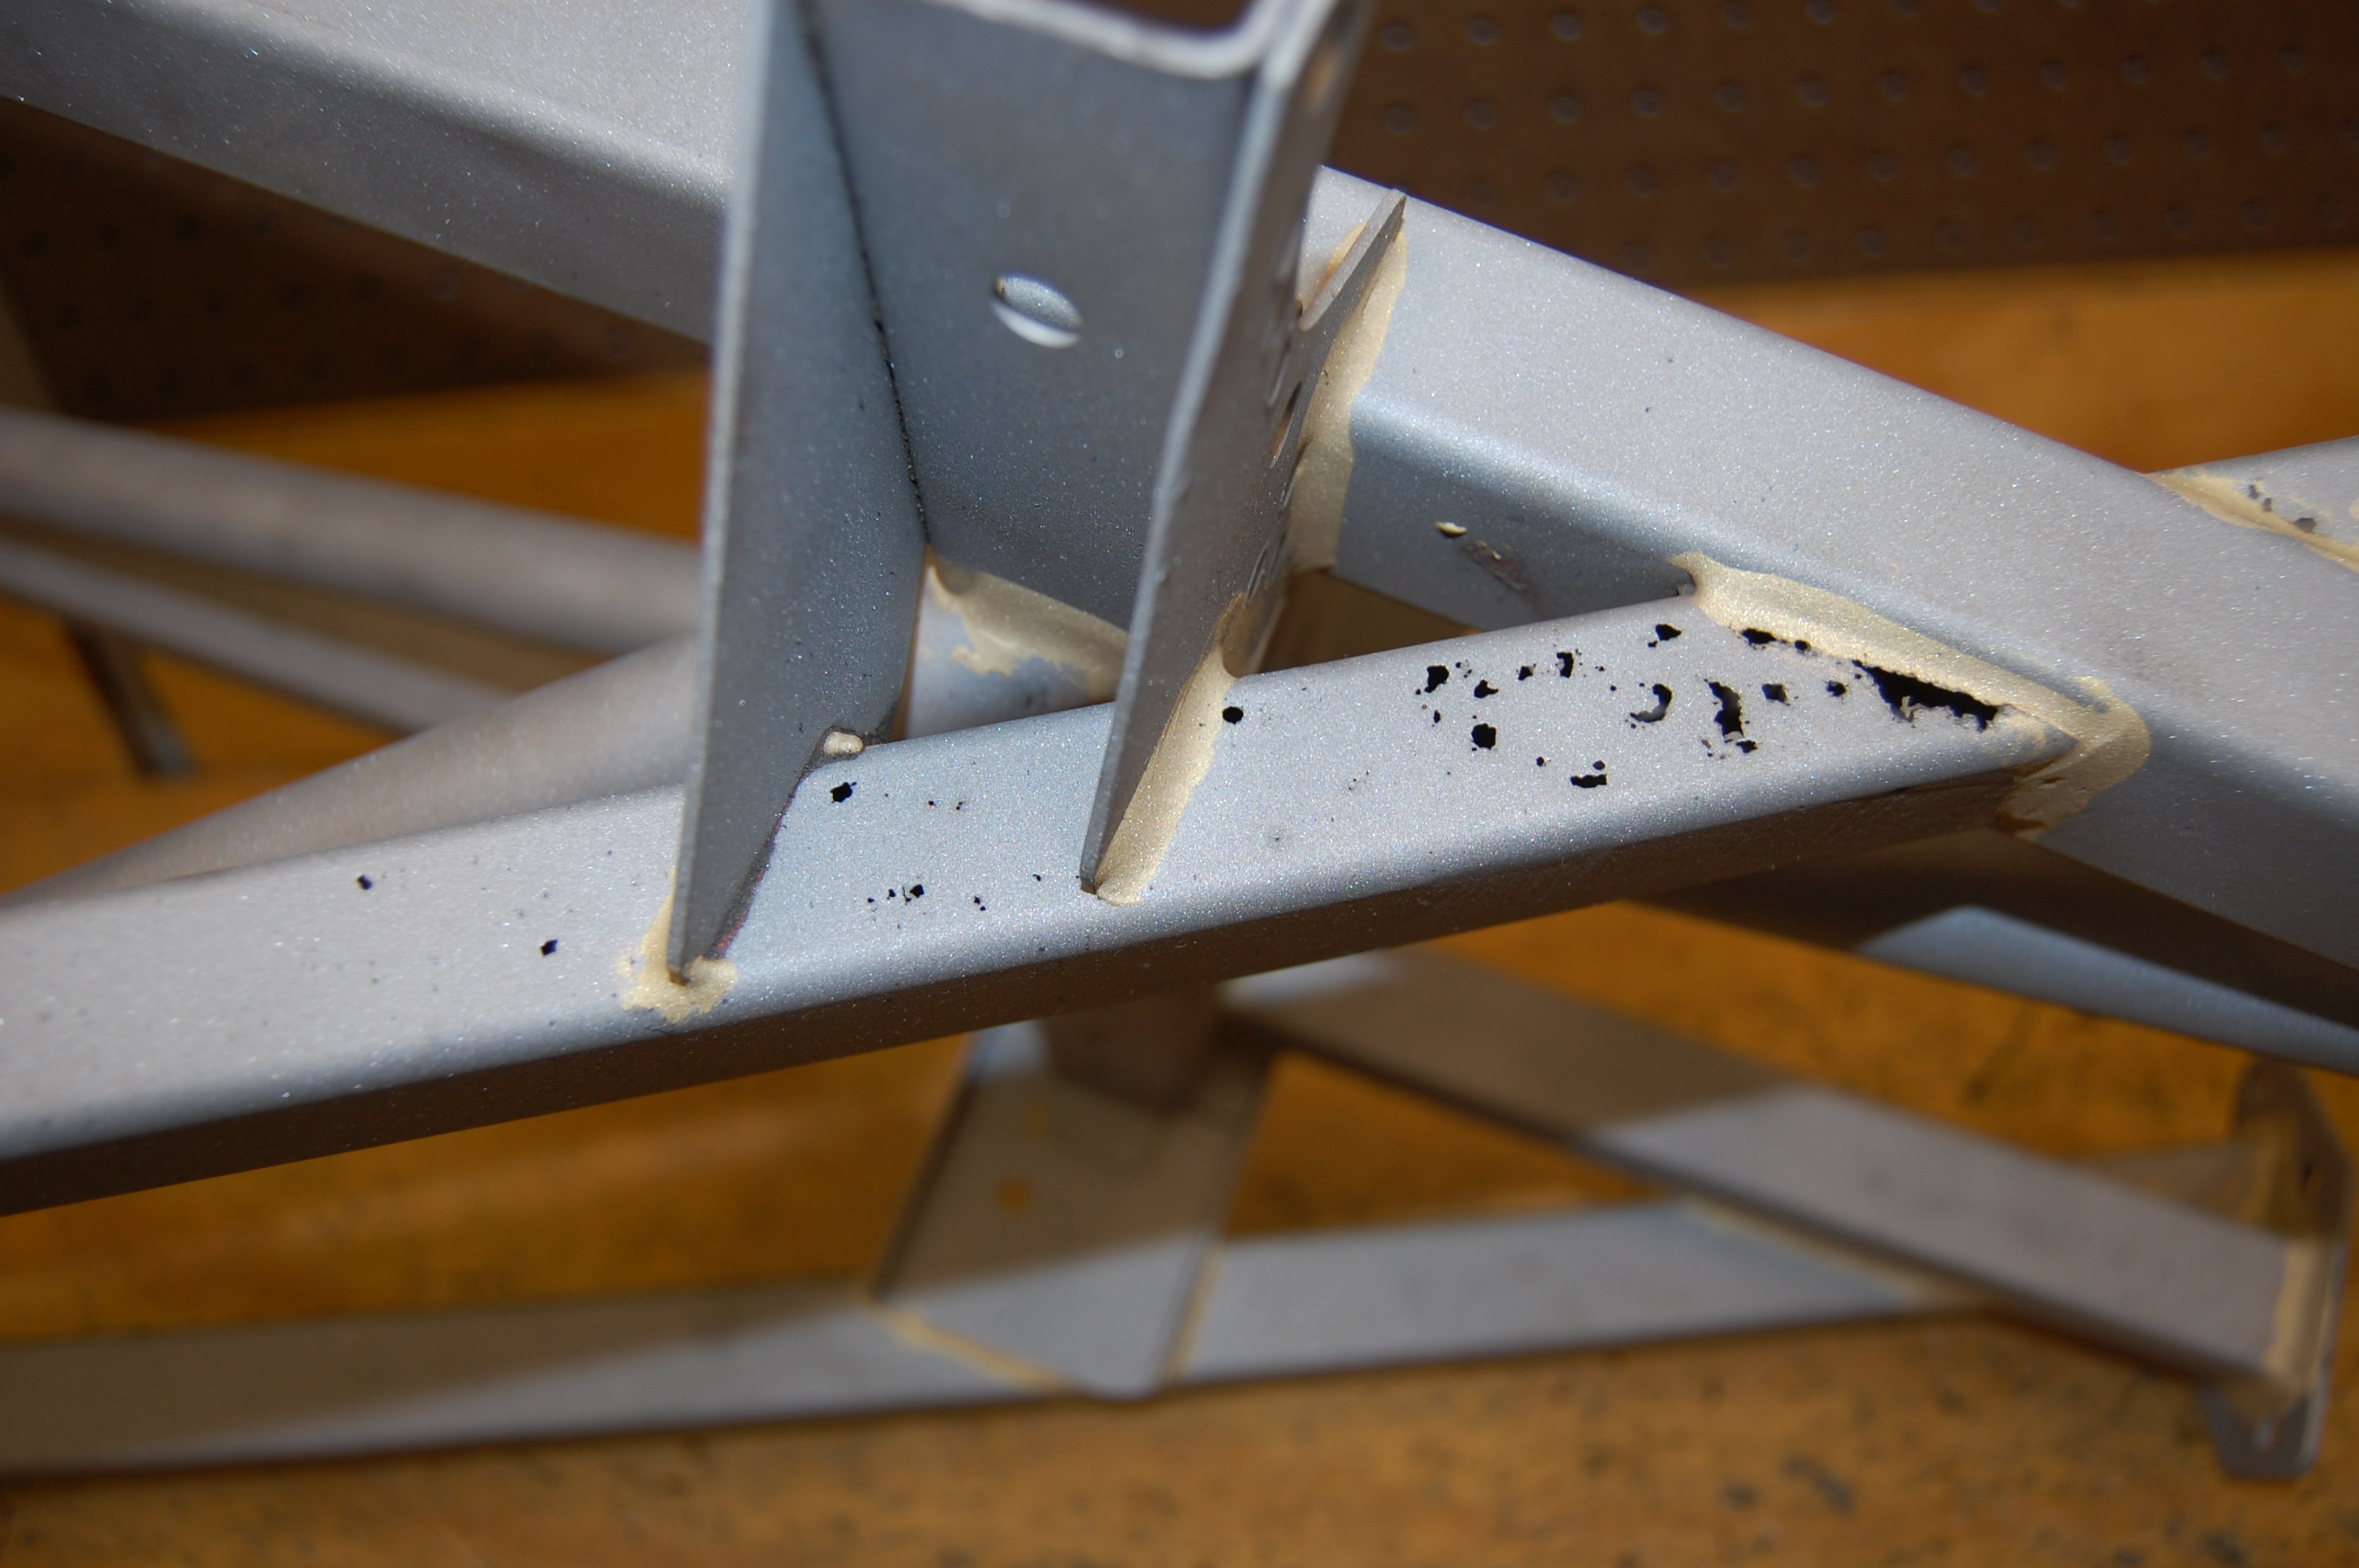
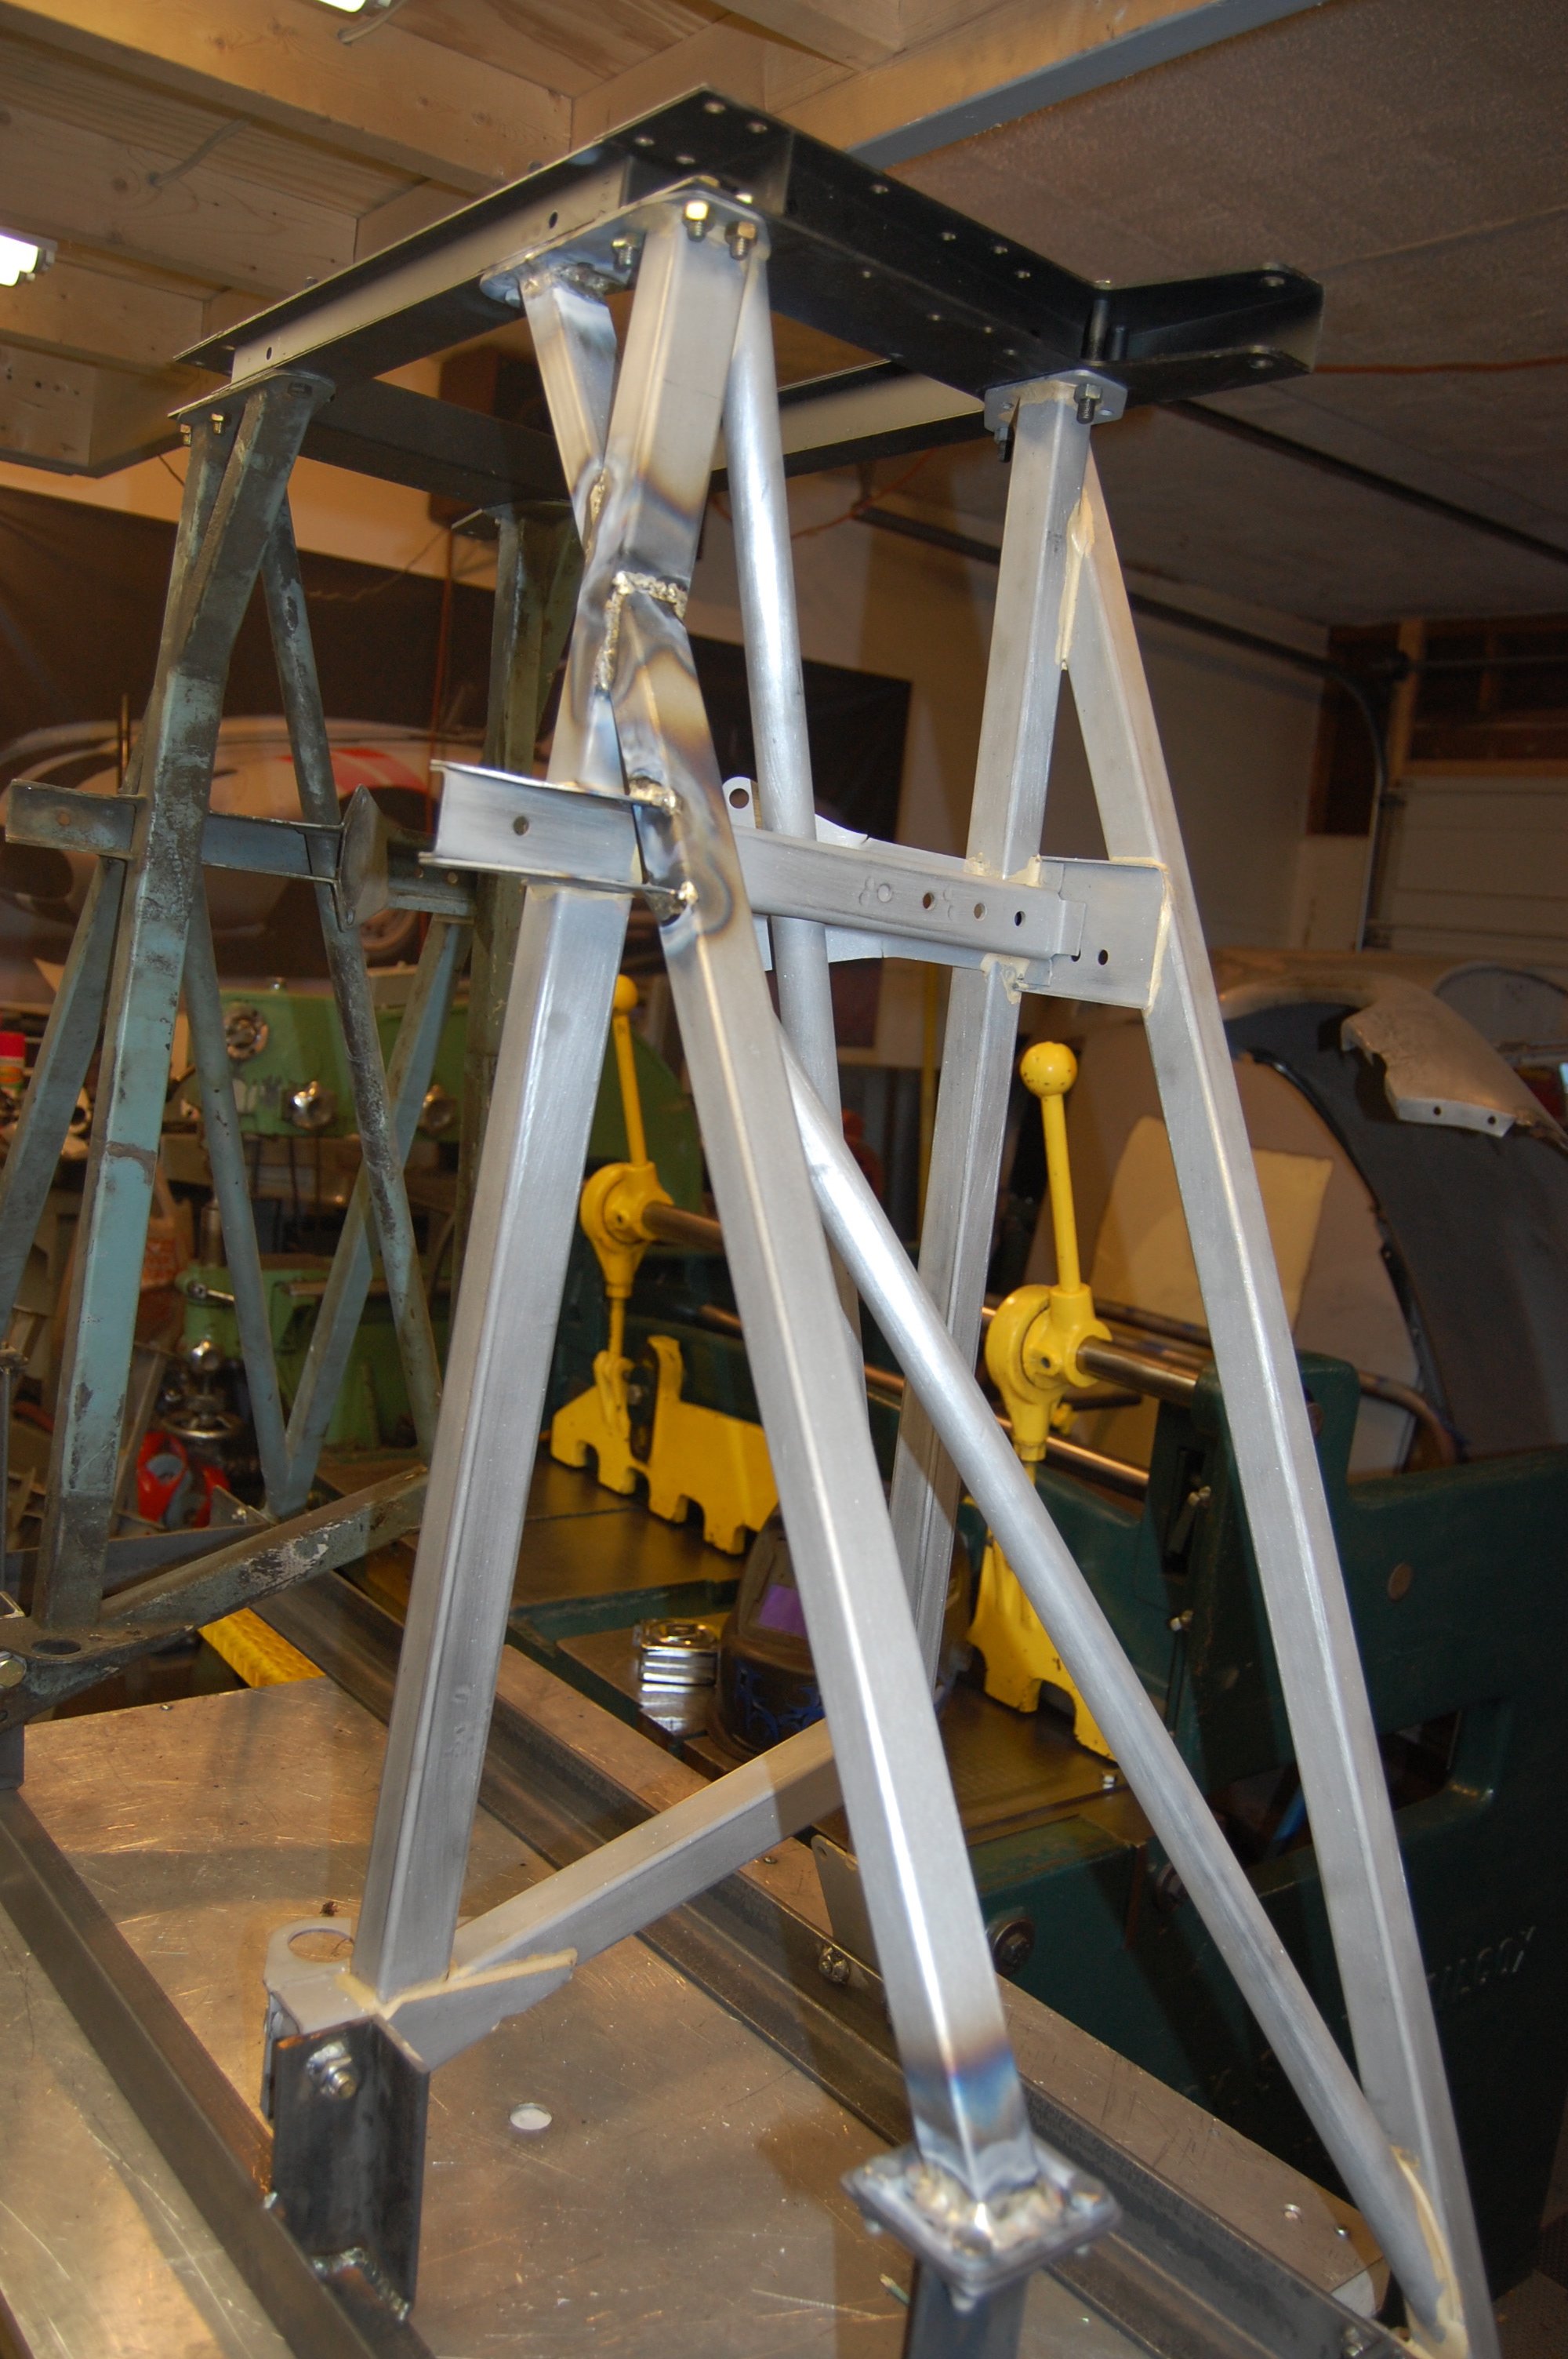
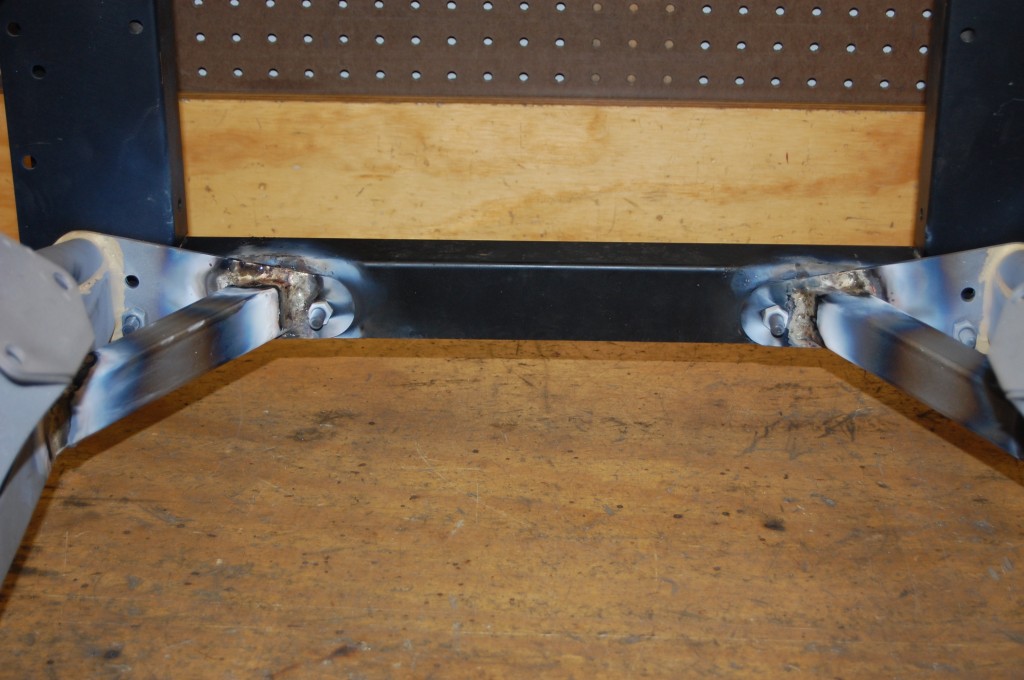
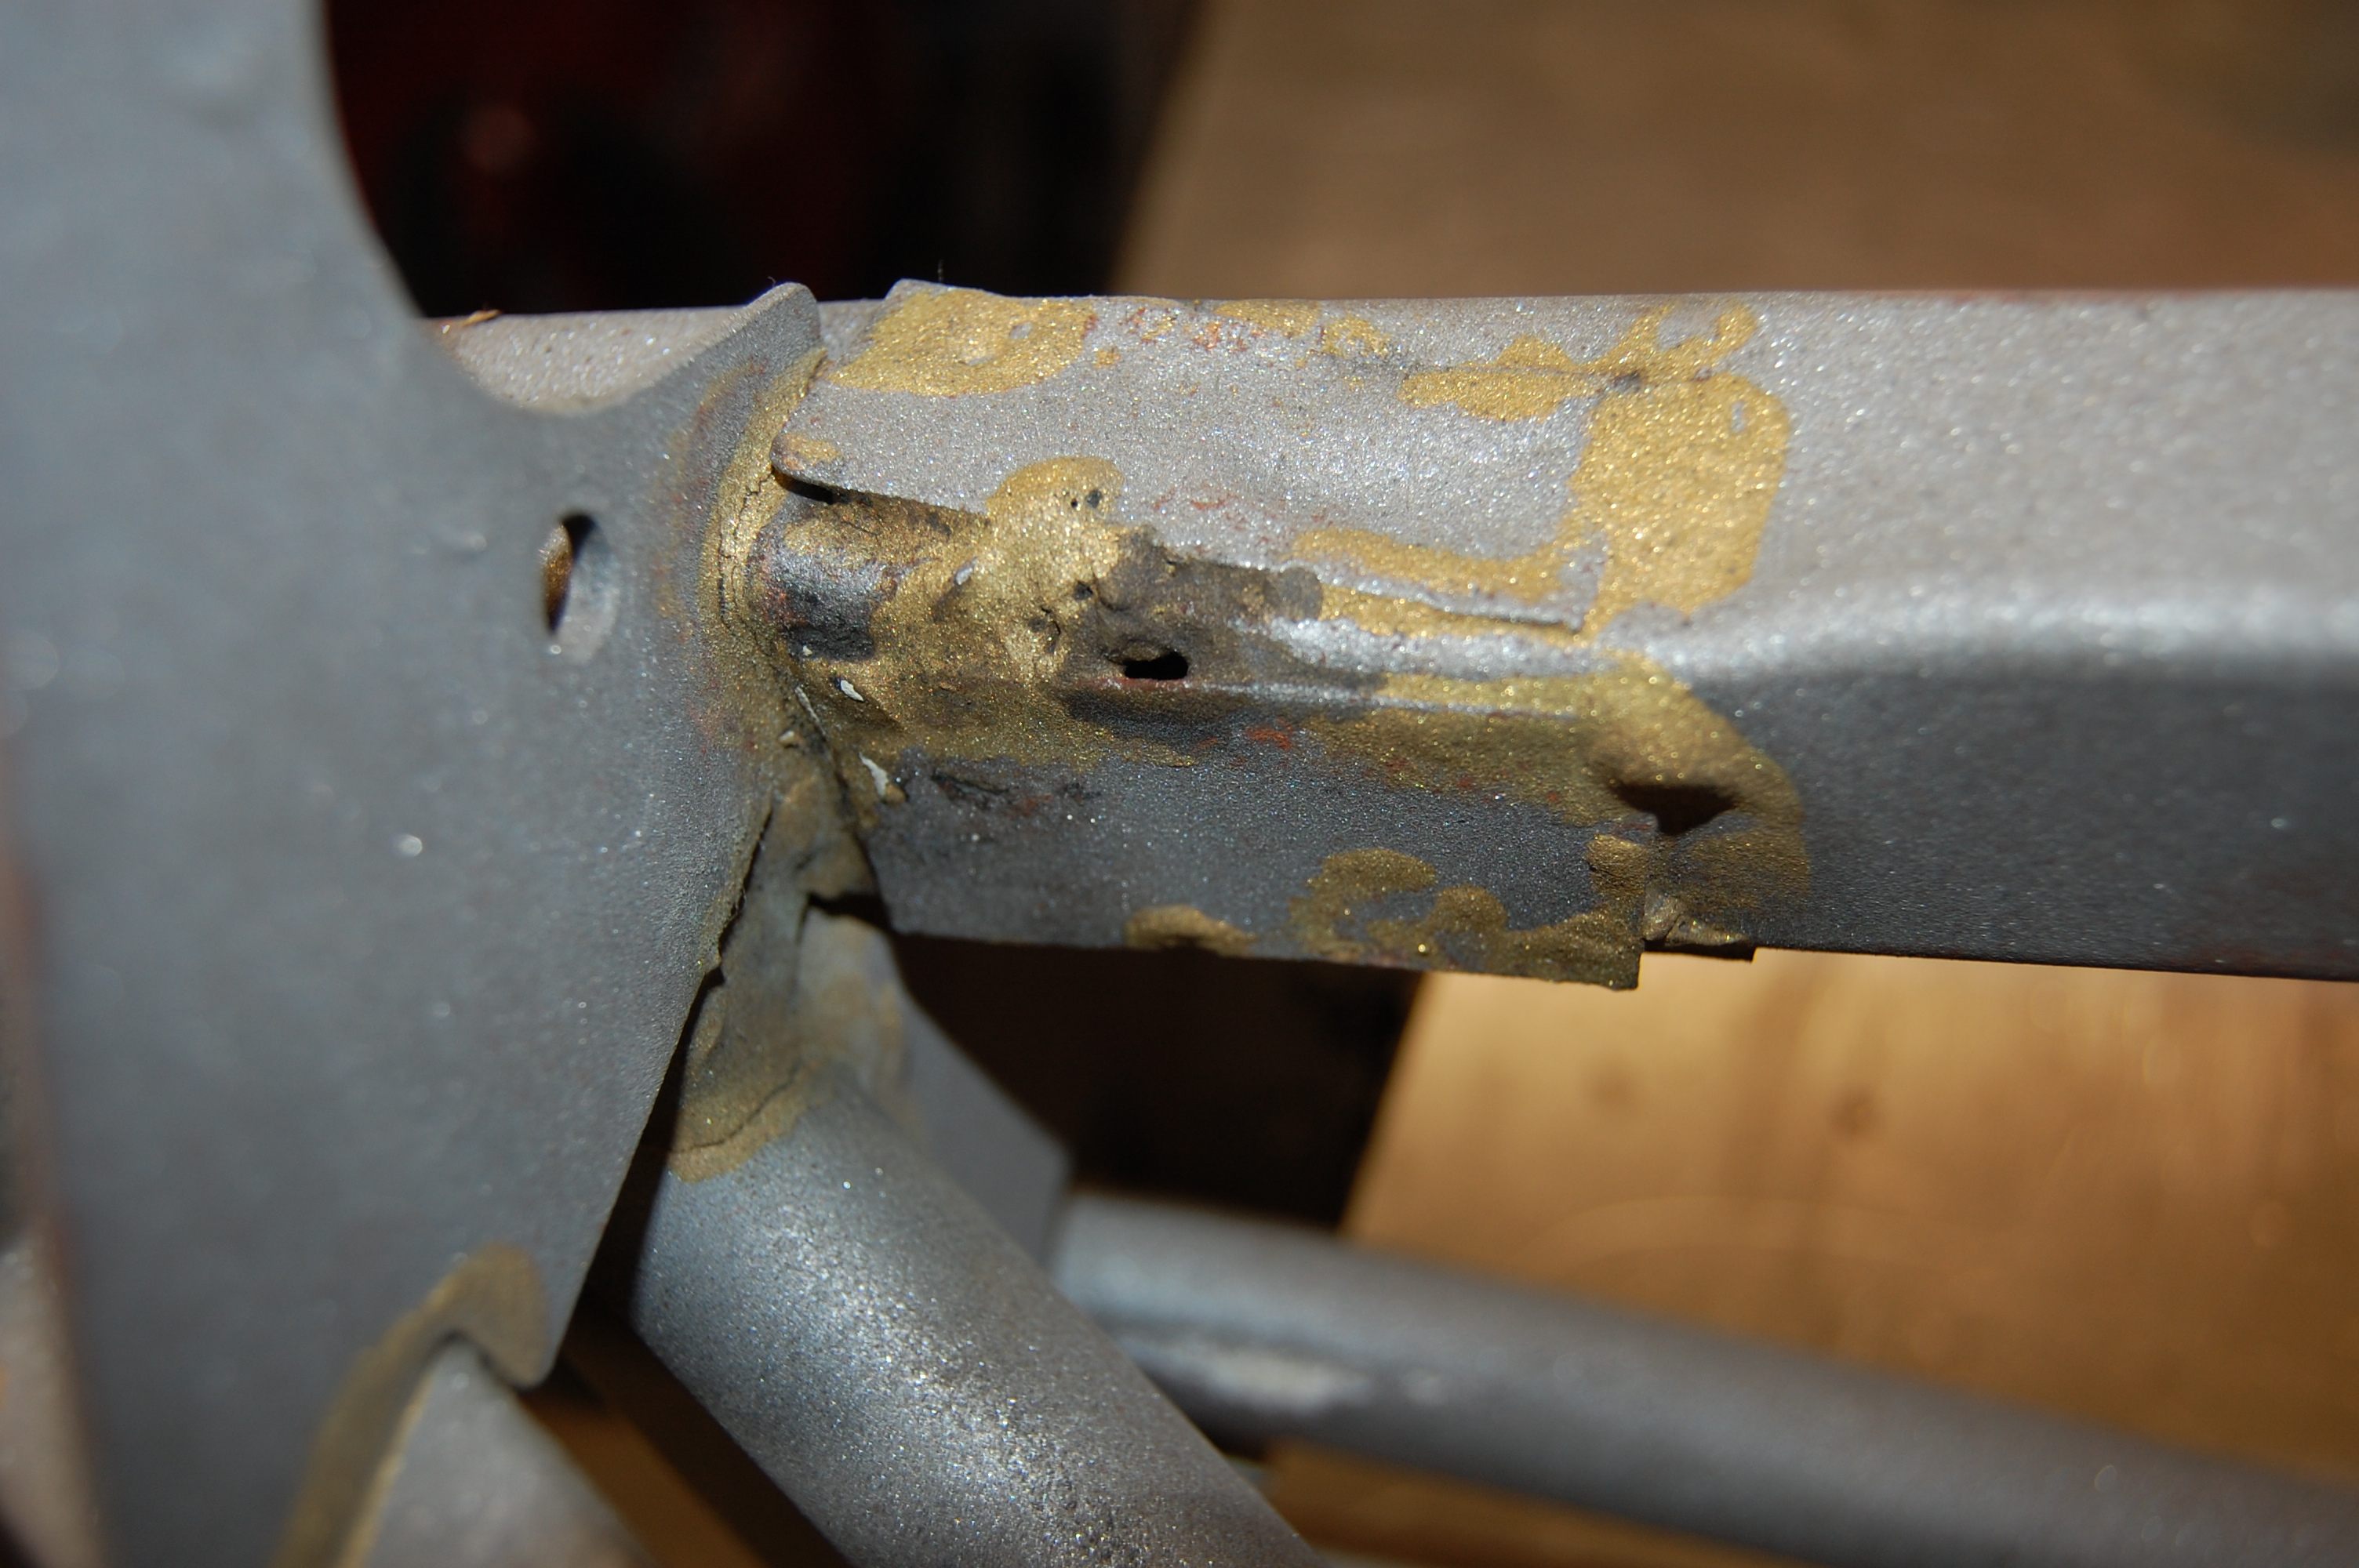
- Job #2 – mounted up into the fixture and ready for a new tube. You can see that the main rail is pitted at the intersection, but not perforated.
-
- Job #2 – same thing on the other side – main rail is solid.

-

- Job #2 – holding the piece in place with a clamp before the brazing starts. This is alot trickier that tacking it, but less risky for the brozke cracking as it cools (which isn’t that big of a deal, you just do it over…)
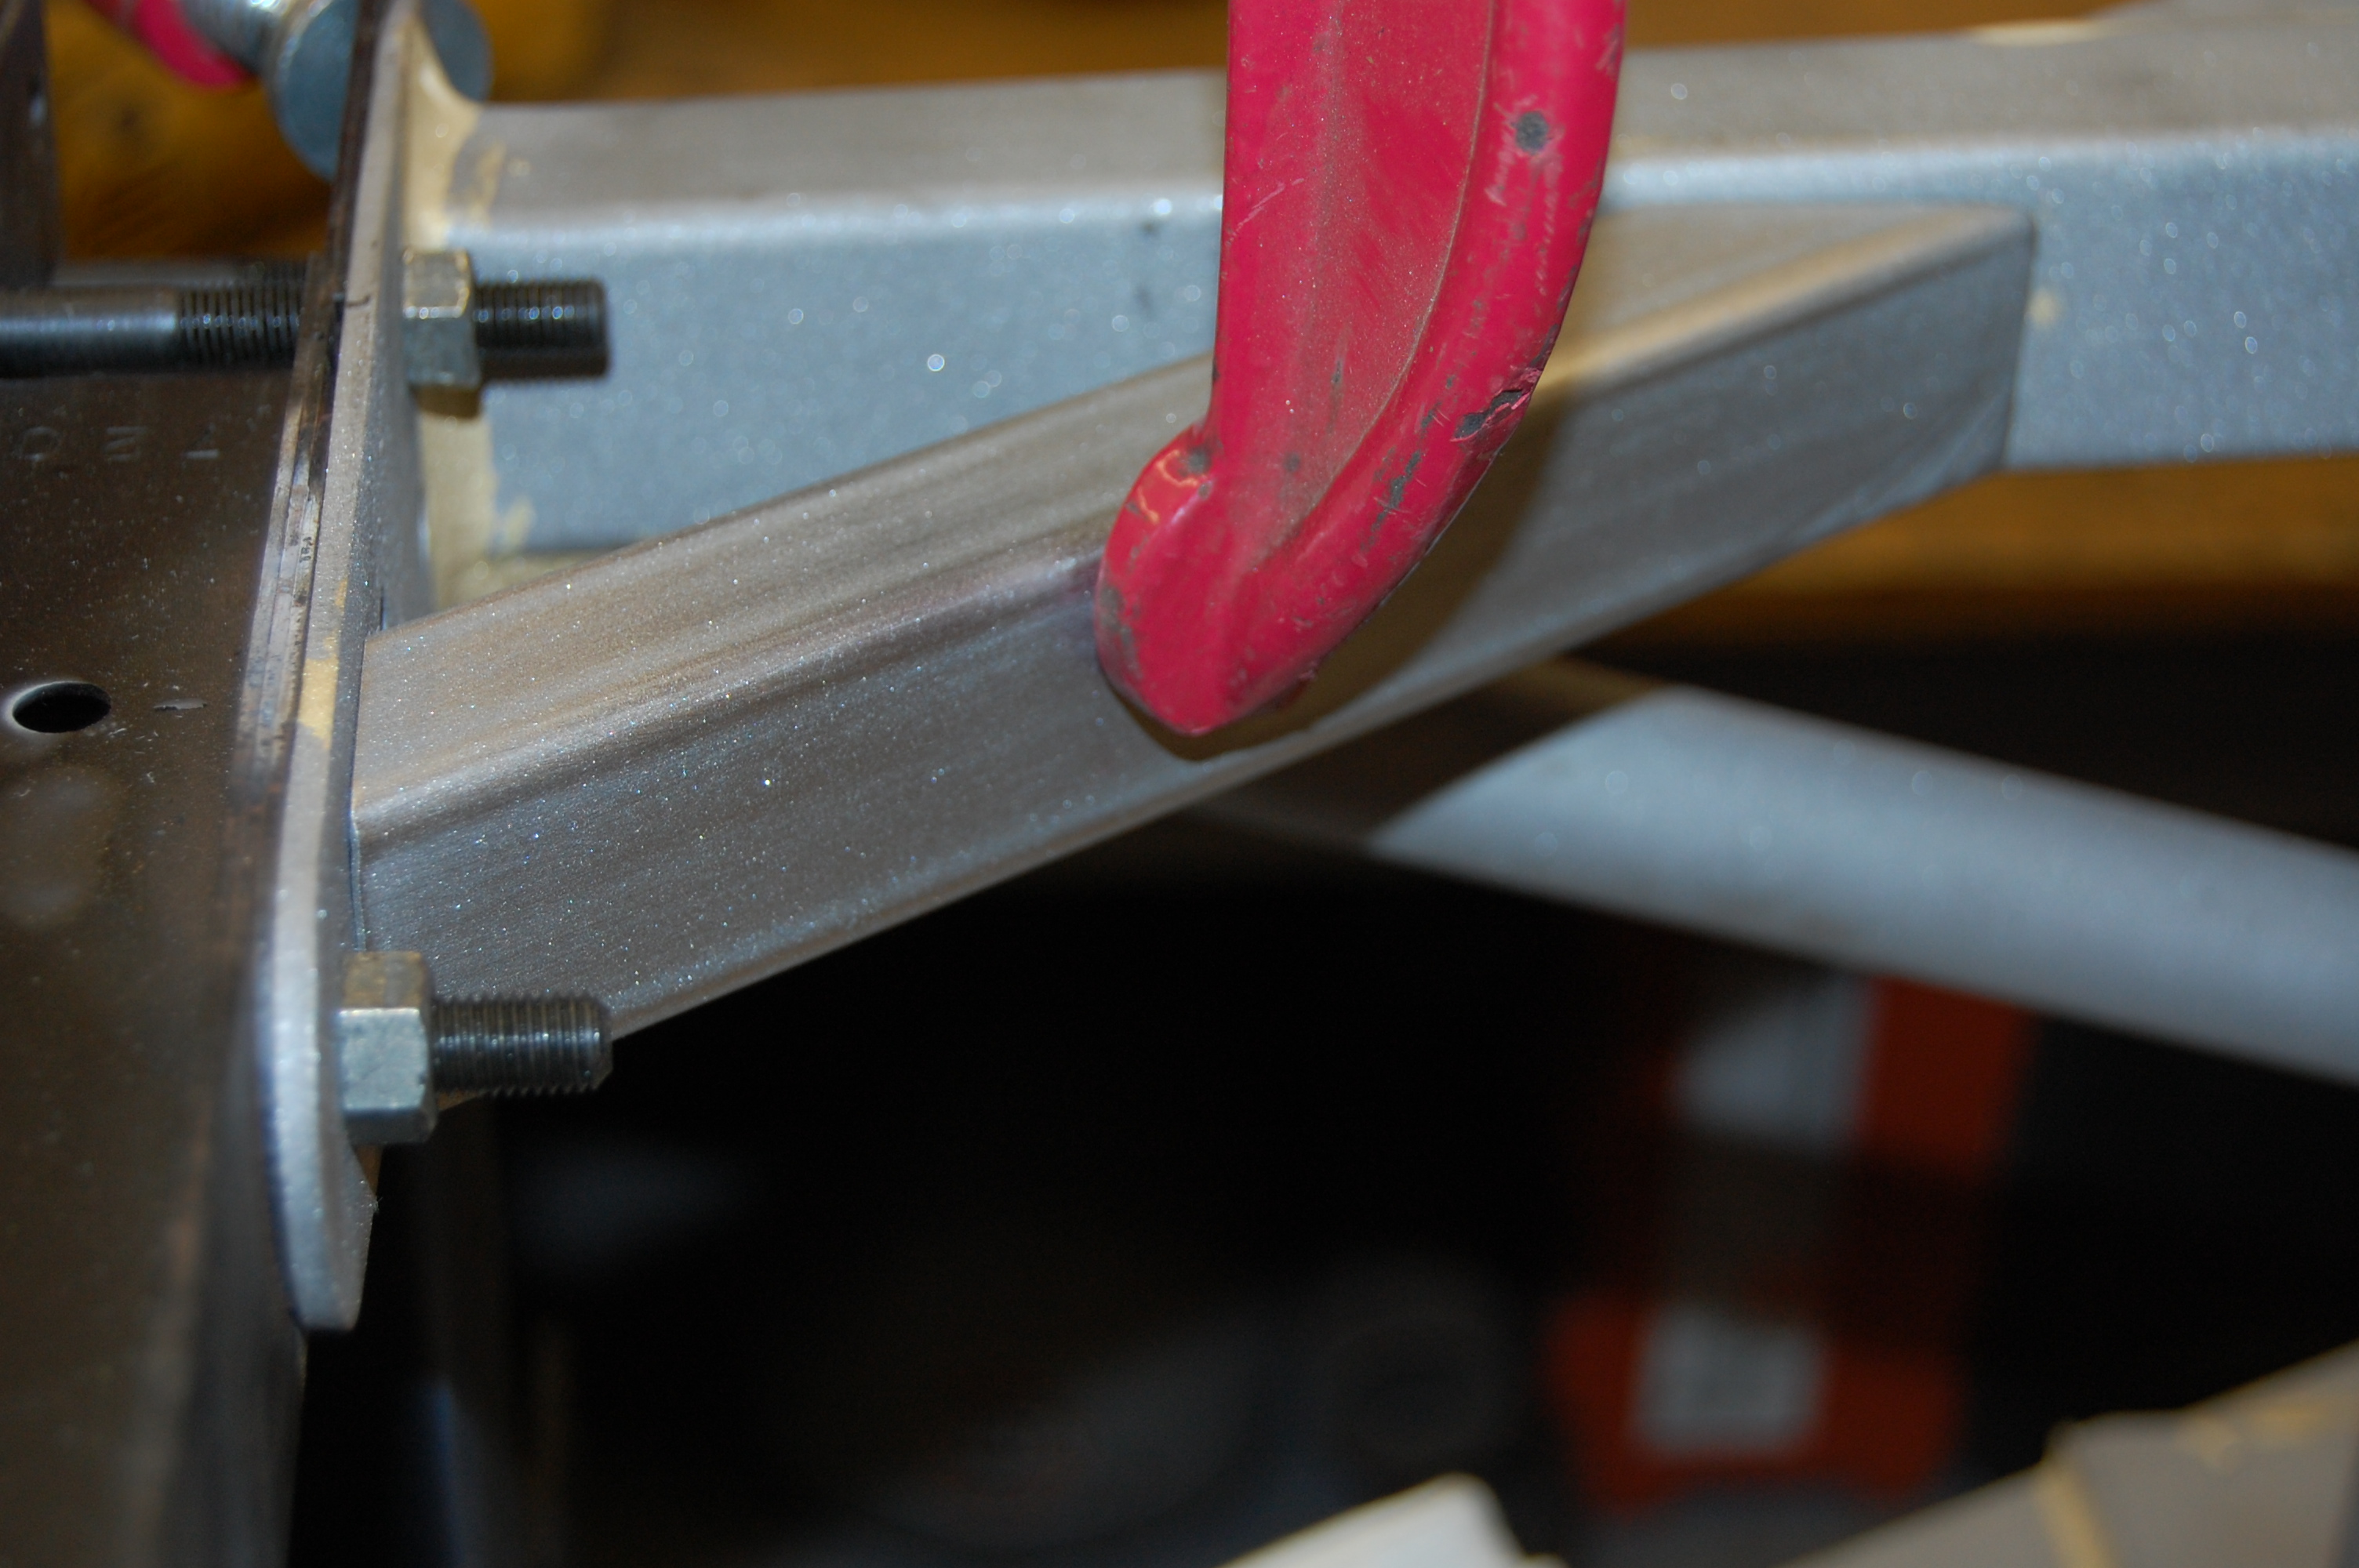
-
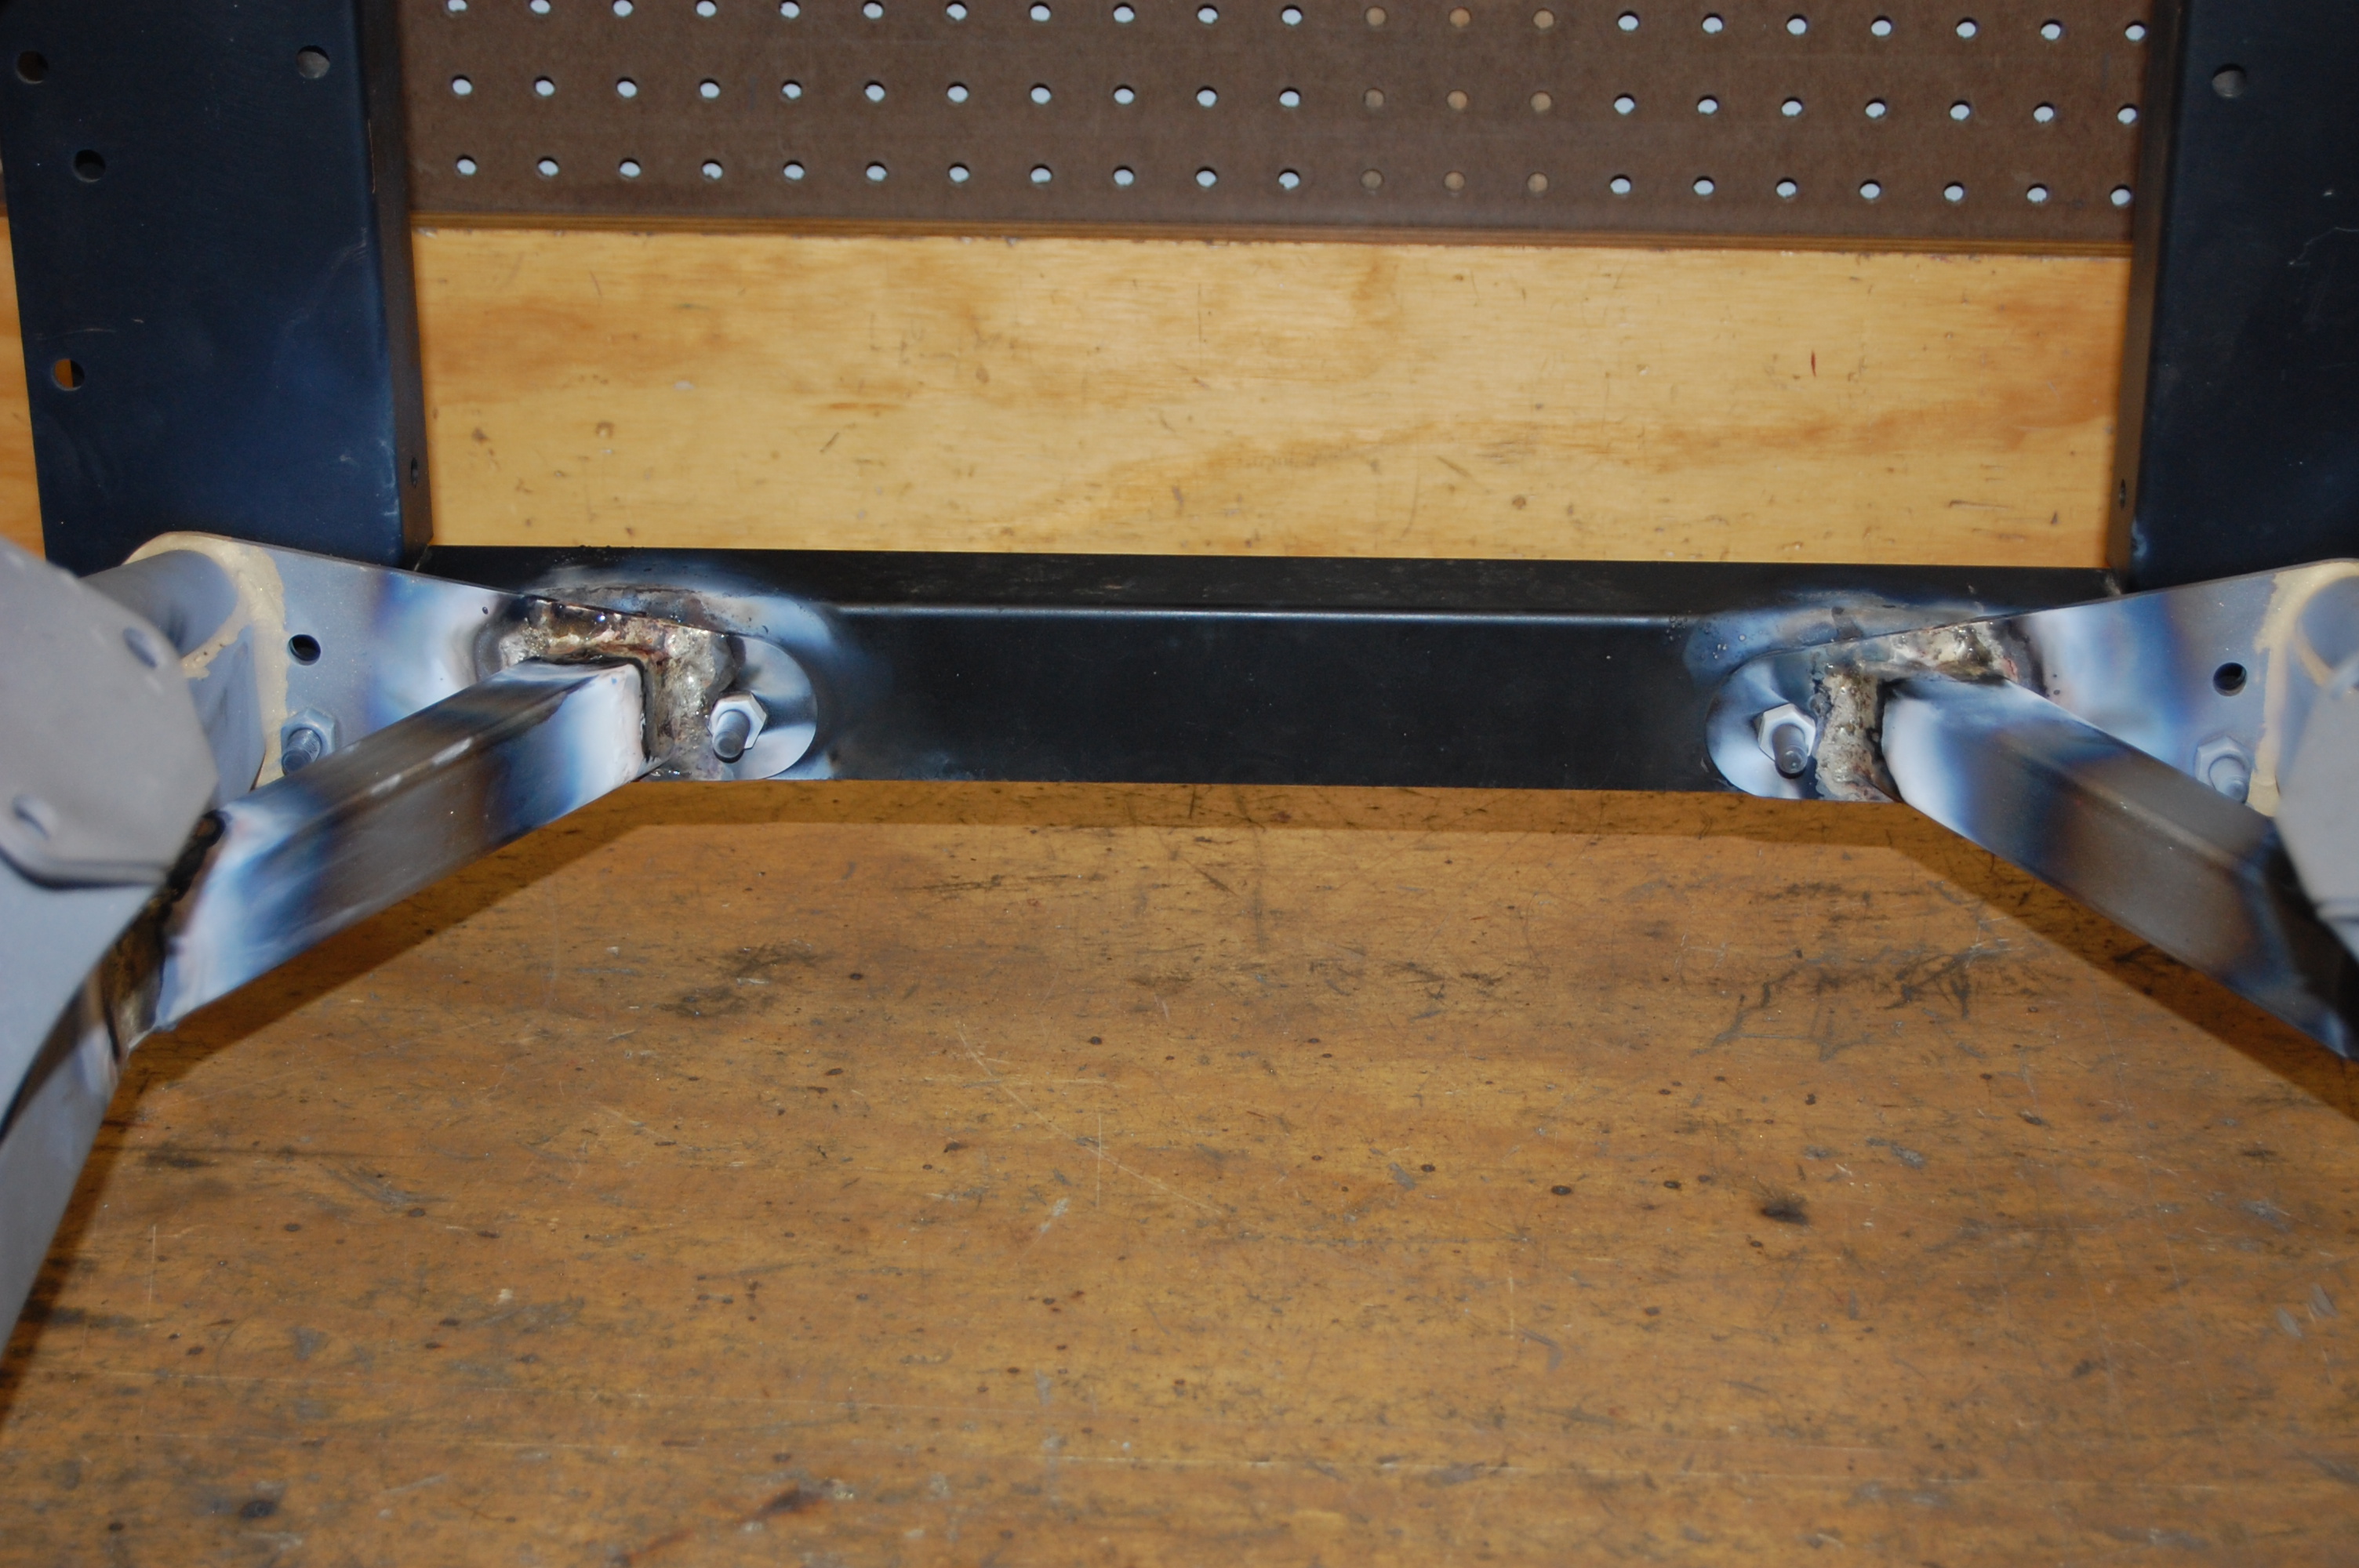
- Job #2 – brazing complete!
-
- Job #3 – we will replace the two outer, lower, angled outrigger rails, as well as the two short corner pieces. We will also carefully heat and reshape the jacking dent in the bottom of the RH main rail. It has distorted the rail some, but the main rail is still straight and there are no cracks.

-
- Job #3 – this is a pair of frame rails where both rails ned both the short corner tube AND the long diagonal tube under the battery and air cleaner.

-

- DONOR – this is a donor rail that we will use to get the tubing we need for job #3. This is what’s out there under alot of E-Types – this is the MAIN RAIL!!!! – AAAGGGGHHHHHHHH!!!!!!!!!!!!!!!!!!!
-

- Job #3 – both frame rails are dissected and mounted into the fixture.
-
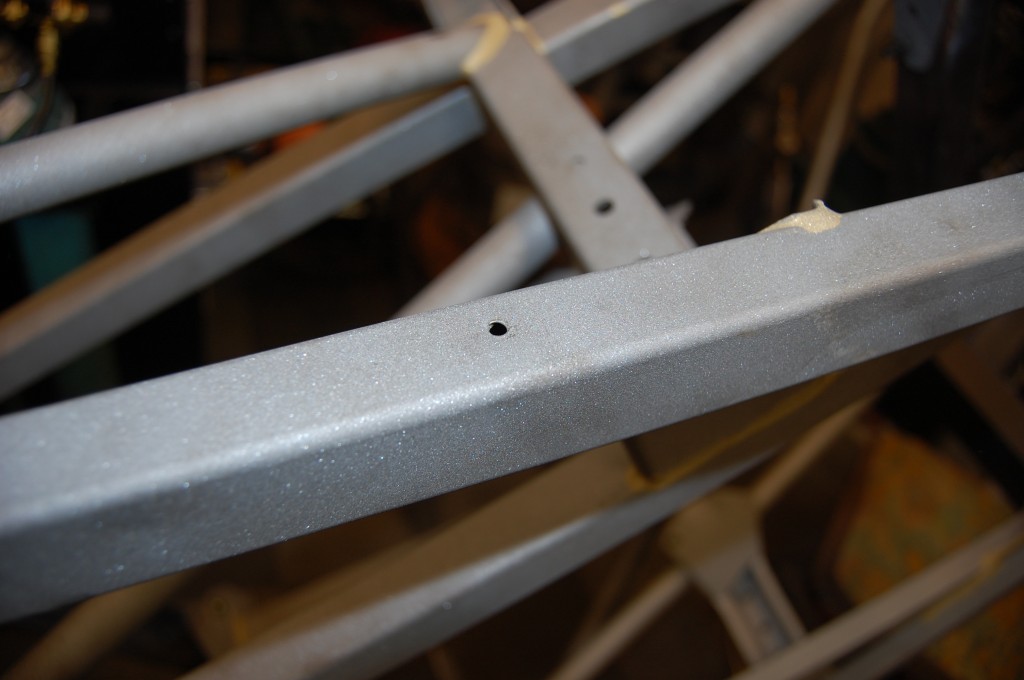
- Job #3 – This is an example of a small hole someone drilled into the side of a top tube to mount something with a sheet metal screw. This is OK – we can TIG this up safely.

-
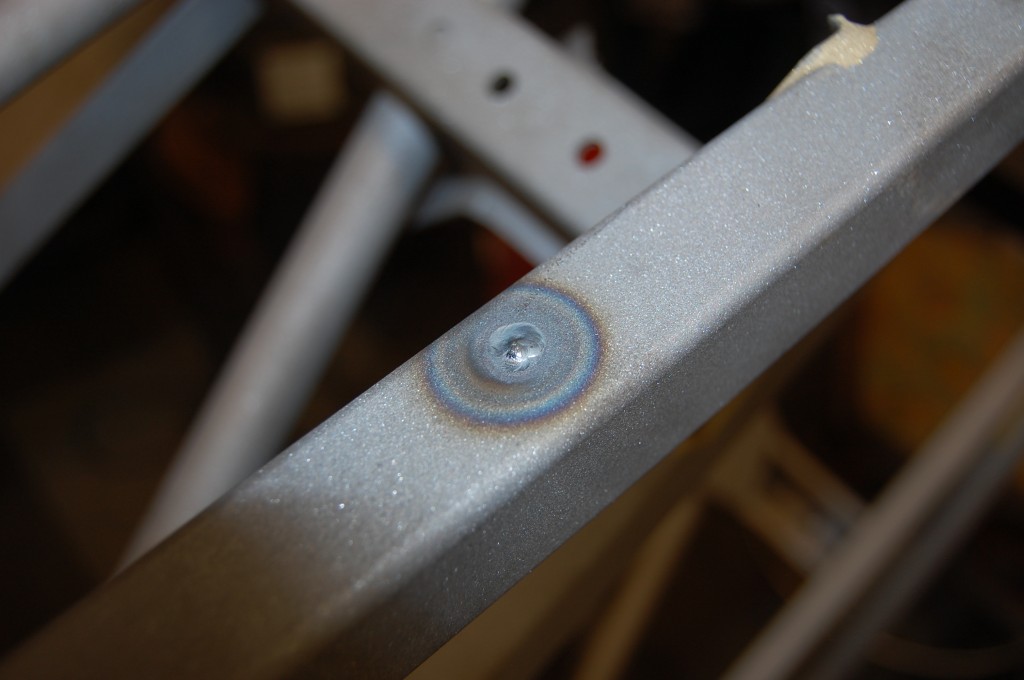
- Job #3 – here it is TIG welded.

-
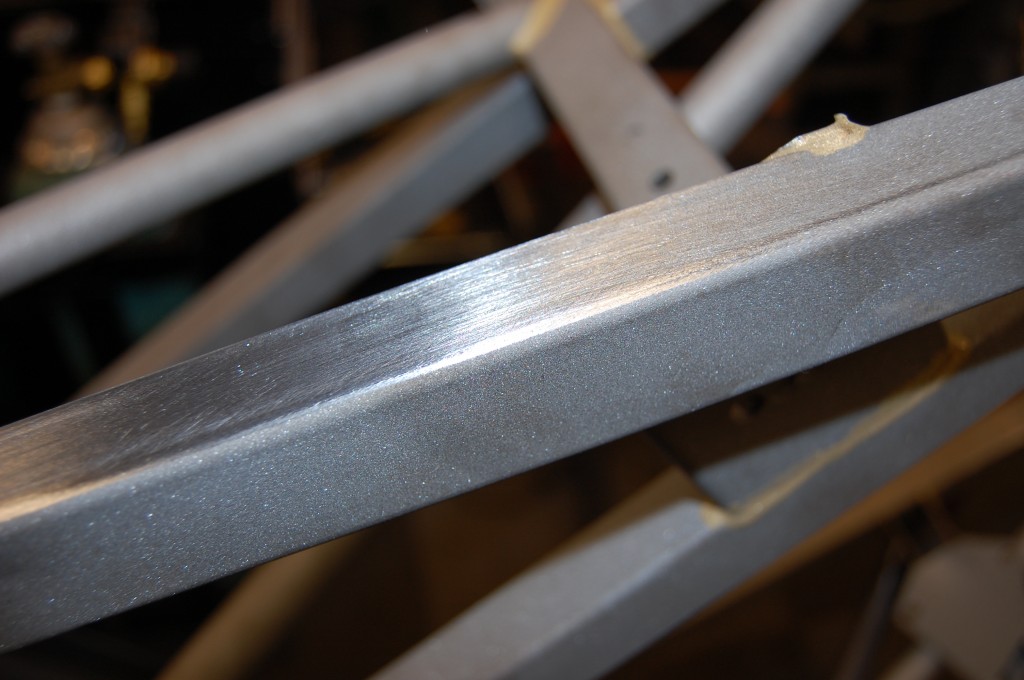
- Job #3 – here is the repair after filing down the weld. If you look VERY closely, you can see a slight color change in the metal. This will not cause any future issues with cracking because it was properly TIG welded and cooled slowly. DON’T try this with a MIG – it won’t work, trust me…


