
Last Summer, we replaced a rear lower valance on a ’66 roadster with one of the commonly available panels out there, and the fit was HORRIBLE! We had to flatten ALL of the flanges on the piece, and re-roll them in the proper locations.
So… right around New Years, we started making repair panels for this piece to replace the forward 4 inches of the panel instead of the whole thing, allowing us to localize the repair and replace only the typical rusted area – right behind the rear wheel.
Ever since the aftermarket panel fiasco last Summer, I swore that if I had to replace one of these again, I would just make it myself – and so today, it was time to put my money where my mouth was…
This is actually a tricky panel to form up from scratch – it has a very deep draw to it, and so it is not something that you can simply wheel up on the English wheel alone. Instead, you have to beat the panel into shape violently, putting lots of stretch into the center and shrinking the edges, and then use the English wheel to smooth things out and tweak the piece.
Take a look at how a panel like this is formed from scratch – you’ll be surprised how ugly it gets during the process!
-
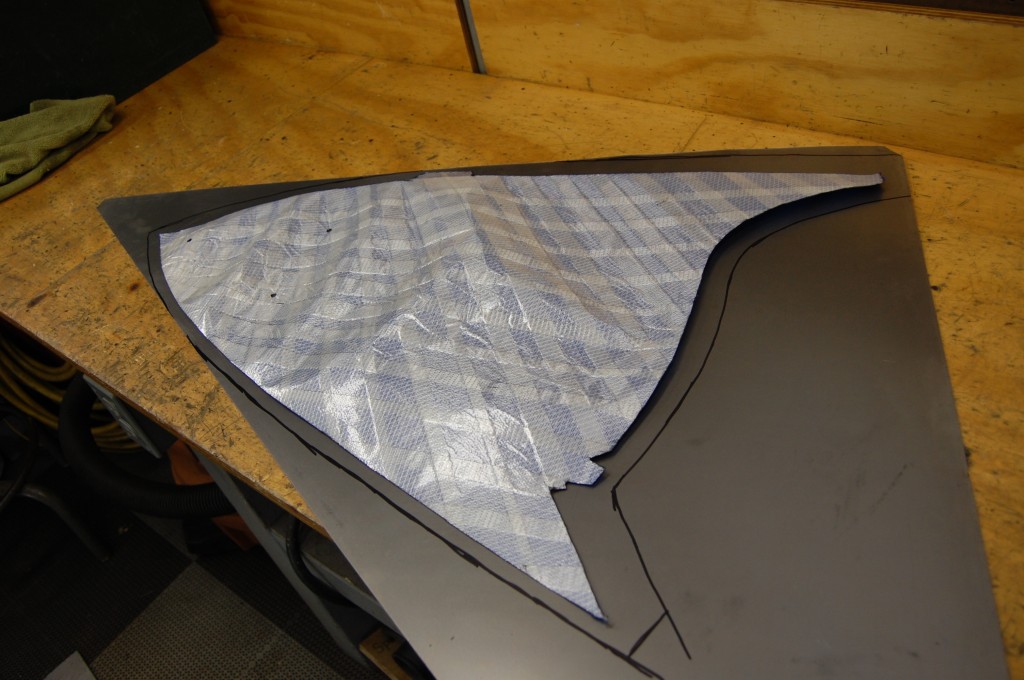
- This is how we start out. This is a “Flexible Shape Pattern” that we pulled off of an NOS rear lower valance that actually IS correct. We lay out the piece as flat as we can, and then trace out a piece of cold-rolled steel sheet about 1″ larger all around.

-
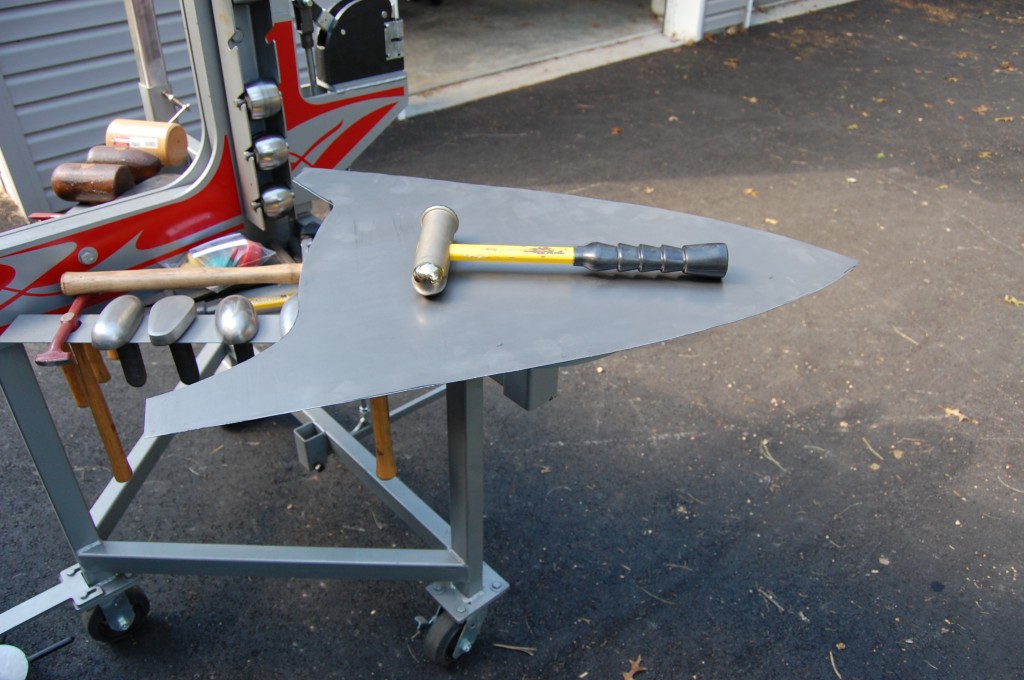
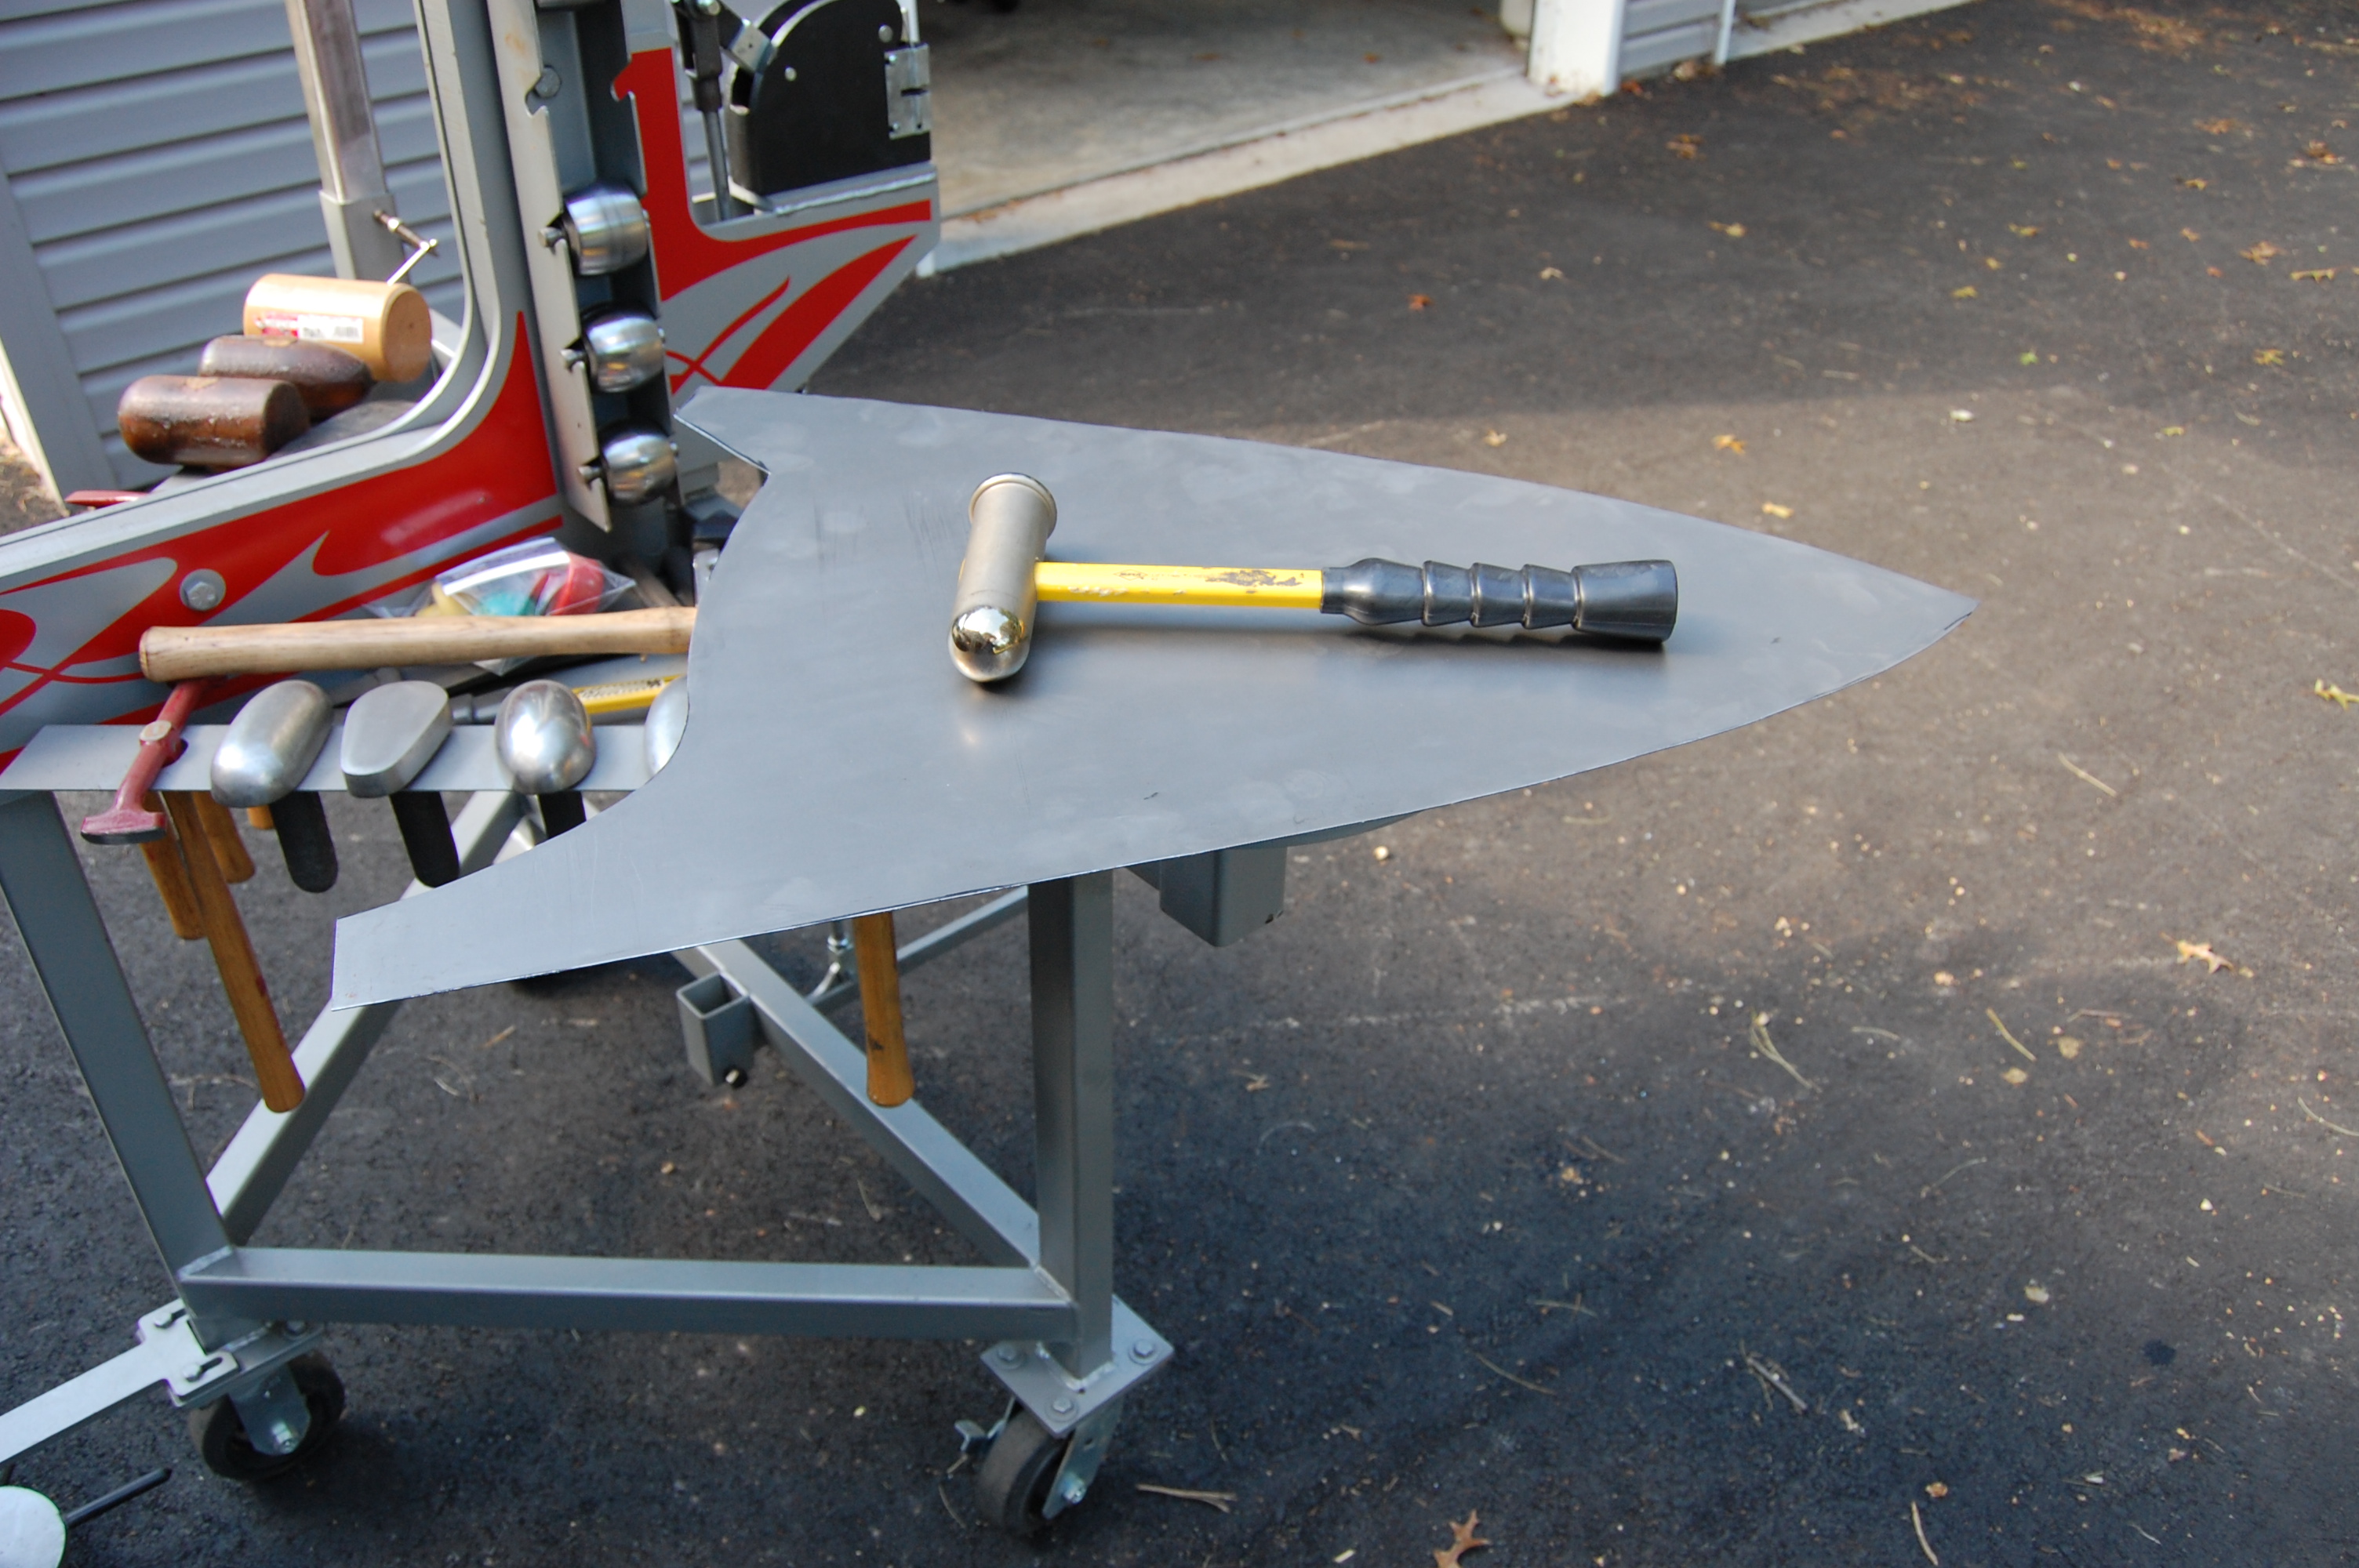
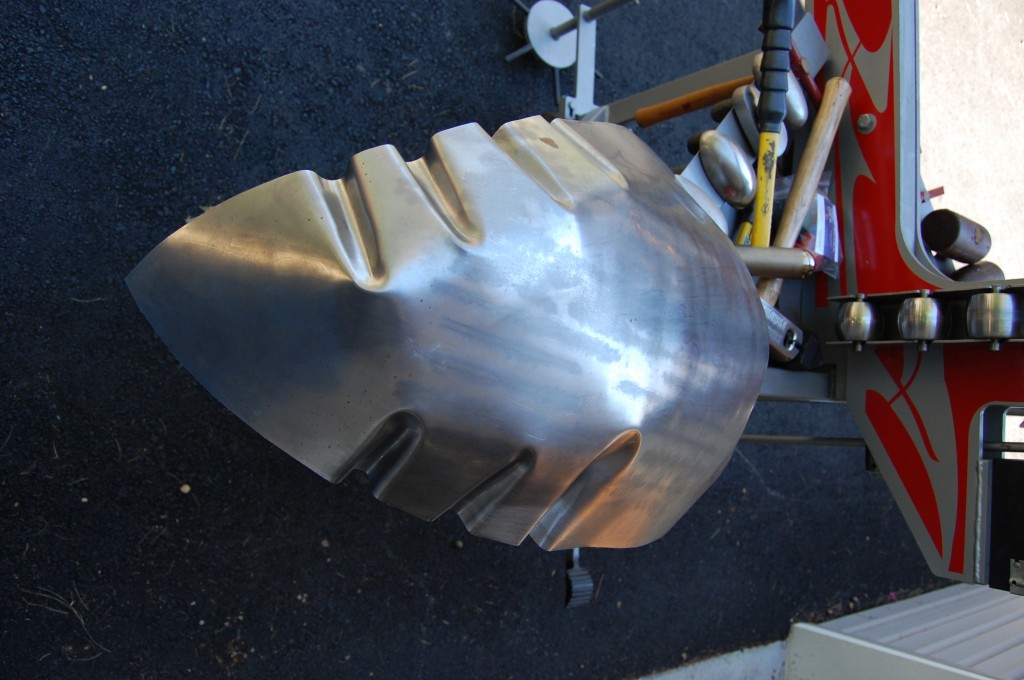
- The first step will be to start beating some stretch into the center of the panel using this bronze slug hammer over a shot-bag (which is on a pedestal right under the panel…).
-

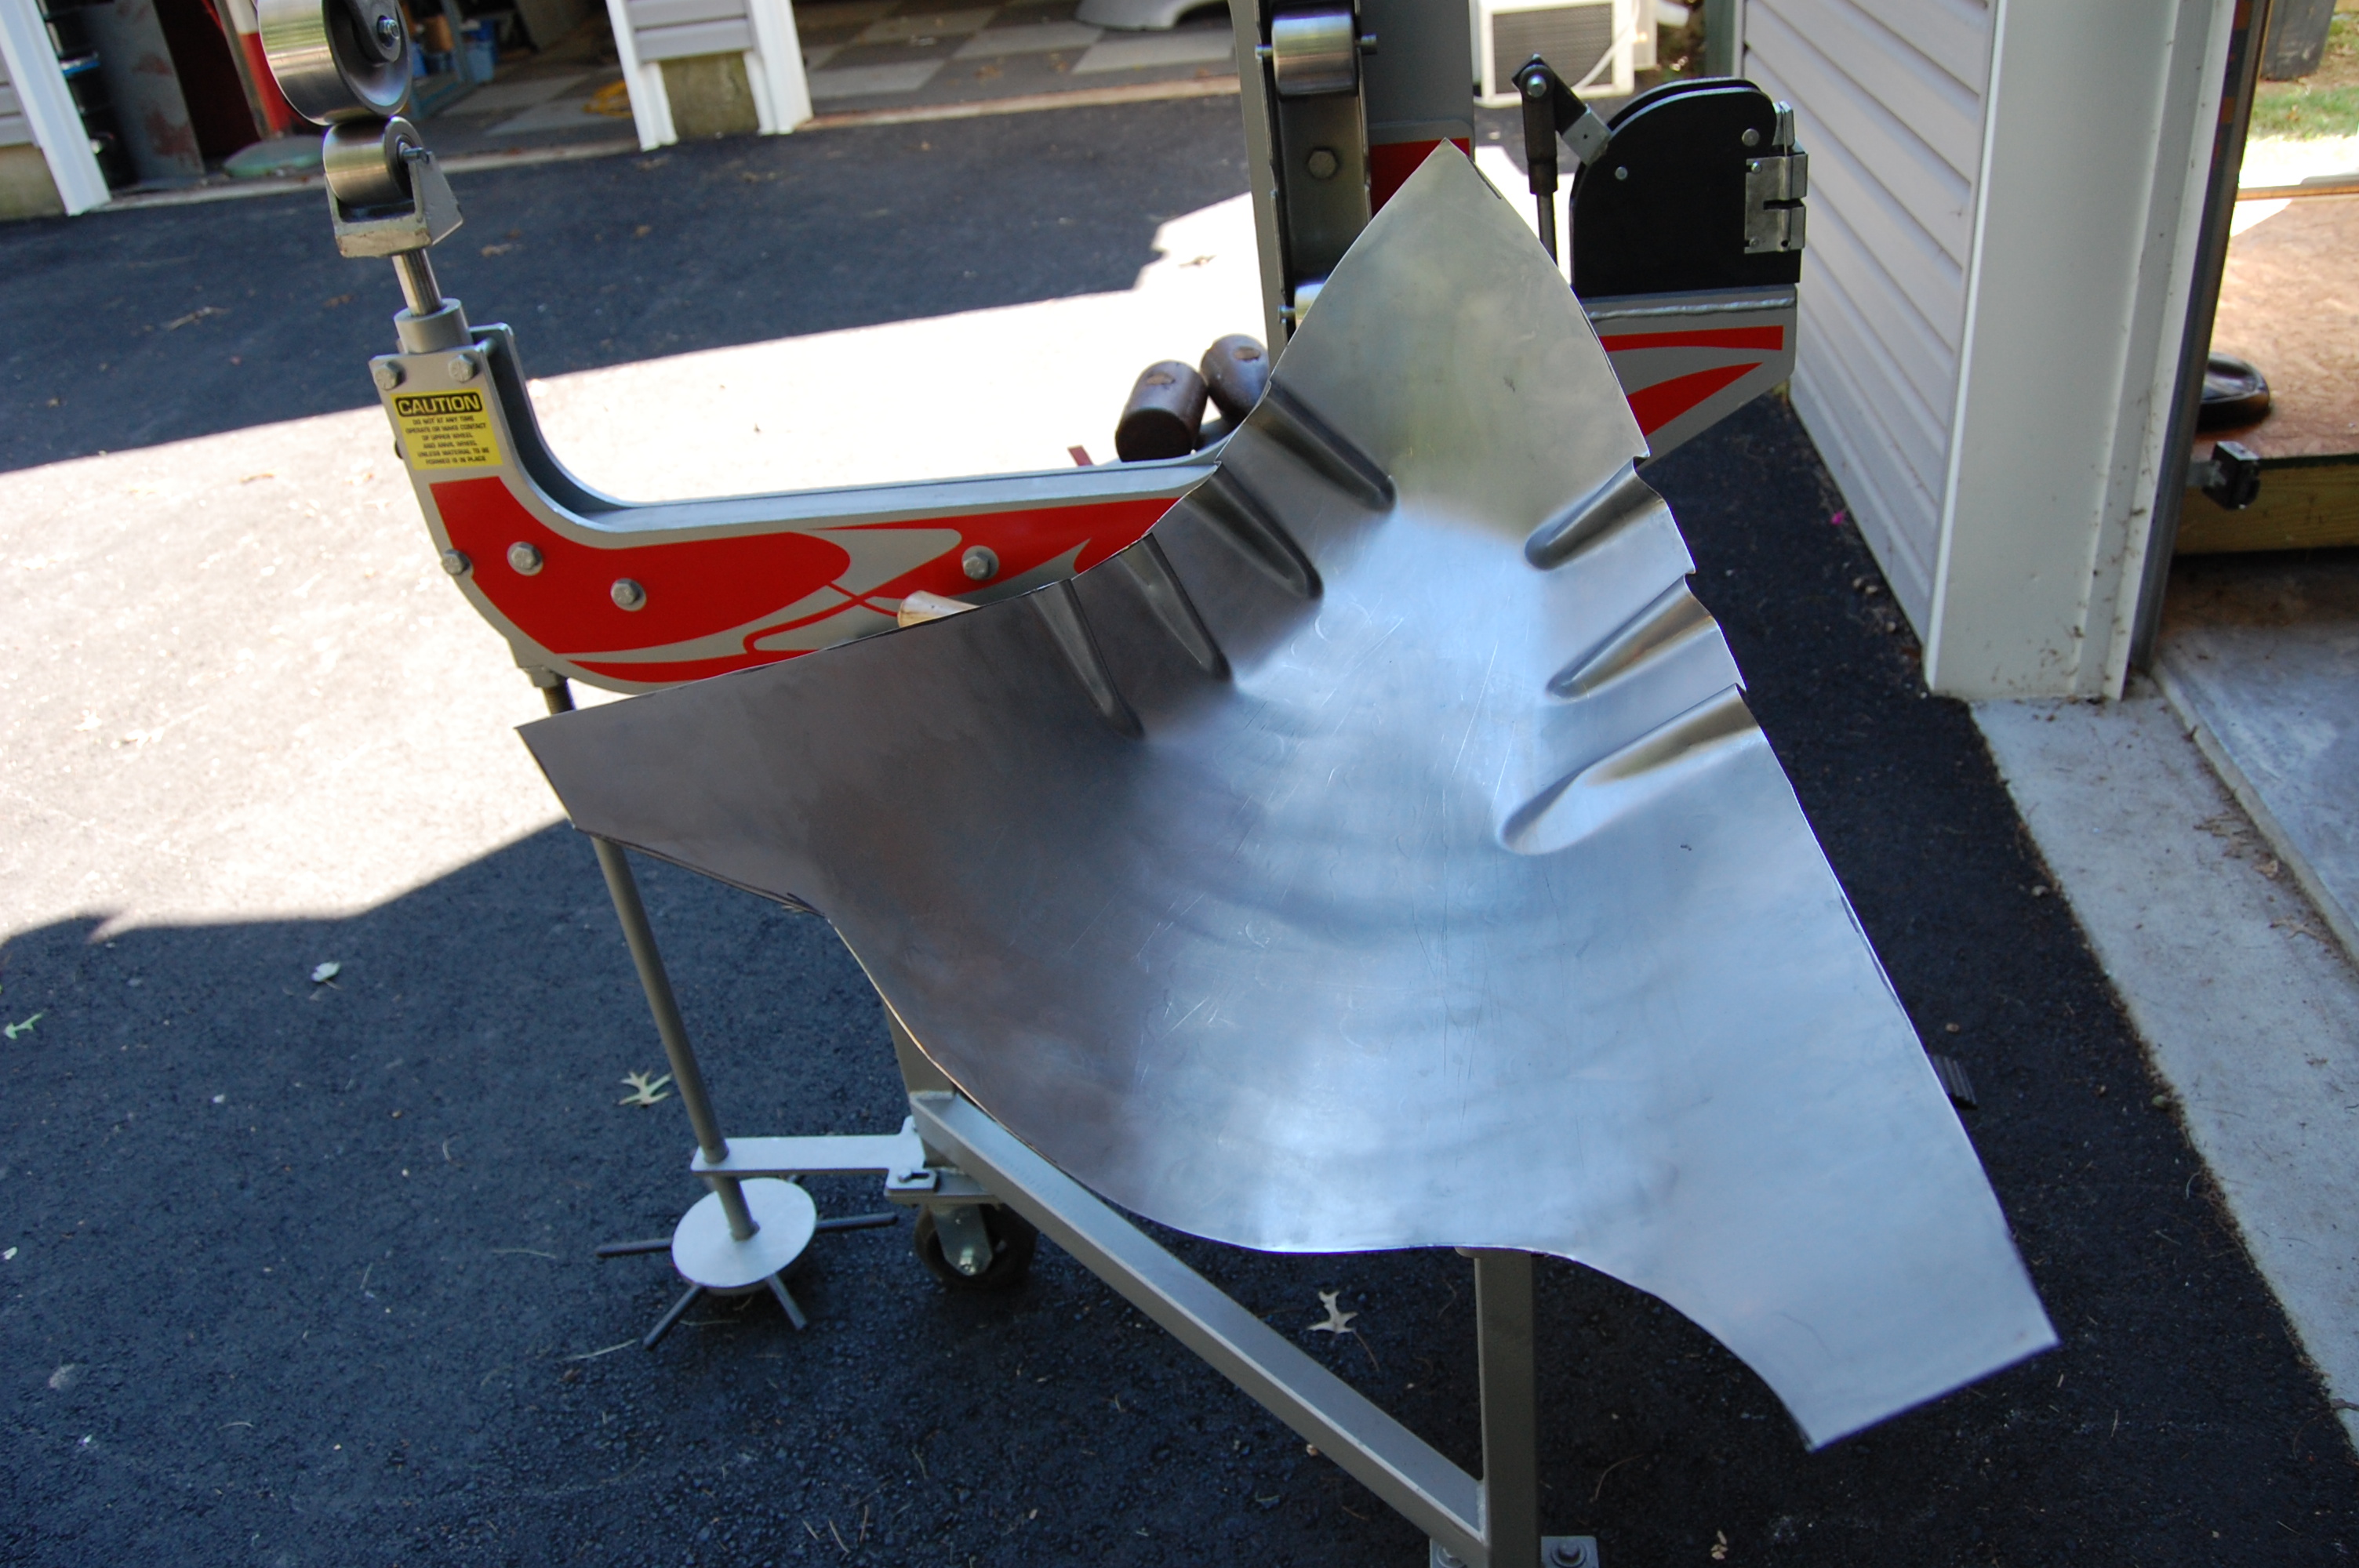
- Next, comes the ugly part… After some initial stretch in the center of the panel – which has already been done and wheeled out semi-smooth – we then start shrinking the outer edges of the panel using “tuck-shrinking”. These “tucks” will be hammered in on themselves using a special hammer over a maple stump.
-
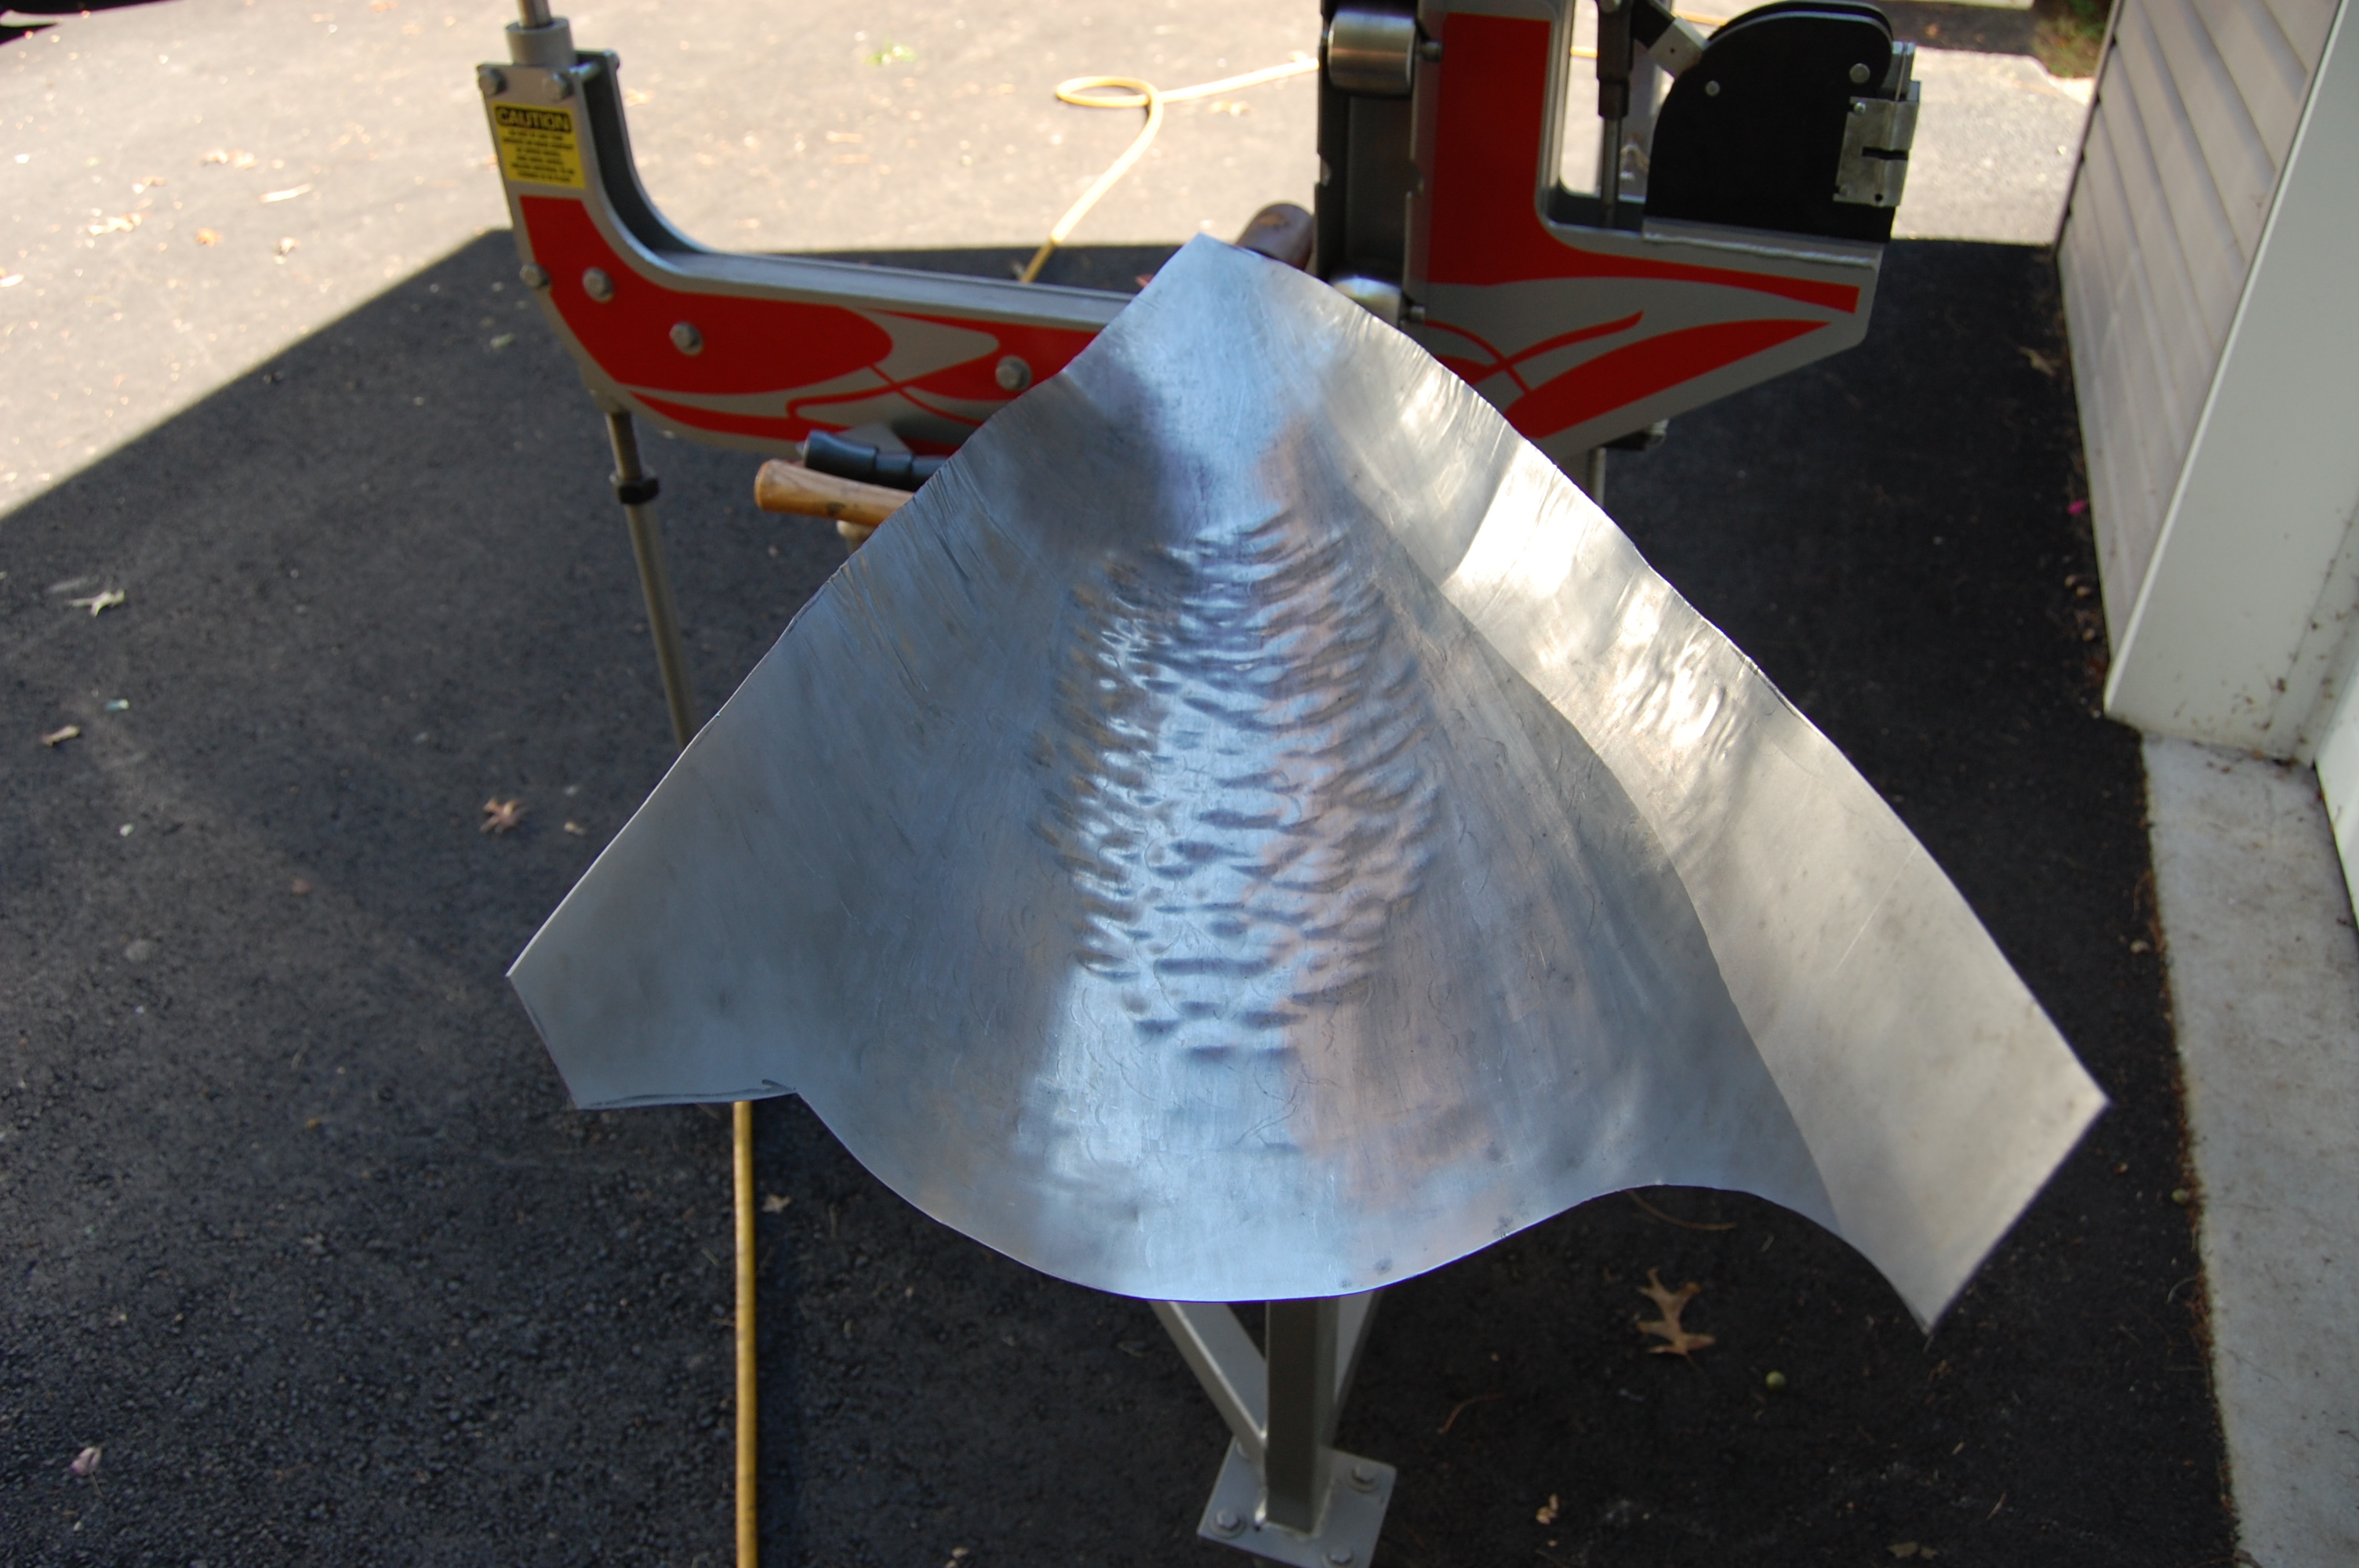
- You wouldn’t think this could be made smooth again, but hang on – it will be!

-

- Here is the panel after hammering down the tucks and running them through the wheel. The metal has been folded in on itself in an almost “liquid-like” fashion.

-
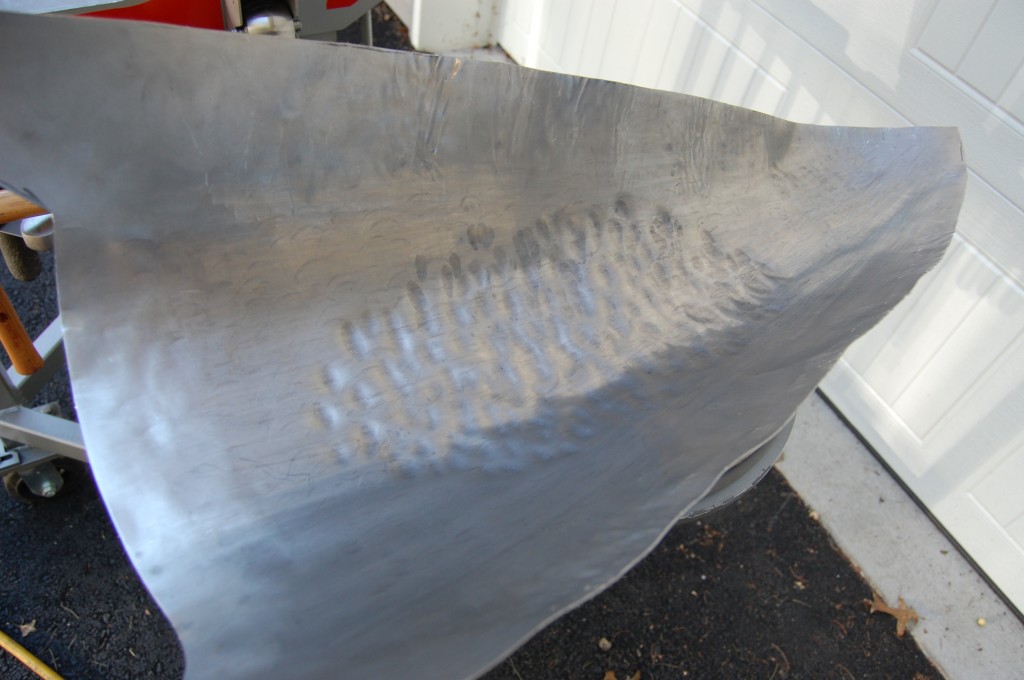
- A check with the Flexible Shape Pattern shows that there is more work to be done, so we’re back to the shot bag. These are called “walnuts” by panel beaters.

-

- The panel is still very “sloppy”, but as we get closer to the correct shape, we will use the English Wheel more and more and the hammers and tucking forks less…
-

- Another check with the “FSP” shows us that we’ve put the right amount of shape into the piece!
-

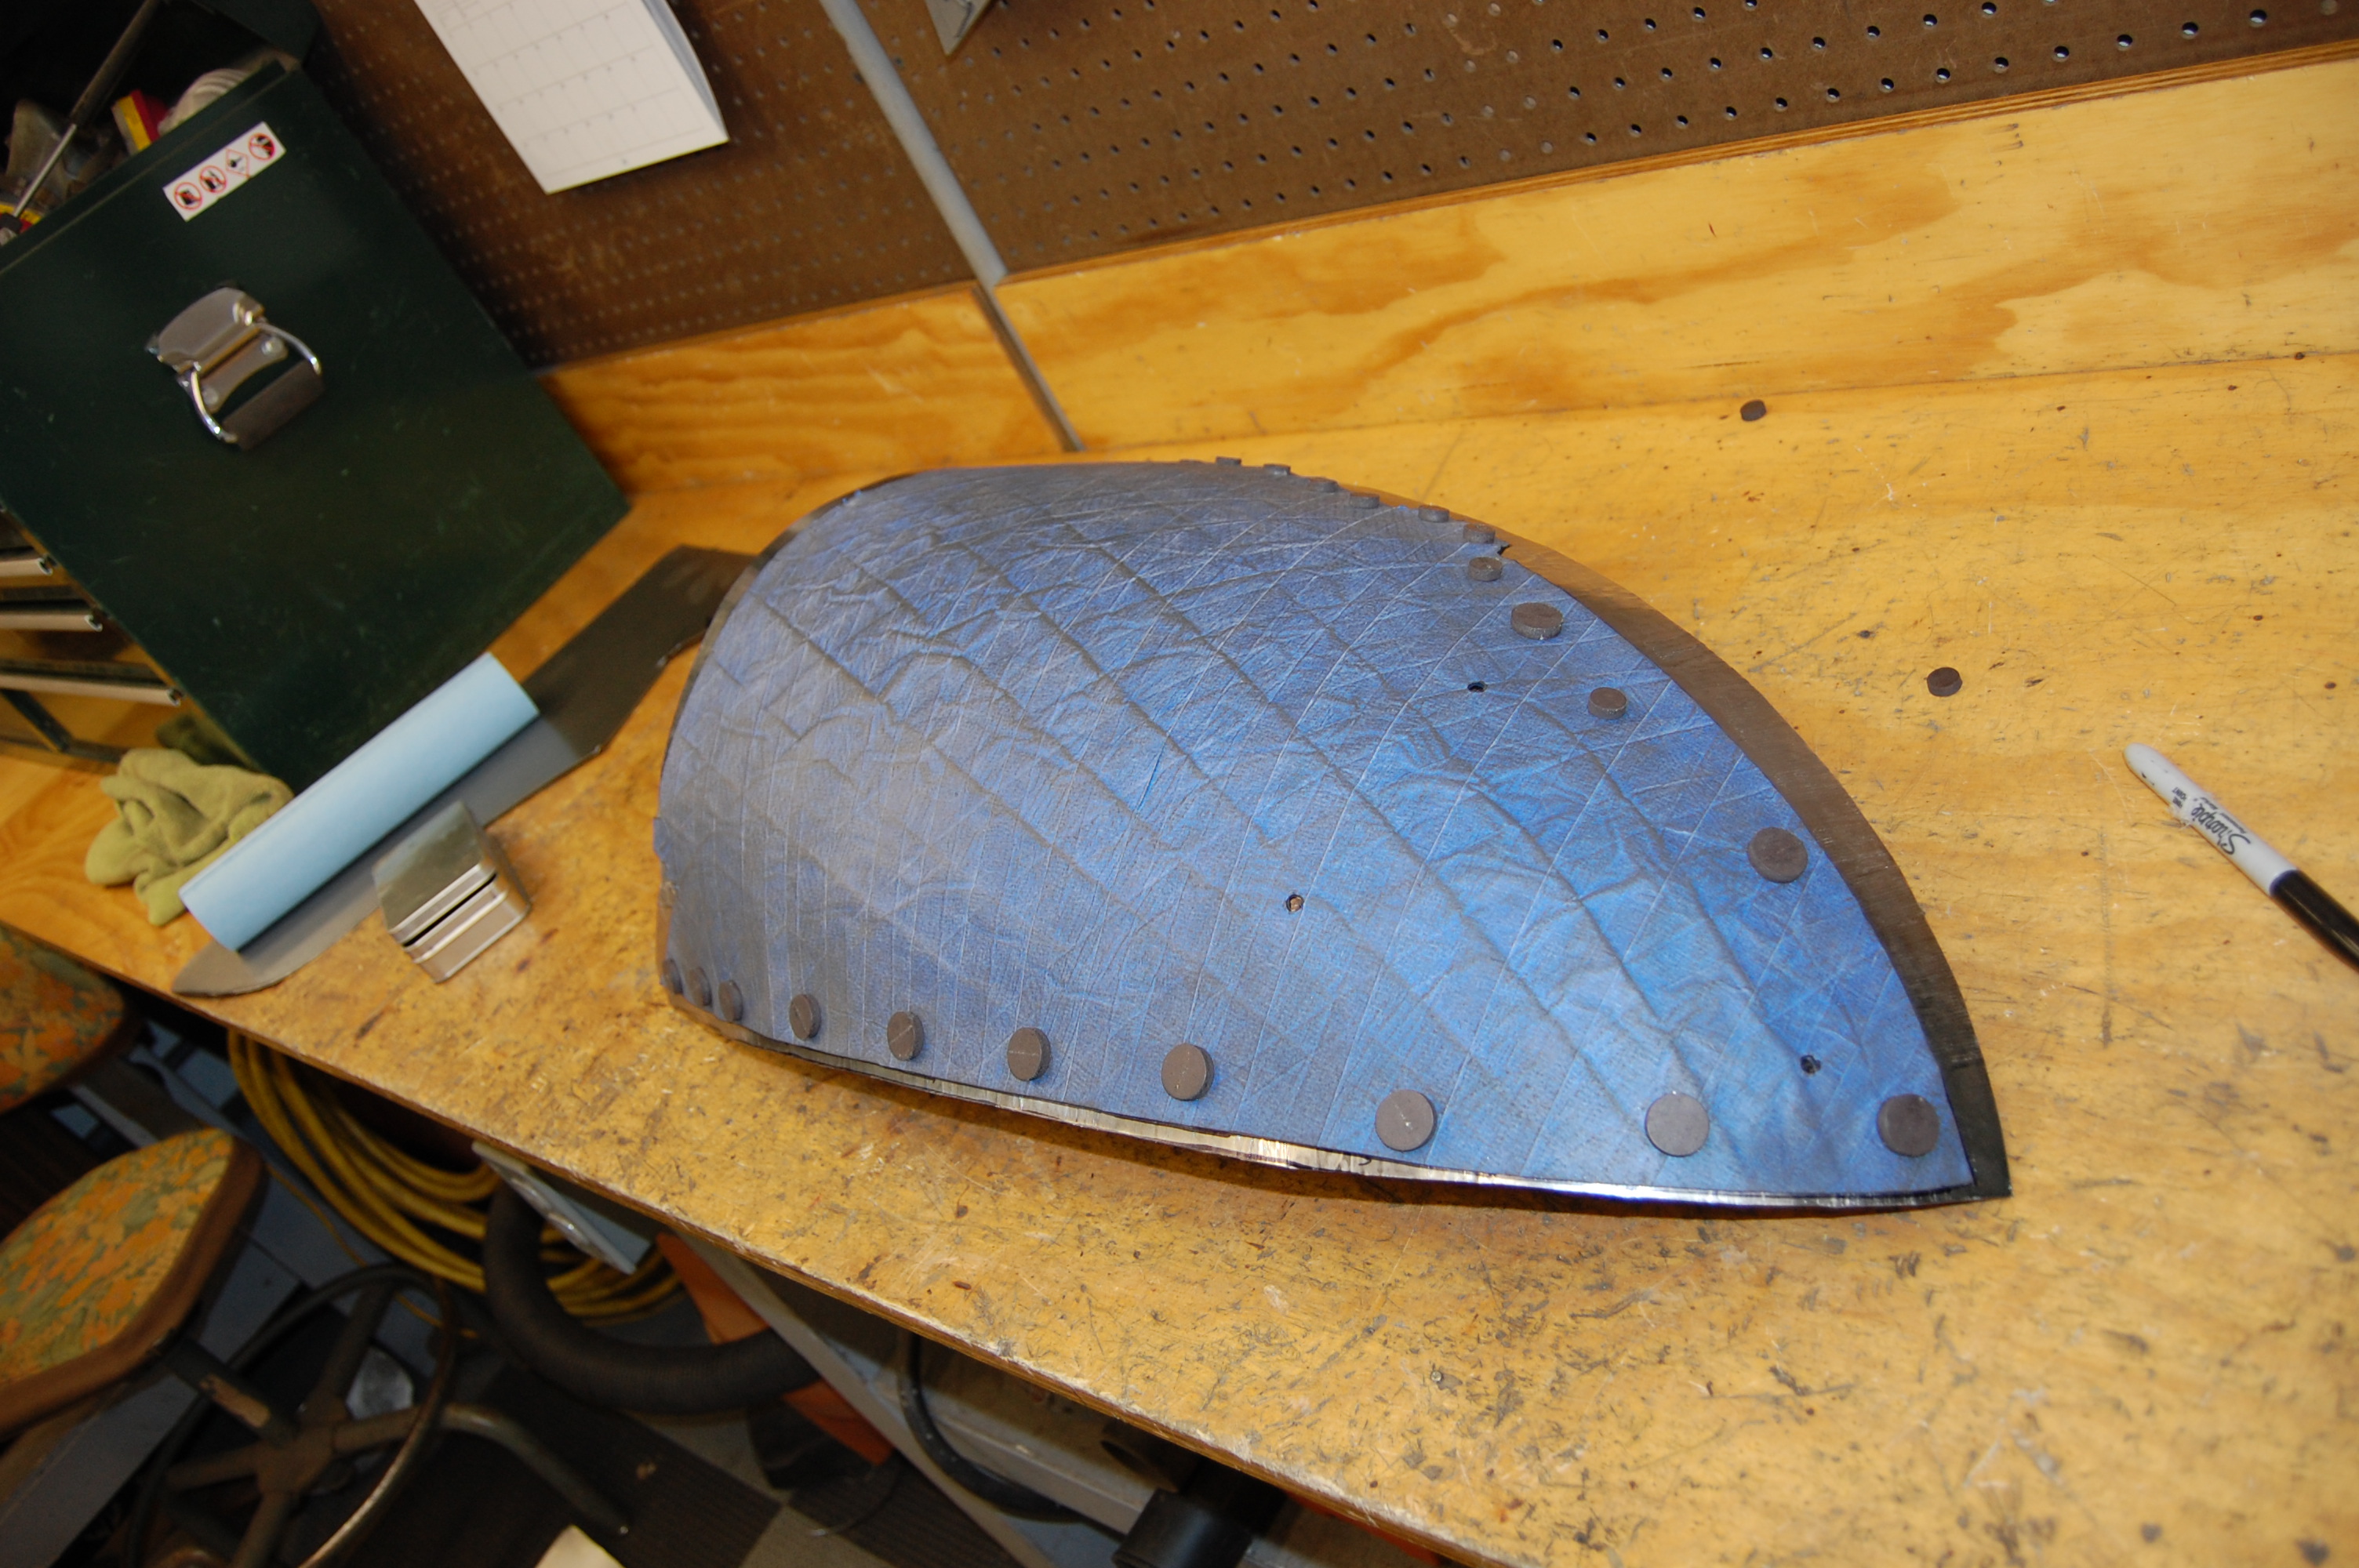
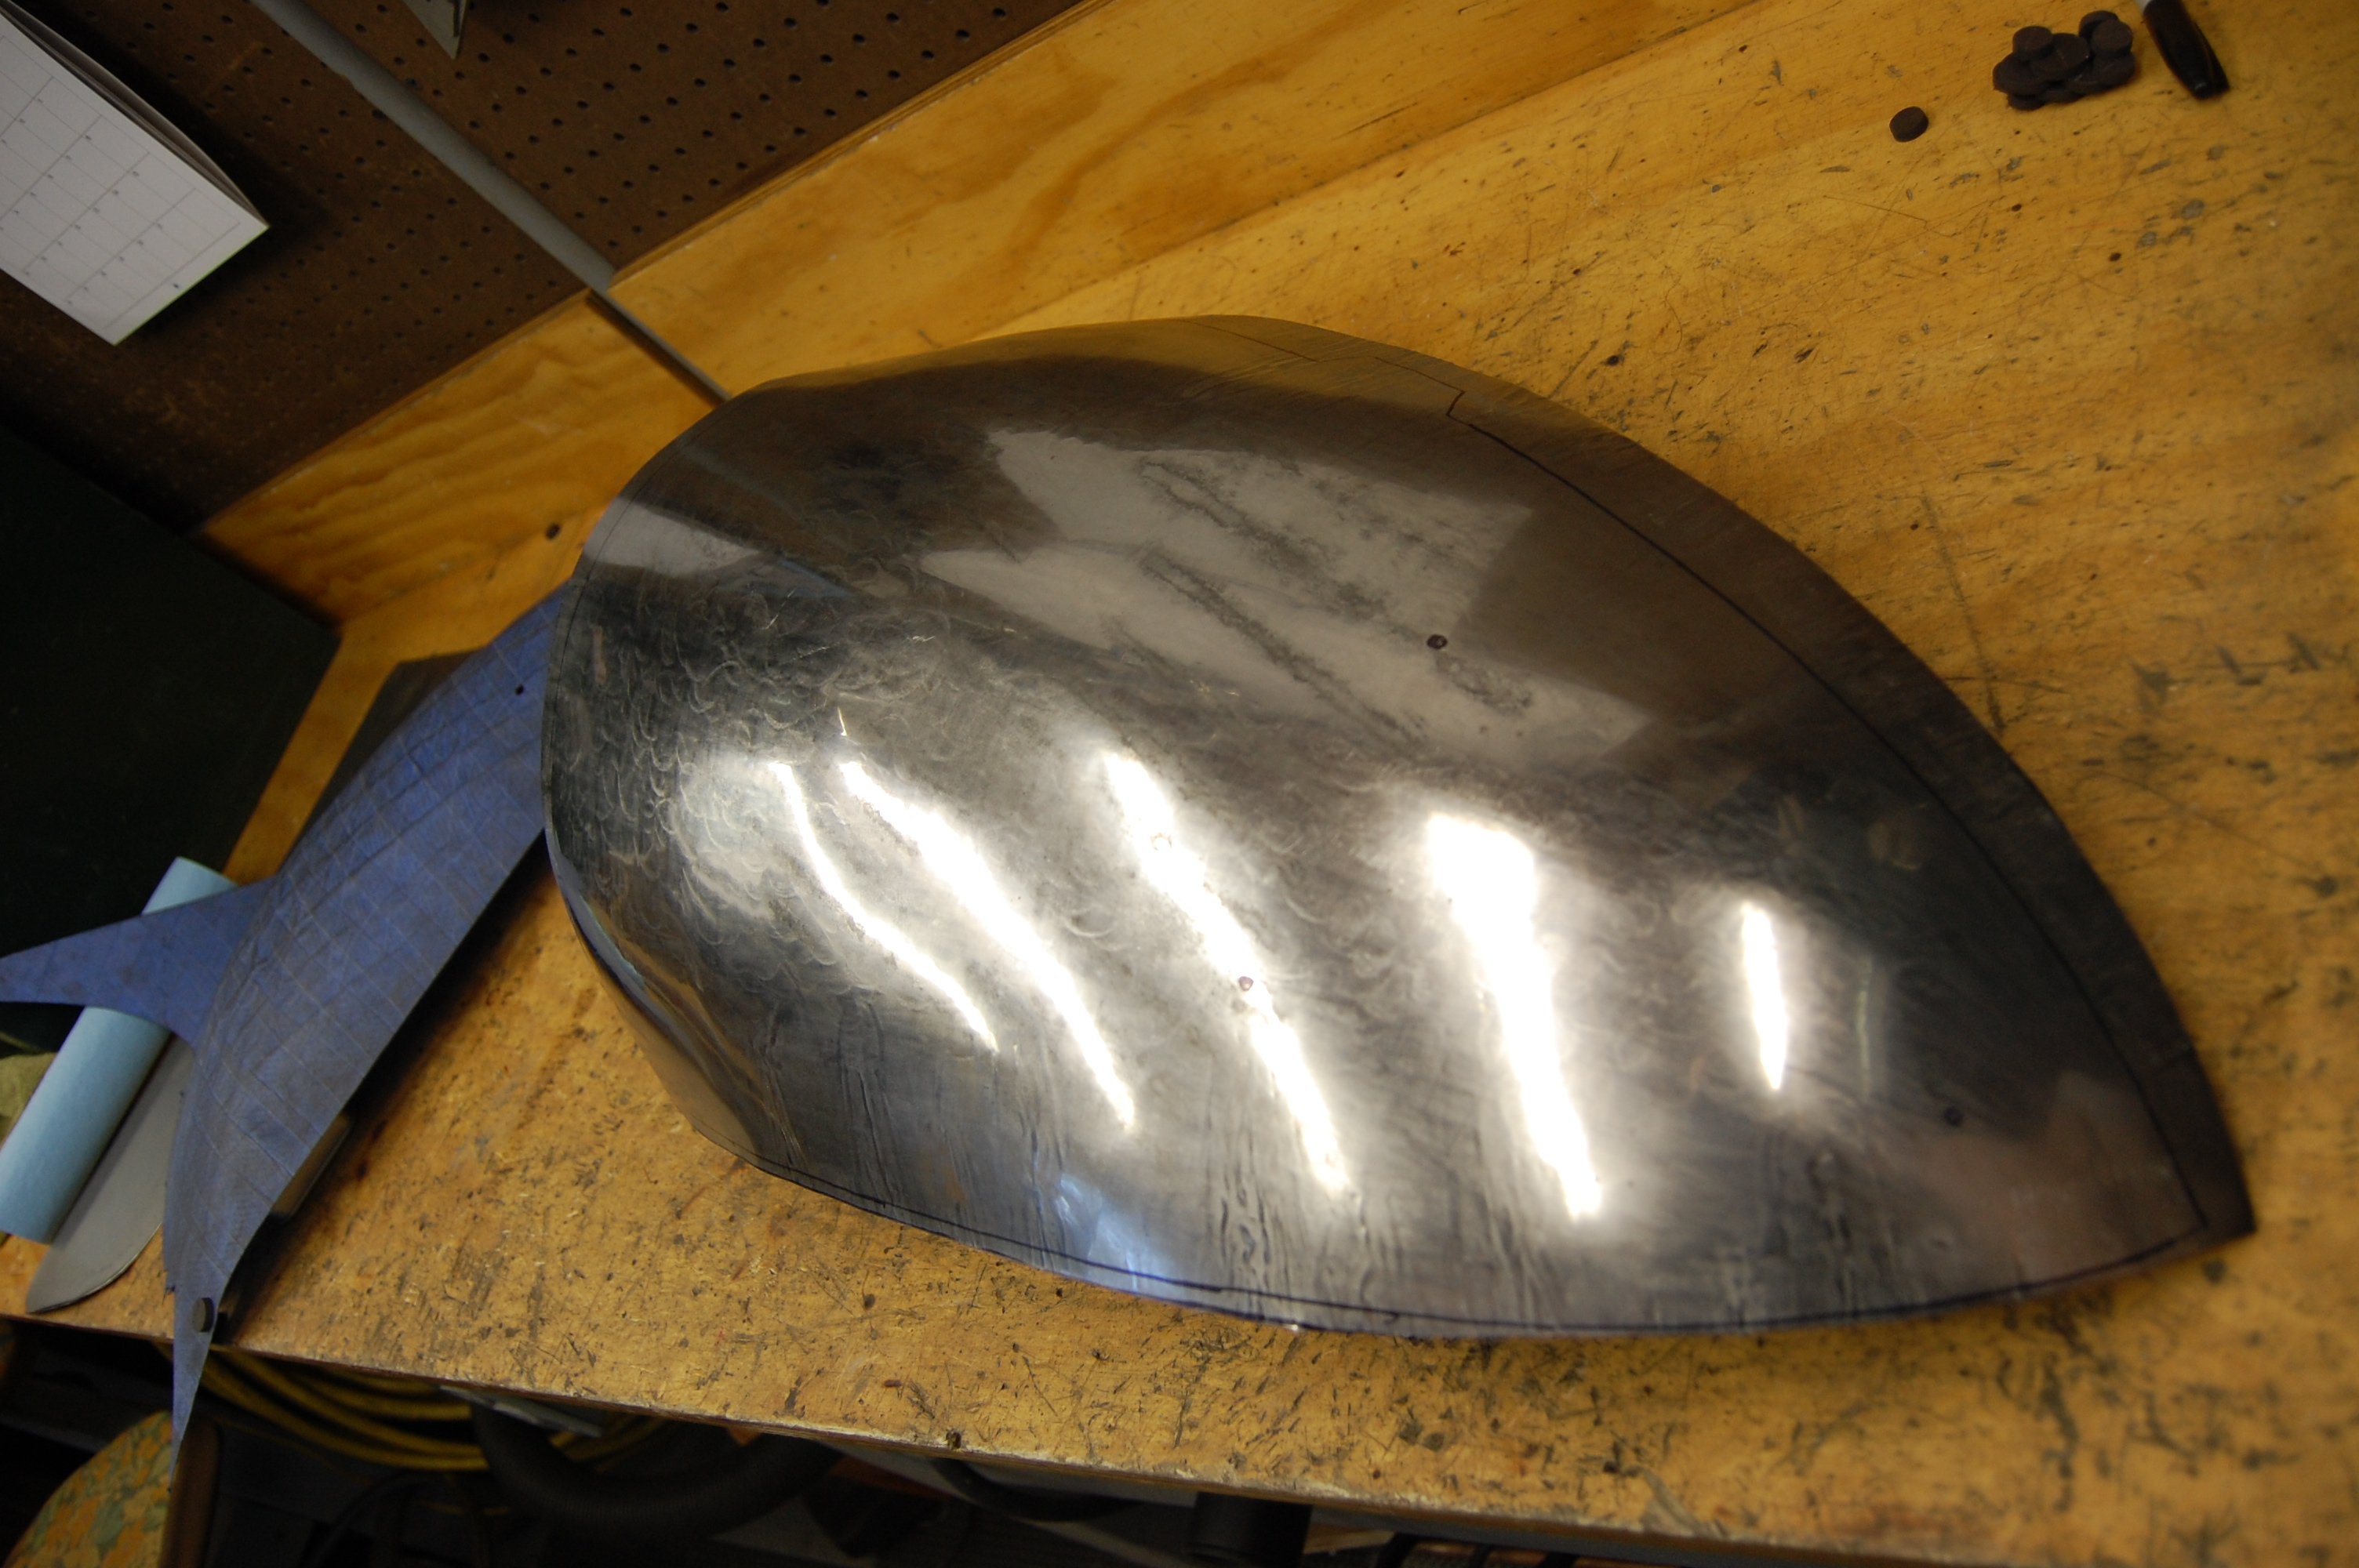
- Once the shape is there, we go back to the wheel and start washing over the panel. This step is PAINFULLY time consuming, but important to make the panel smooth and uniform. We then use the FSP to mark the edges of the panel and turn them up.
-

- Now we’re getting somewhere! We trim and roll the edges one at a time for a perfect fit to this shell.

-
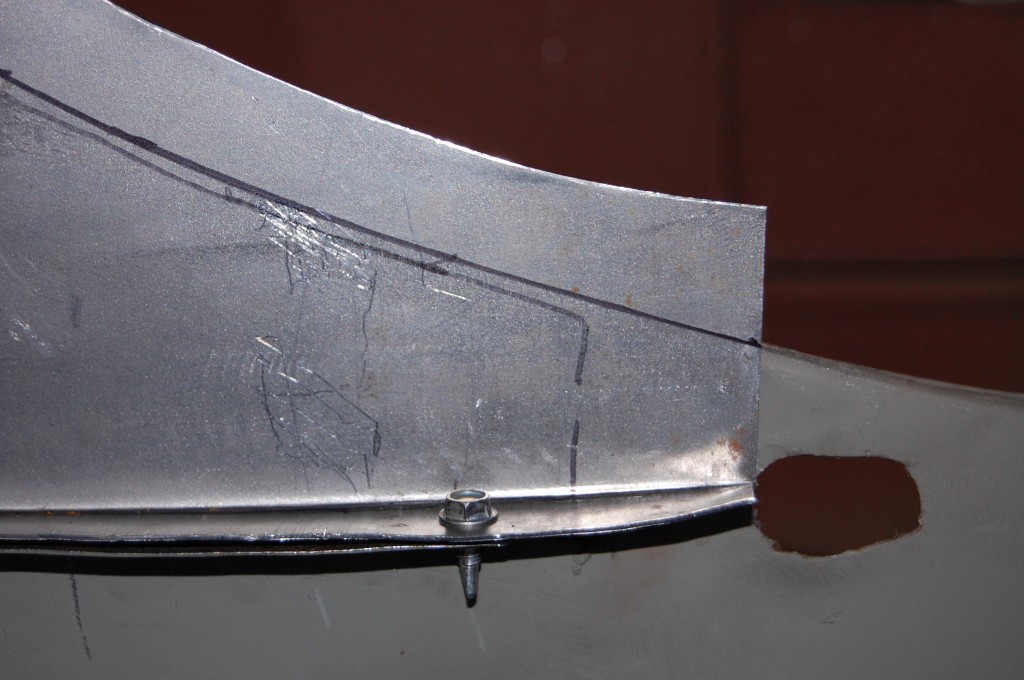
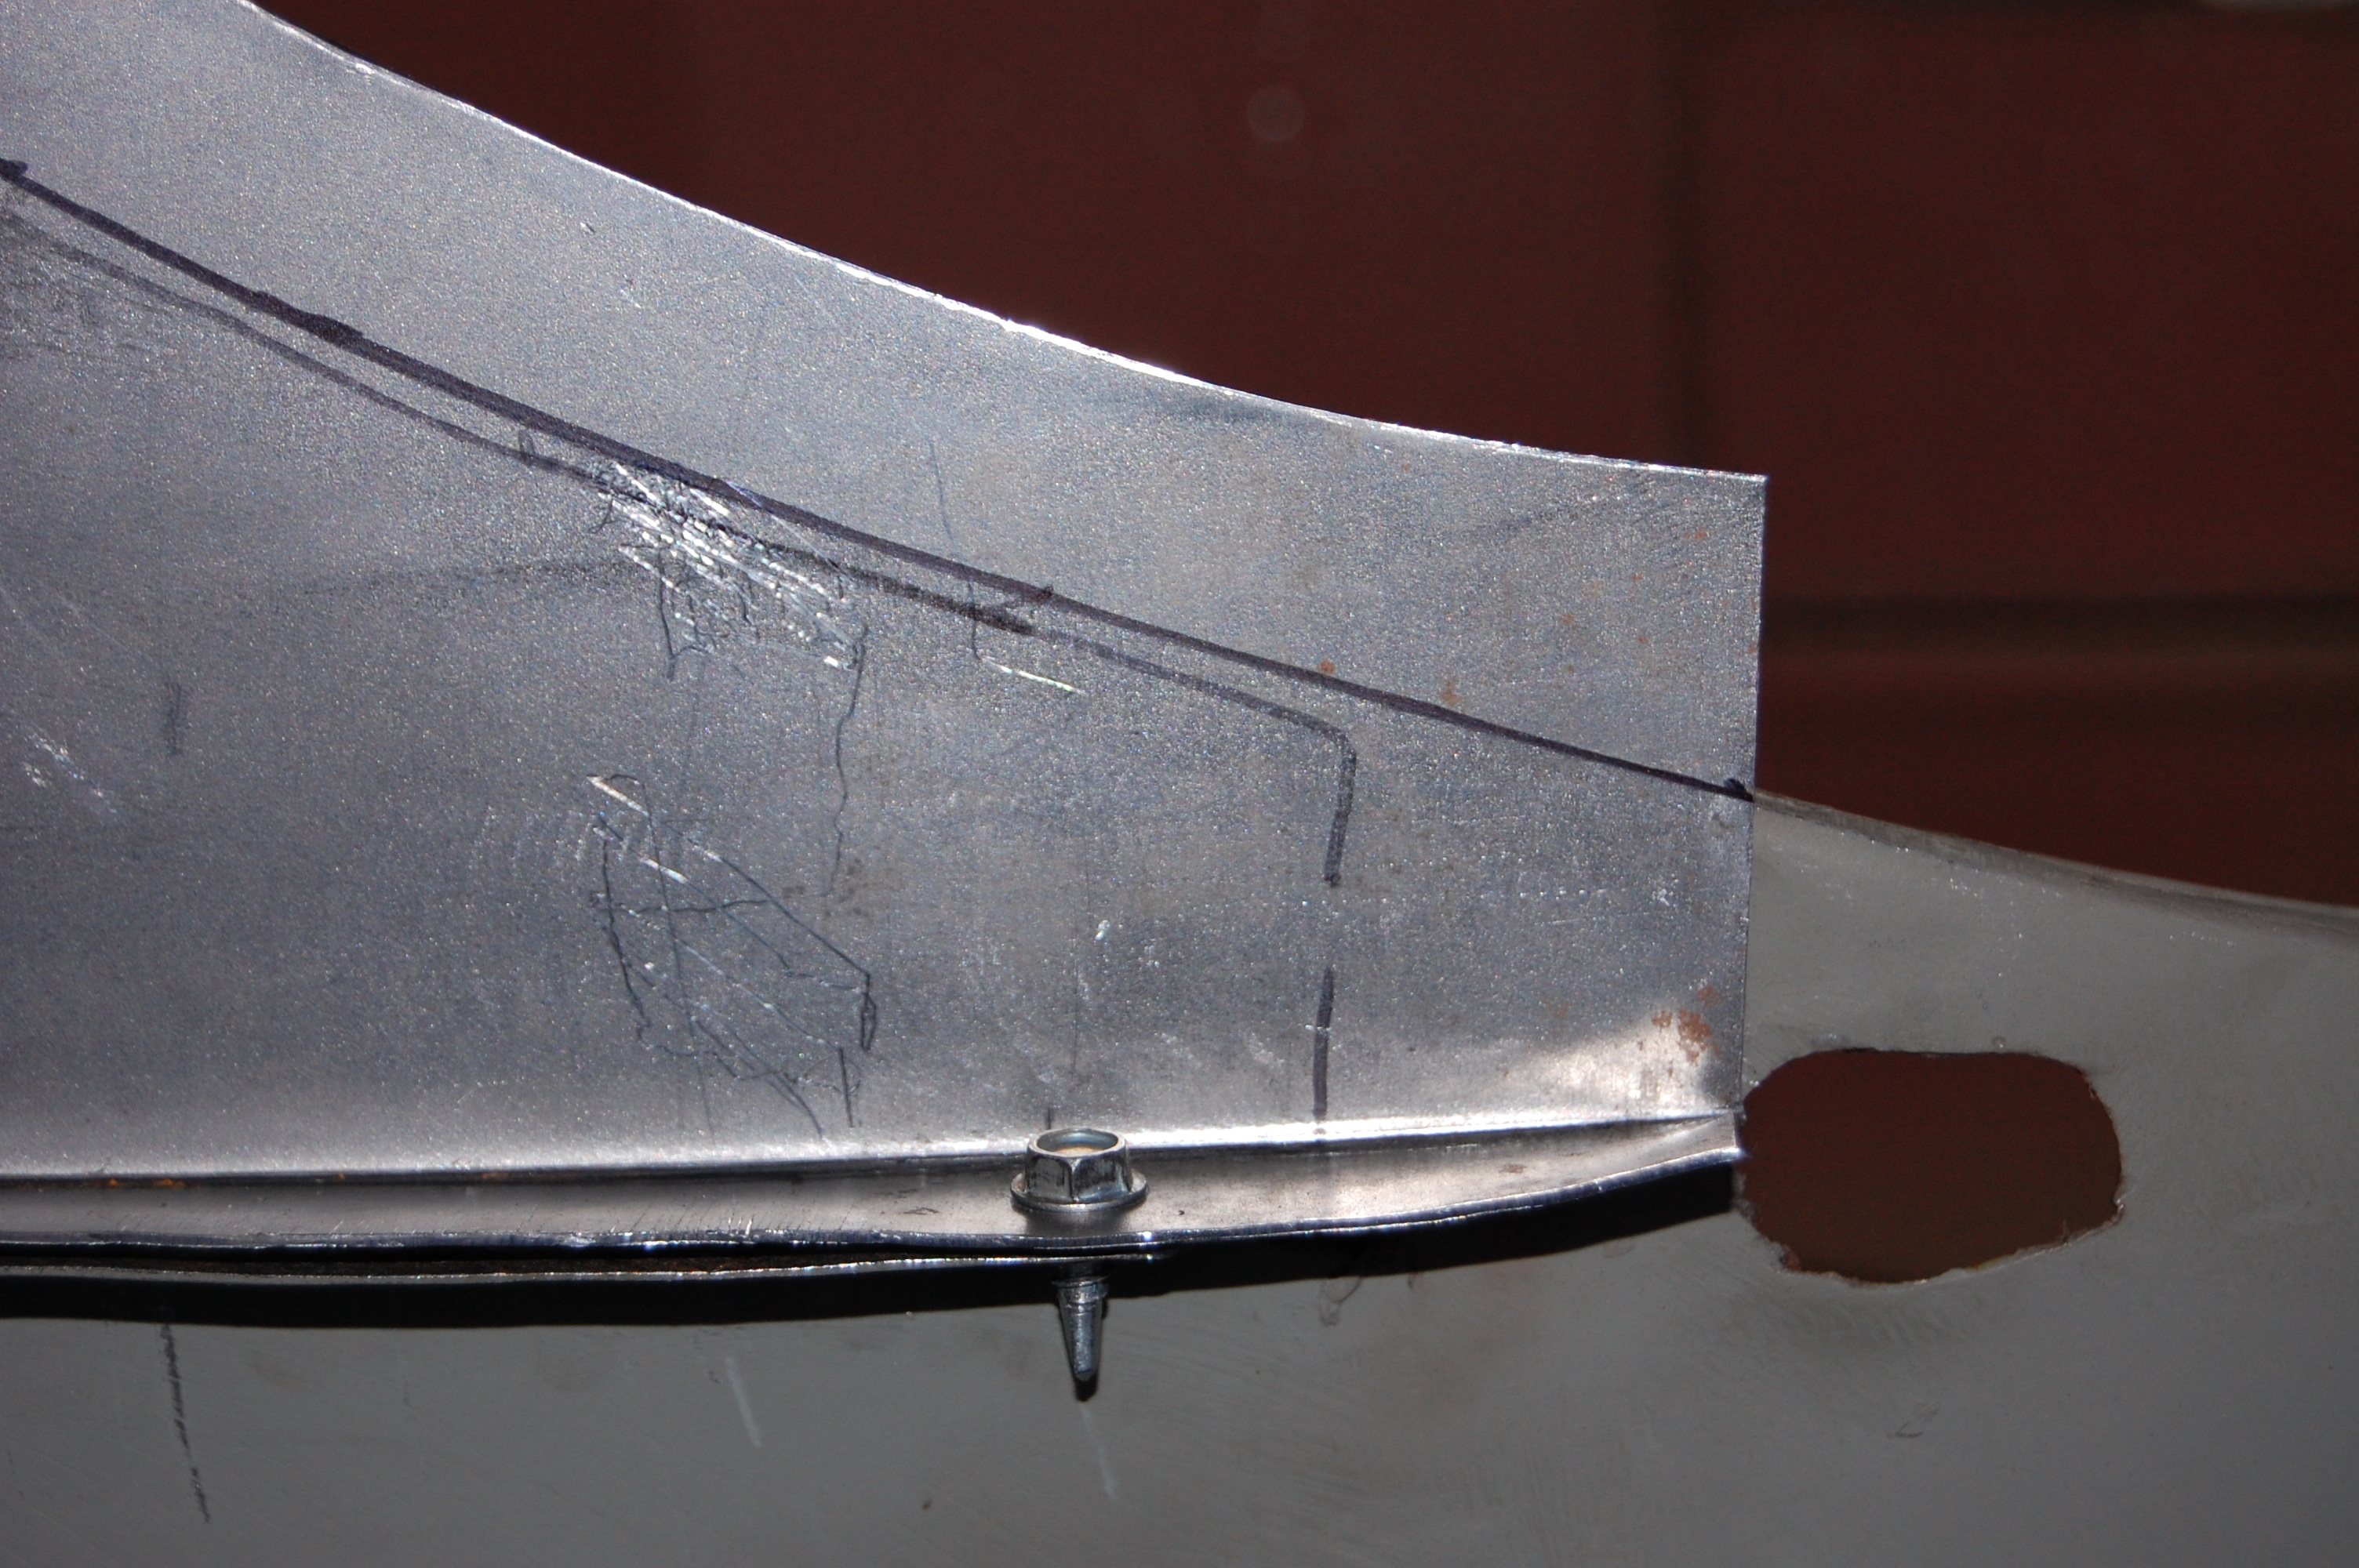
- The lower mark is from the FSP, but the upper mark ties this shell and this panel together in a perfect arc.
-

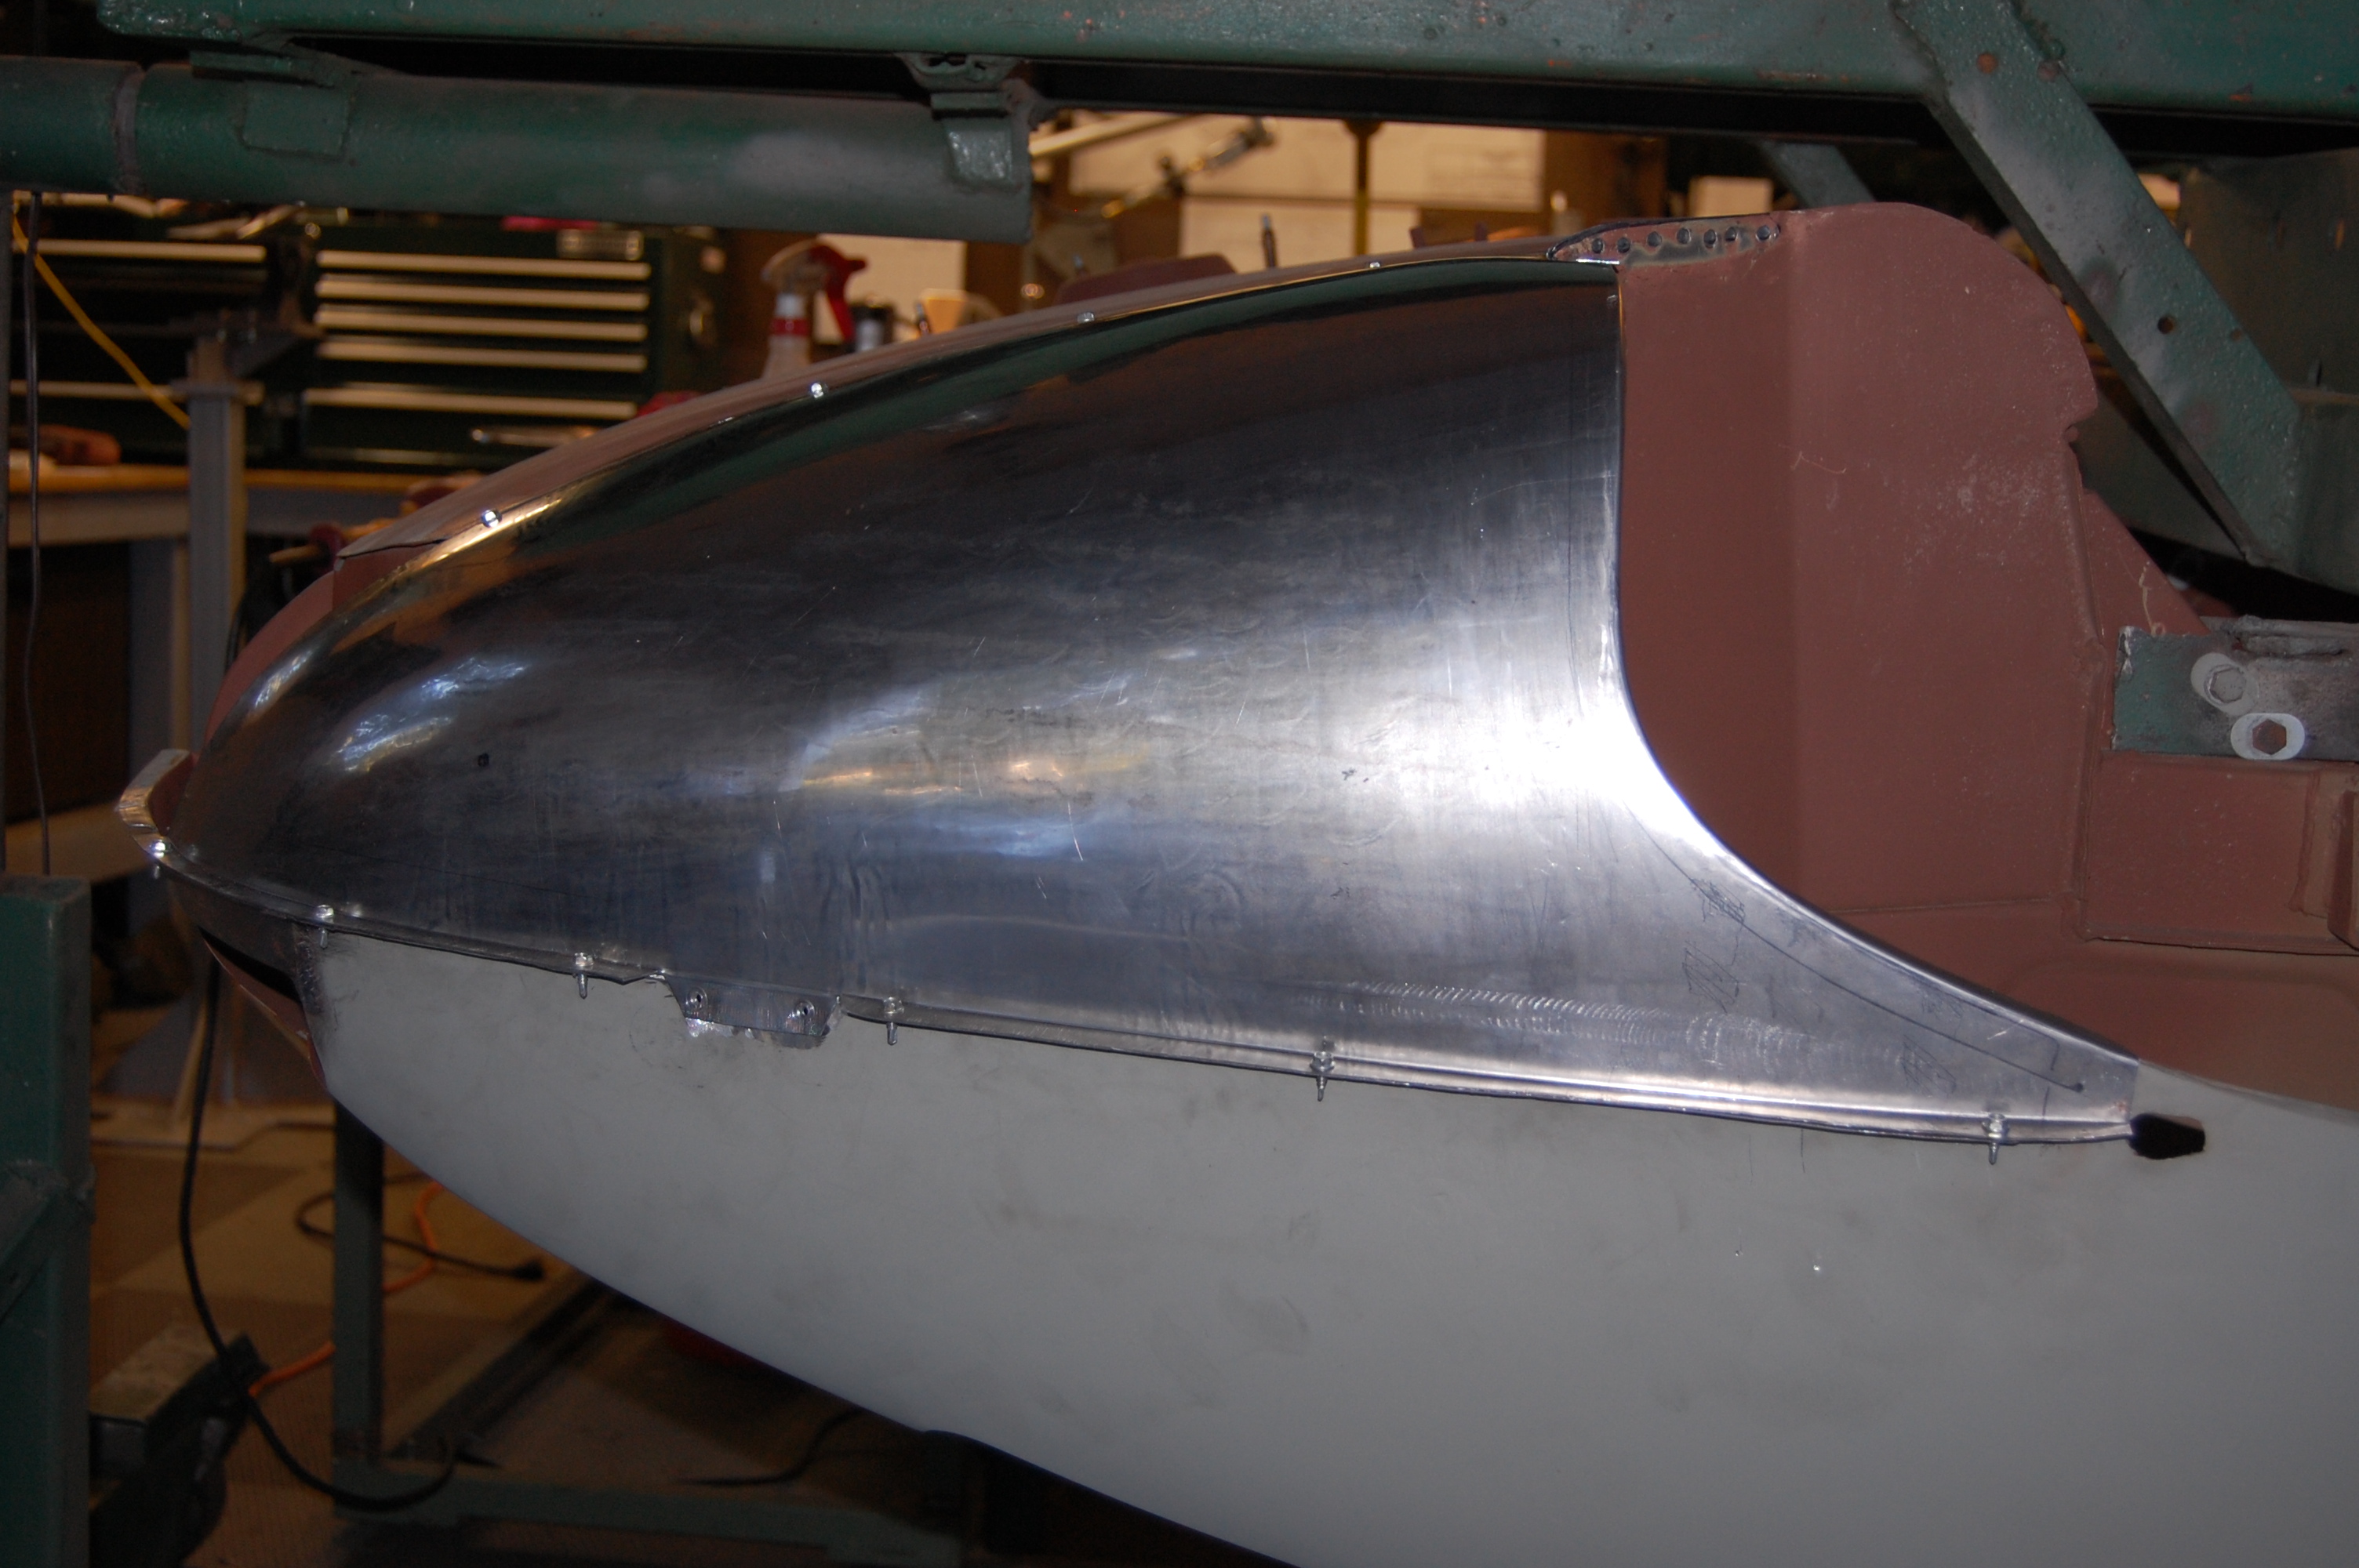
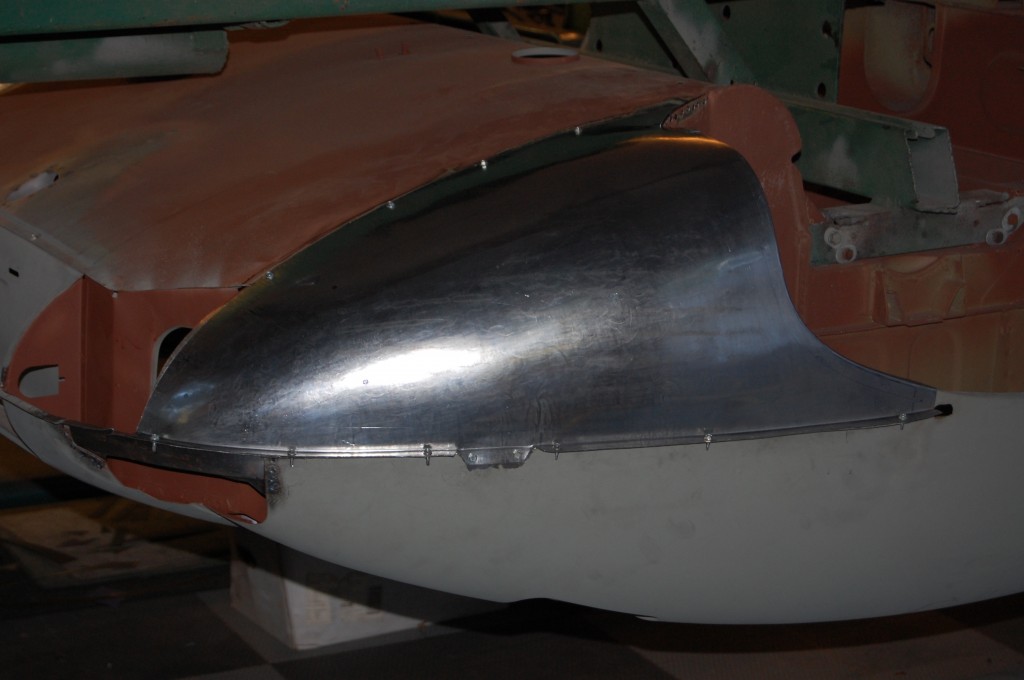
- The wheel opening edge is now turned over and the piece is fitted to the shell!
-

- A little fine tuning is still needed here, and then we’ll weld in this panel.

-
- Perfect! A little more work is left, and then you’ll never know that this shell was once a Series 2 – because she’s a Series 1 now – William Lyons himself would swear she came out of Coventry this way!


