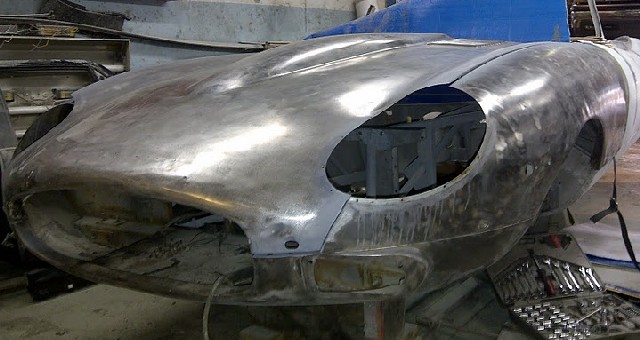
I recently received a call from a customer who needed a Series 2 center section – badly, and immediately – and wondered if I could help… I did have one on the shelf, with a collection of minor issues but overall in very good condition. I sent photos and we discussed it over the phone, and he agreed to come and pick it up the next day. Imagine my shock when I asked where he was coming from, and he responded, “Montreal, Quebec” – 10 hours away! As if that wasn’t incredible enough – he actually WAS in my driveway less than 24 hours later! But that’s only the beginning of the tale of this very storied Series 2 roadster…
This car began it’s life with a very tough start. As the story goes, the car was shipped over from England, and while it was being lifted from the ship, the straps holding it broke free and it dropped onto the dock – upside down! This crushed the top, windshield, and bent in the windshield pillars, and then crushed the curved upper sections of all 4, front and rear wings, plus the power bulge, and the decklid. I know, it’s a tough story to hear – but the next part is even worse…
The car was flipped over onto its wheels, and eventually made it to a Jaguar dealer in Arizona, who proceeded to “hammer out” the wings and bonnet (with what appears to have been a claw hammer), and then filled these areas with approximately 3/4 OF AN INCH of filler – including on the inside – resprayed it, and – wait for it… sold it as a NEW CAR!
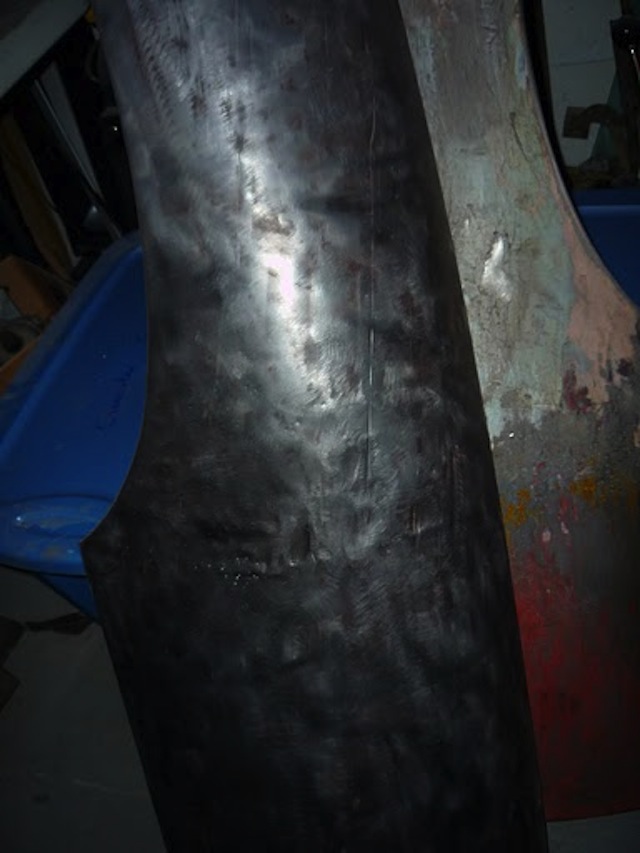
Tough to see in the photo - but this fender has also suffered at the hands of an inexperienced body man 40 years ago - although in their defense, what they started with was probably well beyond reasonable repair...
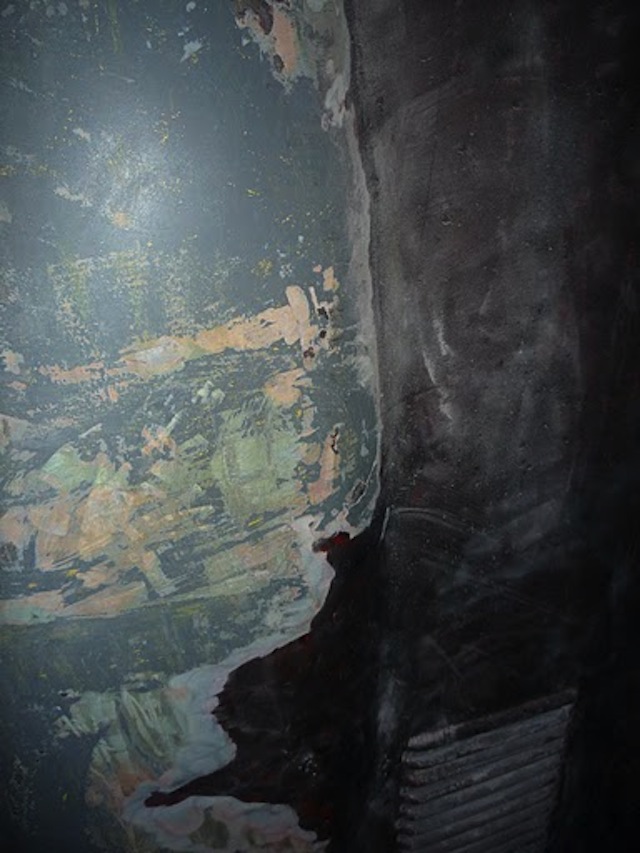
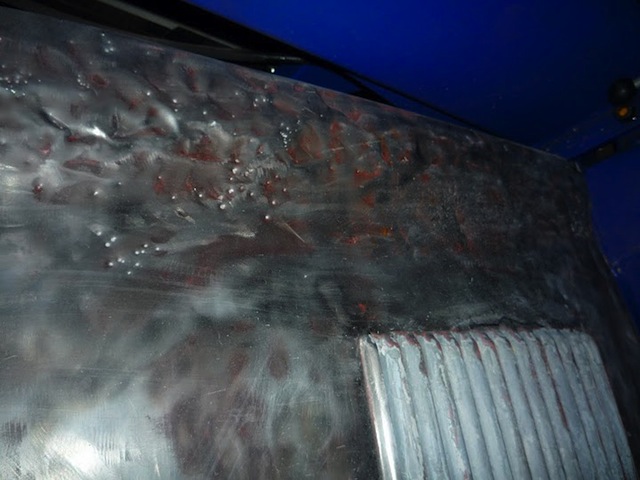
Also tough to see, but this is how much filler my customer ground out of the power bulge before just throwing in the towel. This is 3/4"of an inch deep!
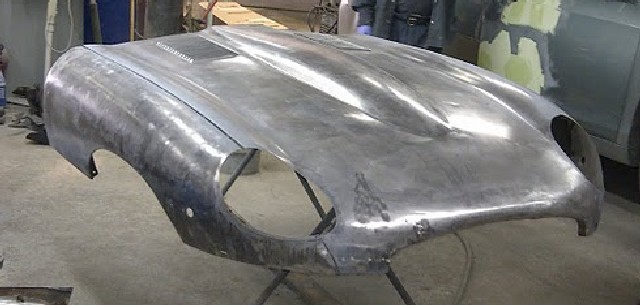
Eventually, this car made it’s way to my customer, who thankfully is handling these problems correctly after over 40 years. He initially started in on the original bonnet, but found the damage, grotesque hammering job, and 3/4″ of filler too much to overcome, so he located another Series 2 bonnet in New Jersey for a fair price, and went down to pick it up. This is the next chapter in this saga, as this new bonnet was very good and straight – and cheap, but did have a “little problem”…
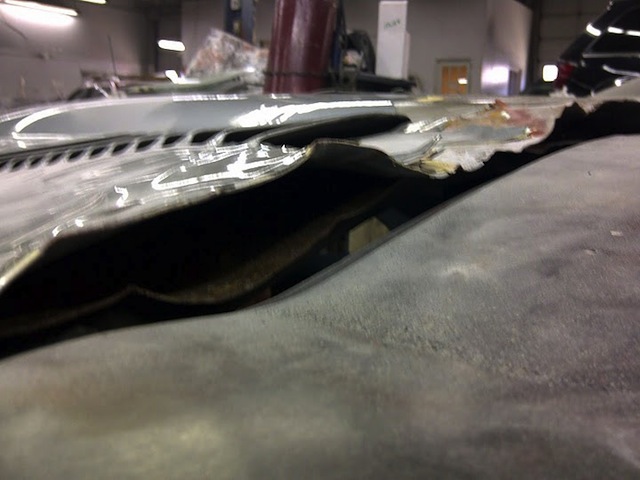
The bonnet purchased in New Jersey came from a very solid Series 2 car, restored and running, that unfortunately suffered a massive interior fire. When the firefighters arrived, they proceeded to attempt to open the bonnet (why, I can’t imagine since the fire wasn’t up there…) Now of course, they have NO CLUE where the bonnet latches are, so they just took a crow-bar and went absolutely BERSERK on the rear edge of the bonnet where it meets the cowl – WARNING – these next photos are not for the faint of heart.
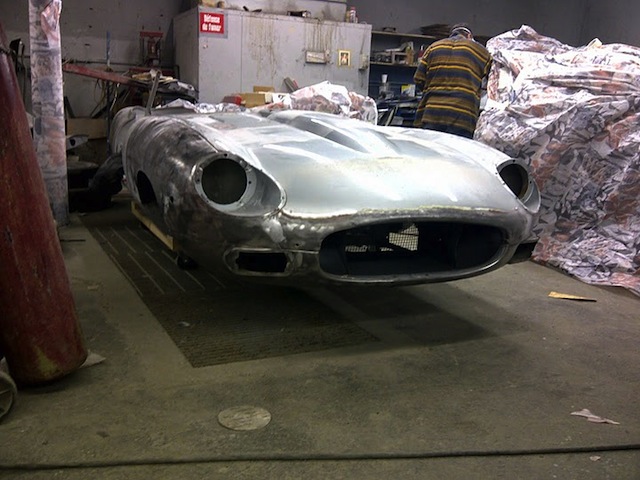
From this angle, it looks like we have a VERY straight and solid bonnet back on this car! But, from another angle...
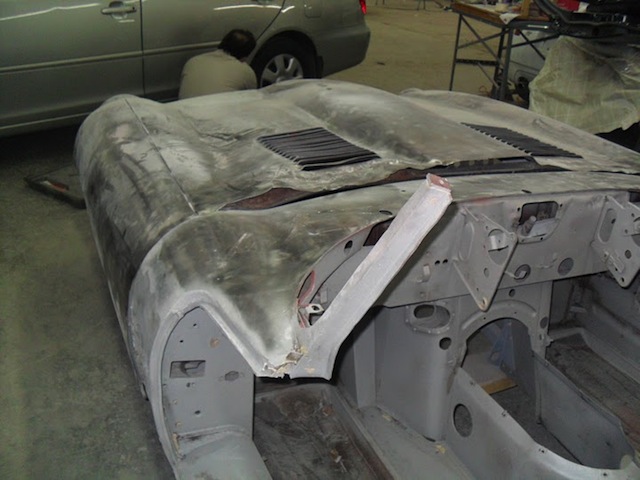
The bonnet was stripped and readied for repair, only to find no-one nearby would even attempt it - and I don't blame them!
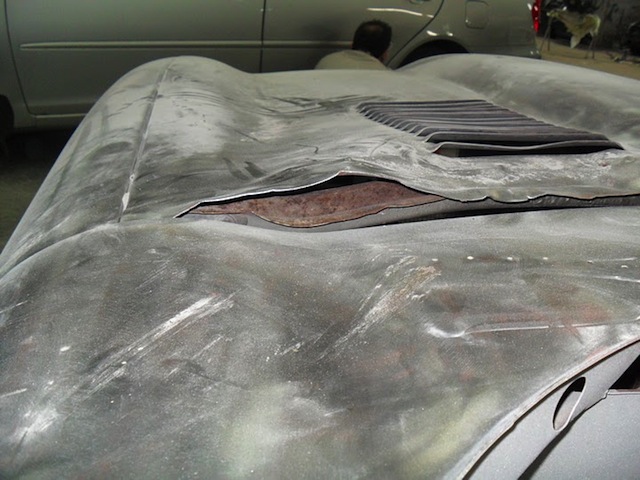
Not only is there bad damage in a flat area - the hardest to fix - the rear support brace is involved and would need to be removed and re-attached, and the involvement of the louvers just makes things 10 times worse. At this point, it just doesn't make financial sense to even attempt this - a new panel is in order.
The seller of this bonnet told my customer, that yes, I agree it’s very bad, but that’s why I’m selling it for this price, and I believe a good body man can take care of that. Well, I’m the best hammer and dolly man I know personally (I do know OF others who are better, I guess…) and there is just NO WAY – unless you make it your life’s ambition… And my customer soon found this out when he took the panel back to Montreal and no-one there would even attempt it.
Which brings us back to the phone call to me… At this point, the customer had two complete bonnets, but no useable center section. The one I had was dented and dinged, with a little surface rust on the underside, but had never been wrecked, and had no cancerous rust – with rock-solid flanges on both sides. The dents that concerned him the most were a series of dents in the forward half of the power bulge that had been lazily filled in past restorations, and I told him we could spend a little time hammering these out when he arrived if he like – I’ll admit I didn’t think he’d actually take me up on it…
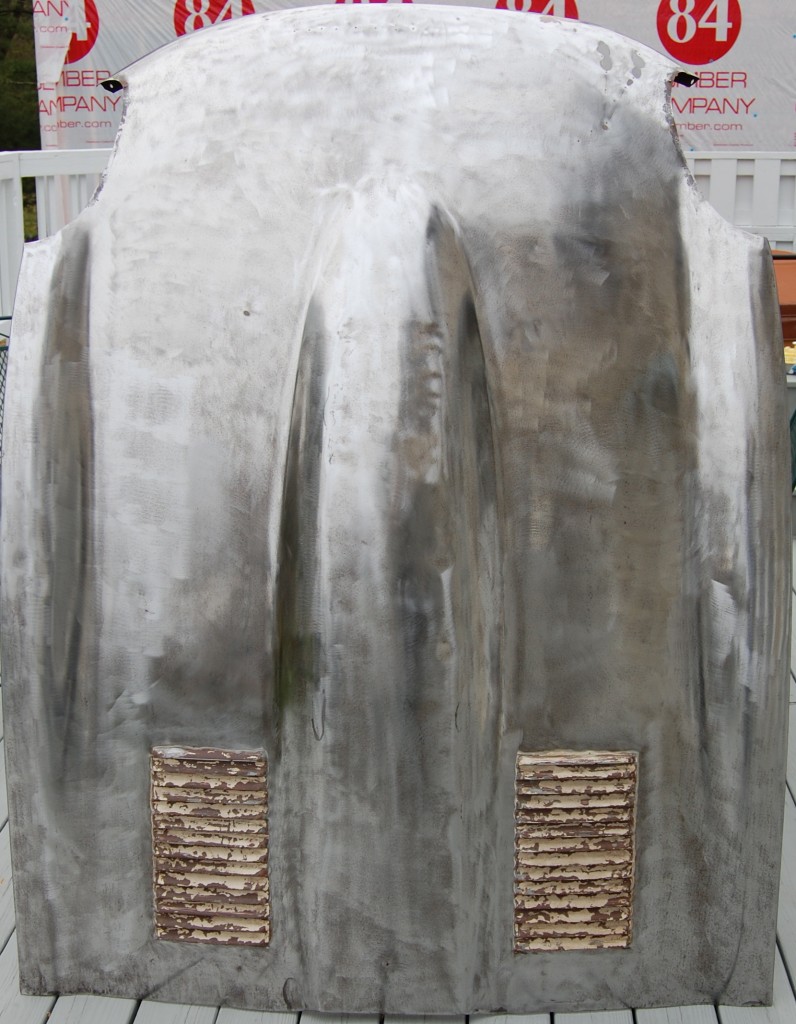
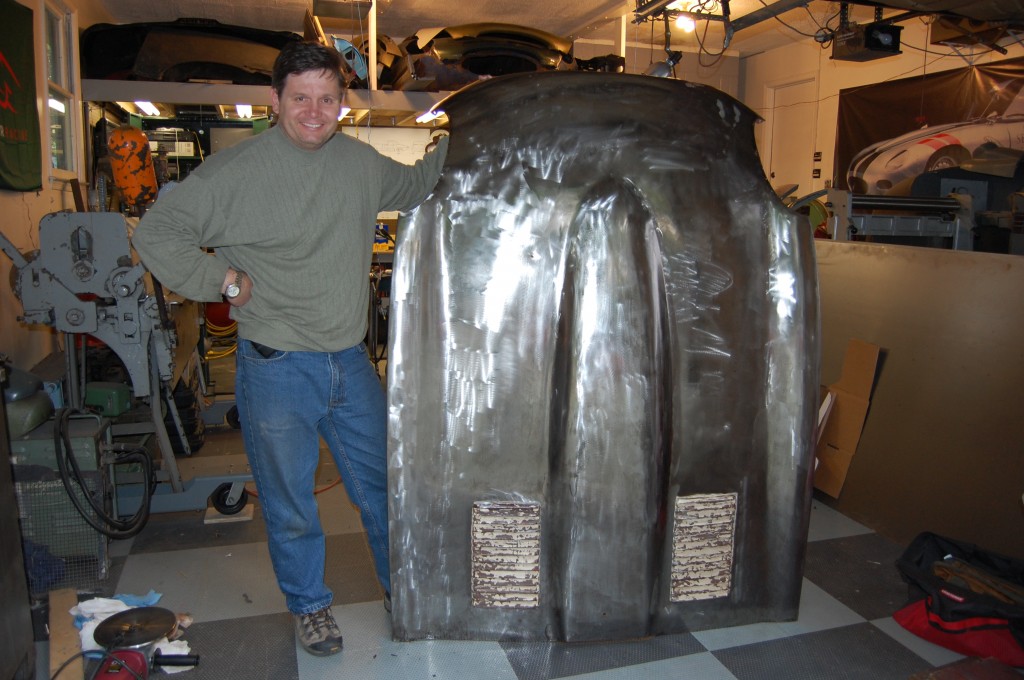
Here is the Series 2 center section I had available. I picked this up about 3 years ago from another British car restoration shop, where it had sat inside, but stripped bare (except for the louvers) for over 10 years, leaving a light coat of surface rust. I scuffed the rust off, and sent a series of photos showing all of the various dents and dings - the most concerning to the customer being the area in the forward portion of the power bulge that was flattened, and the kinks at the very forward tip of the power bulge.
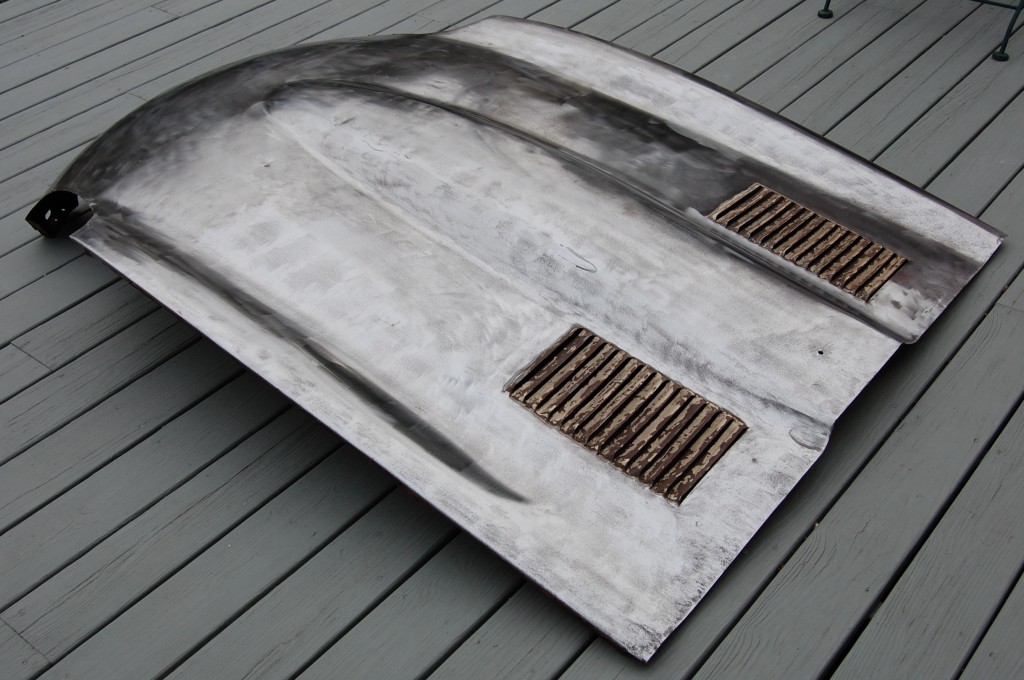
Here's another shot showing that this is a really great panel, looking for a good home where it will be pushed down the road again at high speed!
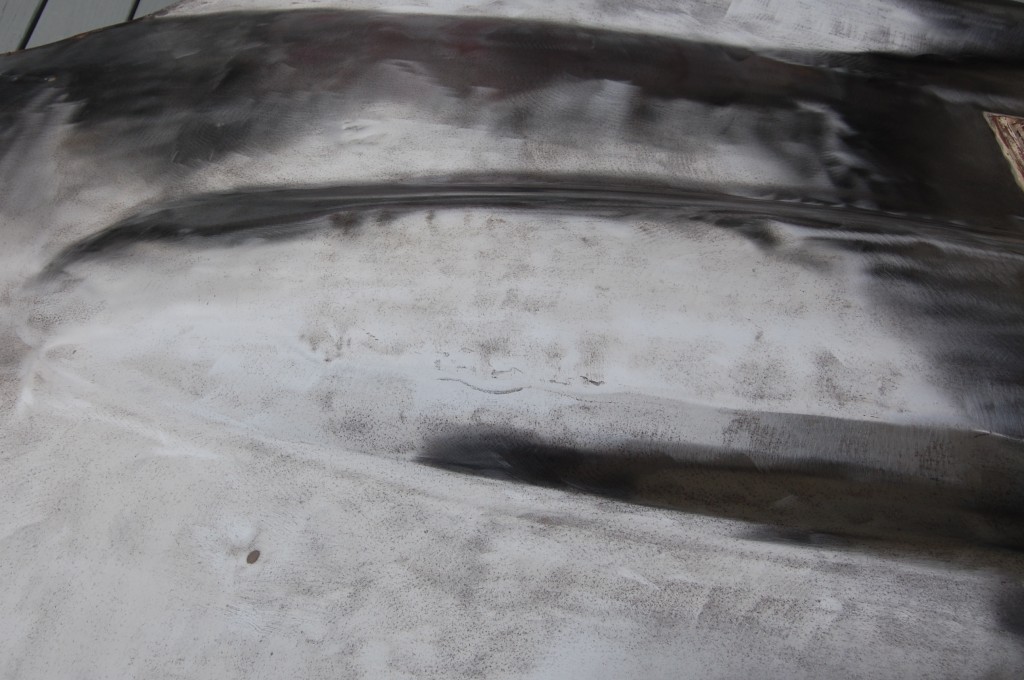
The panel damage I often work with is very hard to capture with a camera. This is my best attempt to show the dented area in the power bulge. From left to right - kinks in the very forward tip, flattened section about the size of a standard piece of paper, and 4 dents further back that were pretty good size. These were the areas we agreed to work on during his visit to pick up the panel.
Well, he did – and I’m glad, because over about 3 hours we were able to make the power bulge perfect with only a filling coat of block-sanded primer needed, ate a pizza together, and talked about E-Types. It was fun way to spend a Friday night, and along with making a little more space in the shop, I made a new friend. Enjoy the photos!
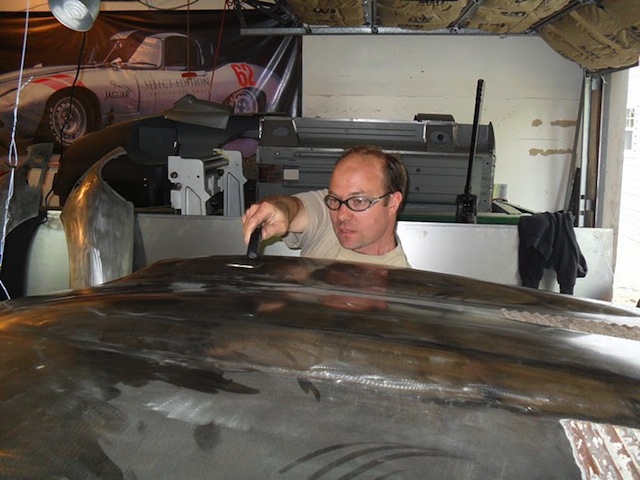
As luck would have it, I was actually in the shop reshaping a Series 1 center section when the customer arrived, so everything was out and I was ready to go, and within 10 minutes of his arrival, he had convinced me to switch over and start doing battle on the Series 2 panel! Here, I've started to slap the topside of the power bulge while applying pressure on the dent from below with the proper dolly.
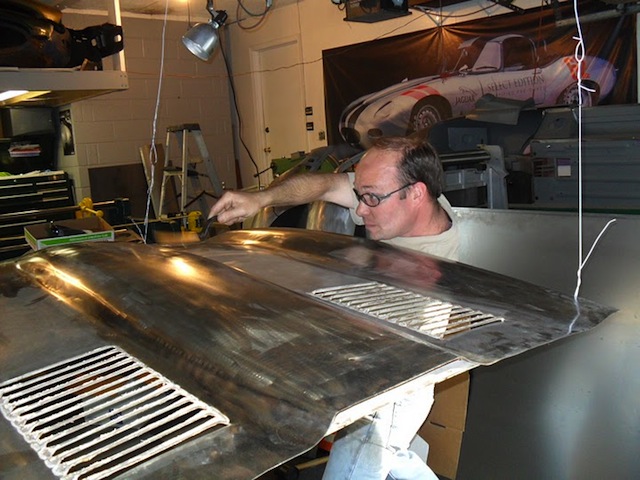
I came up with this method as a kid when I crashed my own car badly, and have just stuck with it through the years - hanging the center section from the ceiling by coat-hangers. I adjust the panel up and down, tilt either end onto the floor sometimes, even hang it upside down. Sometimes I sit, sometimes I stand - it all depends on the damage and my mood, I guess...
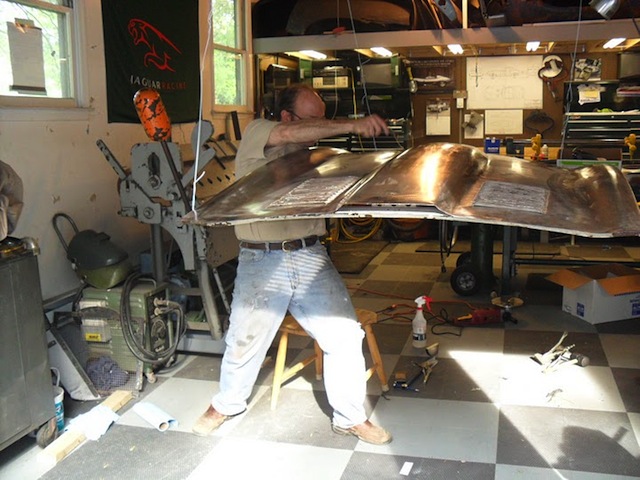
Here I've moved to the other side. Dents on the power bulge are in there so far that sitting just doesn't seem to work - I really have to reach to access them! This looks like it is hung ridiculously high, but I've positioned the panel so that I can get one arm under and one over comfortably, and it also puts the power bulge right at eye level. I've got my legs spread apart for stability - this is a tricky spot to get to!
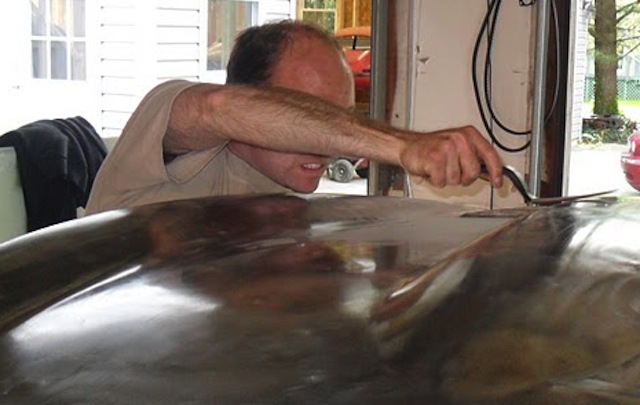
When you bring your shell, bonnet, or individual panels to Monocoque Metalworks, they will be lovingly restored and cared for - but sometimes, you just have to get MEAN!
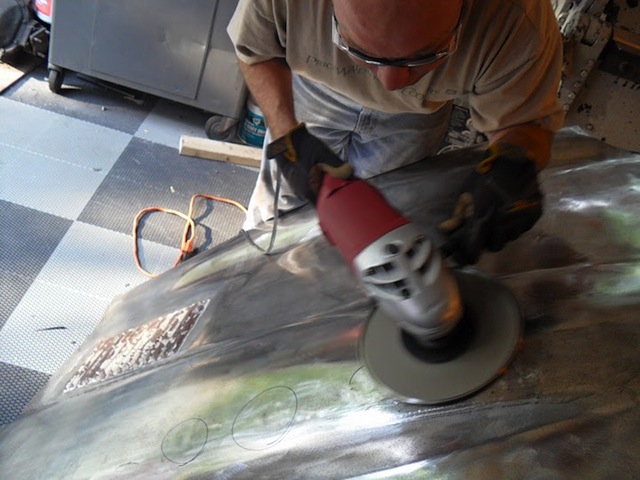
The customer was very impressed with the hammer and dolly work, and to be honest, it was a nice ego boost, But when I got out the shrinking disc, their head exploded. We went over the power bulge with the shrinking disc in sections, maybe 30 times, and the whole time, he helped - quenching the panel with one hand, and snapping photos with the other! We had alot of fun working together on this one, and we were both proud of ourselves when it was finished - just in time to wolf down a pizza on the back deck - it was hard work for a Friday night!
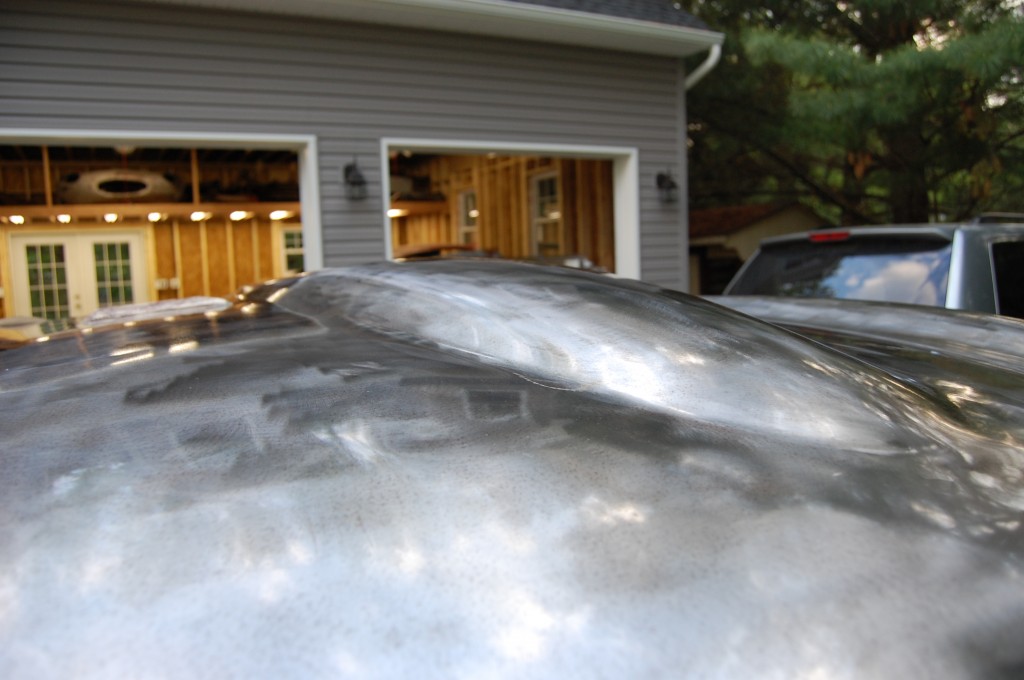
Here's a shot of the completed power bulge as the panel is being loaded onto the roof of his car. We rubbed it down with rust inhibitor in case it rained, and the wet surface look revealed a virtually perfect repair - needing only block-sanded primer before paint.
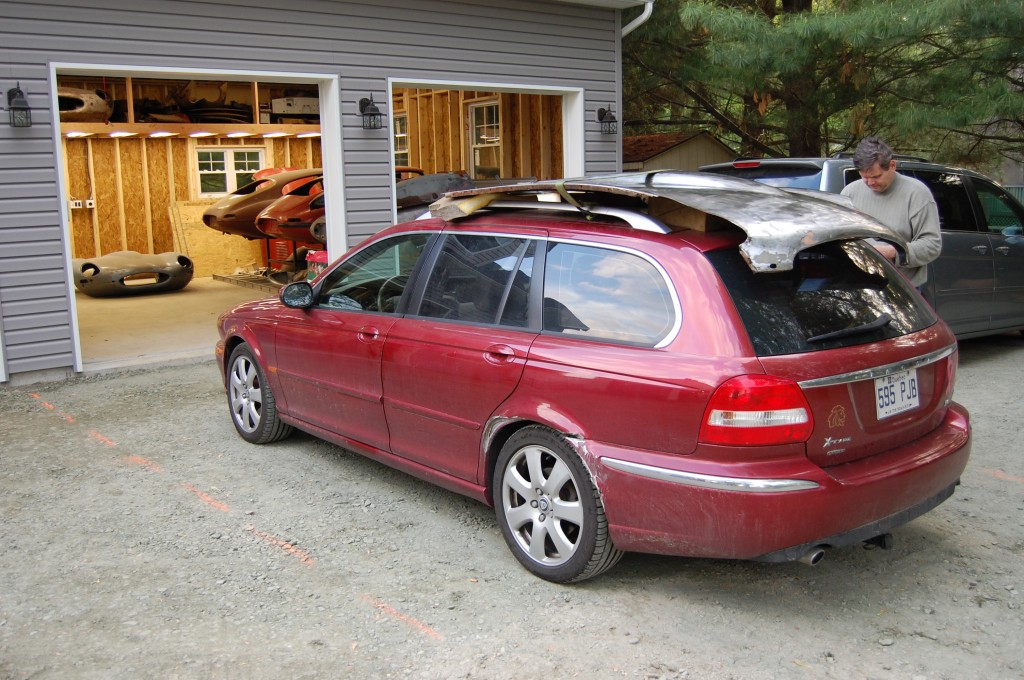
There's only one way to take this panel back home after an adventure like this - on a JAGUAR STATION WAGON - you don't see one of these every day! You can see the recently completed new shop in the background, which is currently serving as a storage facility for upcoming projects until we can catch our breath and complete the interior. And if it ever stops raining in Maryland this year, we'll have new pavement too!
P.S. We did make arrangements to meet later this Summer for me to take possession of the two wrecked center sections. I said they were a lost cause for any panel beater – and I meant it – but that doesn’t mean I’m not crazy enough to try it anyway! Besides – alot of orphaned E-Type panels seem to find their way here – give me a ring if you need some!
The Saga Continues – this guy is an animal – I love it! I feel like I just saw the customer last night – it was actually 6 days ago… But in that time, he has driven back to Montreal, stripped the paint off the louvers, sanded the surface rust from the underside and side flanges, knocked out a couple more dents, and fitted the panel to the car! It looks like this one IS going to be on the road this Summer like as predicted – which is a good thing, because I think it only lasts a couple weeks up there! Great job, Francis – keep up the momentum!

