E-Type heaters are like mini-monocoques – they are built the same way, not painted on the inside the same way, and rust out on the bottom the same way! That just means that we can fix them the same way! Follow along as we restore the usual problem areas on this Series 2 heater shell…
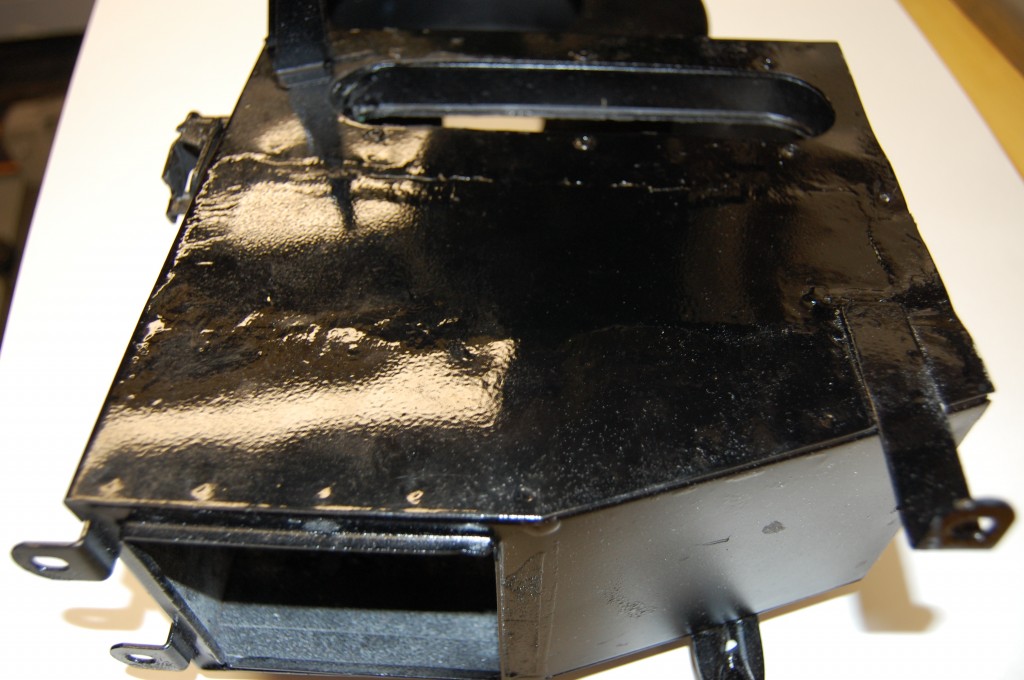
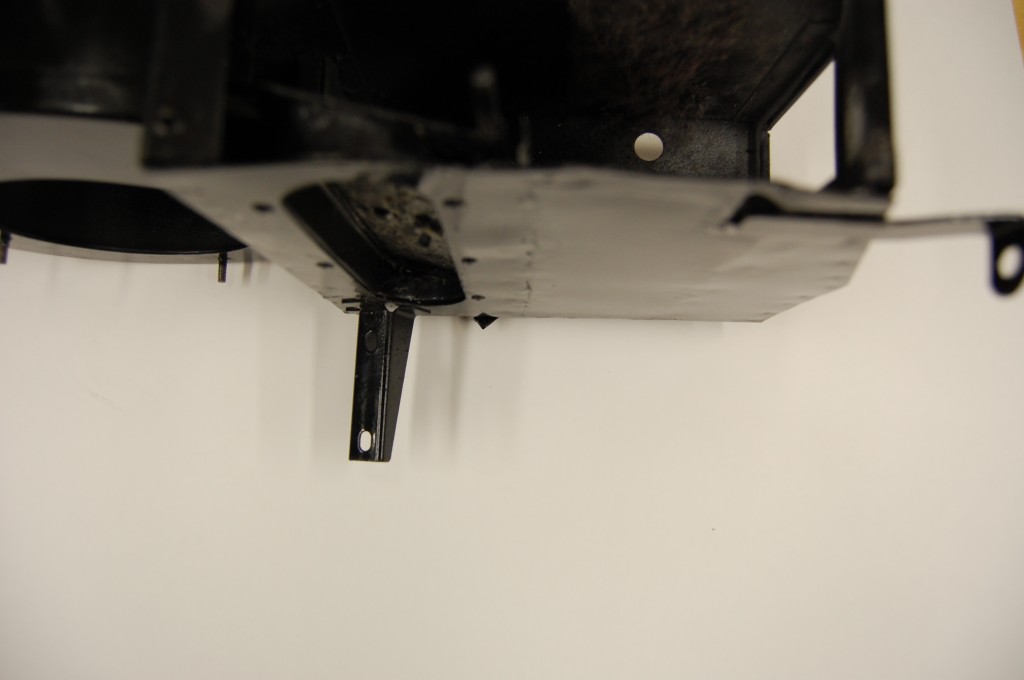
Here's what we started with - a restored heater. Unfortunately, the previous restorer put alot of time into welding in a new bottom patch and giving this shell a really slick paint job, only to have the customer find out much later that the heater core would not fit!
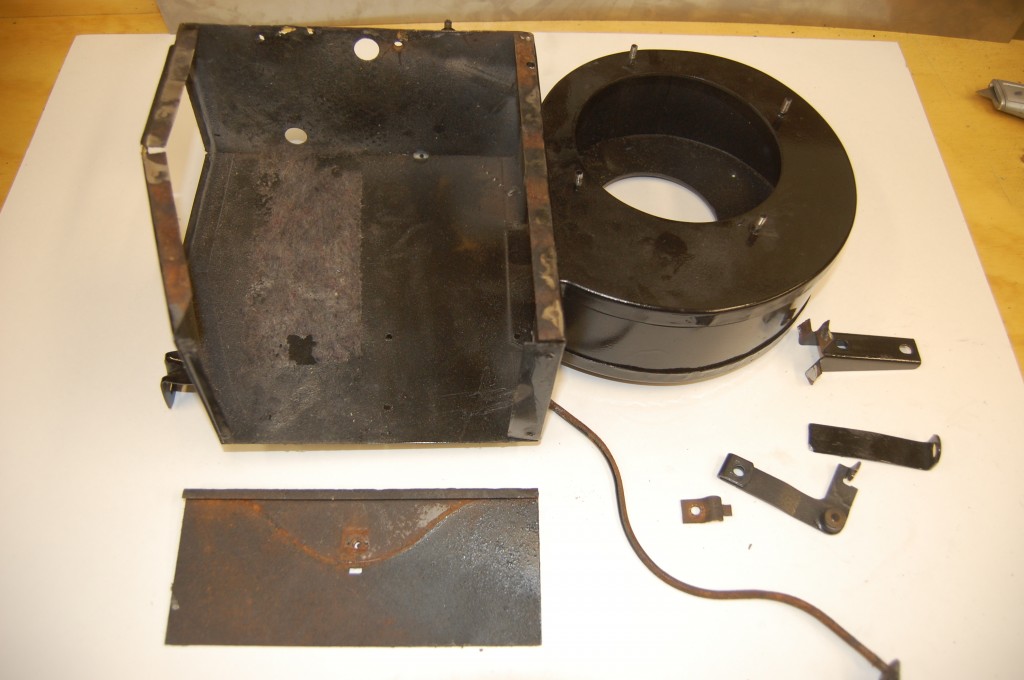
The first order of business is to CAREFULLY remove the bottom plate without damaging the side plate flanges.
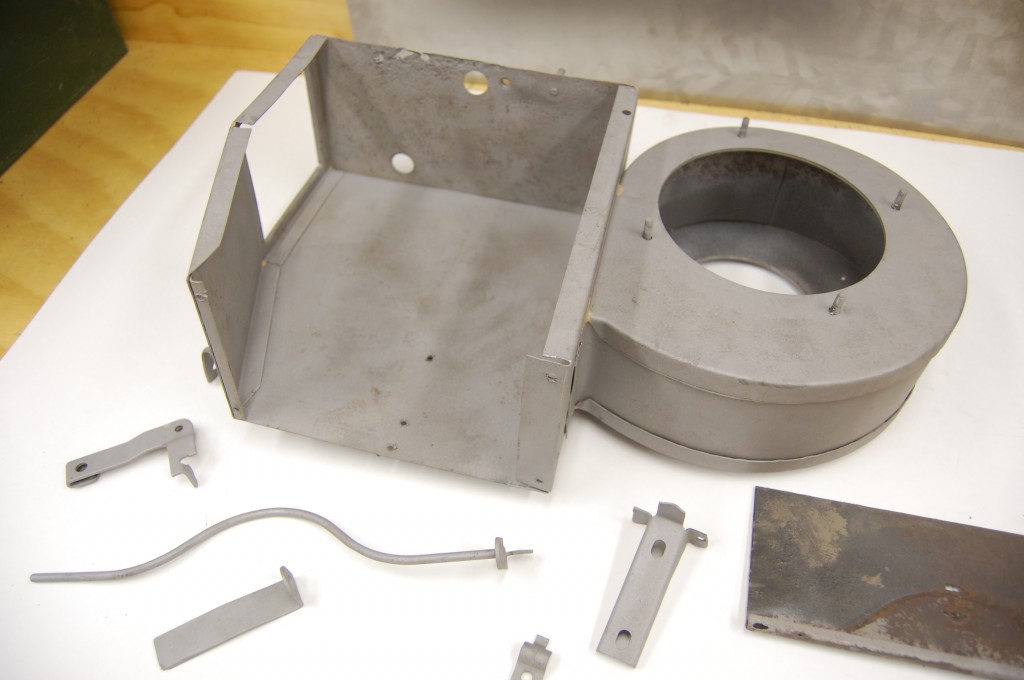
Step 2 is to blast off all paint and rust - this one had TONS of sandable primer on it - sprayed right over pre-existing rust, inside and out... The flap was a little crusty and pitted, with tons of glue, and I just decided it would be faster and a better idea to form up a new one...
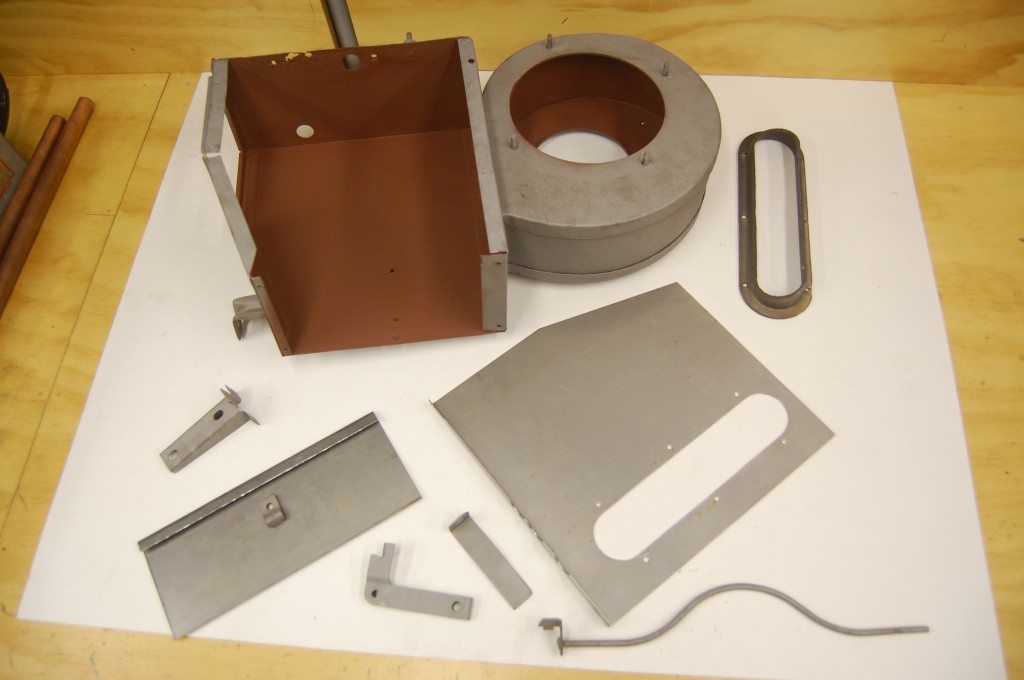
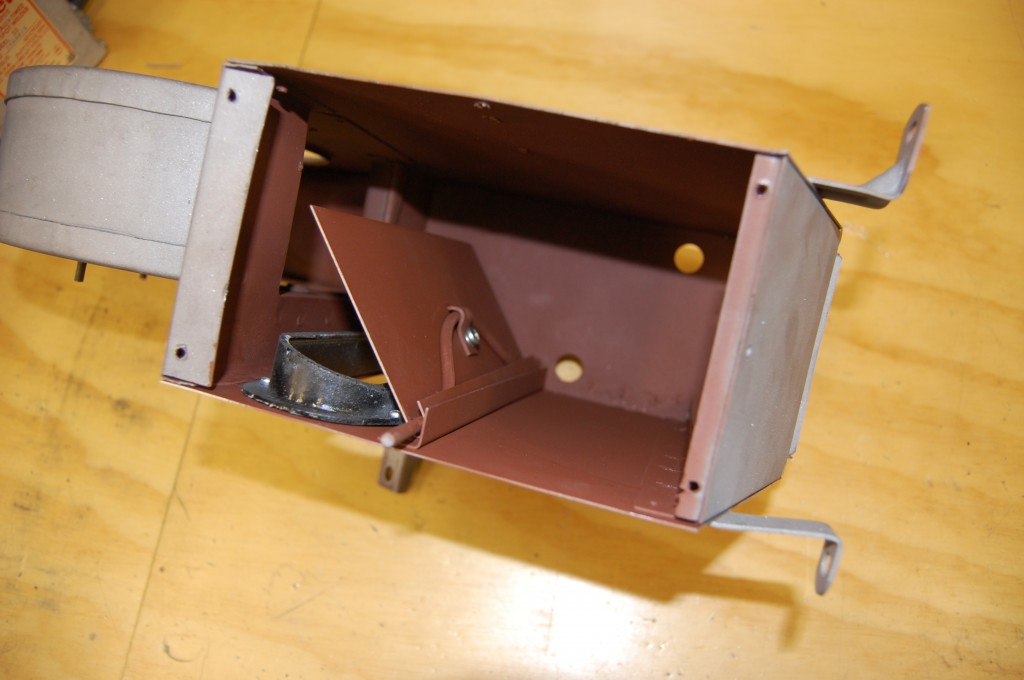
Here's the shell after a good internal coating of red oxide. In front is the new bottom plate and flap.
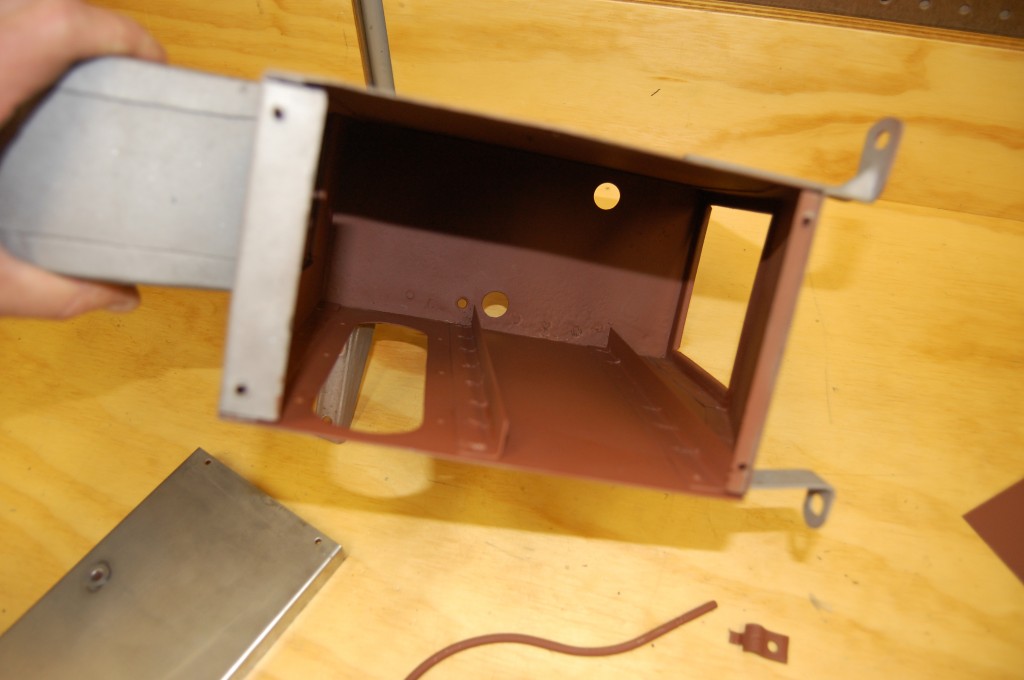
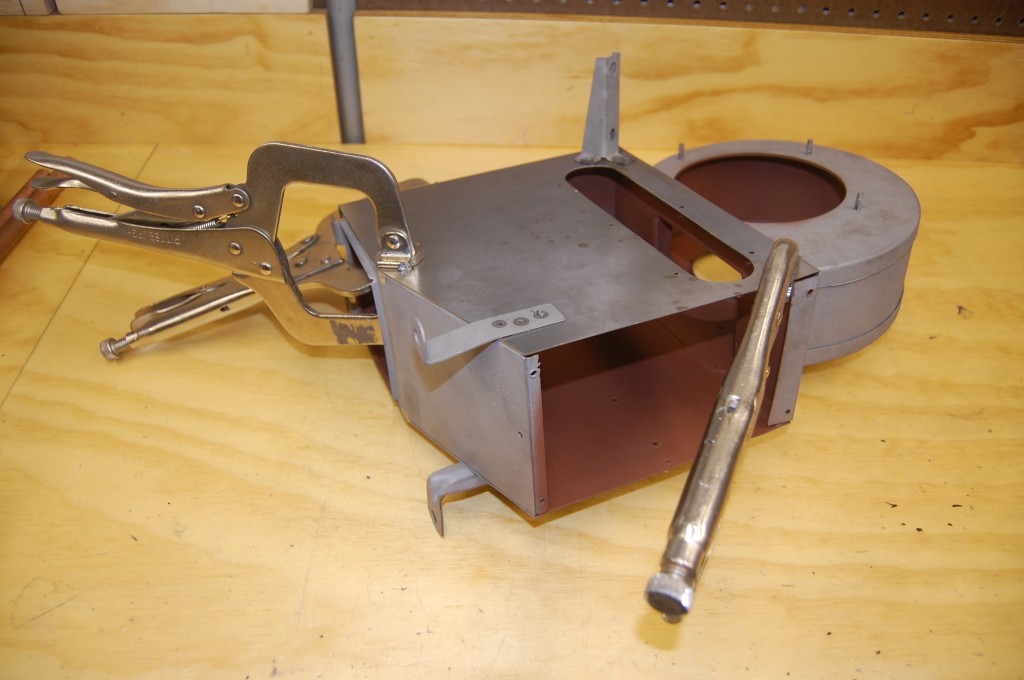
The new bottom plate has been spot-welded into place, and the heater core locating channels have been addded as well. We've also coated the inside of this panel with red oxide as well. You can also see the new side plate just peeking into the bottom right corner of the photo.
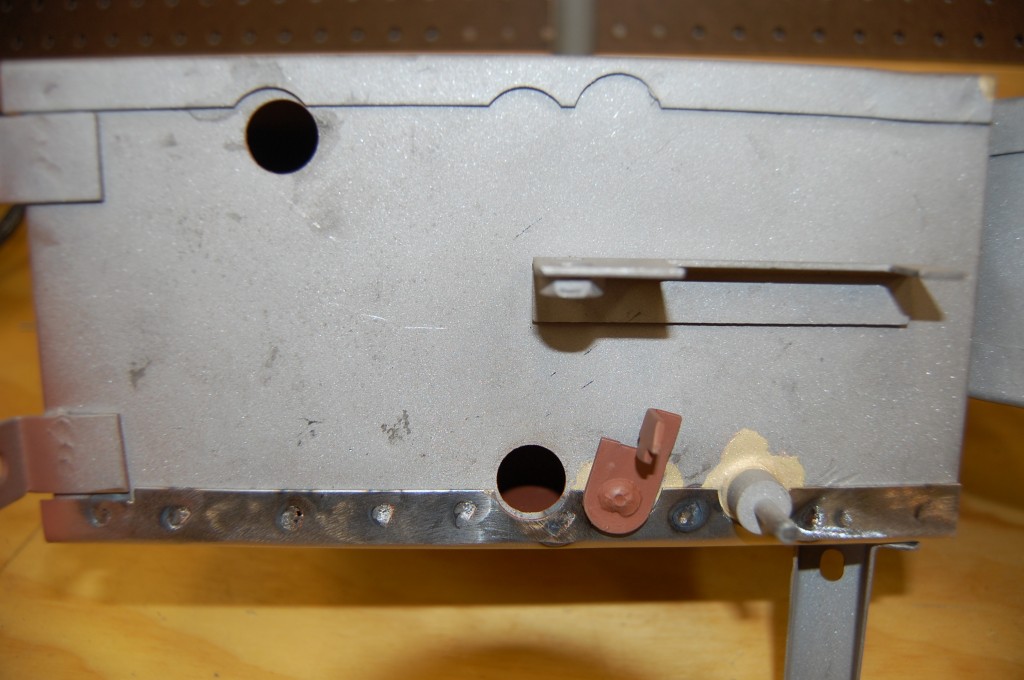
This shot shows the flange on the inner side of the bottom plate. We made this approx. 1/8" wider than the original to cover up a little cancer in the original side plate - you can see that it was notched to clear the bottom mounting leg.
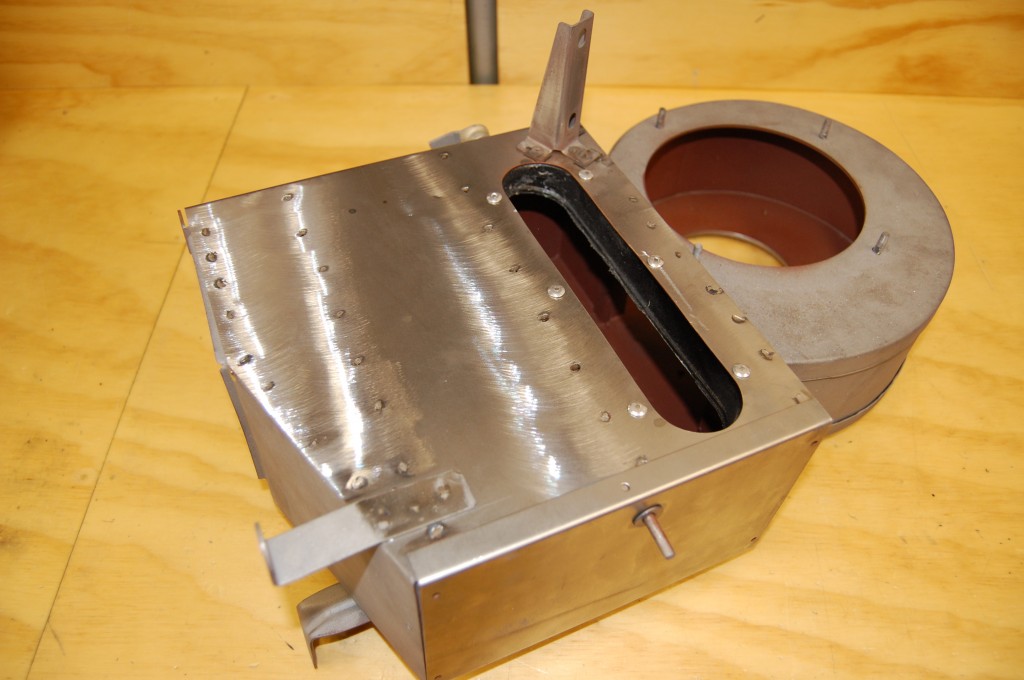
Finished! We've dressed down the spot-welds and added the bottom leg and subframe bracket - in the EXACT location where they should be. We'll send it back in bare steel, and the customer can finish with the primers and paints of their choice.
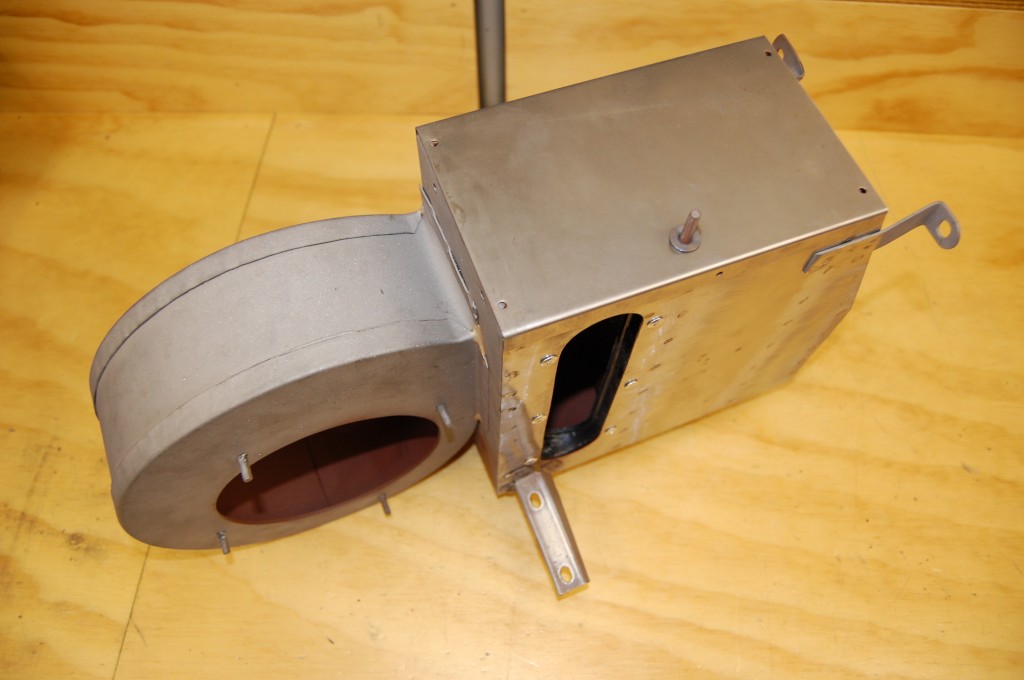
Here's what you'll see from the outside when the bonnet is open. It might seem like overkill to take such care with a heater shell, but the dimensions need to be correct or the core won't fit, the flap won't move, the mounting legs won't line up, or ALL of the above! When you send your heater to us for repair, you'll never have to deal with ANY of that, and you'll have a perfect unit when painted, which is actually a very prominent item when the bonnet is open!
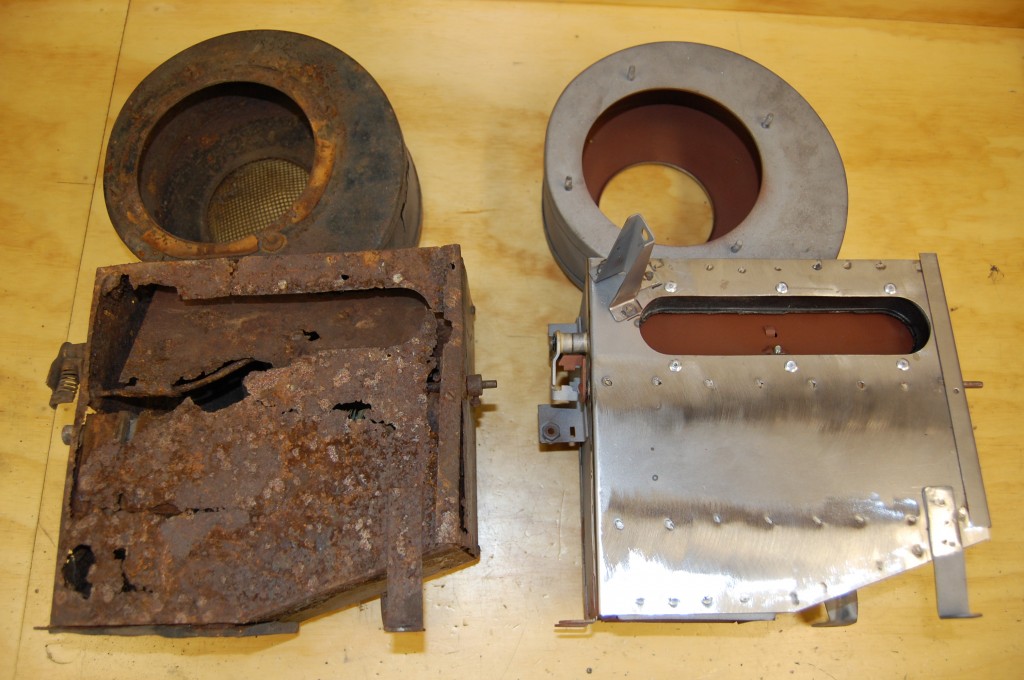
Our finished heater on the right did not start out as bad as the core on the left, but actually, we replaced the same pieces that would need to be done on this really crusty heater! The bottom line is that we can fix ANY heater shell - or even build you a new one from scratch! Send yours in today and we'll get it back to you quickly - as good as new!

