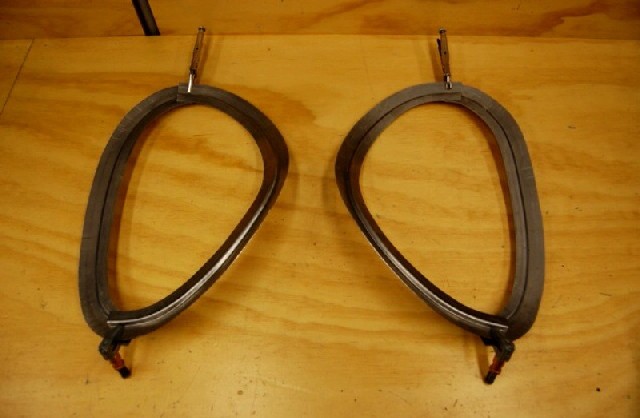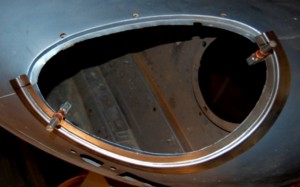
Here is the outer flange for the LH wing - this pieces curves and bends in every direction imaginable! I've included an extra 1/2" on each end for adjustment to the particular bonnet each set is fitted to...
Over the past 25 years, I have seen far too many REALLY BAD attempts at converting Series 1.5 and Series 2 bonnets to covered headlamps, and I finally decided to make the necessary flanges to do it the RIGHT way! I guess there will be a few people out there that don’t like the idea that I made these, but I’m betting there will be more that want to know how soon I can send them a set!
These are a set of flanges that will be used to convert a Series 1.5 bonnet with open headlamps, to Series 1 specs – with covered headlamps. They are correct in every dimension, and if properly installed, should make a Series 1.5 bonnet indistinguishable from Series 1.
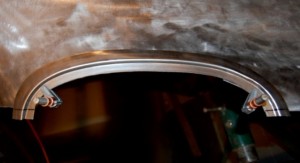
Here is the matching flange for the one shown above - the LH center section flange. I thought this one would be easier because it was smaller and curved less, but having "less room" to work in with the shortened length, and the tight curves on the ends, made this one just as tricky in its own way...
As long as I’m “blogging…”, I guess I’ll throw in my 2 cents on the whole covered headlamp thing.. . Covered headlights are cool – period. They are one of the key features of the E-Type, and even people who don’t know anything about E-Types know they are supposed to have covered headlights. I have driven a ’63 for the past 25 years, and I wouldn’t have it any other way. At night, they give off an eerie glow that just adds to the mystique of the E-Type. Nowadays, most E-Types never even see the rain, but a set of covered headlights at night with a light dusting of snow on them is just about as cool as it gets…
On the other hand – covered headlights don’t really work… I have spent countless hours tooling around back, country roads at night in the E-Type, and I have often described the light given off as “someone sitting on the bonnet holding a candle…” When the light goes through that curved glass, it just seems to spray out in all directions and you lose any real beam effect. My E-Type is currently apart (again…), but this time, I’m going to put some kind of lights in that are so bright that I’m wondering if there will be a heat problem!
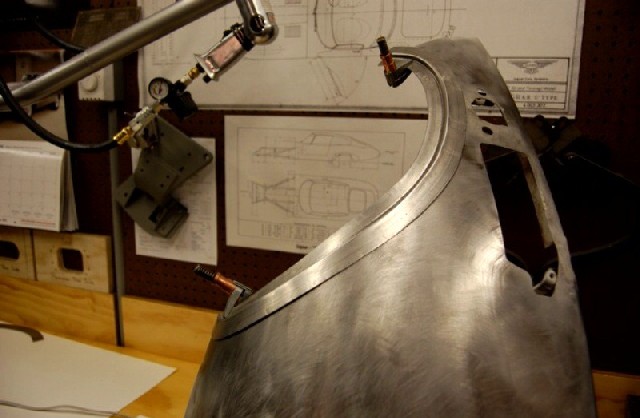
Check out that fit! Sometimes I even impress myself! Getting the angle of the outer flange correct on top of everything else was another challenge on these. The customer can choose how they will install these, but I recommend simply marking the outer edge and cutting the wing there, and doing a careful TIG weld to stitch these in.
Another thing about the covered headlights is that fact that the chrome ring really is a little “fat”… That’s probably why the D-Types and vintage racing E-Types always look so good – they usually eliminate the trim altogether with plexiglass covers. A couple of years ago, I had 2 dead bonnets sitting outside of the shop for a couple weeks, waiting to be taken apart to save the inner valances. One was a ’63 and one was a ’68. And after seeing them every day side by side, I determined that the ’68 just had a better shape overall. And with their body-colored scoop, and minimal trim, ’68’s probably have the best lines around the headlamps. So, actually, I can see why they ditched the covered headlights for safety reasons, and I think they did a pretty good job with the ’68.
However, ALOT of ’68 owners want to switch over to covered headlights, and I can see why. For one thing, the cars are worth more with covered headlights – I have heard as much as $3-5000 US. And really, no-one can really “lie” about the car being a covered headlamp car originally – the serial number tells all…
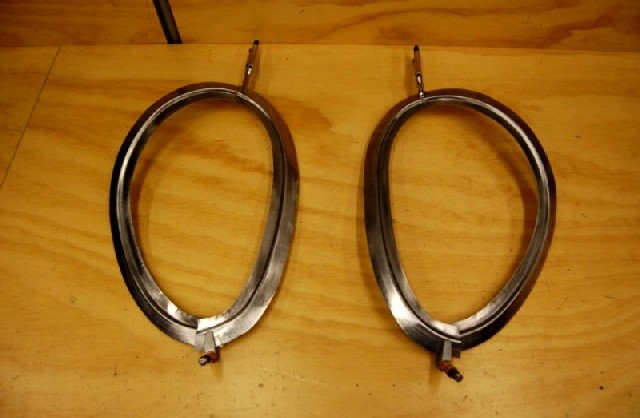
Here is the set of 4, clamped together to show the shape they'll take on the bonnet. They look alot like the chrome trim rings - that's a good thing that shows the shape is correct! On future sets, I can include the caged nuts for attaching the chrome trim ring - it's best to line them up and tack them in after fitting the flanges to the car.
One final note is this – bonnets are not available new, currently, and the supply of used Series 1 bonnets is pretty much dried up. However, ’68 bonnets seem to be EVERYWHERE! I think this is for several reasons:
A) They made alot of ’68’s.
B) Most of the 2+2’s were made in ’68 and ’69, and we all know that alot of 2+2’s were parted out, but everyone keeps the bonnet stashed somewhere…
C) In the 70’s and 80’s, alot of 68’s with decent bonnets had theirs swapped out for a Series 1 bonnet, and then the ’68 bonnet just sat around.
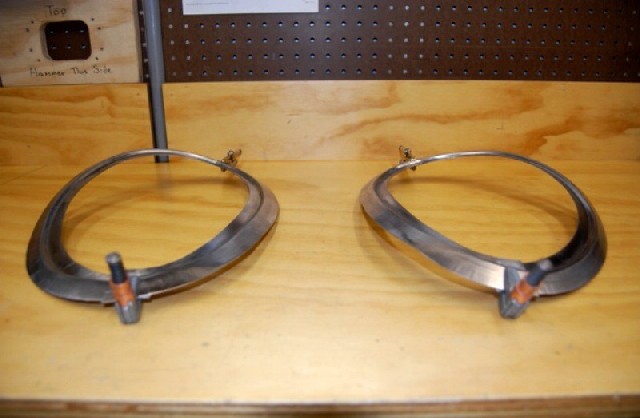
Here's another cool shot that shows they are correct in all the ways that they curve. If you hold these up, or a chrome trim ring or a piece of the glass itself, you can hold it out in front of you just right so that it makes an almost perfect circle...
So, after all of that, and several calls from customers, I finally bit the bullet and attempted these. I had already done all of the bonded flanges of the bonnet, but all of those, as complicated as some are, were “2-dimensional” – they all lay flat on a table on some side. These were “3-dimensional”, and much more difficult to form – I don’t even want to admit how many hours I have in this first set! But they are perfect – and more important – so are the patterns and tooling. So if you would like a set to convert your car, drop us a line or give us a ring!

