Good Morning!
This job is not yet finished, but I just couldn’t wait ANY longer to get some metalworking photos out in front of you guys! Over the past week, I have been restoring a VERY TIRED 1968 Series 1.5 bonnet. Our task is to restore it, convert it to Series 1 covered headlamps, and then mount and fit it to a Series 2 OTS shell that we have already converted to a Series 1 by replacing the tail with new Series 1 panels fabricated and installed here earlier this Summer.
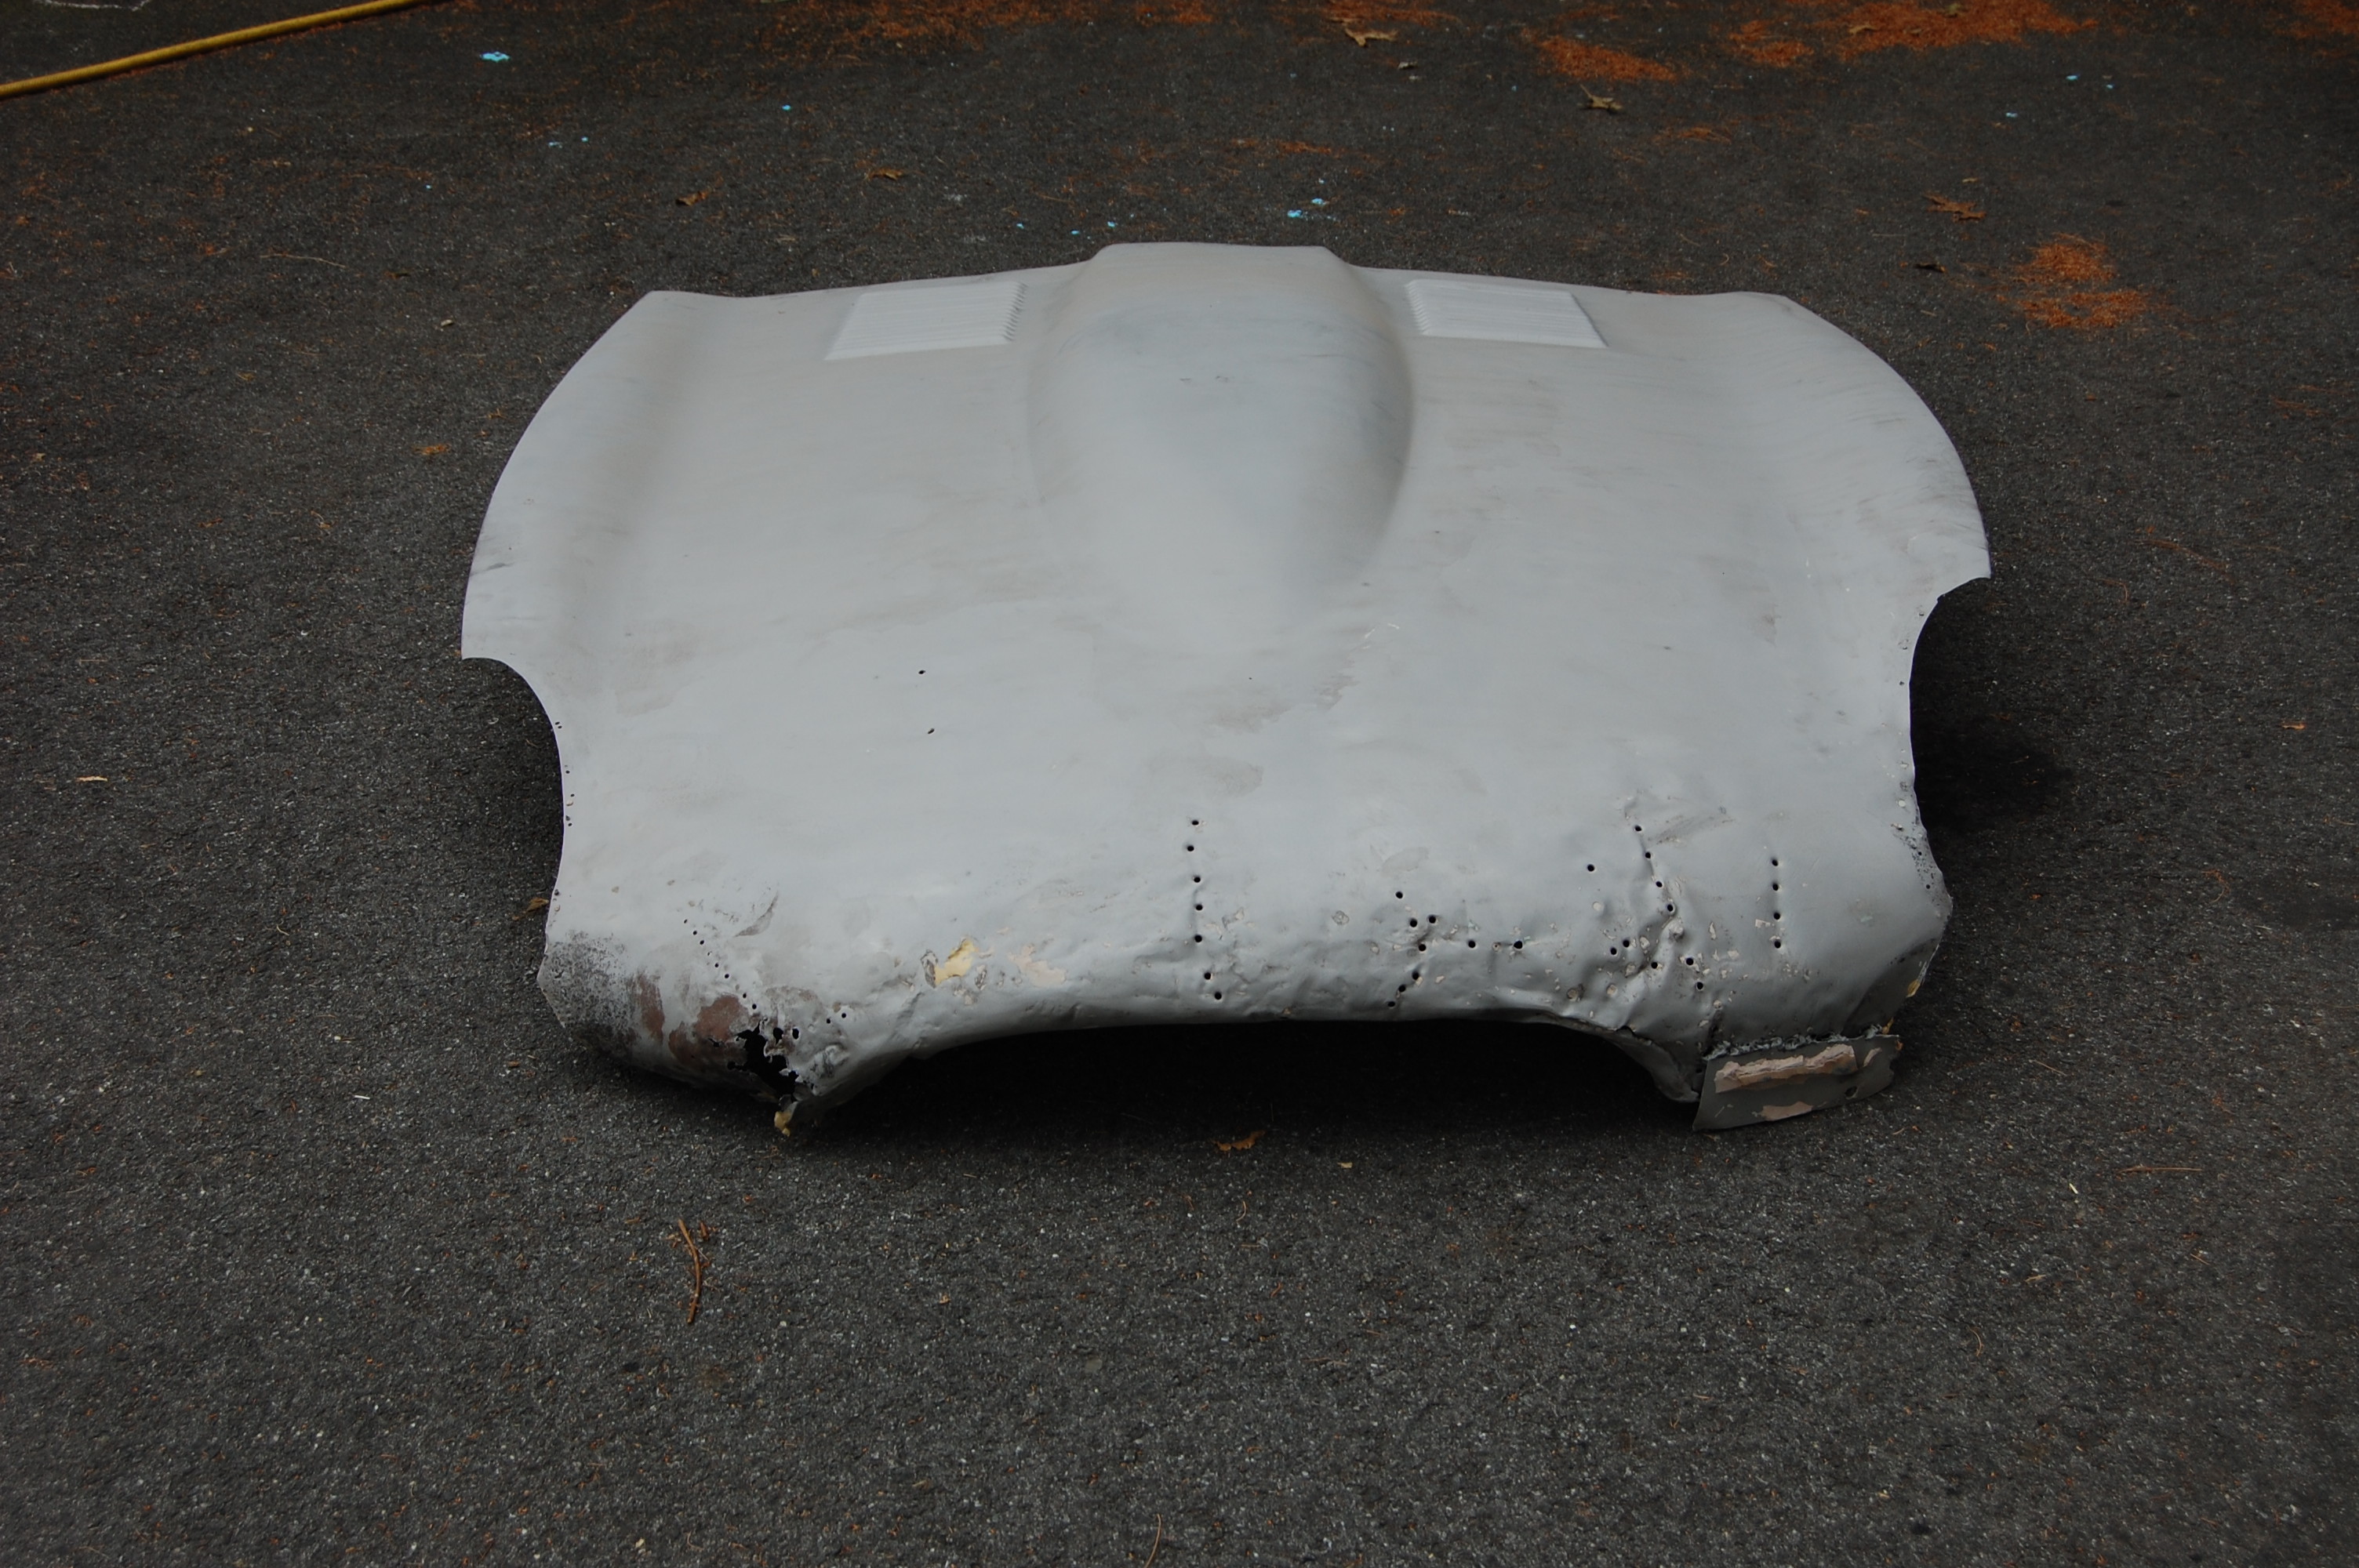
This bonnet was ROUGH – you’ll see that in subsequent blog entries… We managed to work our way through the restoration of the wings and inner valances, and then replaced the lower valance with another original skin we had on hand and one of our new support members. That left just the center section to be dealt with…
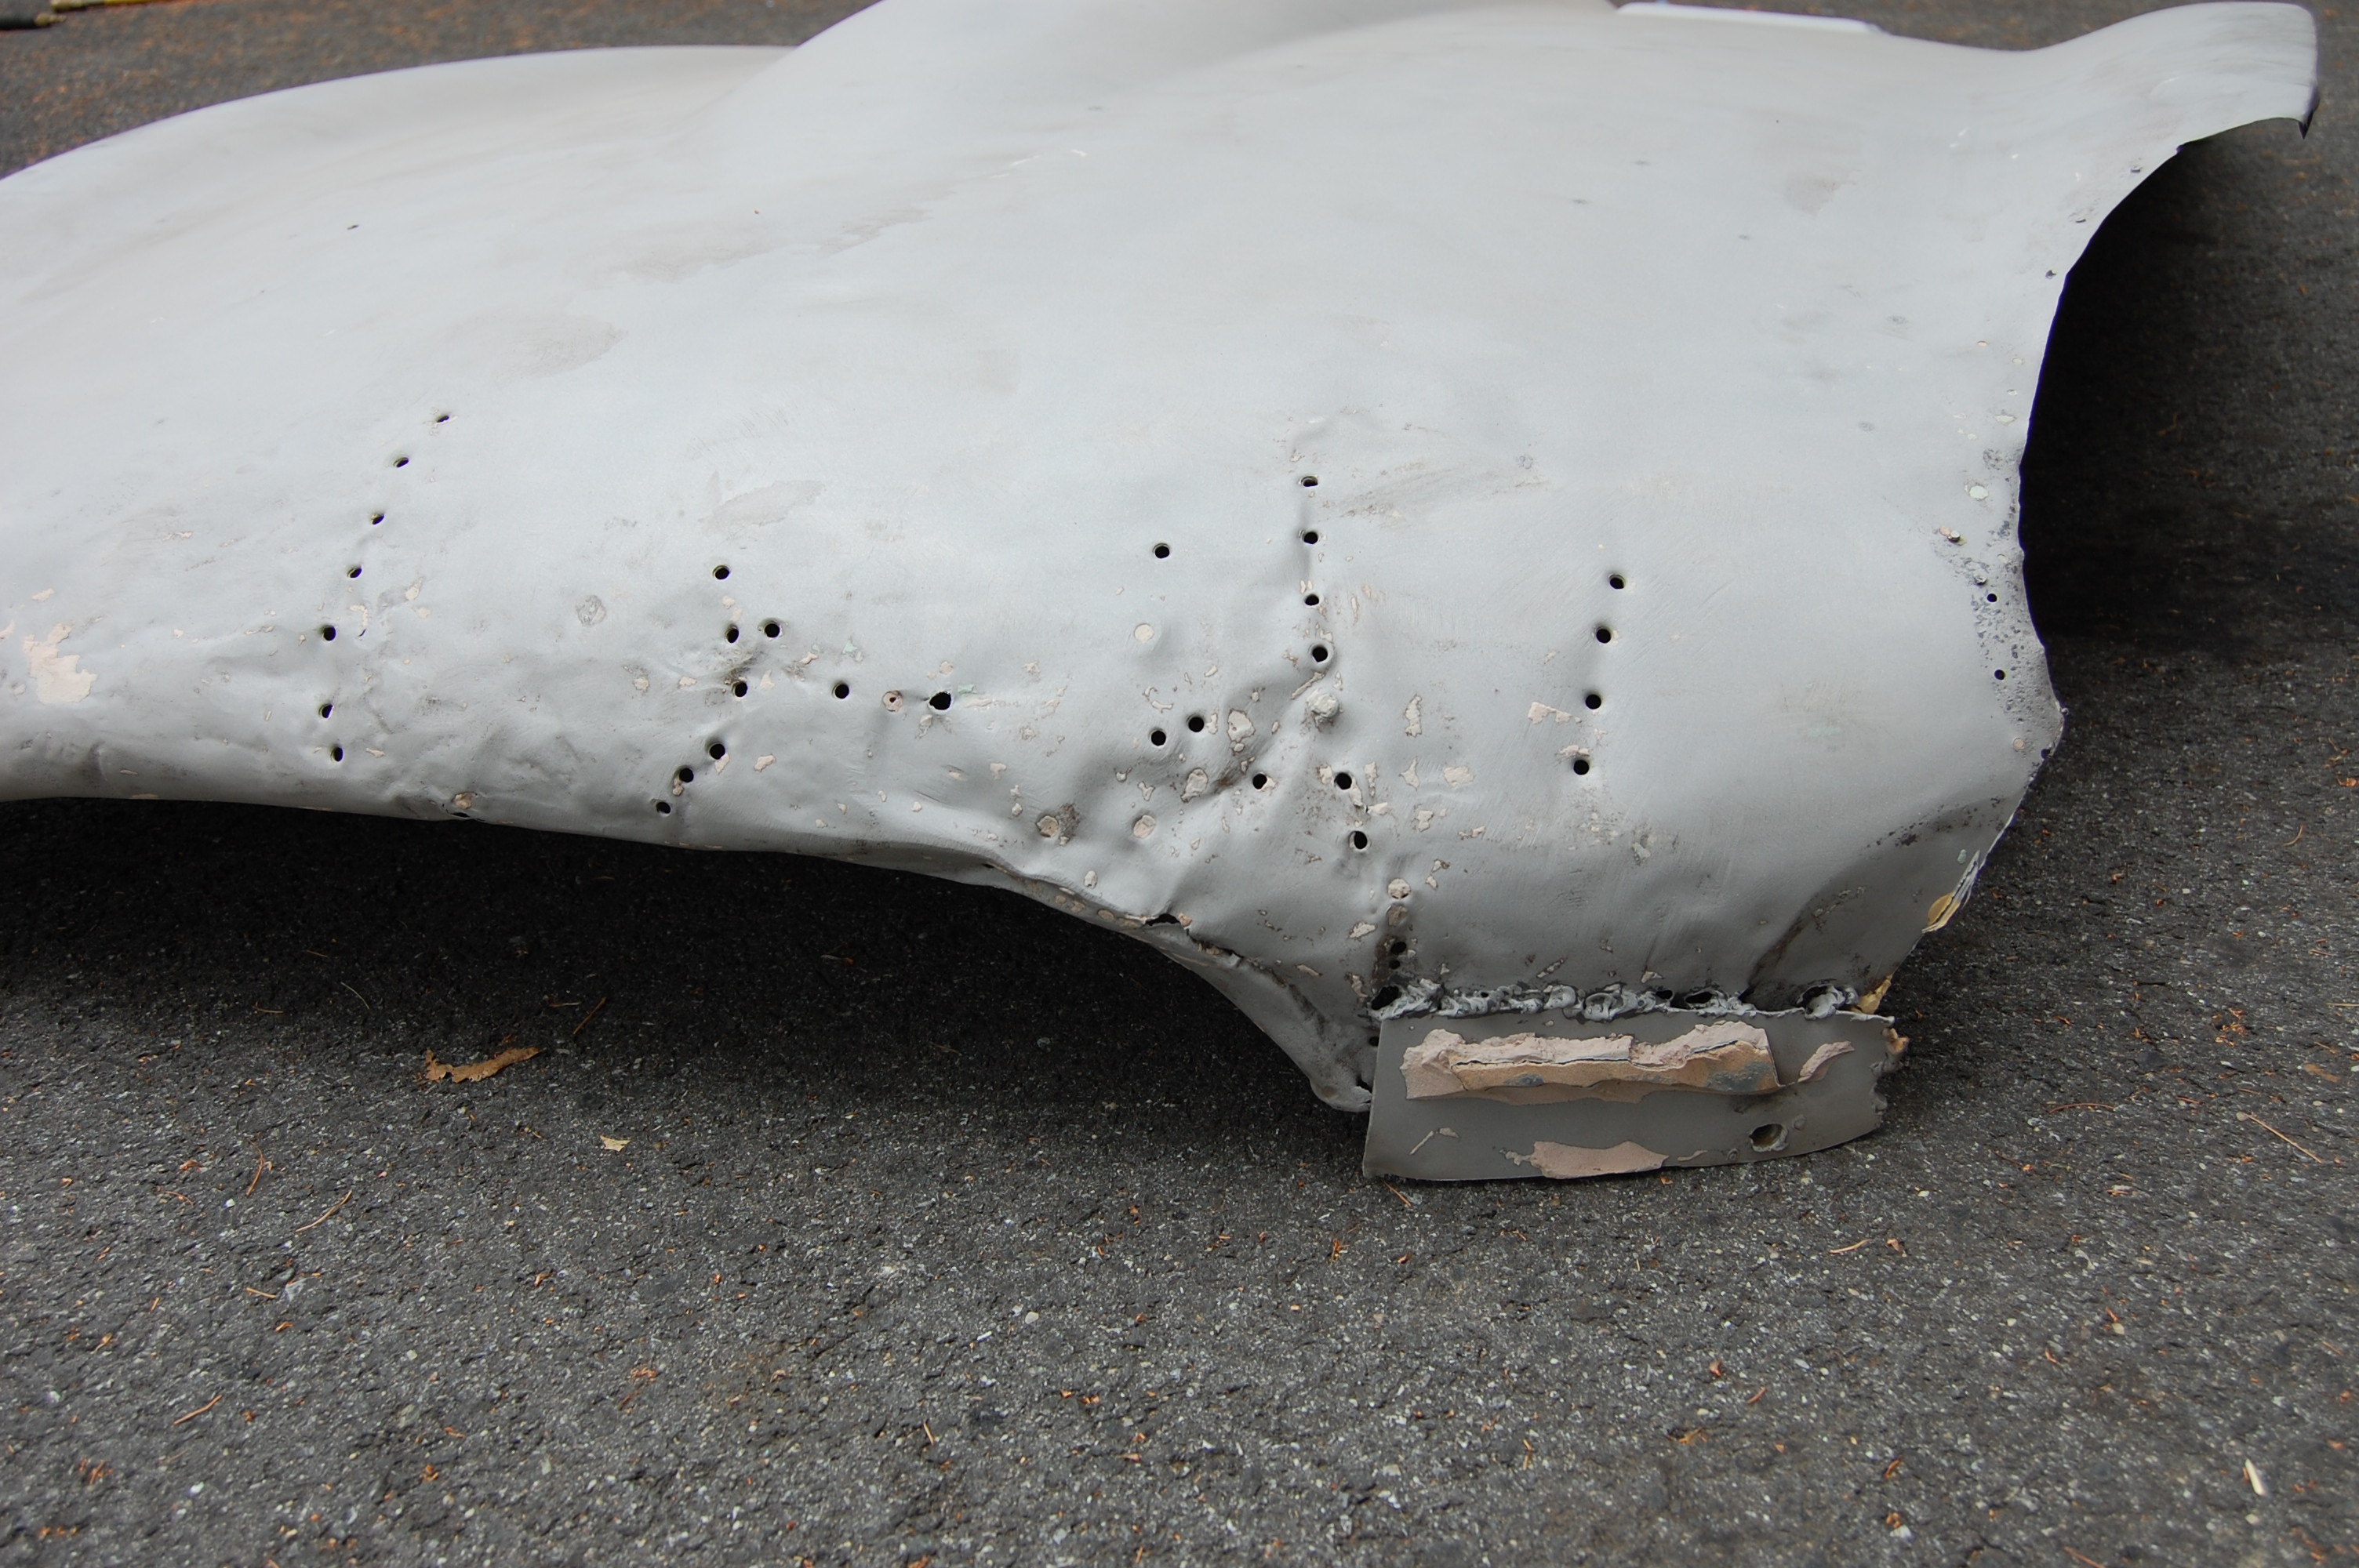
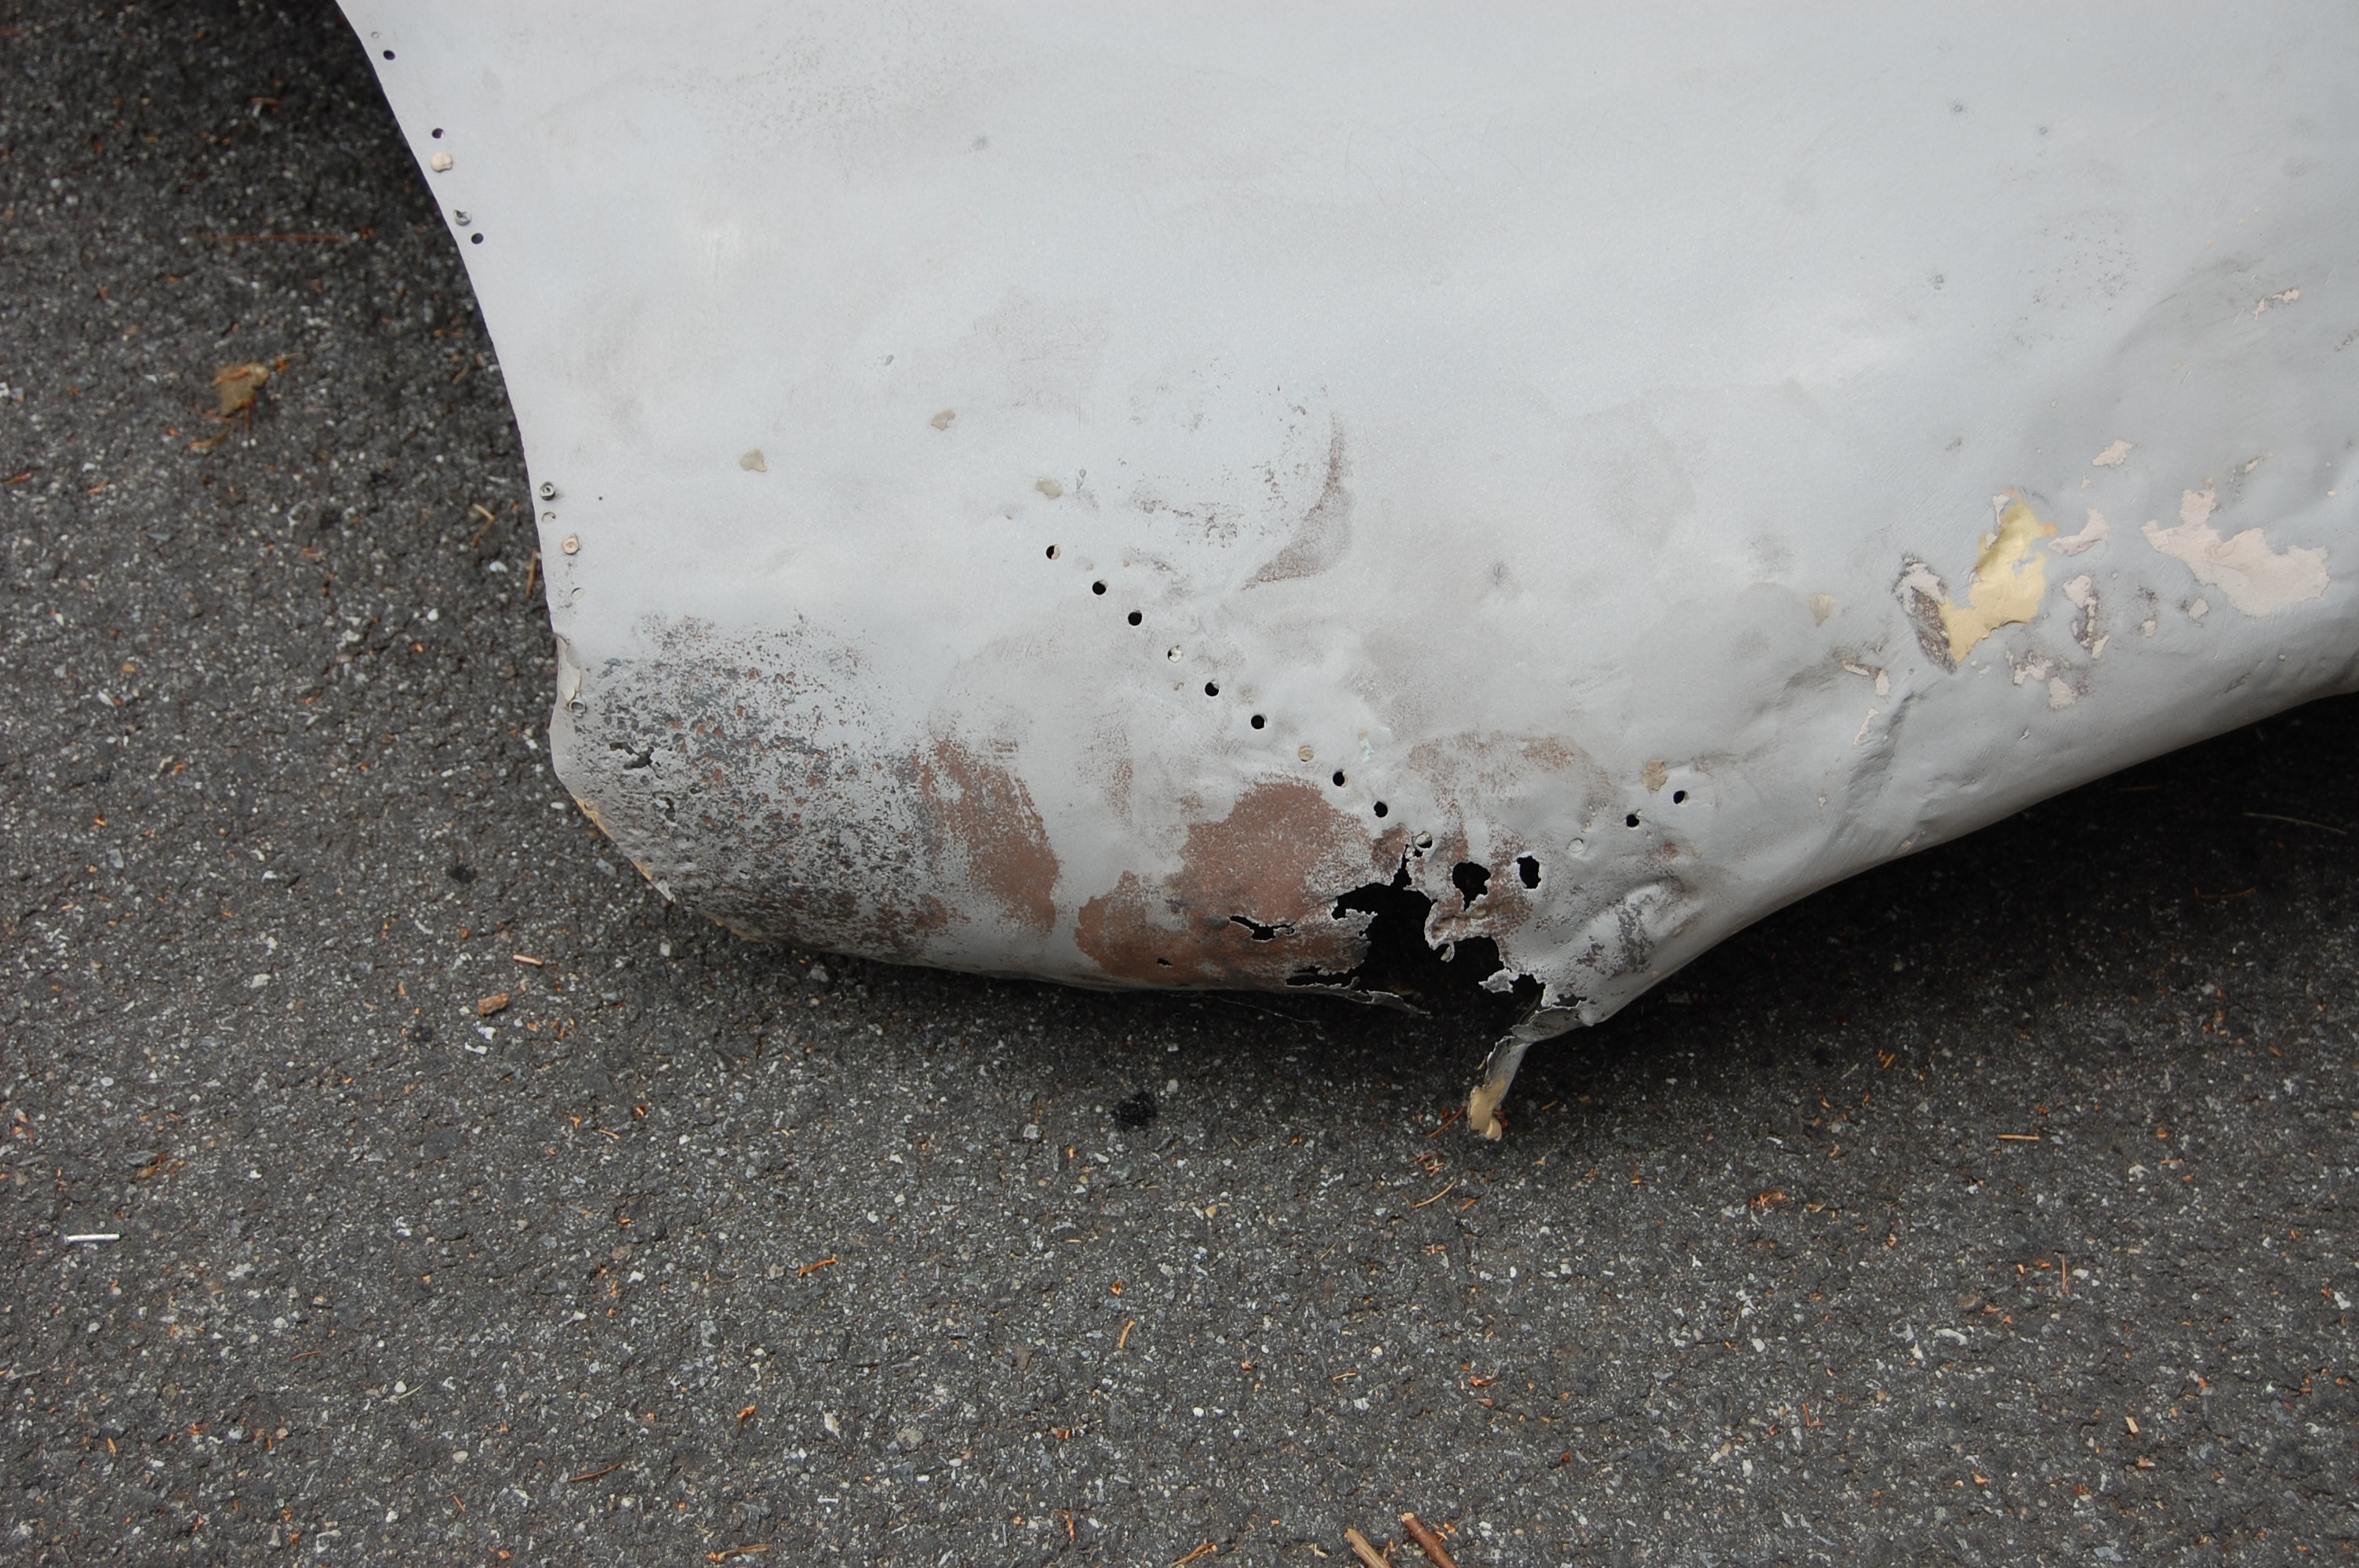
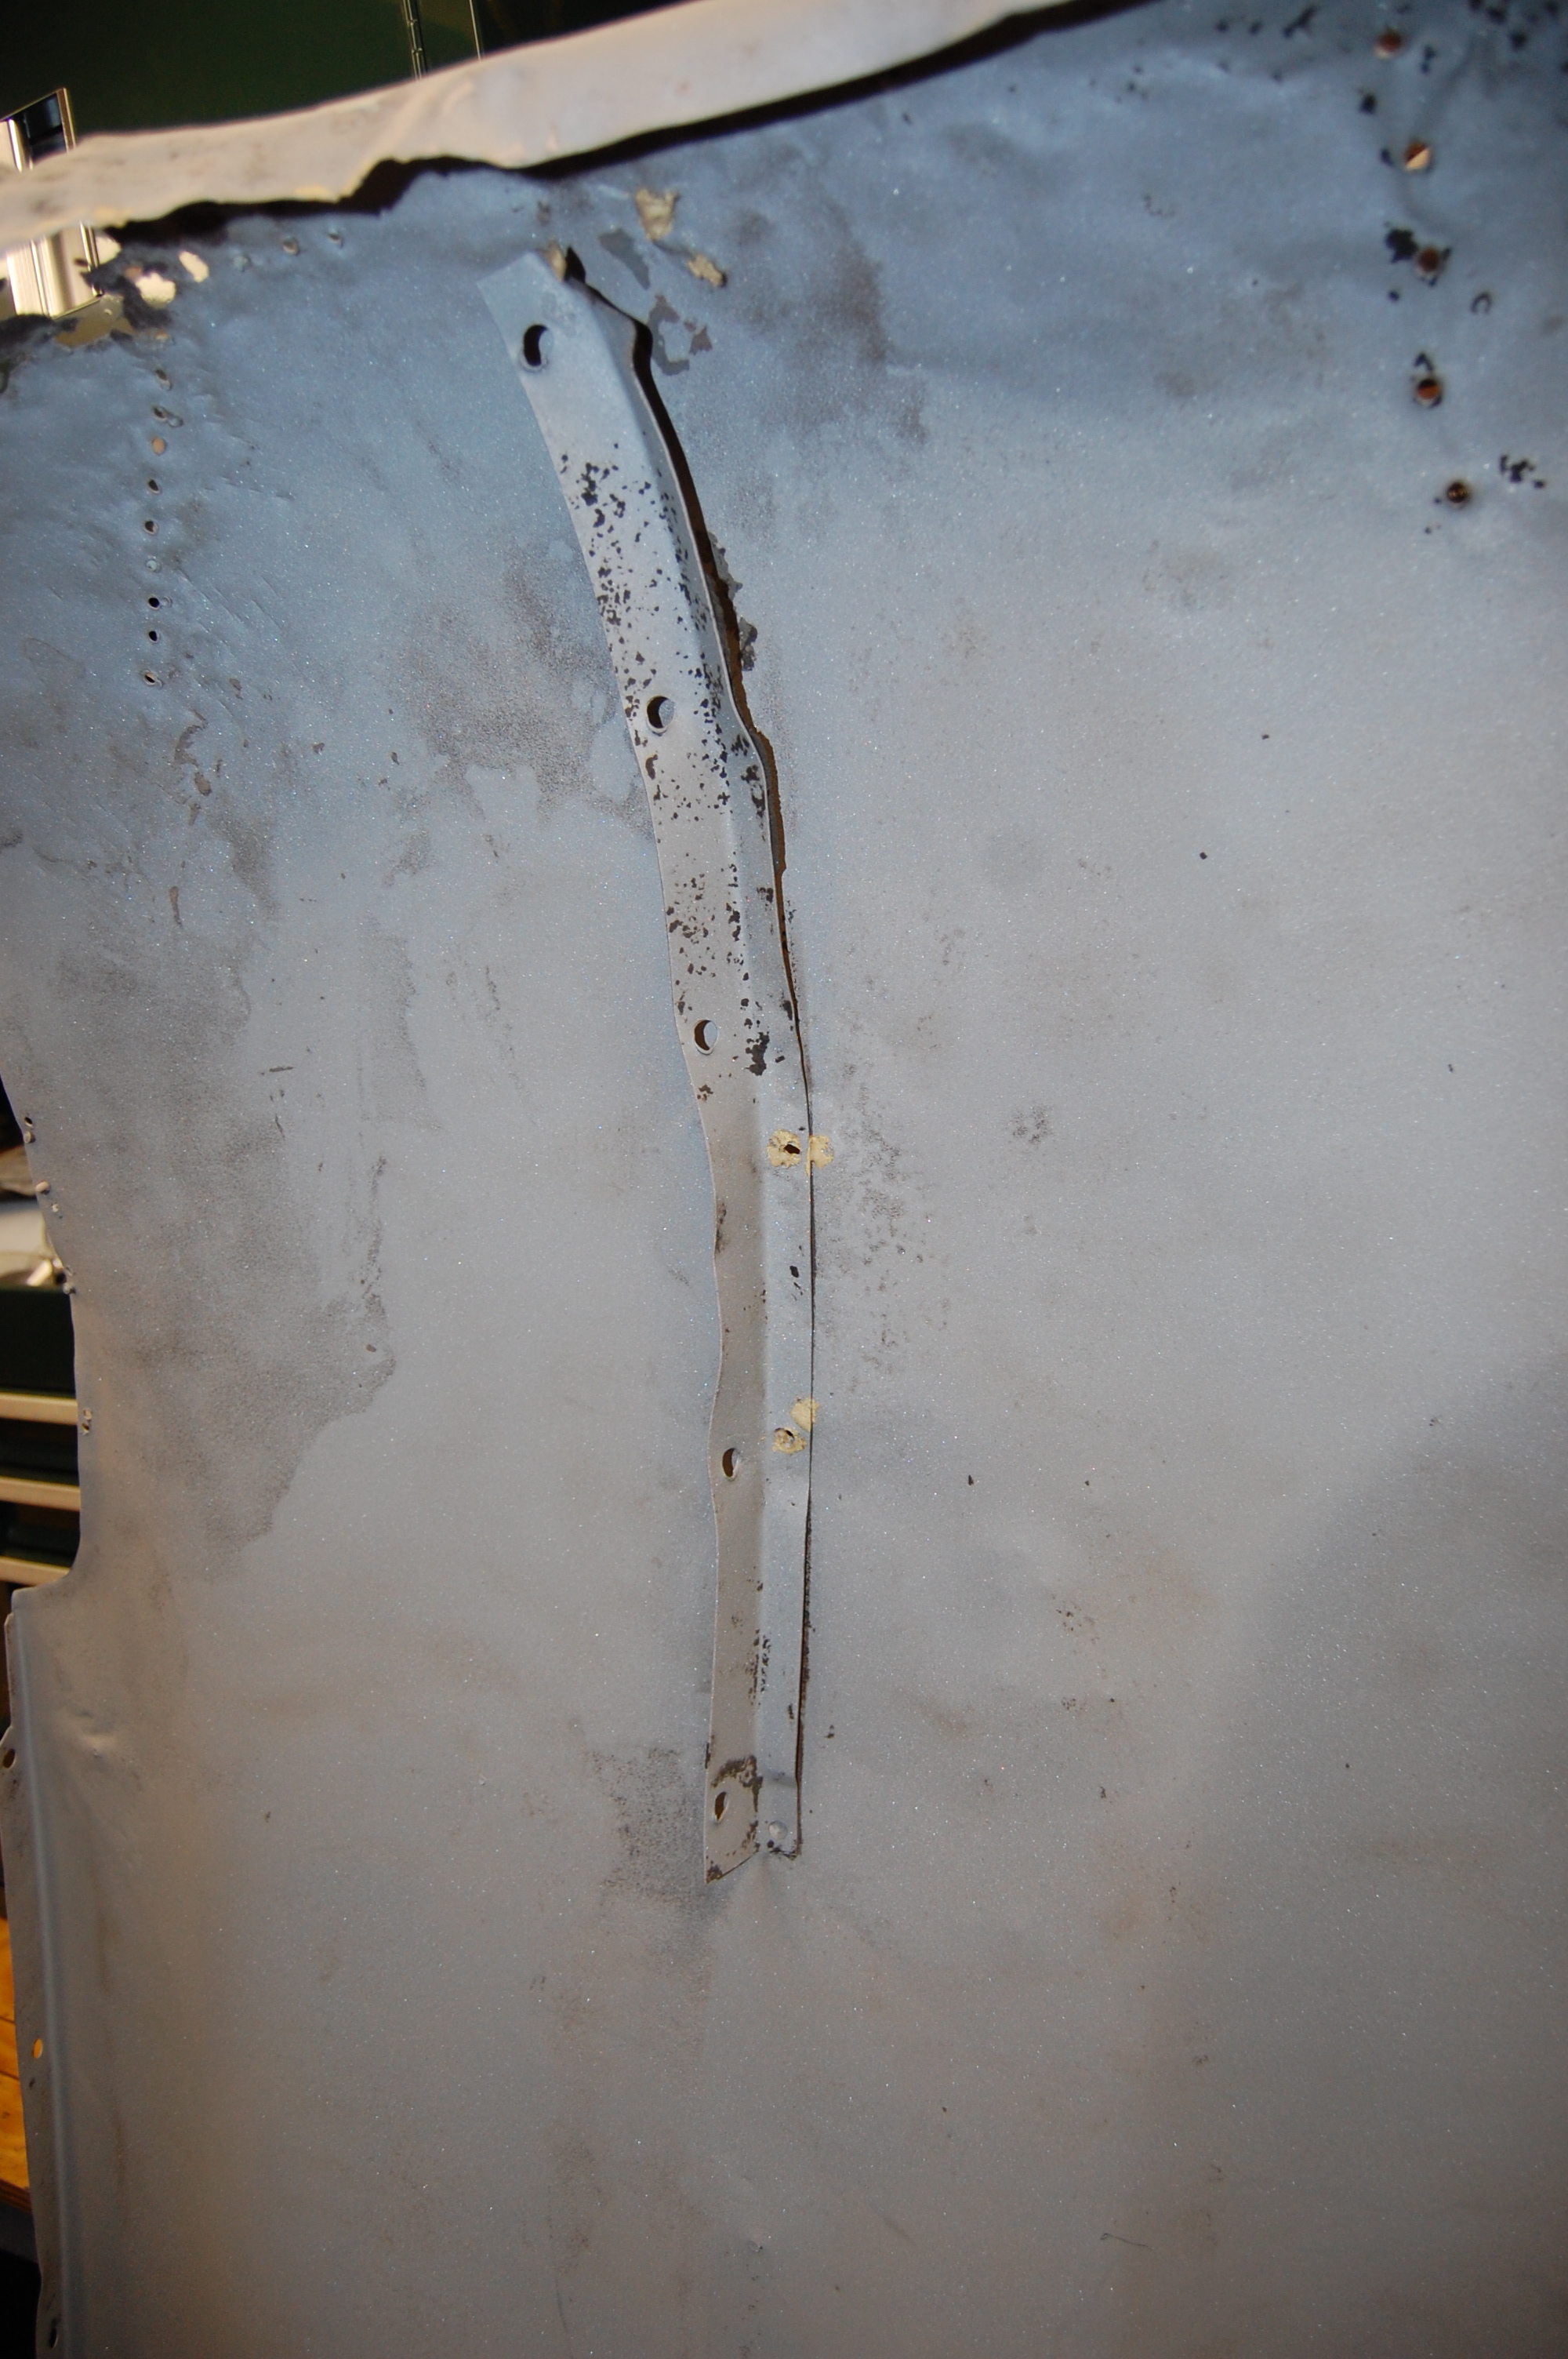
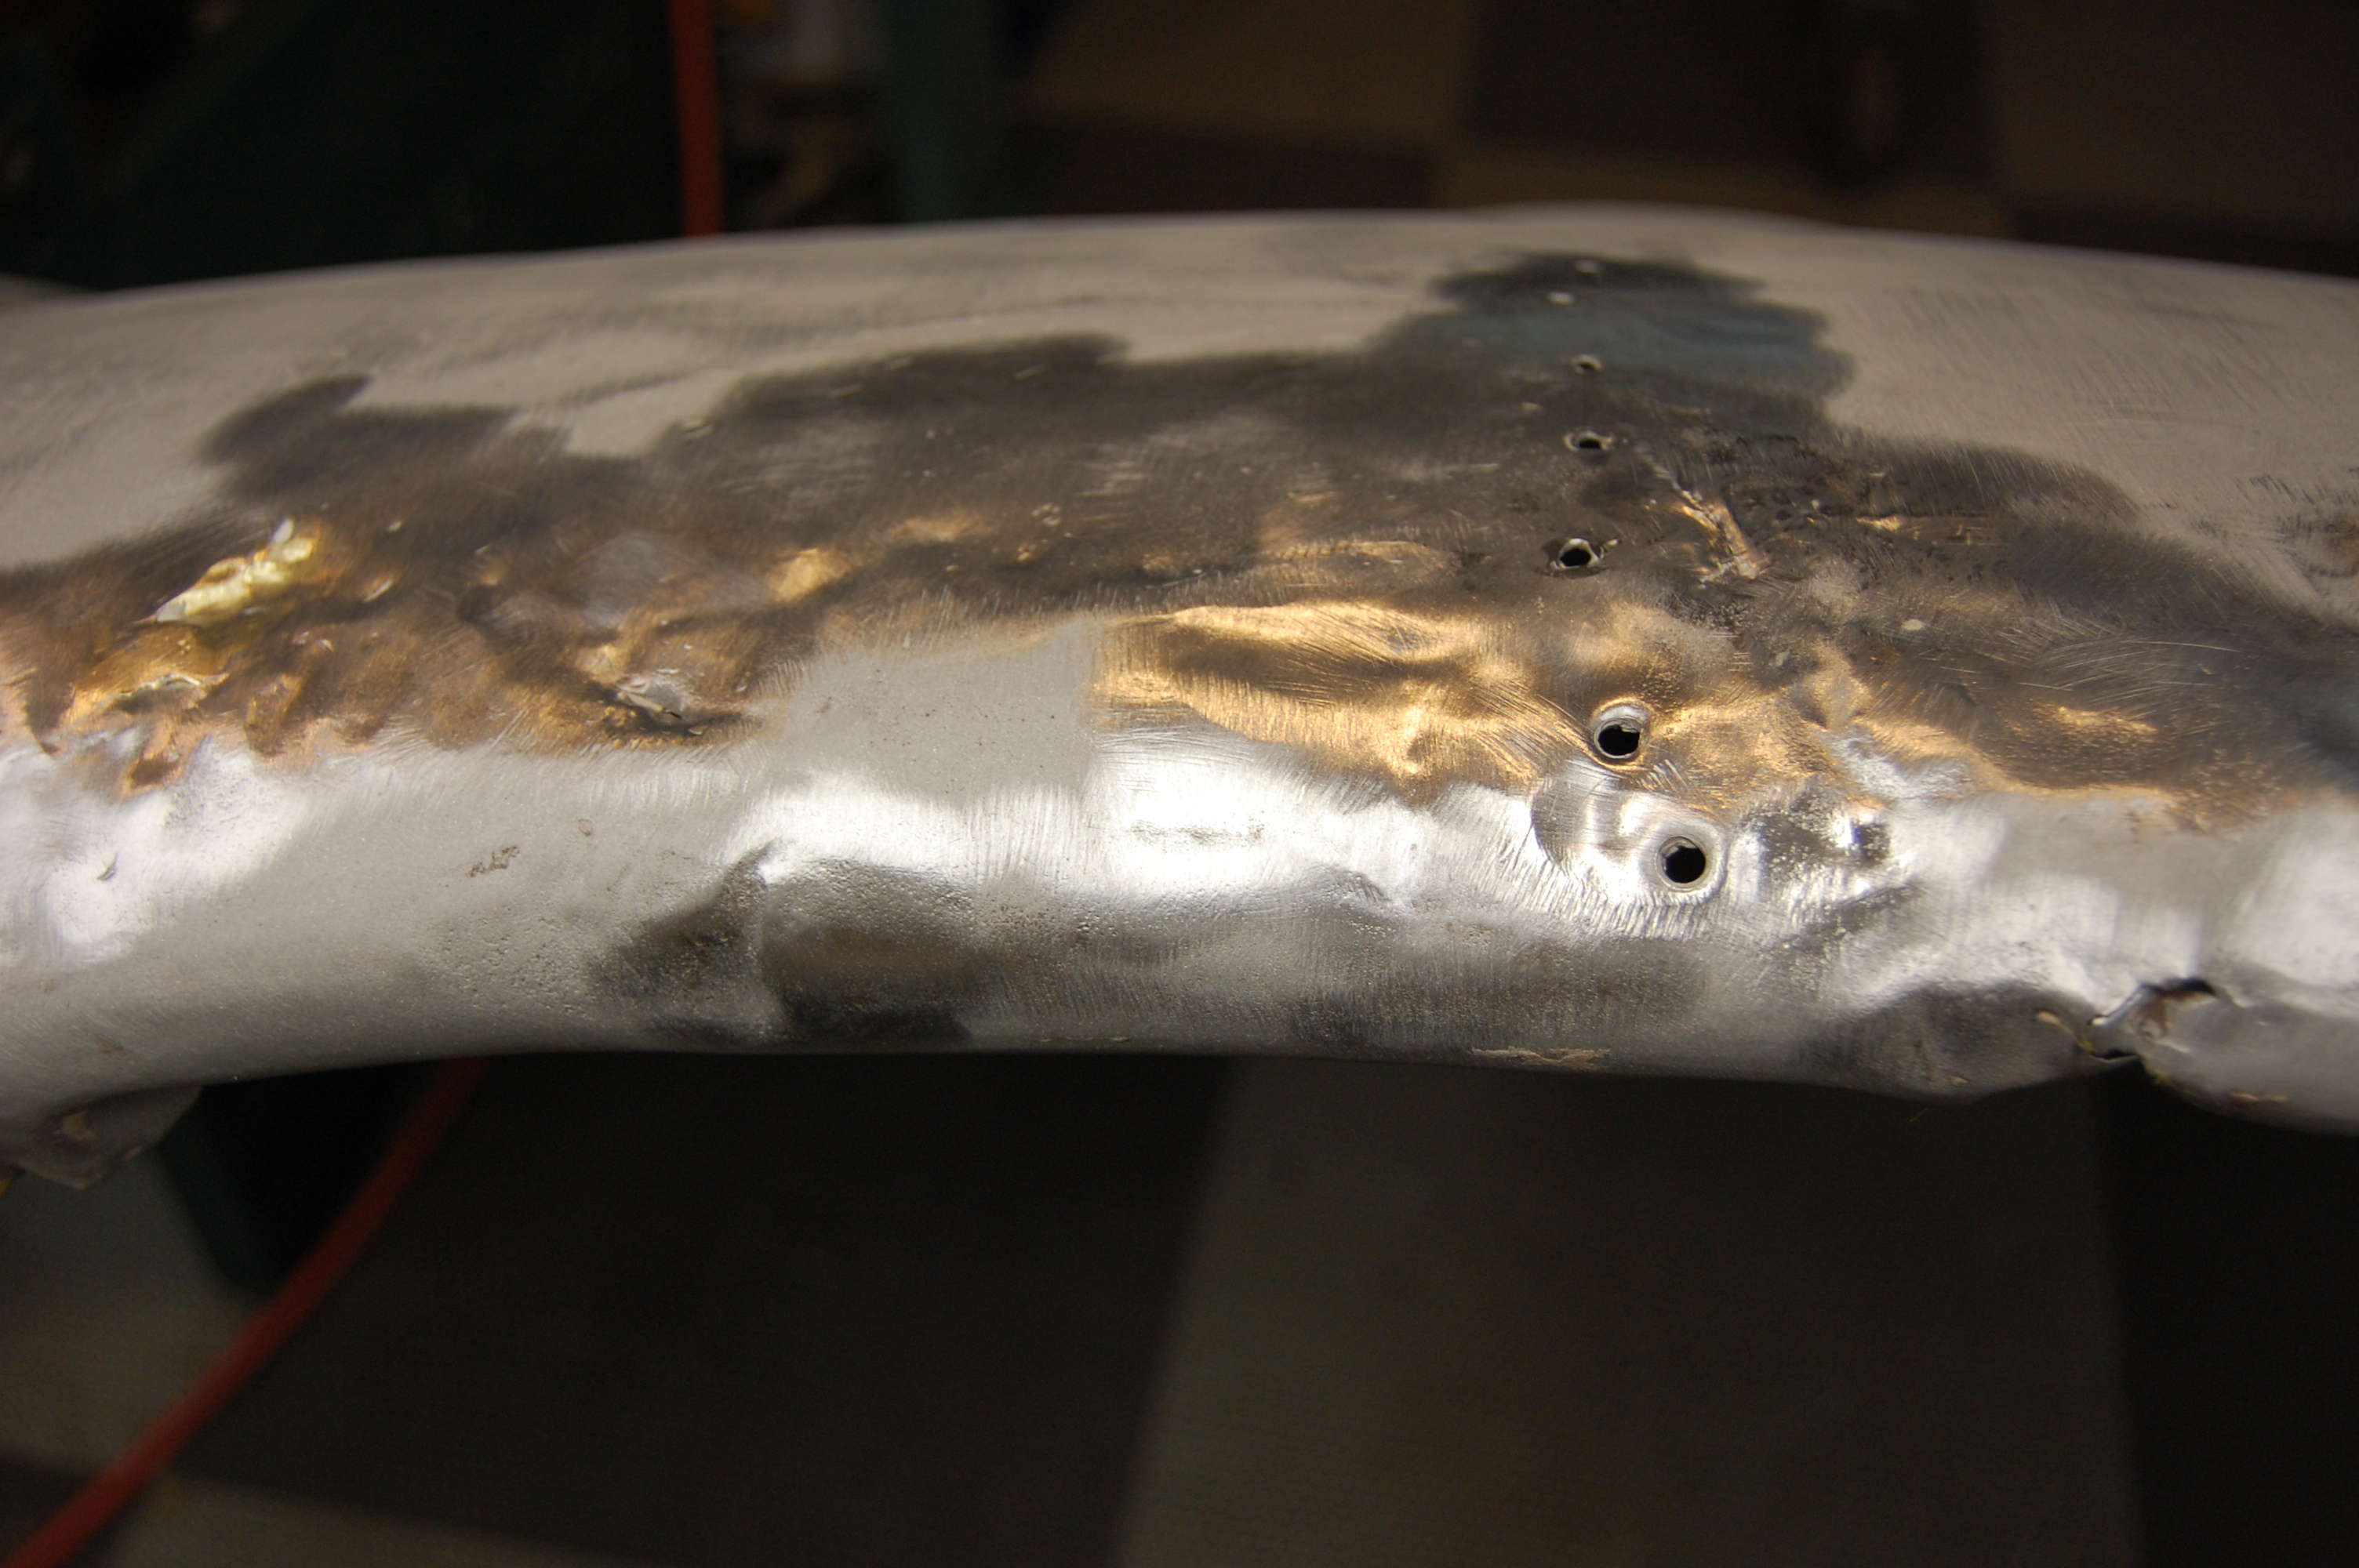
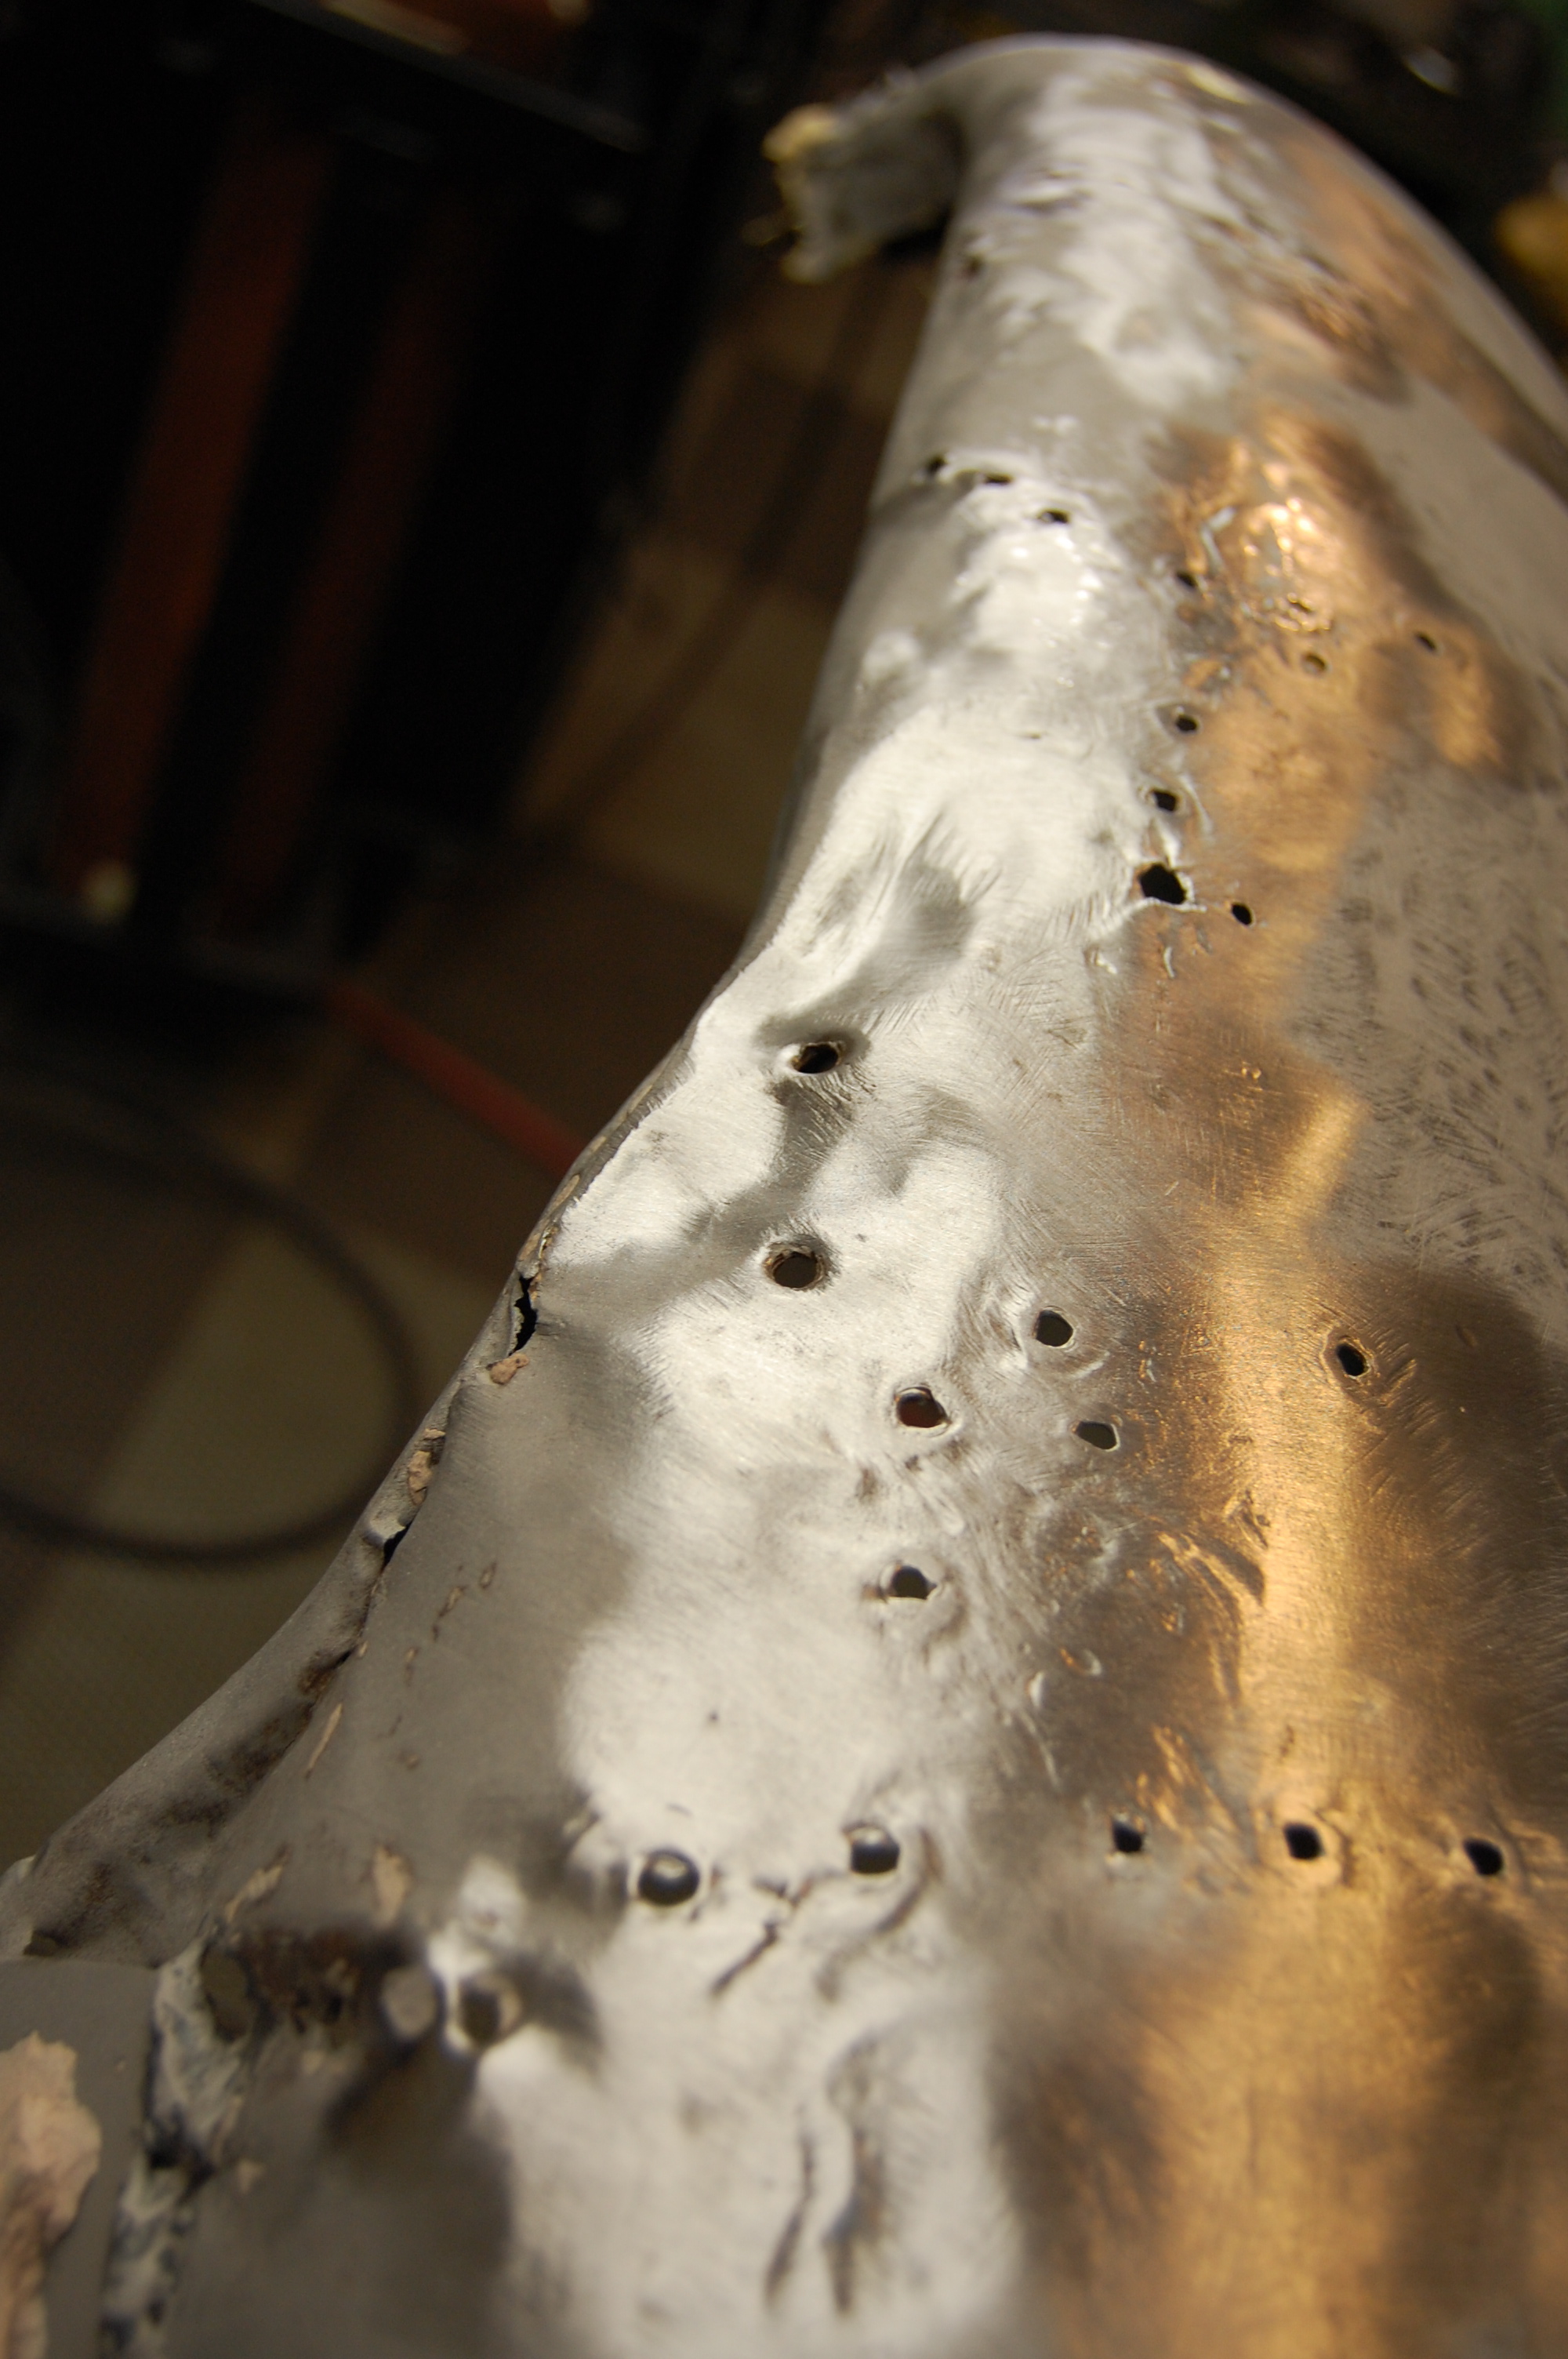
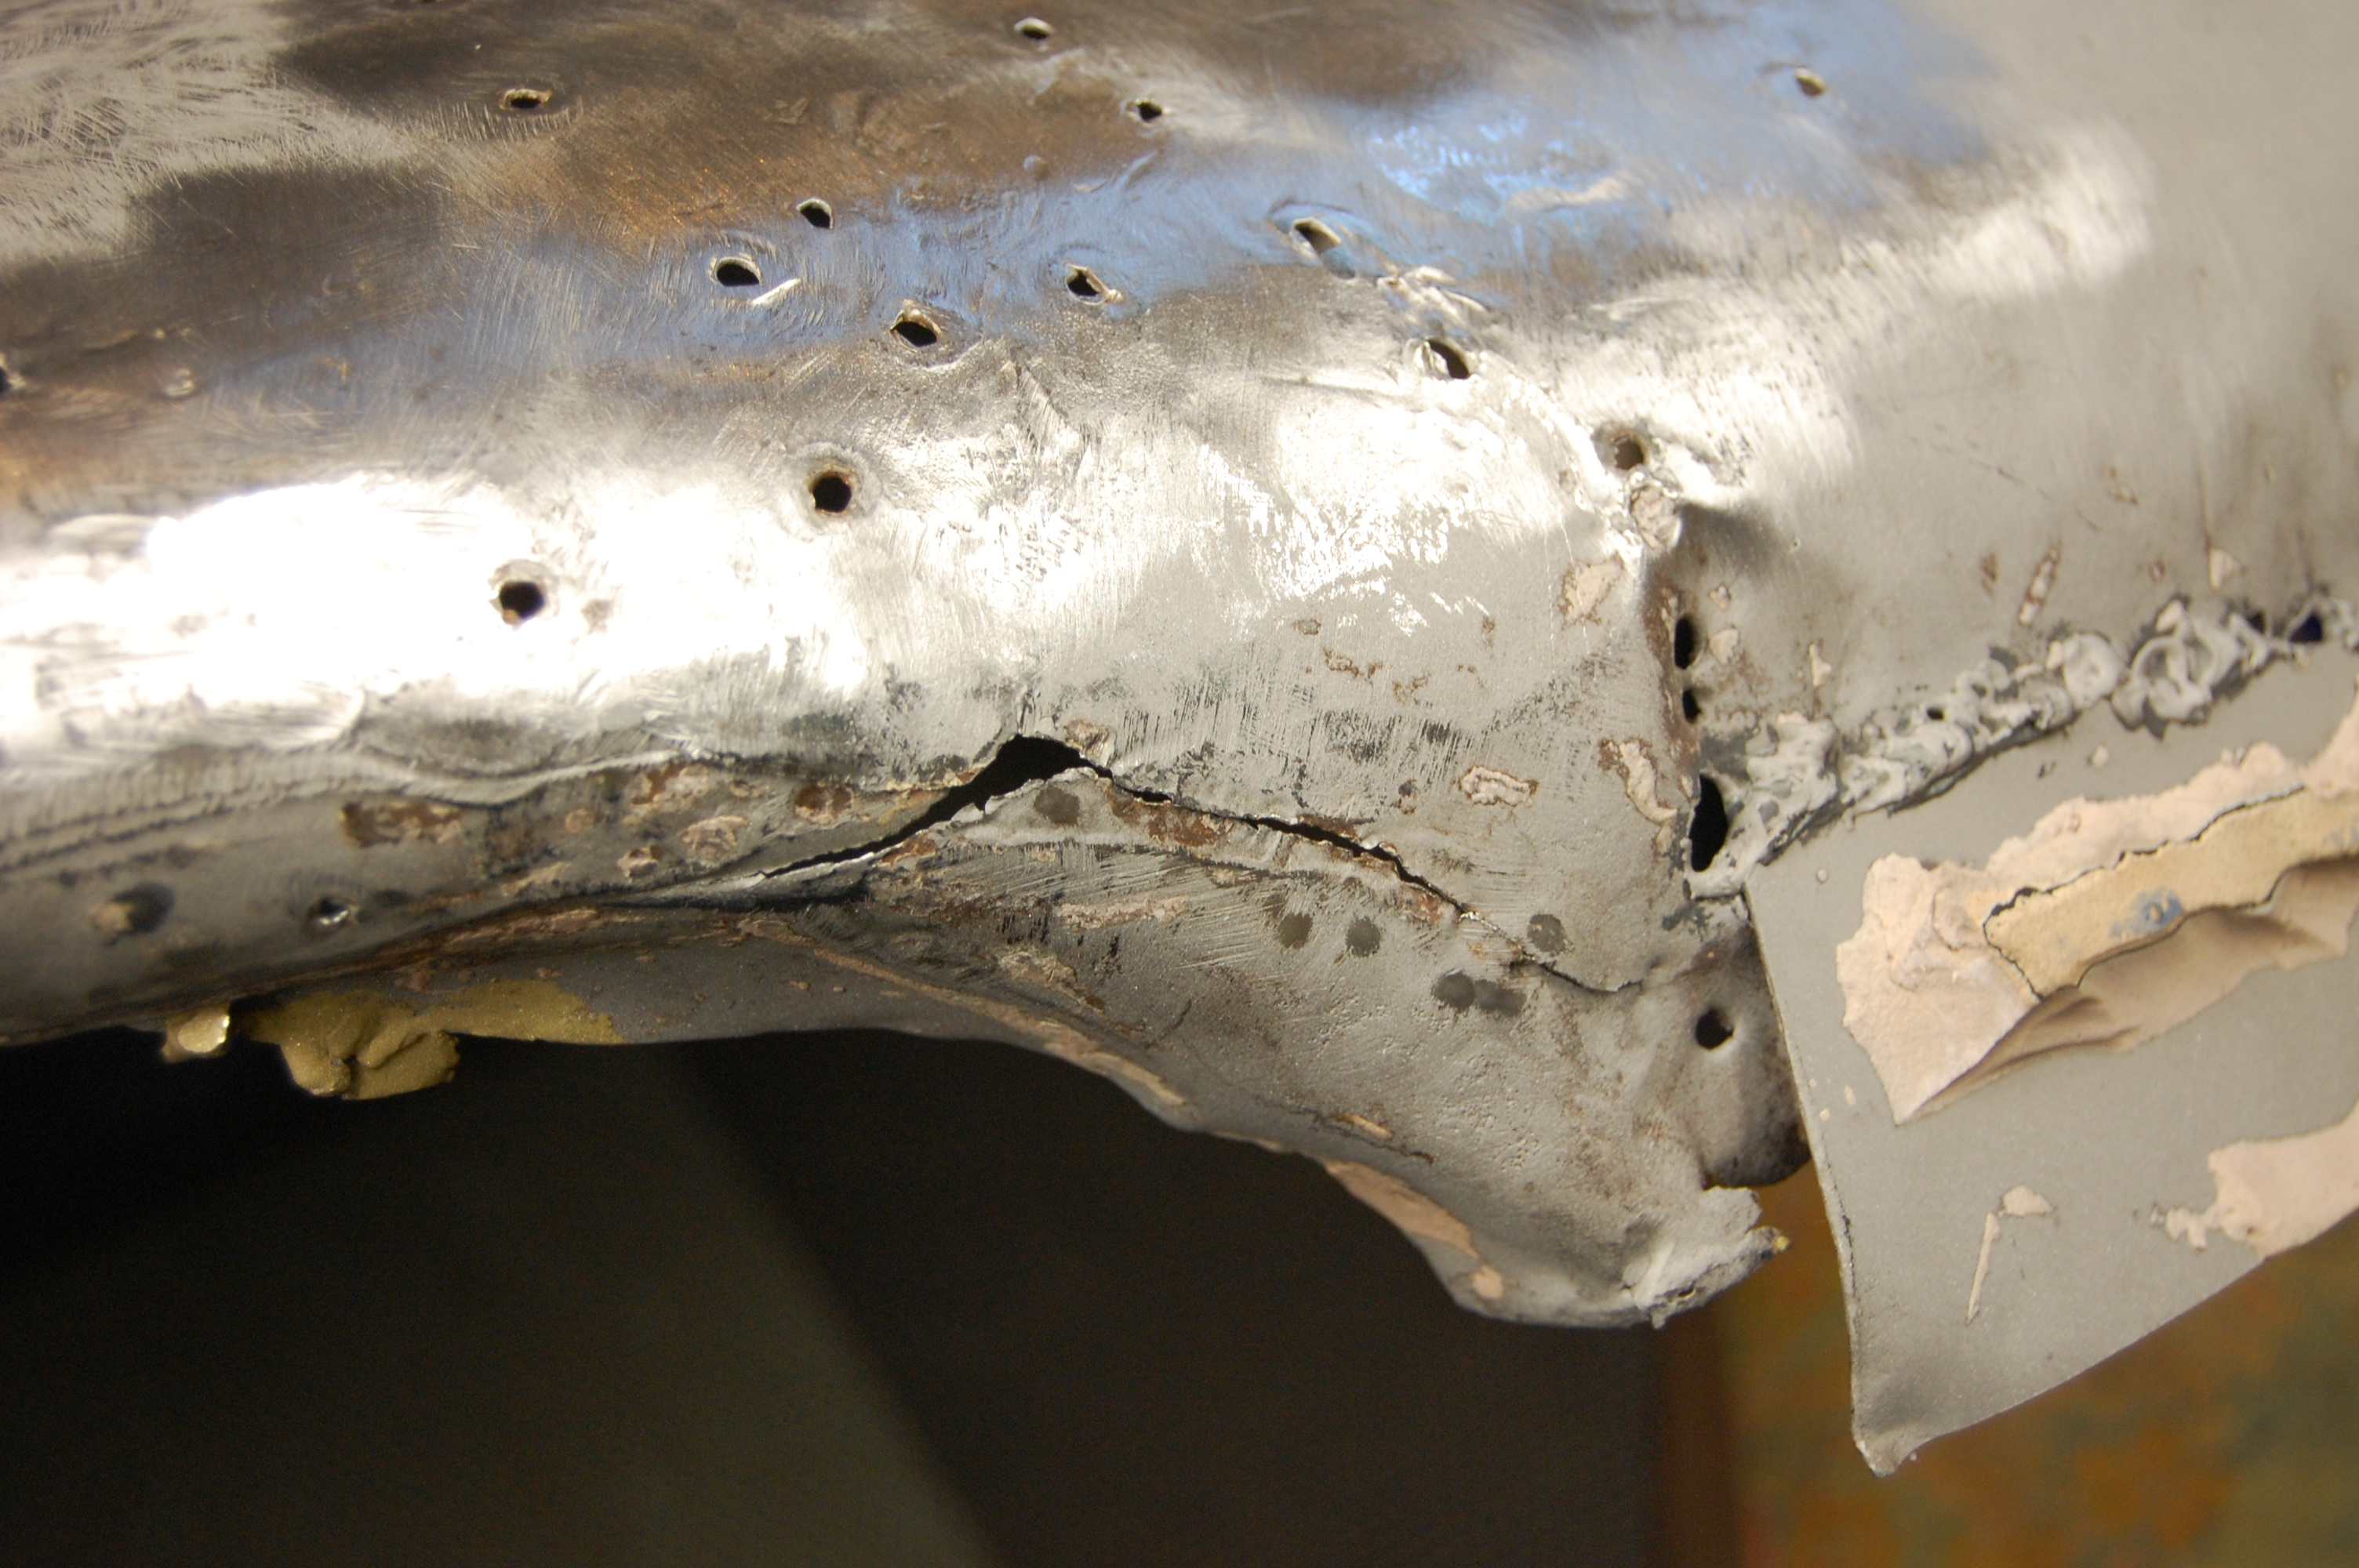
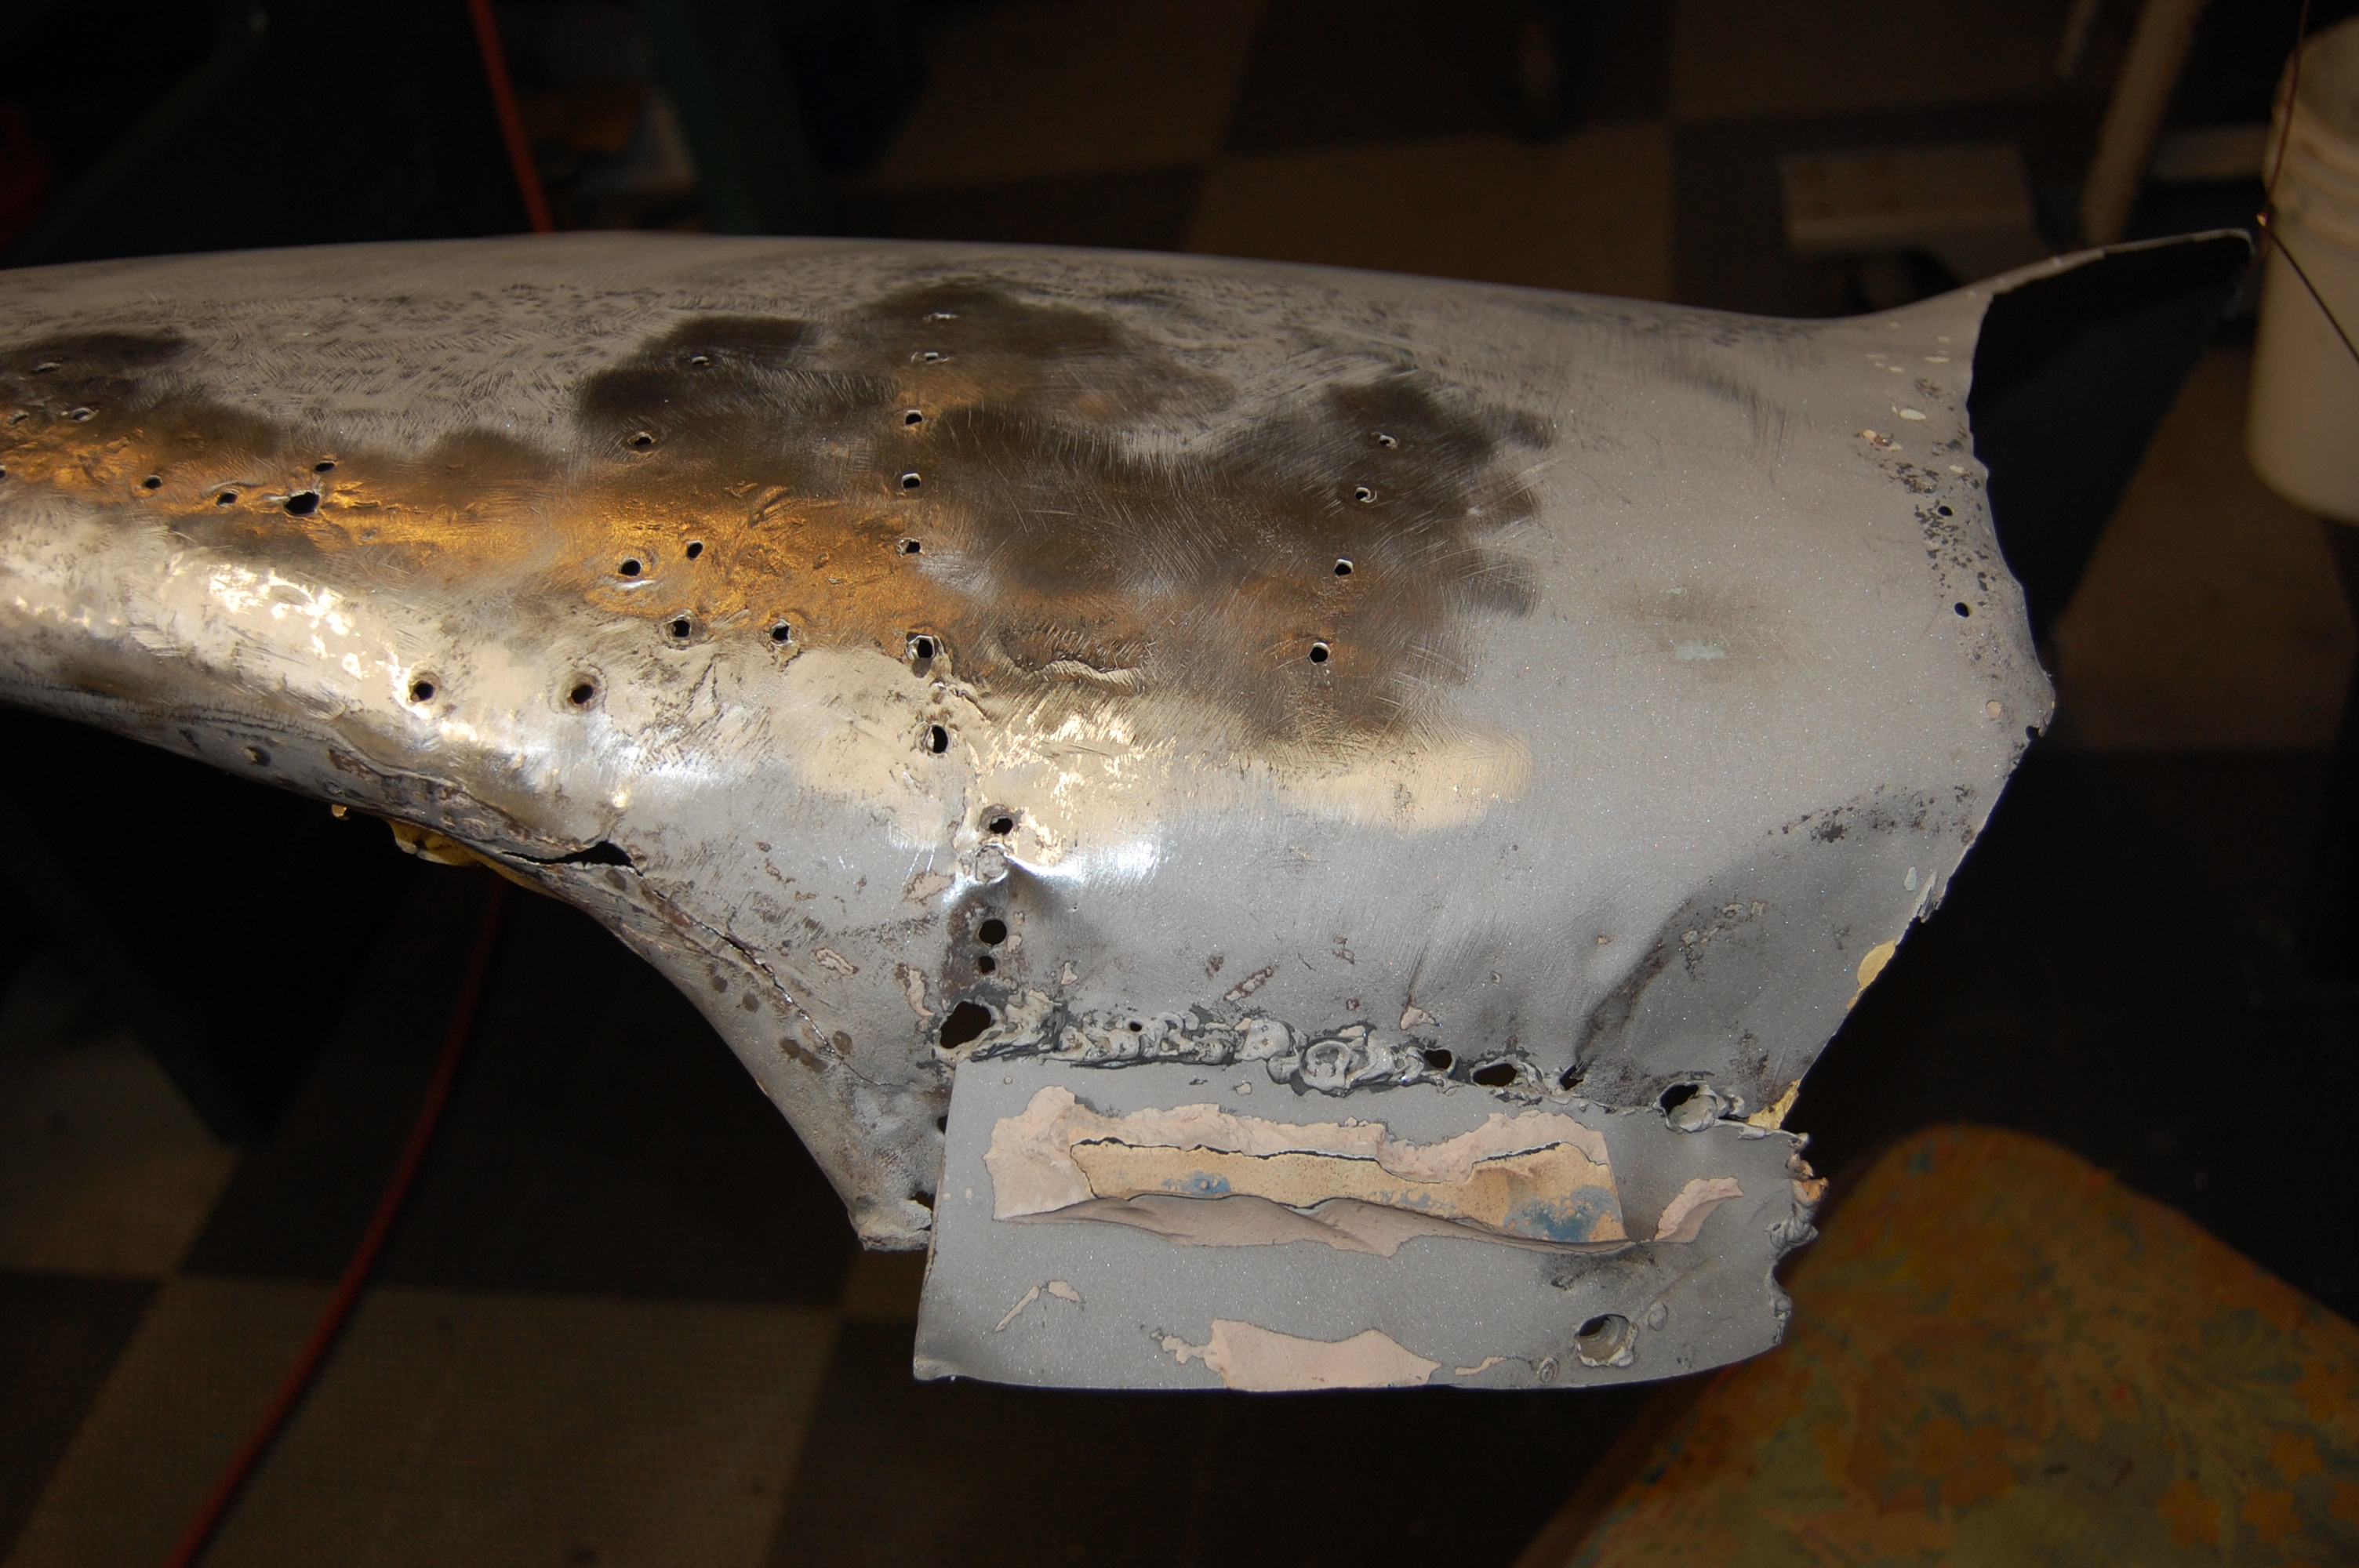
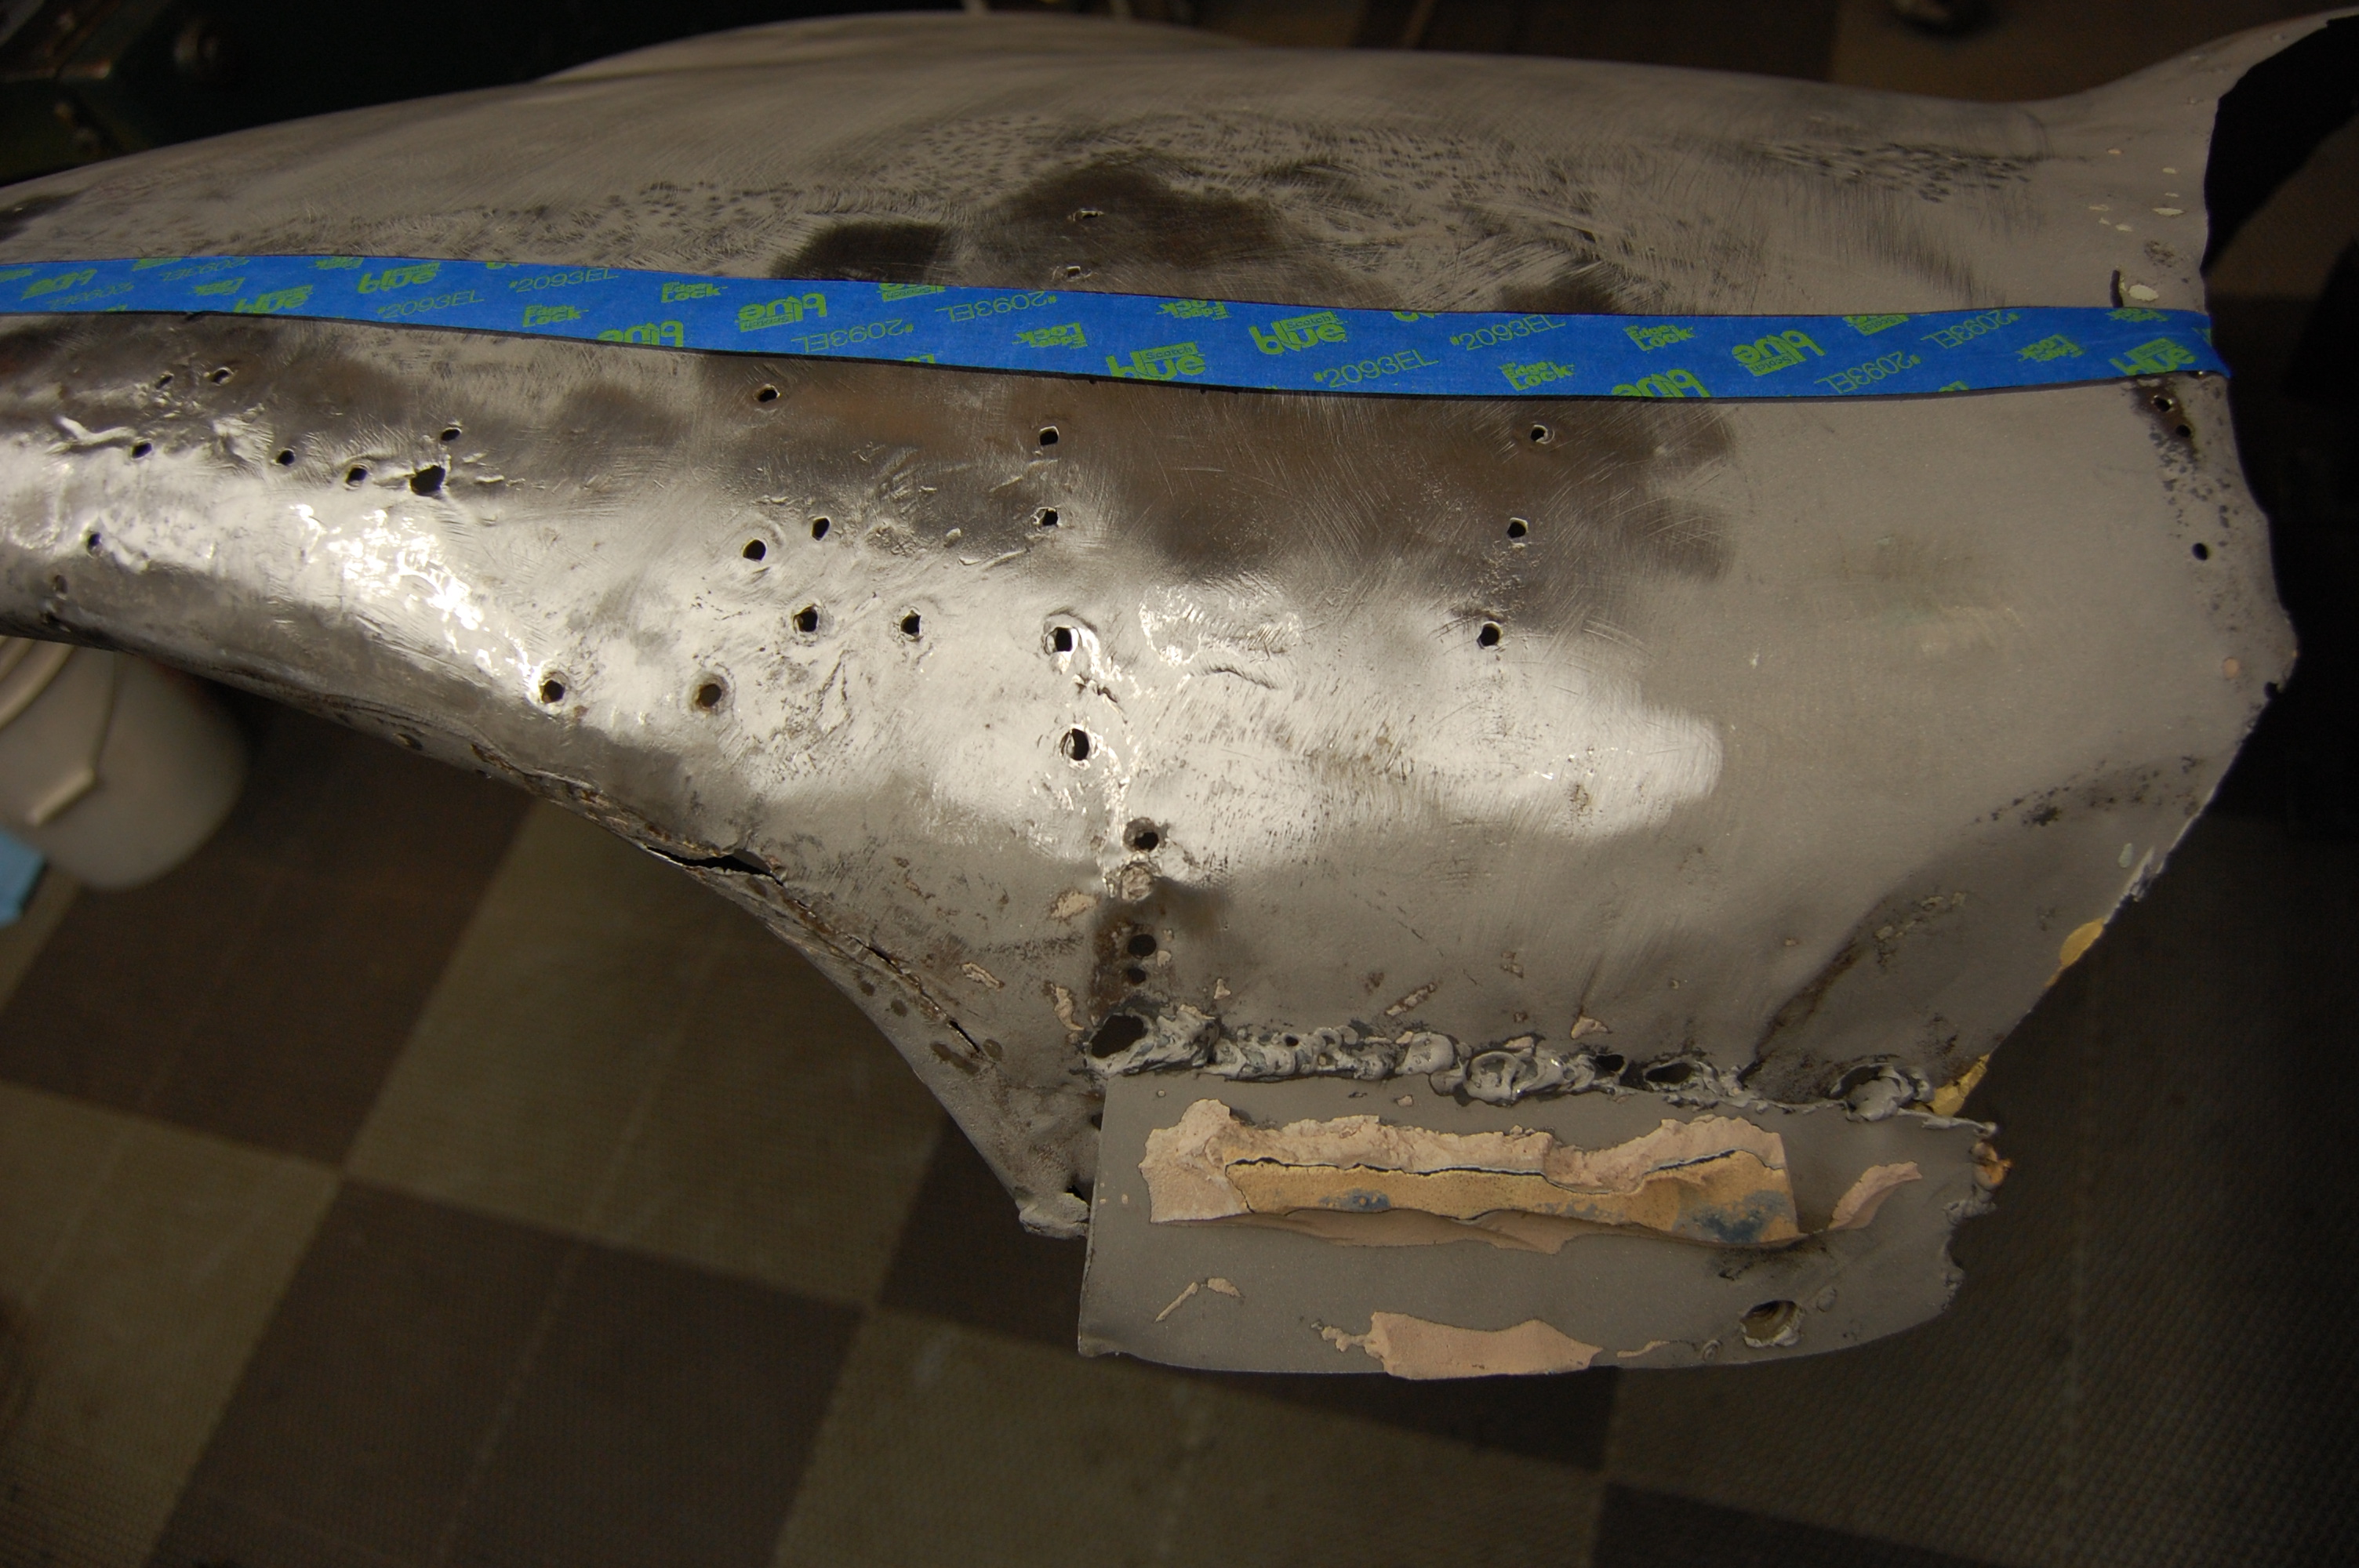
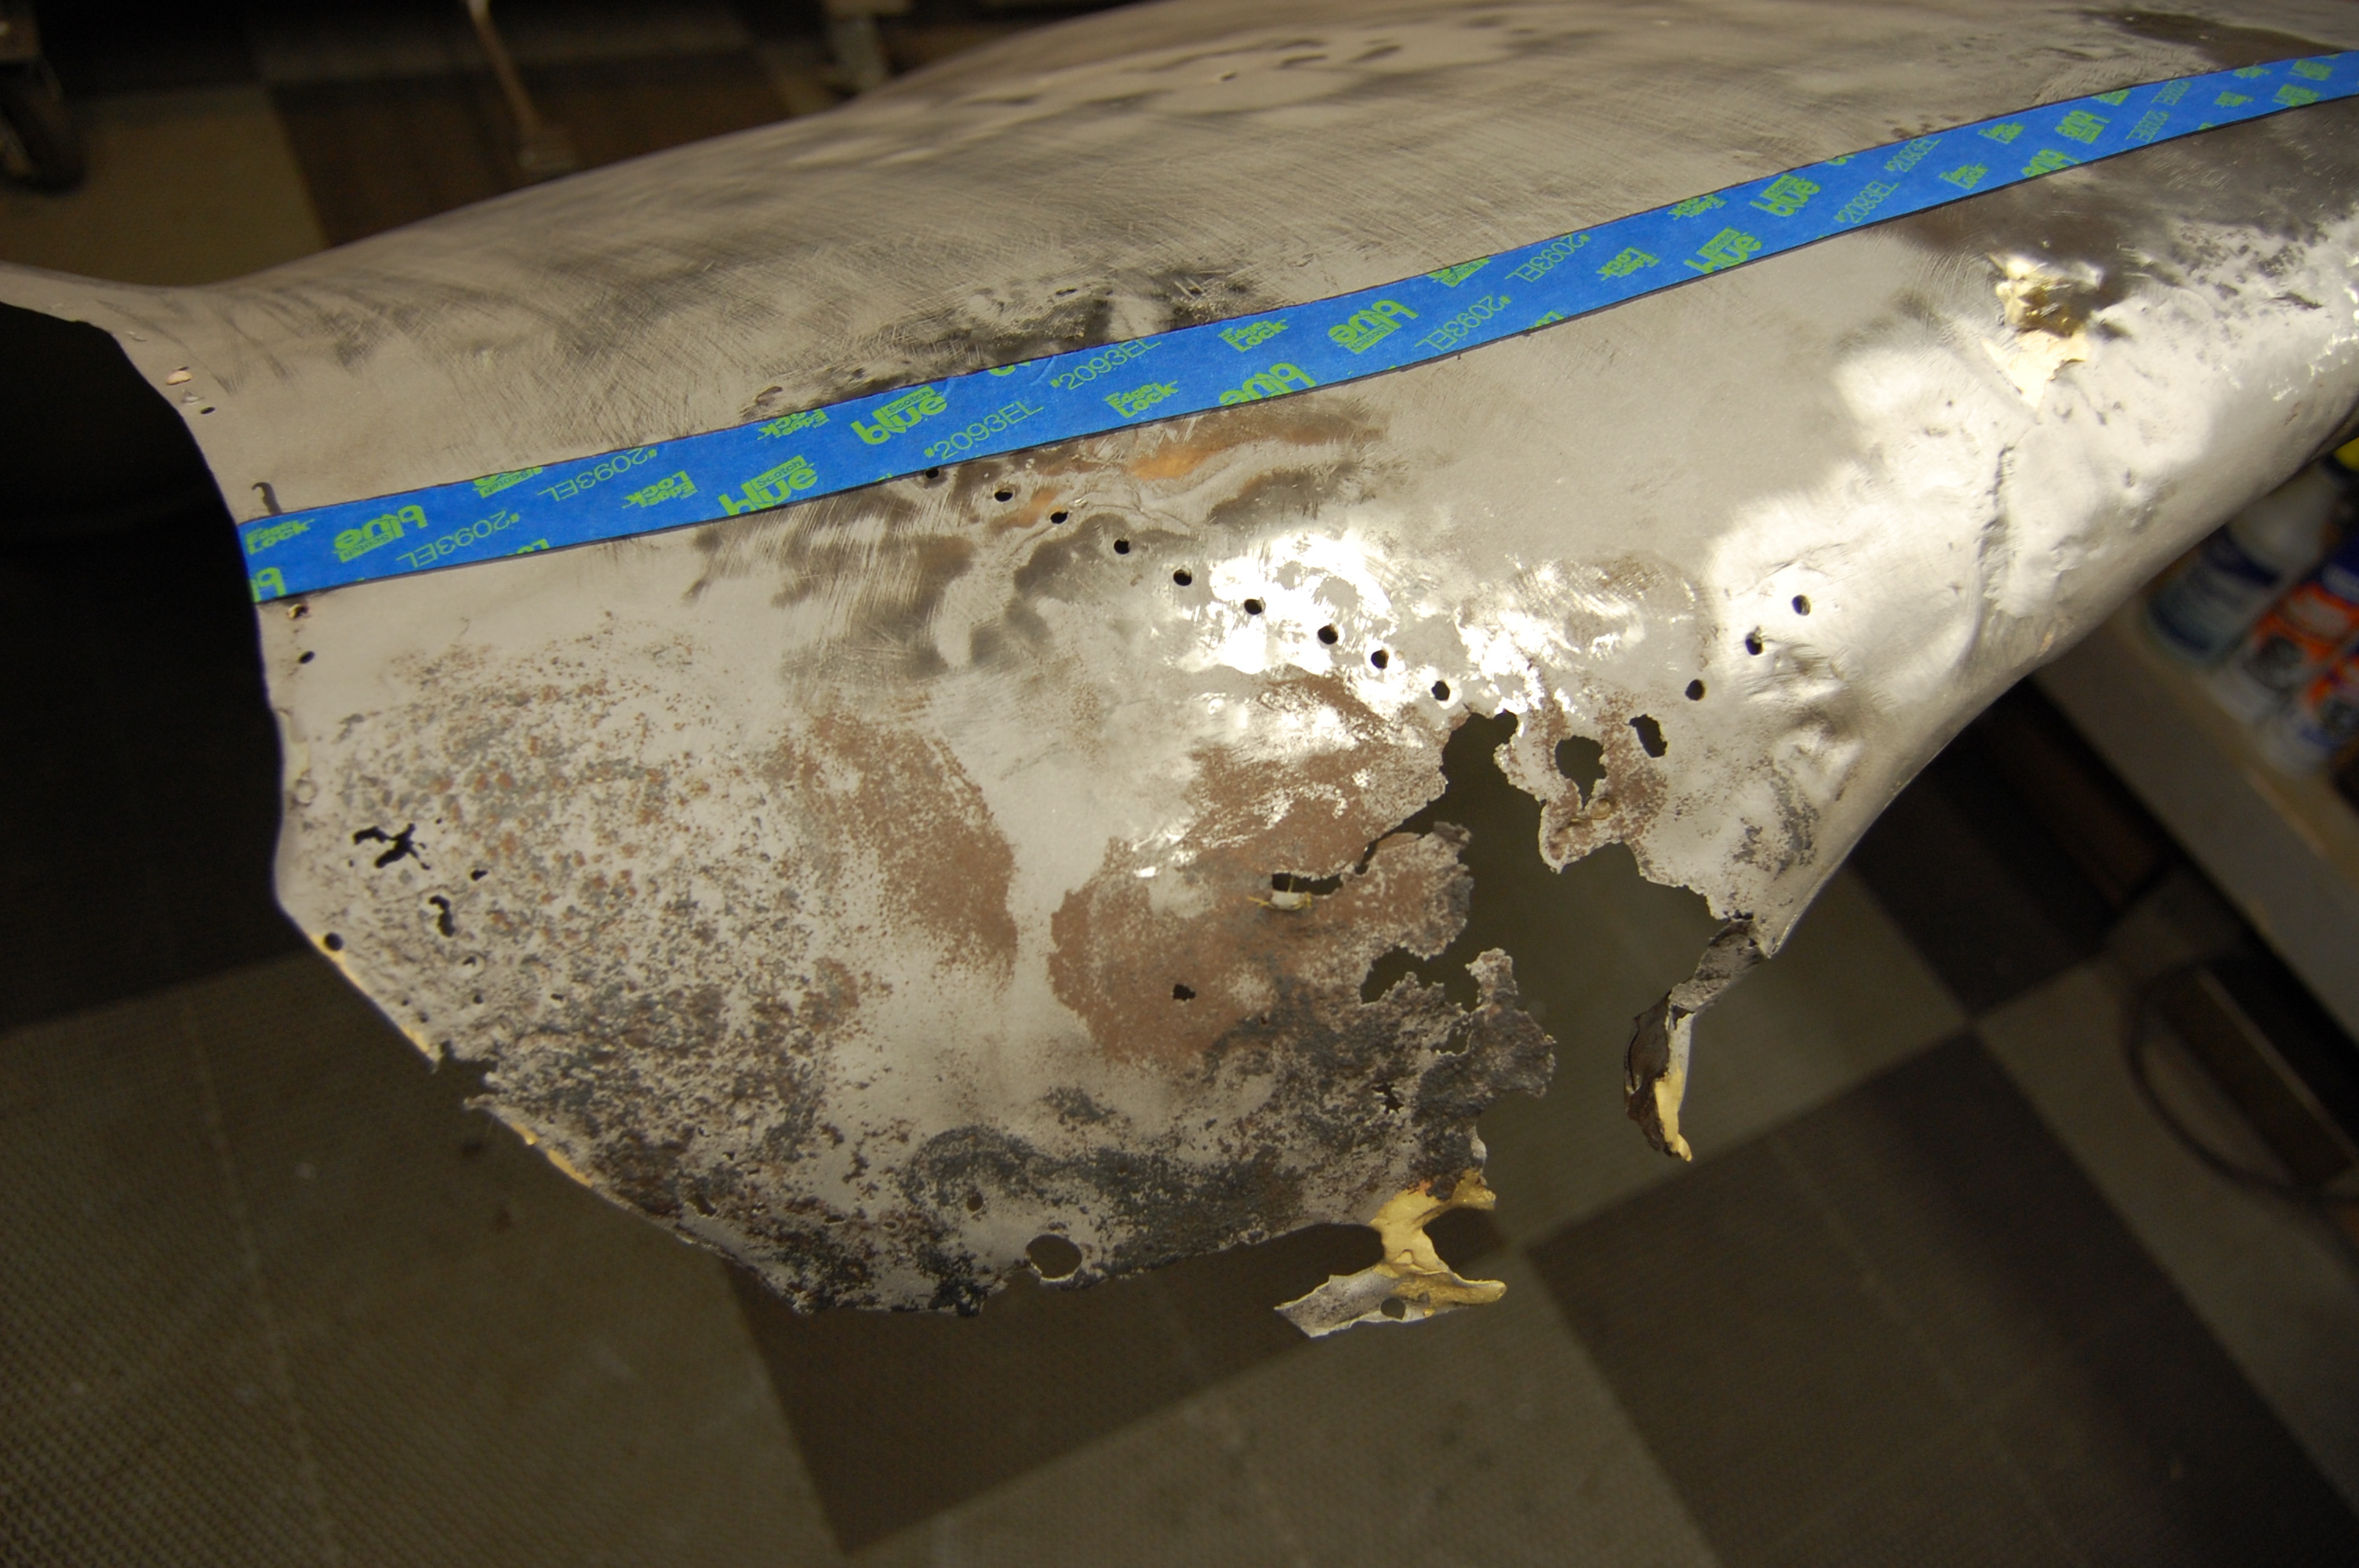
The stripping revealed LOTS of filler, and some absolutely HORRID repairs – thin metal shets wrapped over the original skin and then “glued” on with filler, welding that looked like it was done by a 5-year-old, and even filler used to FORM sections of the nose – backed up by NEWSPAPER! All of that horror is yet to come on the blog later…
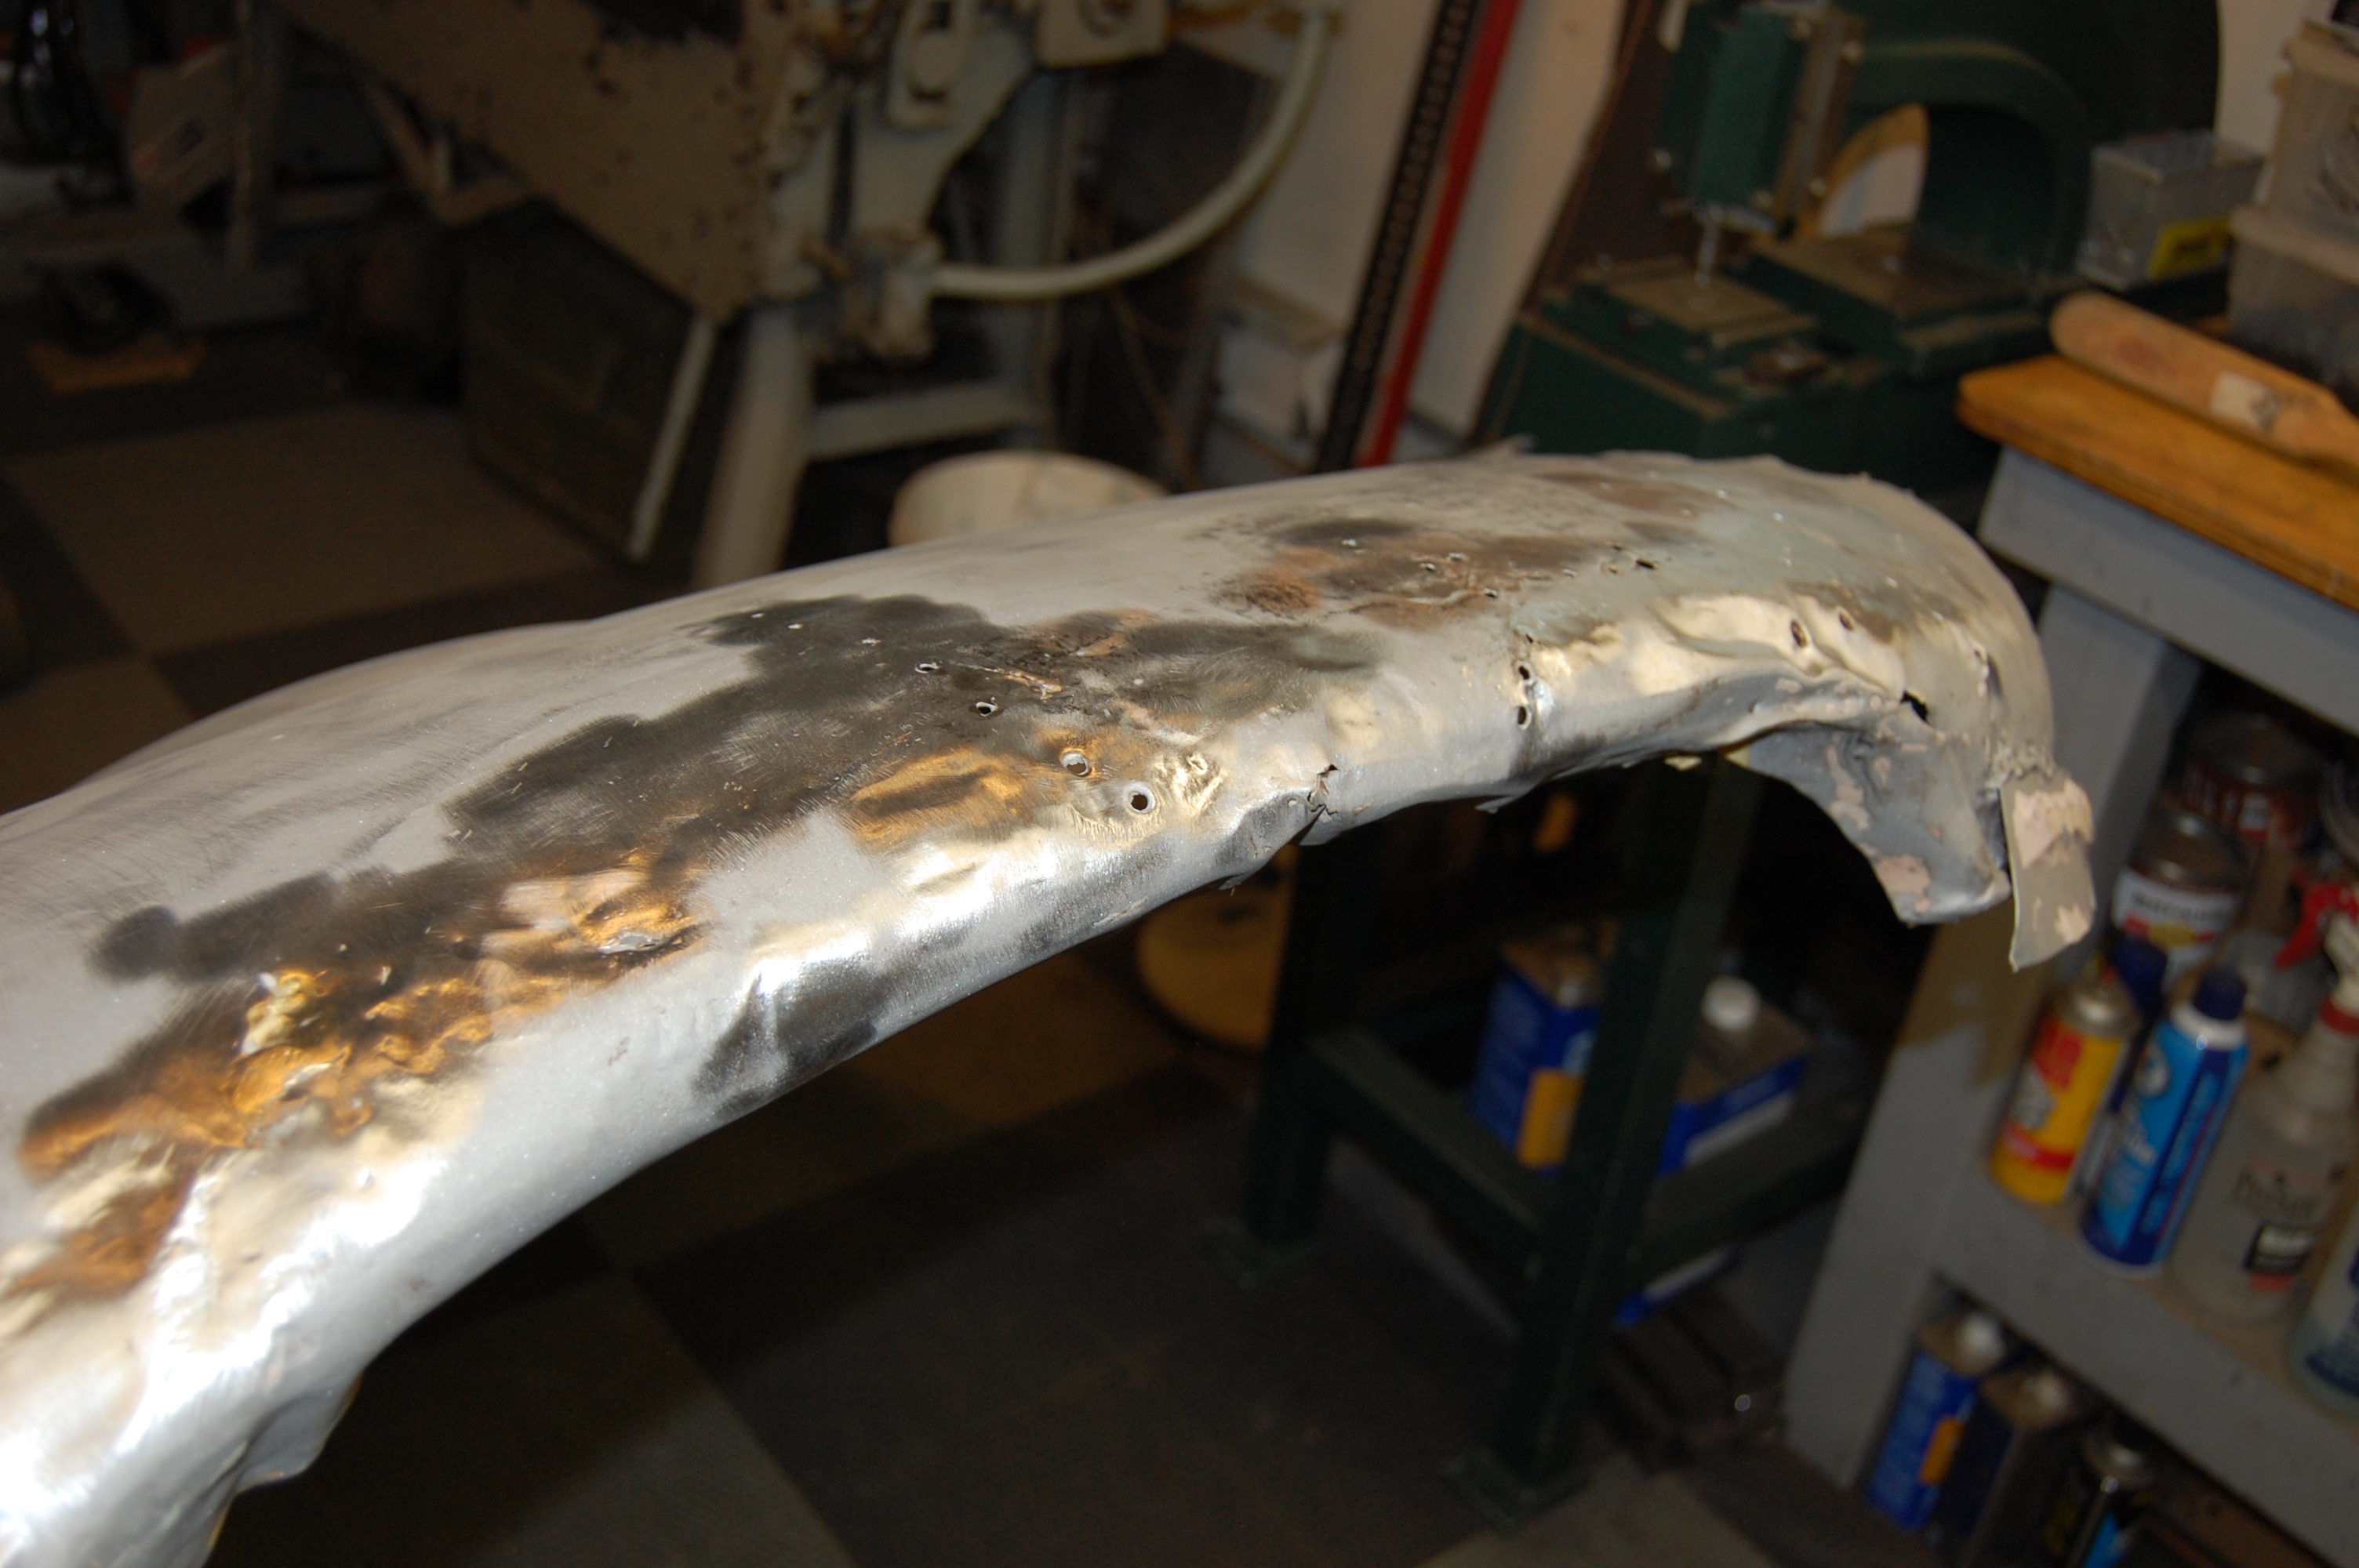
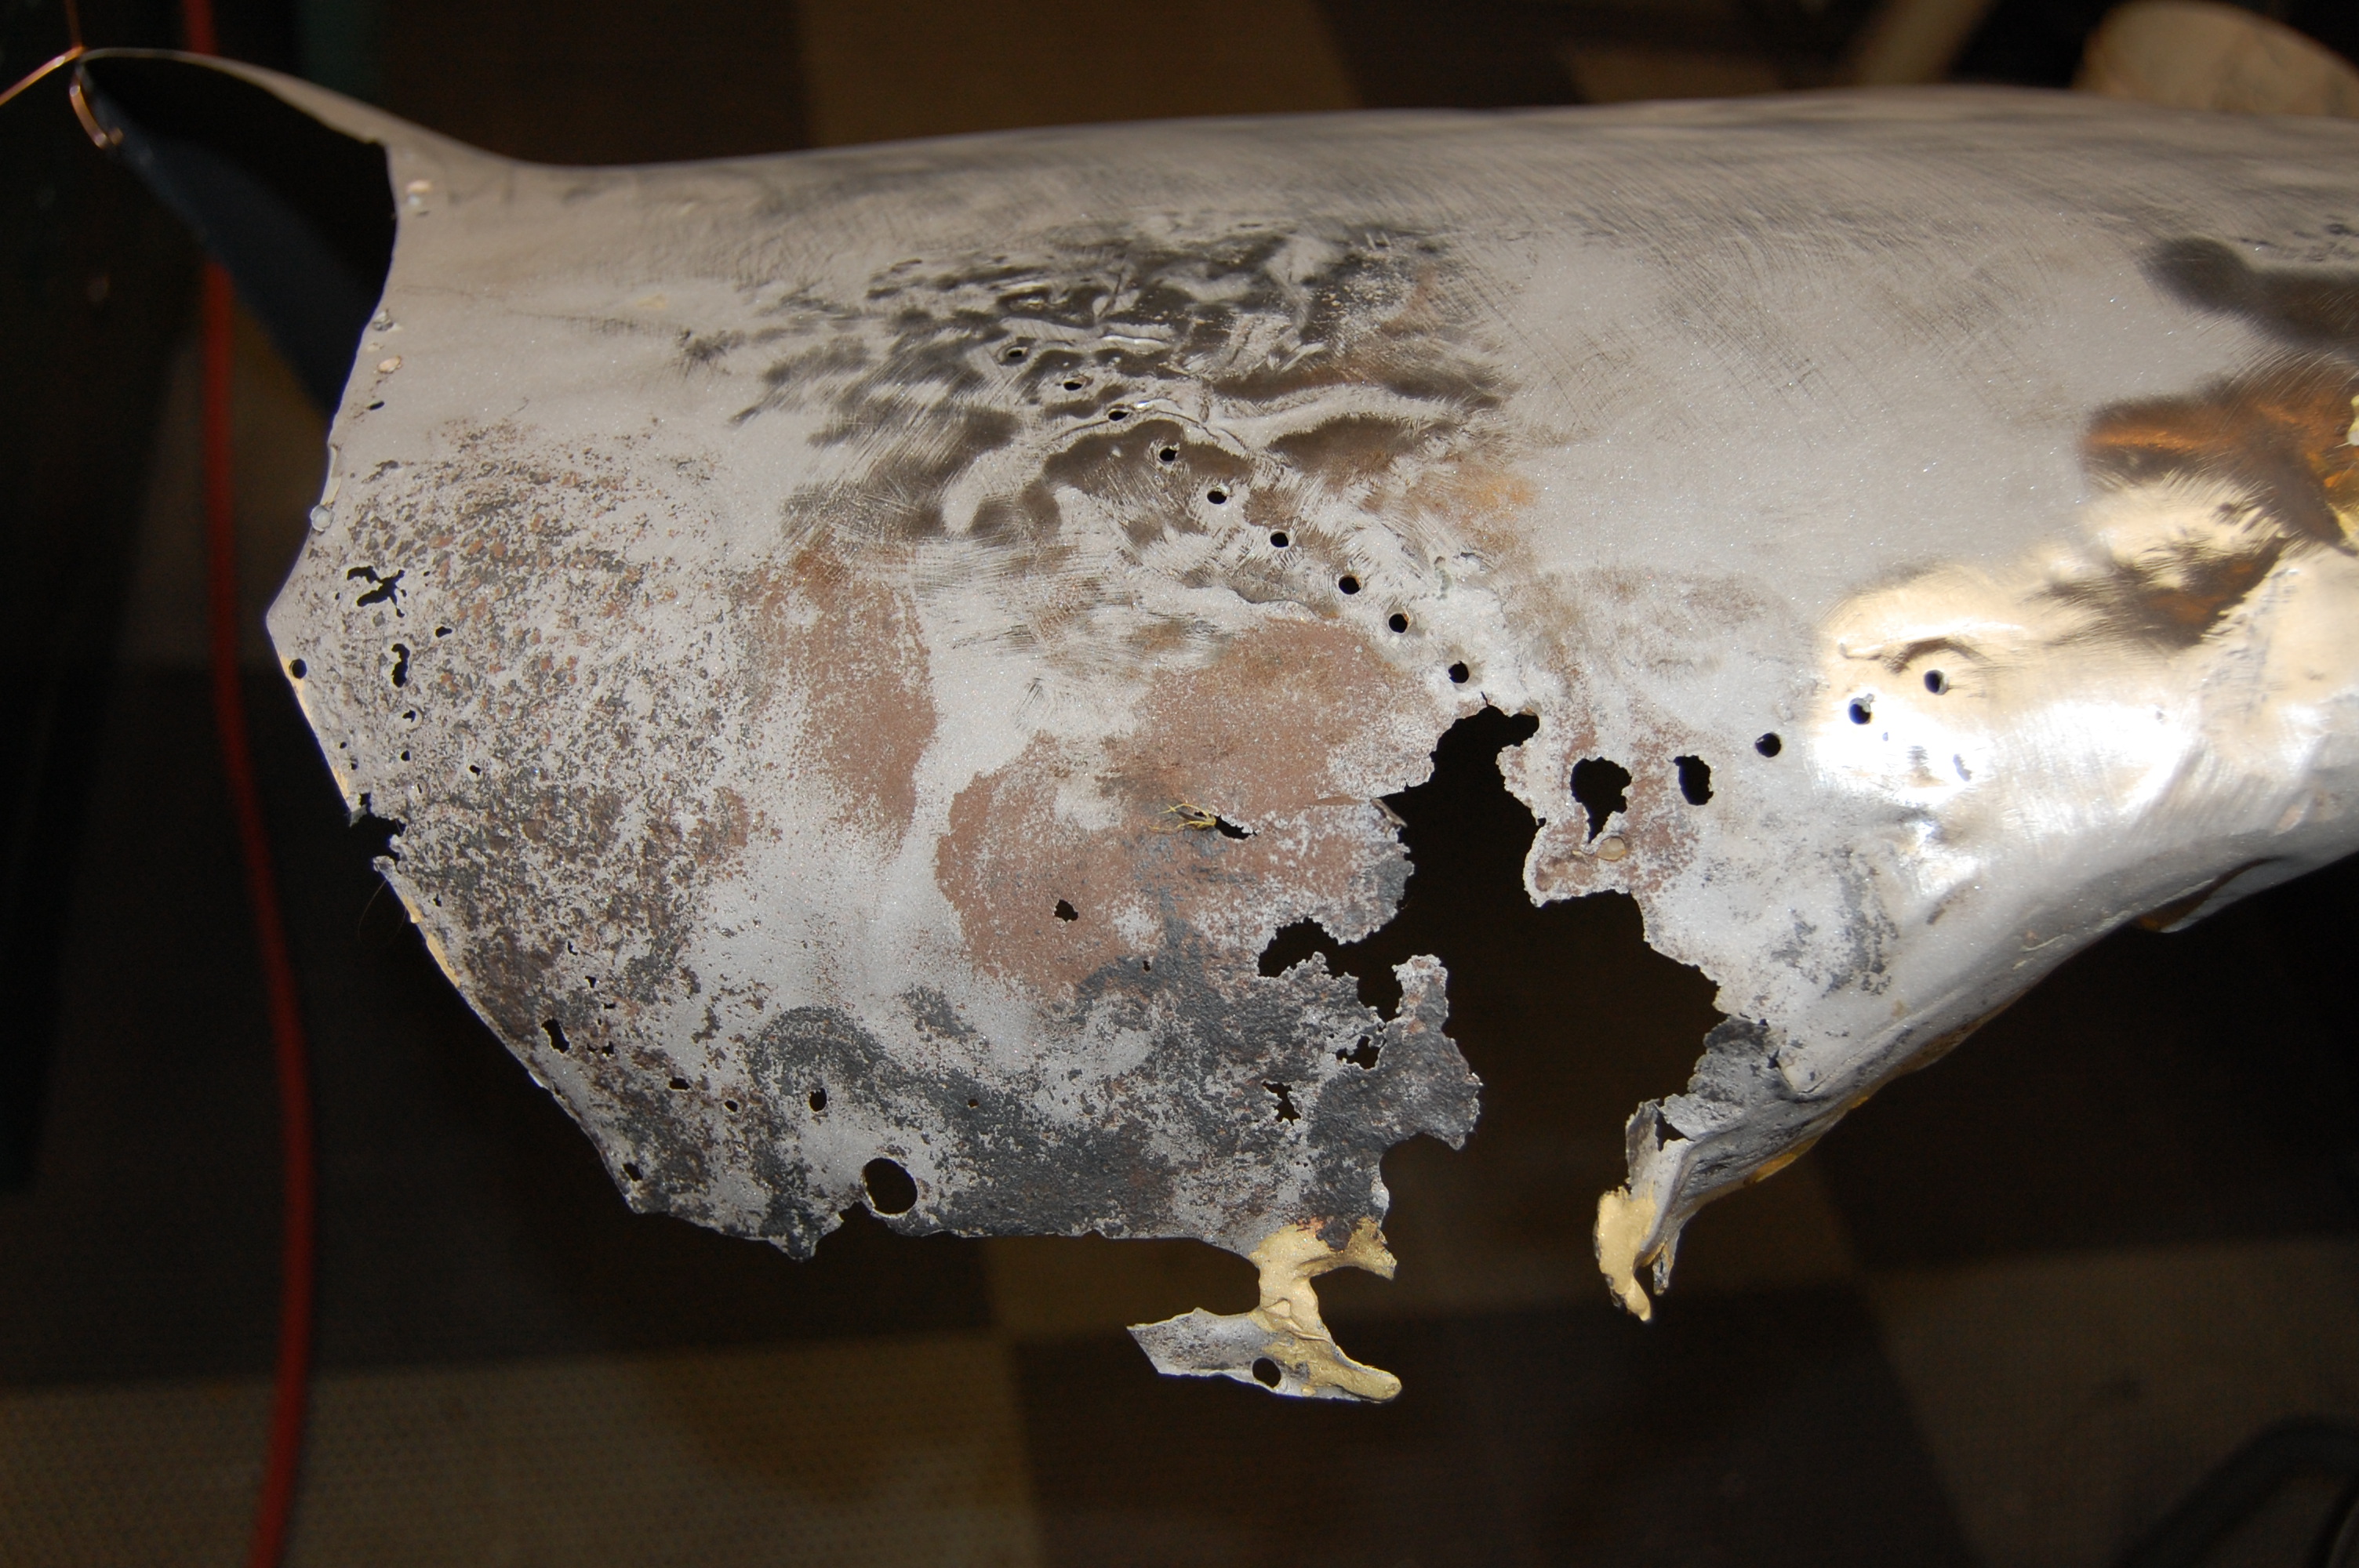
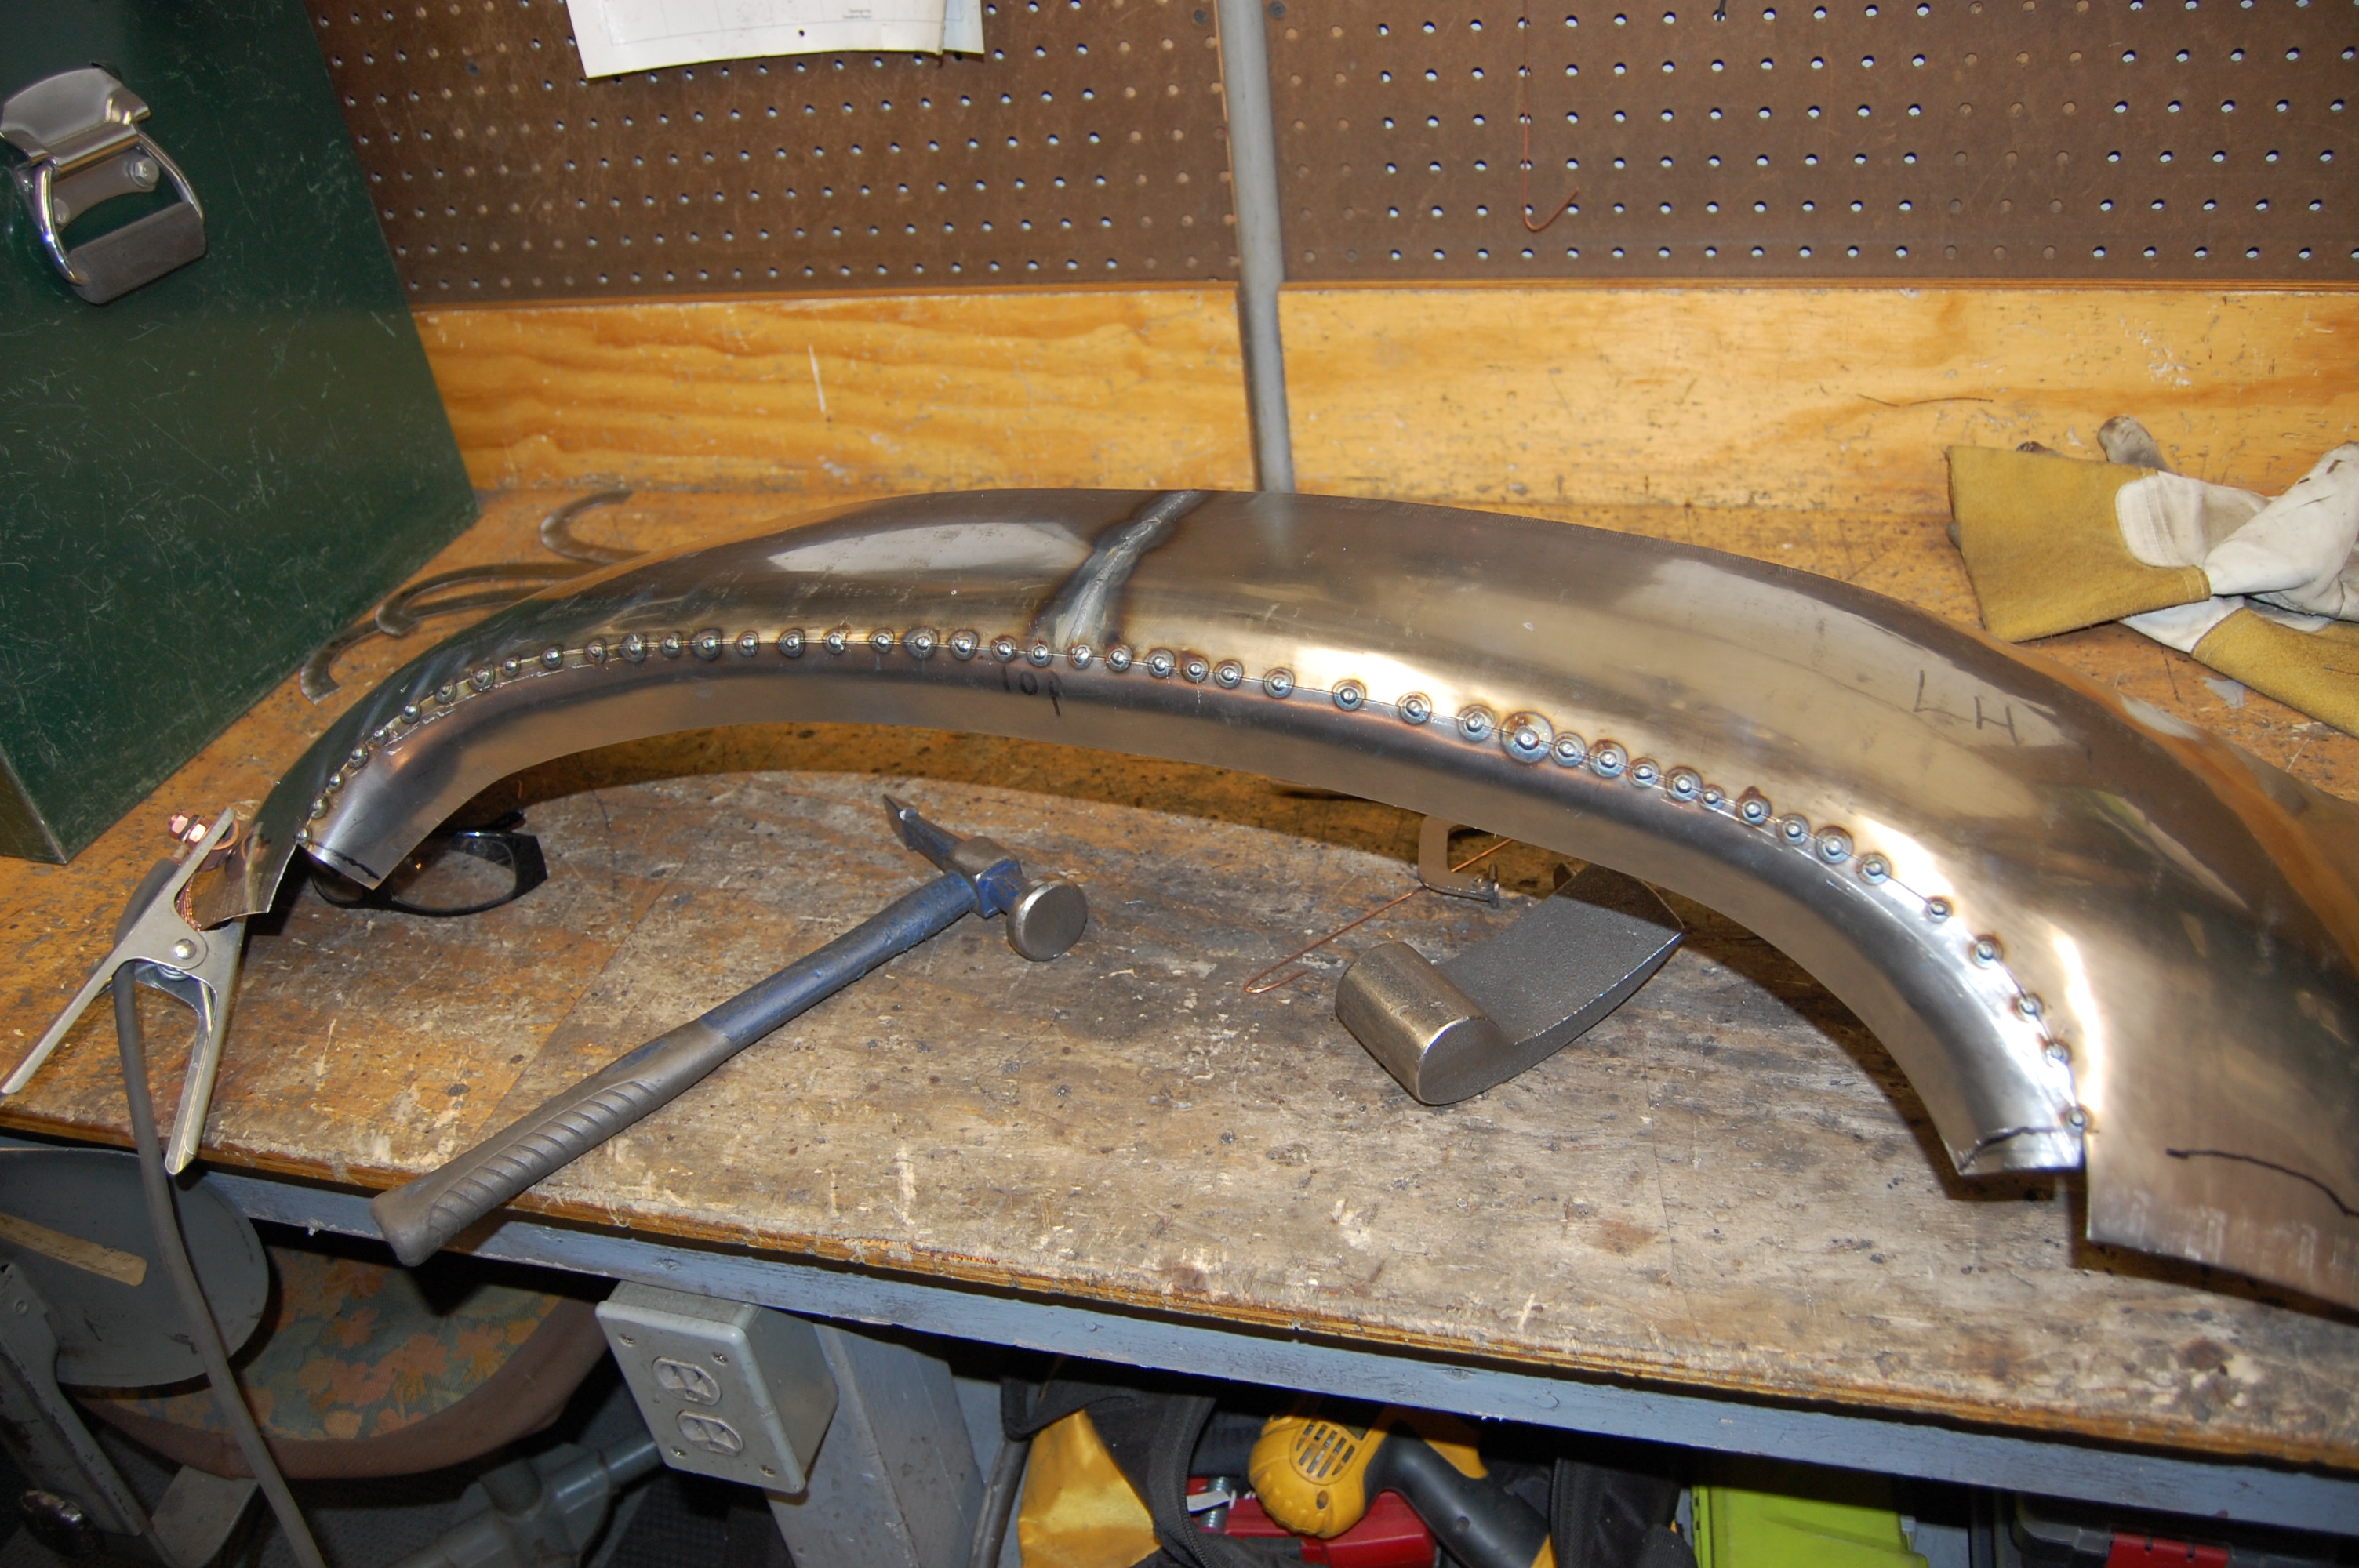
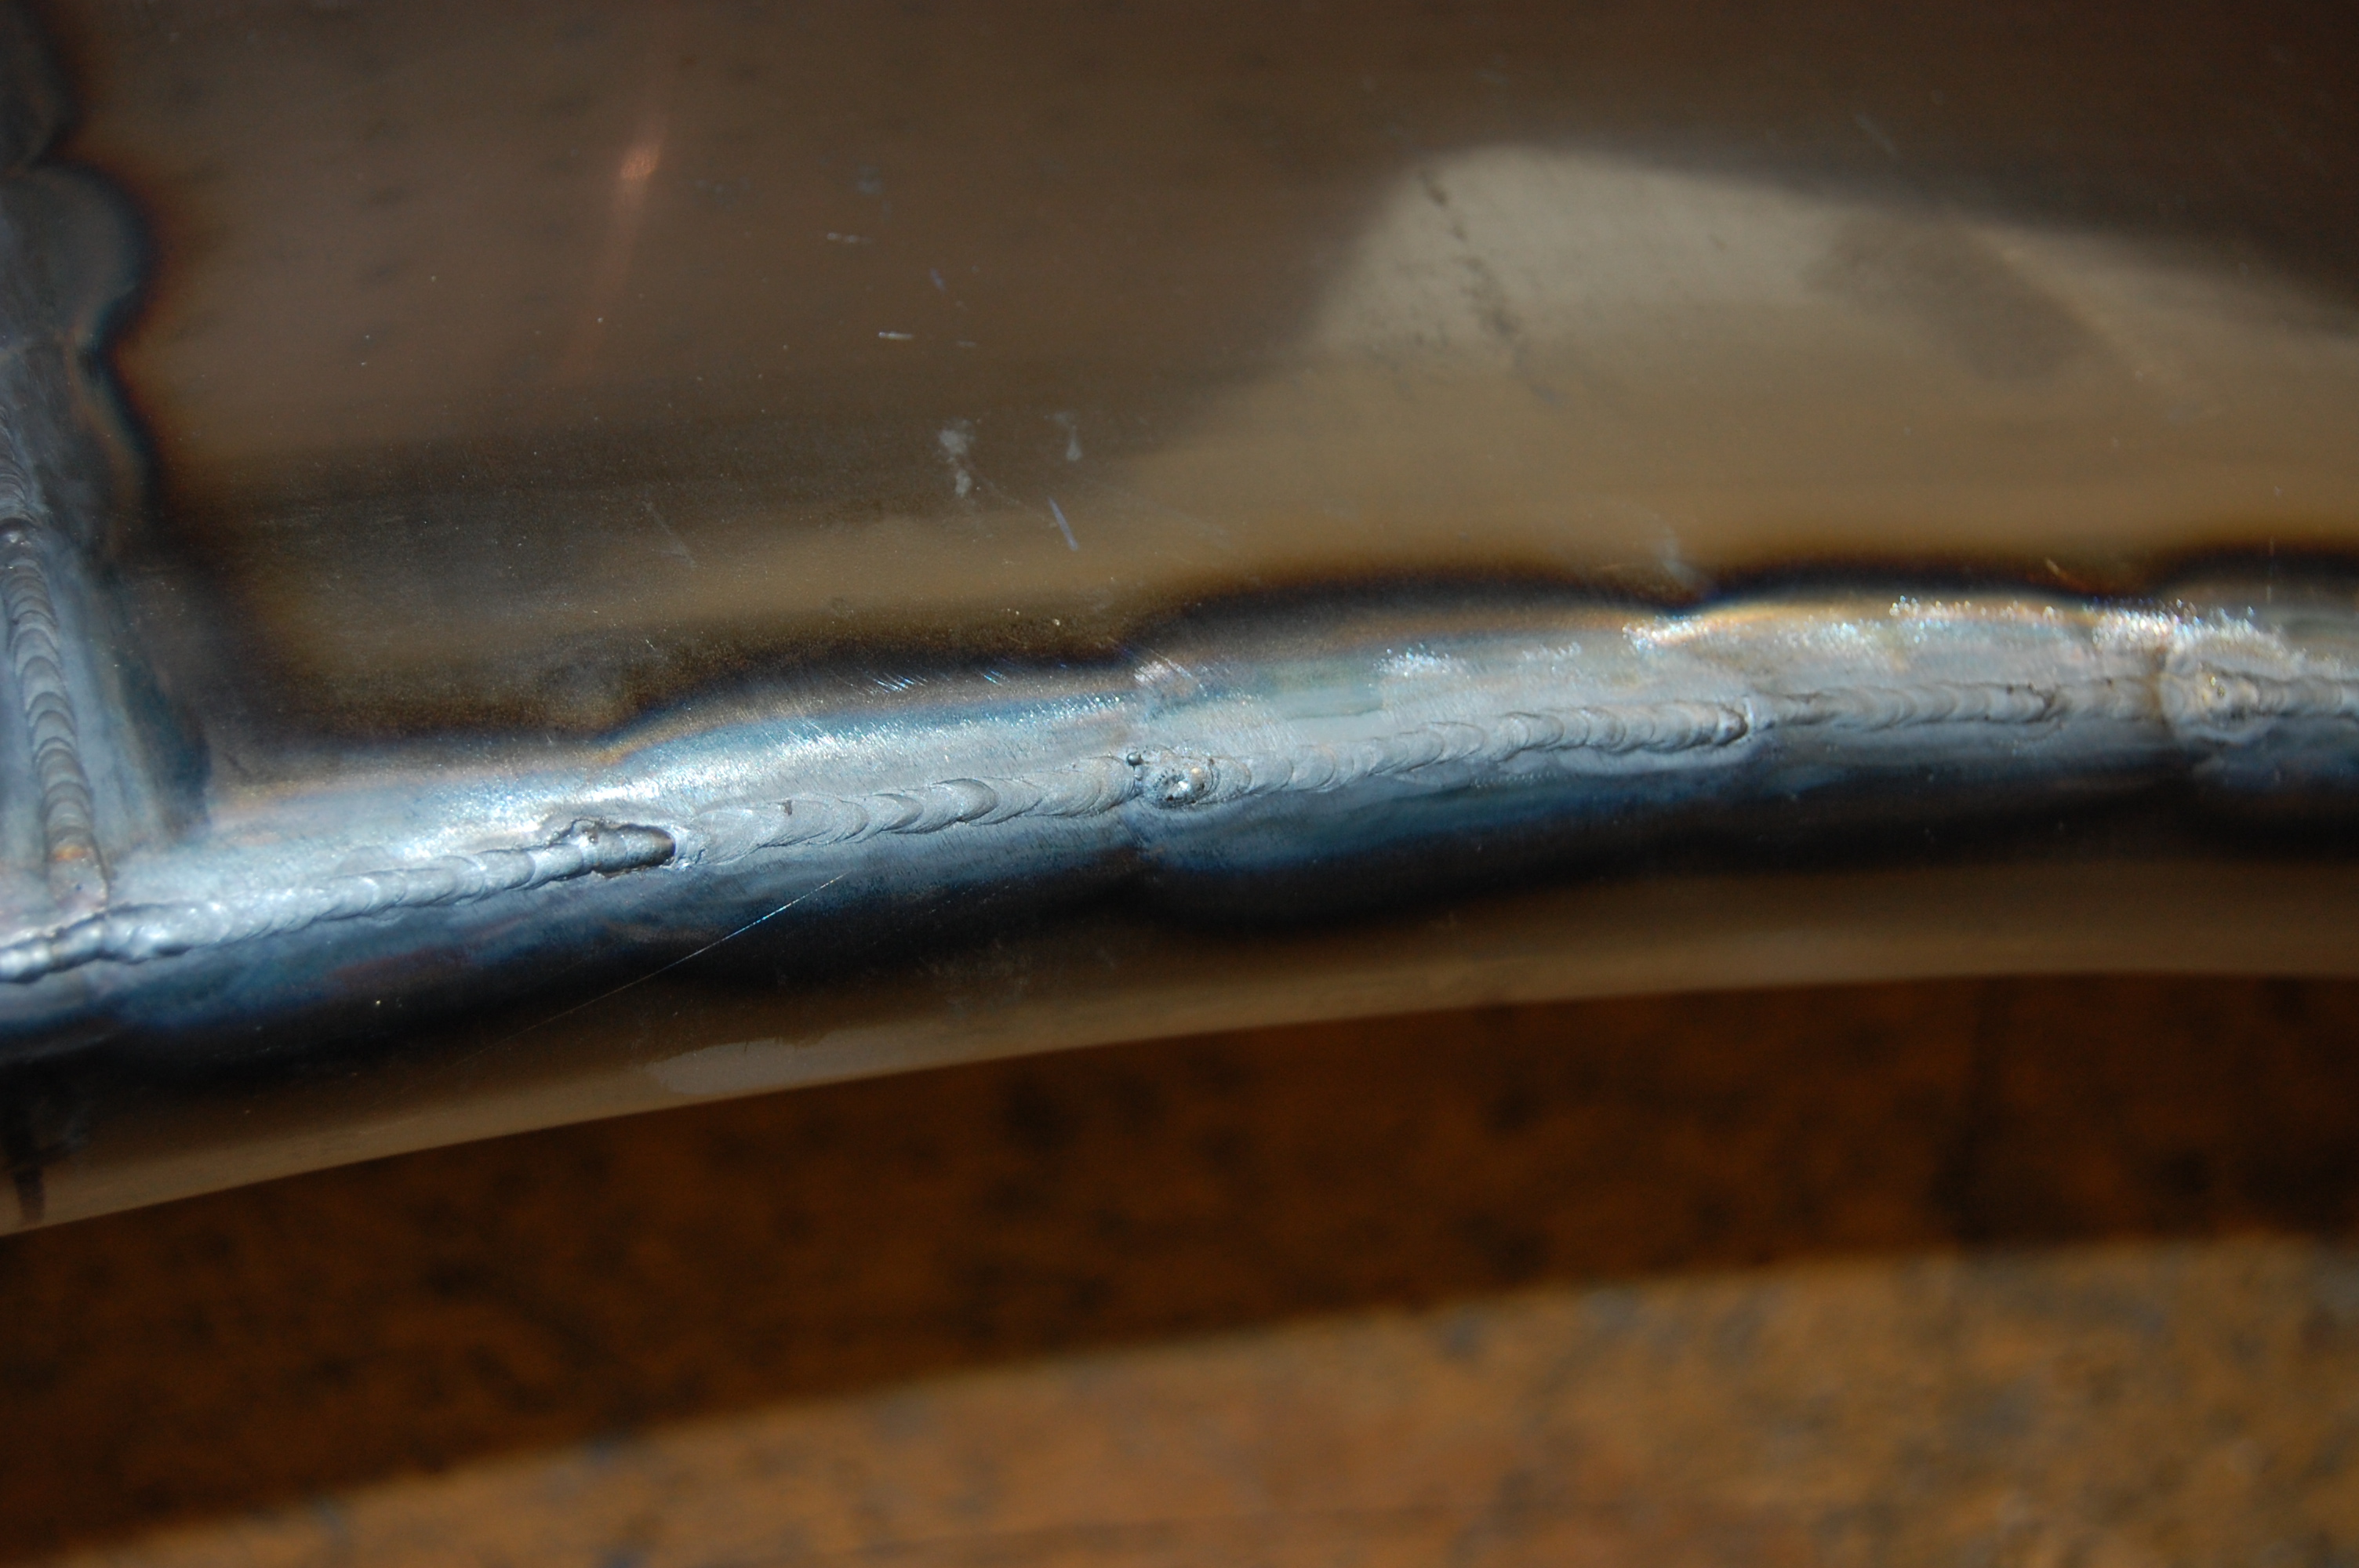
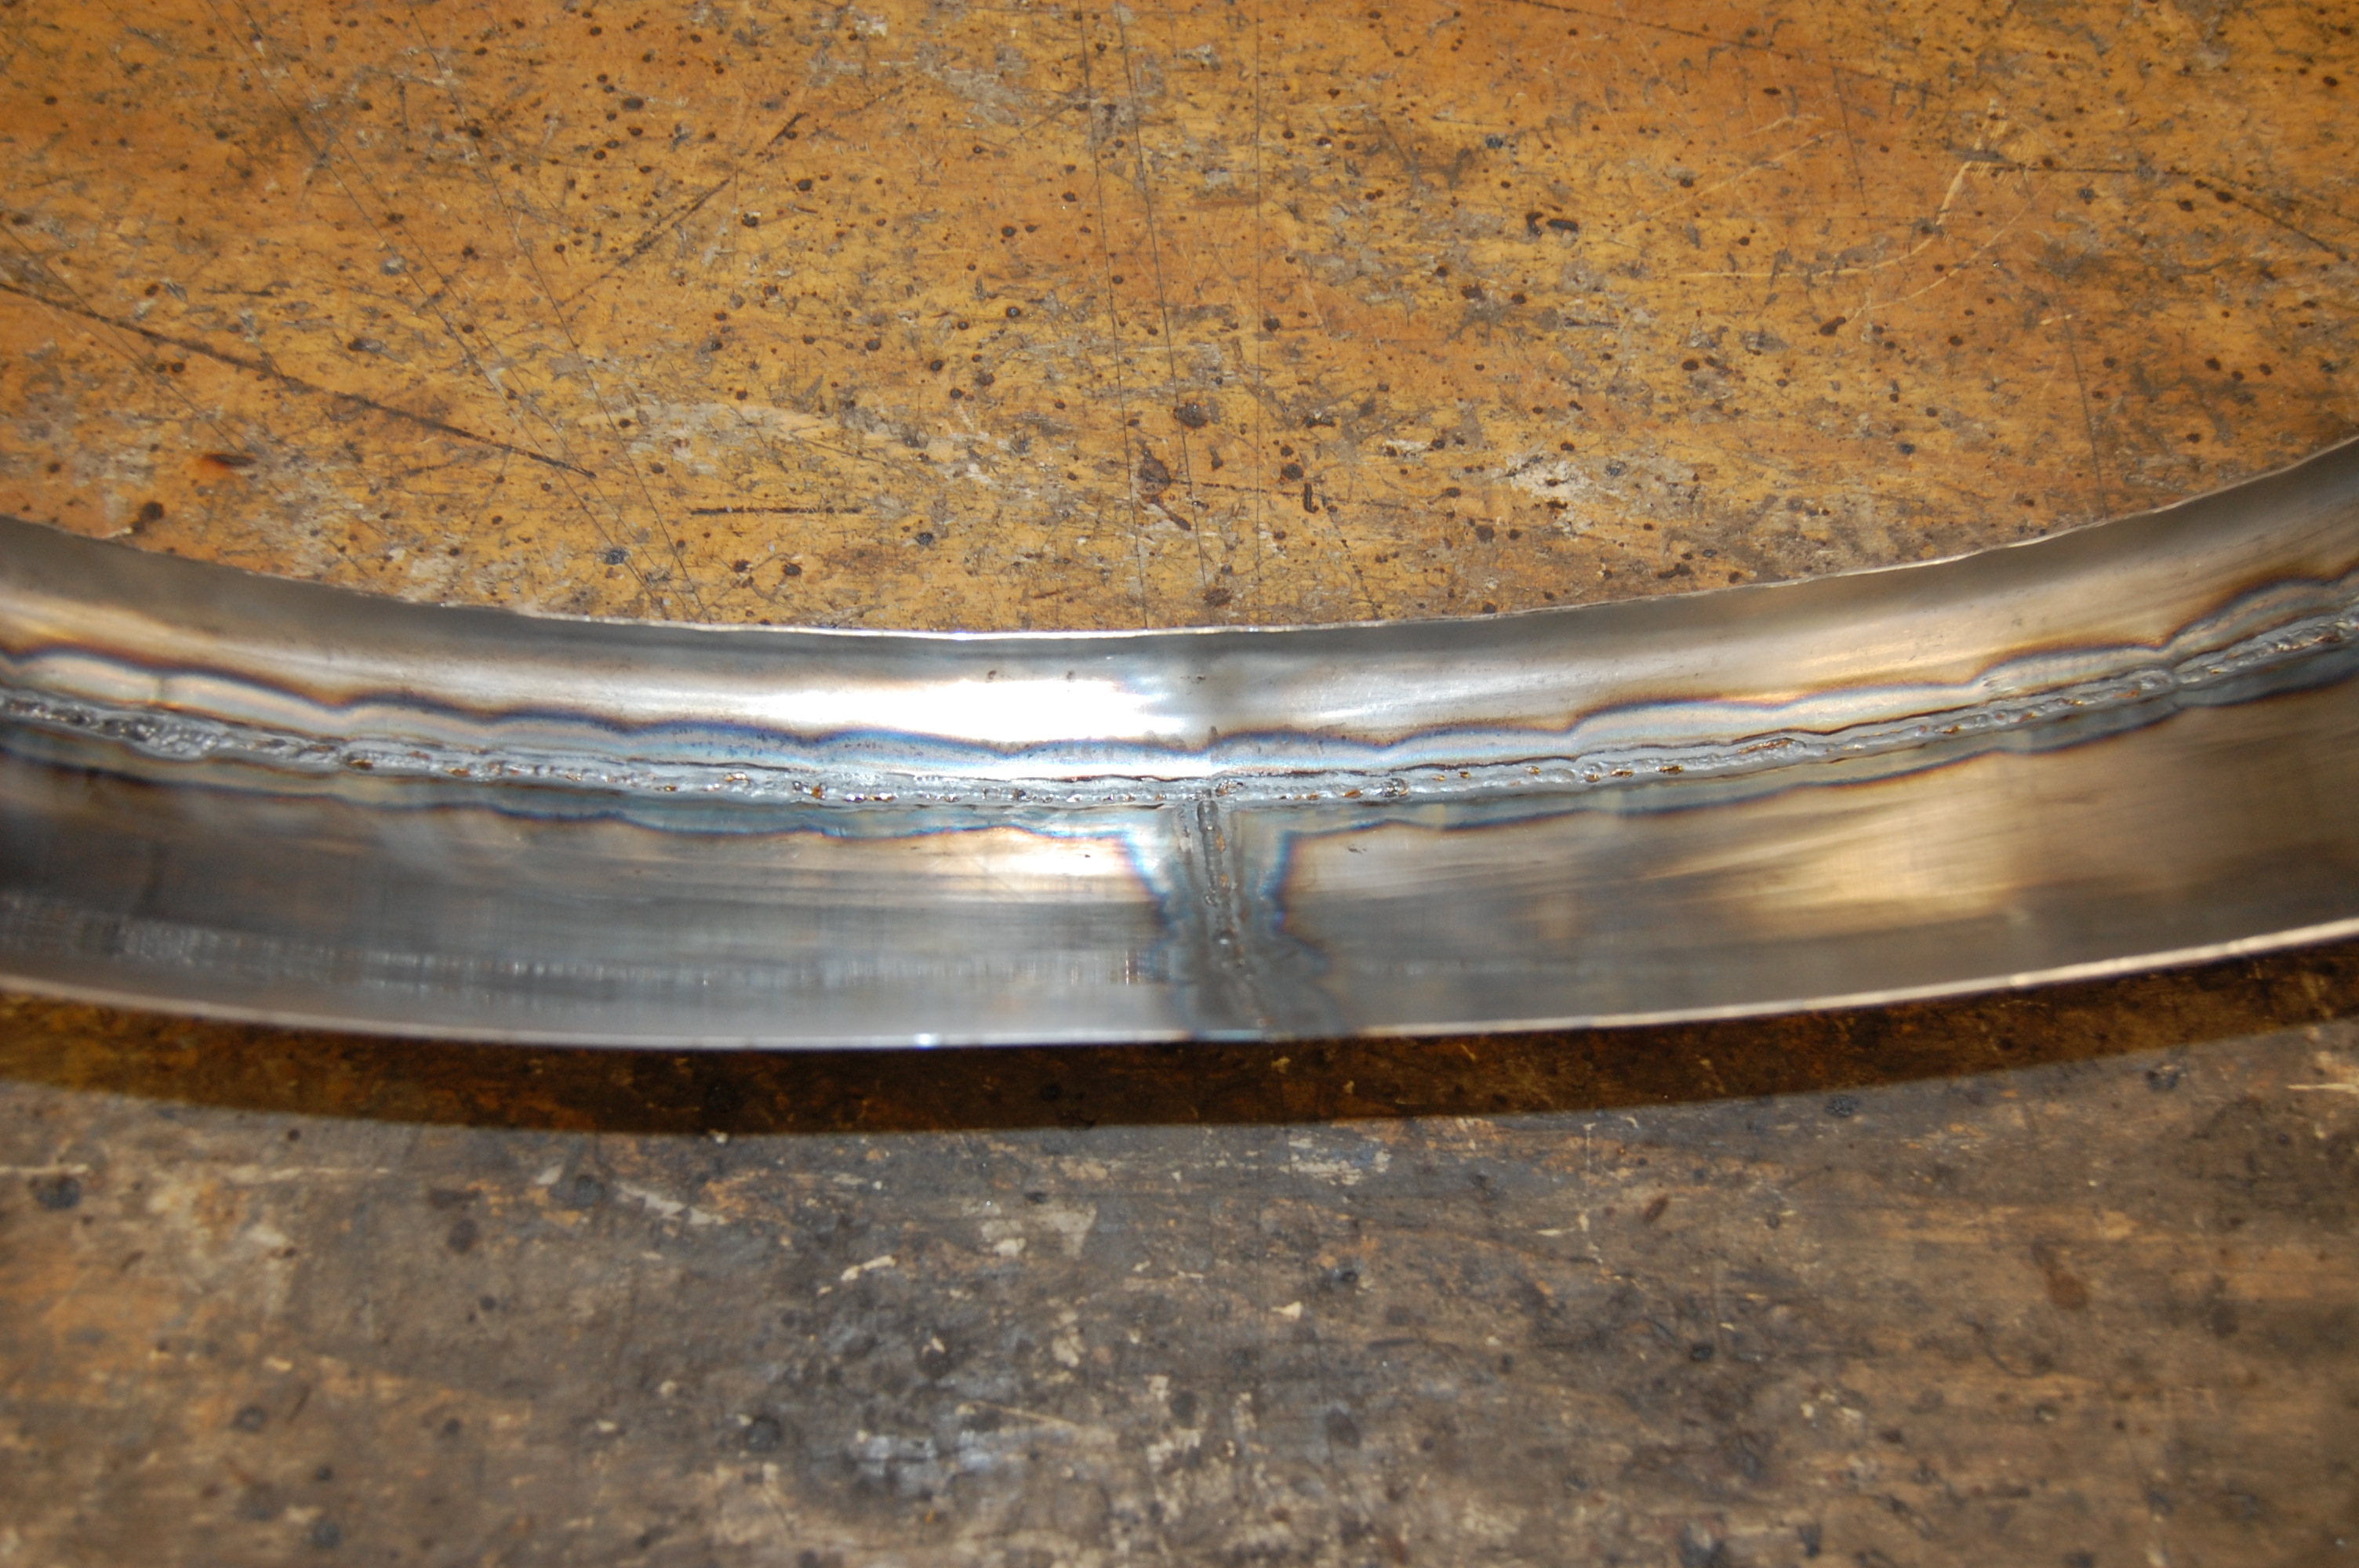
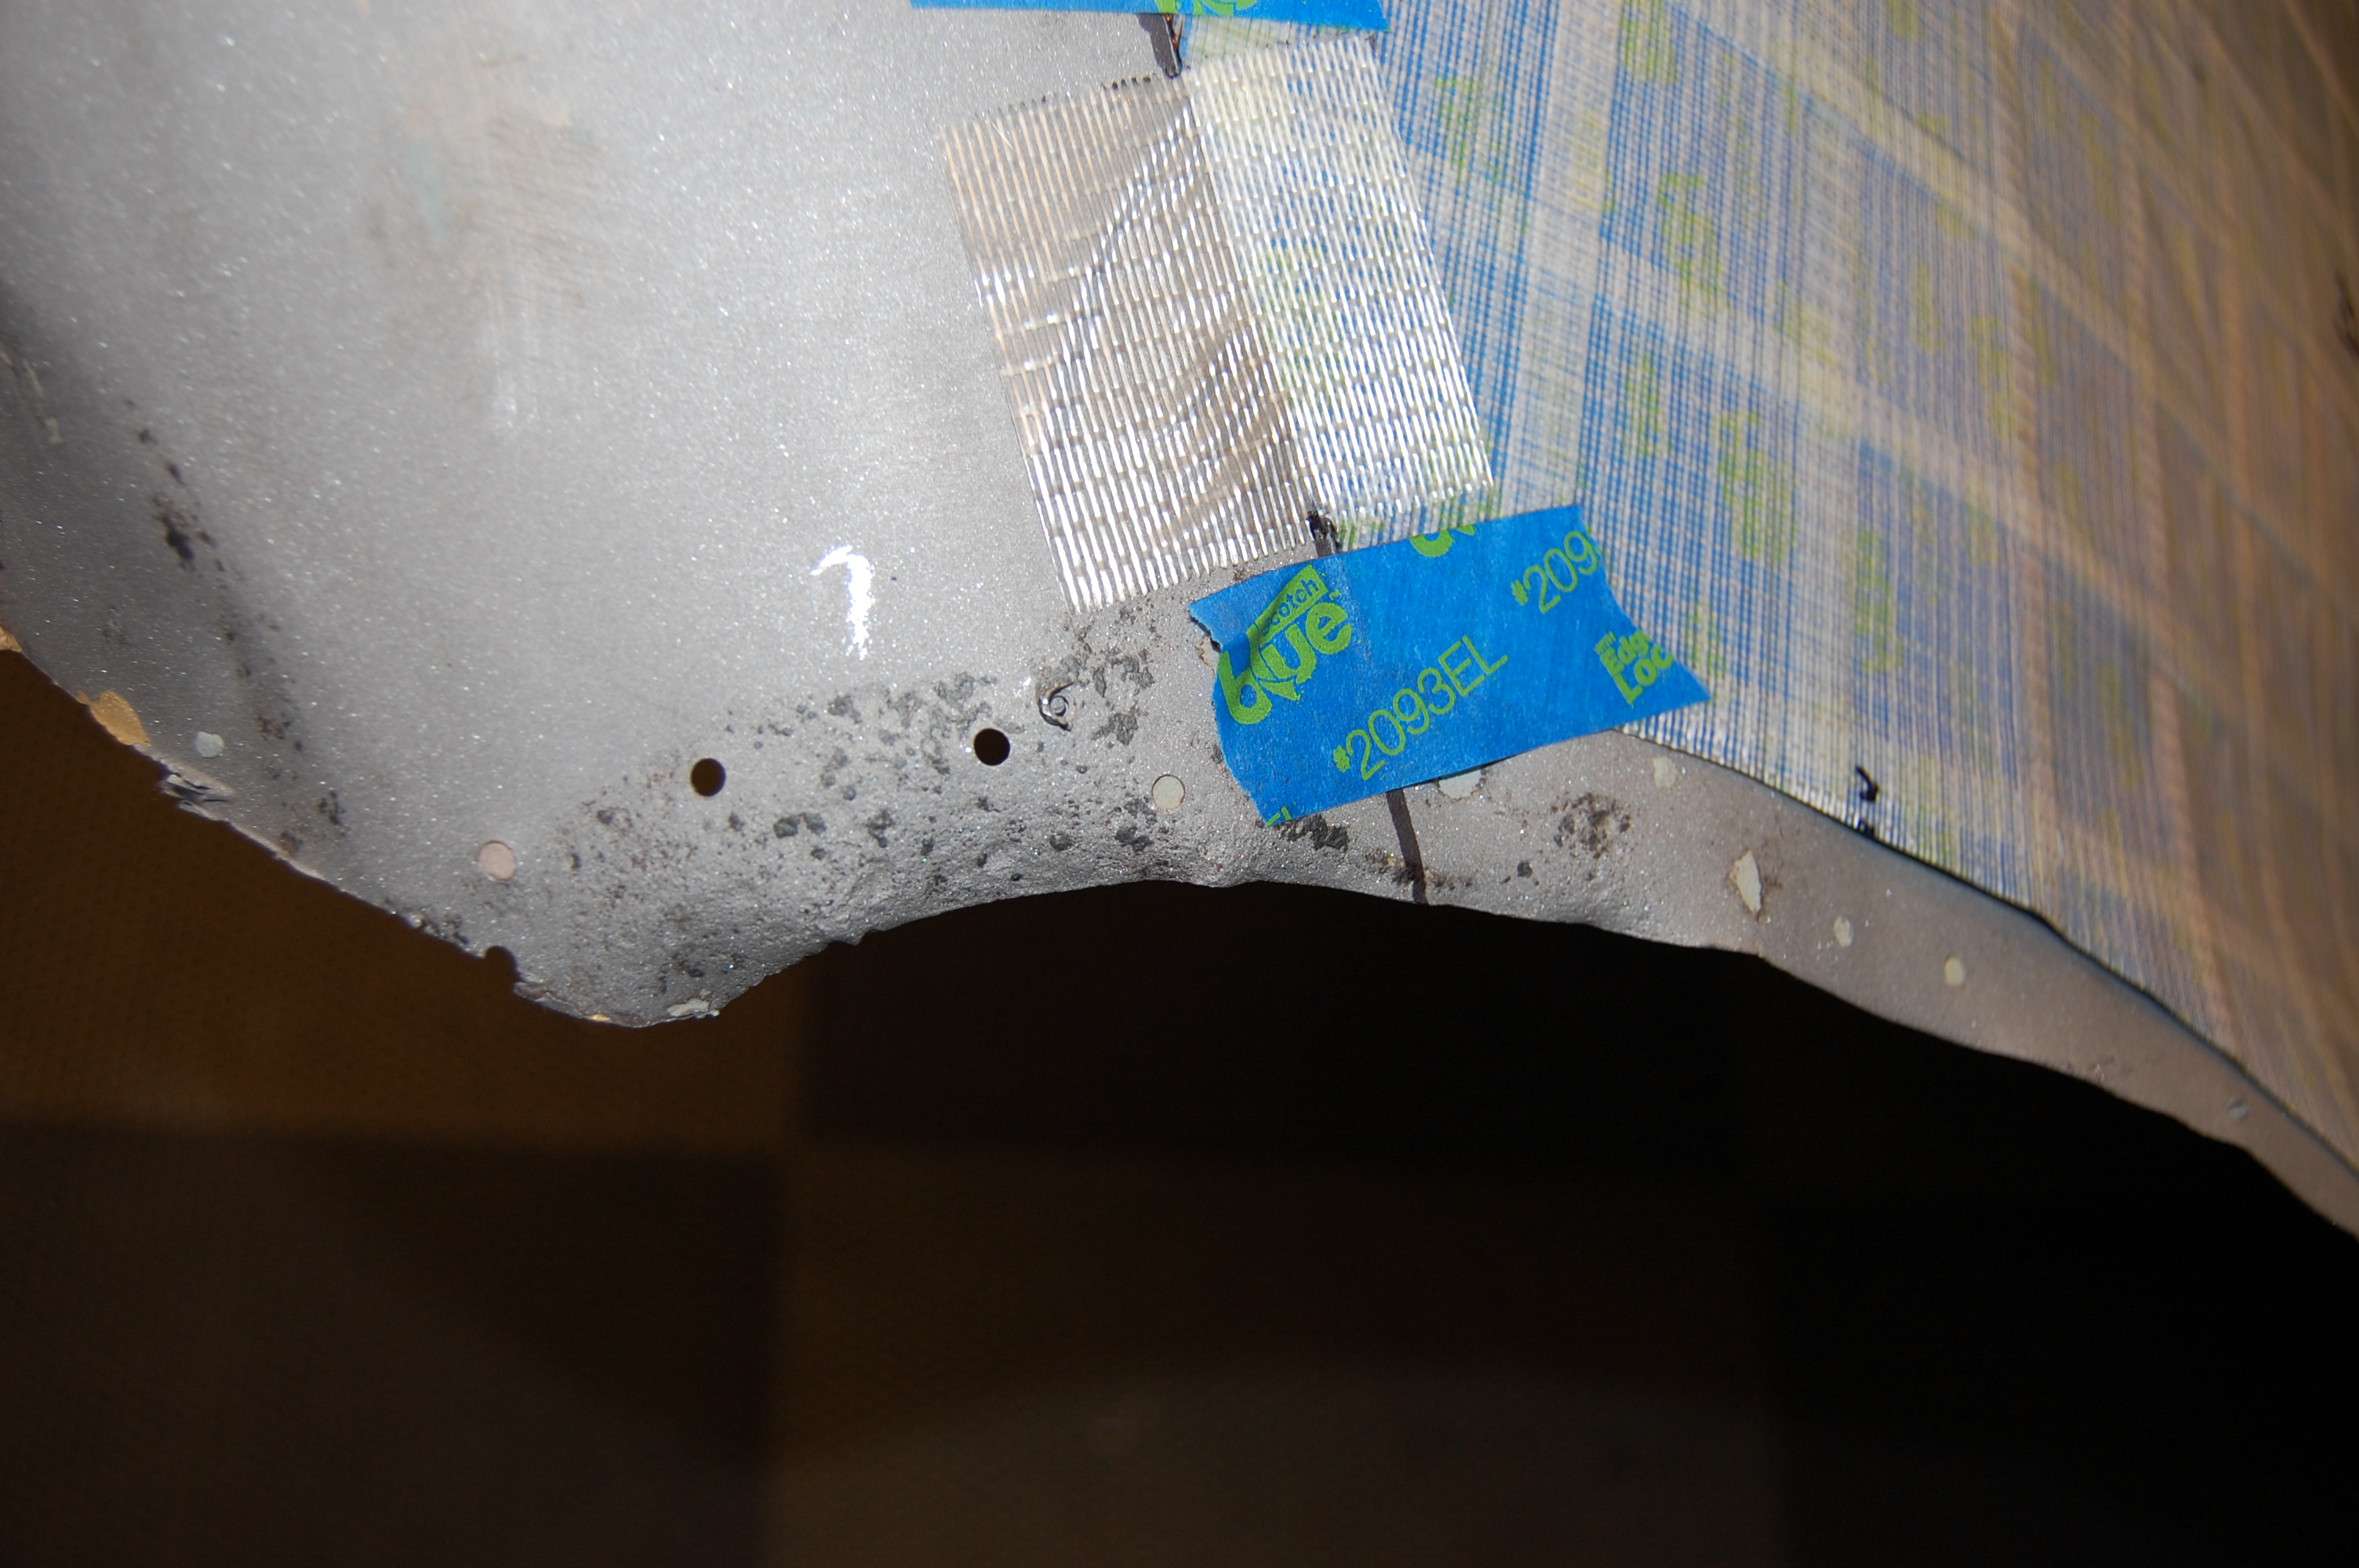
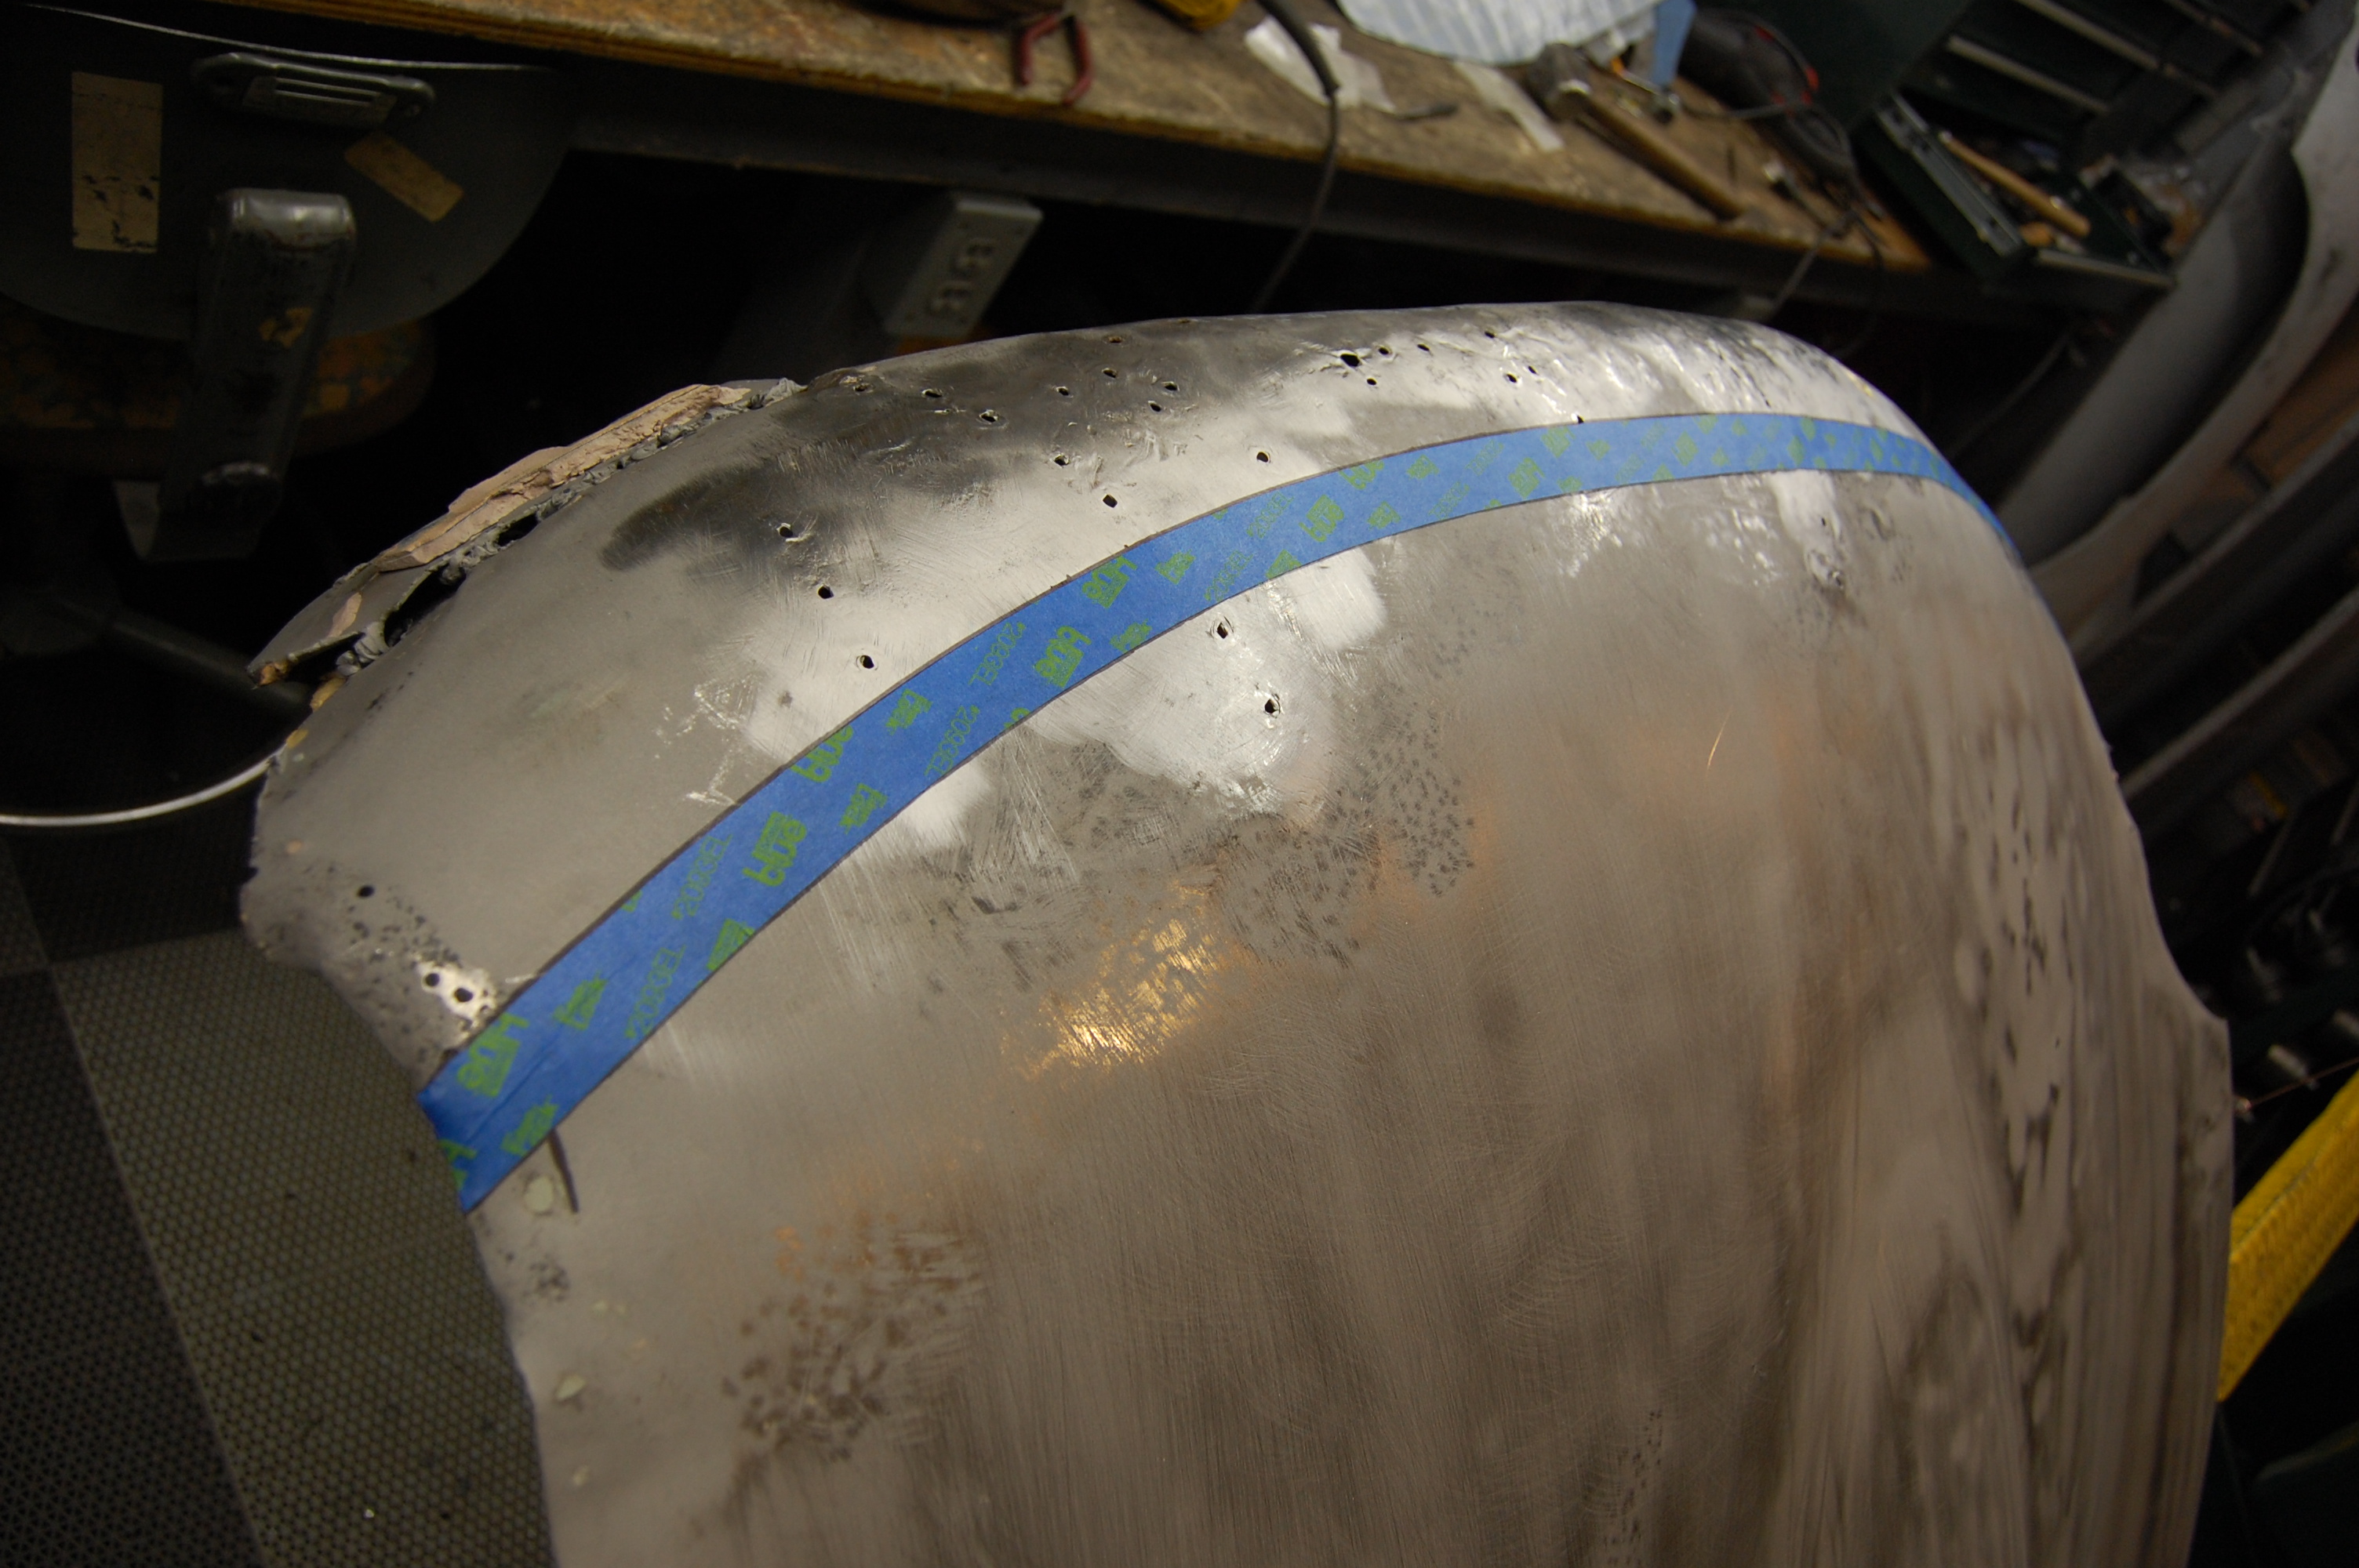
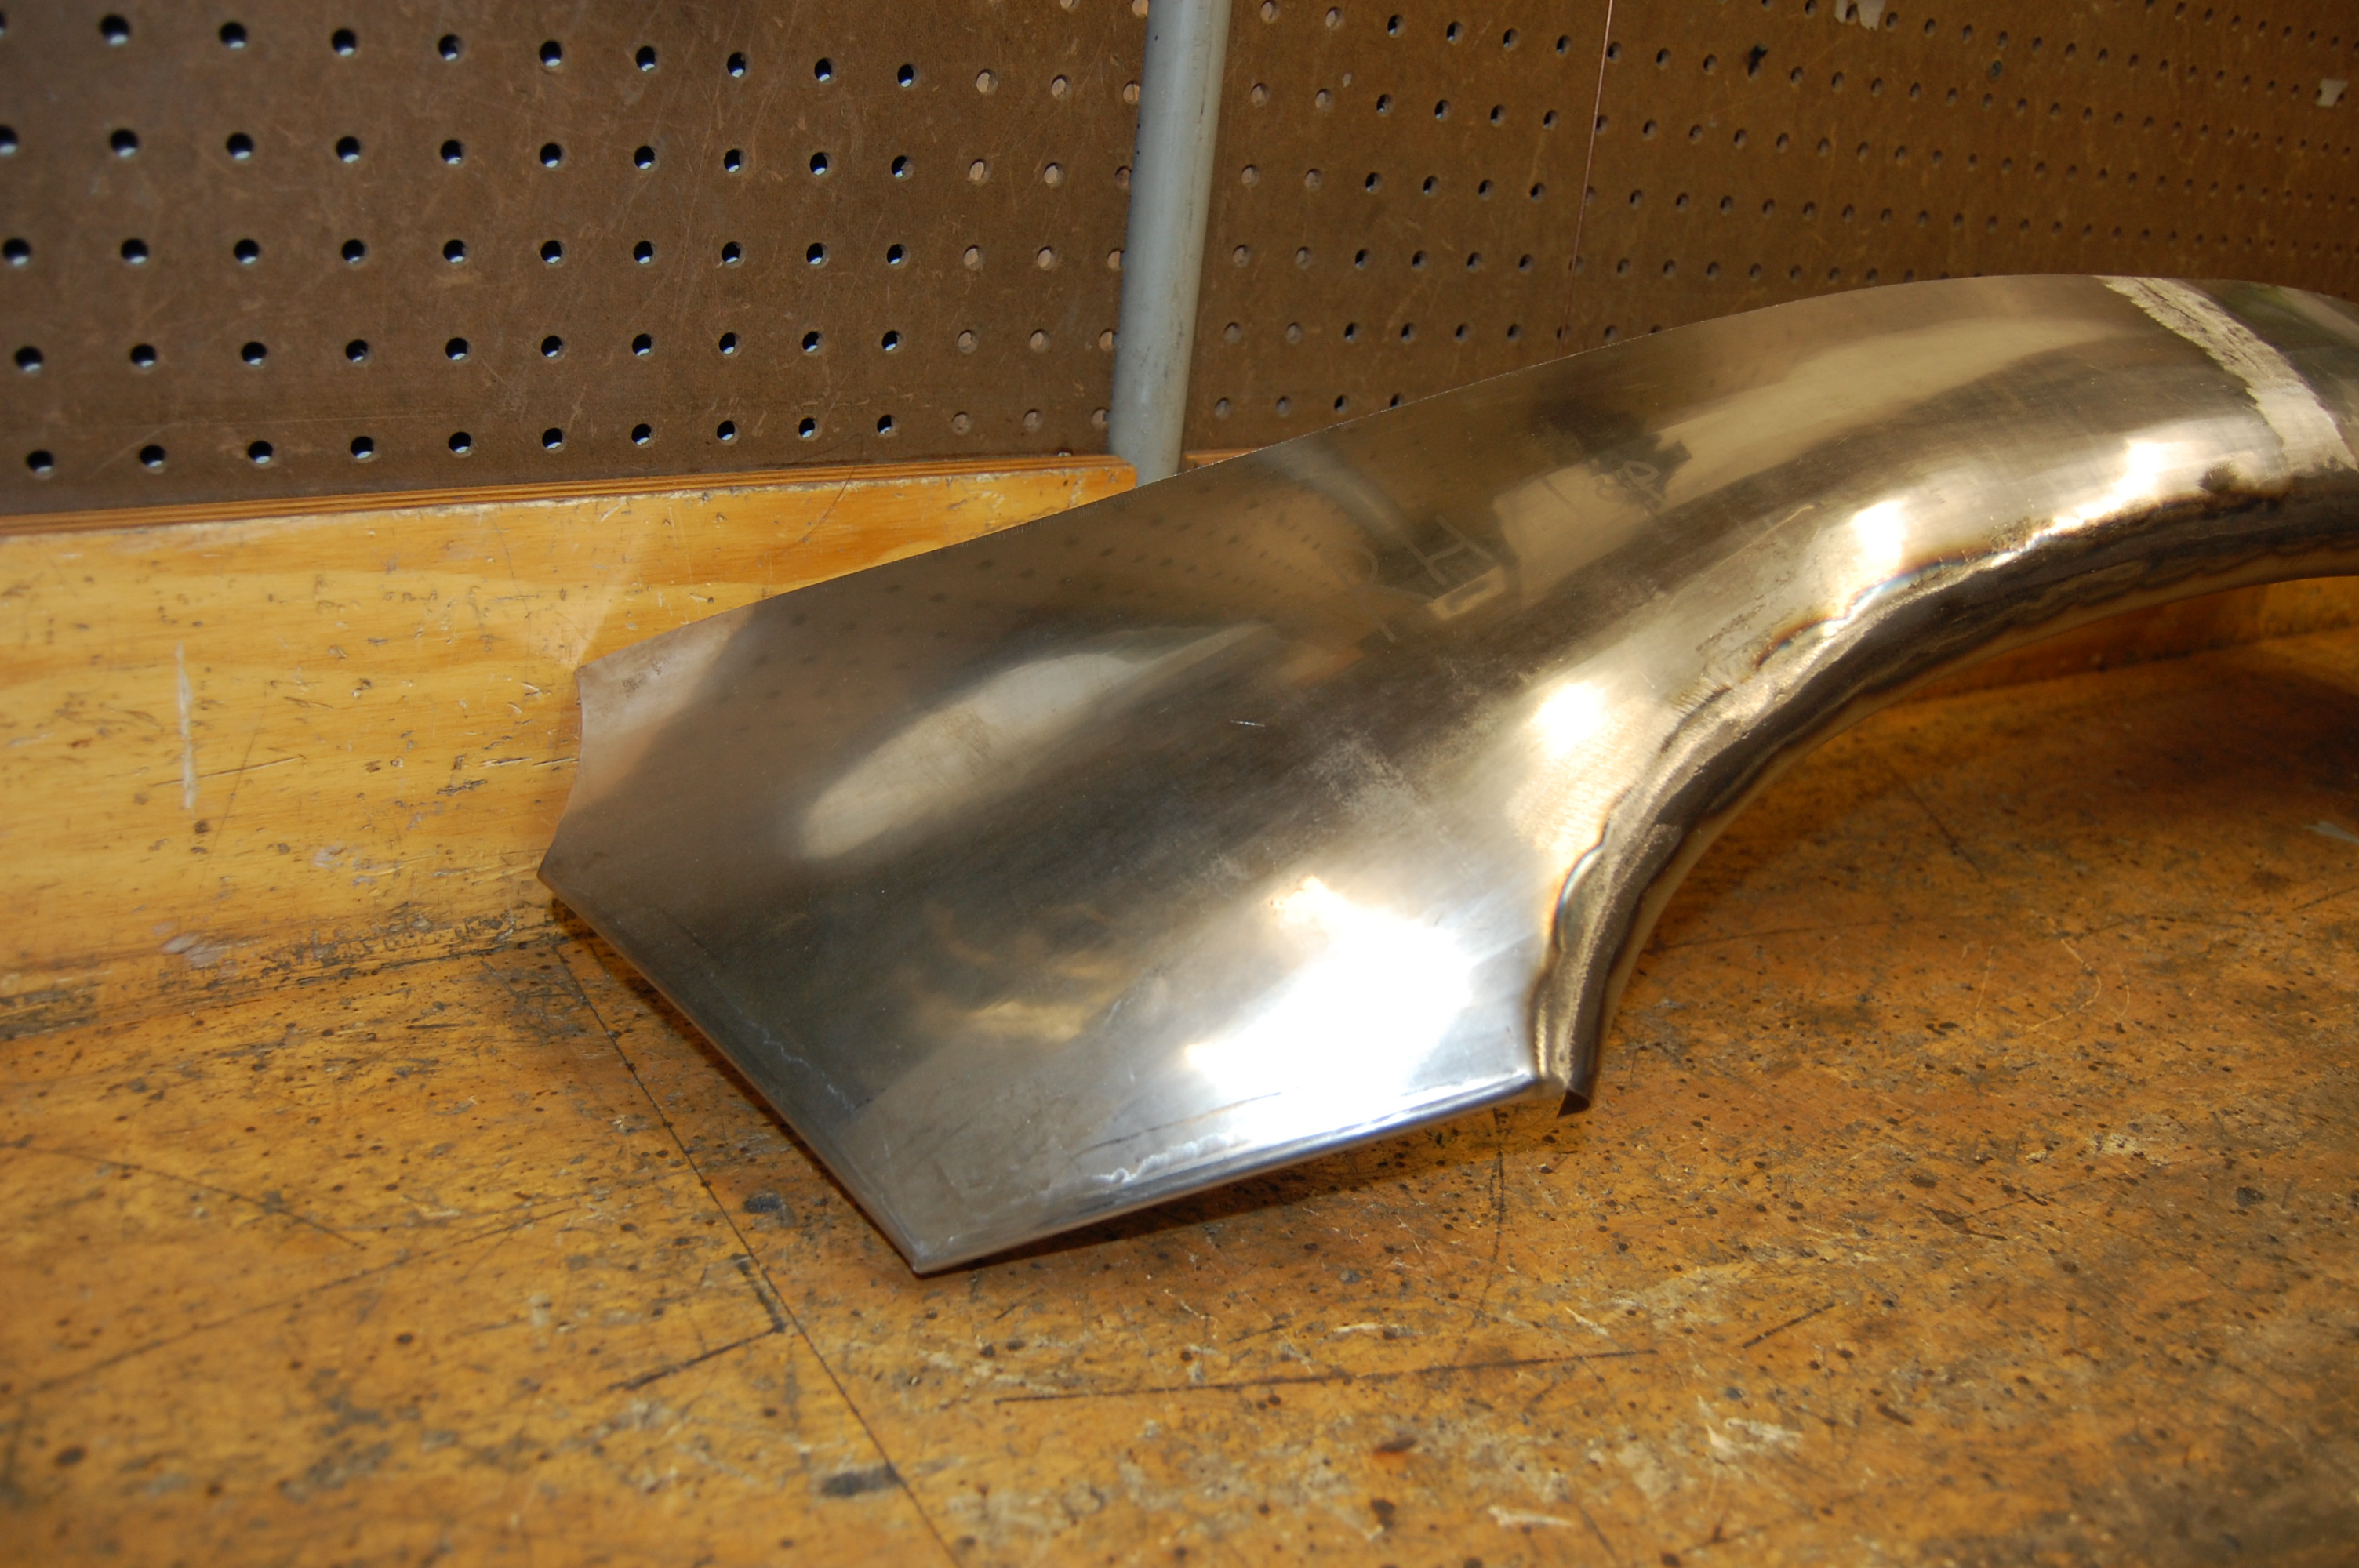
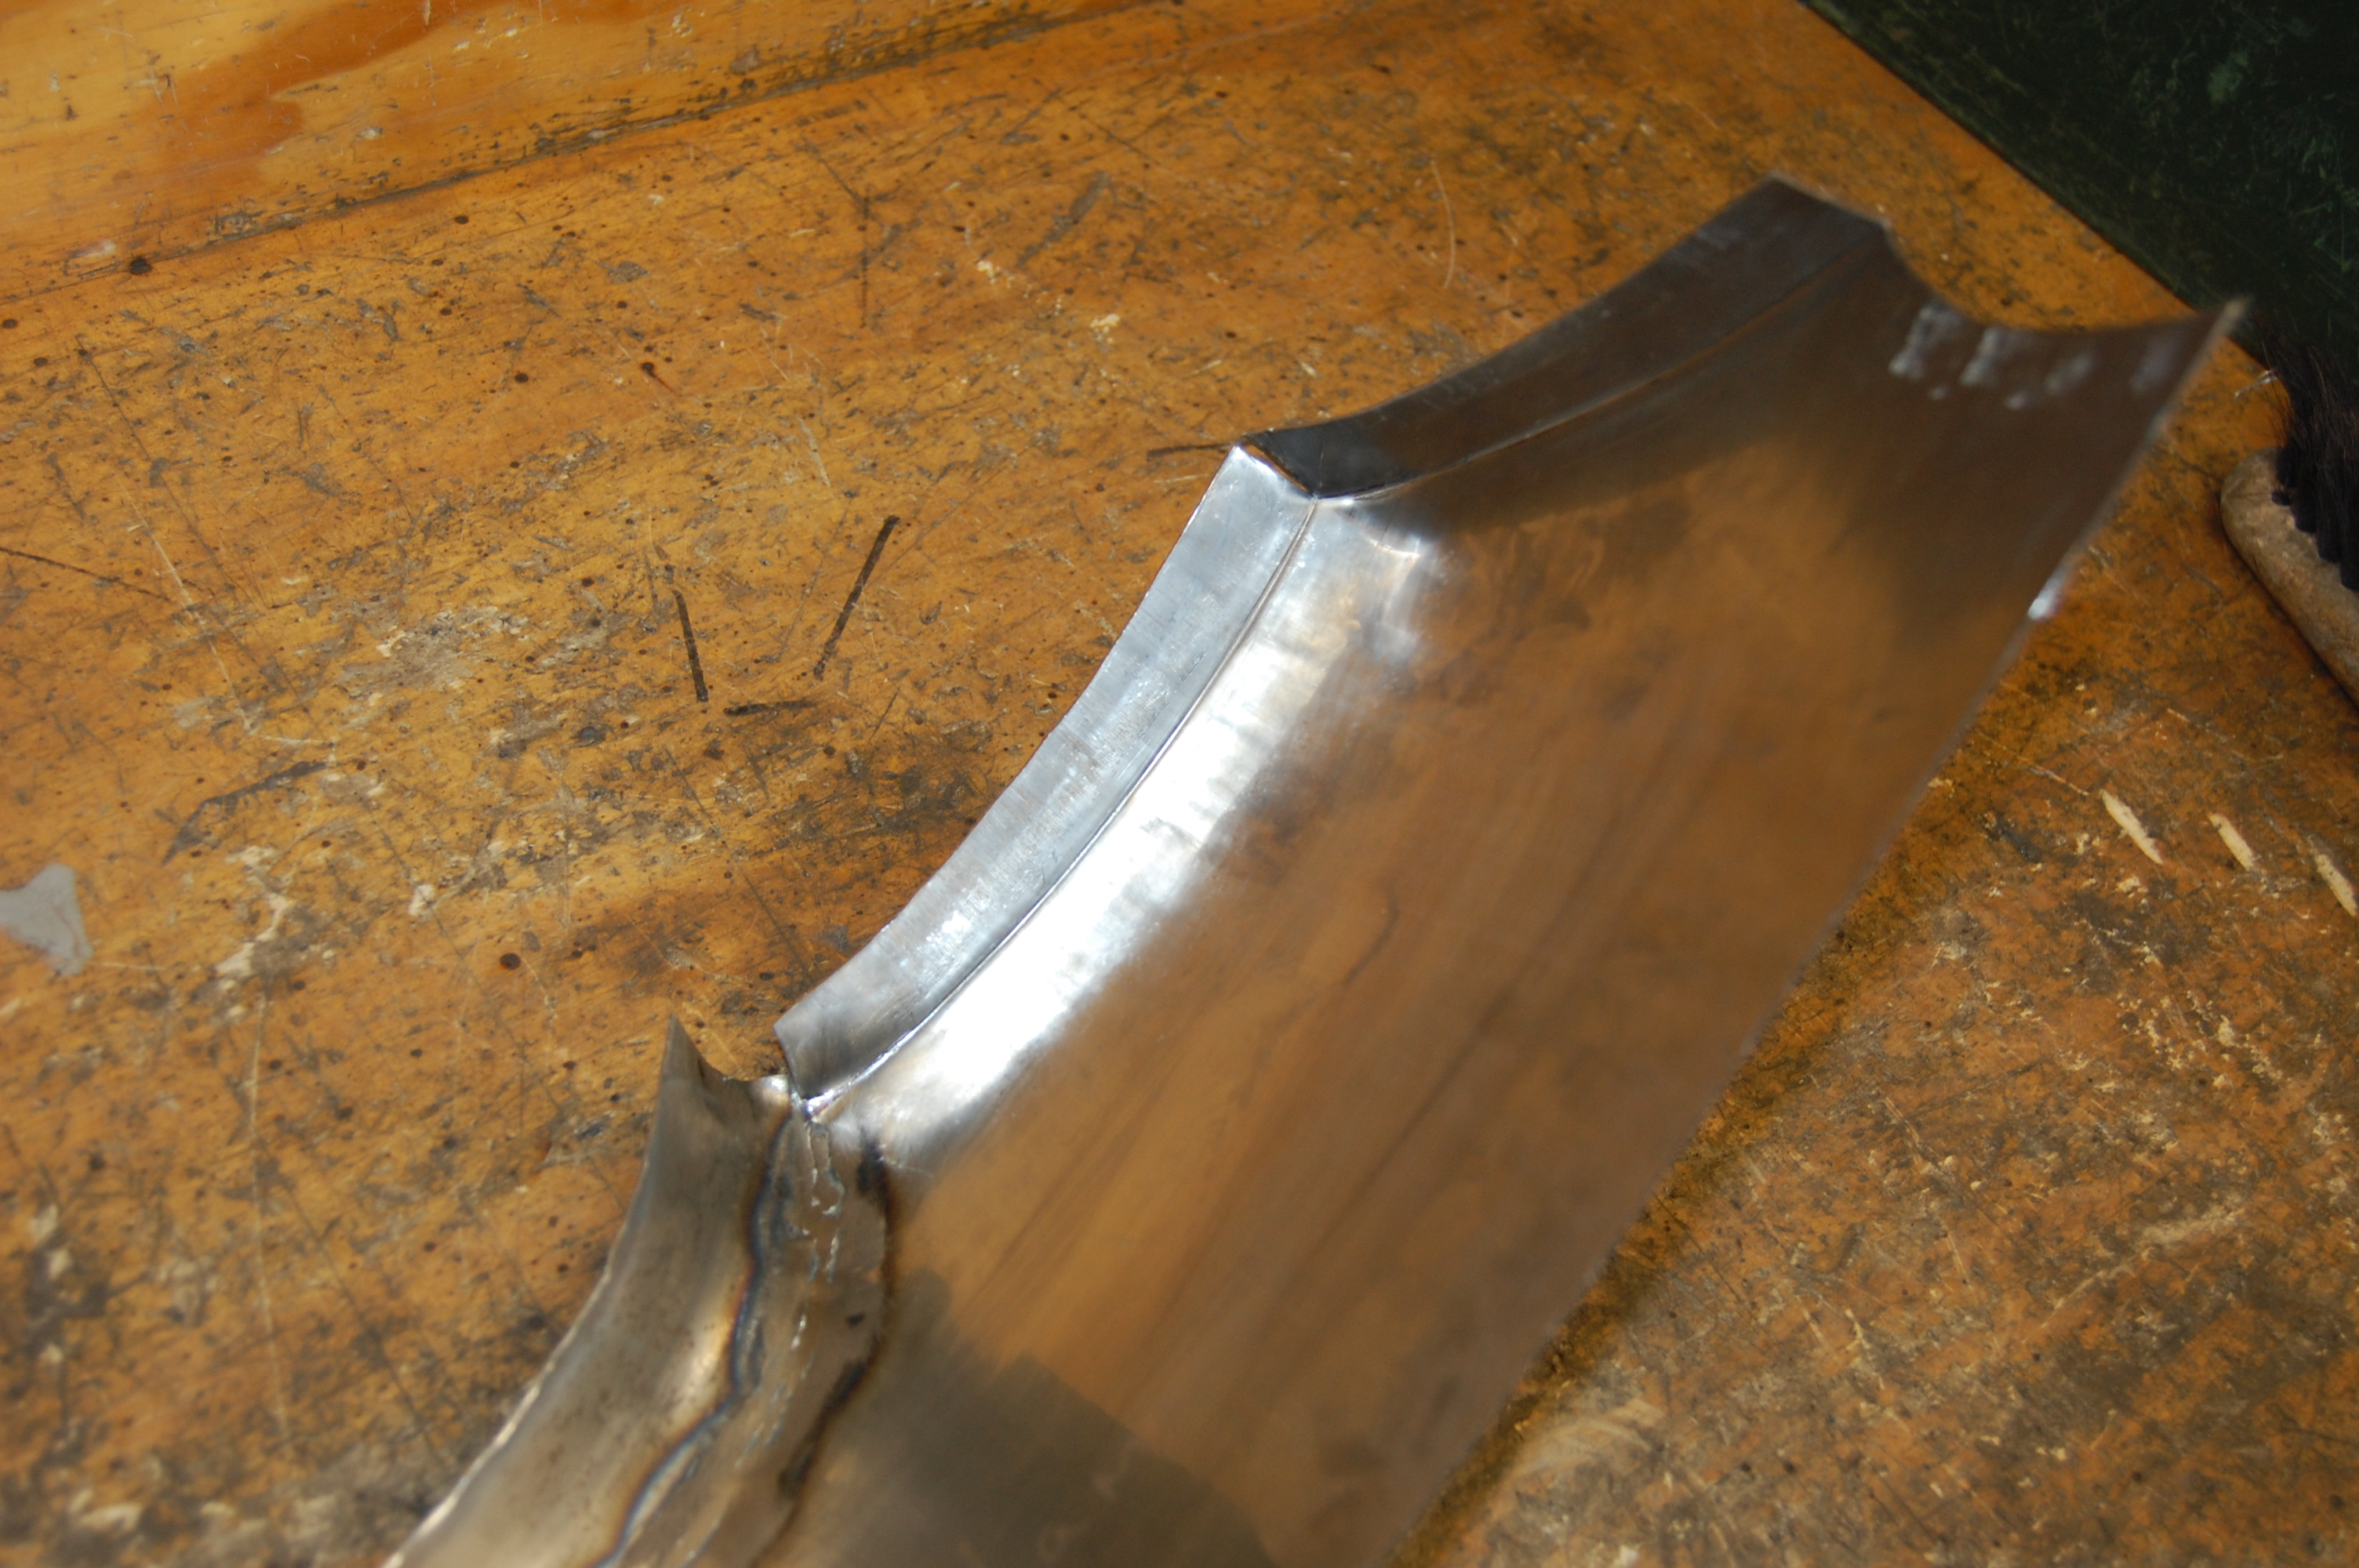
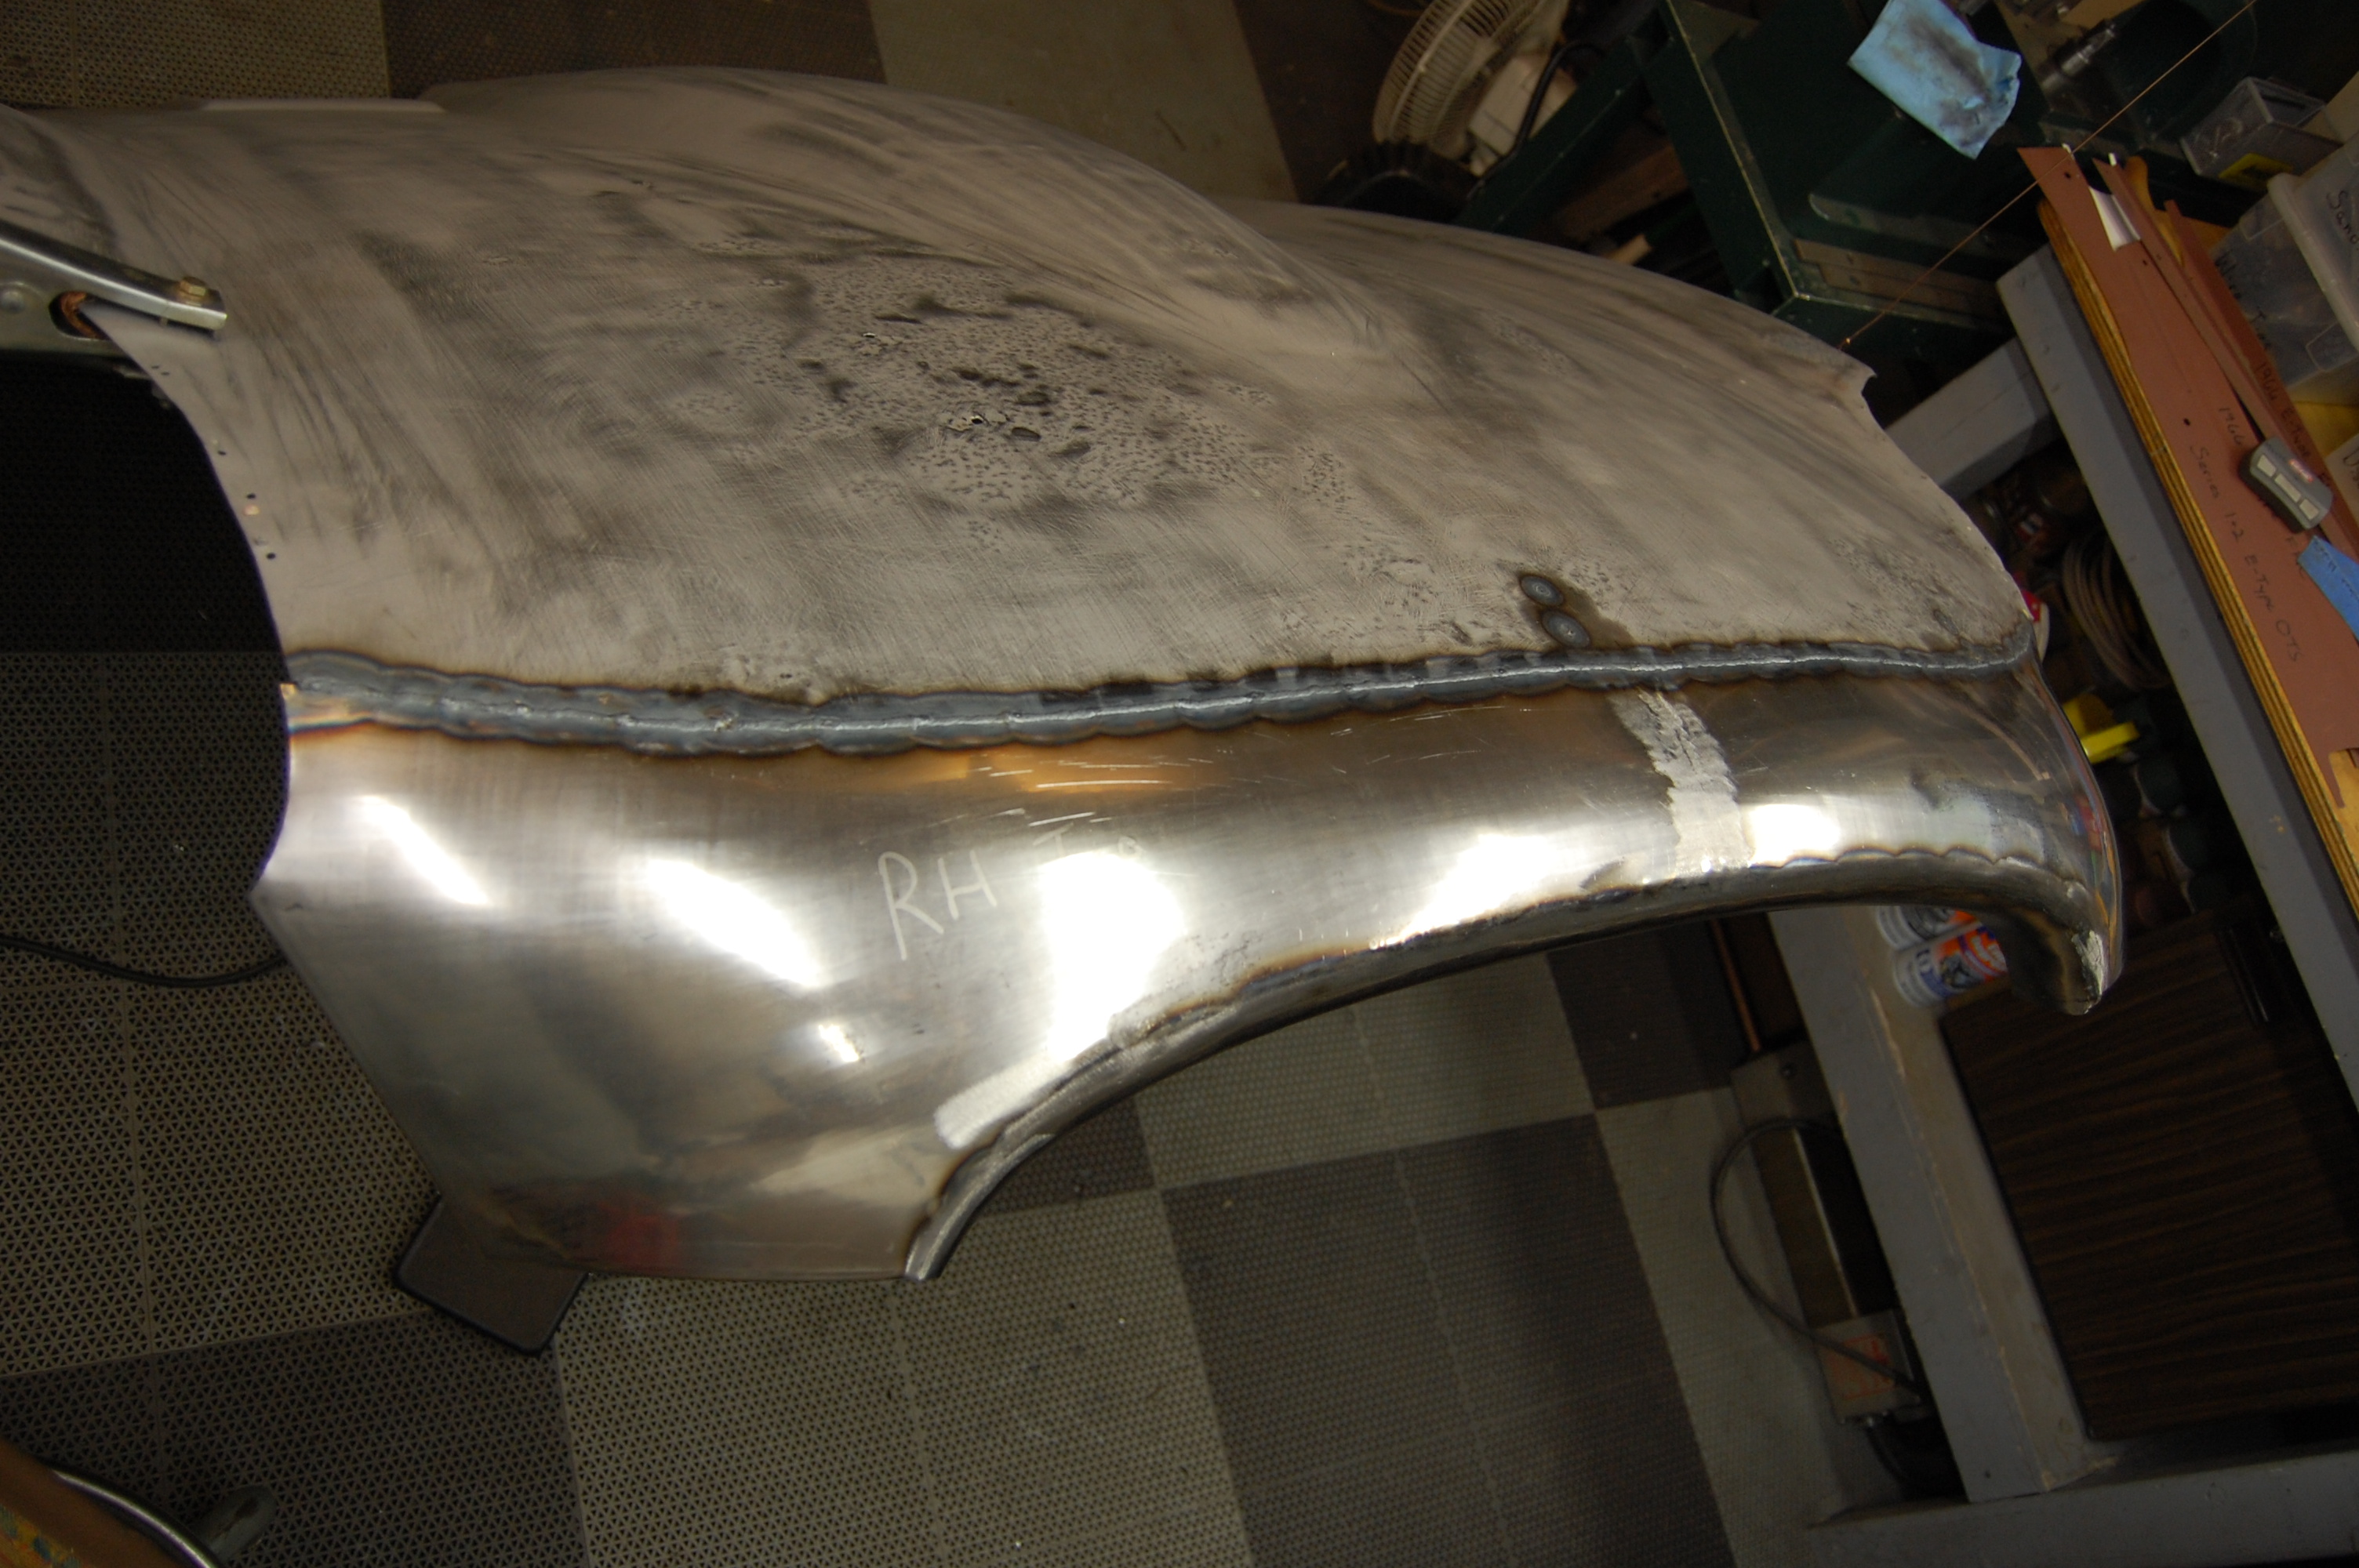
This entry deals with the repair of the nose section of the center panel. At first, I started in on my usual shaping, smoothing, and welding up of all of the dent puller holes, etc., and planned for some patch panels in the lower front corners. However, it soon became obvious that more drastic measures were going to be required – GULP…
Earlier this year, I made a new nose section for a Series 2 center panel in steel, and that turned out very well, although it was quite time consuming (see the “Gold” blog entry from February). Then soon after, I made a new nose for an aluminum Series 1 racing bonnet – which also turned out well, but with the much more rounded nose of the Series 1, was definitely trickier…
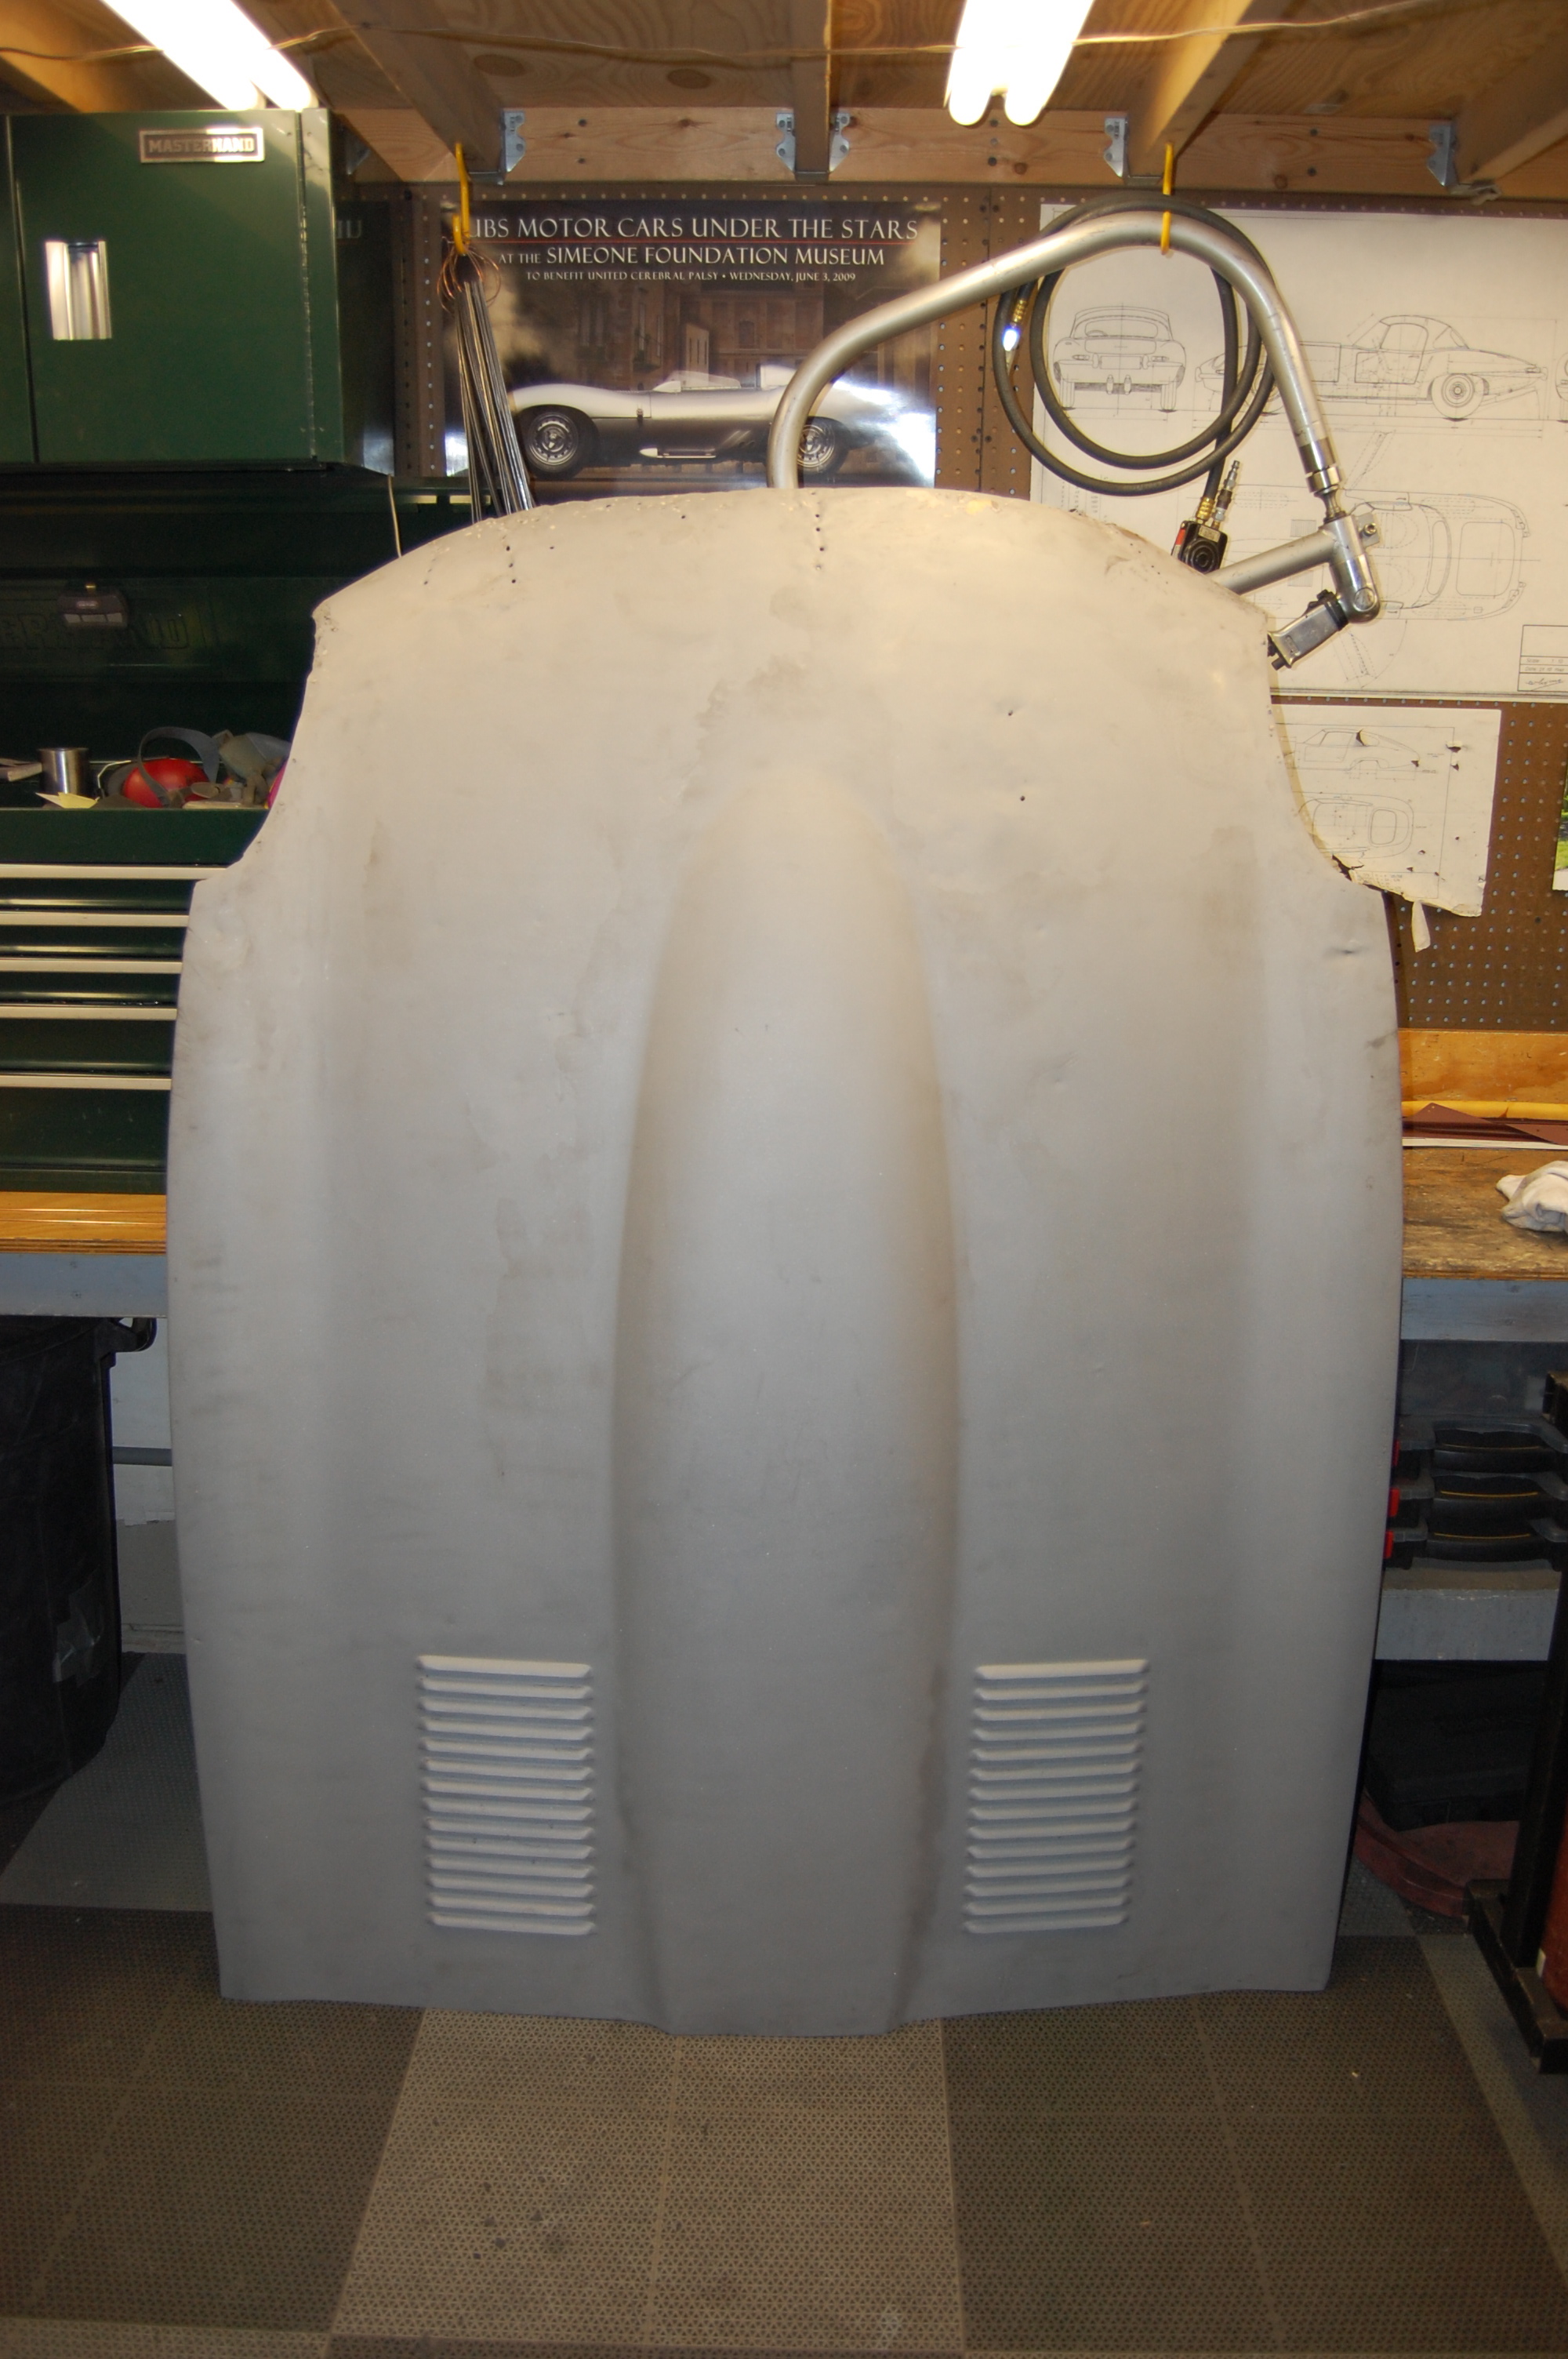
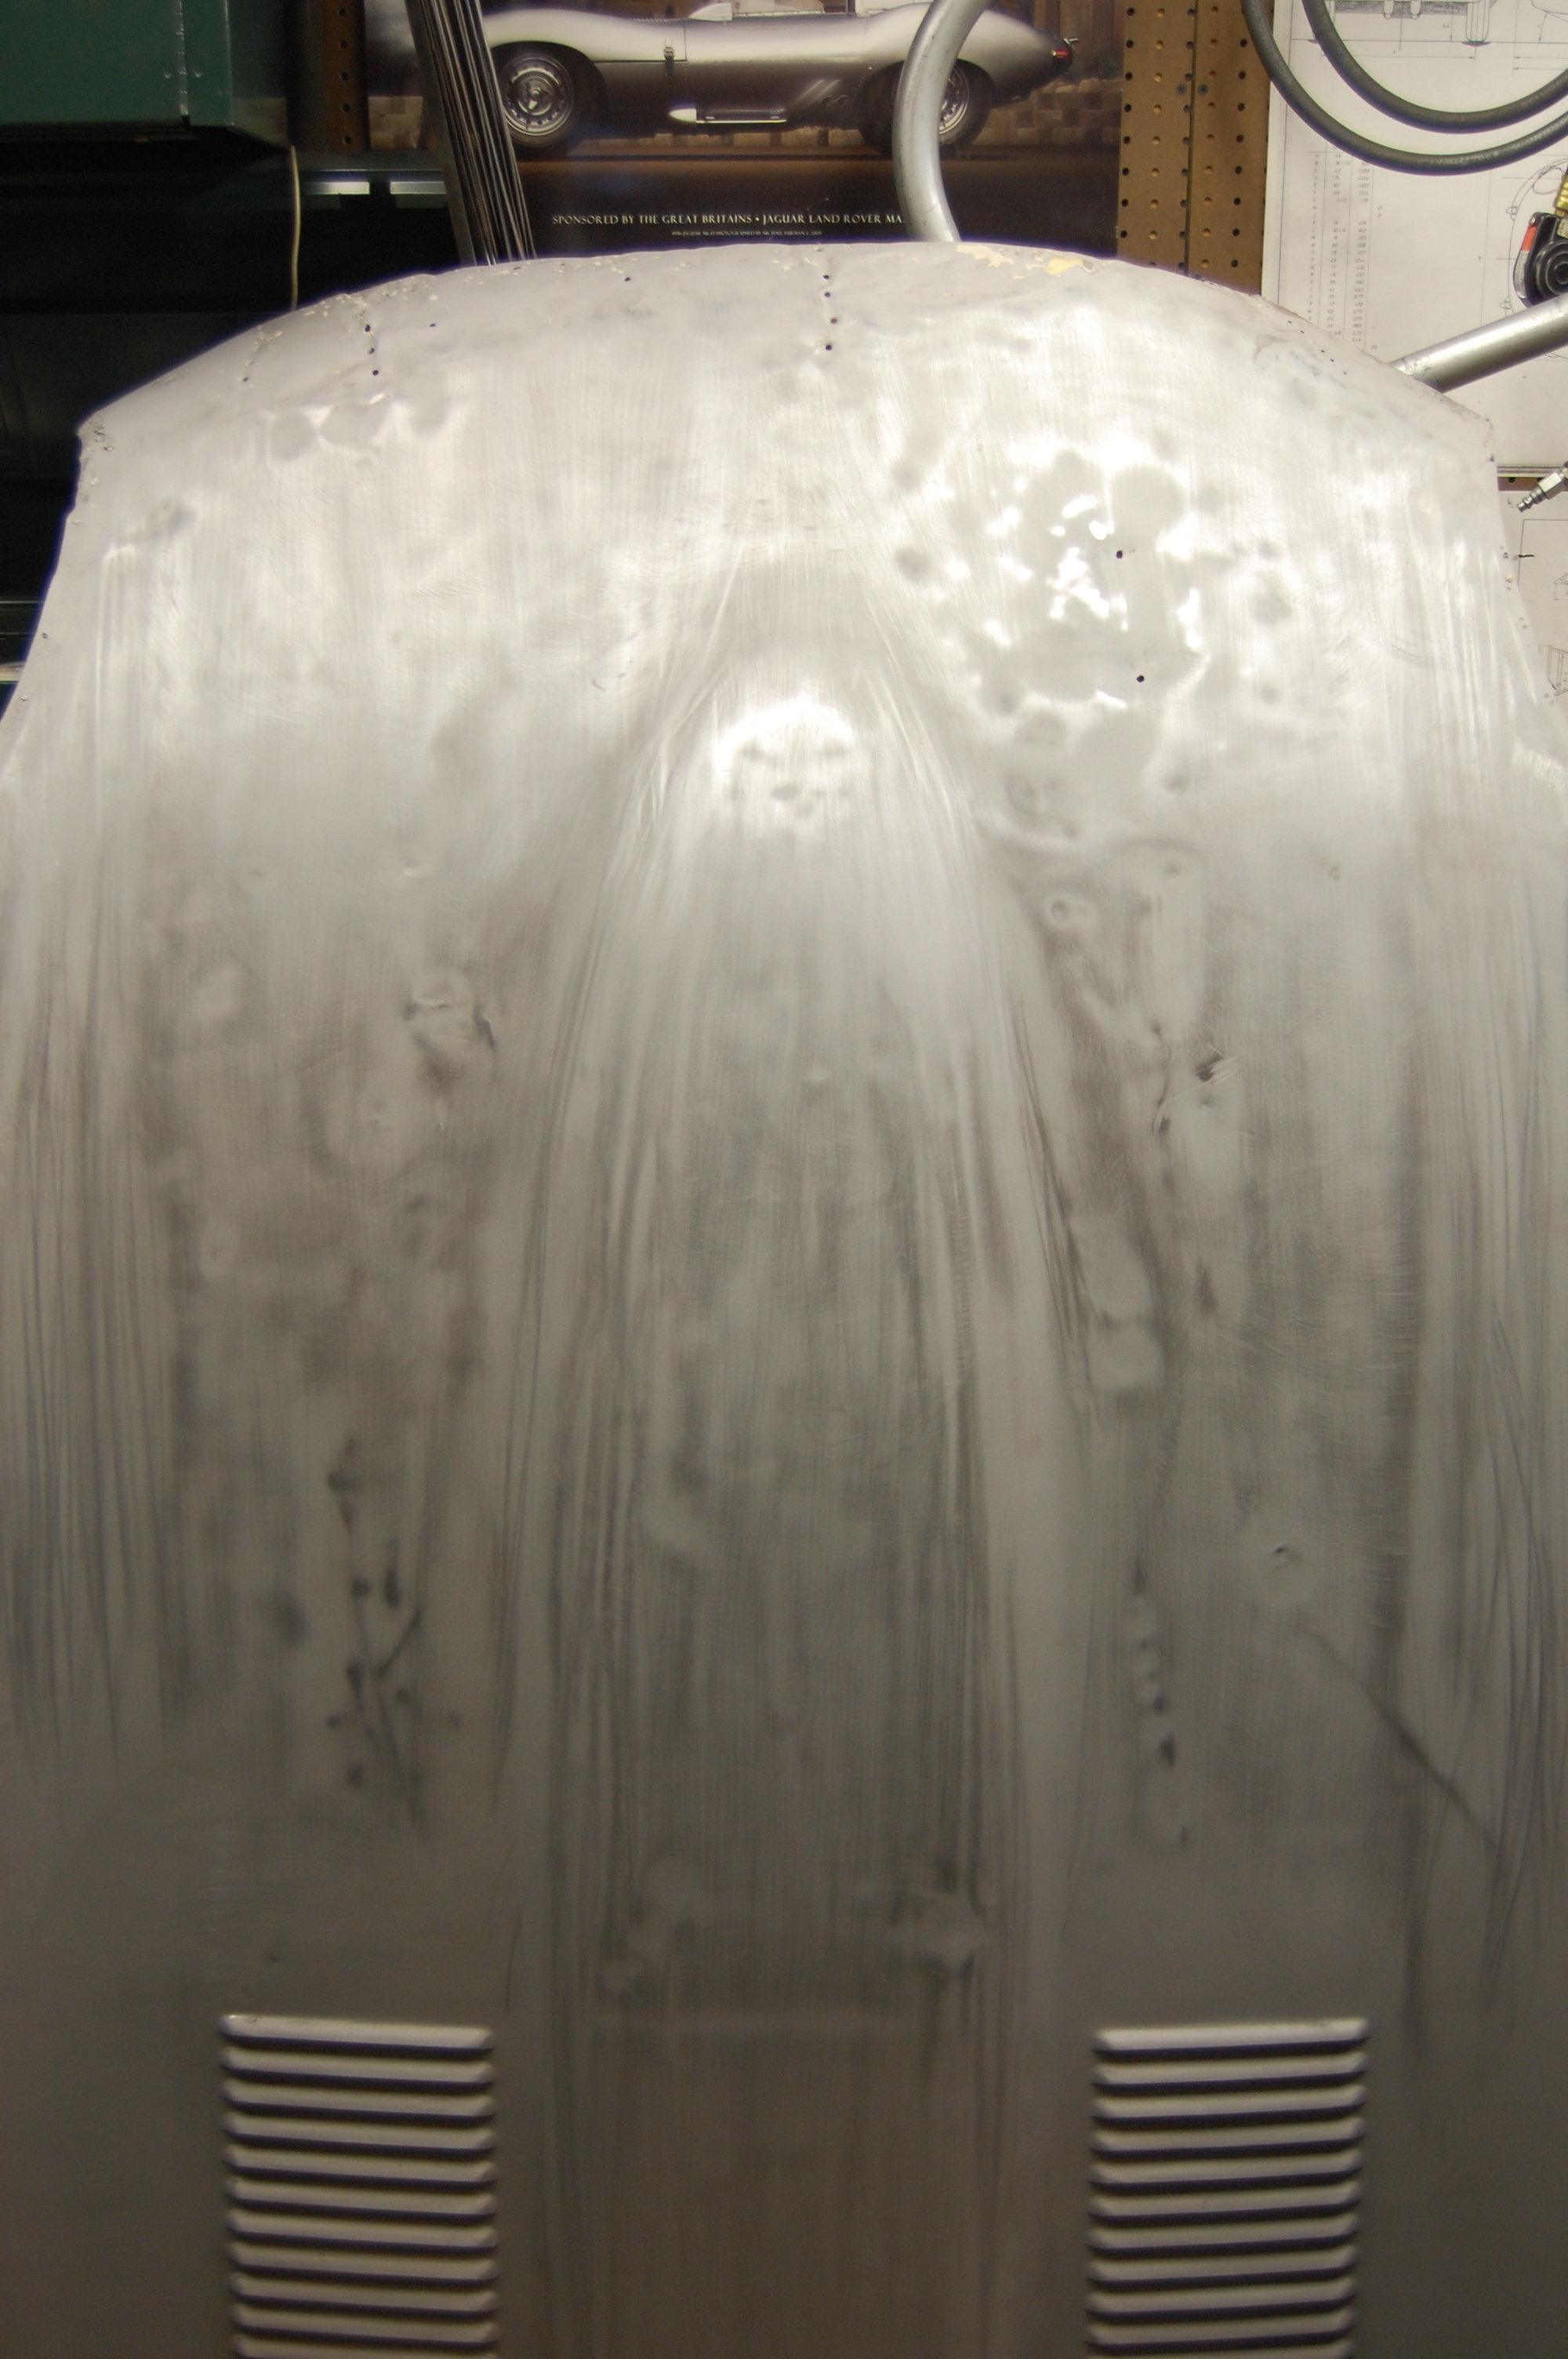
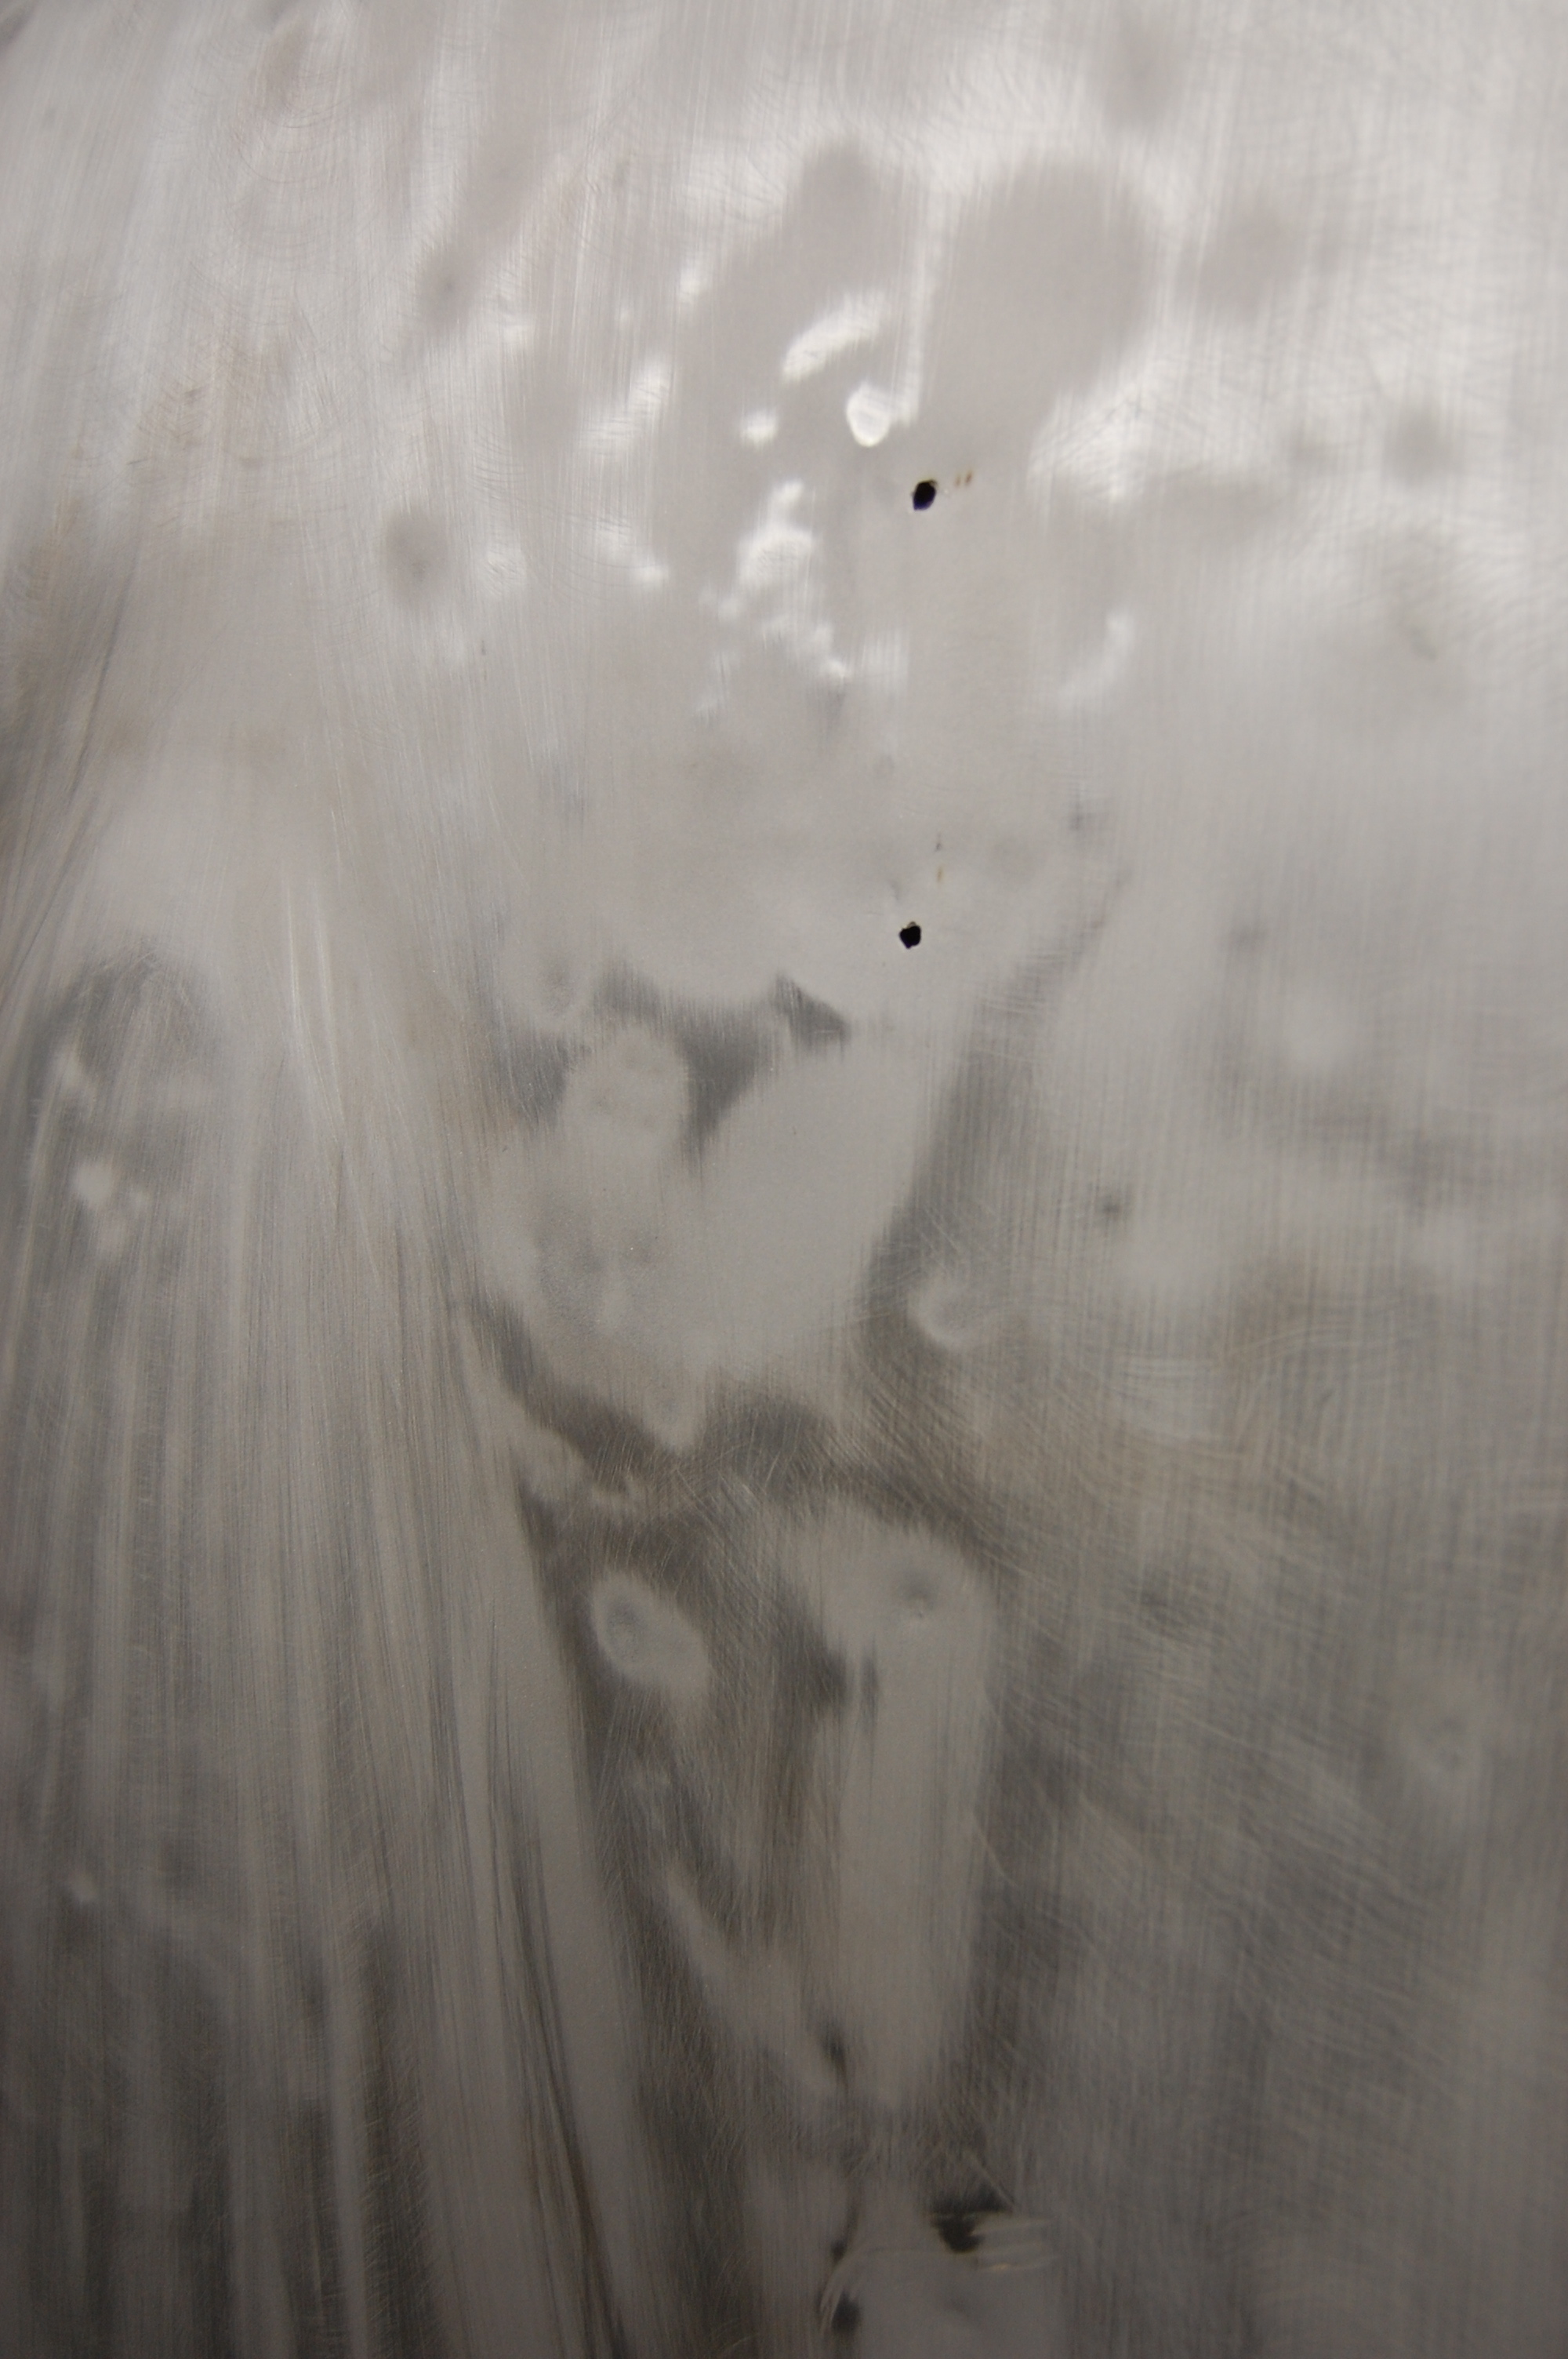
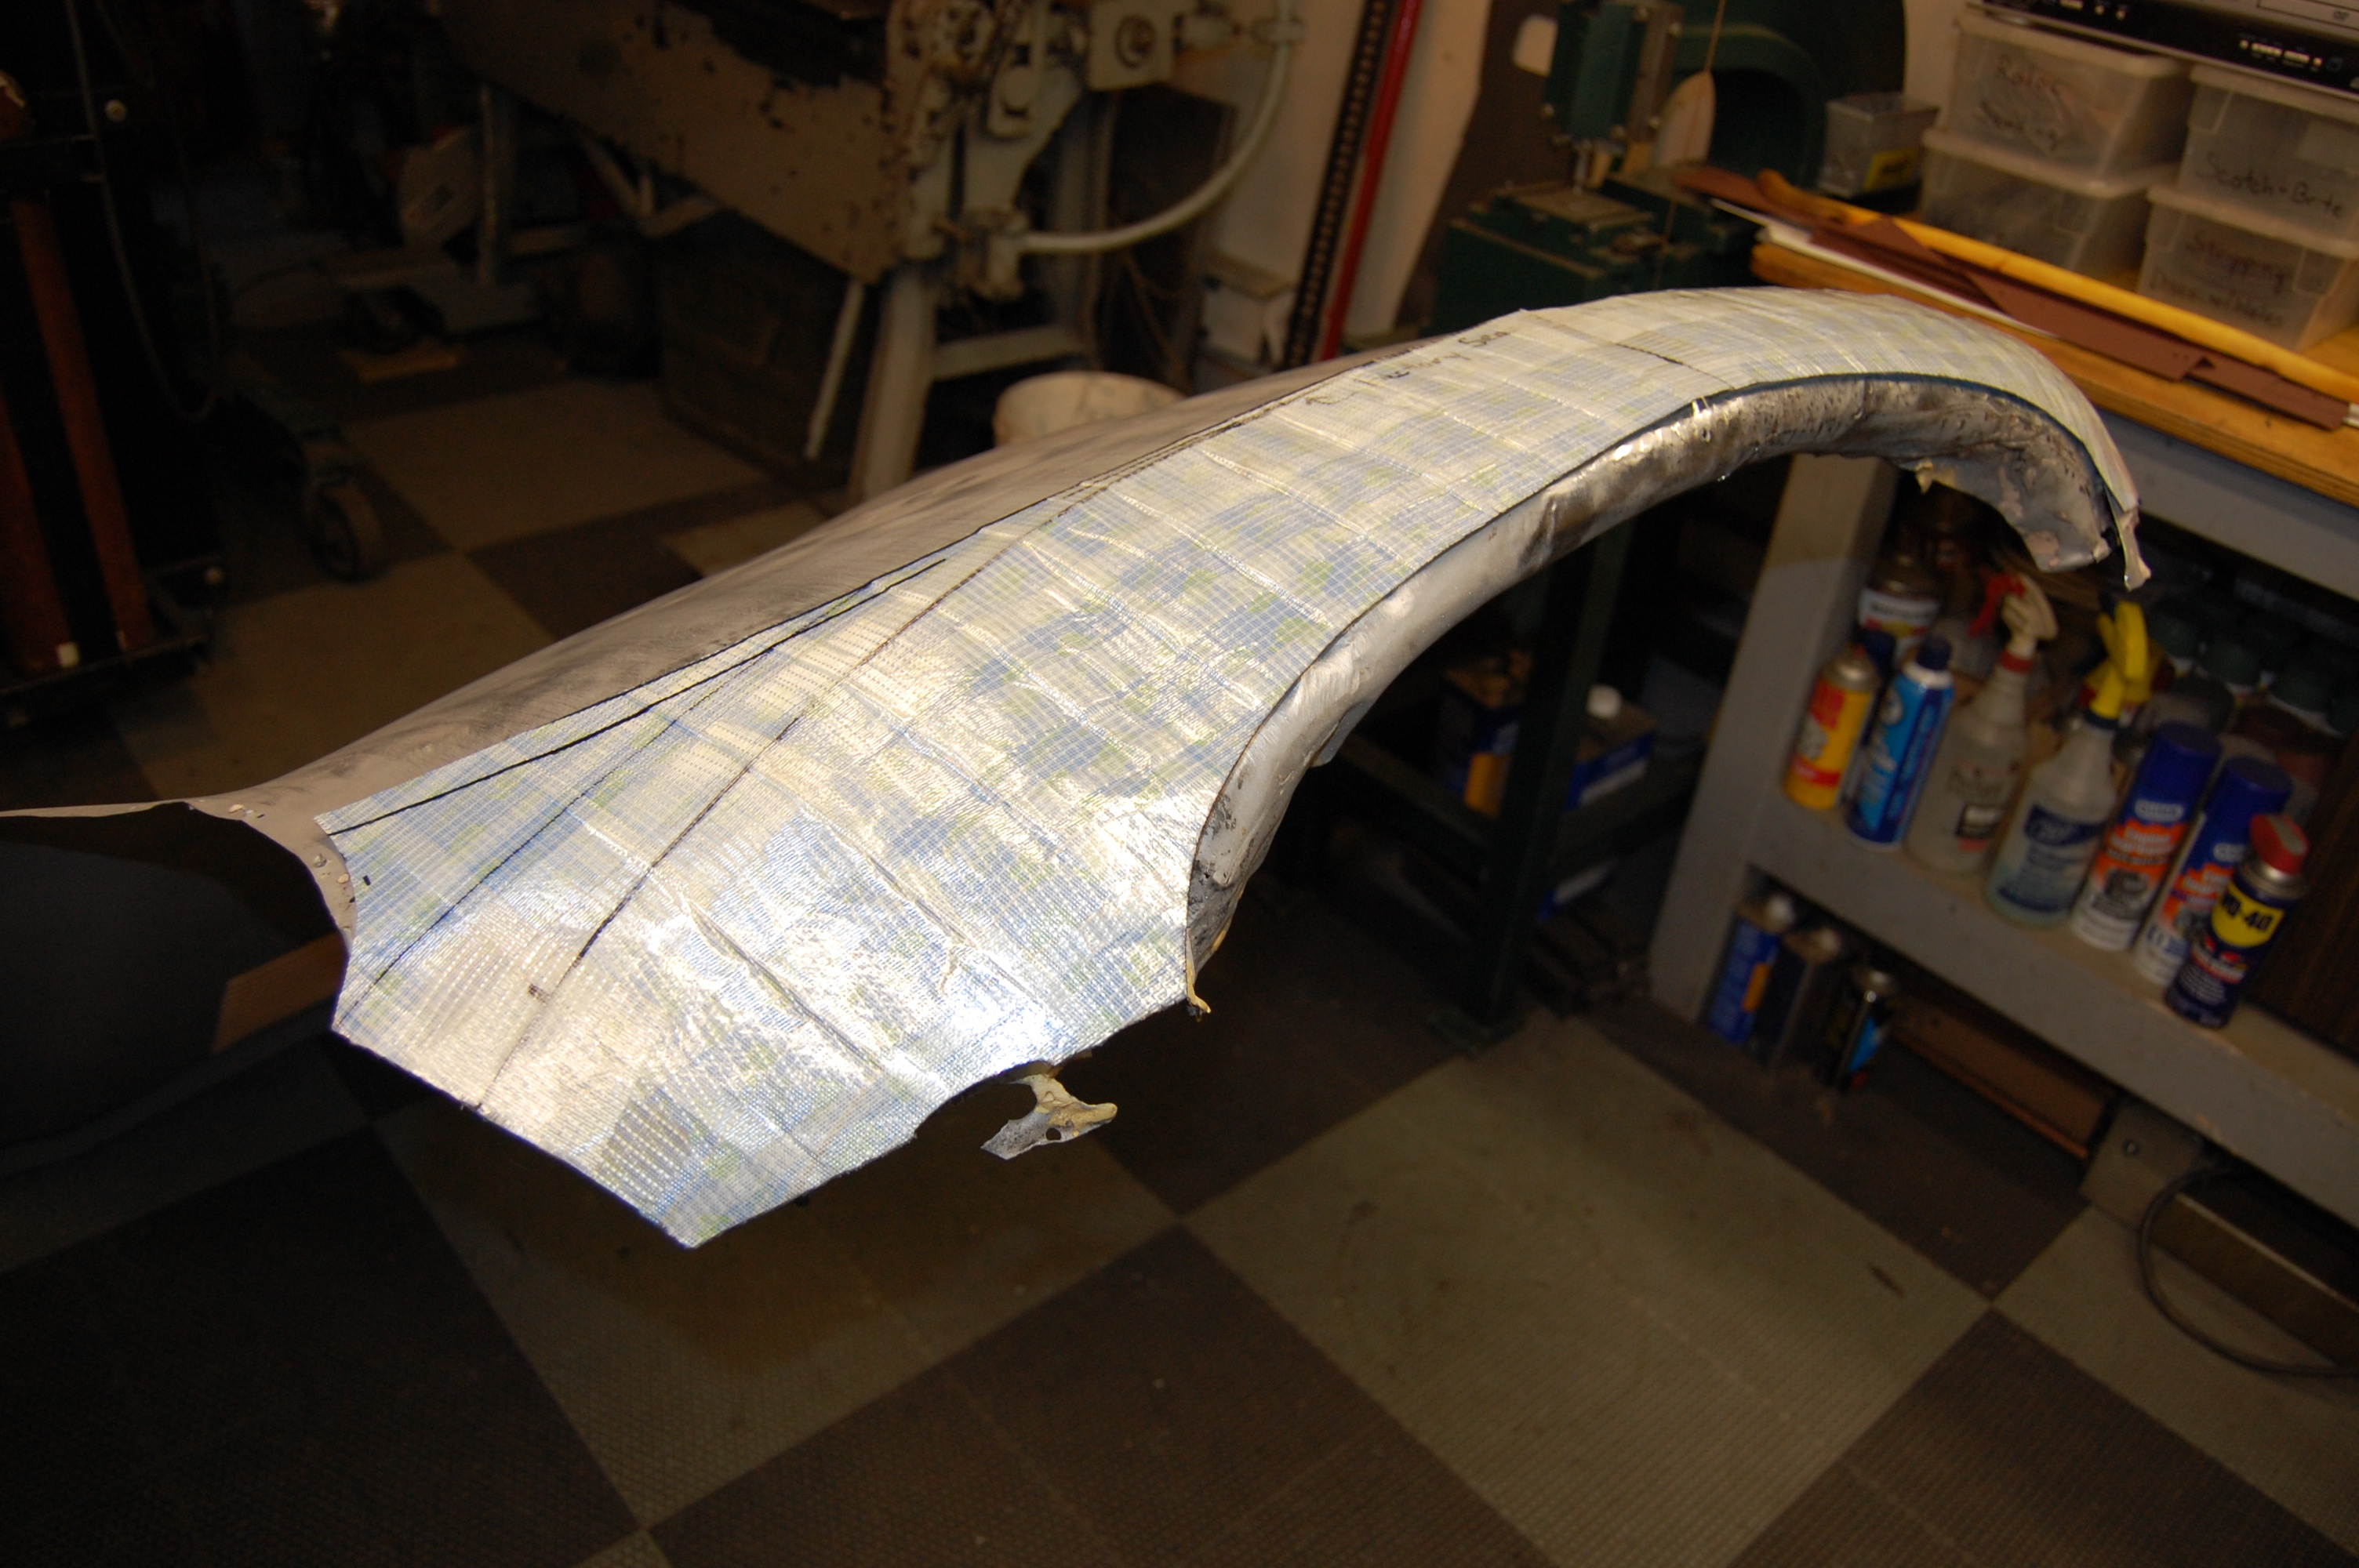
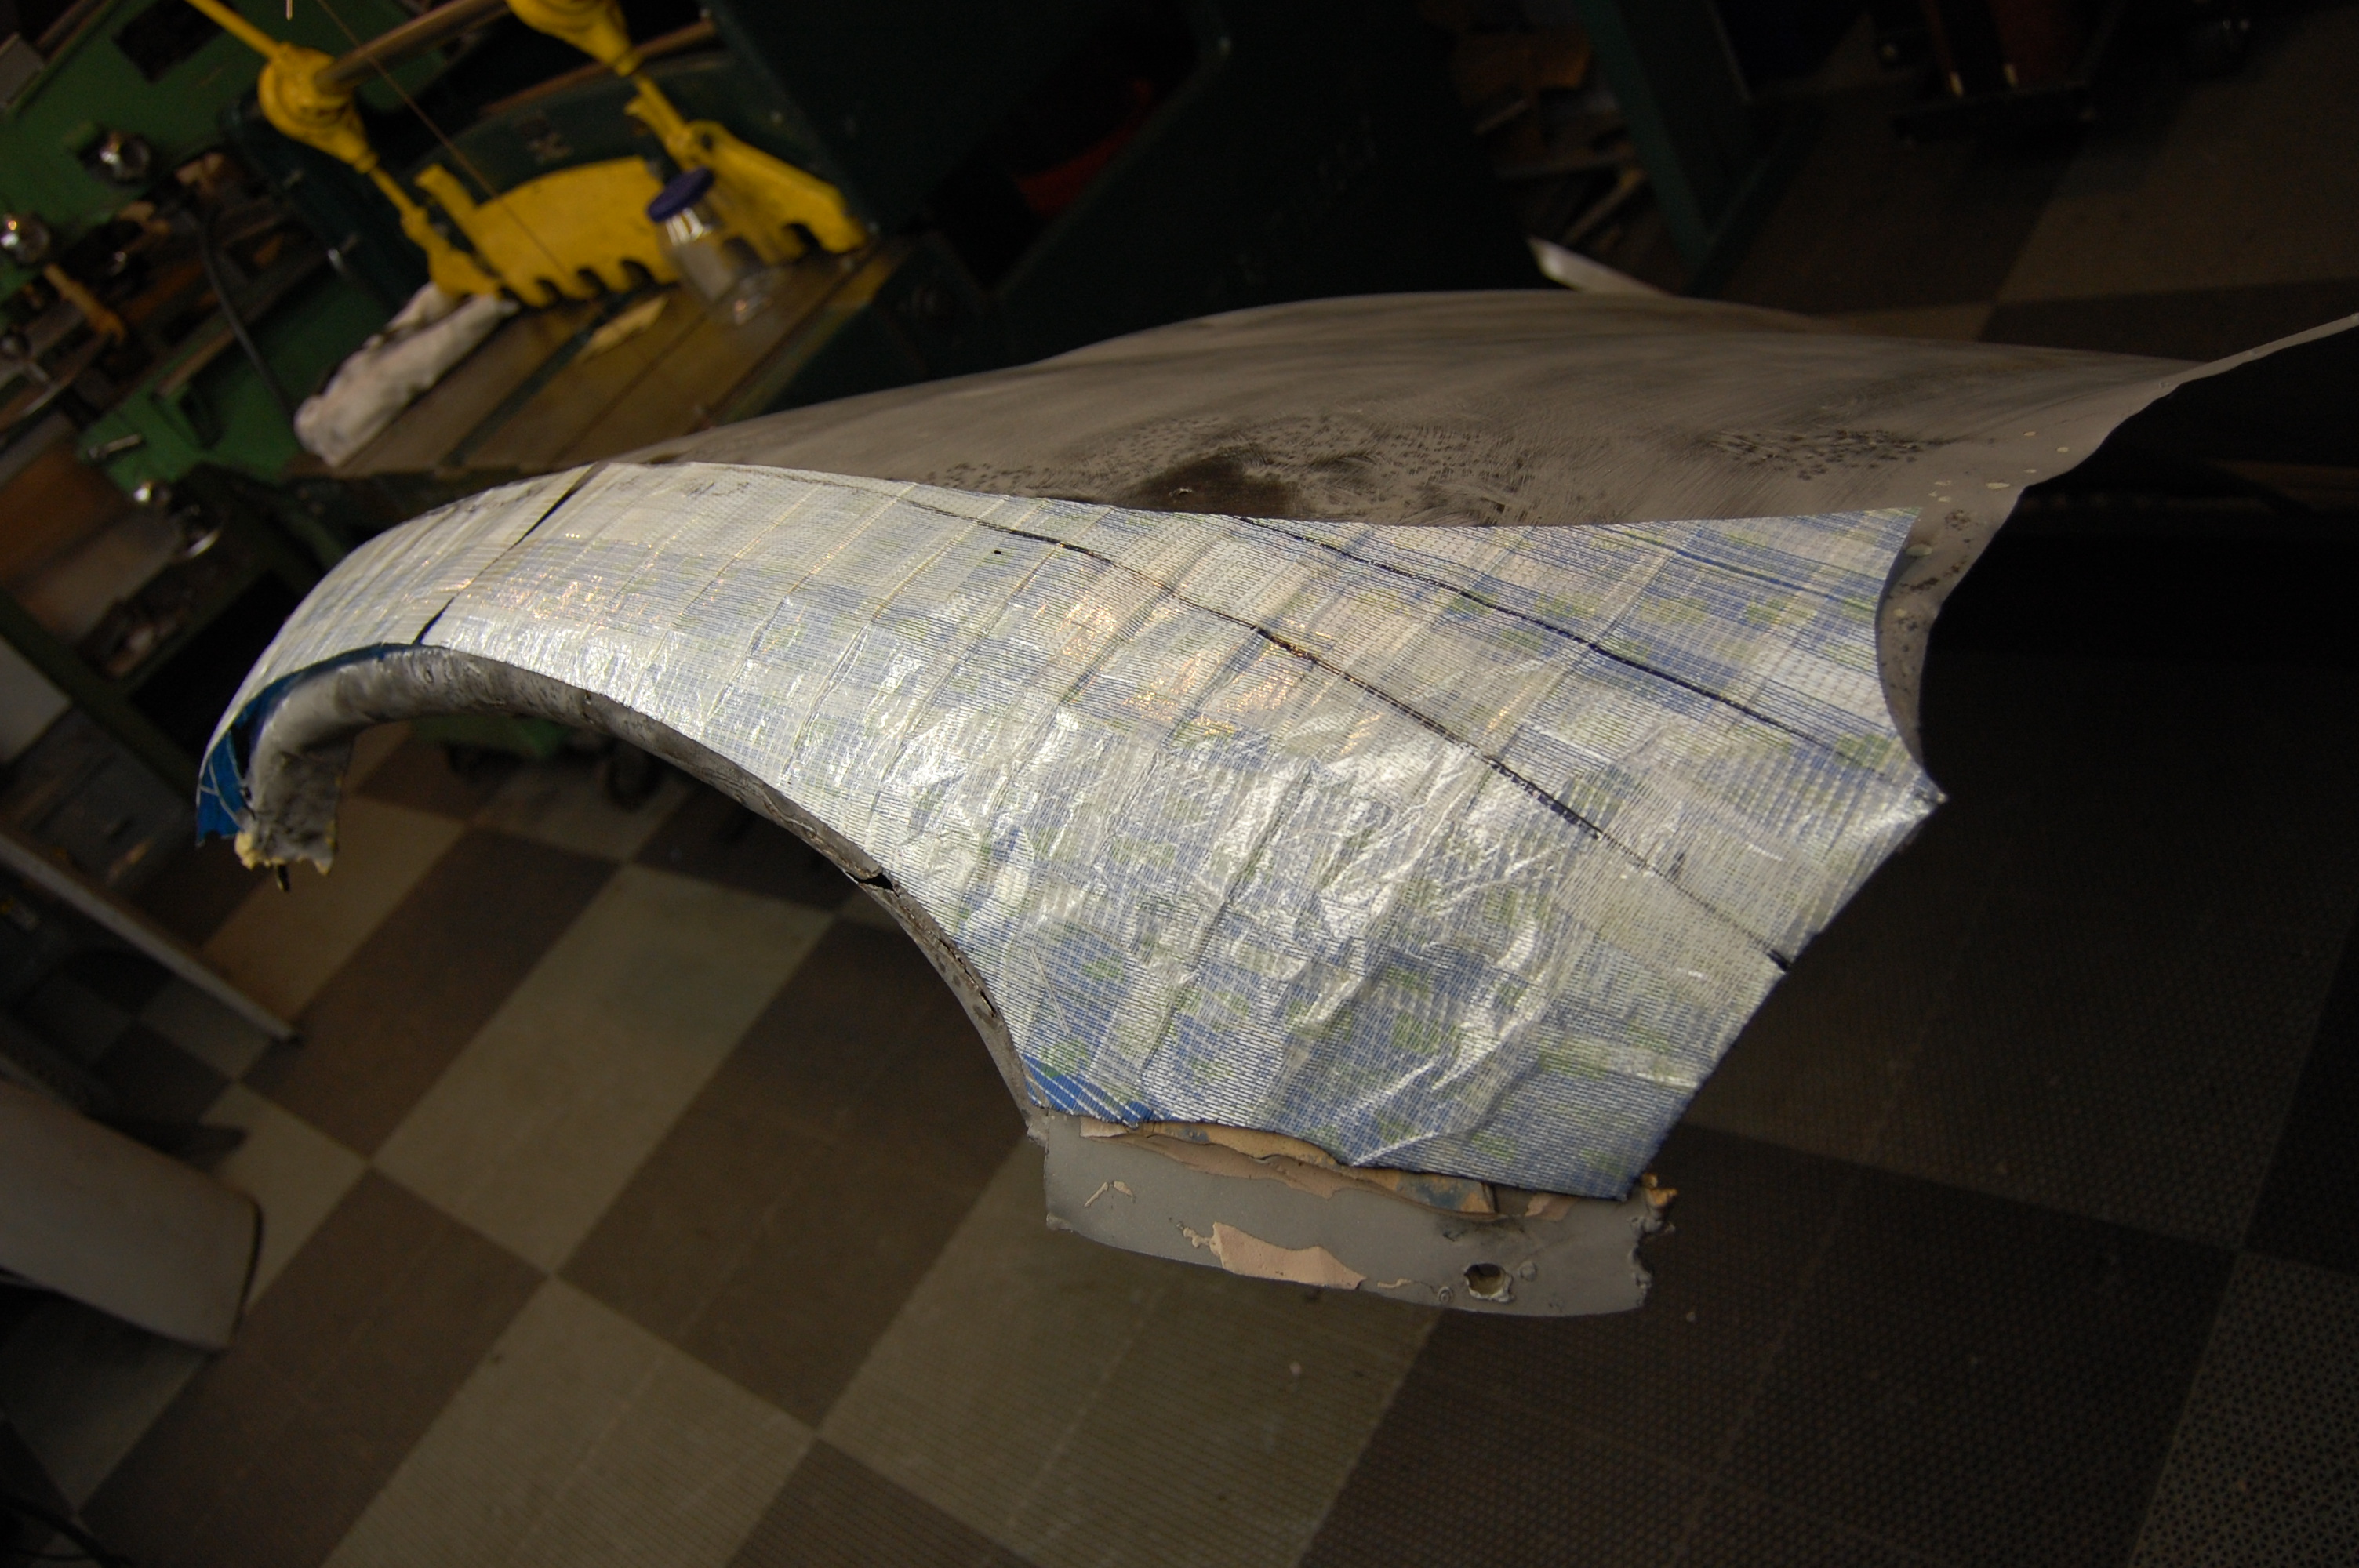
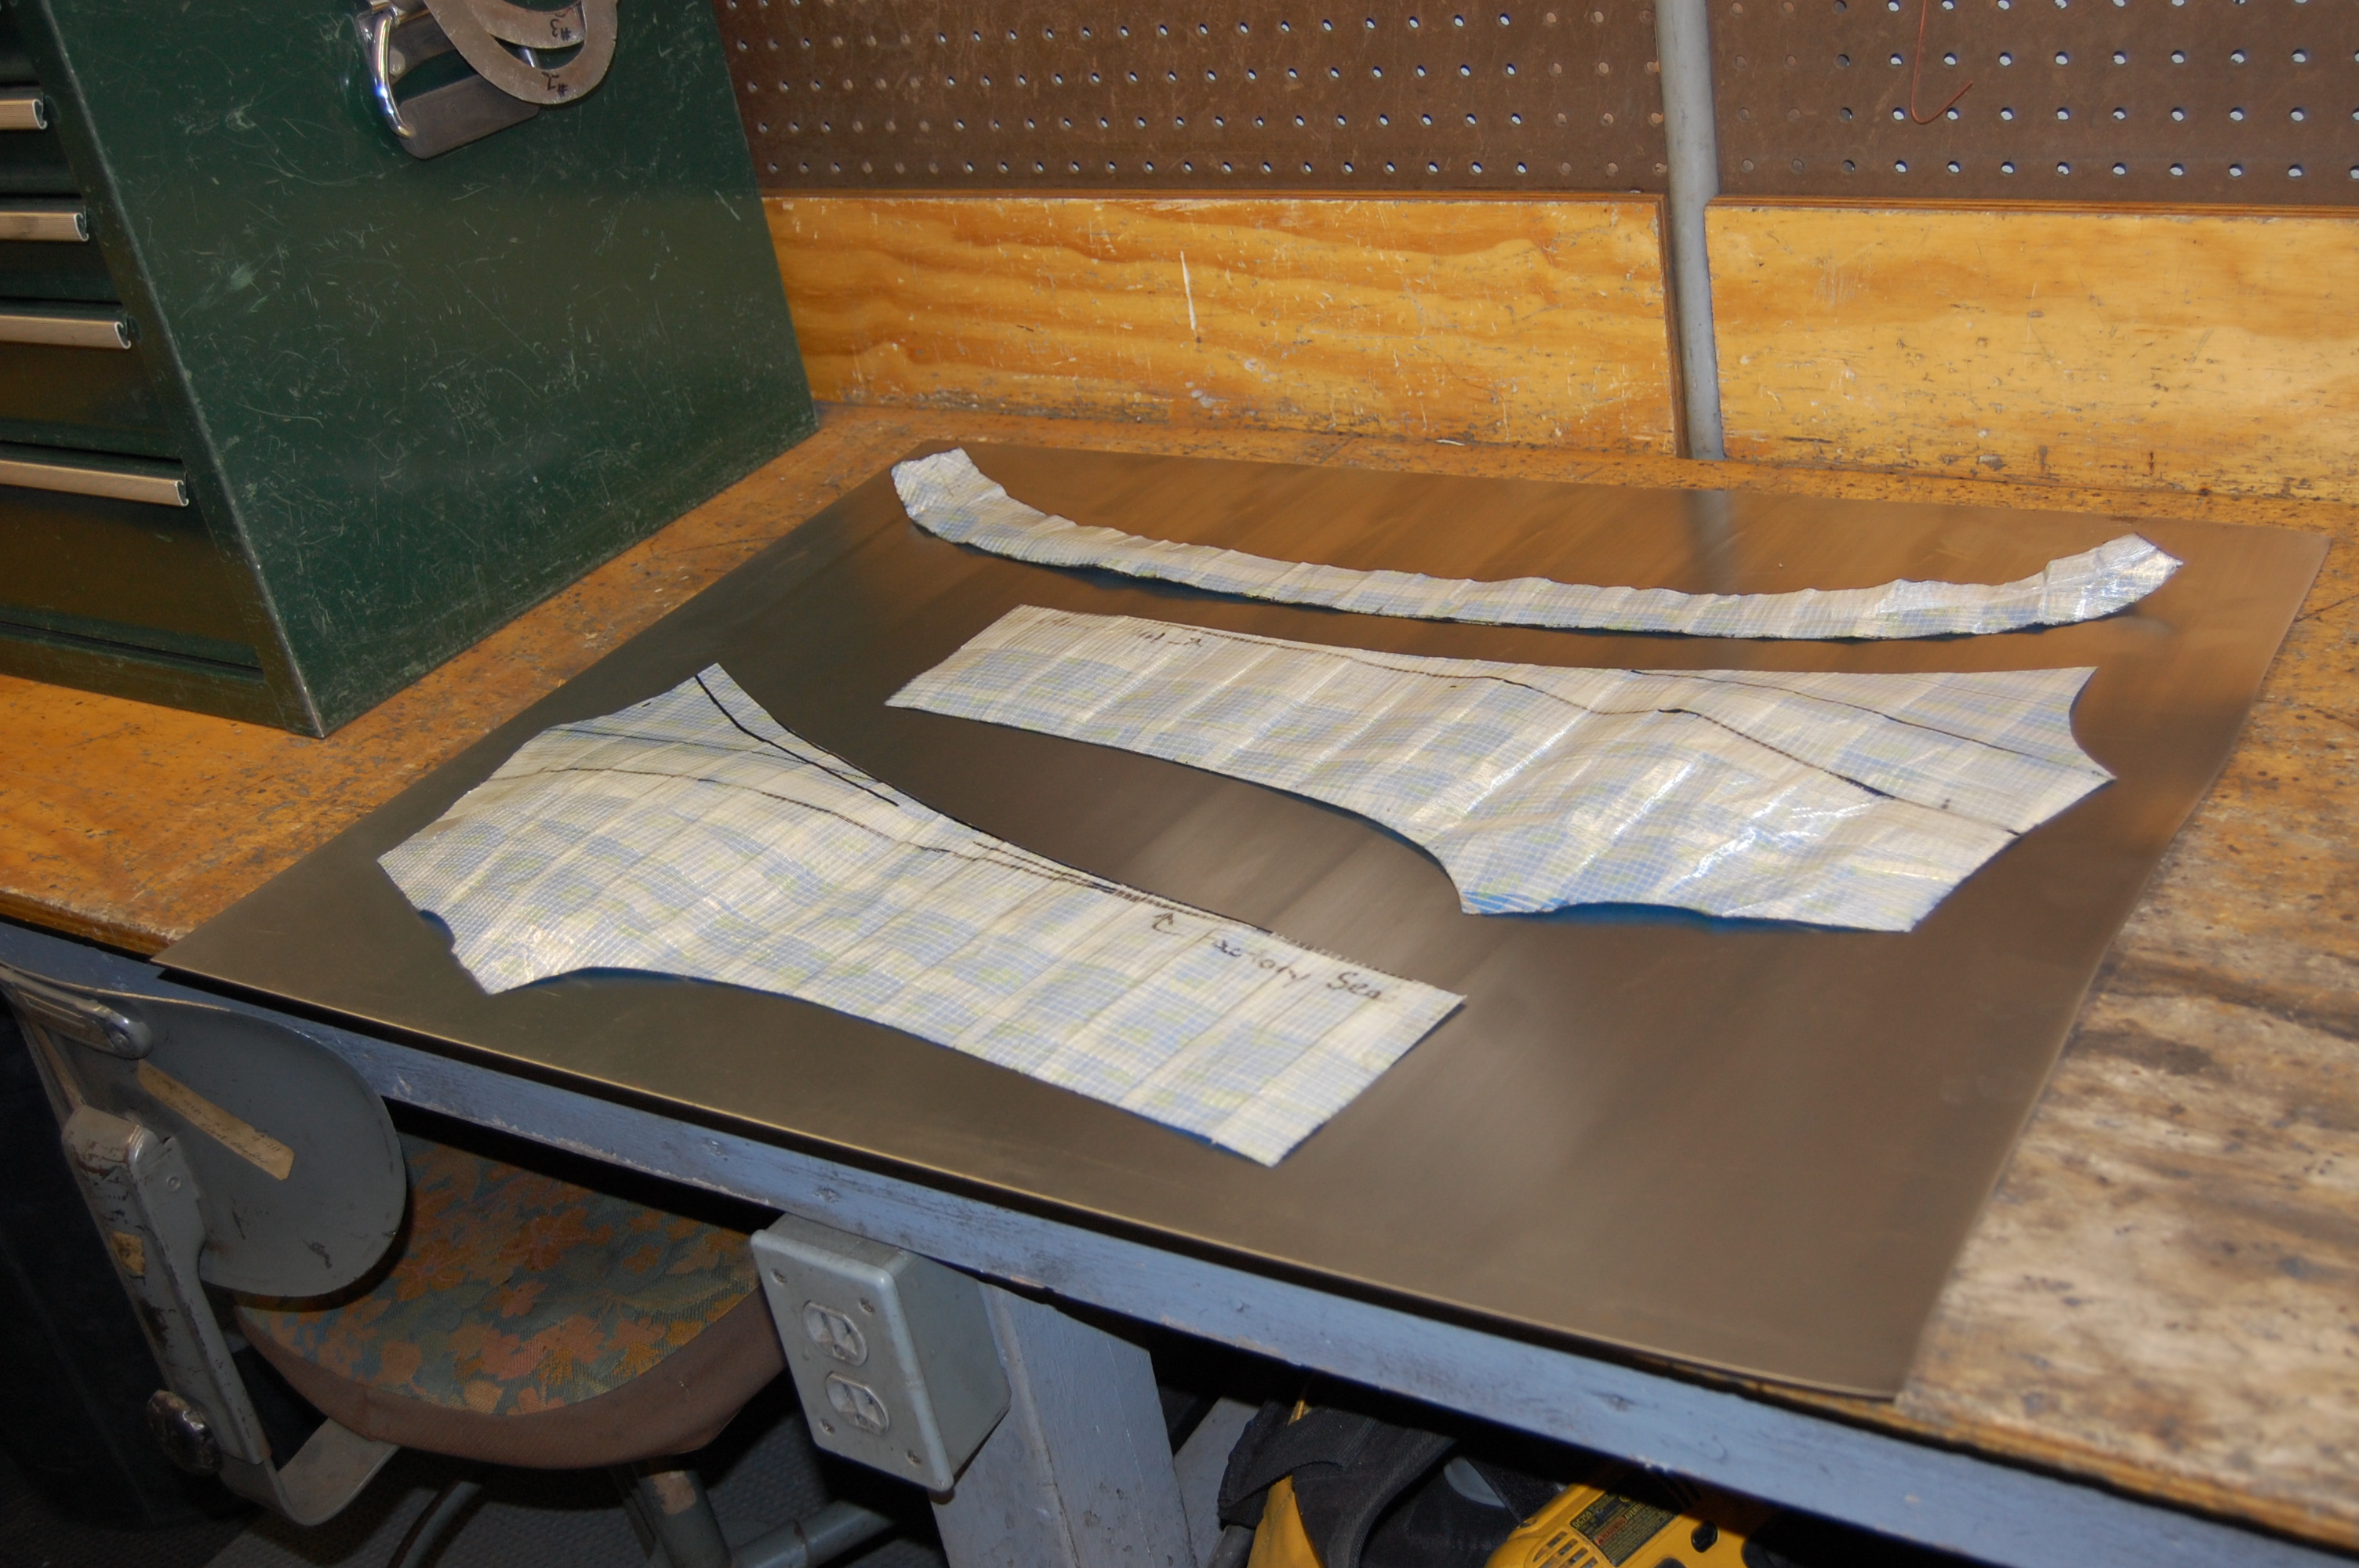
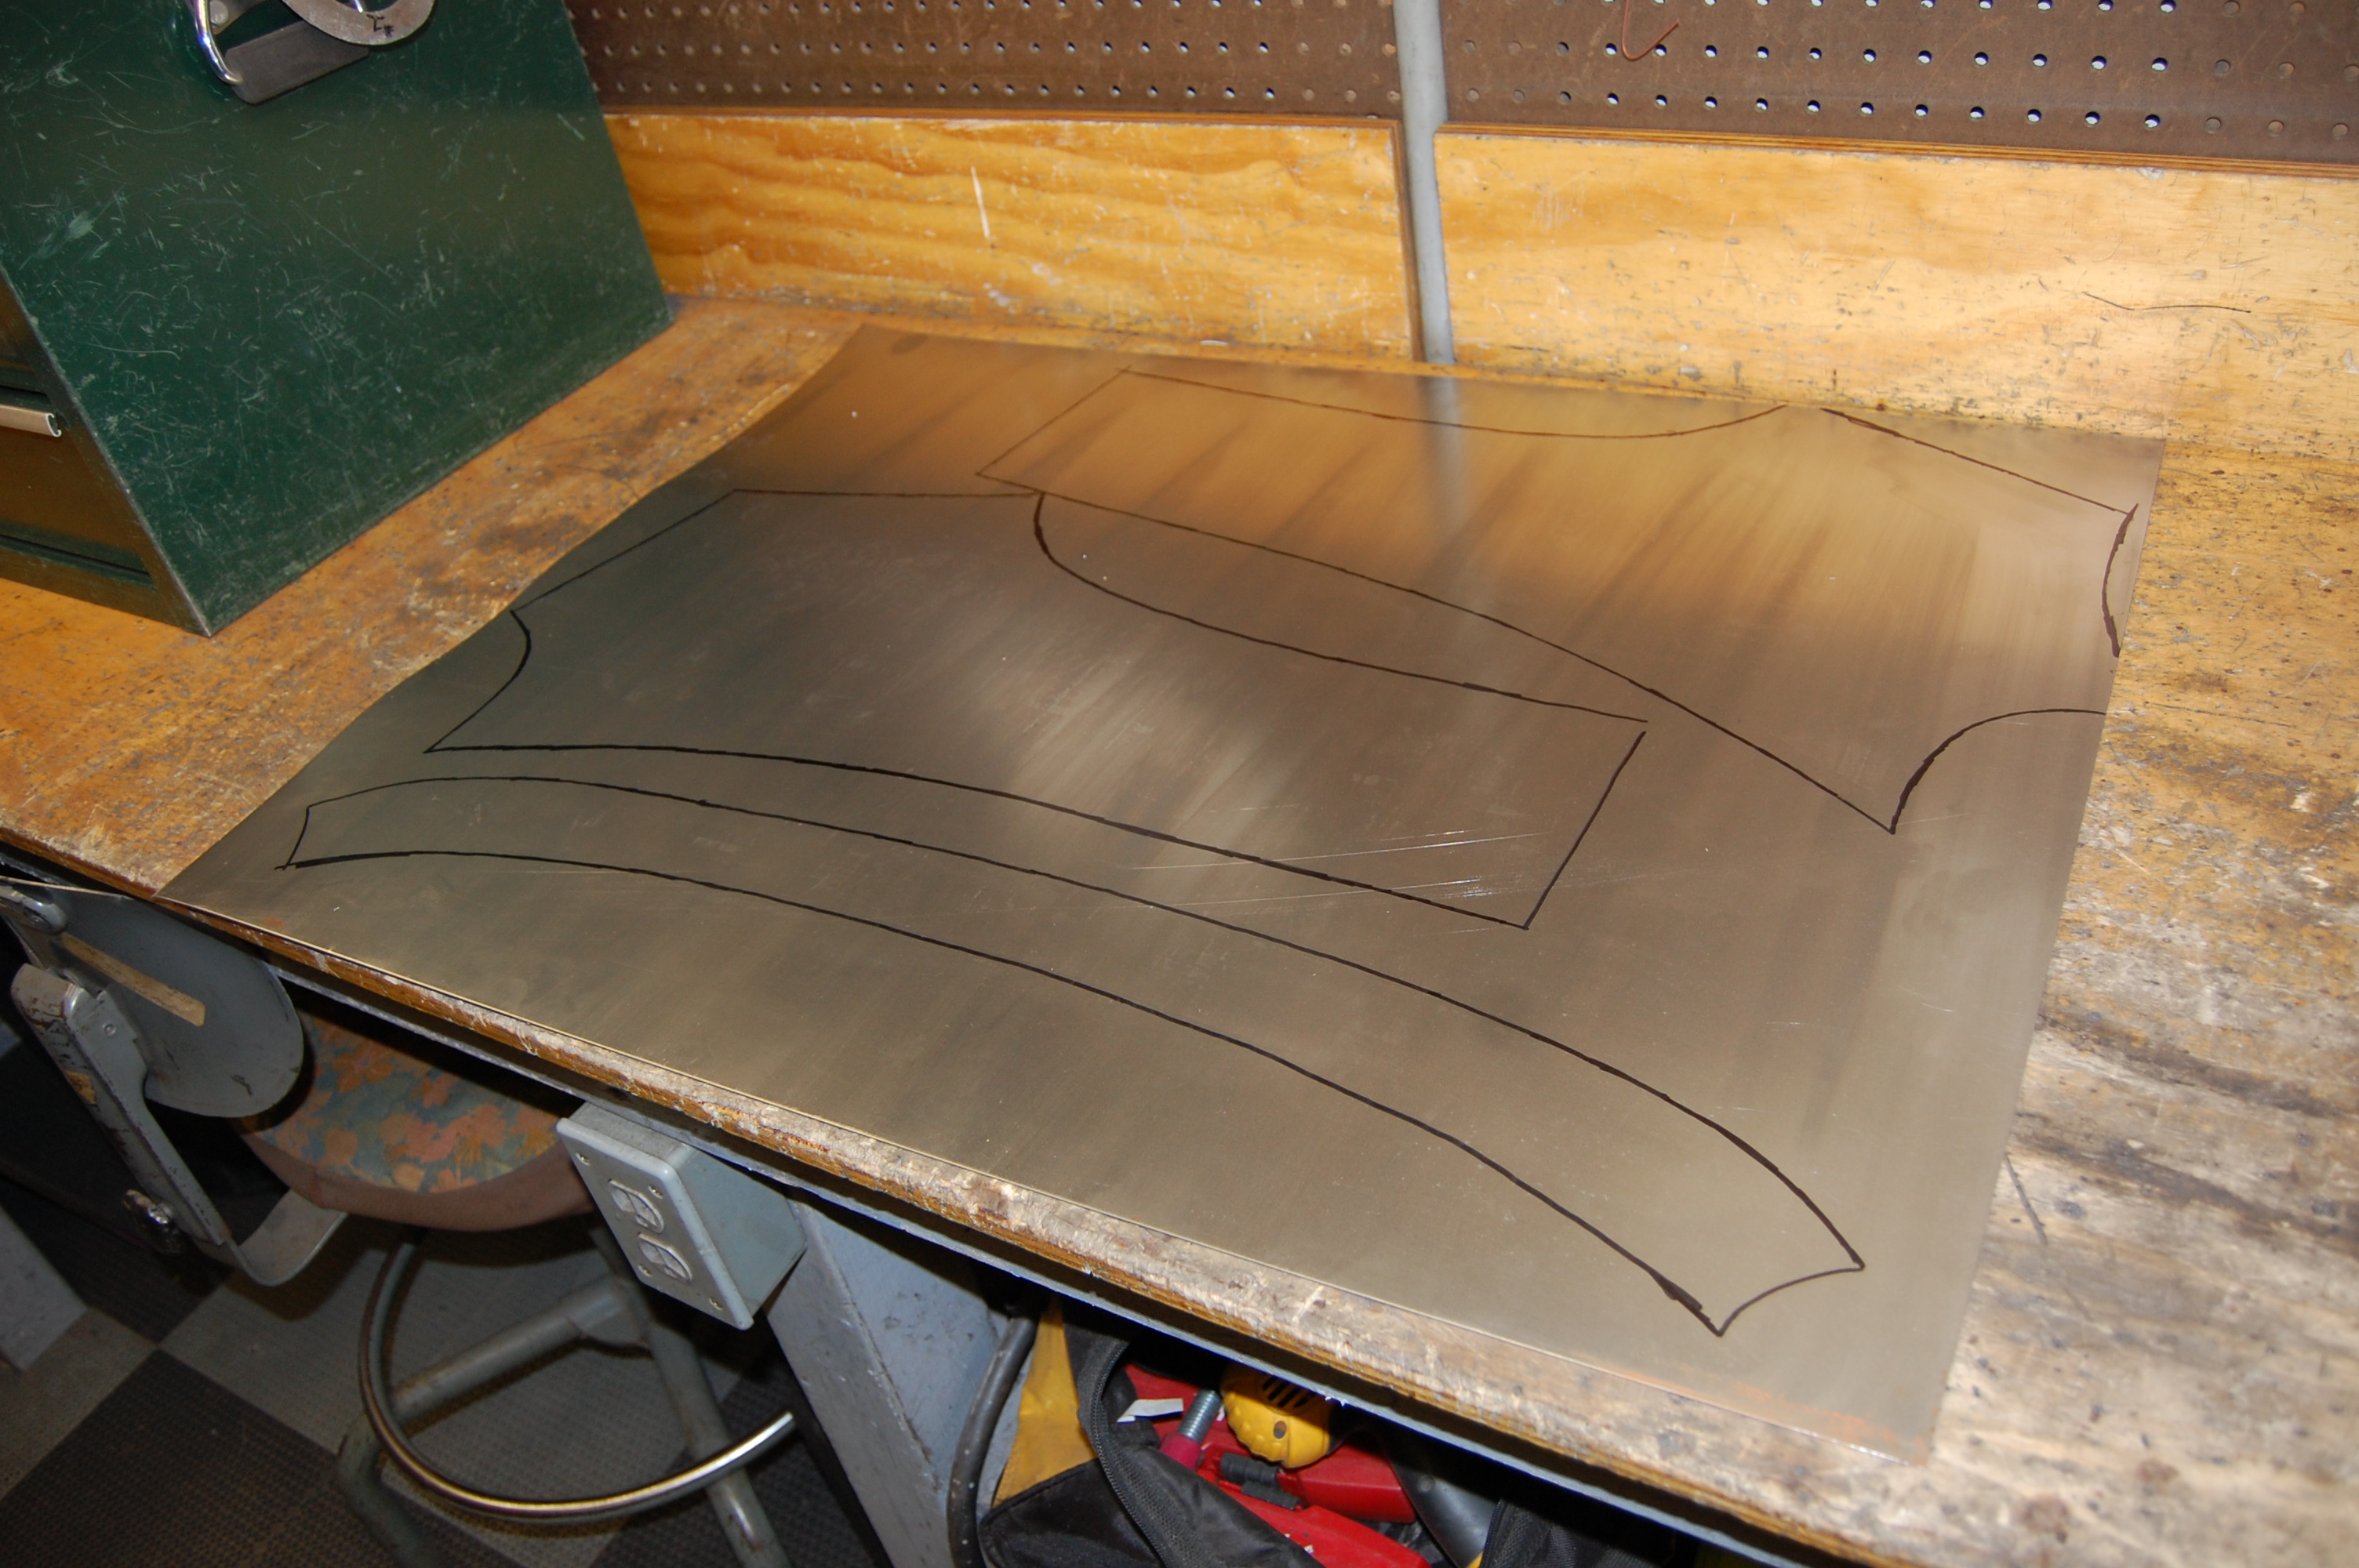
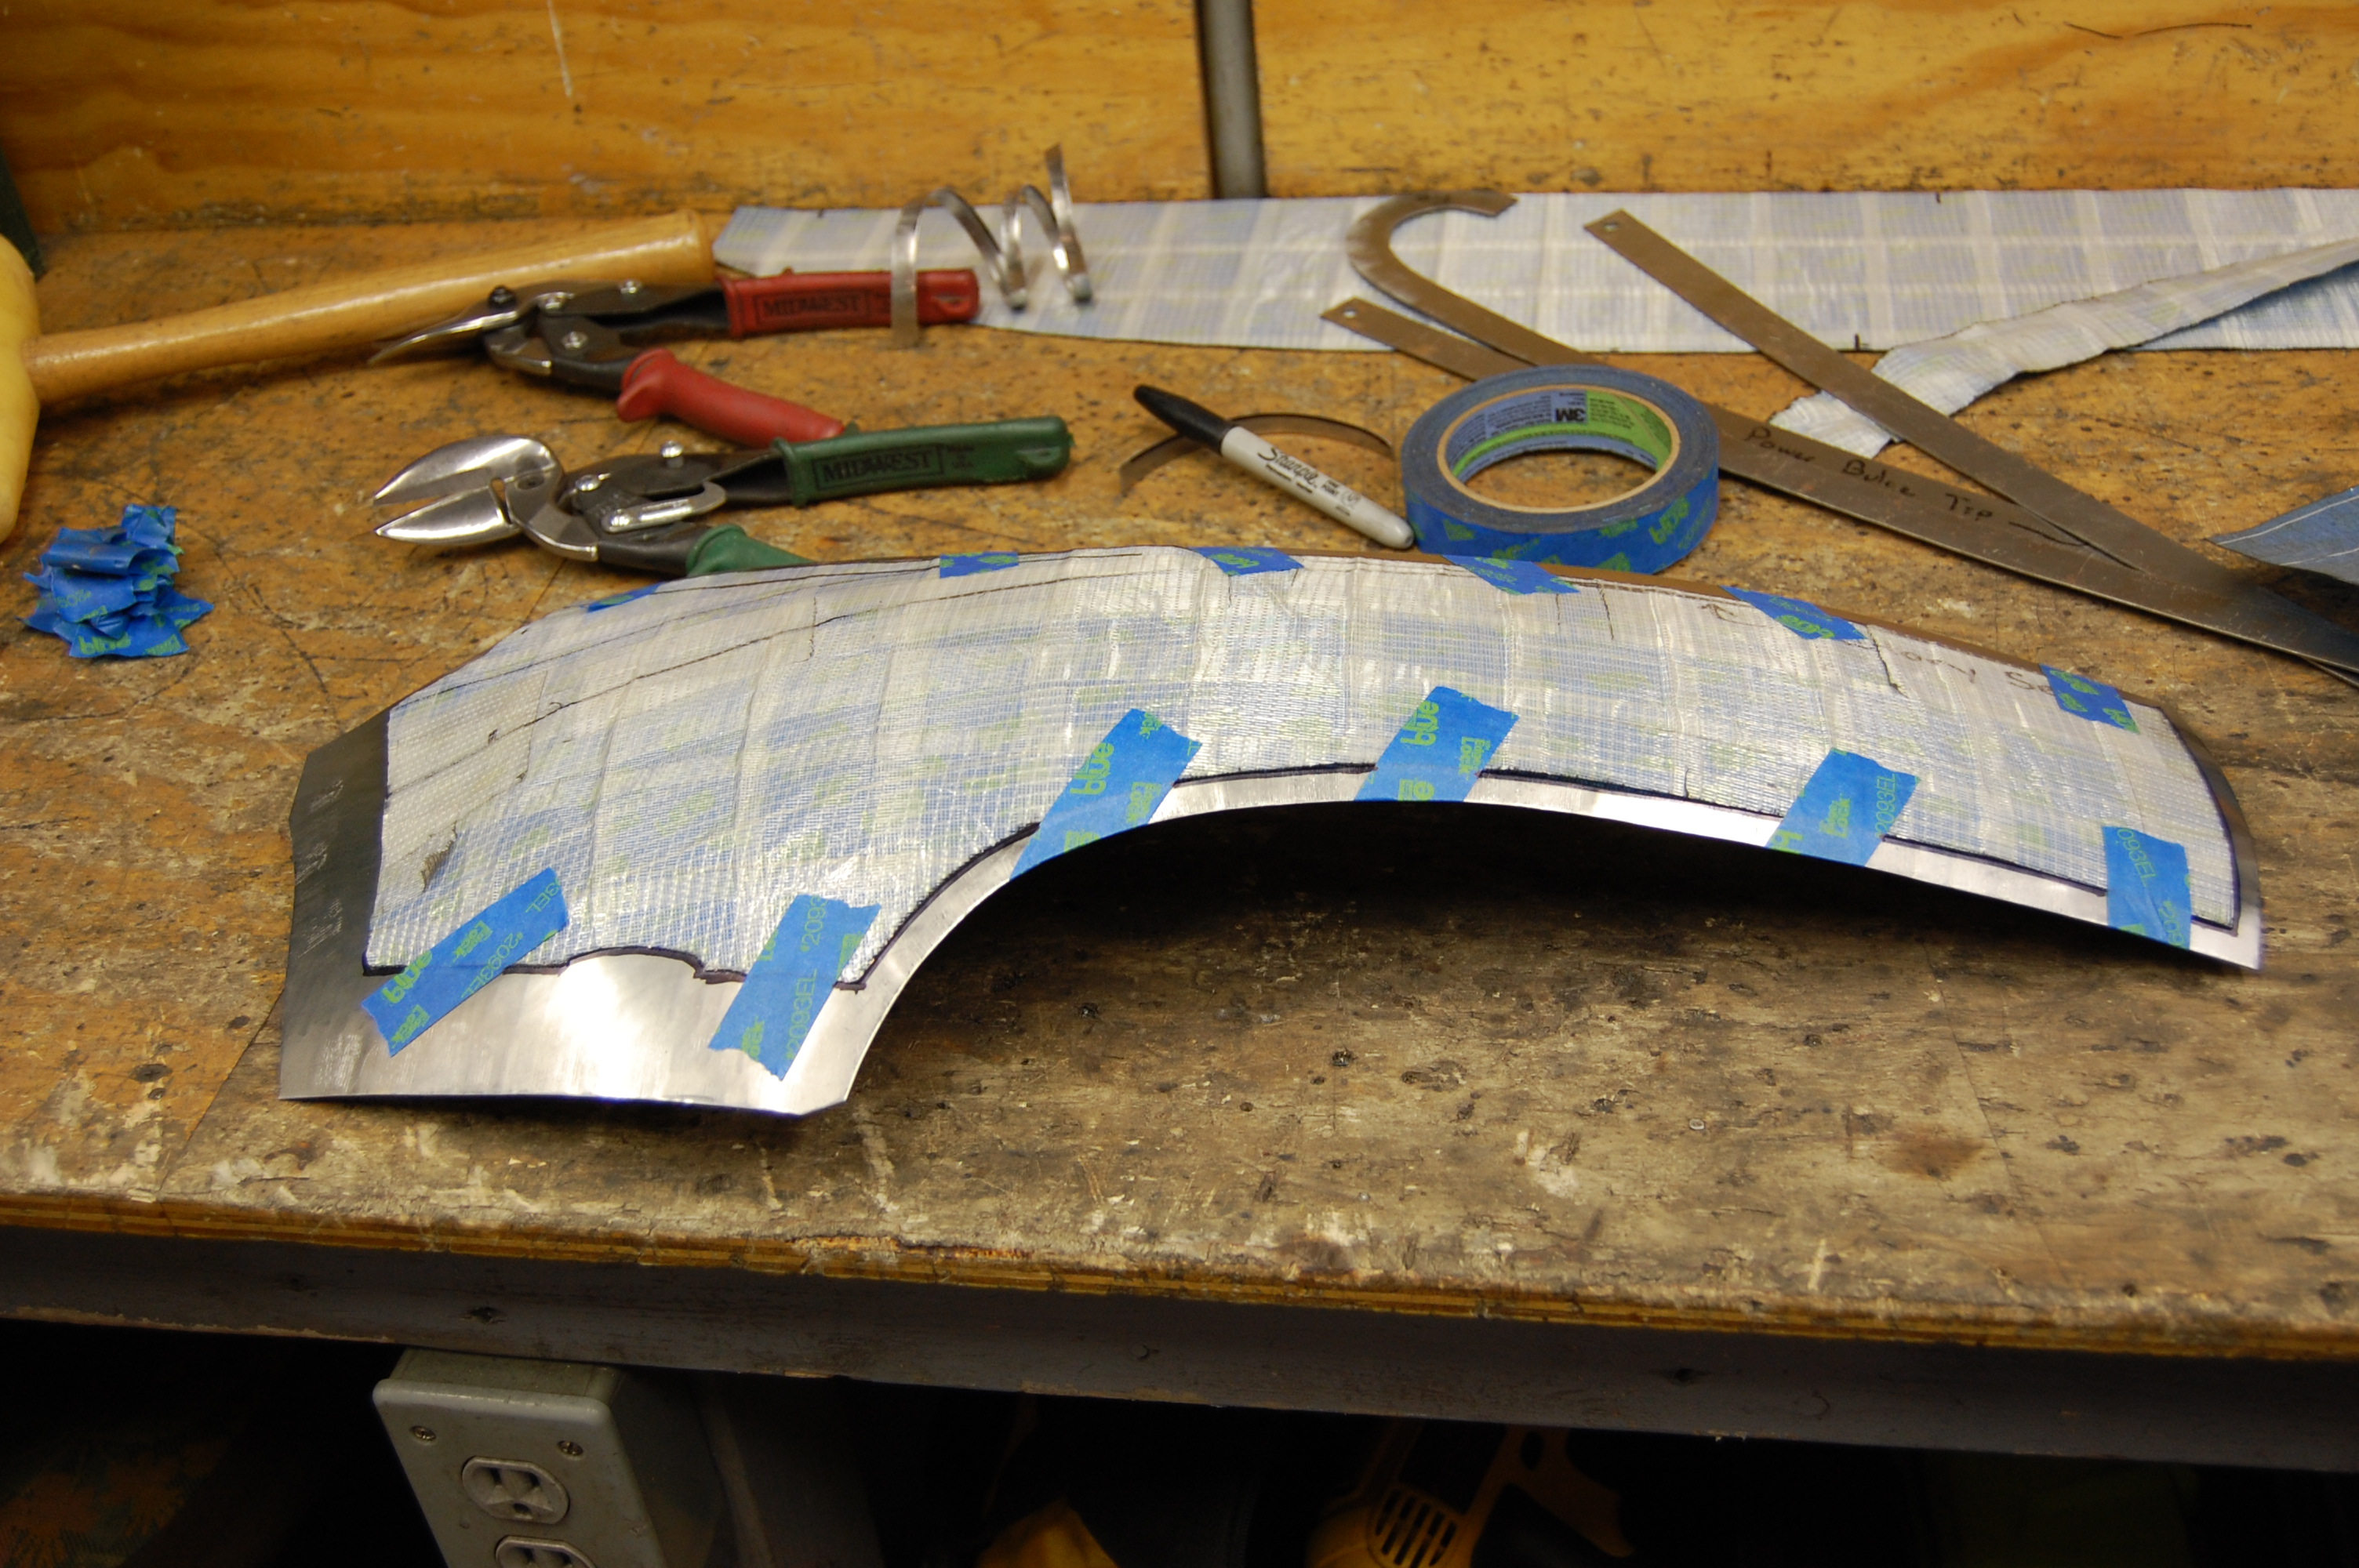
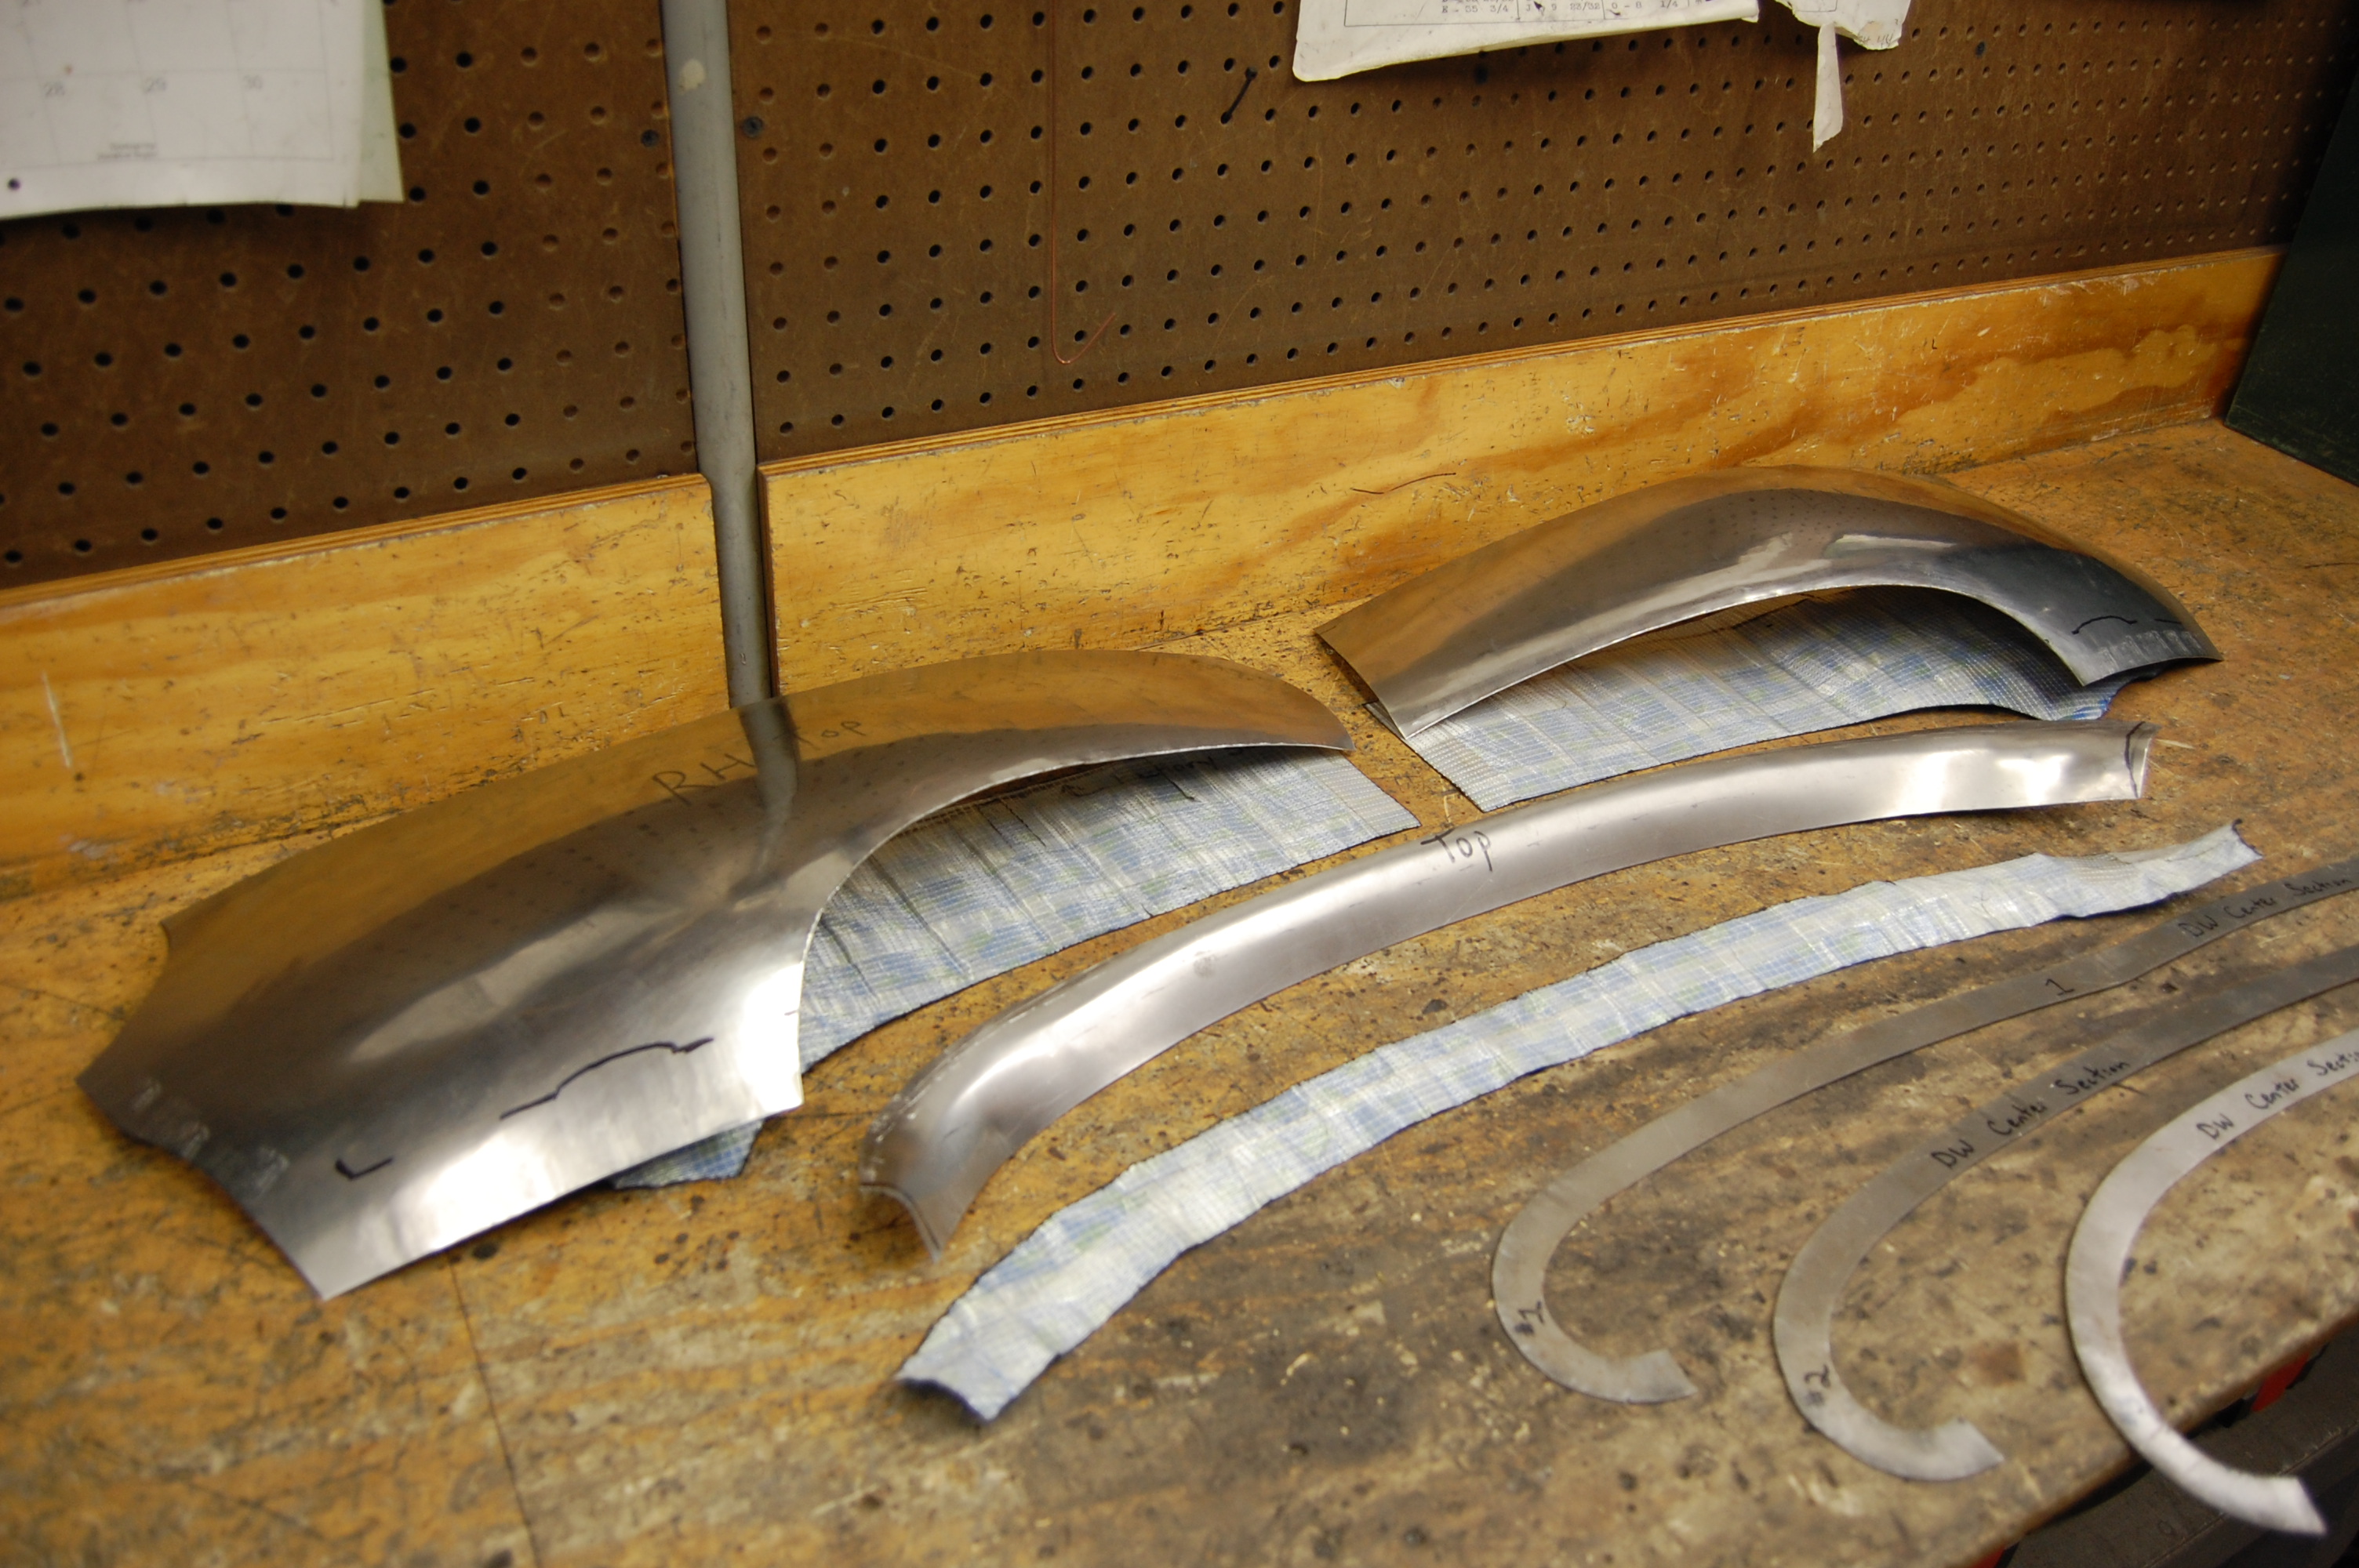
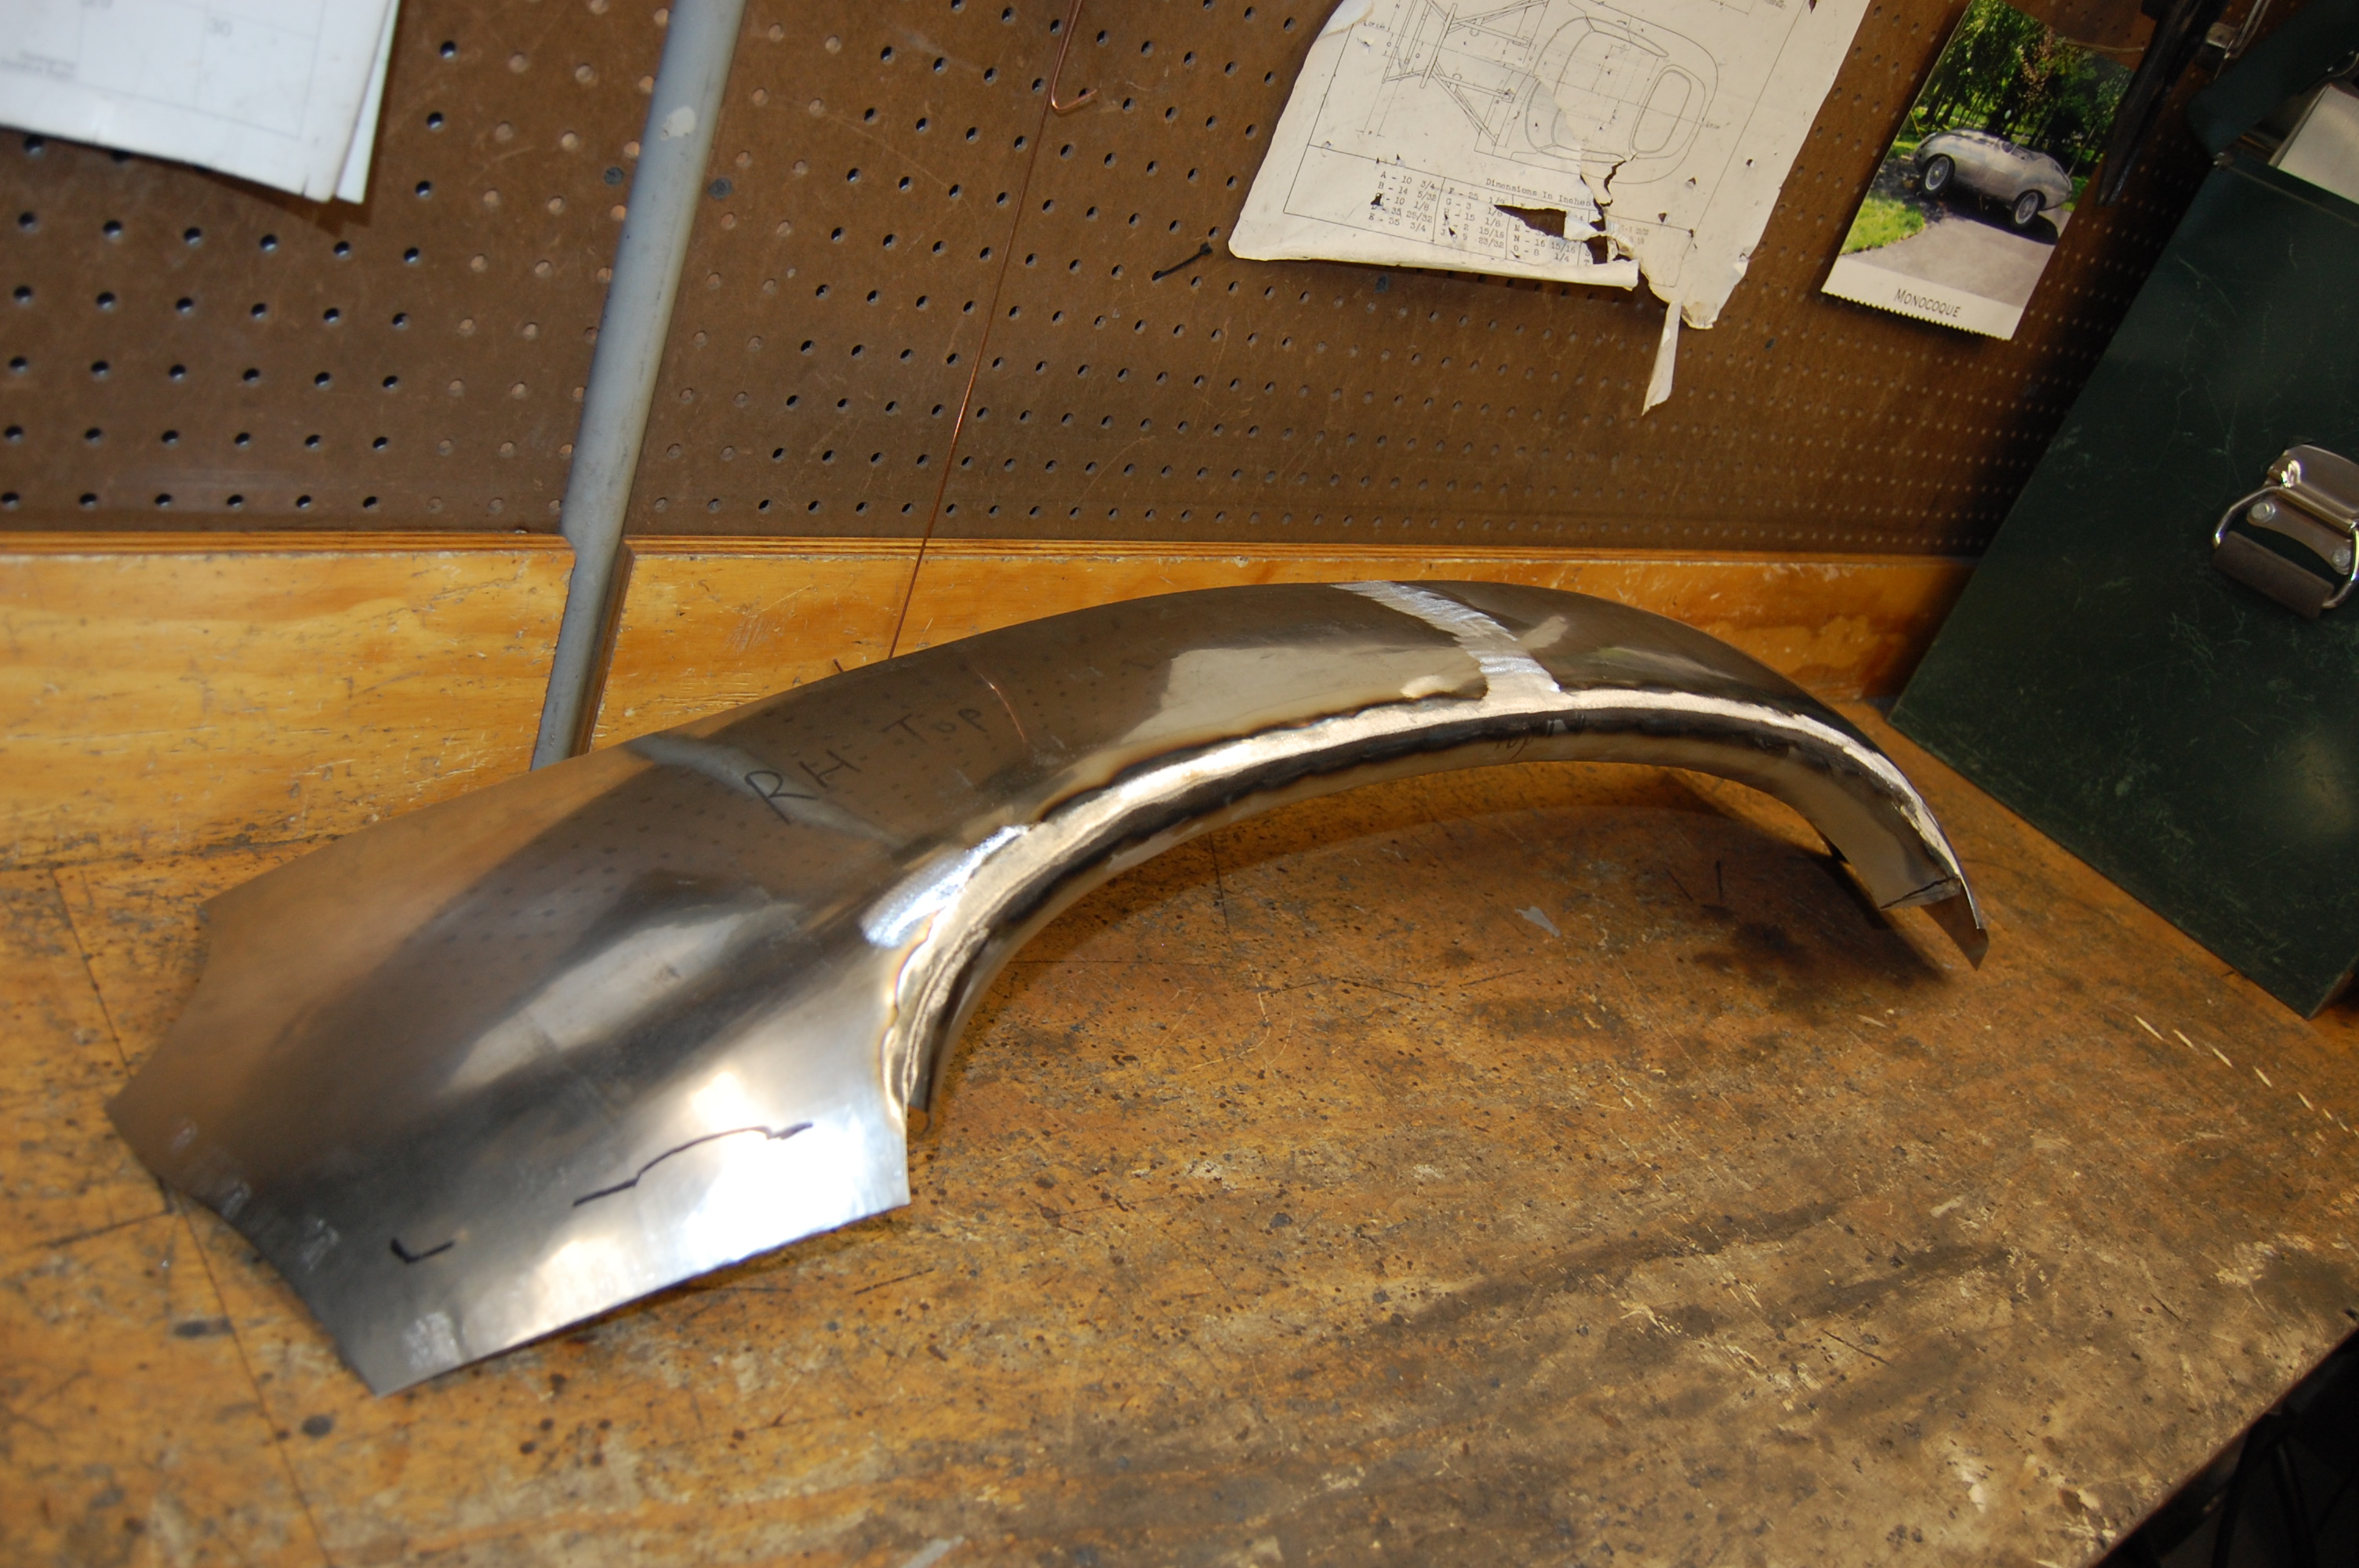
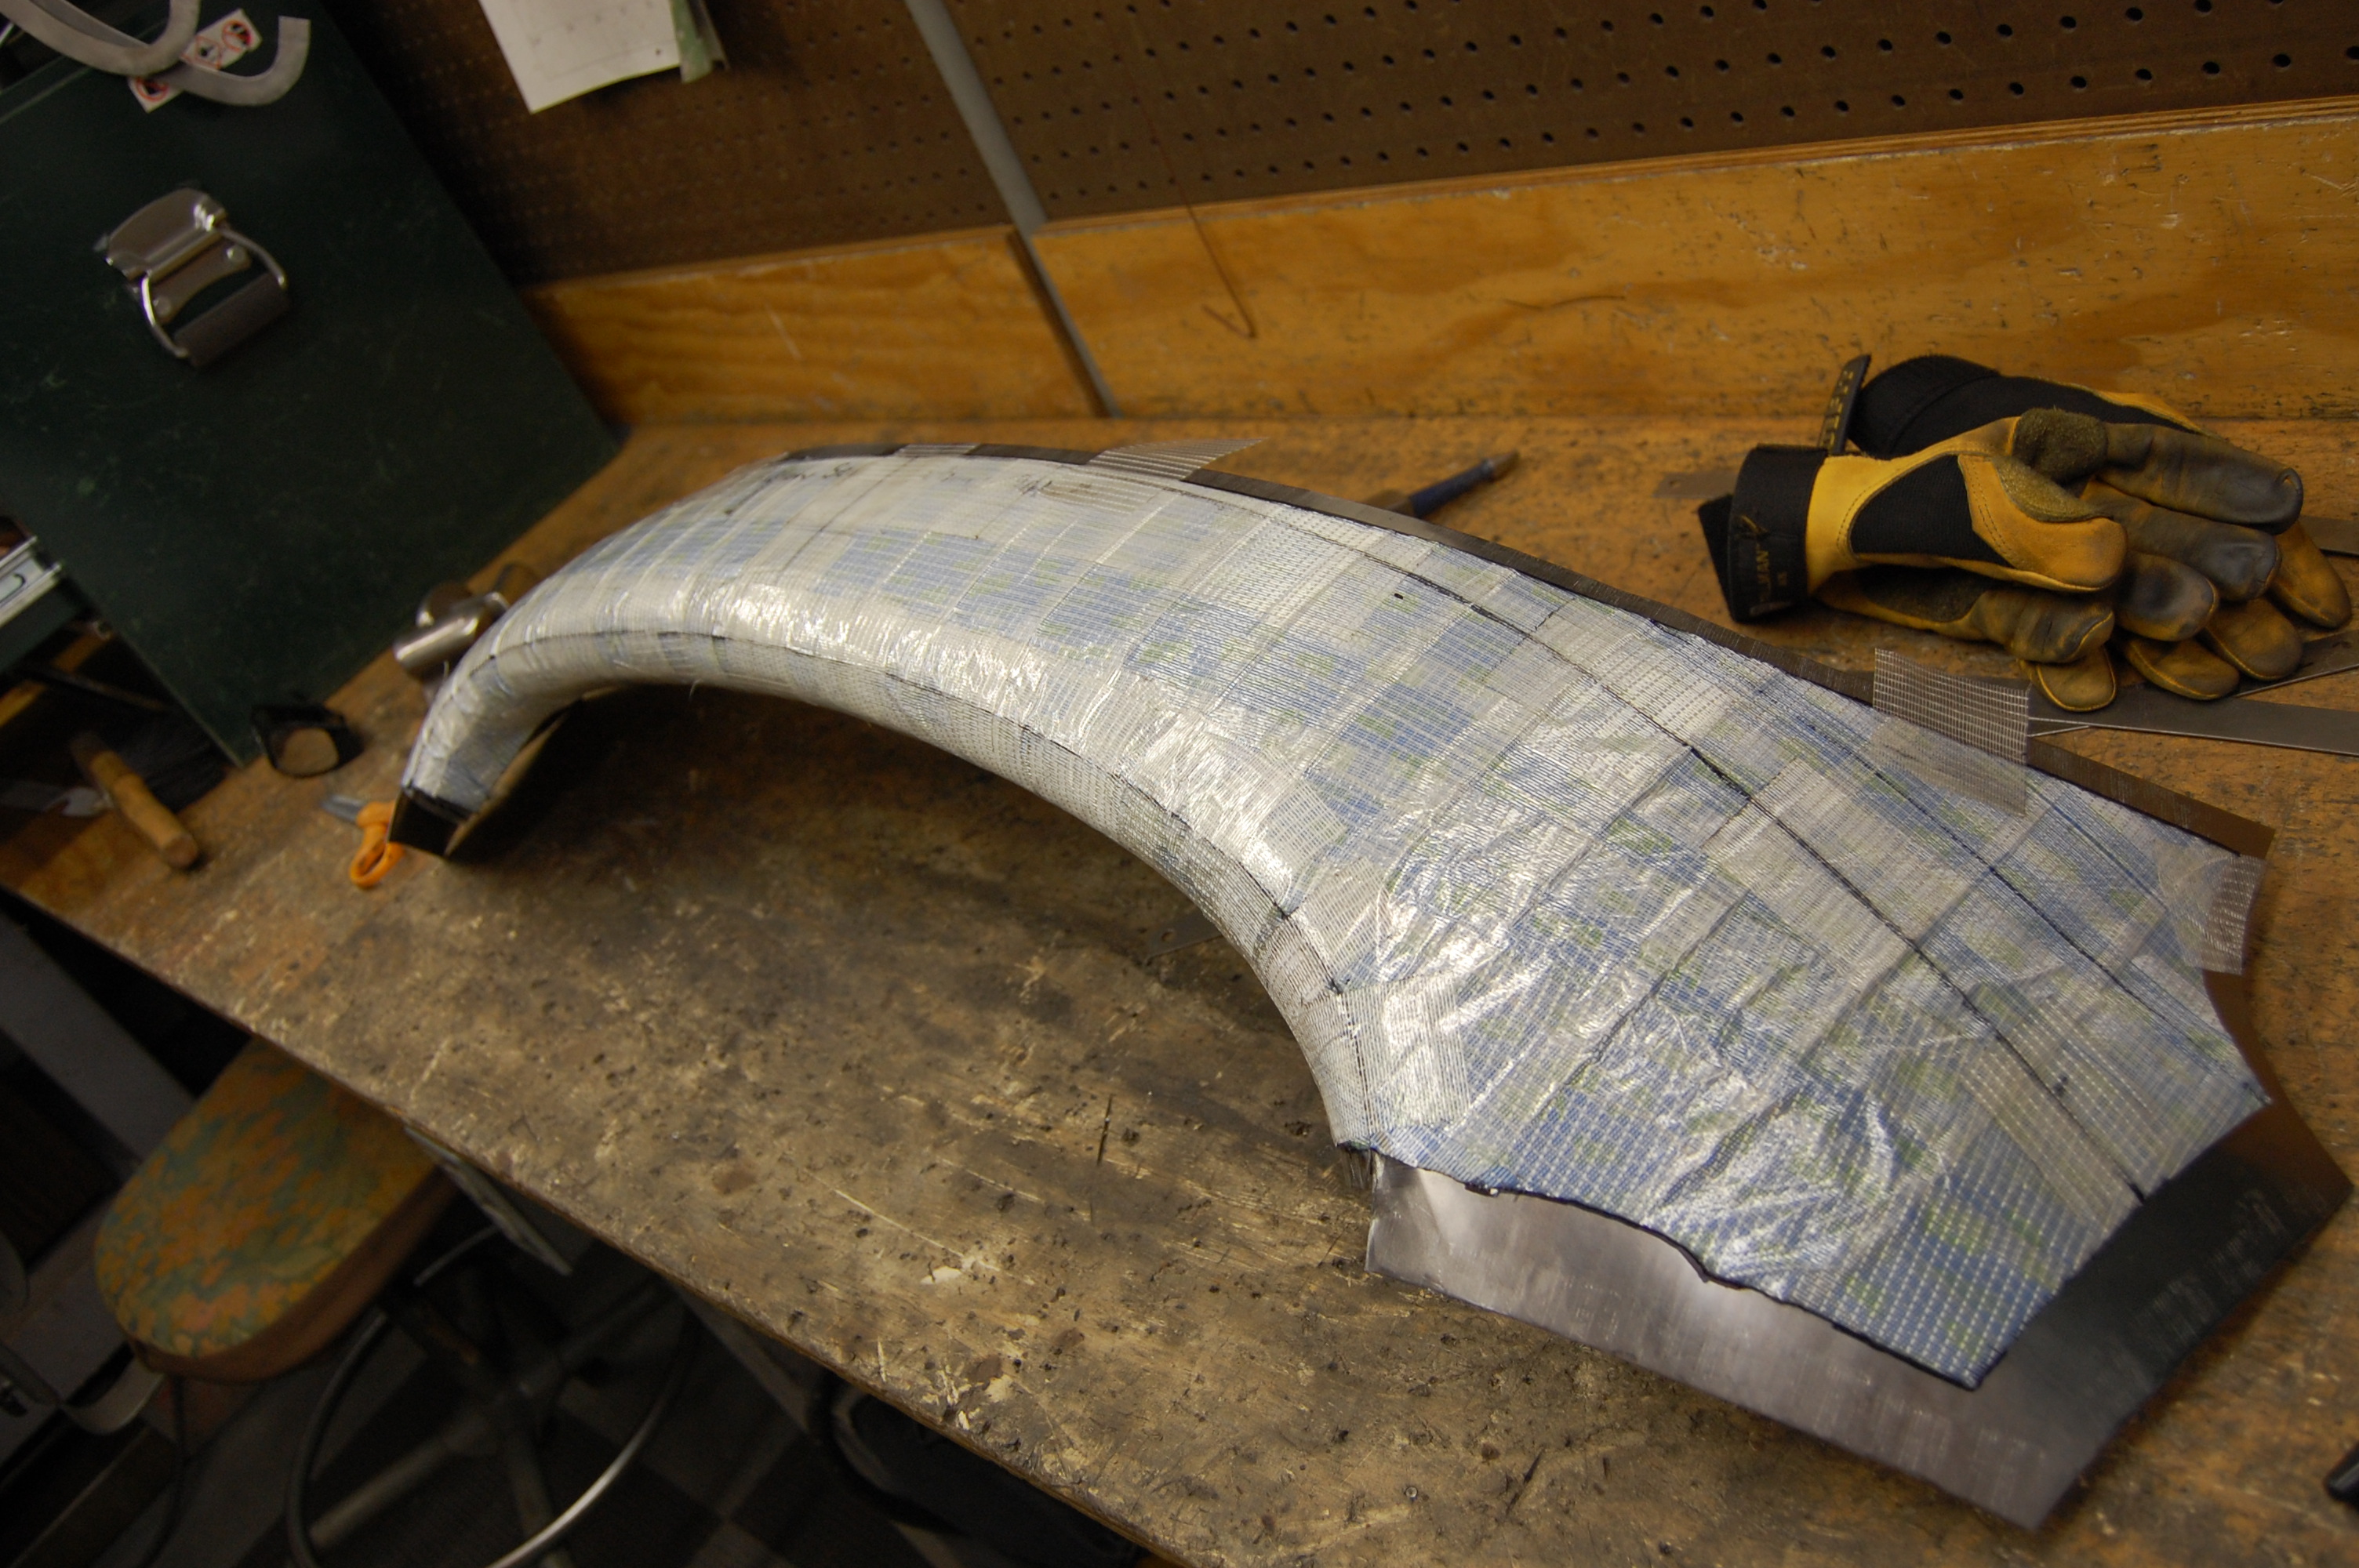
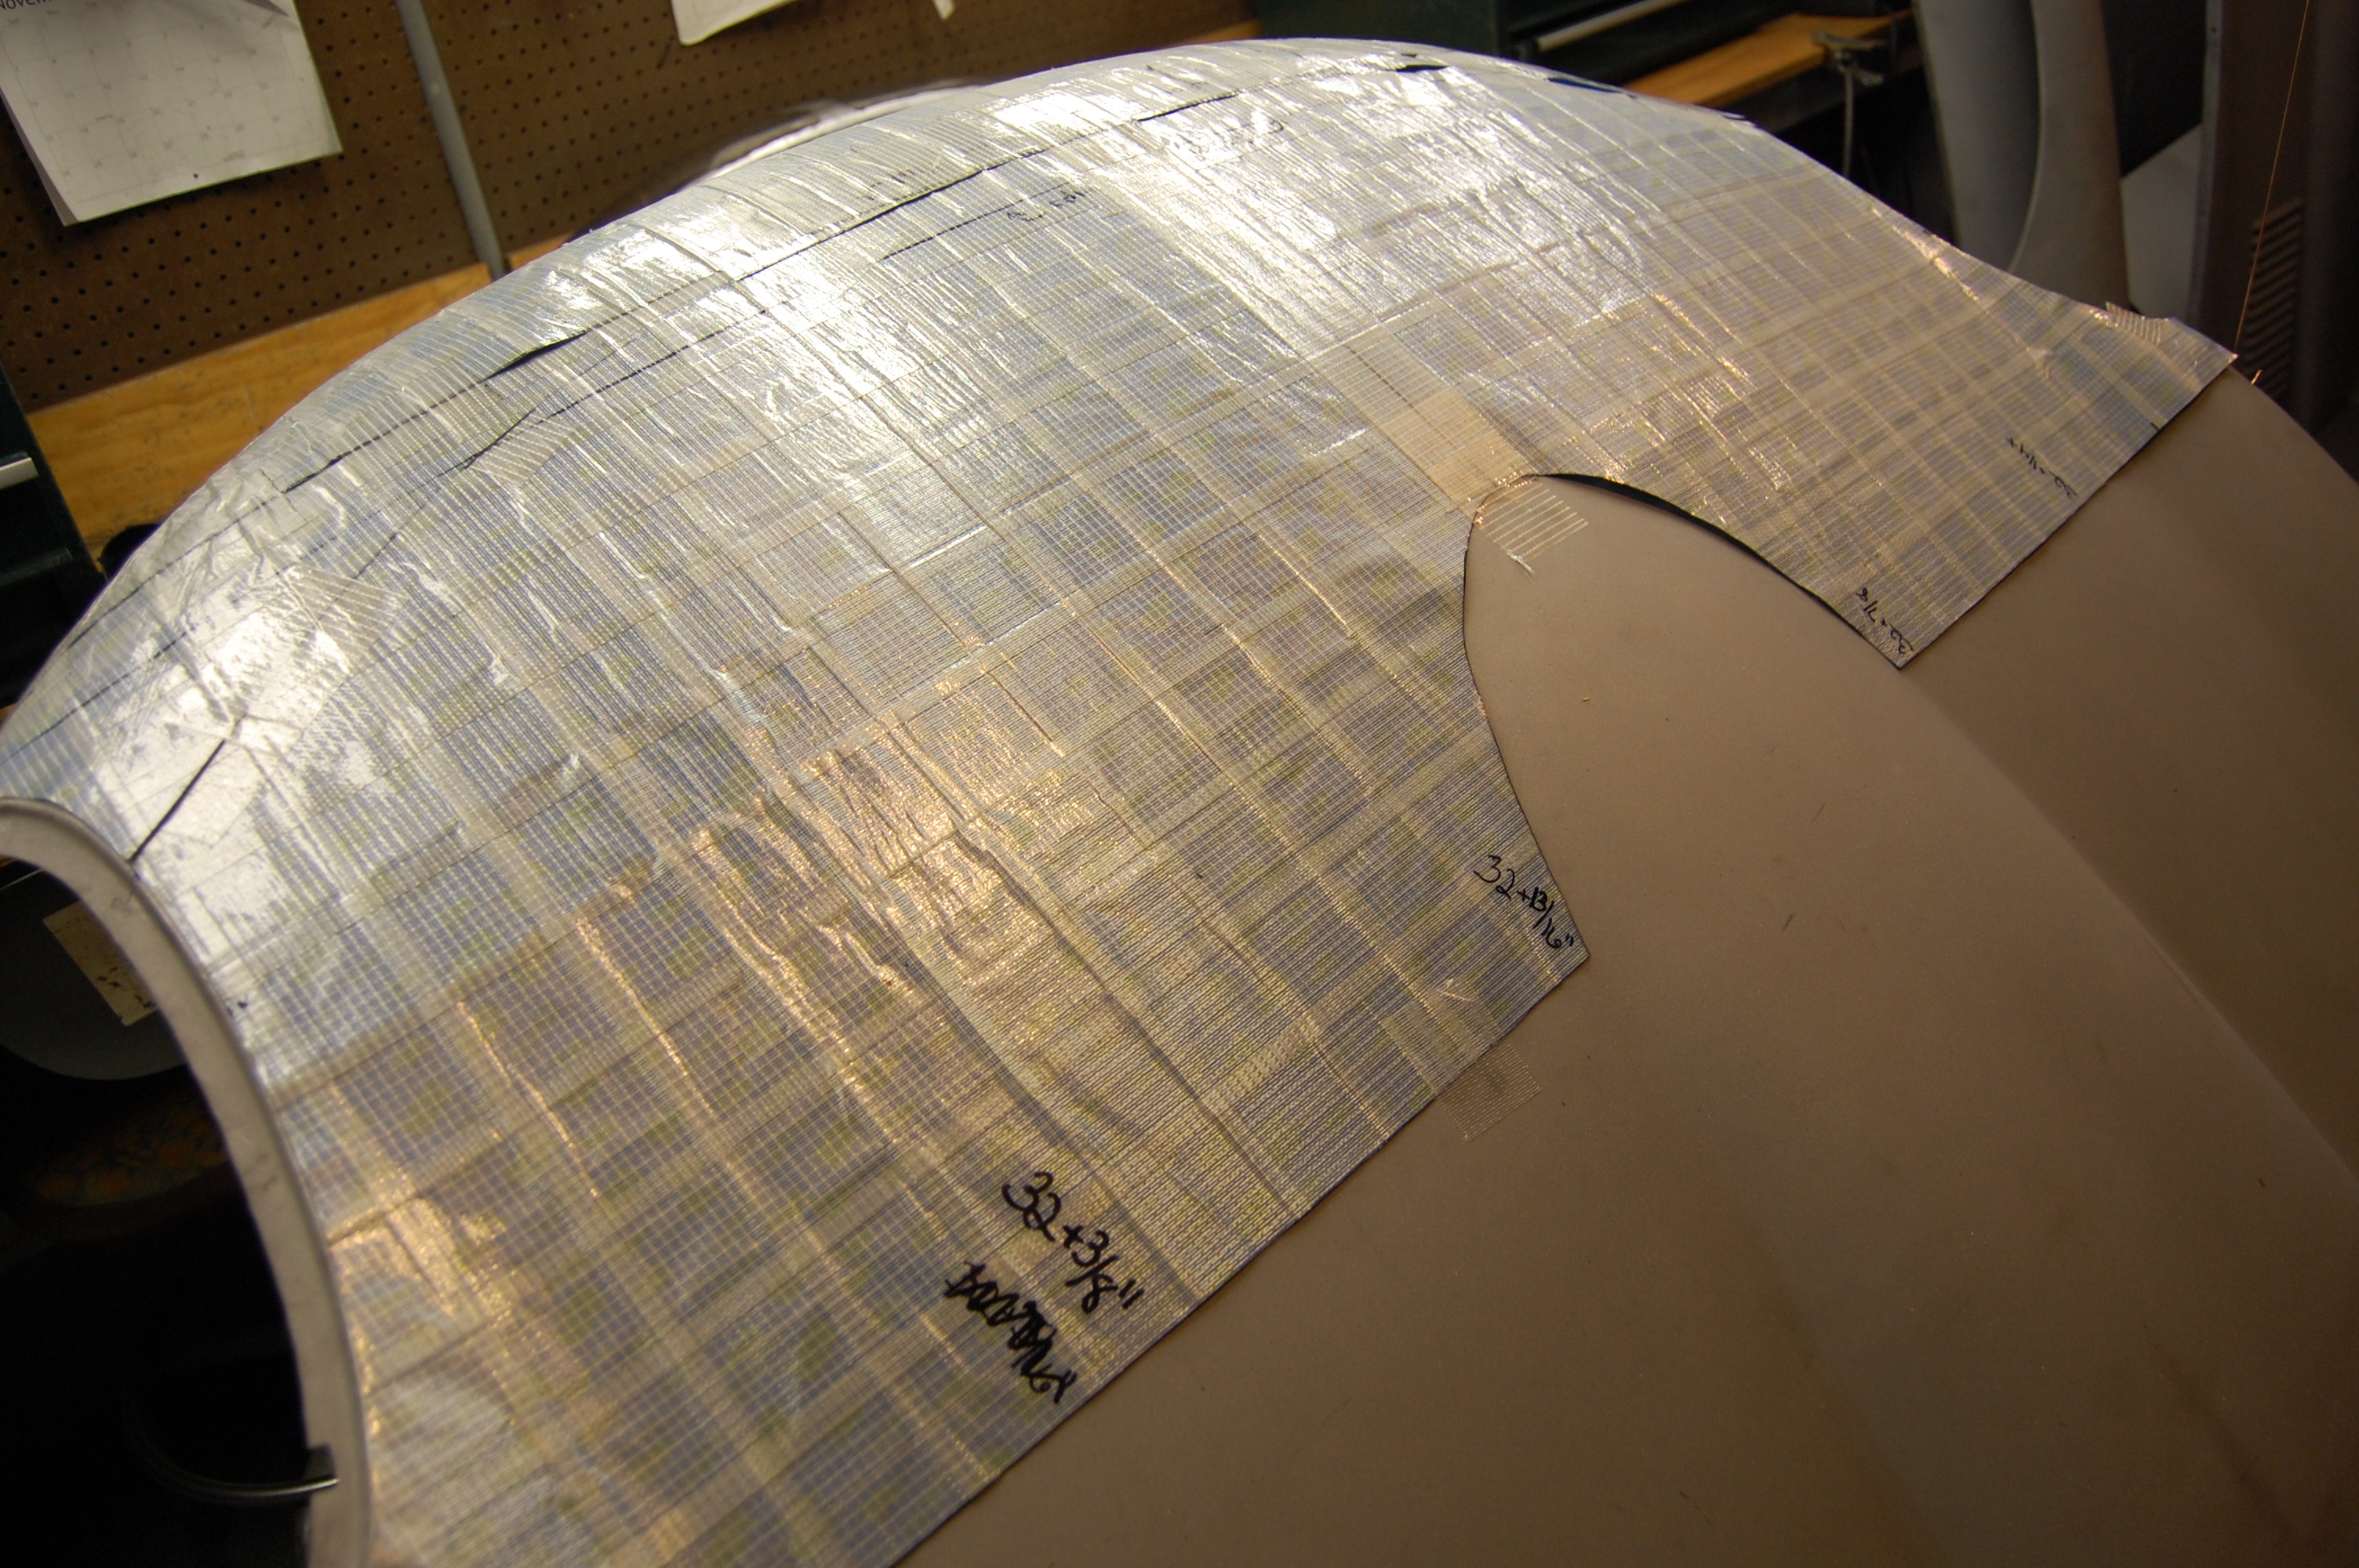
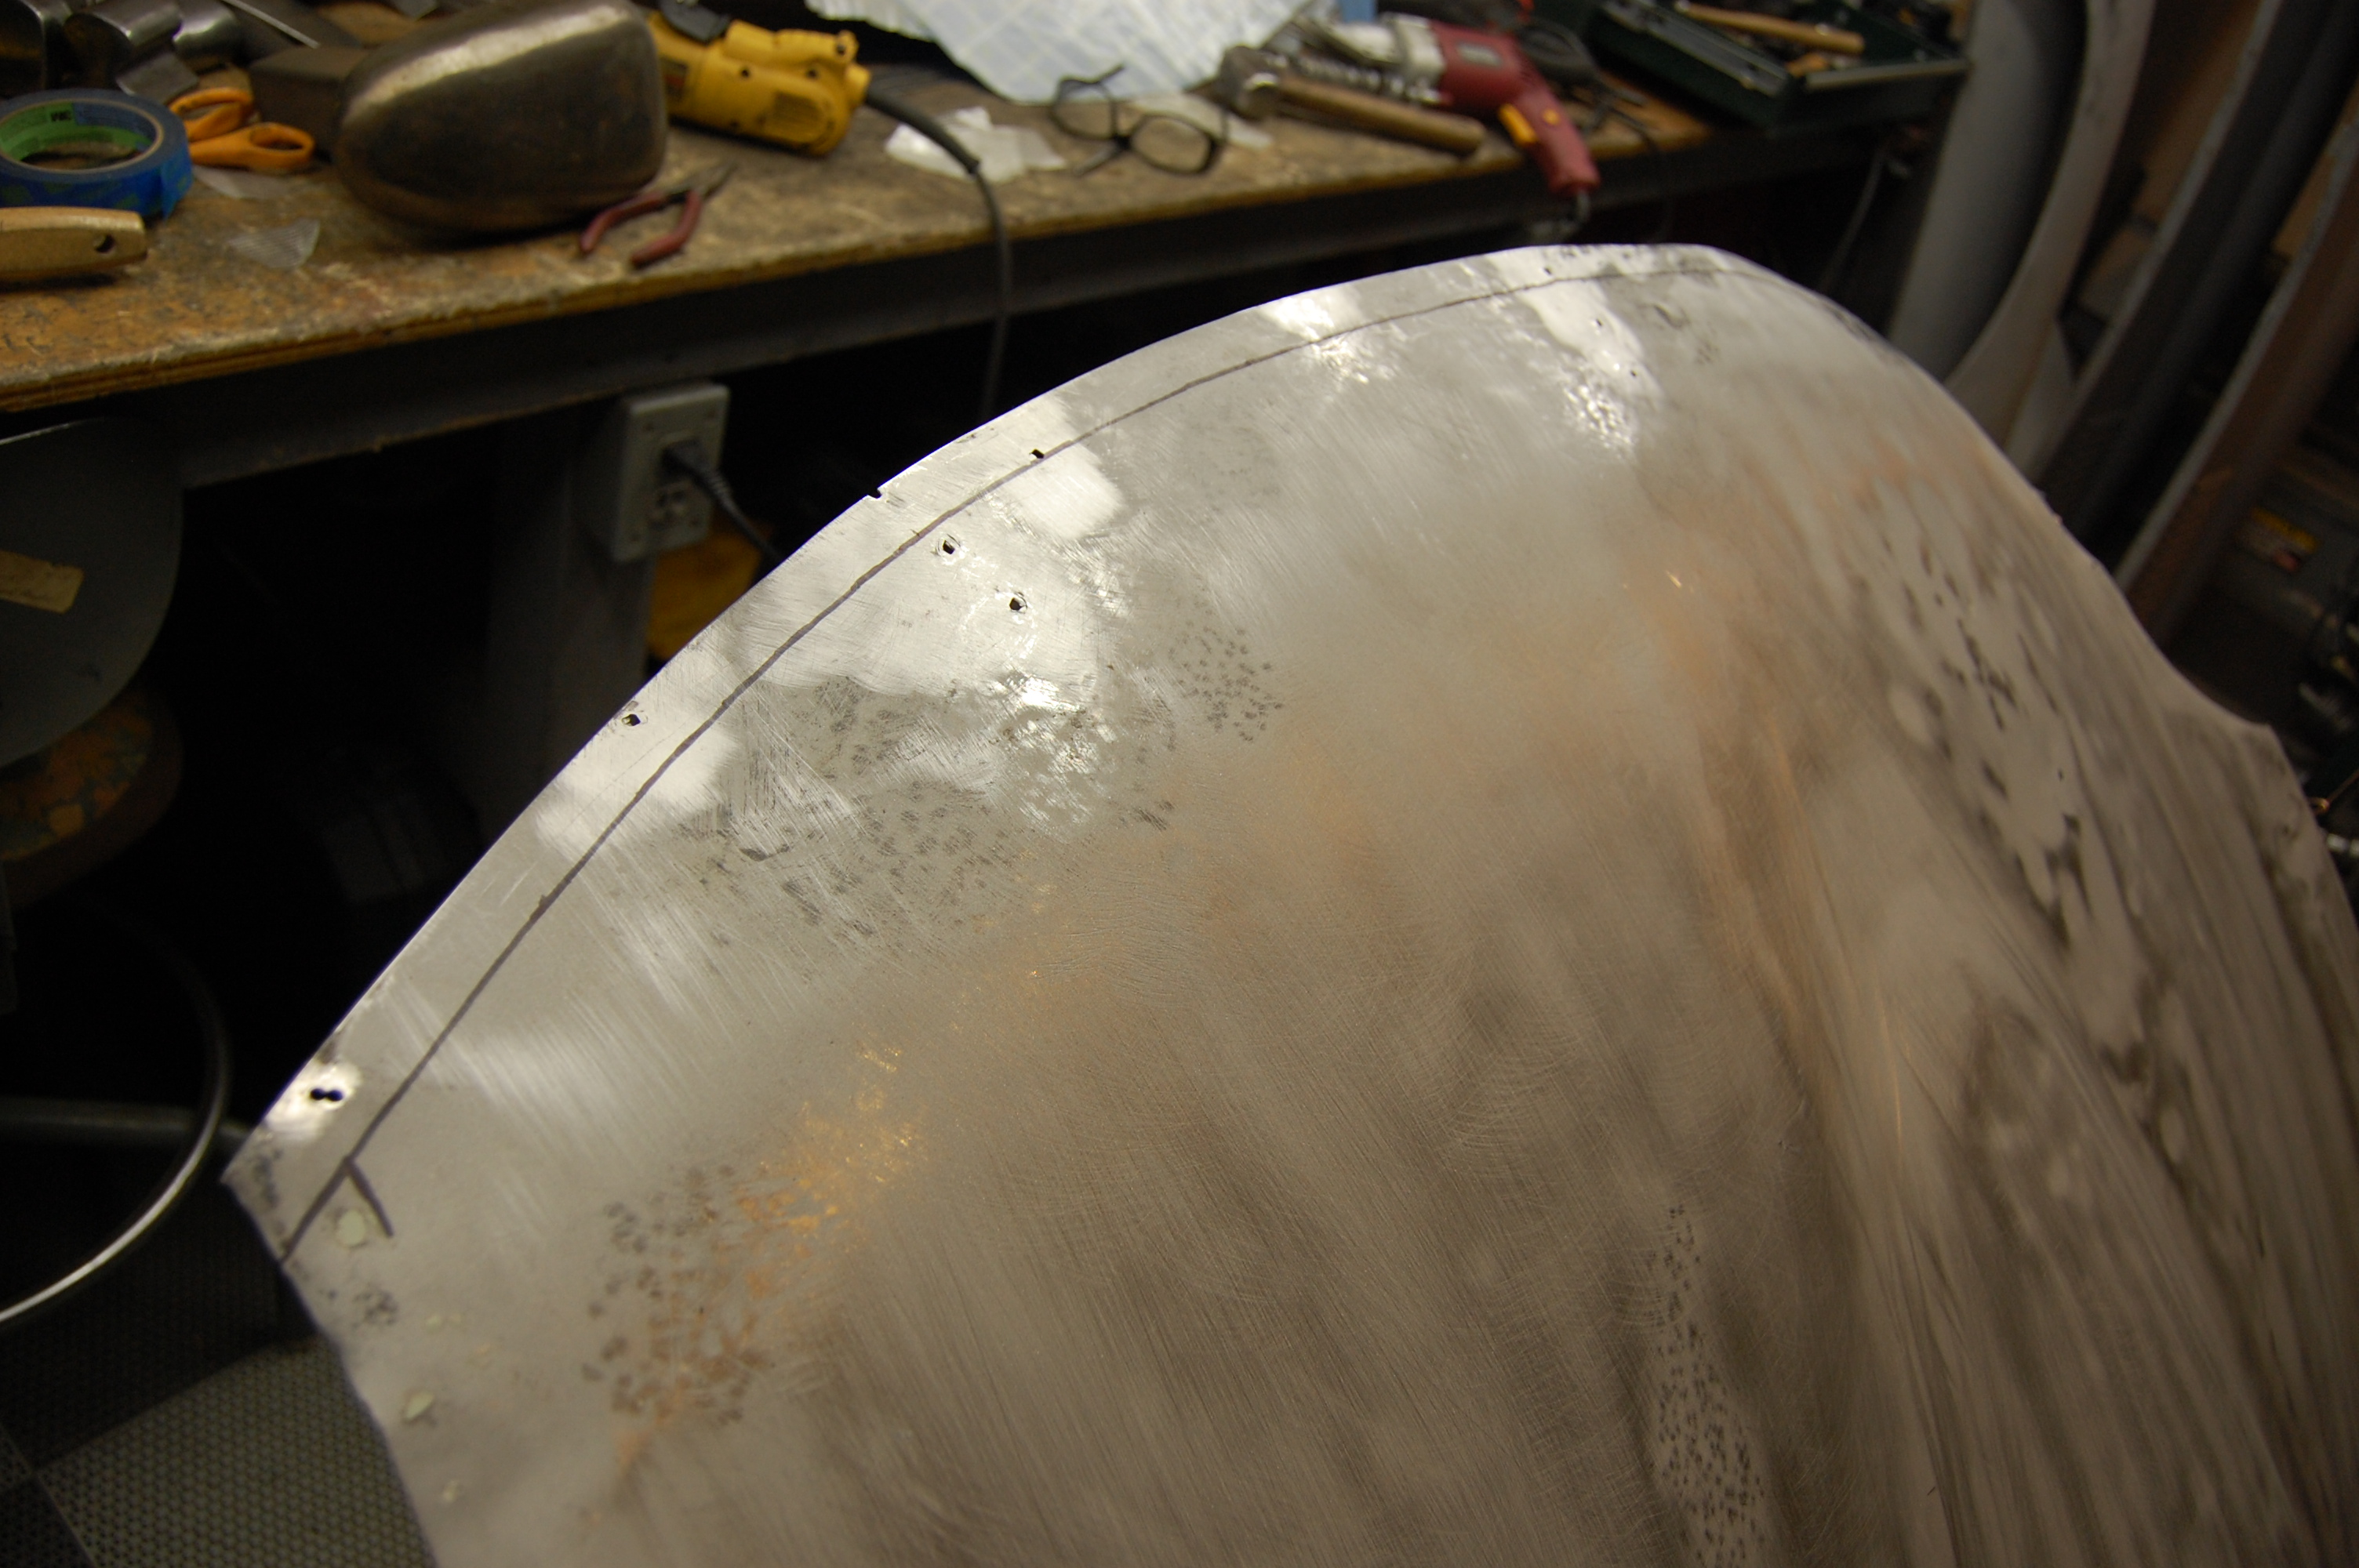
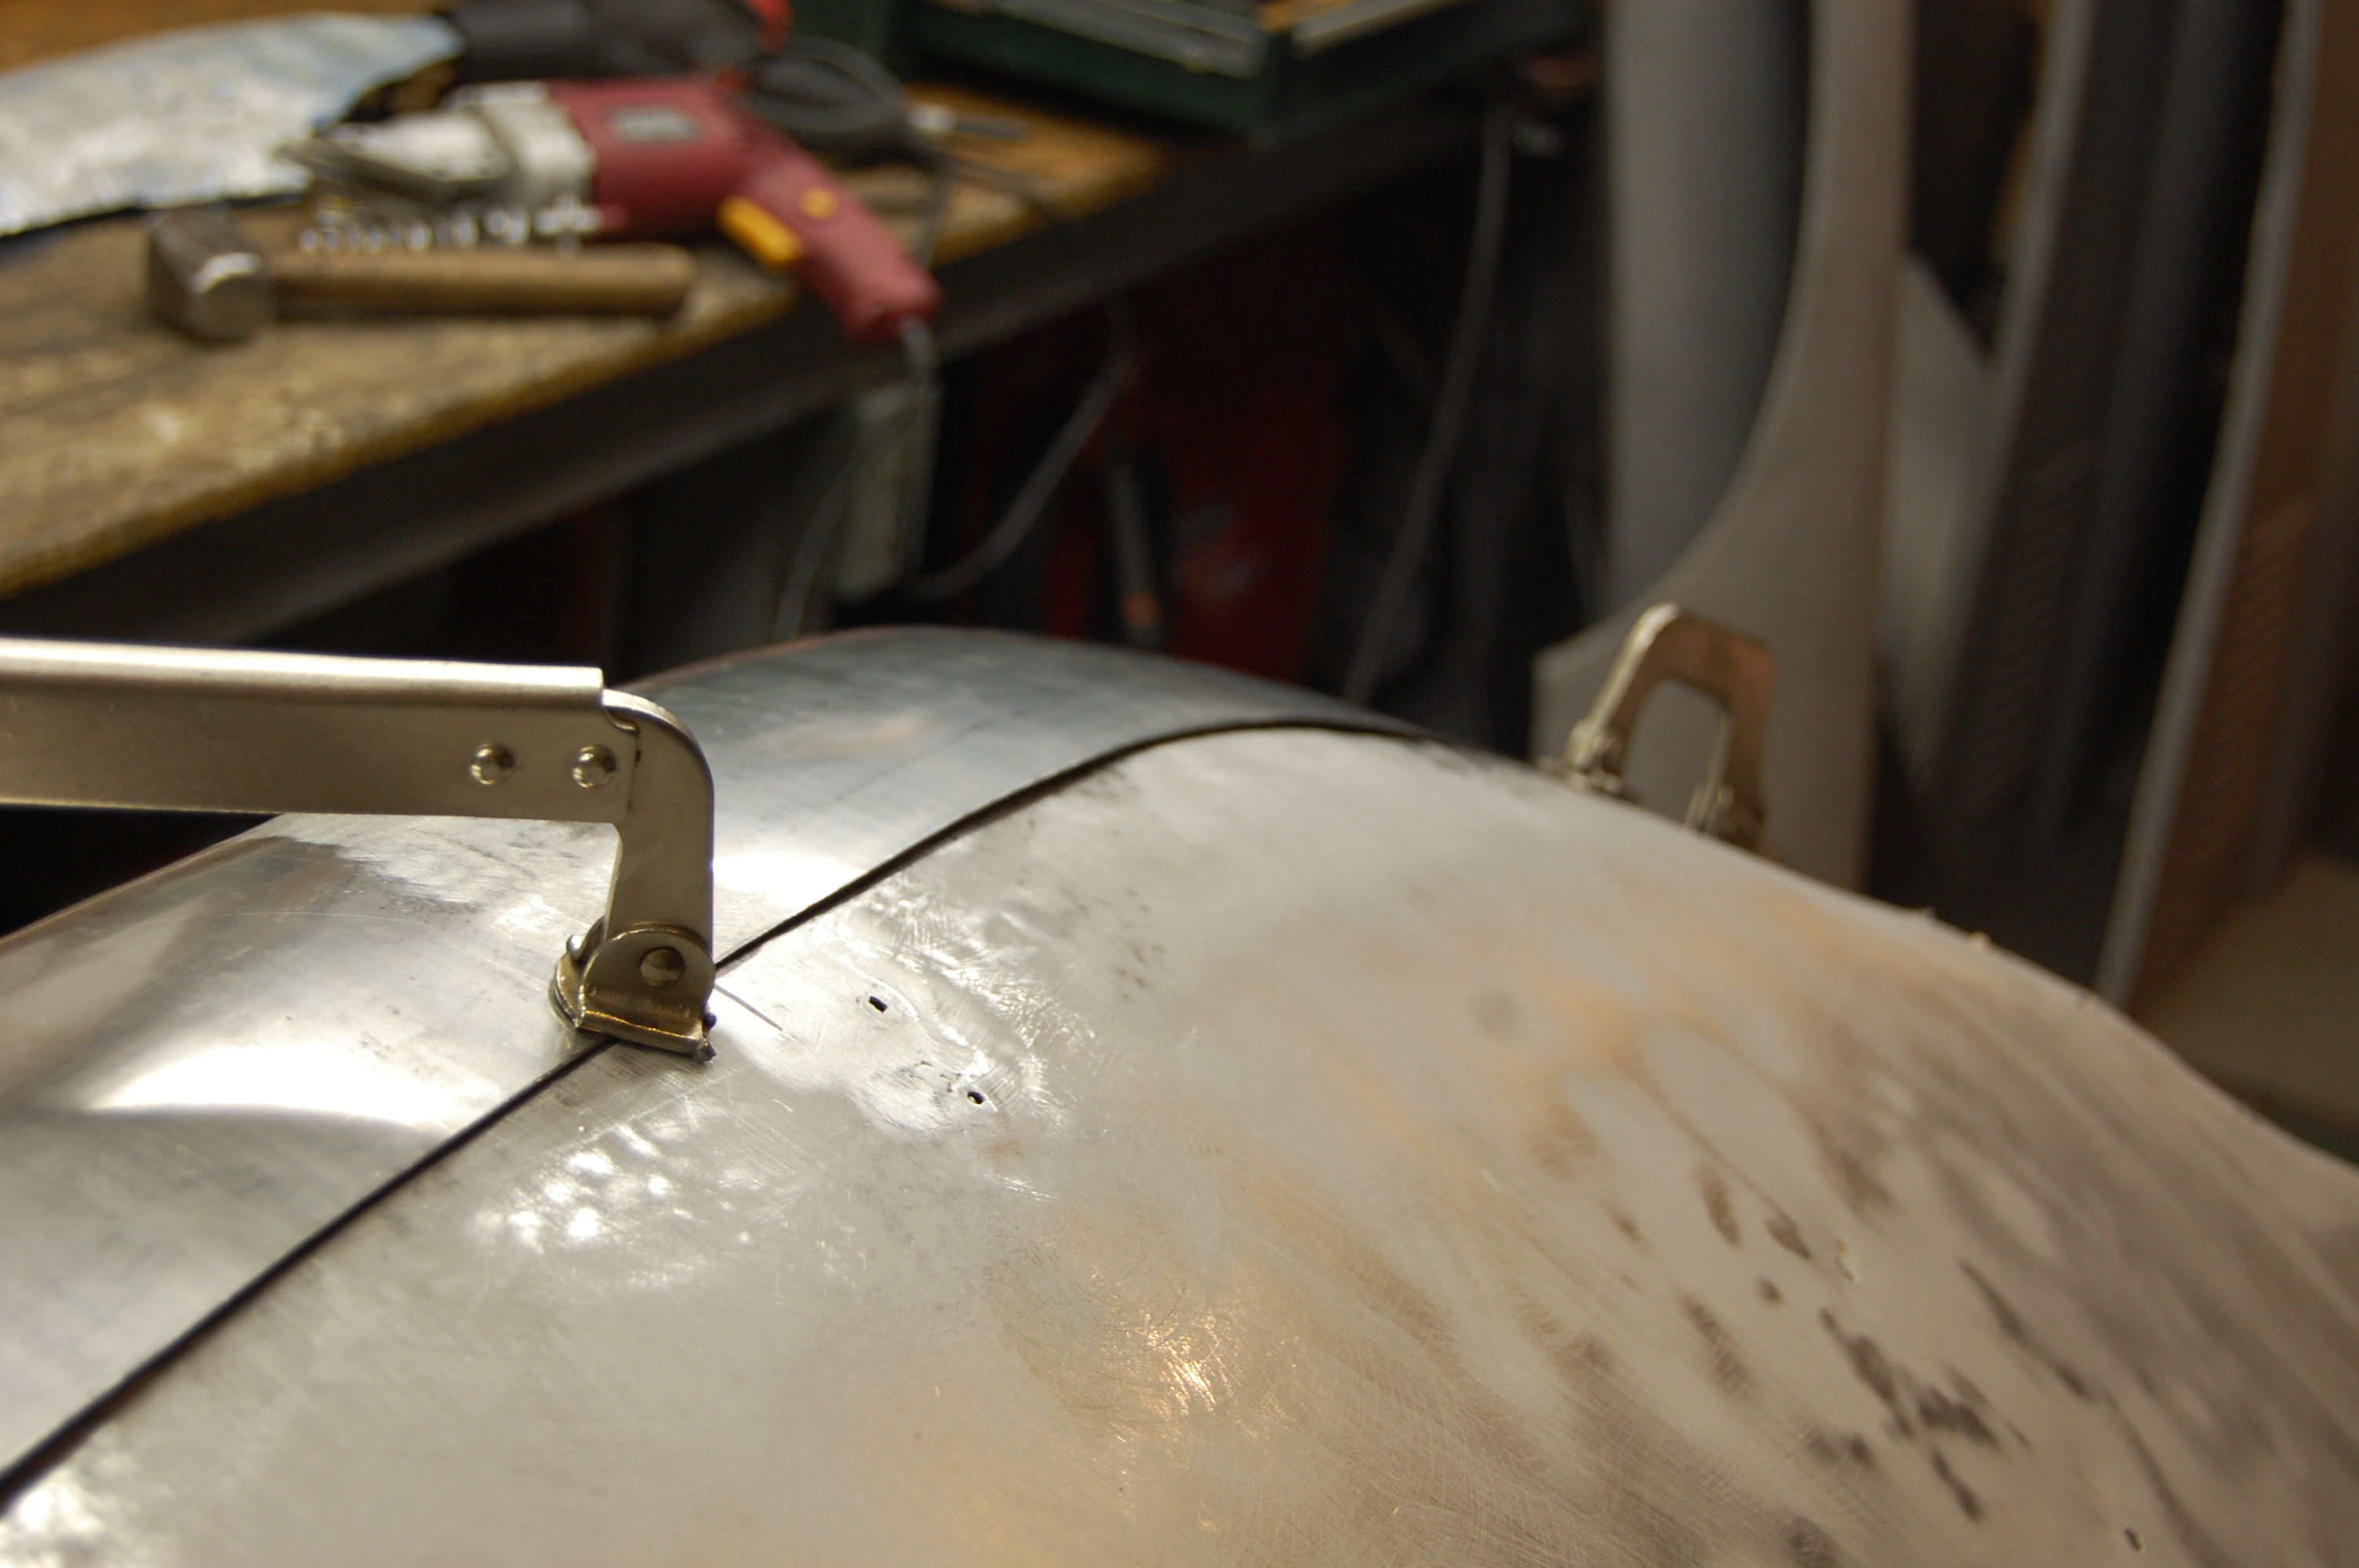
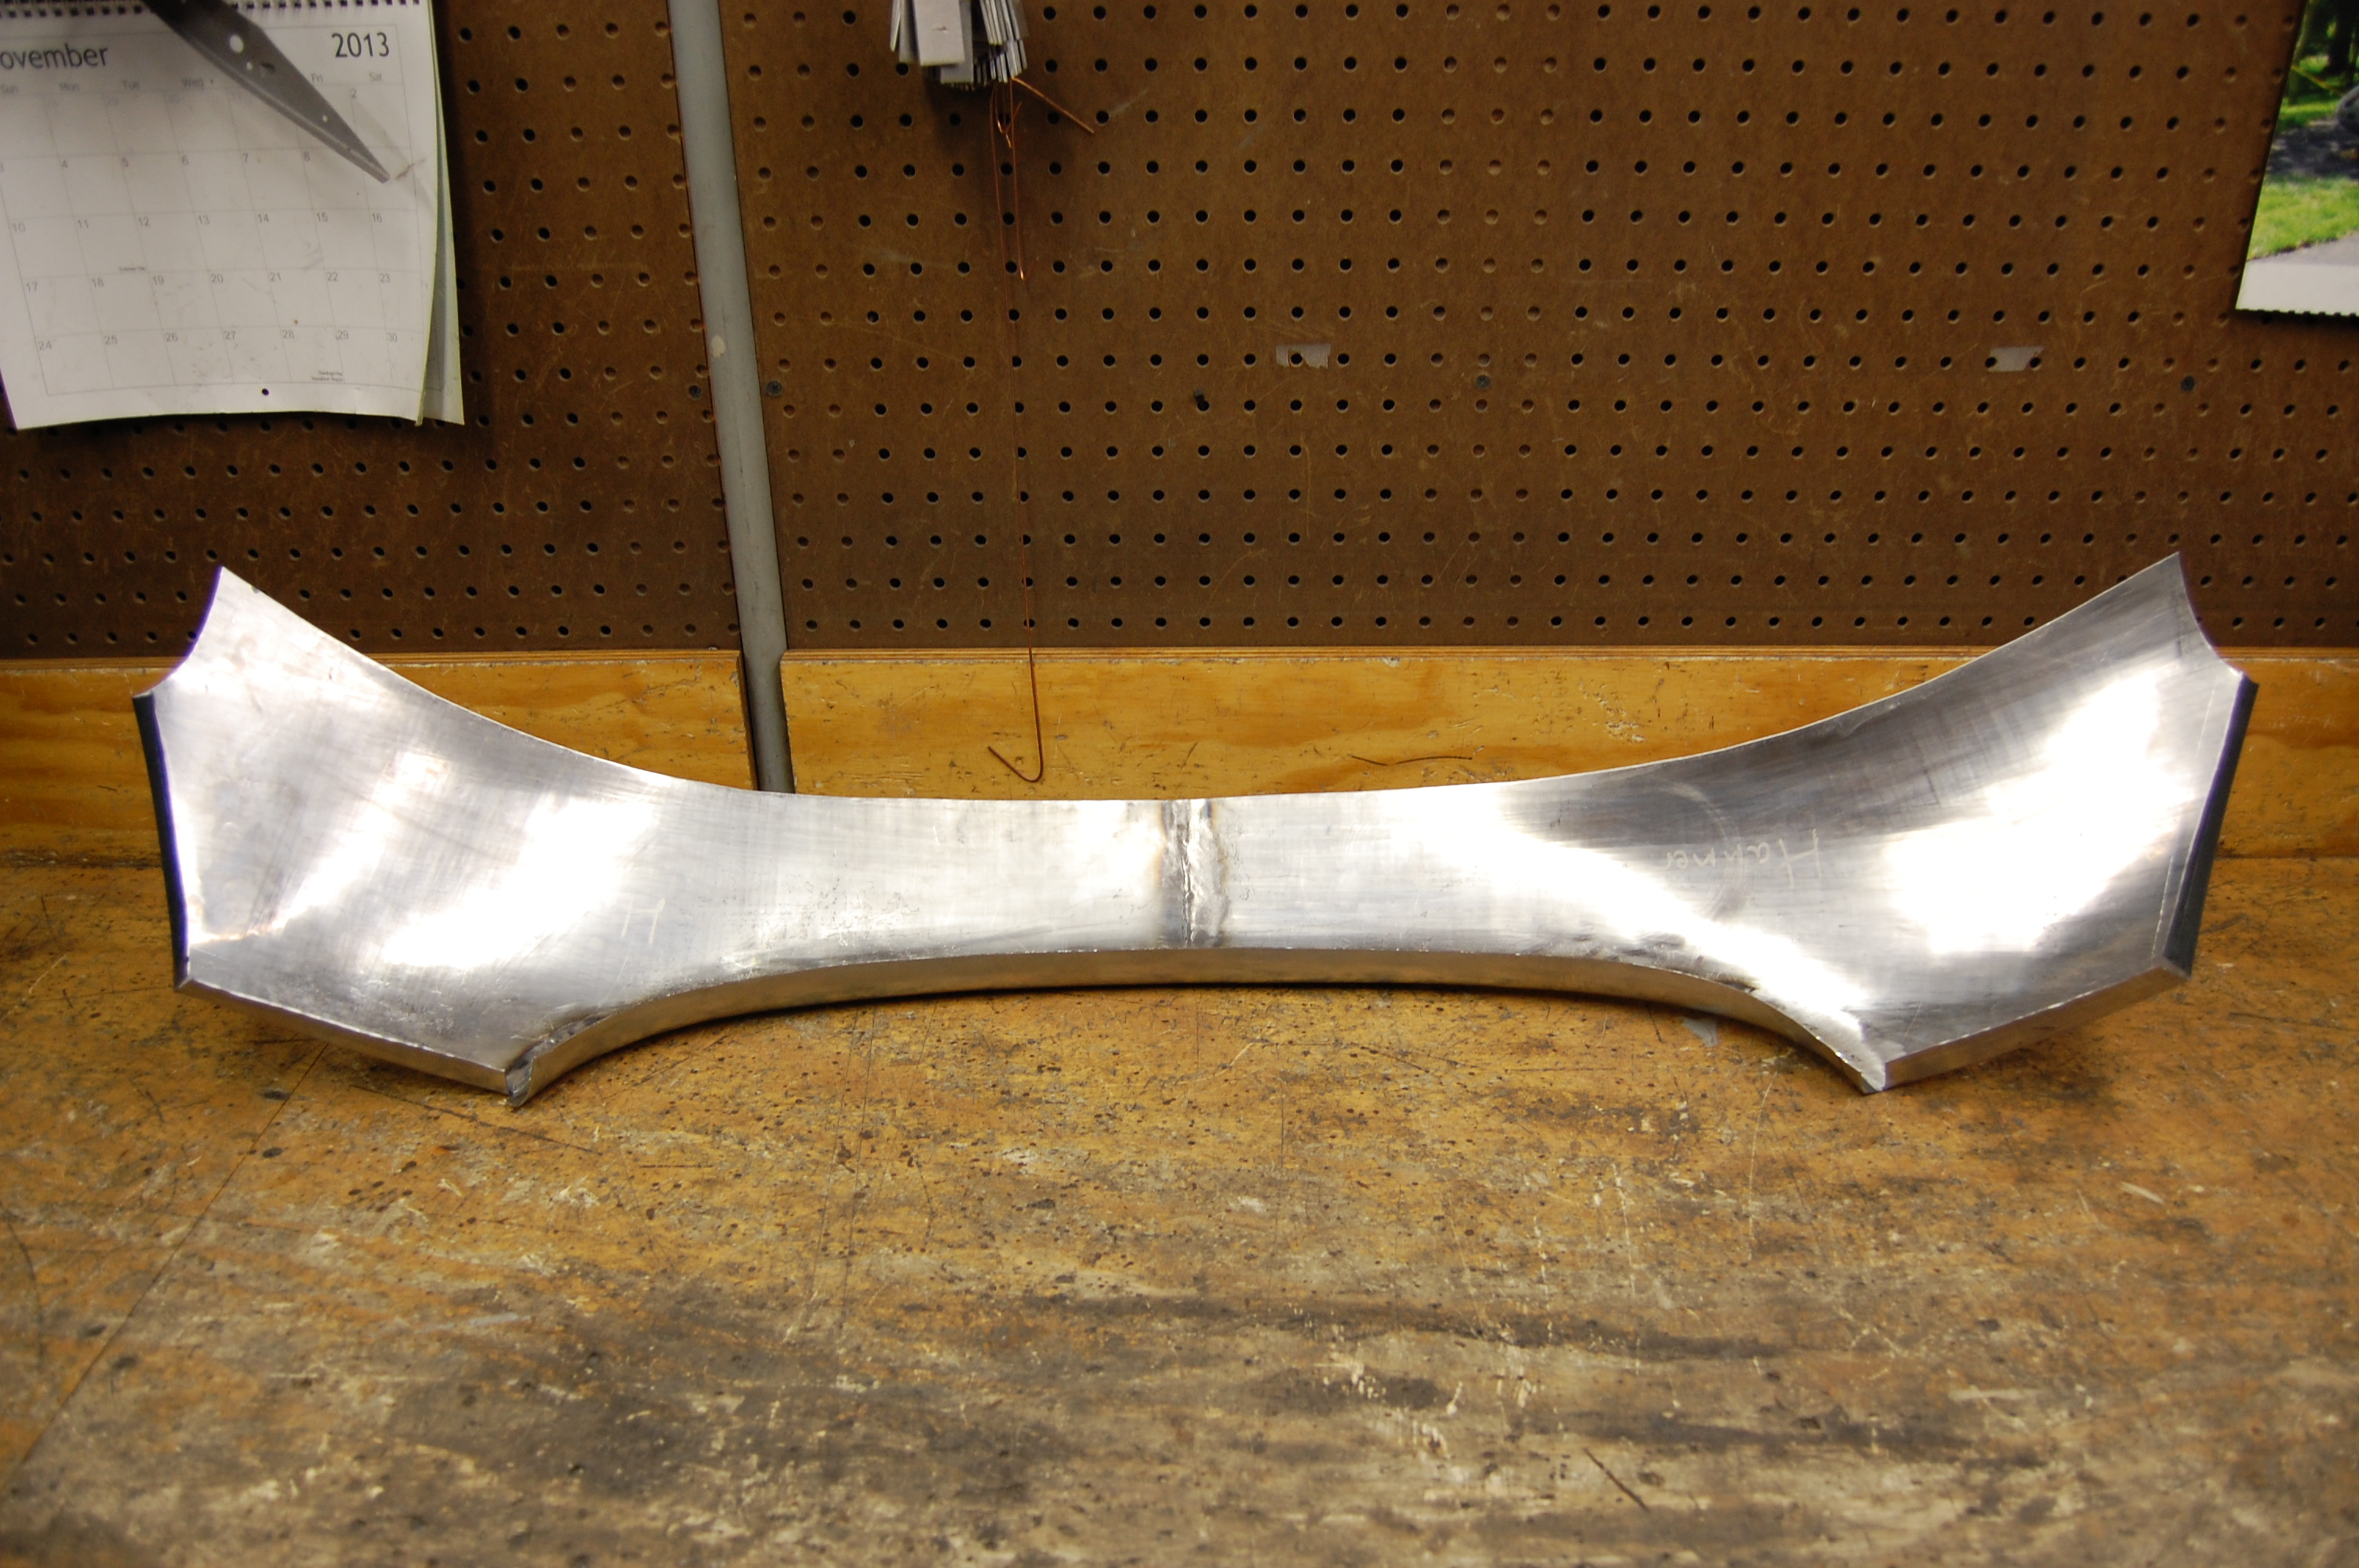
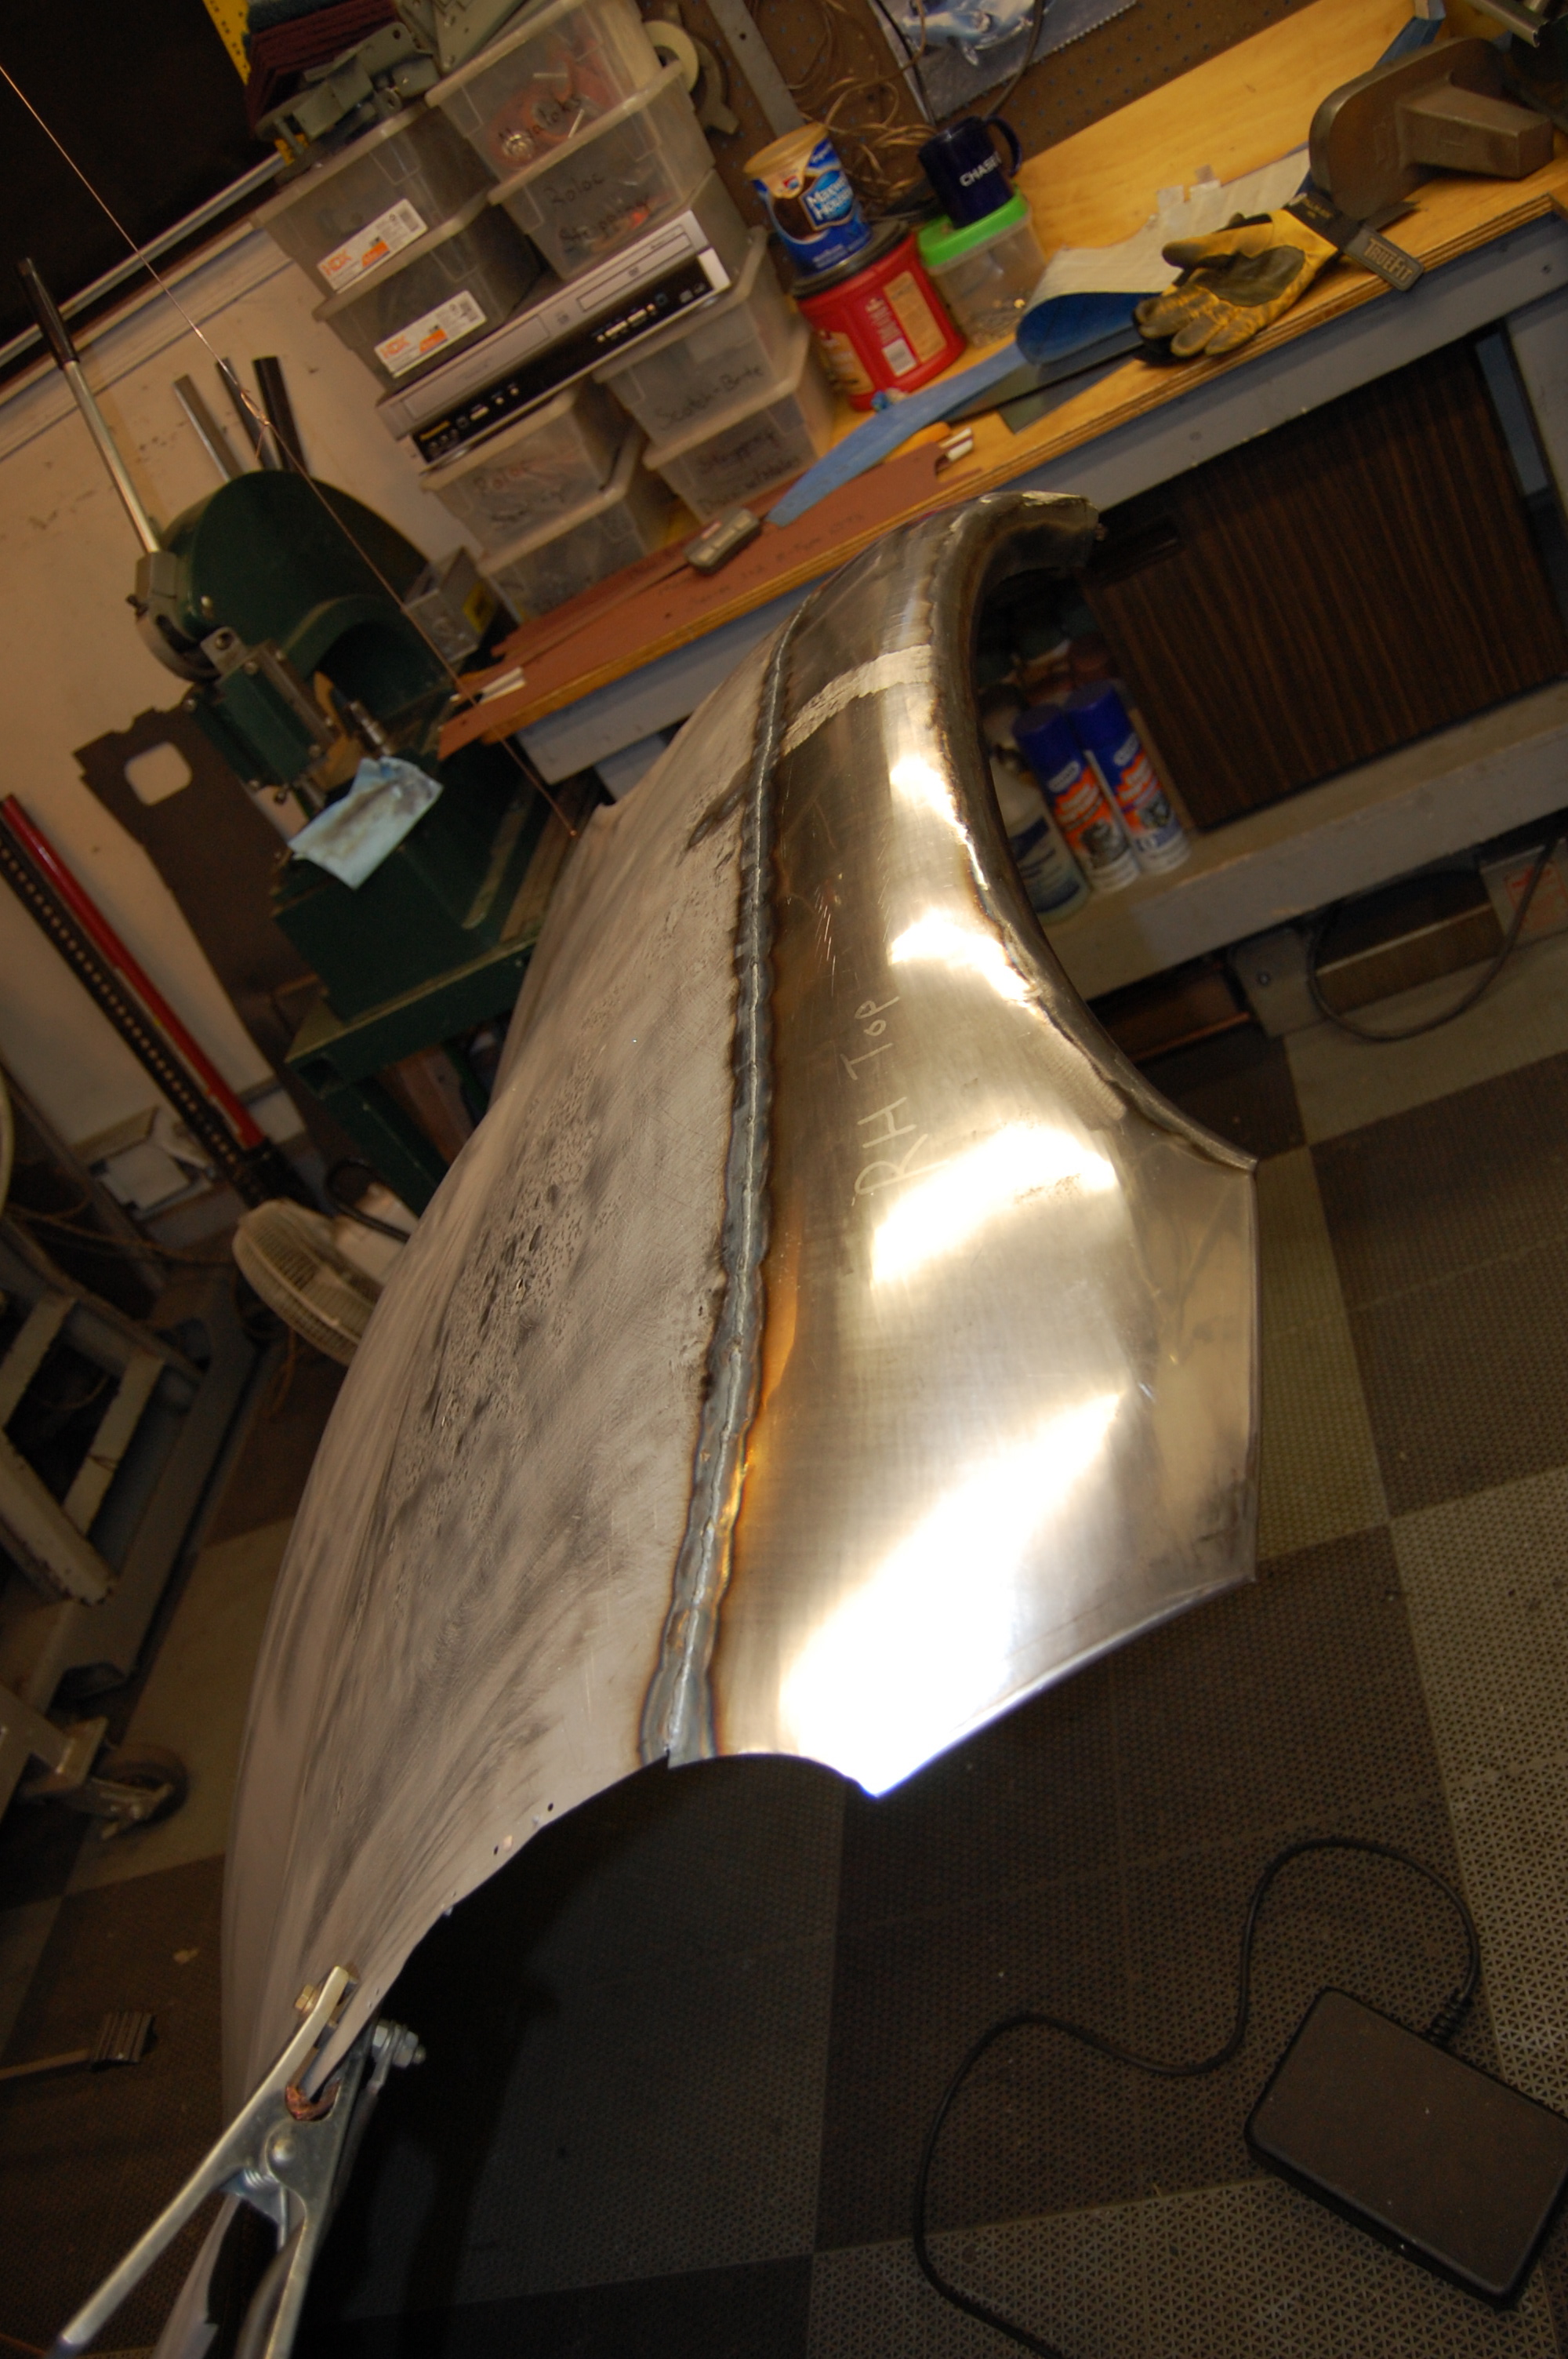
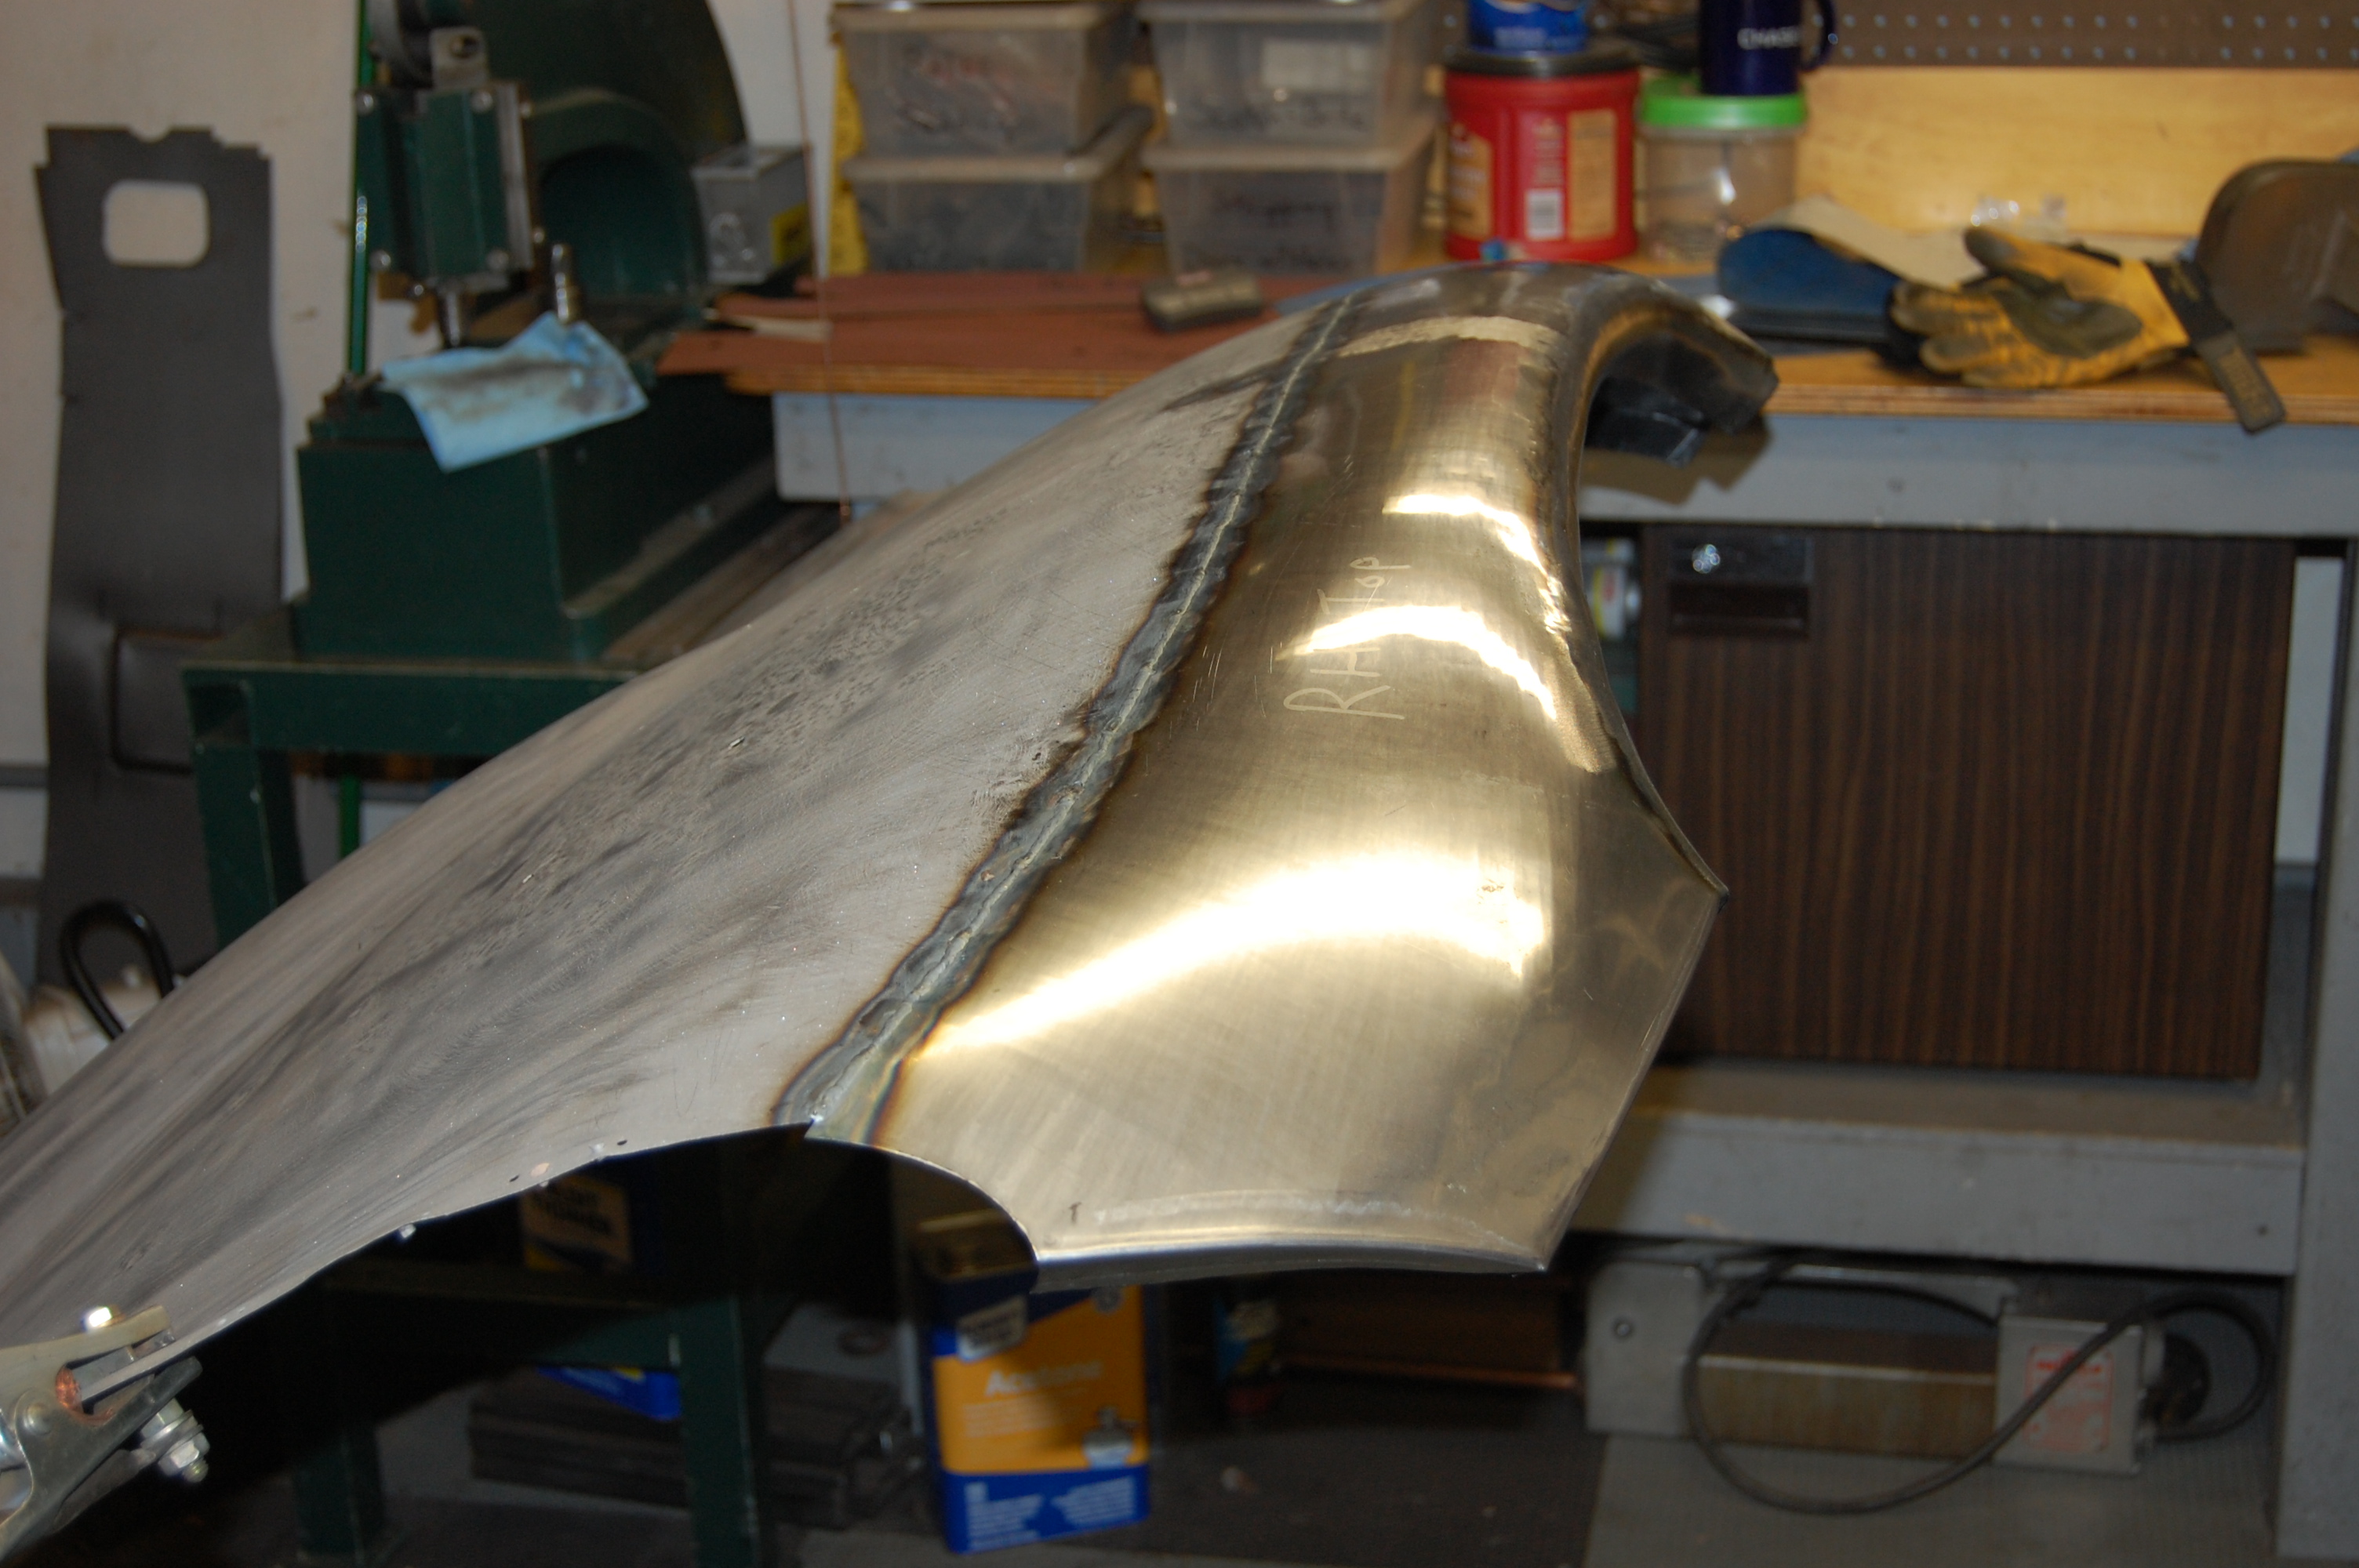
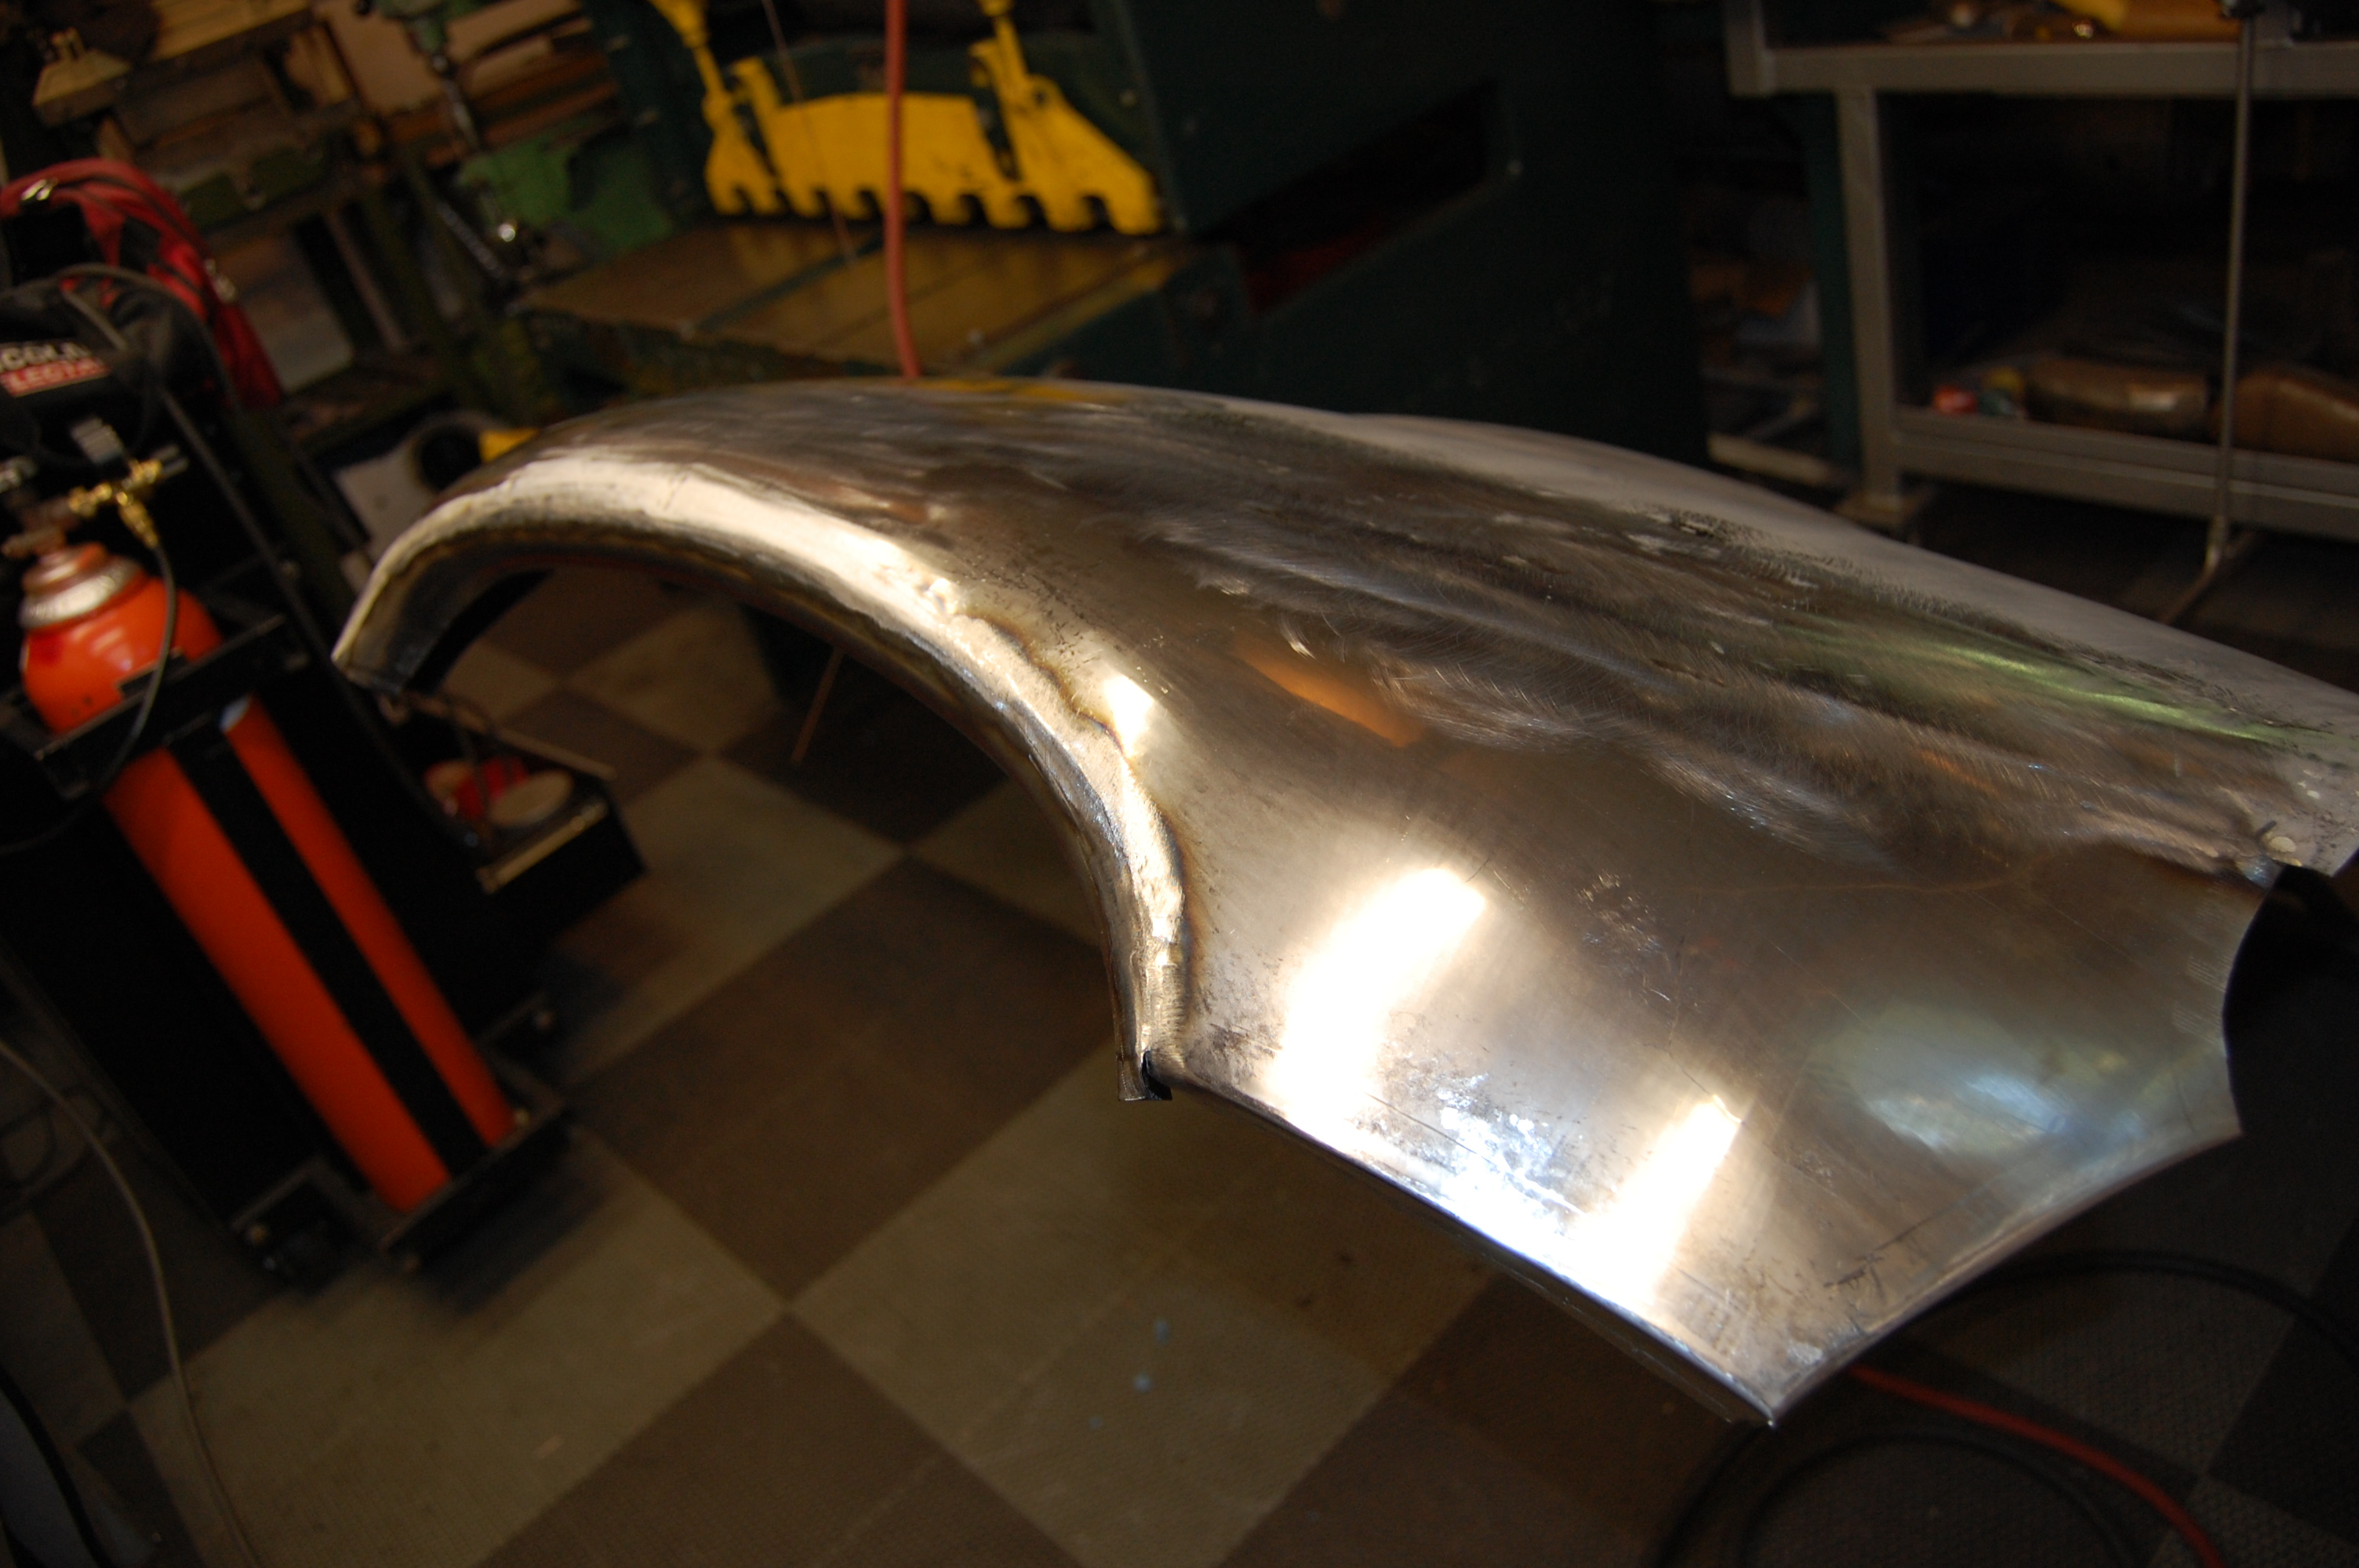
Building a Series 1 nose in steel was going to be more difficult than both of those, but I didn’t really see any way around it. The photos really just do not do justice to the INSANE amount of time that goes by as you double and triple check every edge, the location of the patterns on a known good bonnet and then transpose that positioning over to this panel, etc. There is alot of VERY meticulous positioning of patterns, taping them onto the metal, to each other, etc. Don’t let the photos foll you, there are MANY hours here…
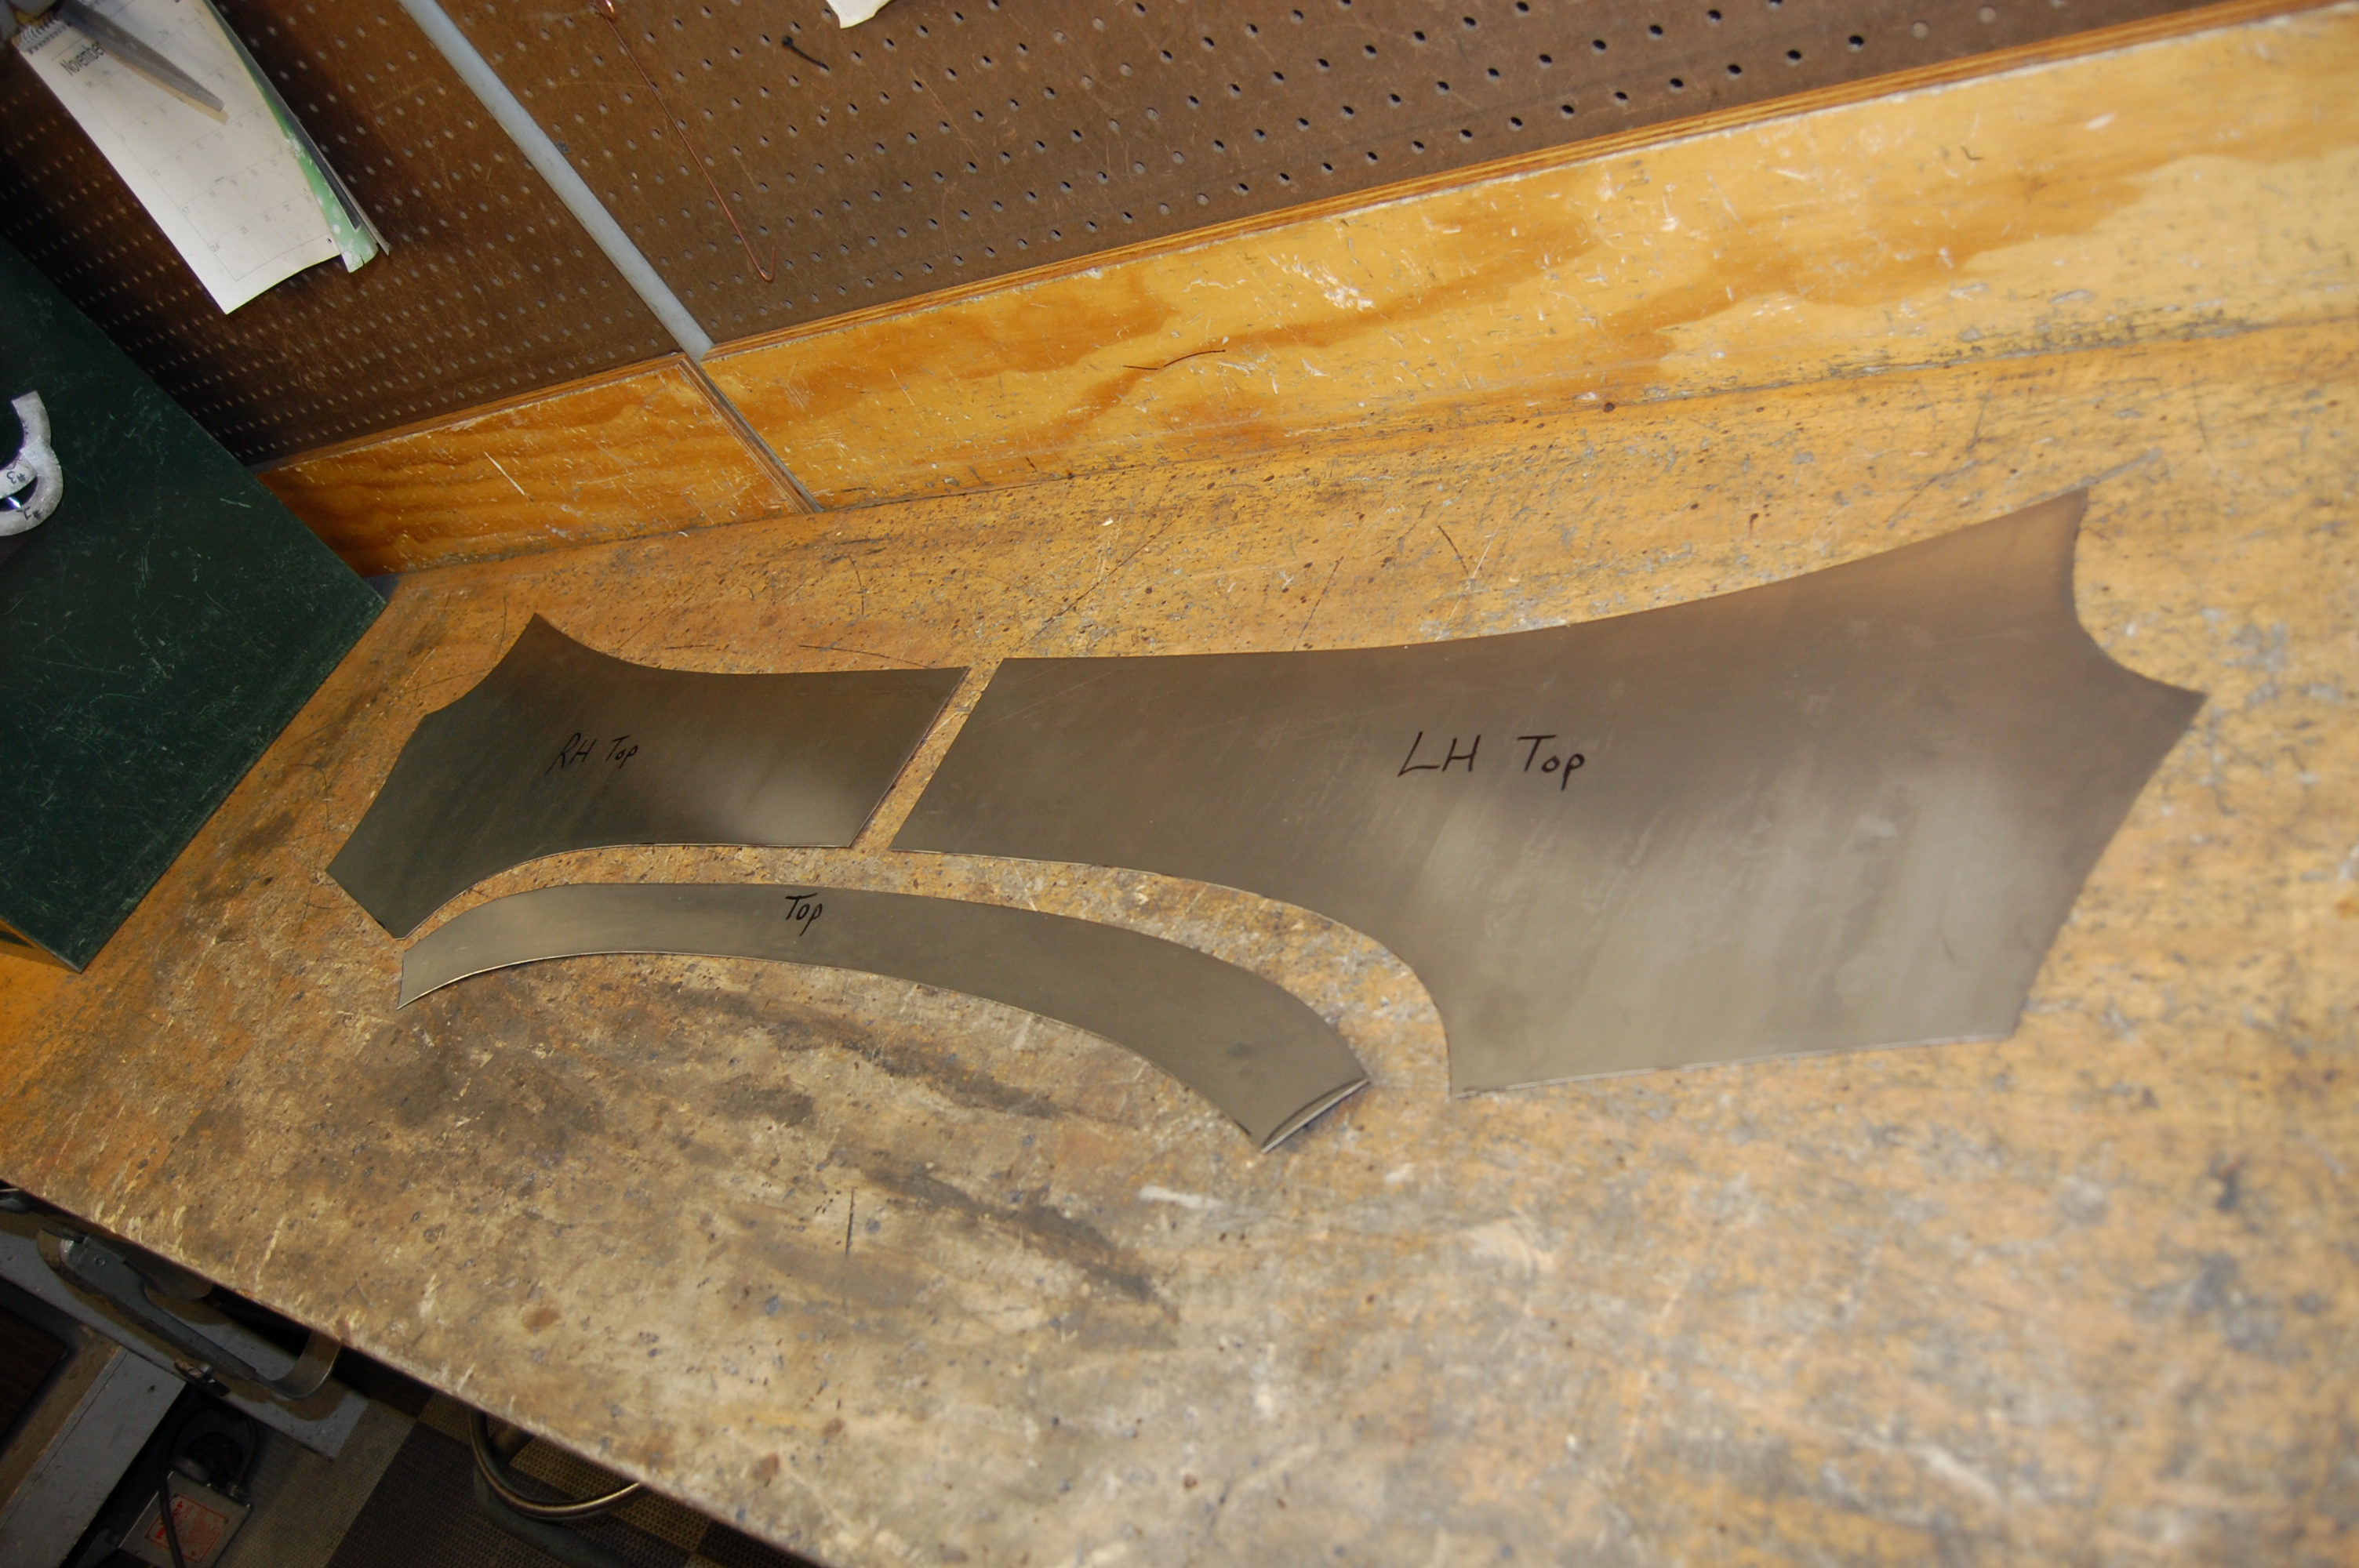
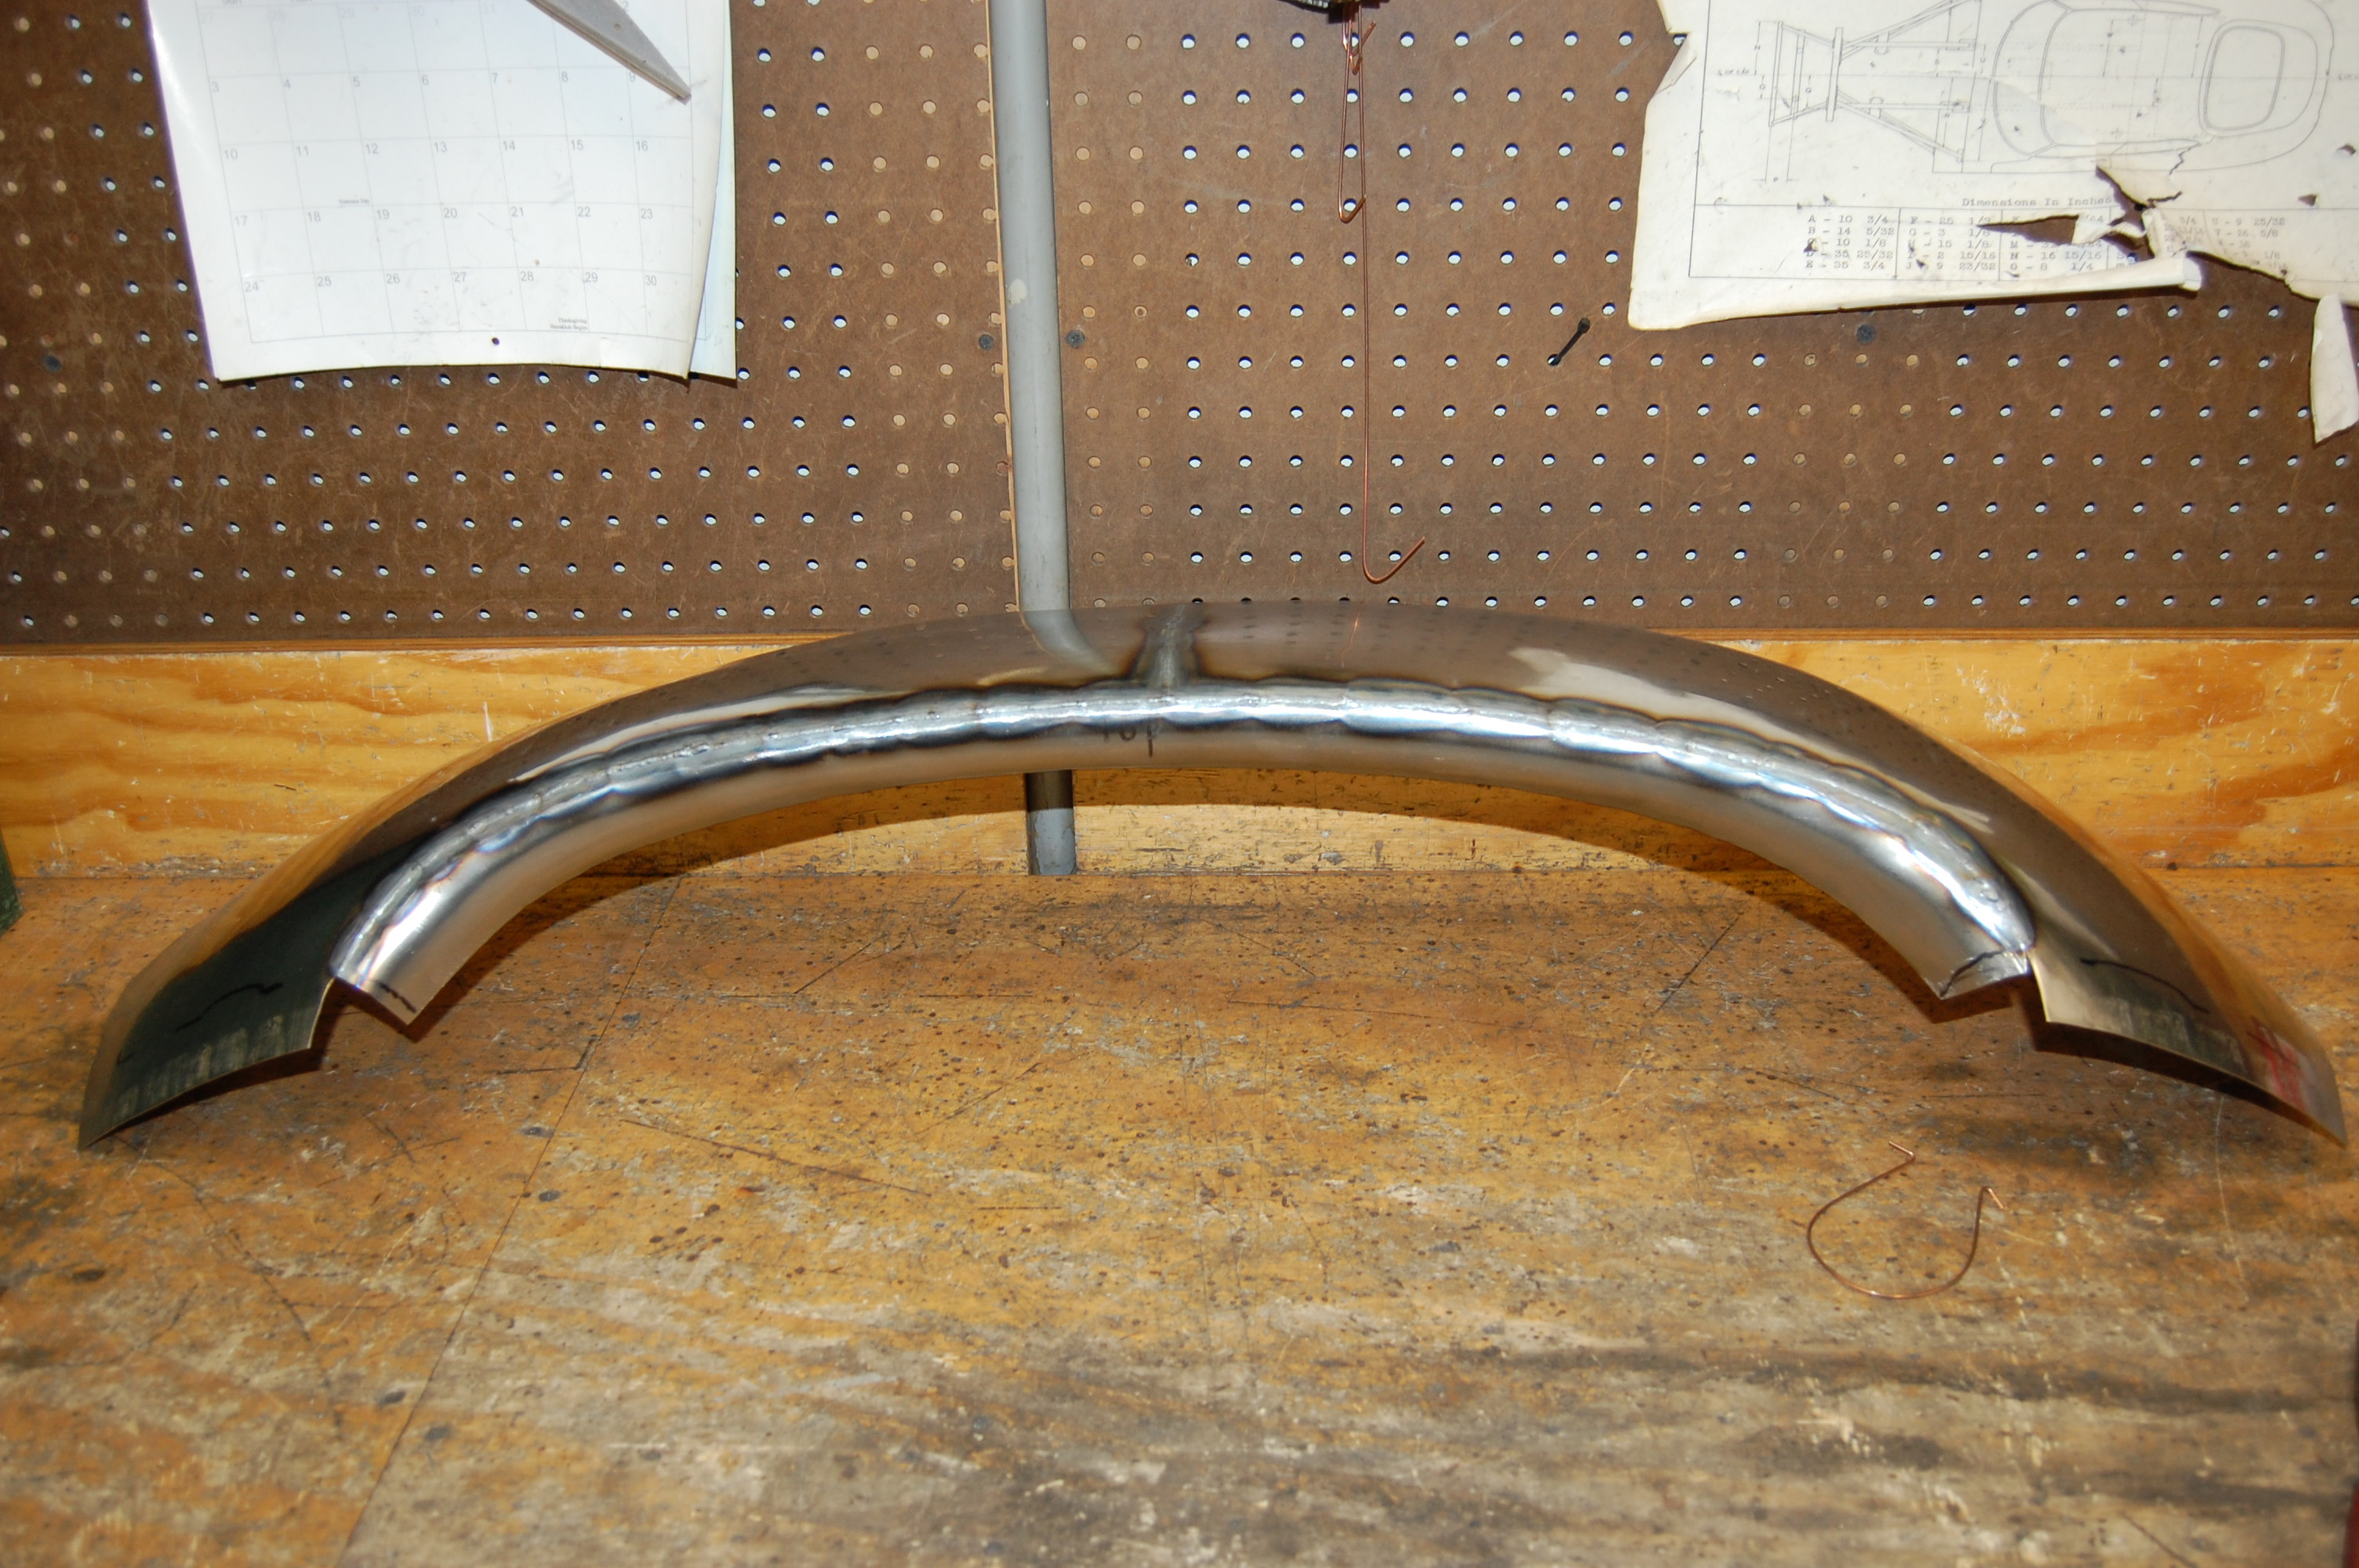
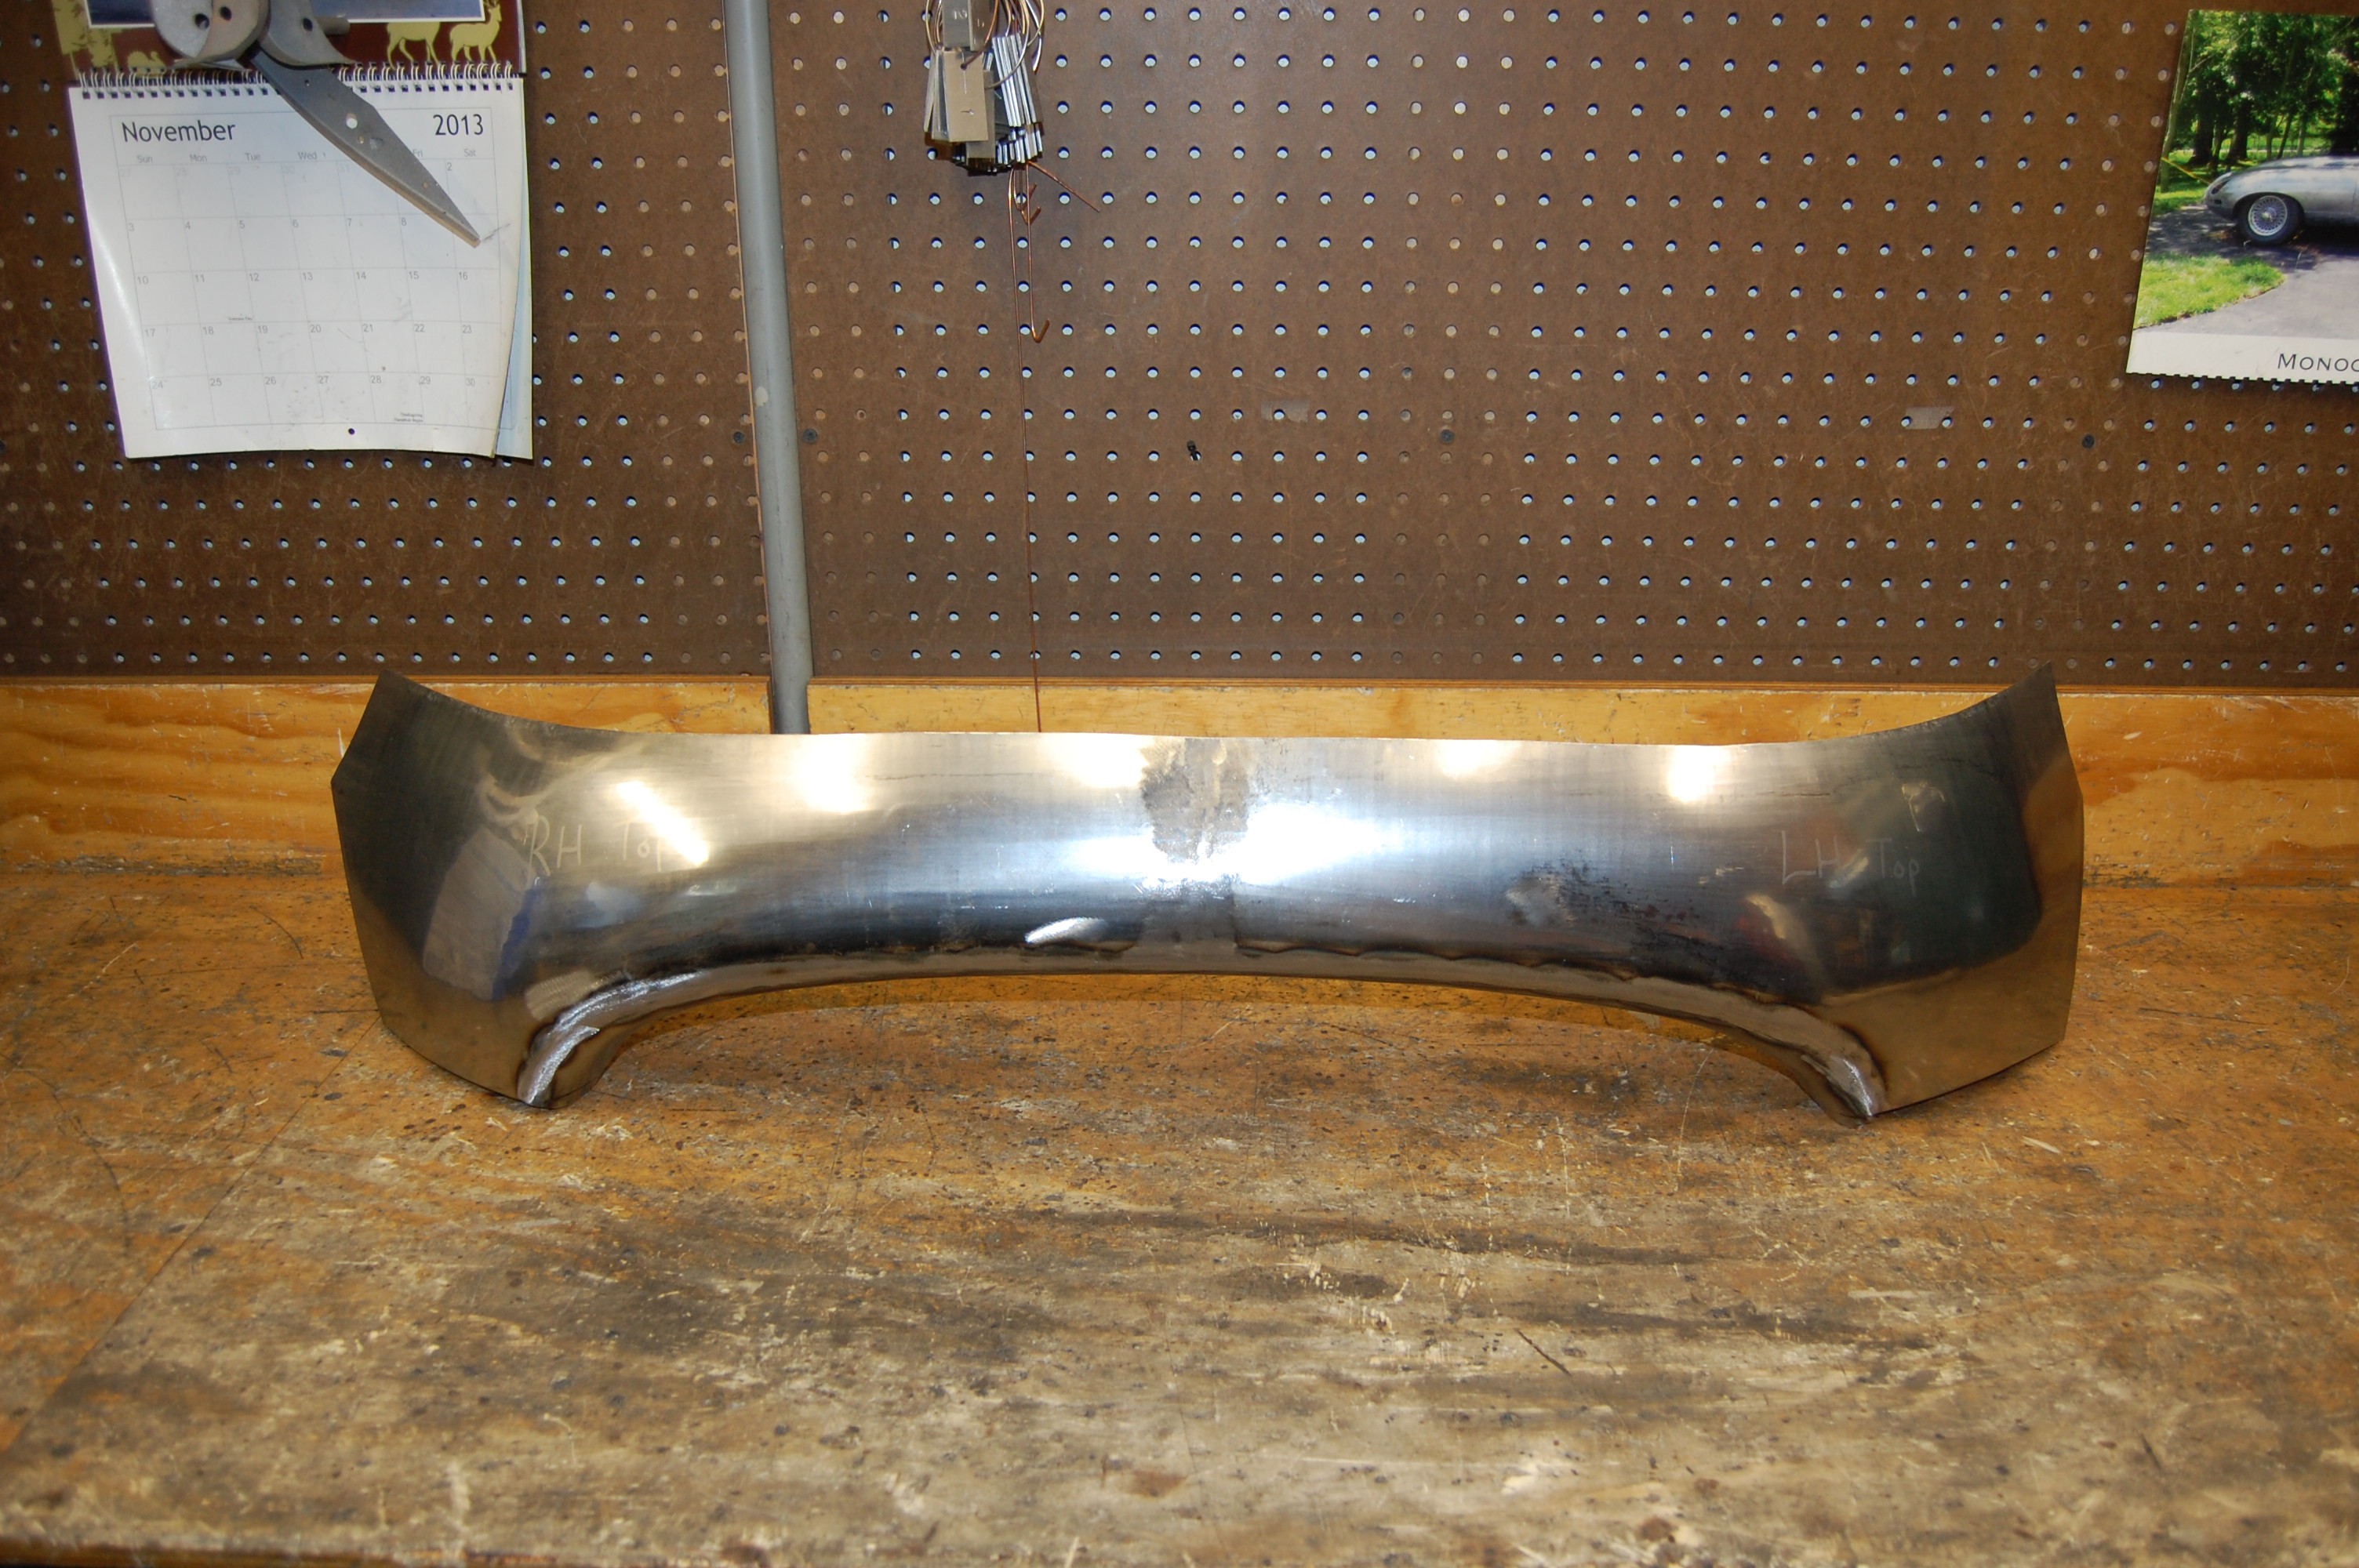
BUT – in the end, I think it turned out pretty well – take a look!