
OK – so let’s see – we’ve completed the rear end conversion to Series 1, repaired the bumper flanges, and fitted the boot floor and rear lower valances…
We’ve completely replaced the rear chassis legs and EVERYTHING around them…
We’ve fitted up the floors and inner and outer sills…
We’ve repaired the lower sections of the B-Posts…
So can we do those wheel arch repair panels NOW!?! NO – we still need to do the doors!
Doors – I hate them… Well, hate is a strong word – let’s just say I don’t look forward to it – although I WILL say that once they are done, the finished product is very rewarding!
And, I’m very pleased with the progress we have made with our door skin pattern – I think we have it now. I pulled the initial pattern off of a perfect, virgin, Series 2 OTS door last Winter. Then we prototyped the skins with our new roller and they came out well, but not perfect – although I did sell 2 of the three “prototypes to a local restorer – cheap – and he said they fit great – so that was a good sign!
Next, I formed up a pair for a Series 1.5 roadster, used them to restore the doors, and fitted the doors to the shell. They worked well, but not “GREAT” – I had to do alot of edge adjustments – which is not unusual, but the doors seemed a little “short” top to bottom – and the curve around the top front edge was too sharp… (keep in mind, we are talking 1/16″ or less here, but that is alot when you are trying the get a nice door gap…)
Next, I got my hands on an NOS door skin and started comparing my patterns to that – and they fit that great – Hmmm…. In the end, I guess what happened is that somewhere between the translation from a flexible shape pattern – to a flat pattern – to steel – being rolled – having the edges turned up – and then having them folded all the way over – I was losing metal and sharpening up that corner. So I softened the corner on the pattern, and added 1/8″ across the whole bottom – it must have been 90 minutes that I stood there with all of the patterns, doors, and skins before I finally decided to do that…
Then I took the plunge and made 10 door skins off the new pattern – which was risky with the changes, but they are REAL close now! I think that any “error” I am finding in them is the error between the indivdual E-Types themselves – because the factory just got them close and then leaded the edges of the door channel in the body shell…
One last note on door skins – Series 1 and Series 2 cars have the exterior door handle in a different location. I was told that several years ago and I didn’t believe it, but during all this patterning, I can now GUARANTEE you that it’s true – and it’s enough of a difference to cause a problem with the internal latching linkage if you don’t have it right!
AND – EVERYONE ELSE IN THE WORLD sells the Series 1 configuration as “one size fits all” – so if you have a Series 2 car, the ONLY place to get a correct door skin for it is here.
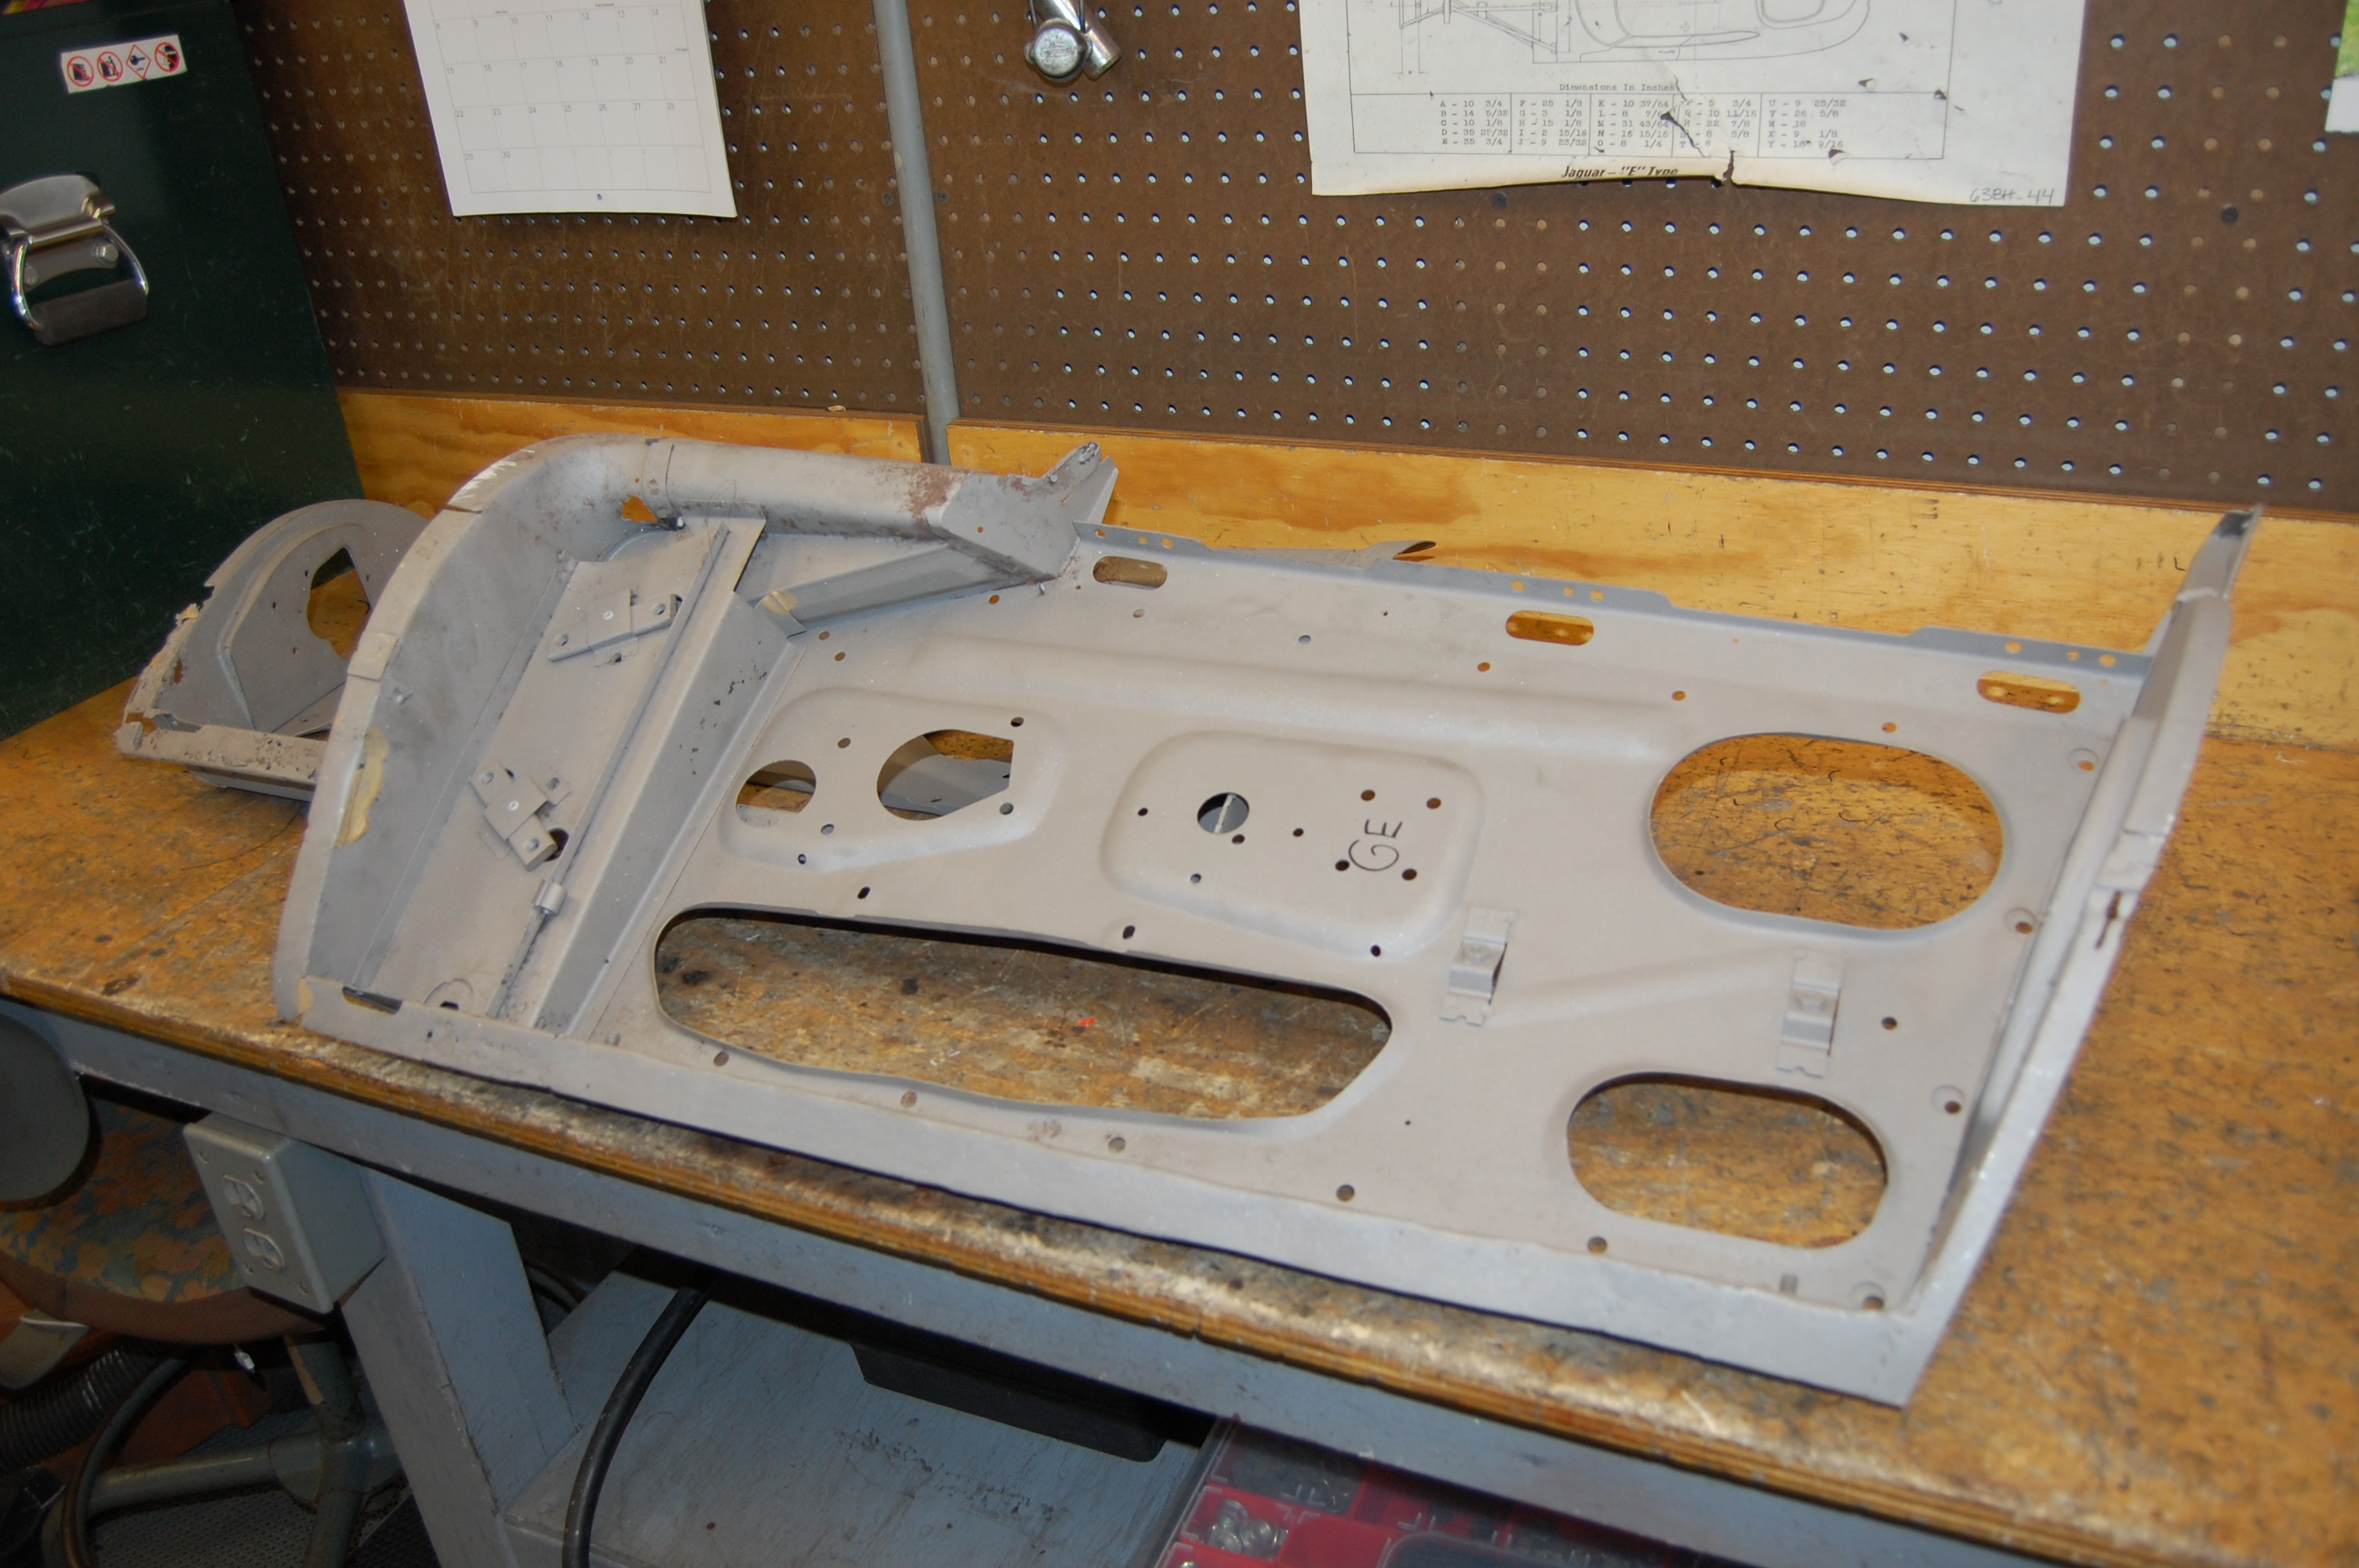
Here are the doors for this shell being restored with our skins:
-

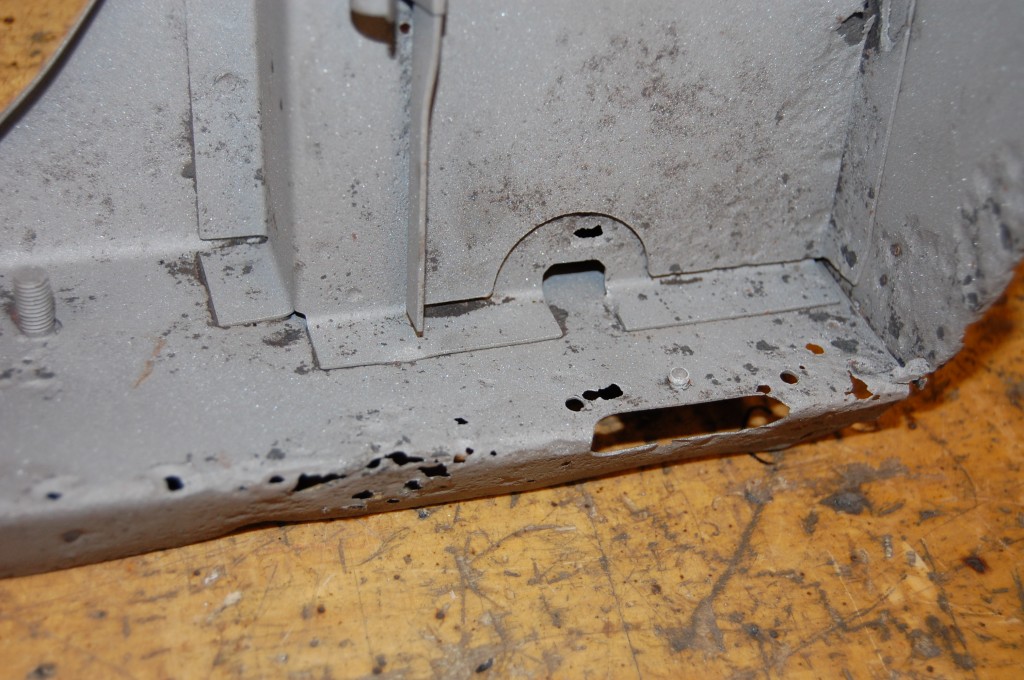
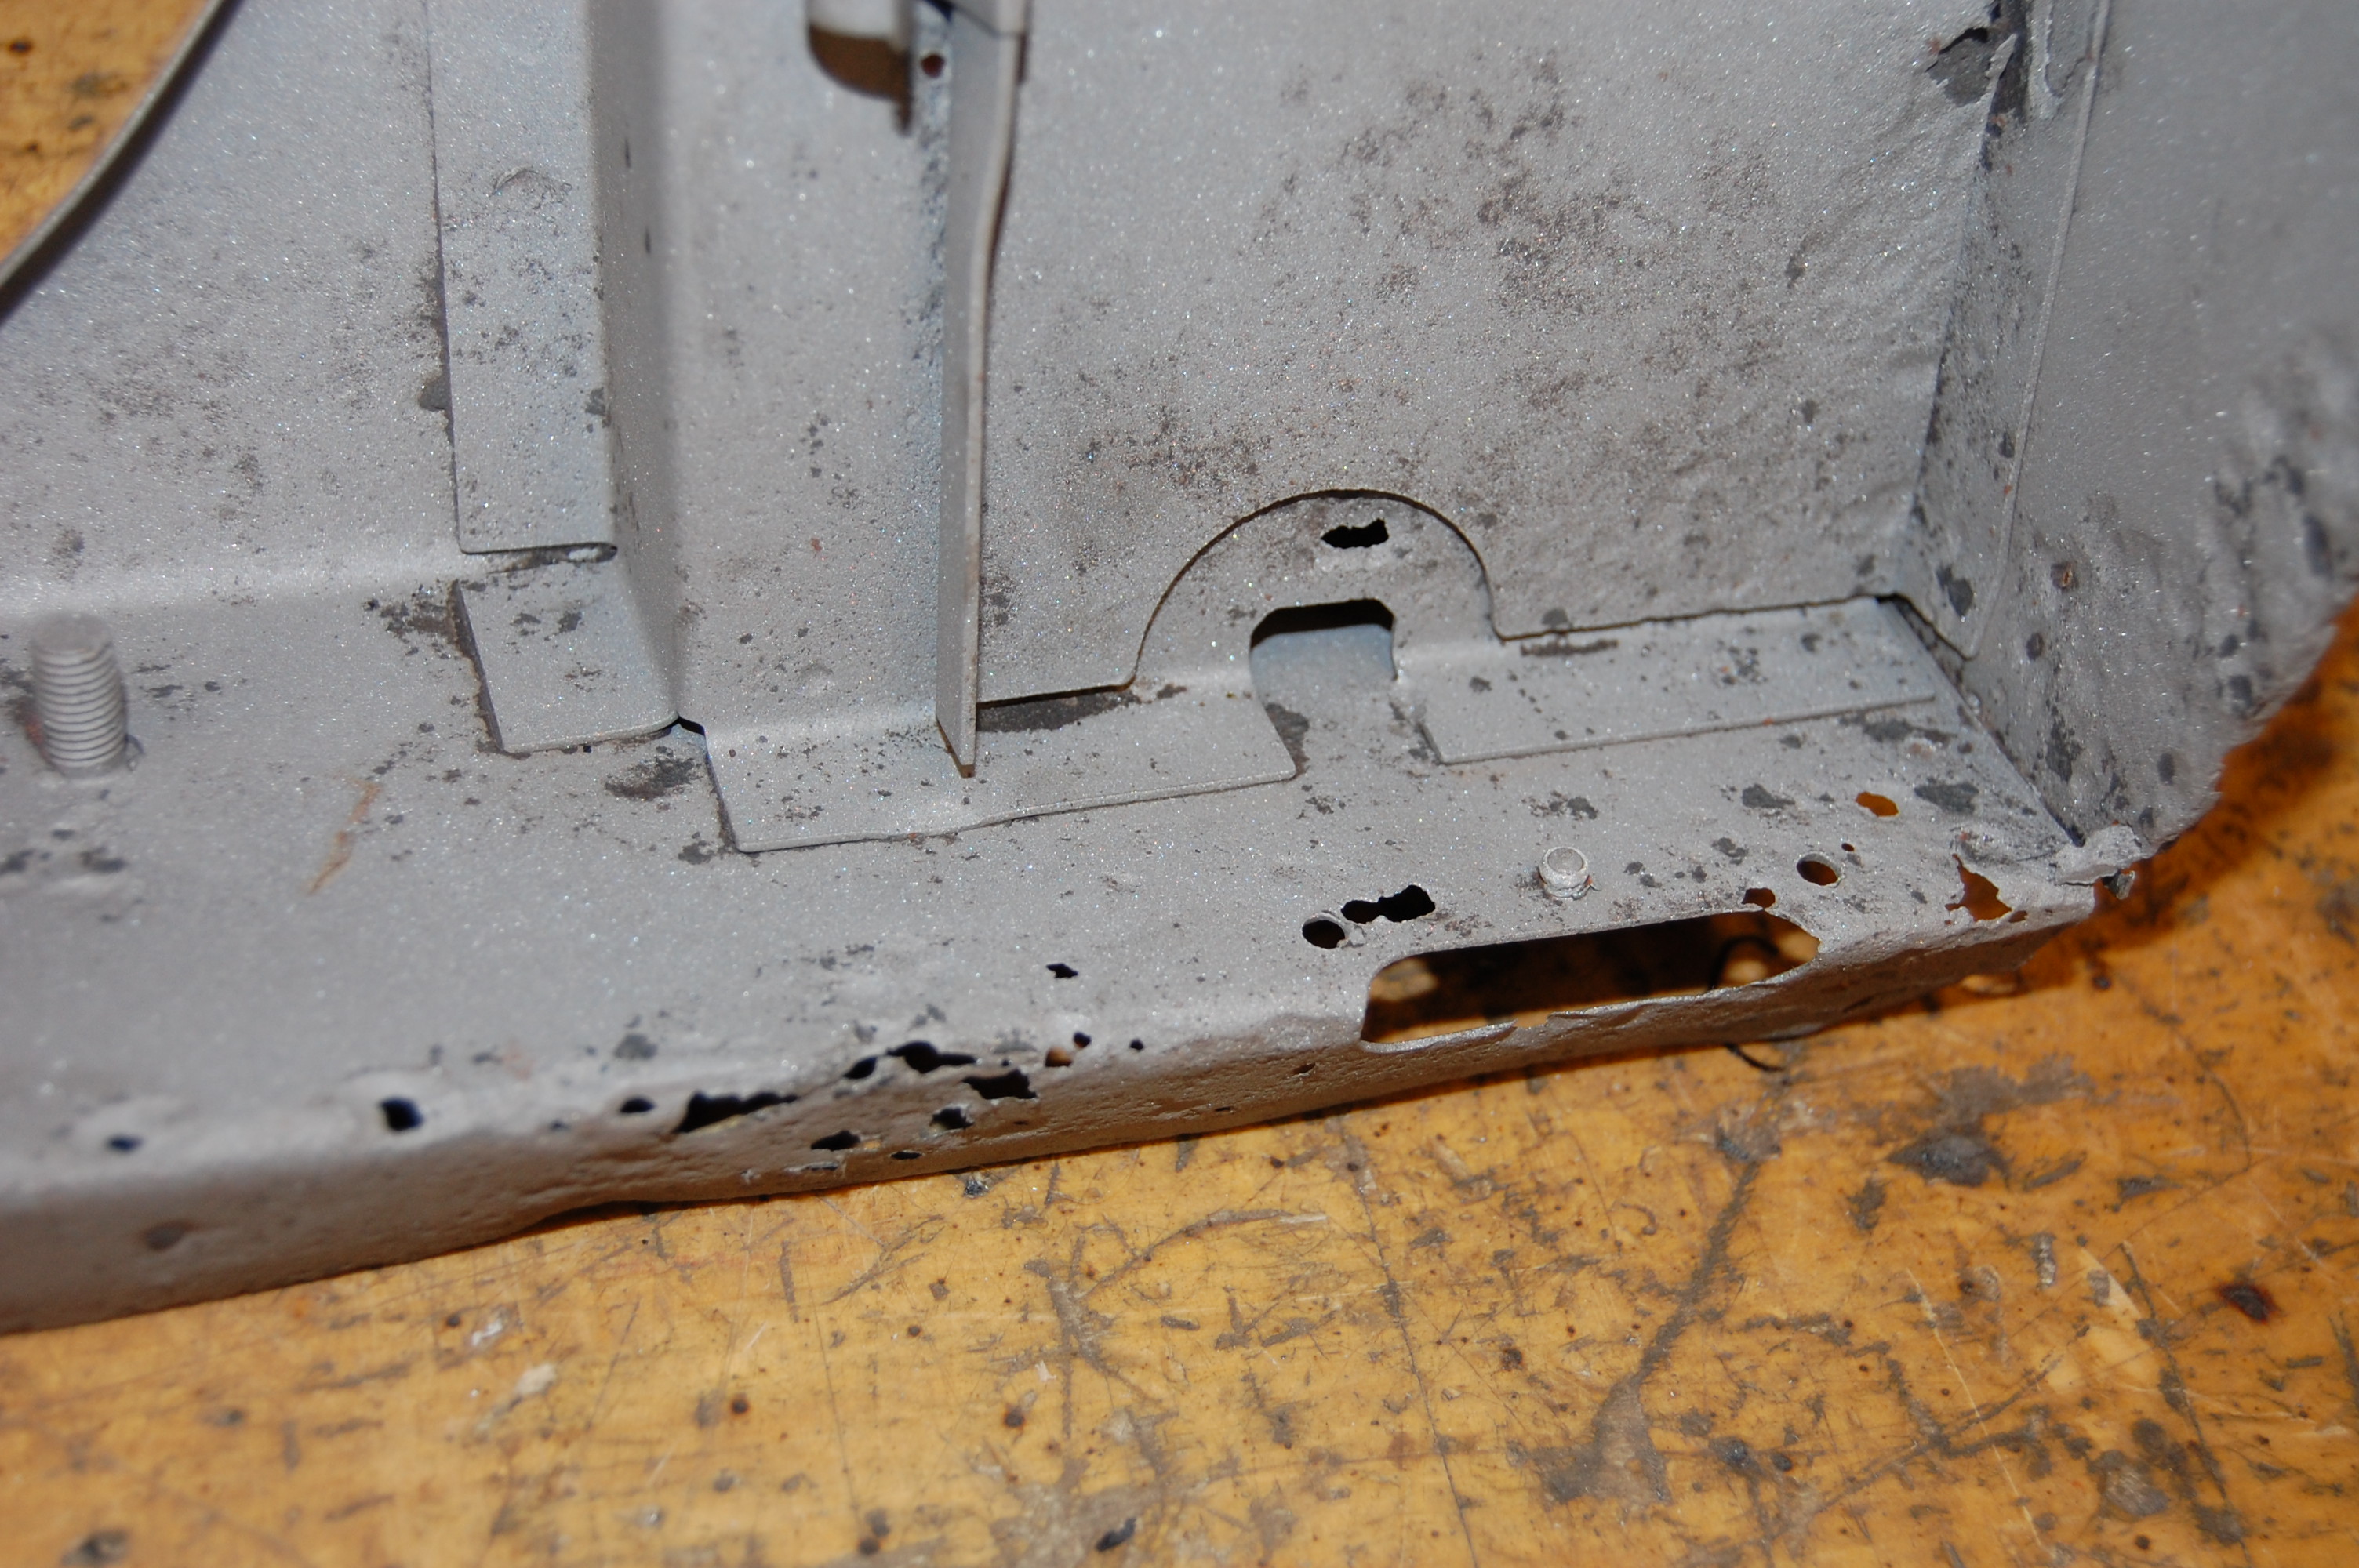
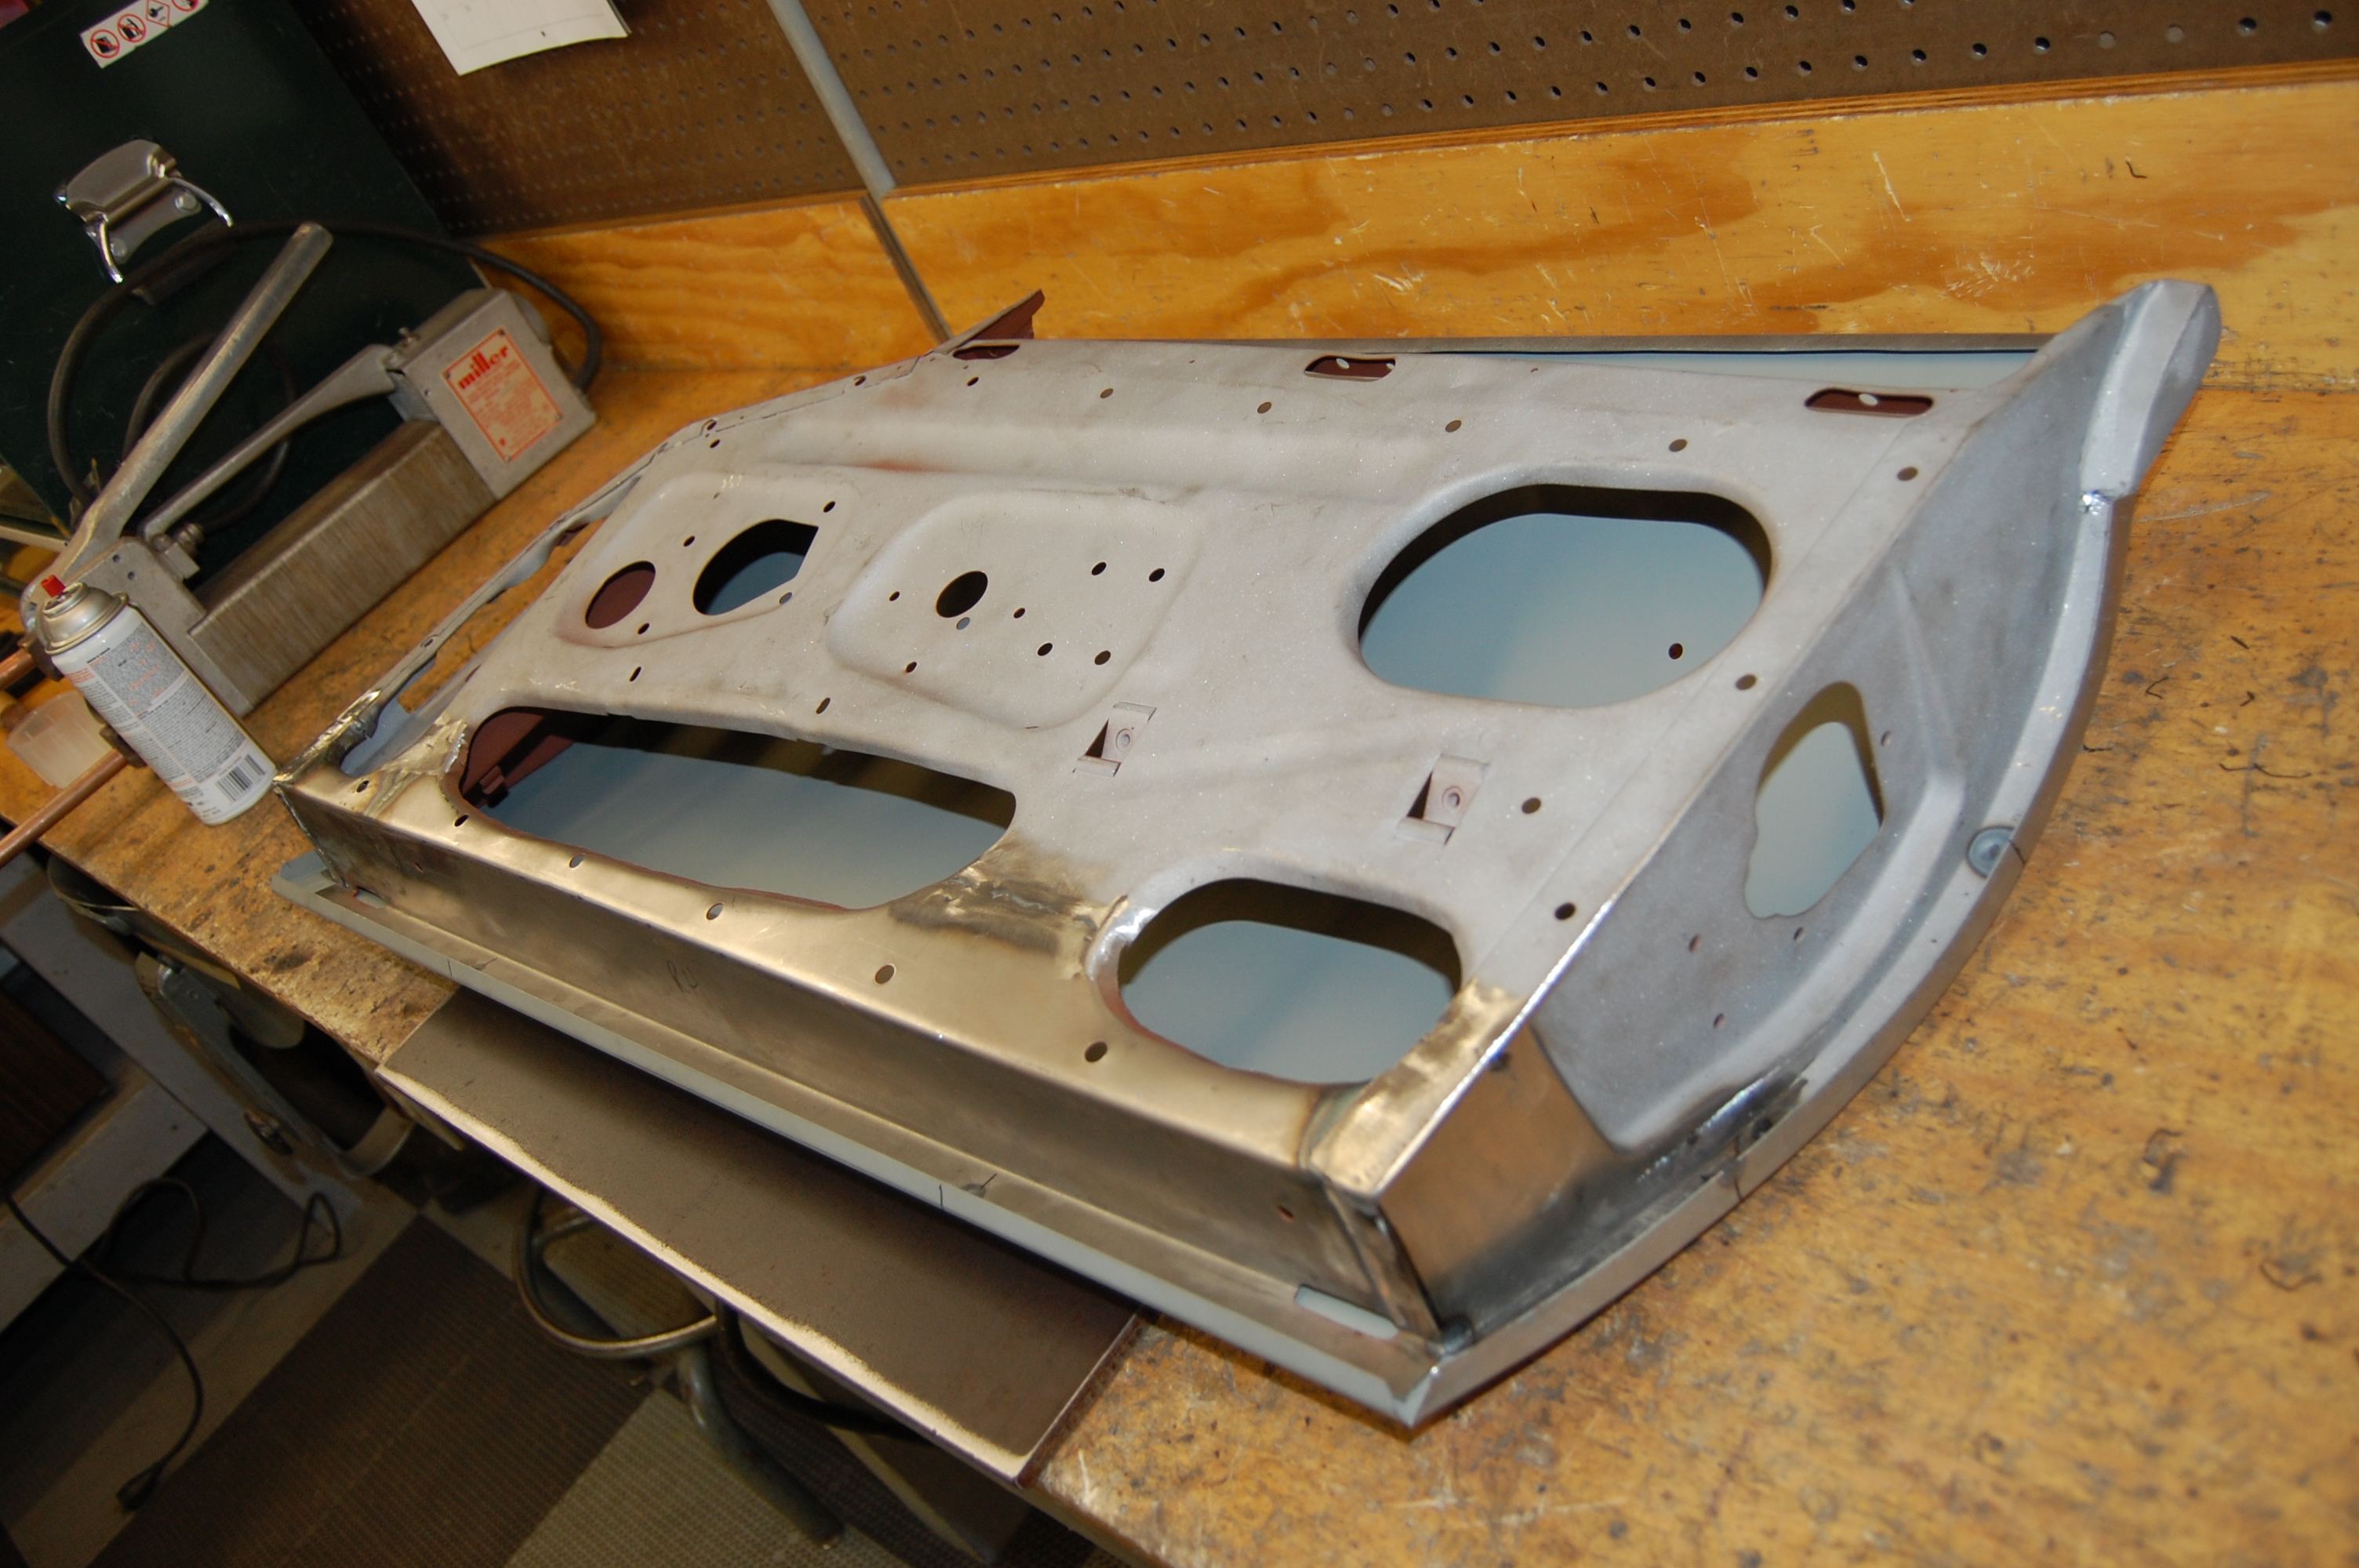
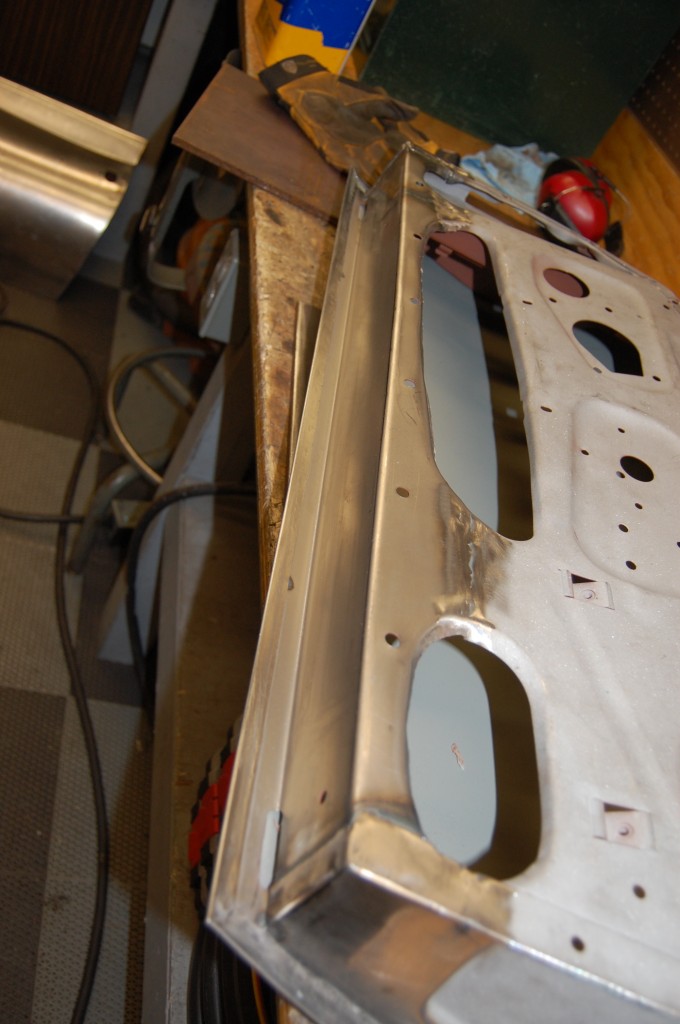
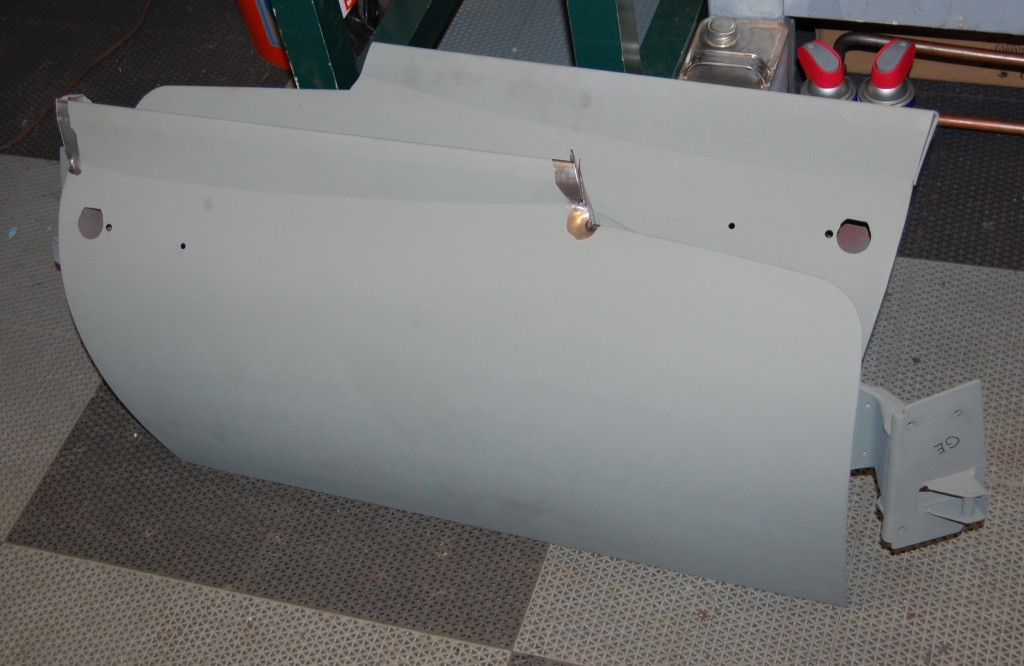
- Door shells are dissected and blasted – note the “funny” shaped long hole in the bottom – that is Series 2.
-

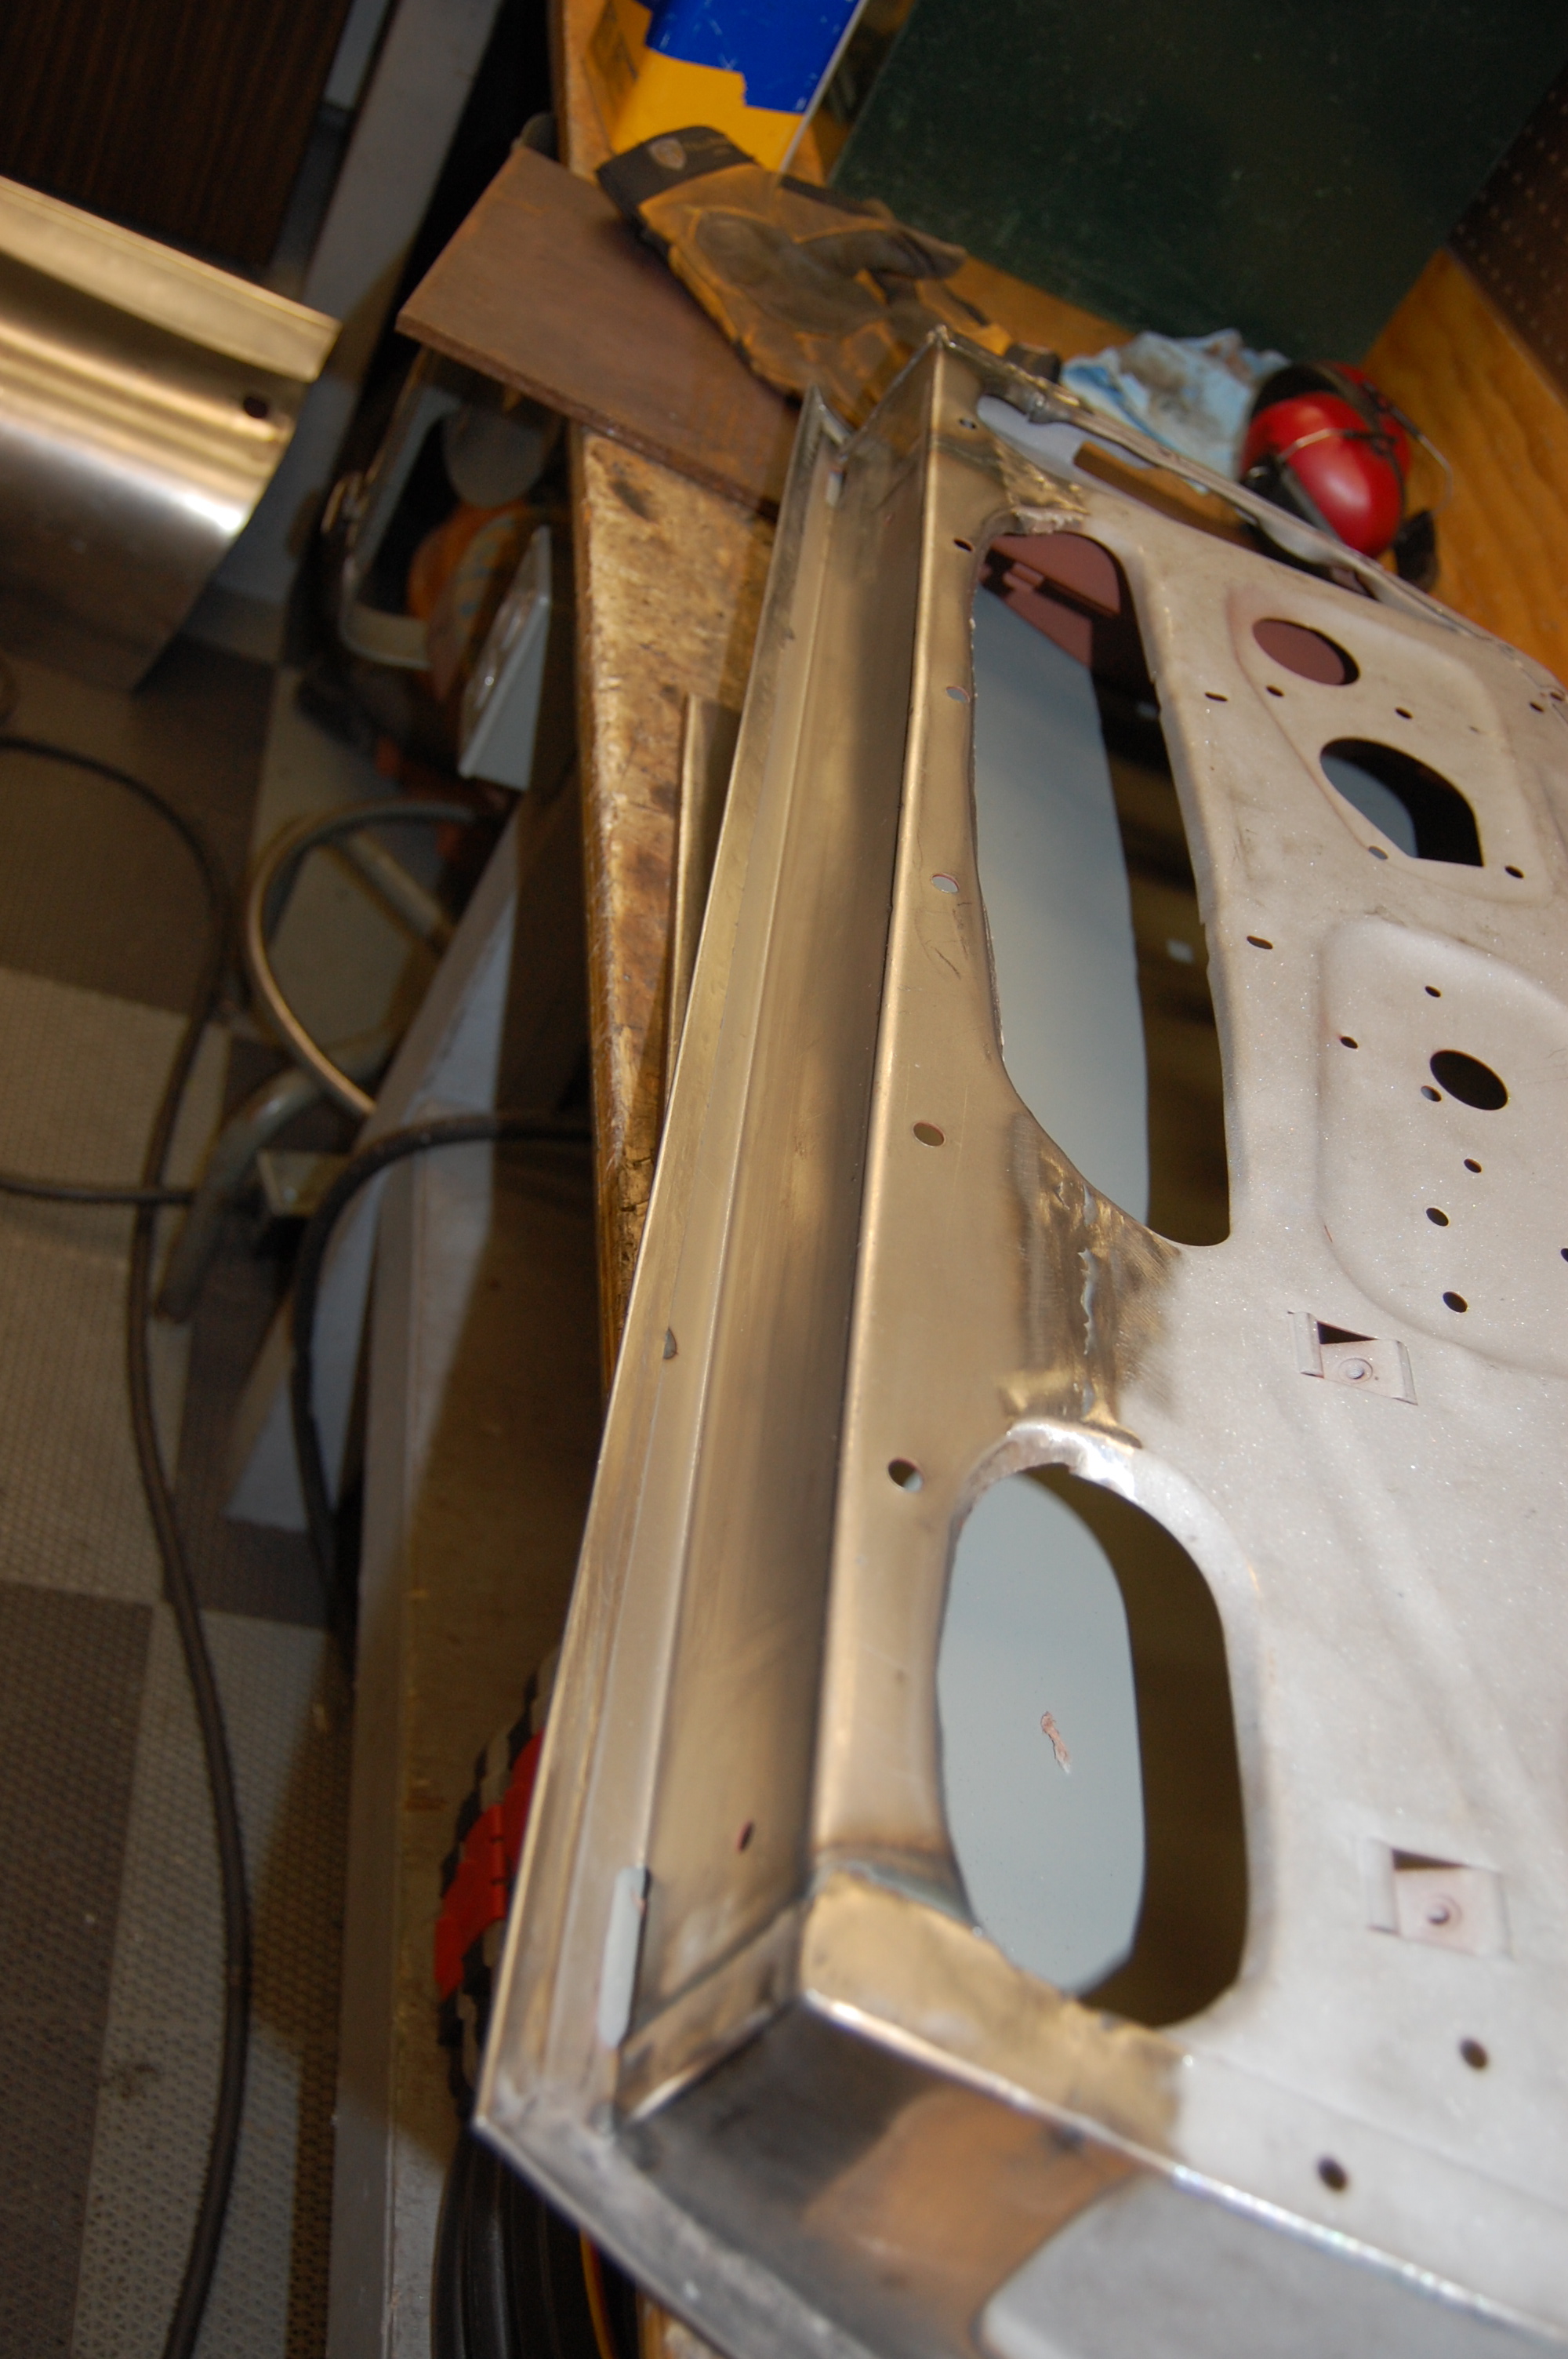
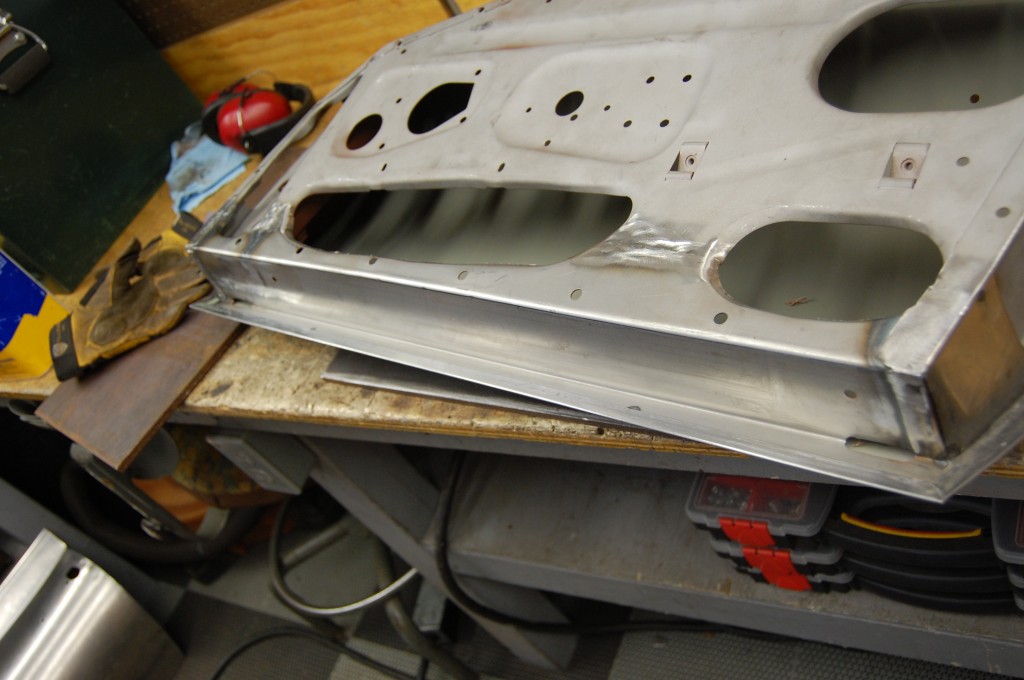
- The bodger has ben hard at work on these already! Note the stiffening plate for the latch mechanism – that is also Series 2…
-

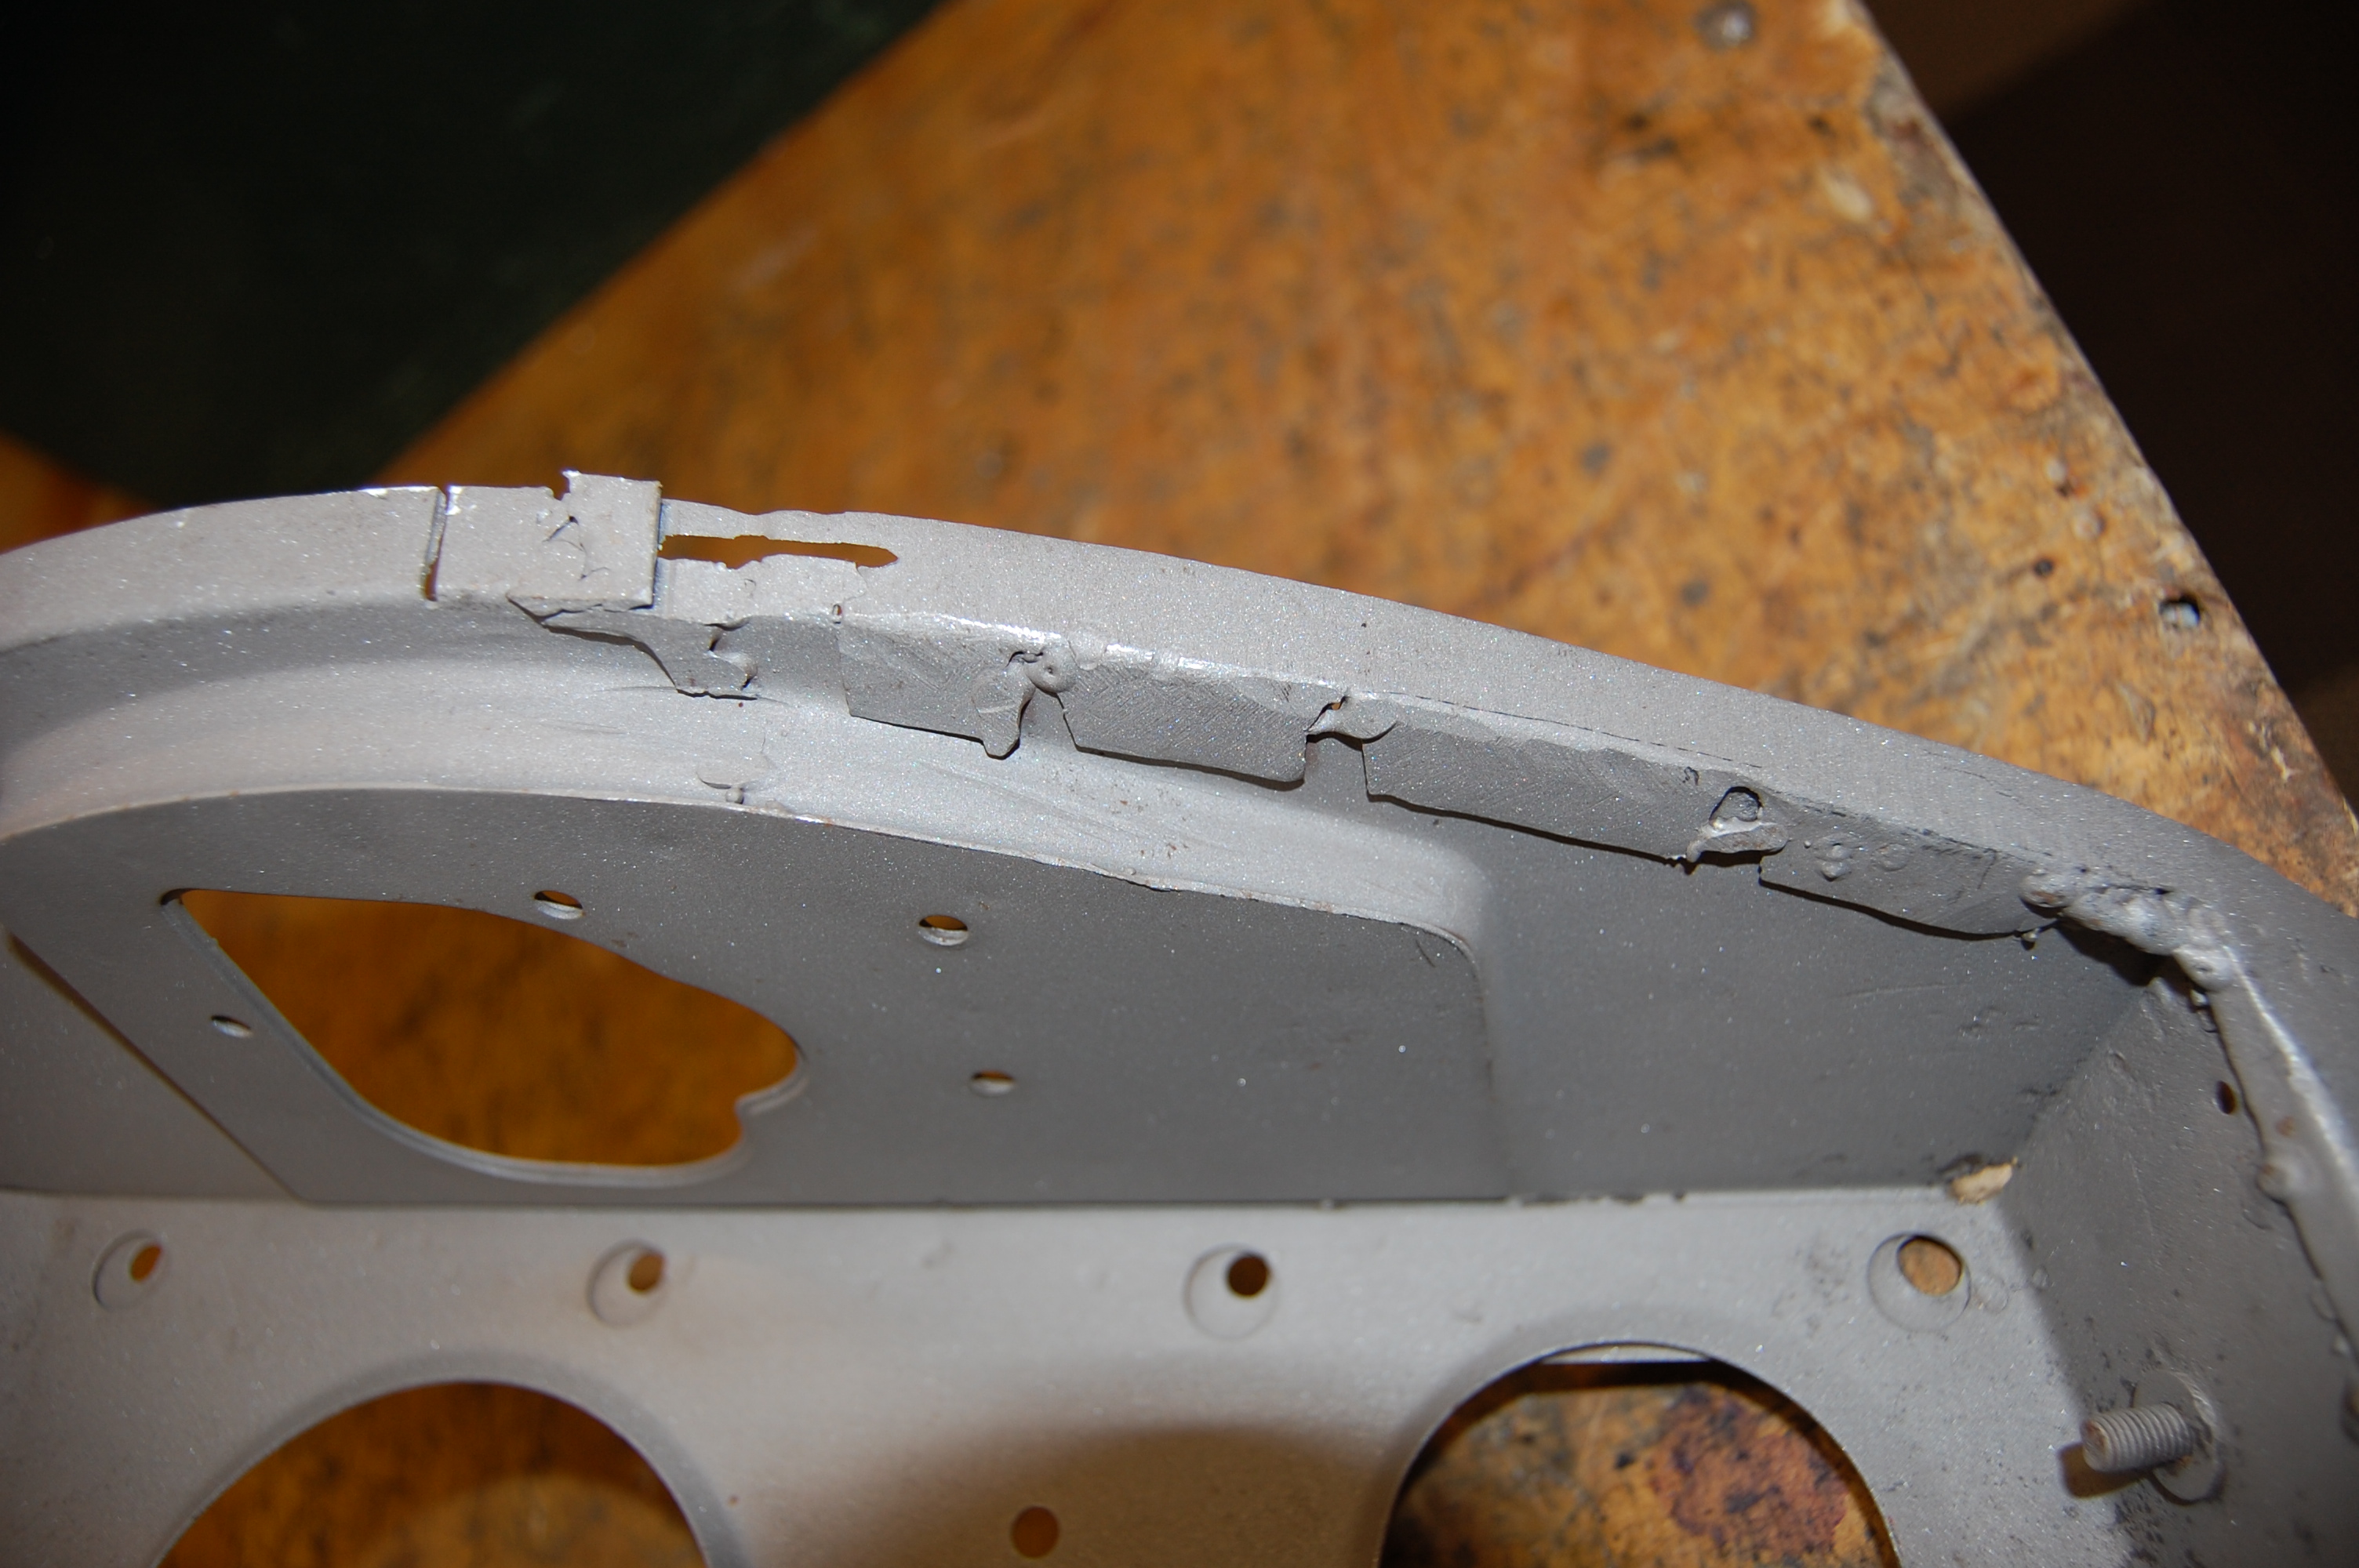
- Uggghhhhh…..
-
- Lovely – a little brazing too – what a potpourri of sub-standard repairs…

-
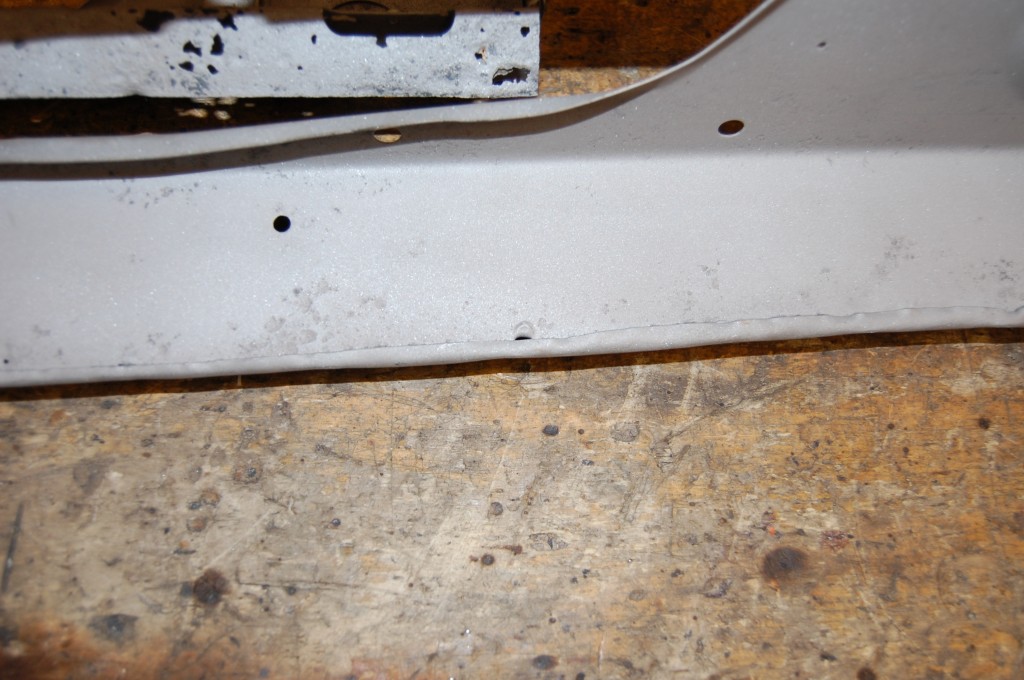
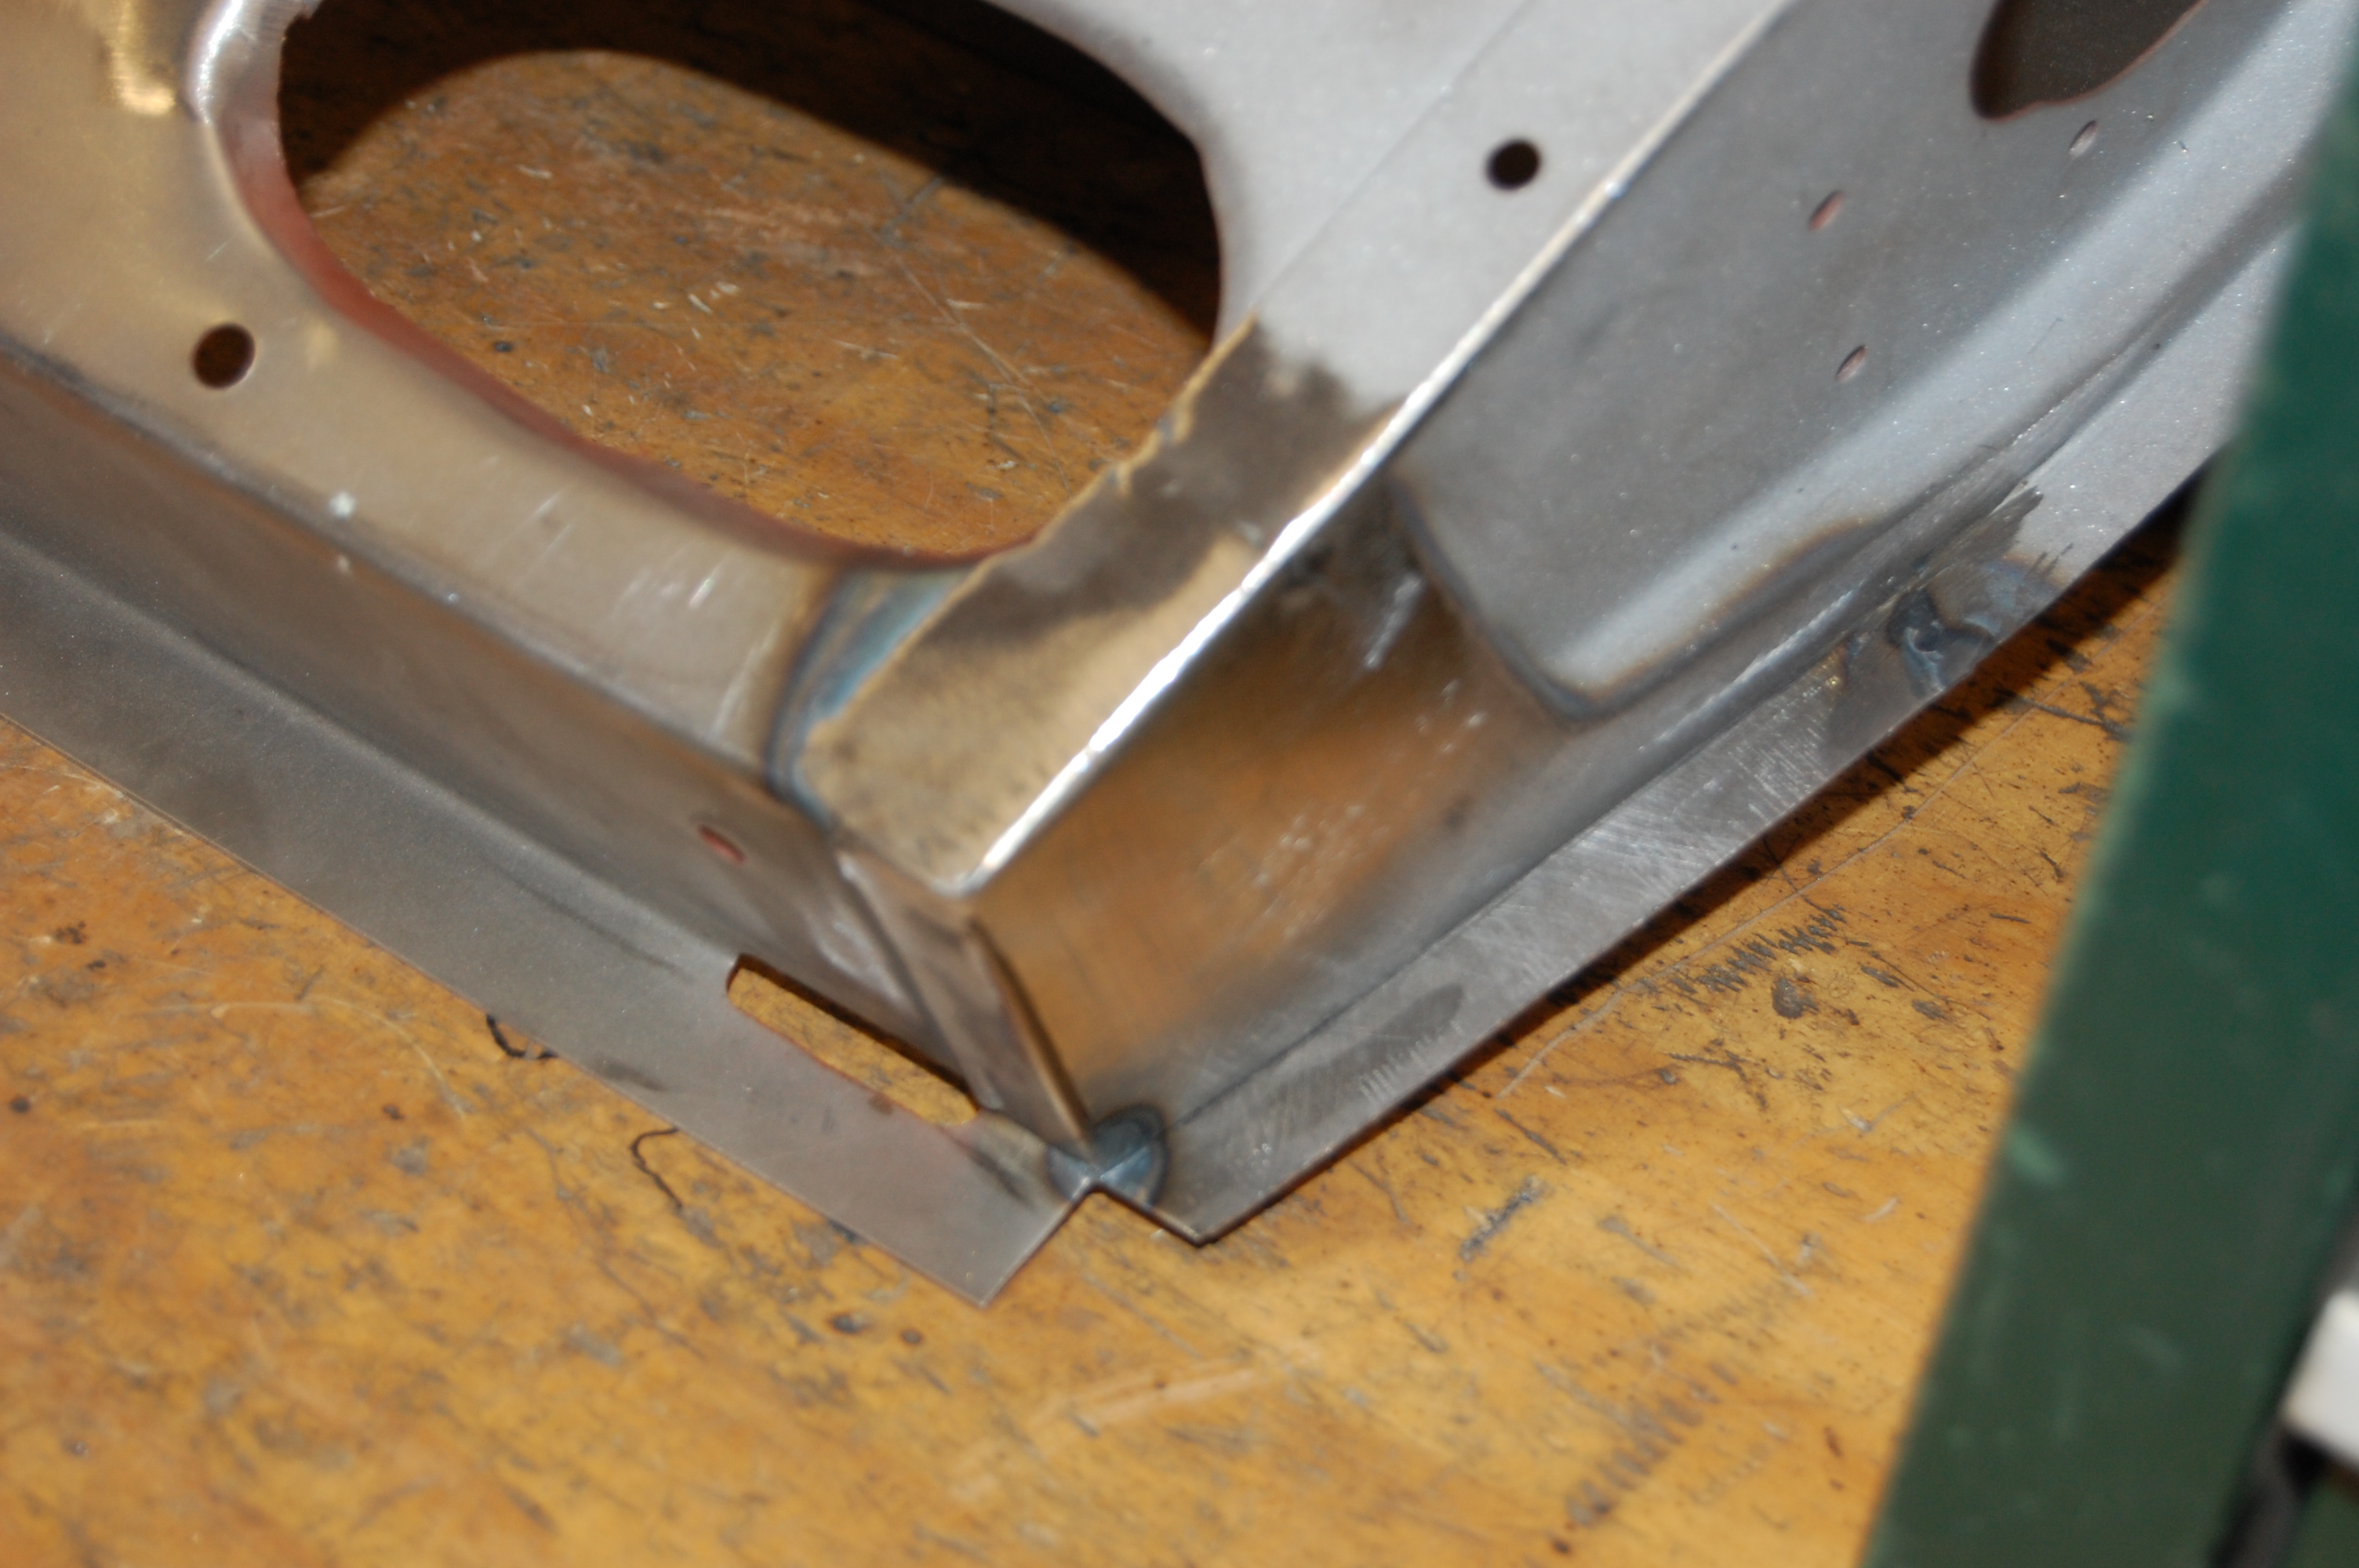
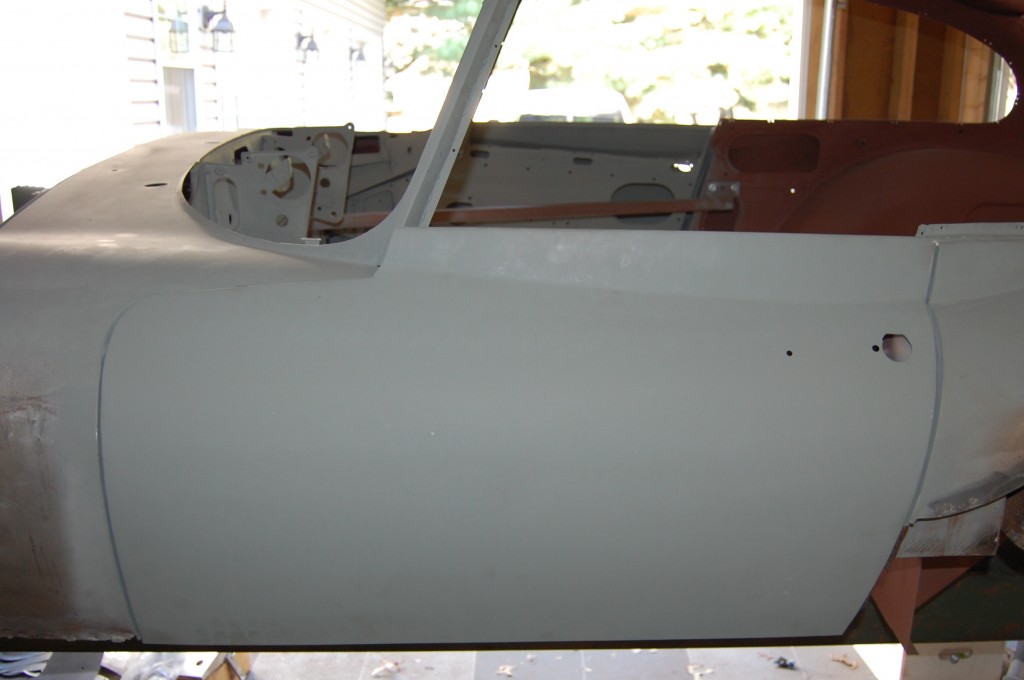
- This past repair doesn’t look TOO bad from this angle…

-

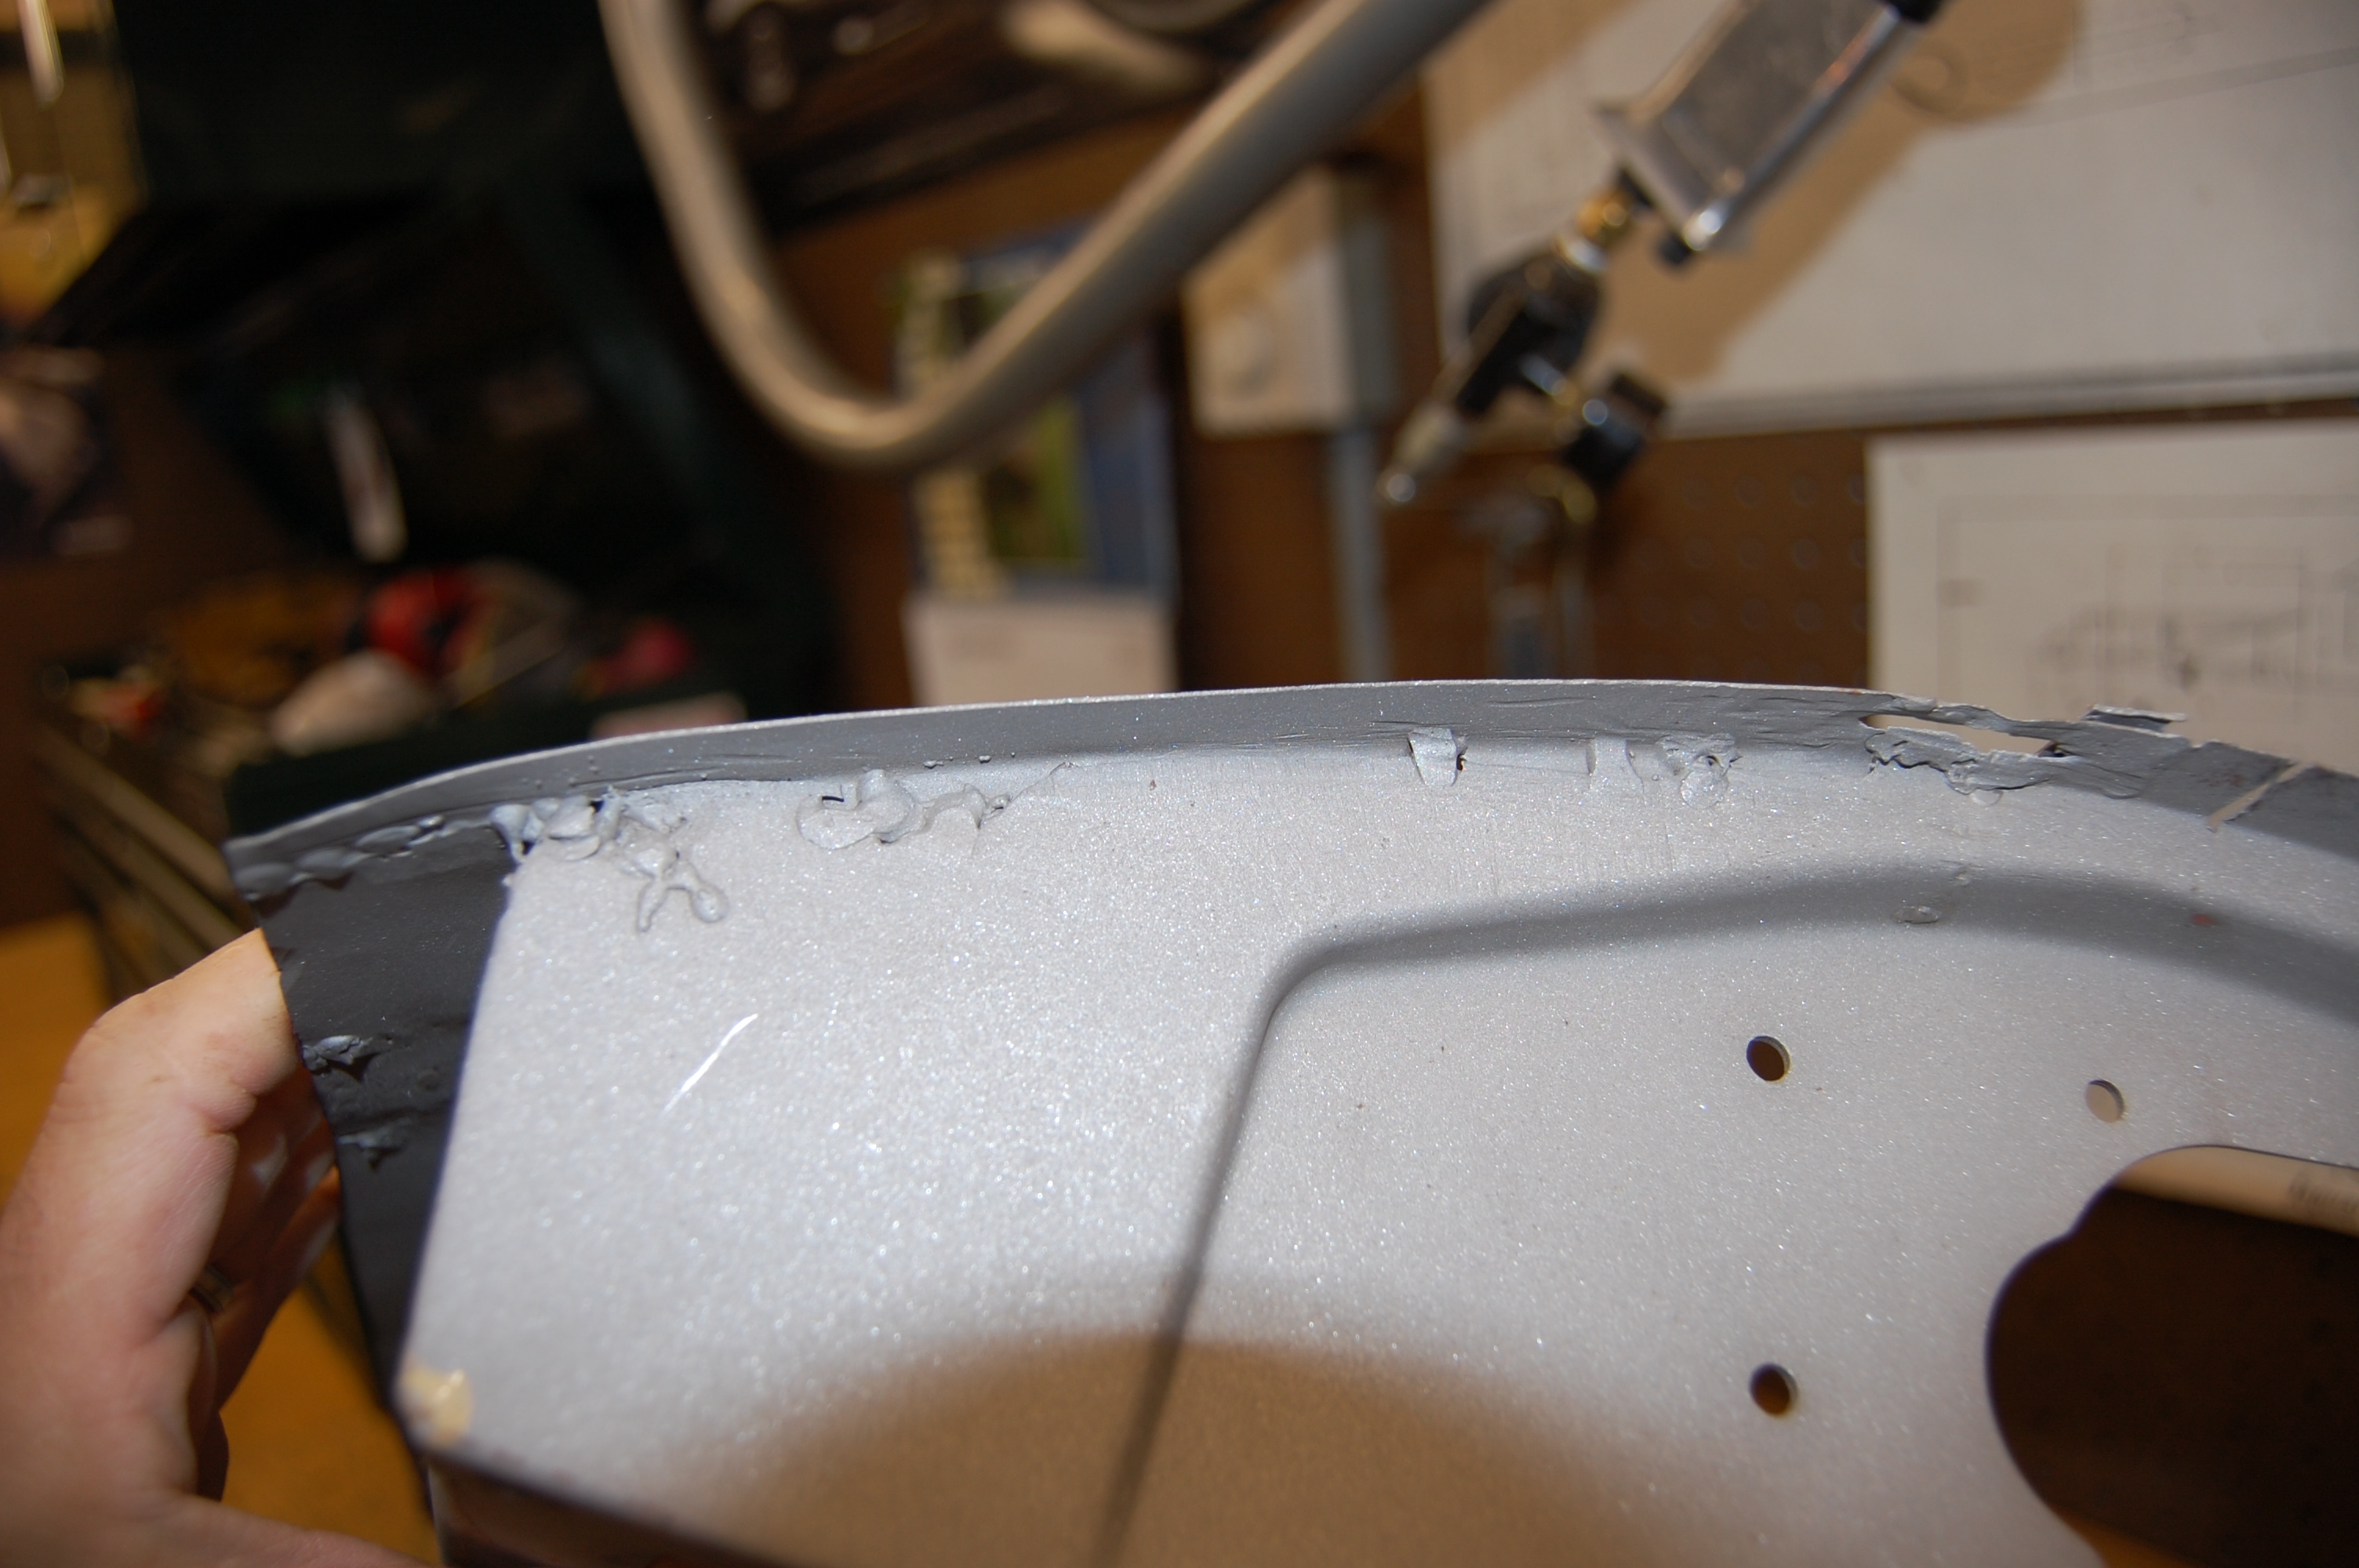
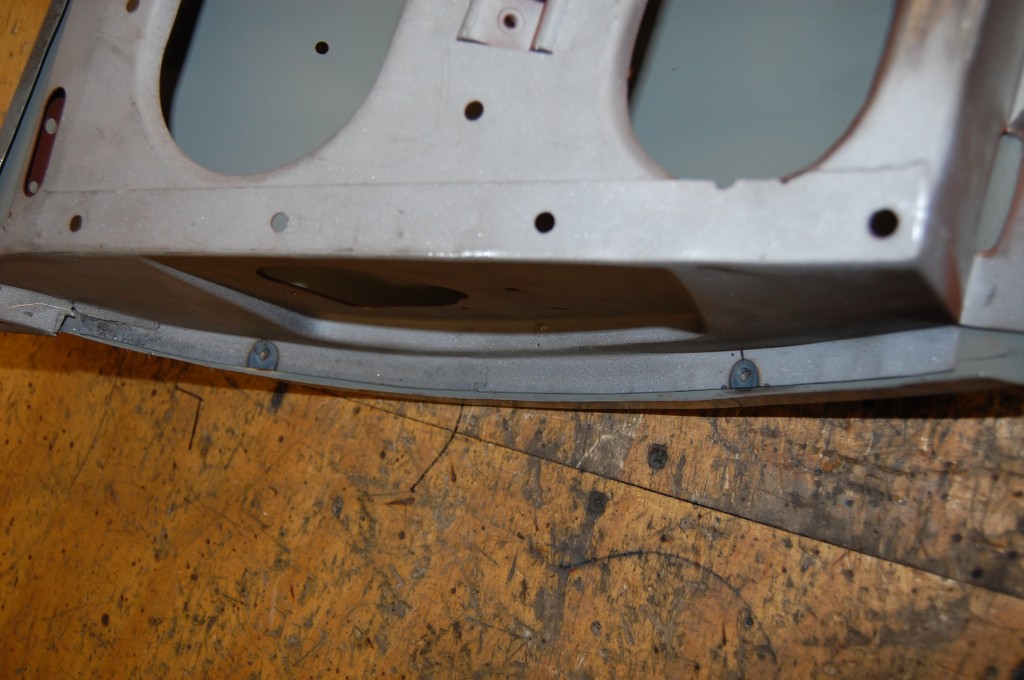
- But it looks like hell from here – which is what you see when you look at the bottom of the door on the finished car.

-

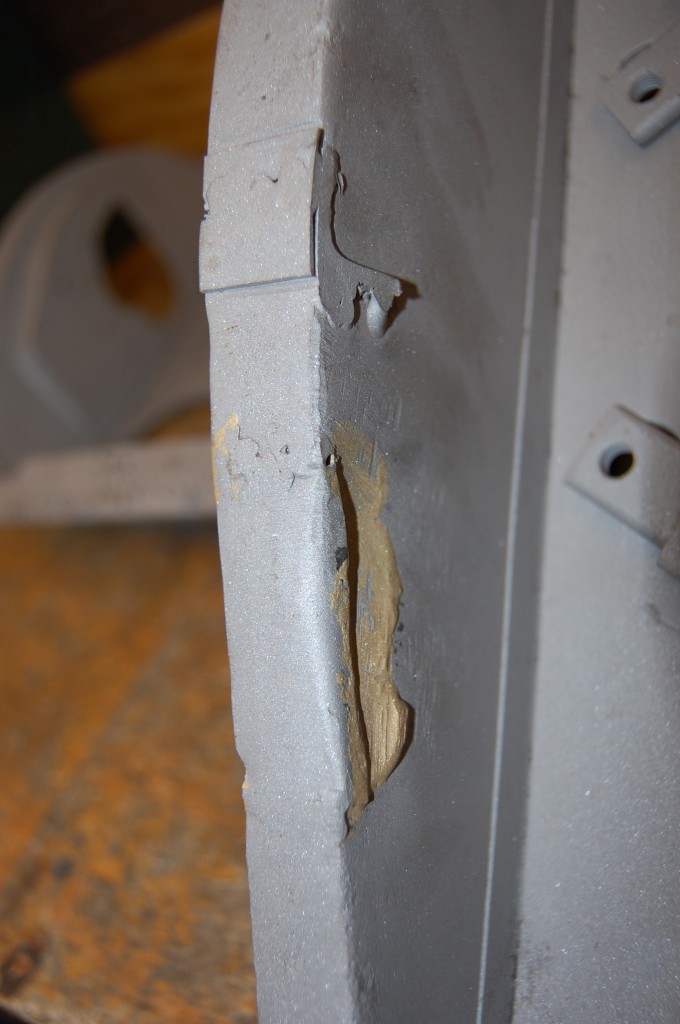
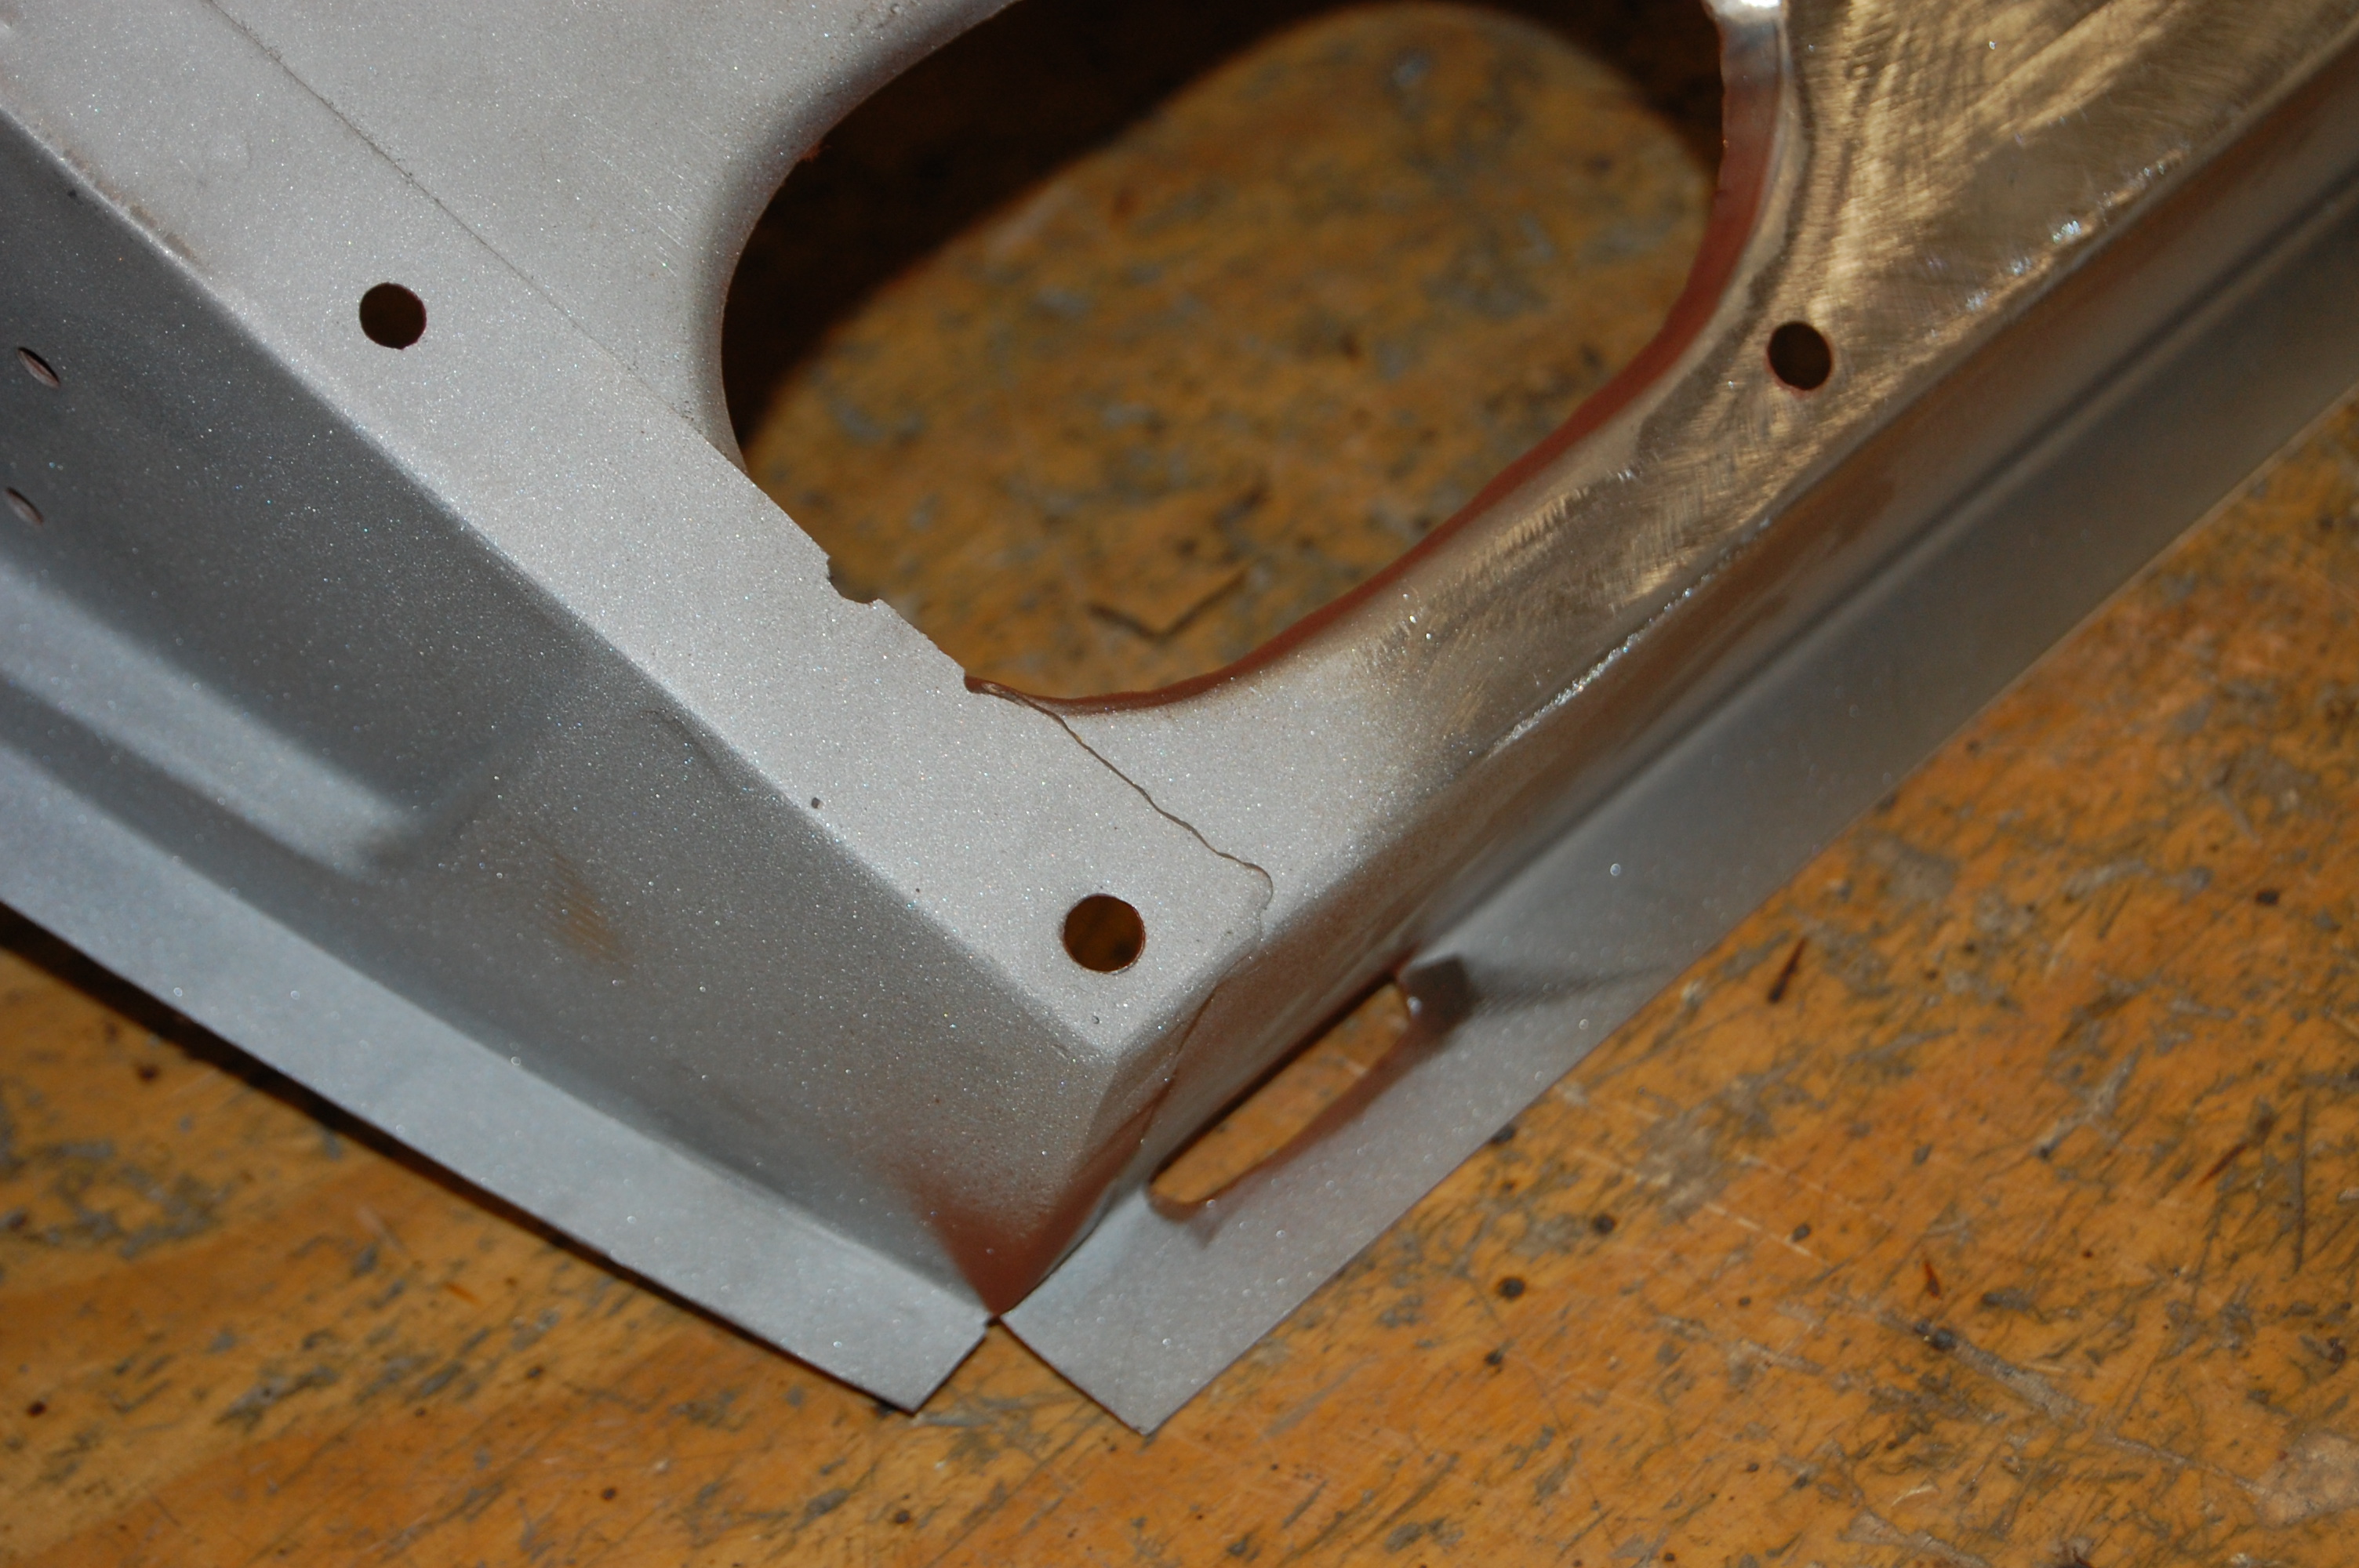
- Never repaired before, but badly rusted.

-

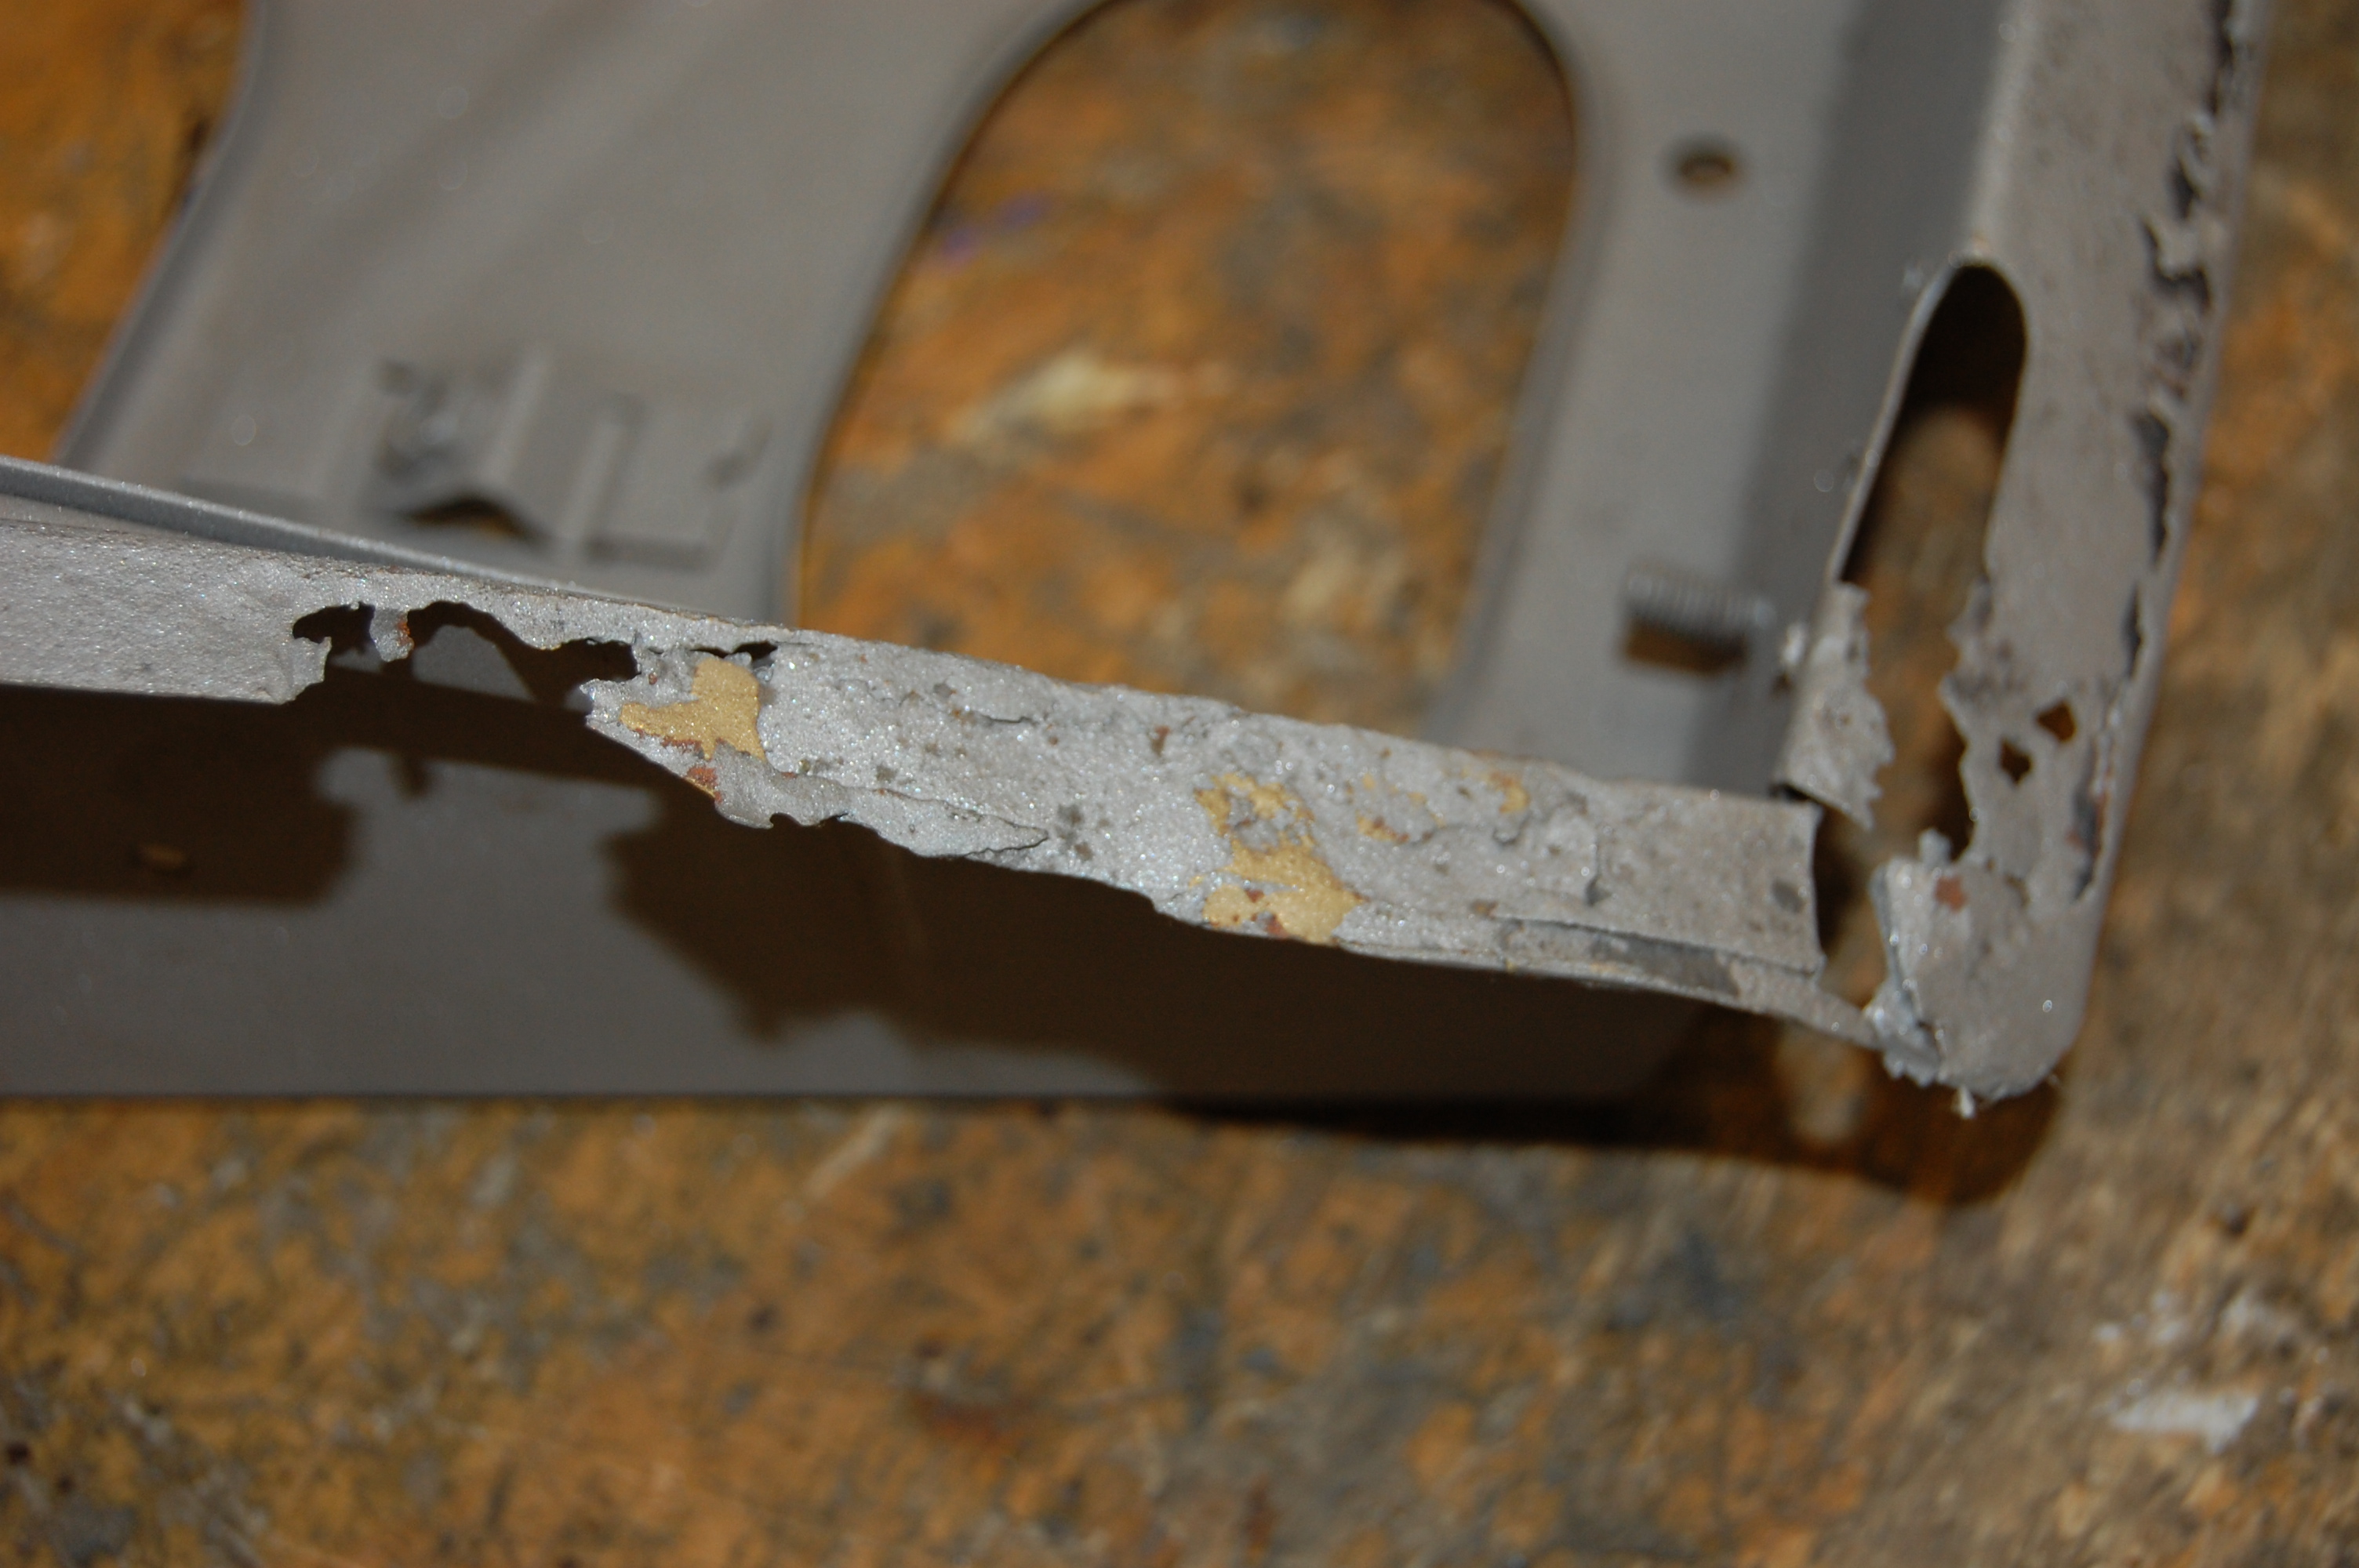
- More extreme cancer…
-
- And more…
-
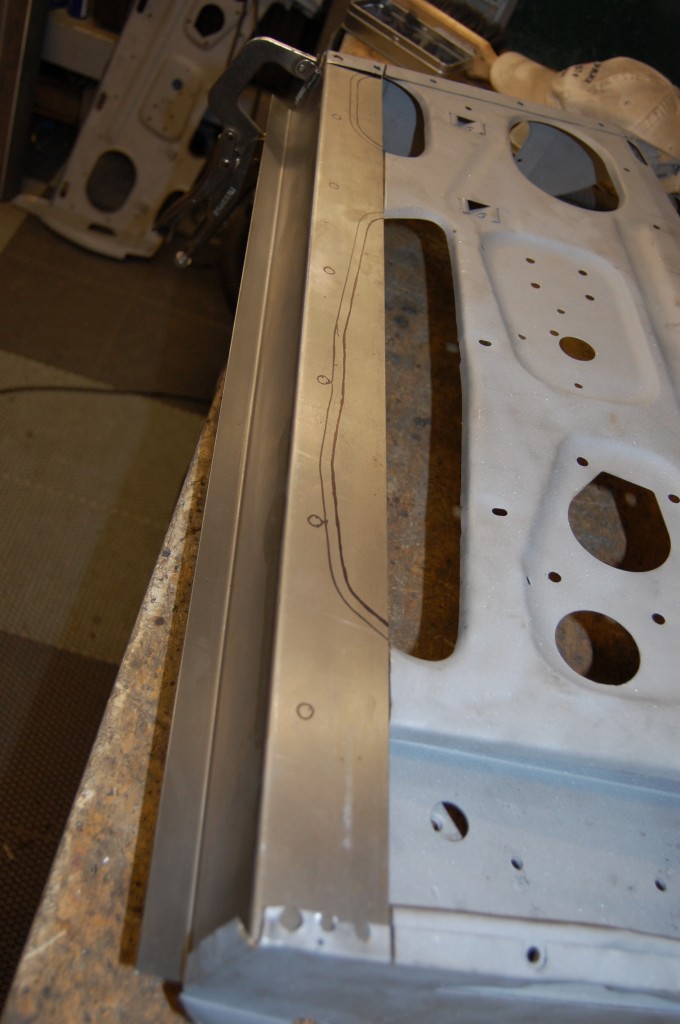
- OK – enough of that – it’s all cut away now and we are beginning to fine-tune the patch for the bottom of the door. We make these panels here and they are available, and unlike this one, they now come with the drain holes cut into them already.

-
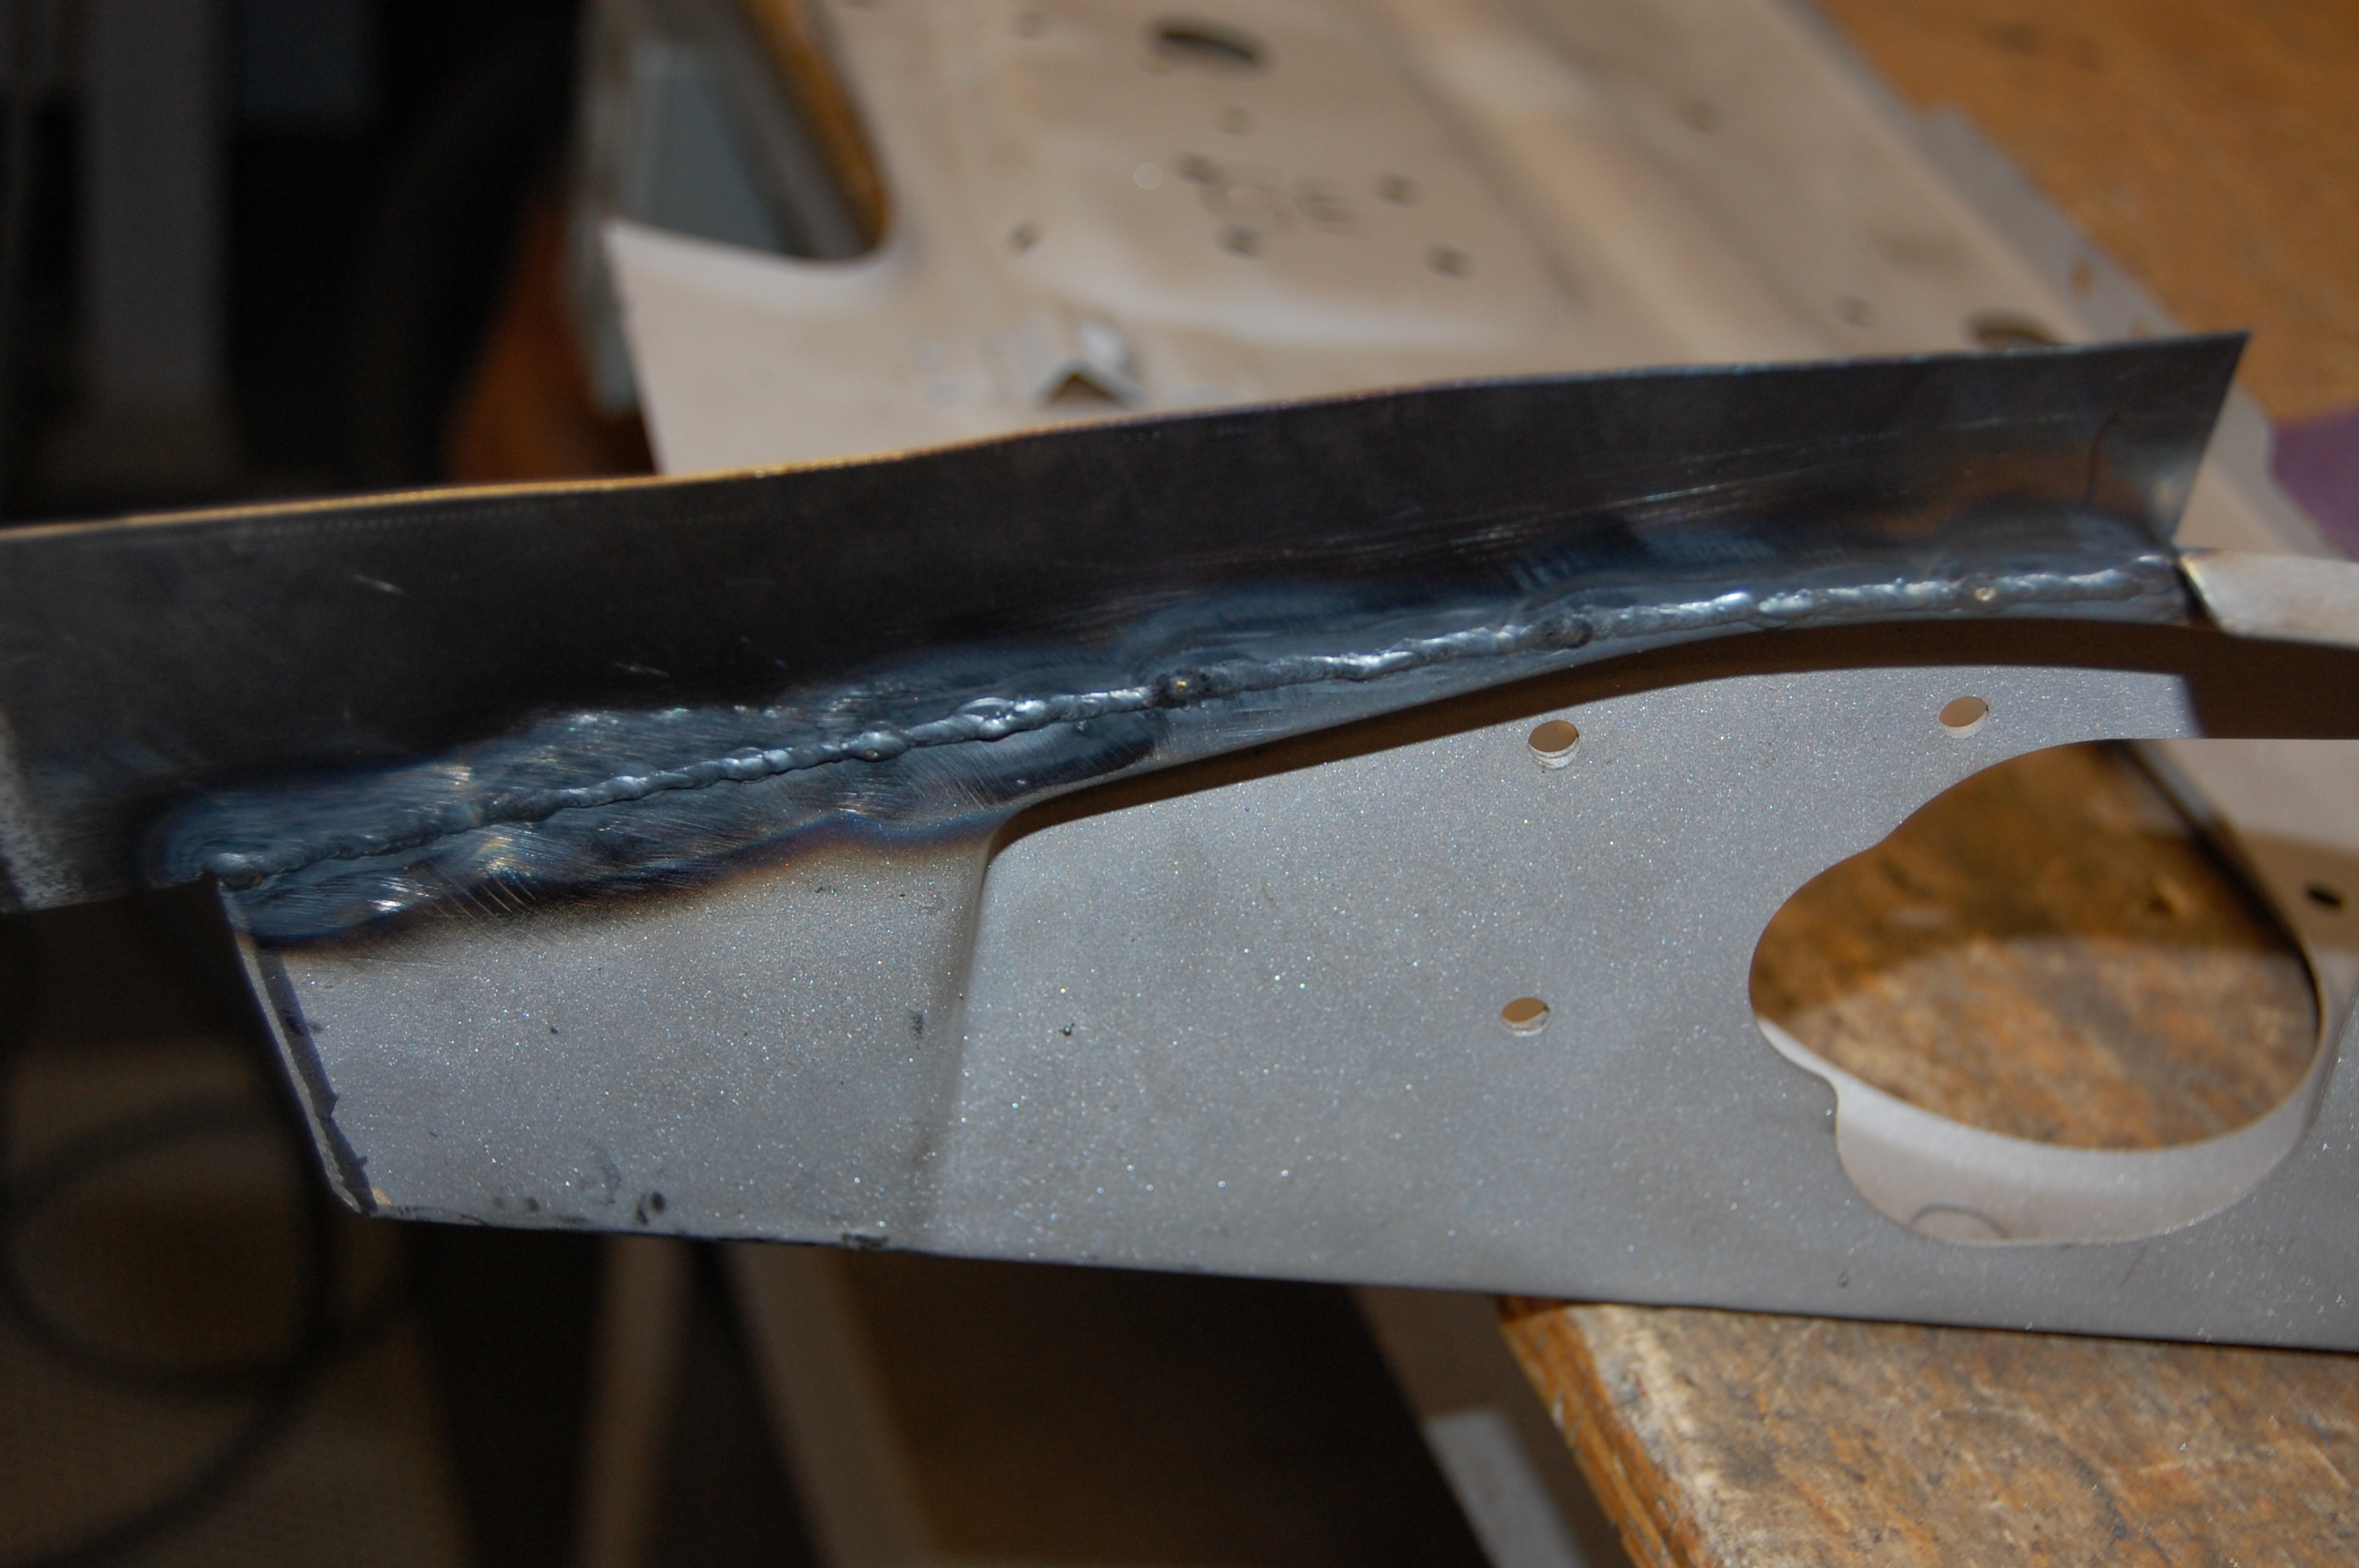
- We’ll need to replace a large portion of the shut face on this one, and it neds to be good because it all shows.
-
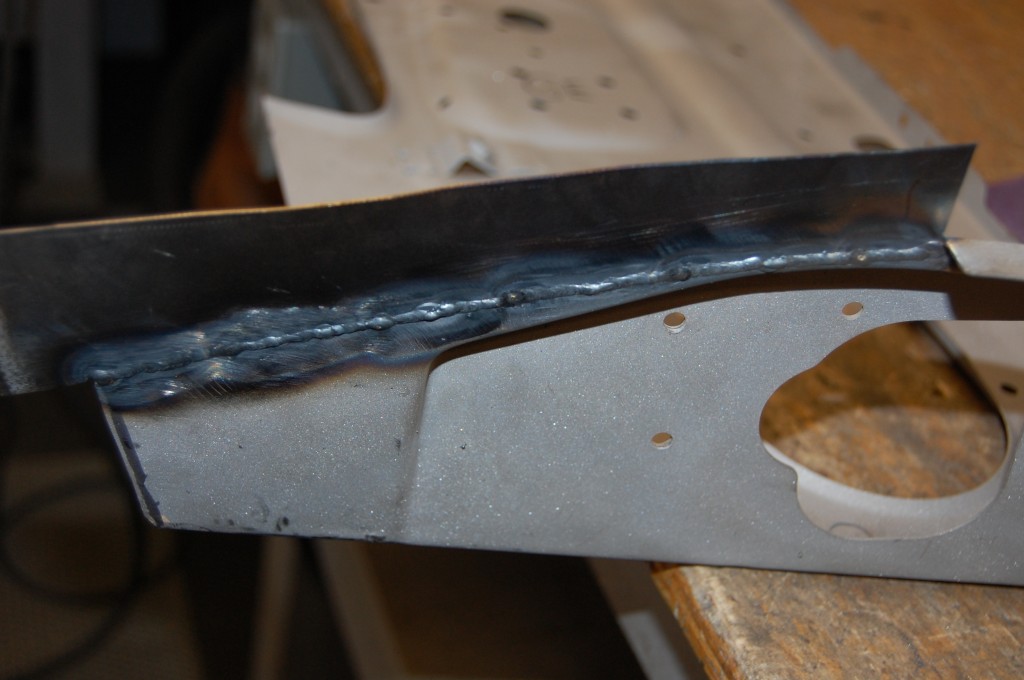
- First we get some good metal in there – we’ll fold the edge over later.
-

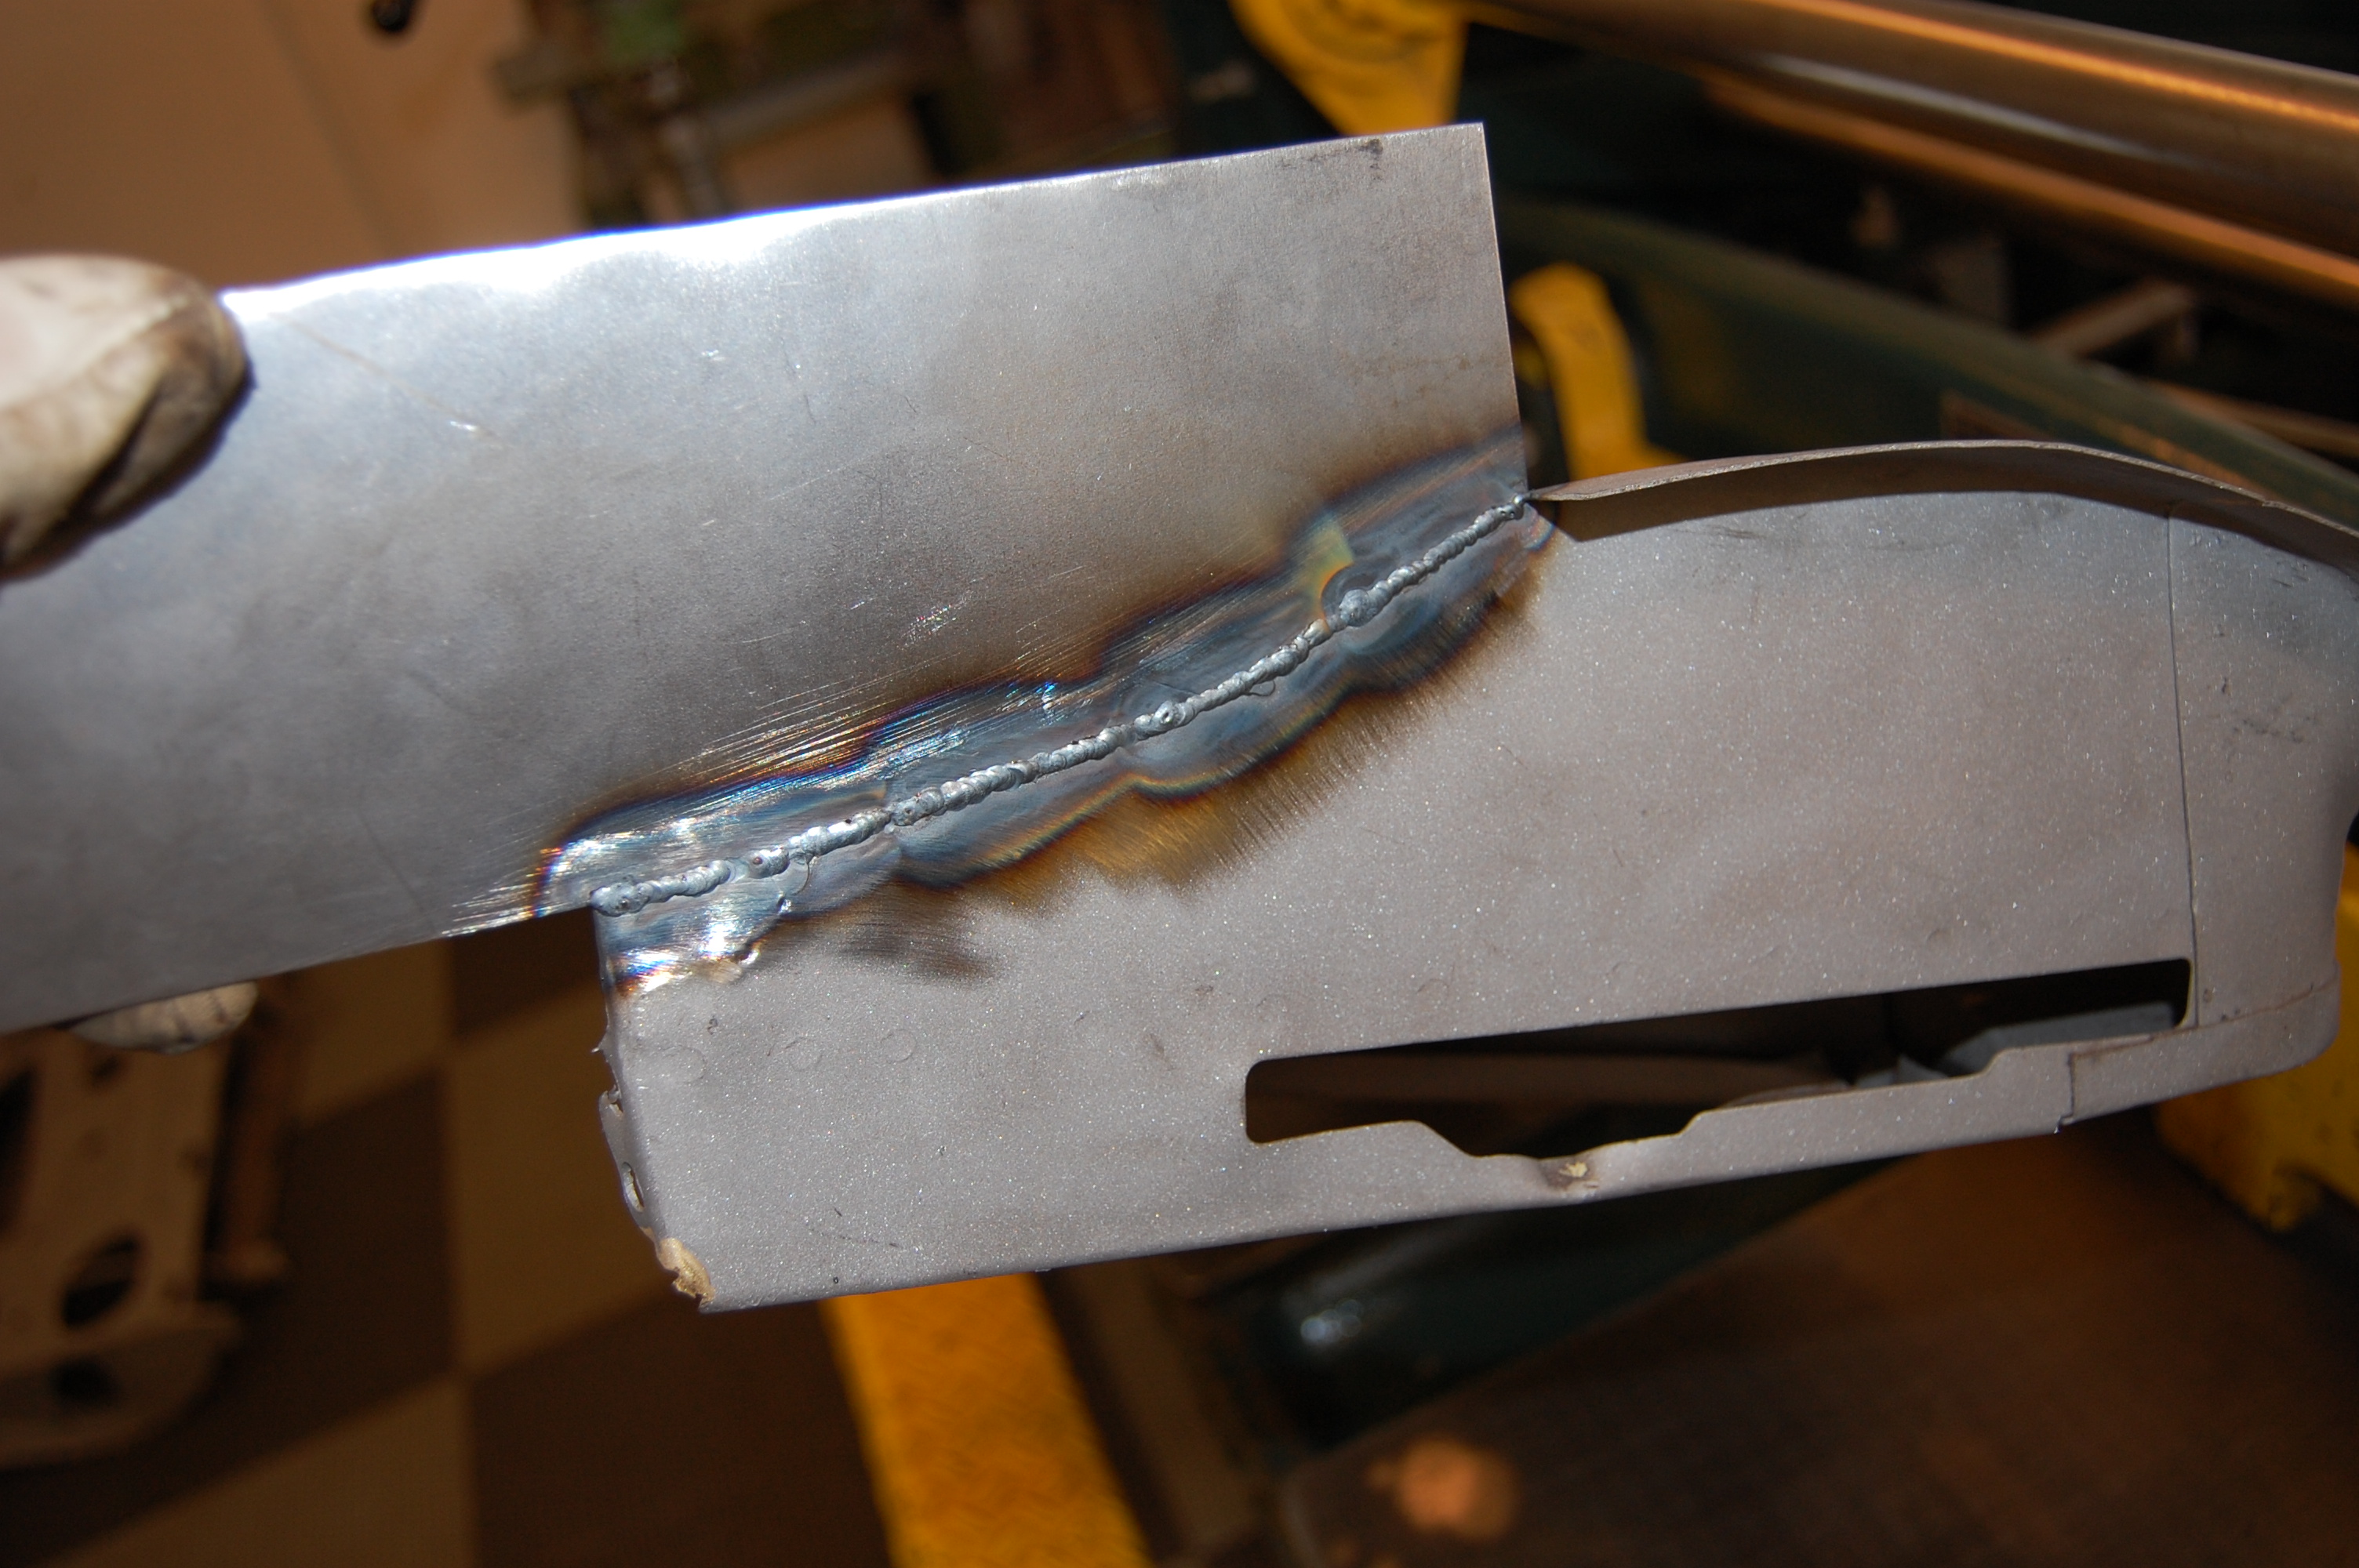
- This one now has new metal stitched into both ends.

-

- Another shot of that patch from the inside.

-

- And the outside.

-

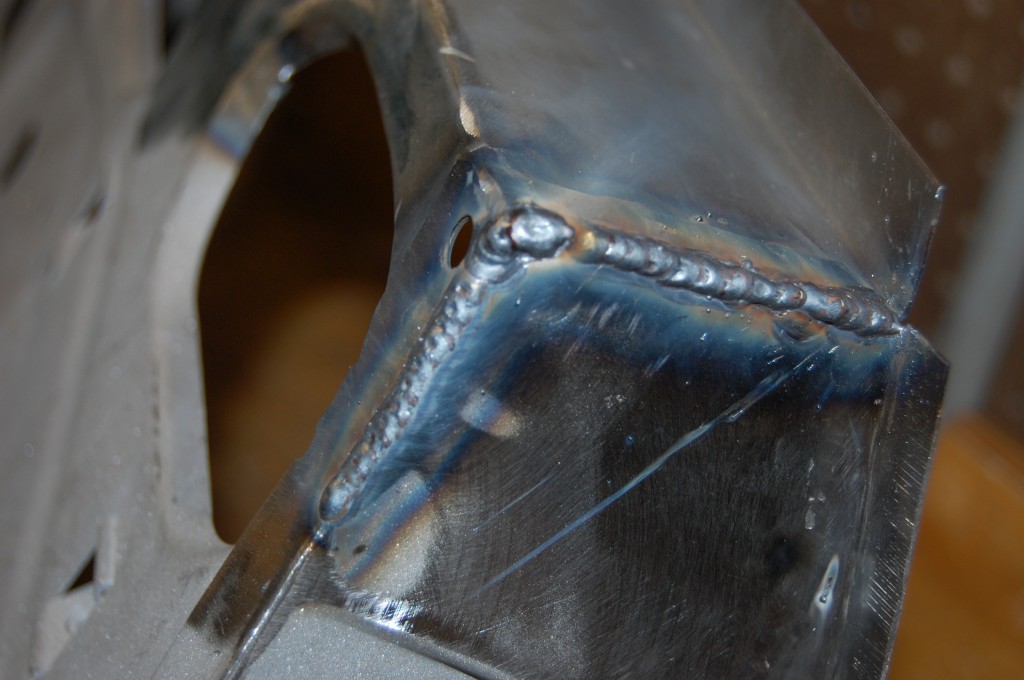
- I think this is the OTHER door – these are scraps of new 19-gauge from parts fabrication – right out of the recycling bin!
-

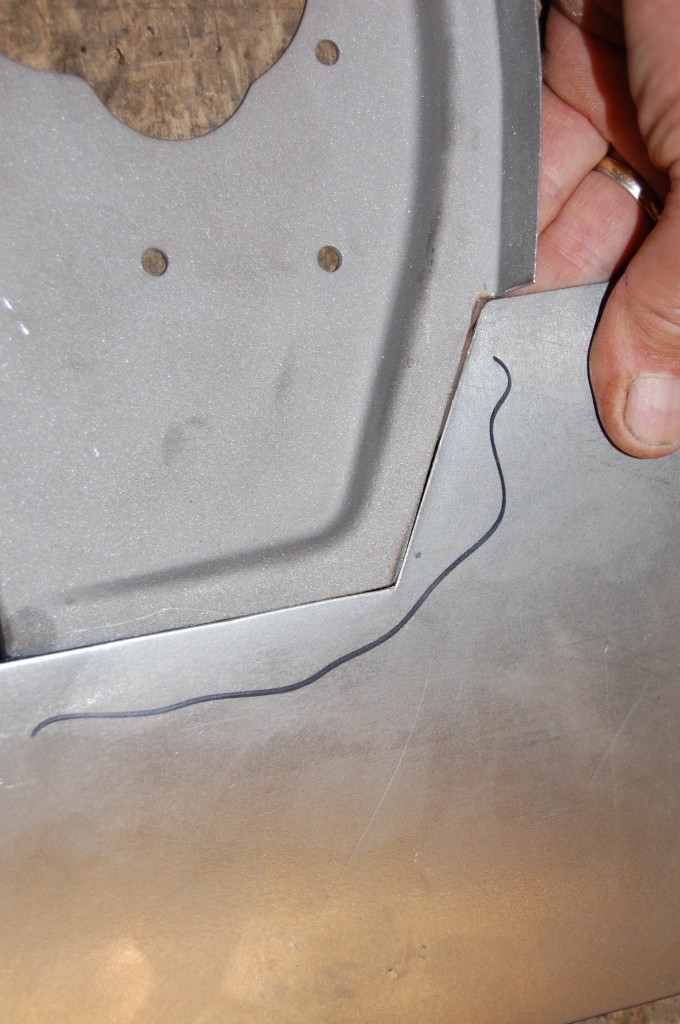
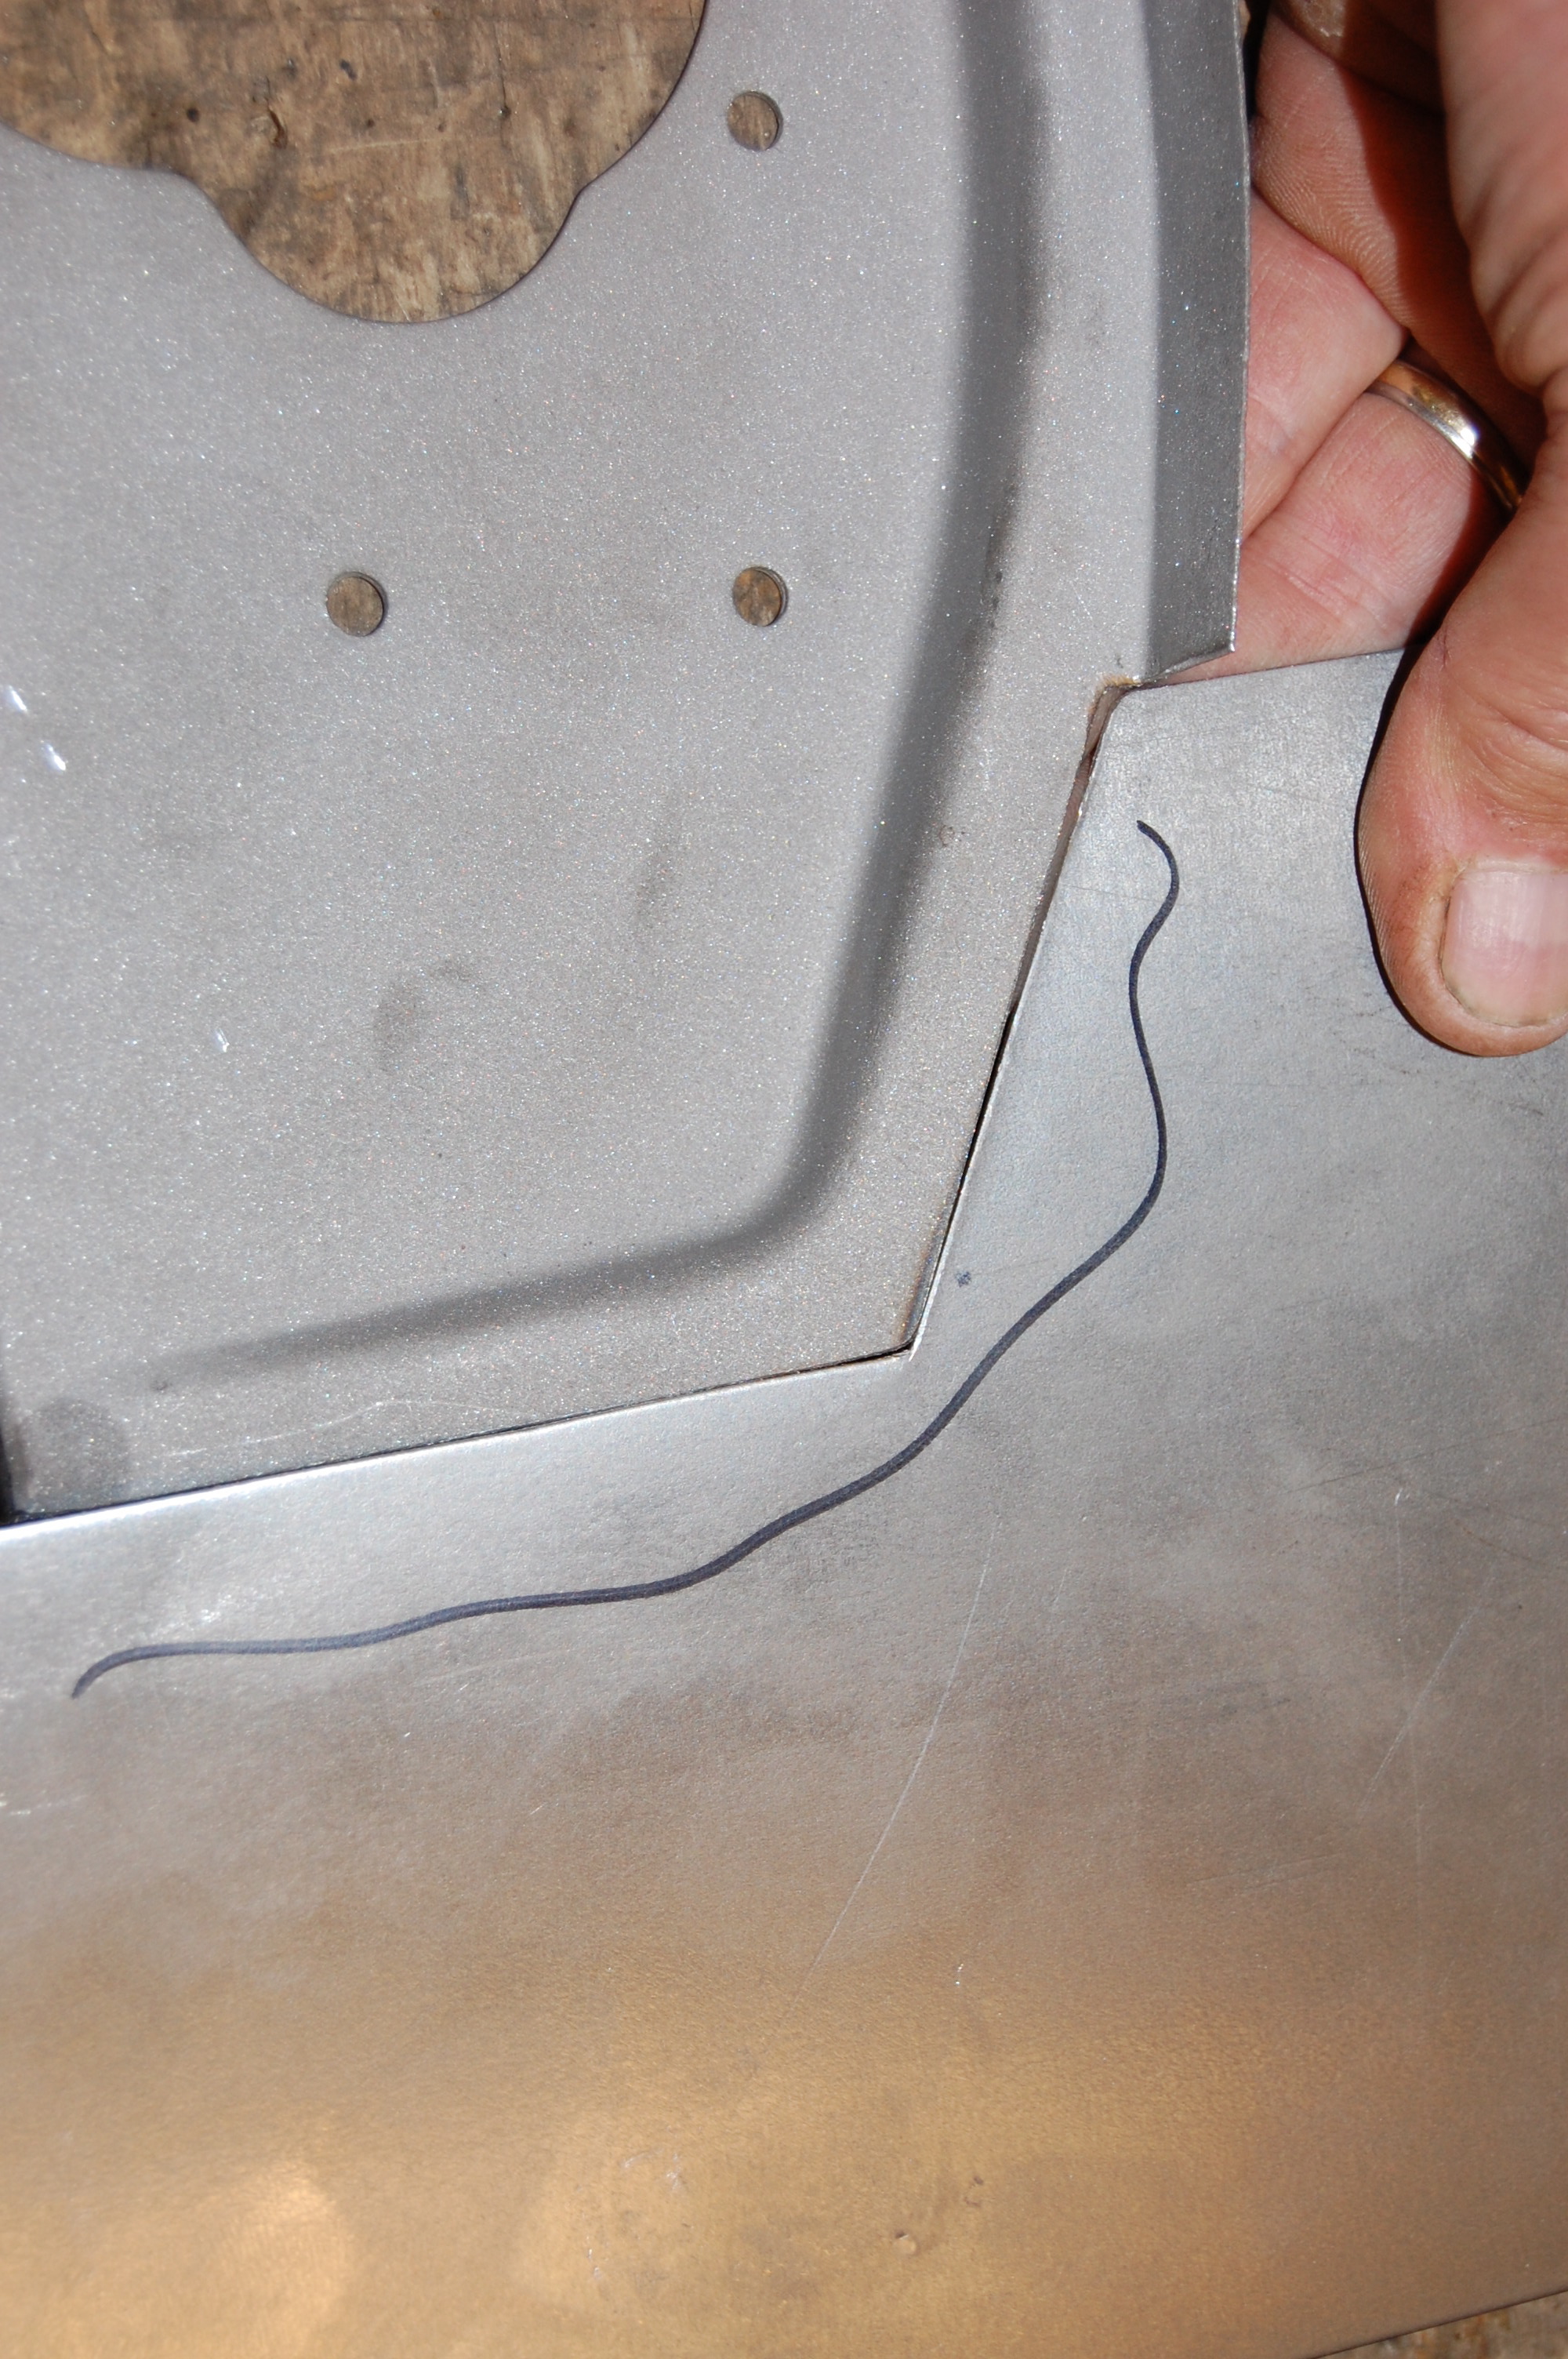
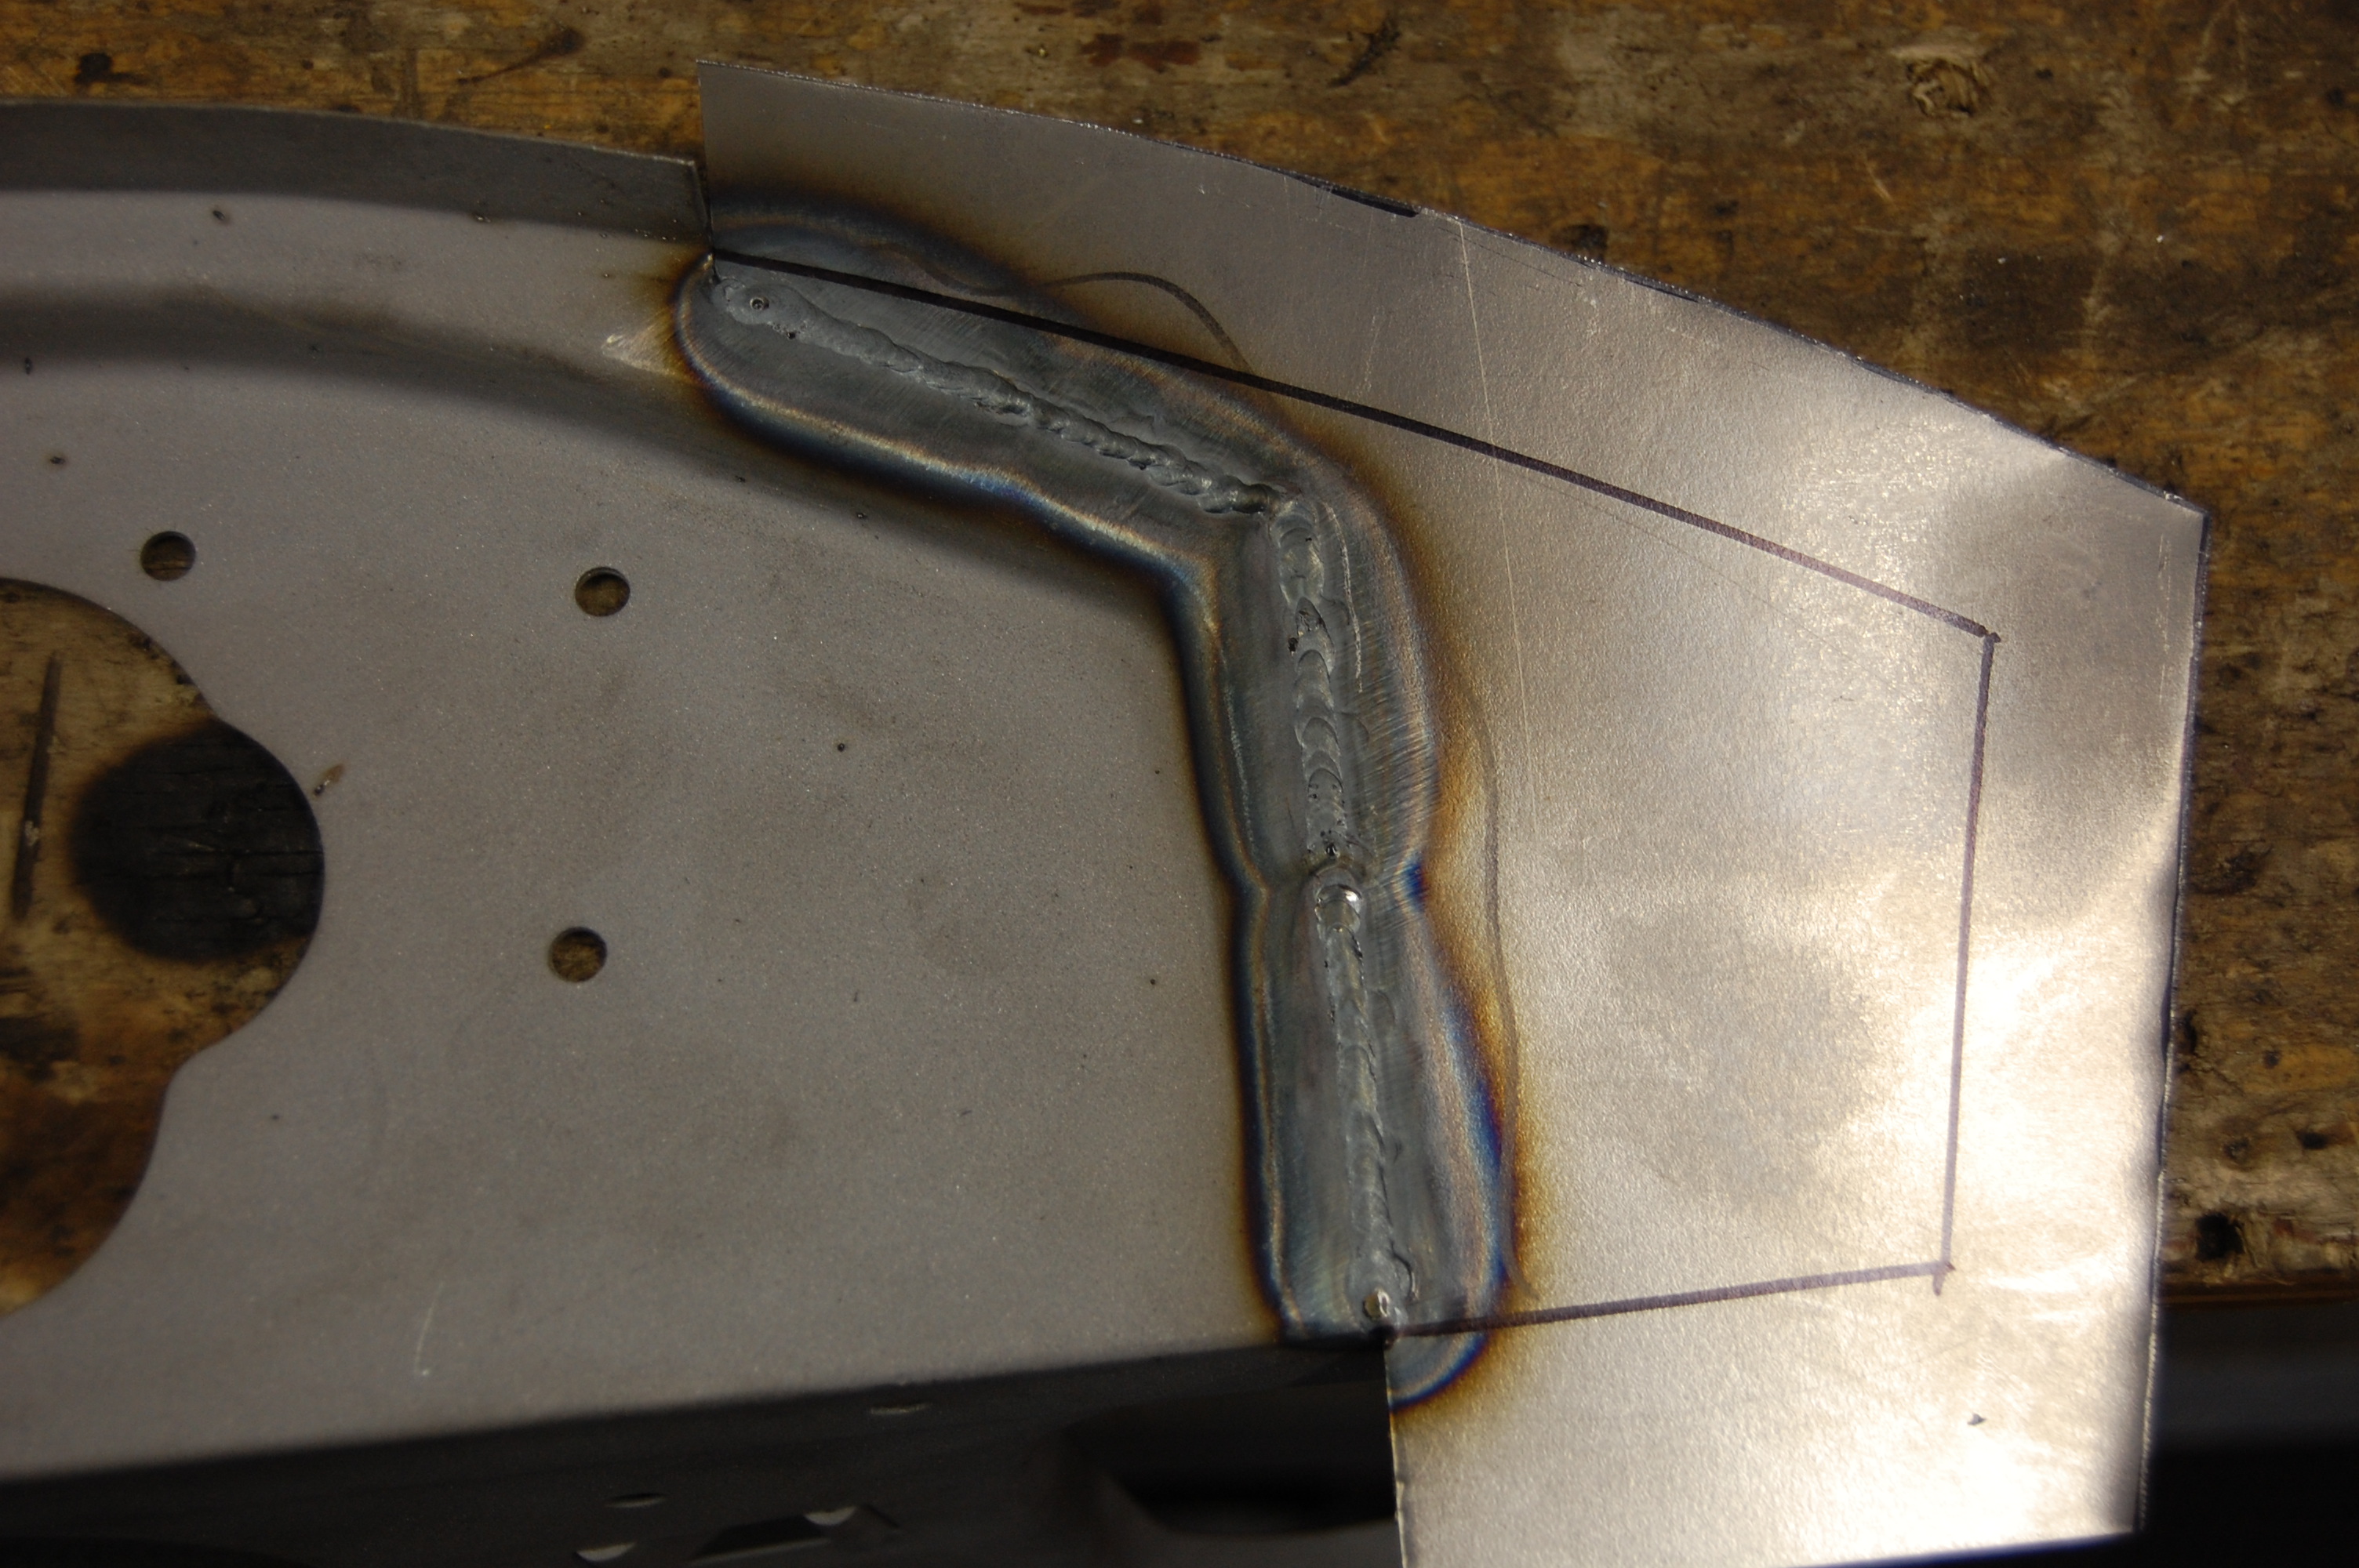
- Next we are marking up where the edges and folds need to be based on our patterns – this is CRITICAL!
-
- I think this was a screw-up (it happens…) where I had to slice this edge open after the fact and move it a little – not it’s been filled back in with the MIG, and will be dressed down.
-

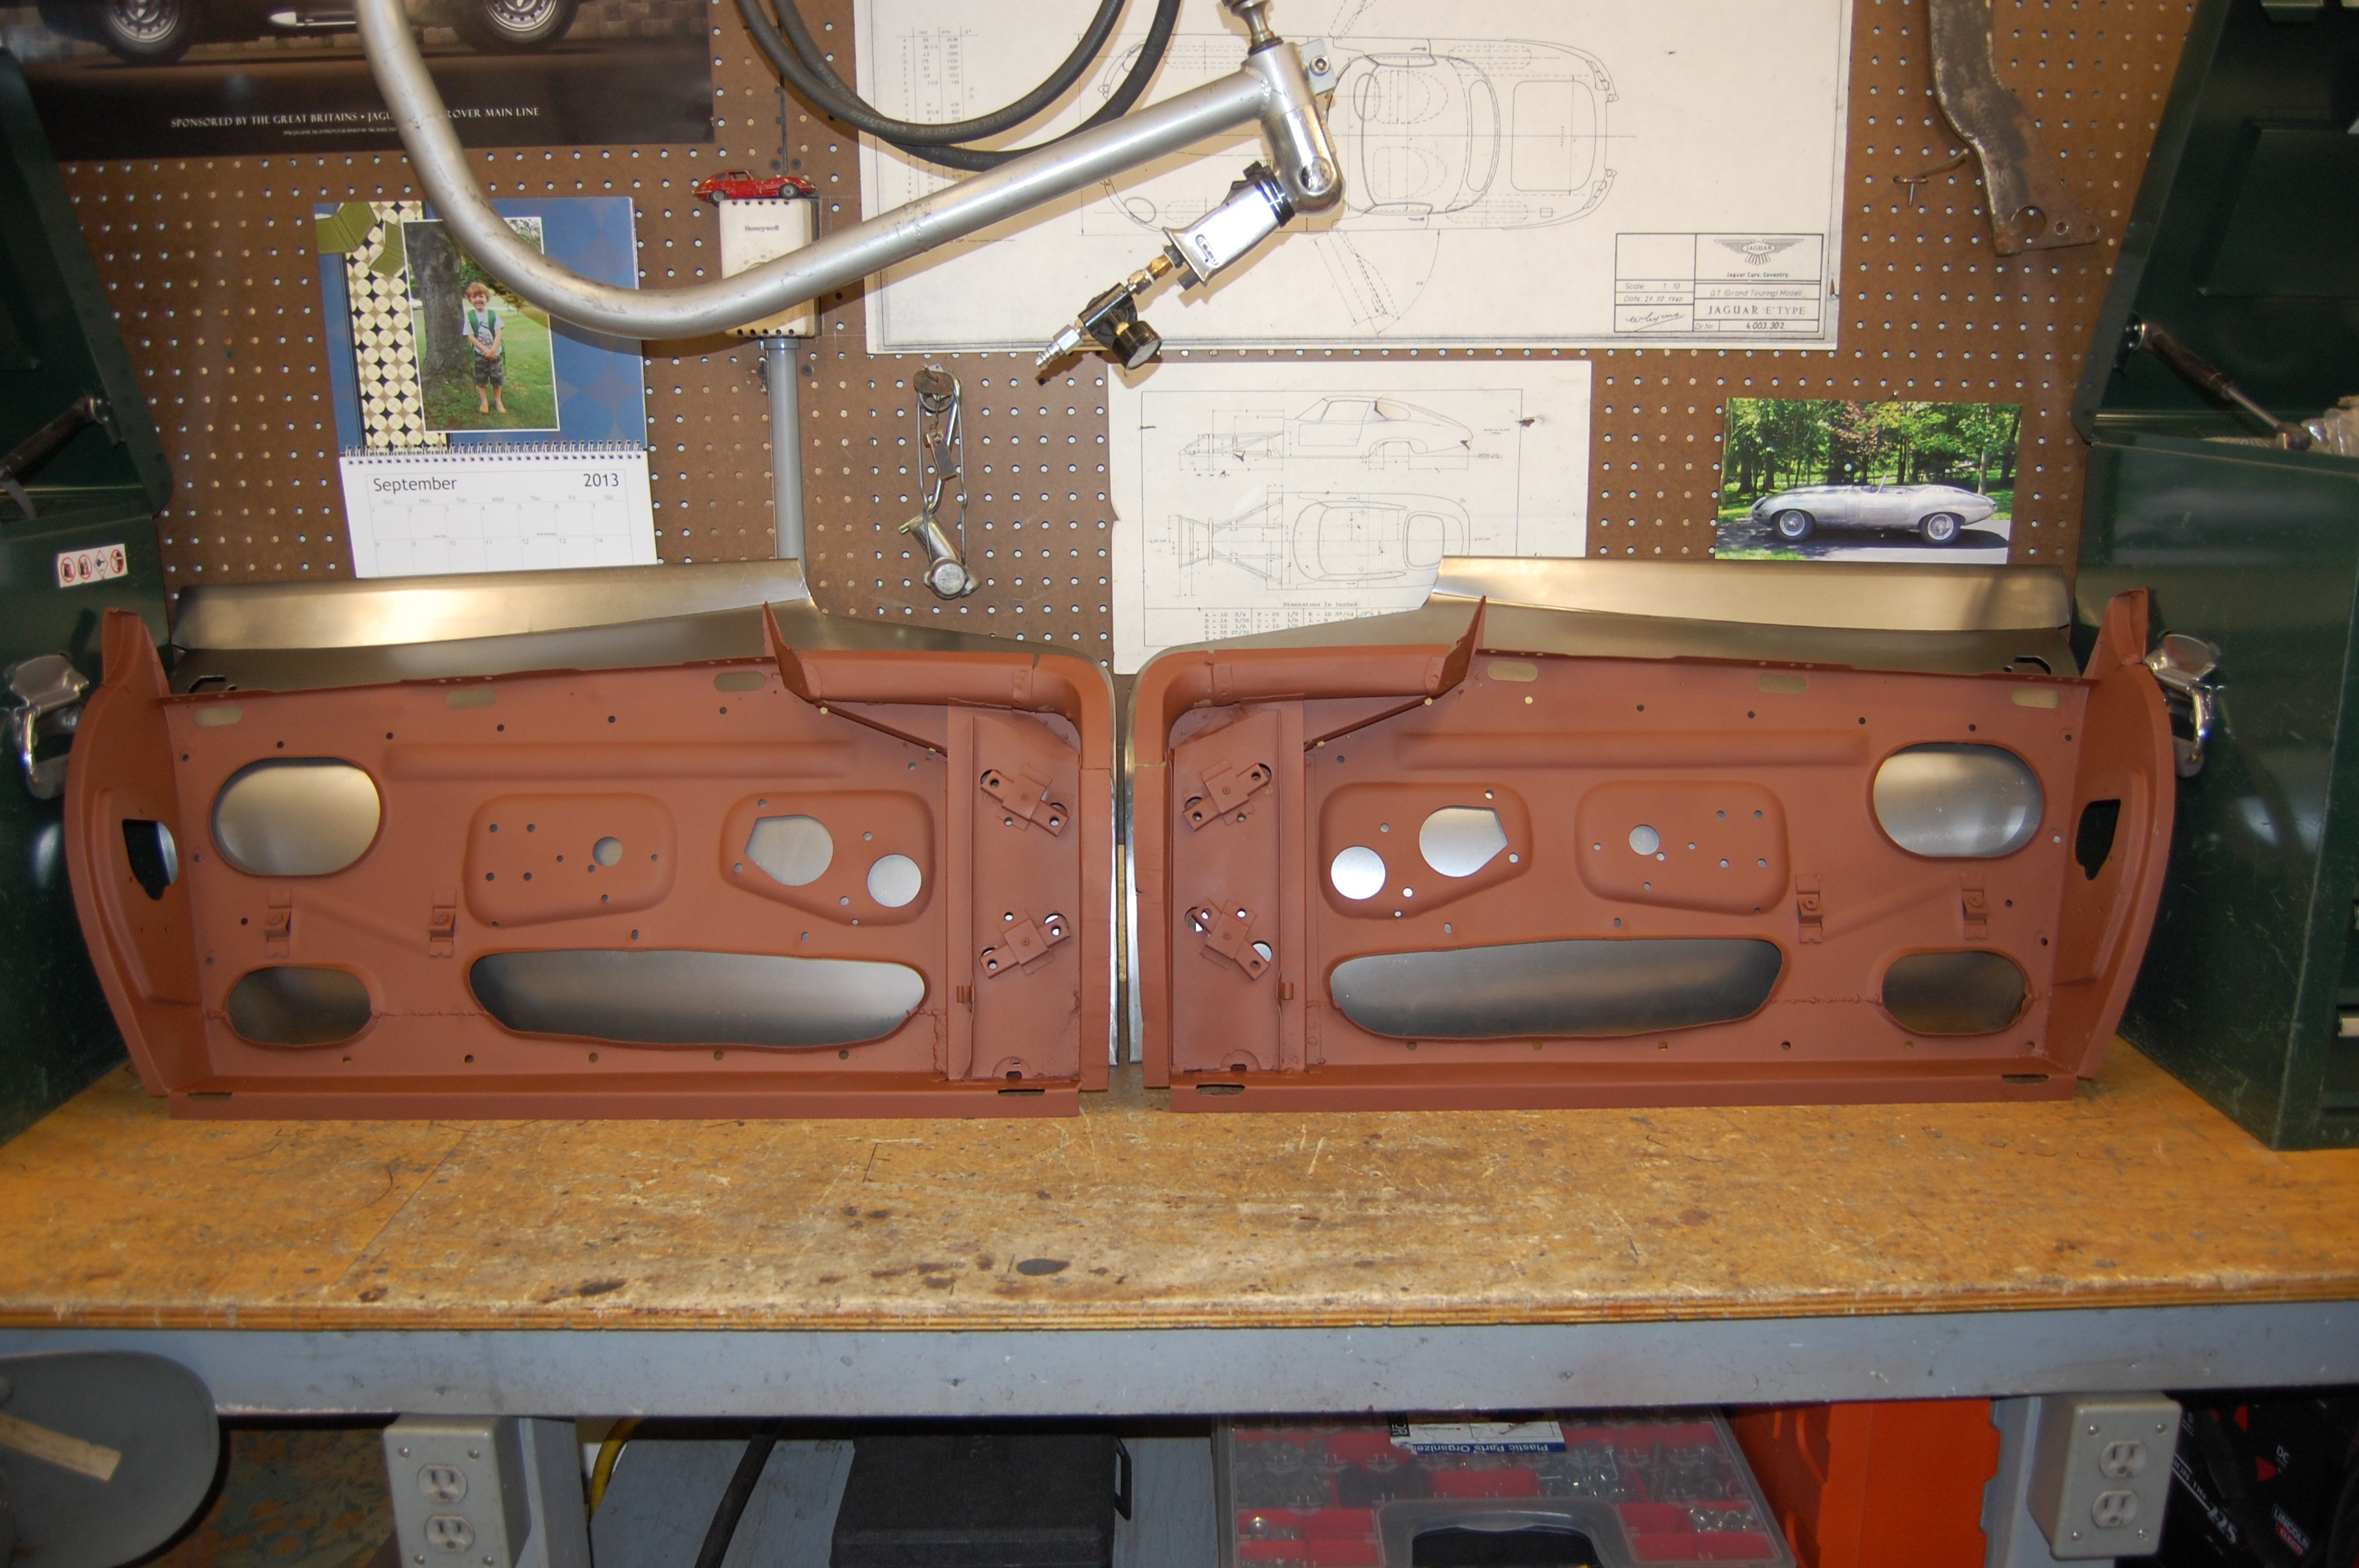
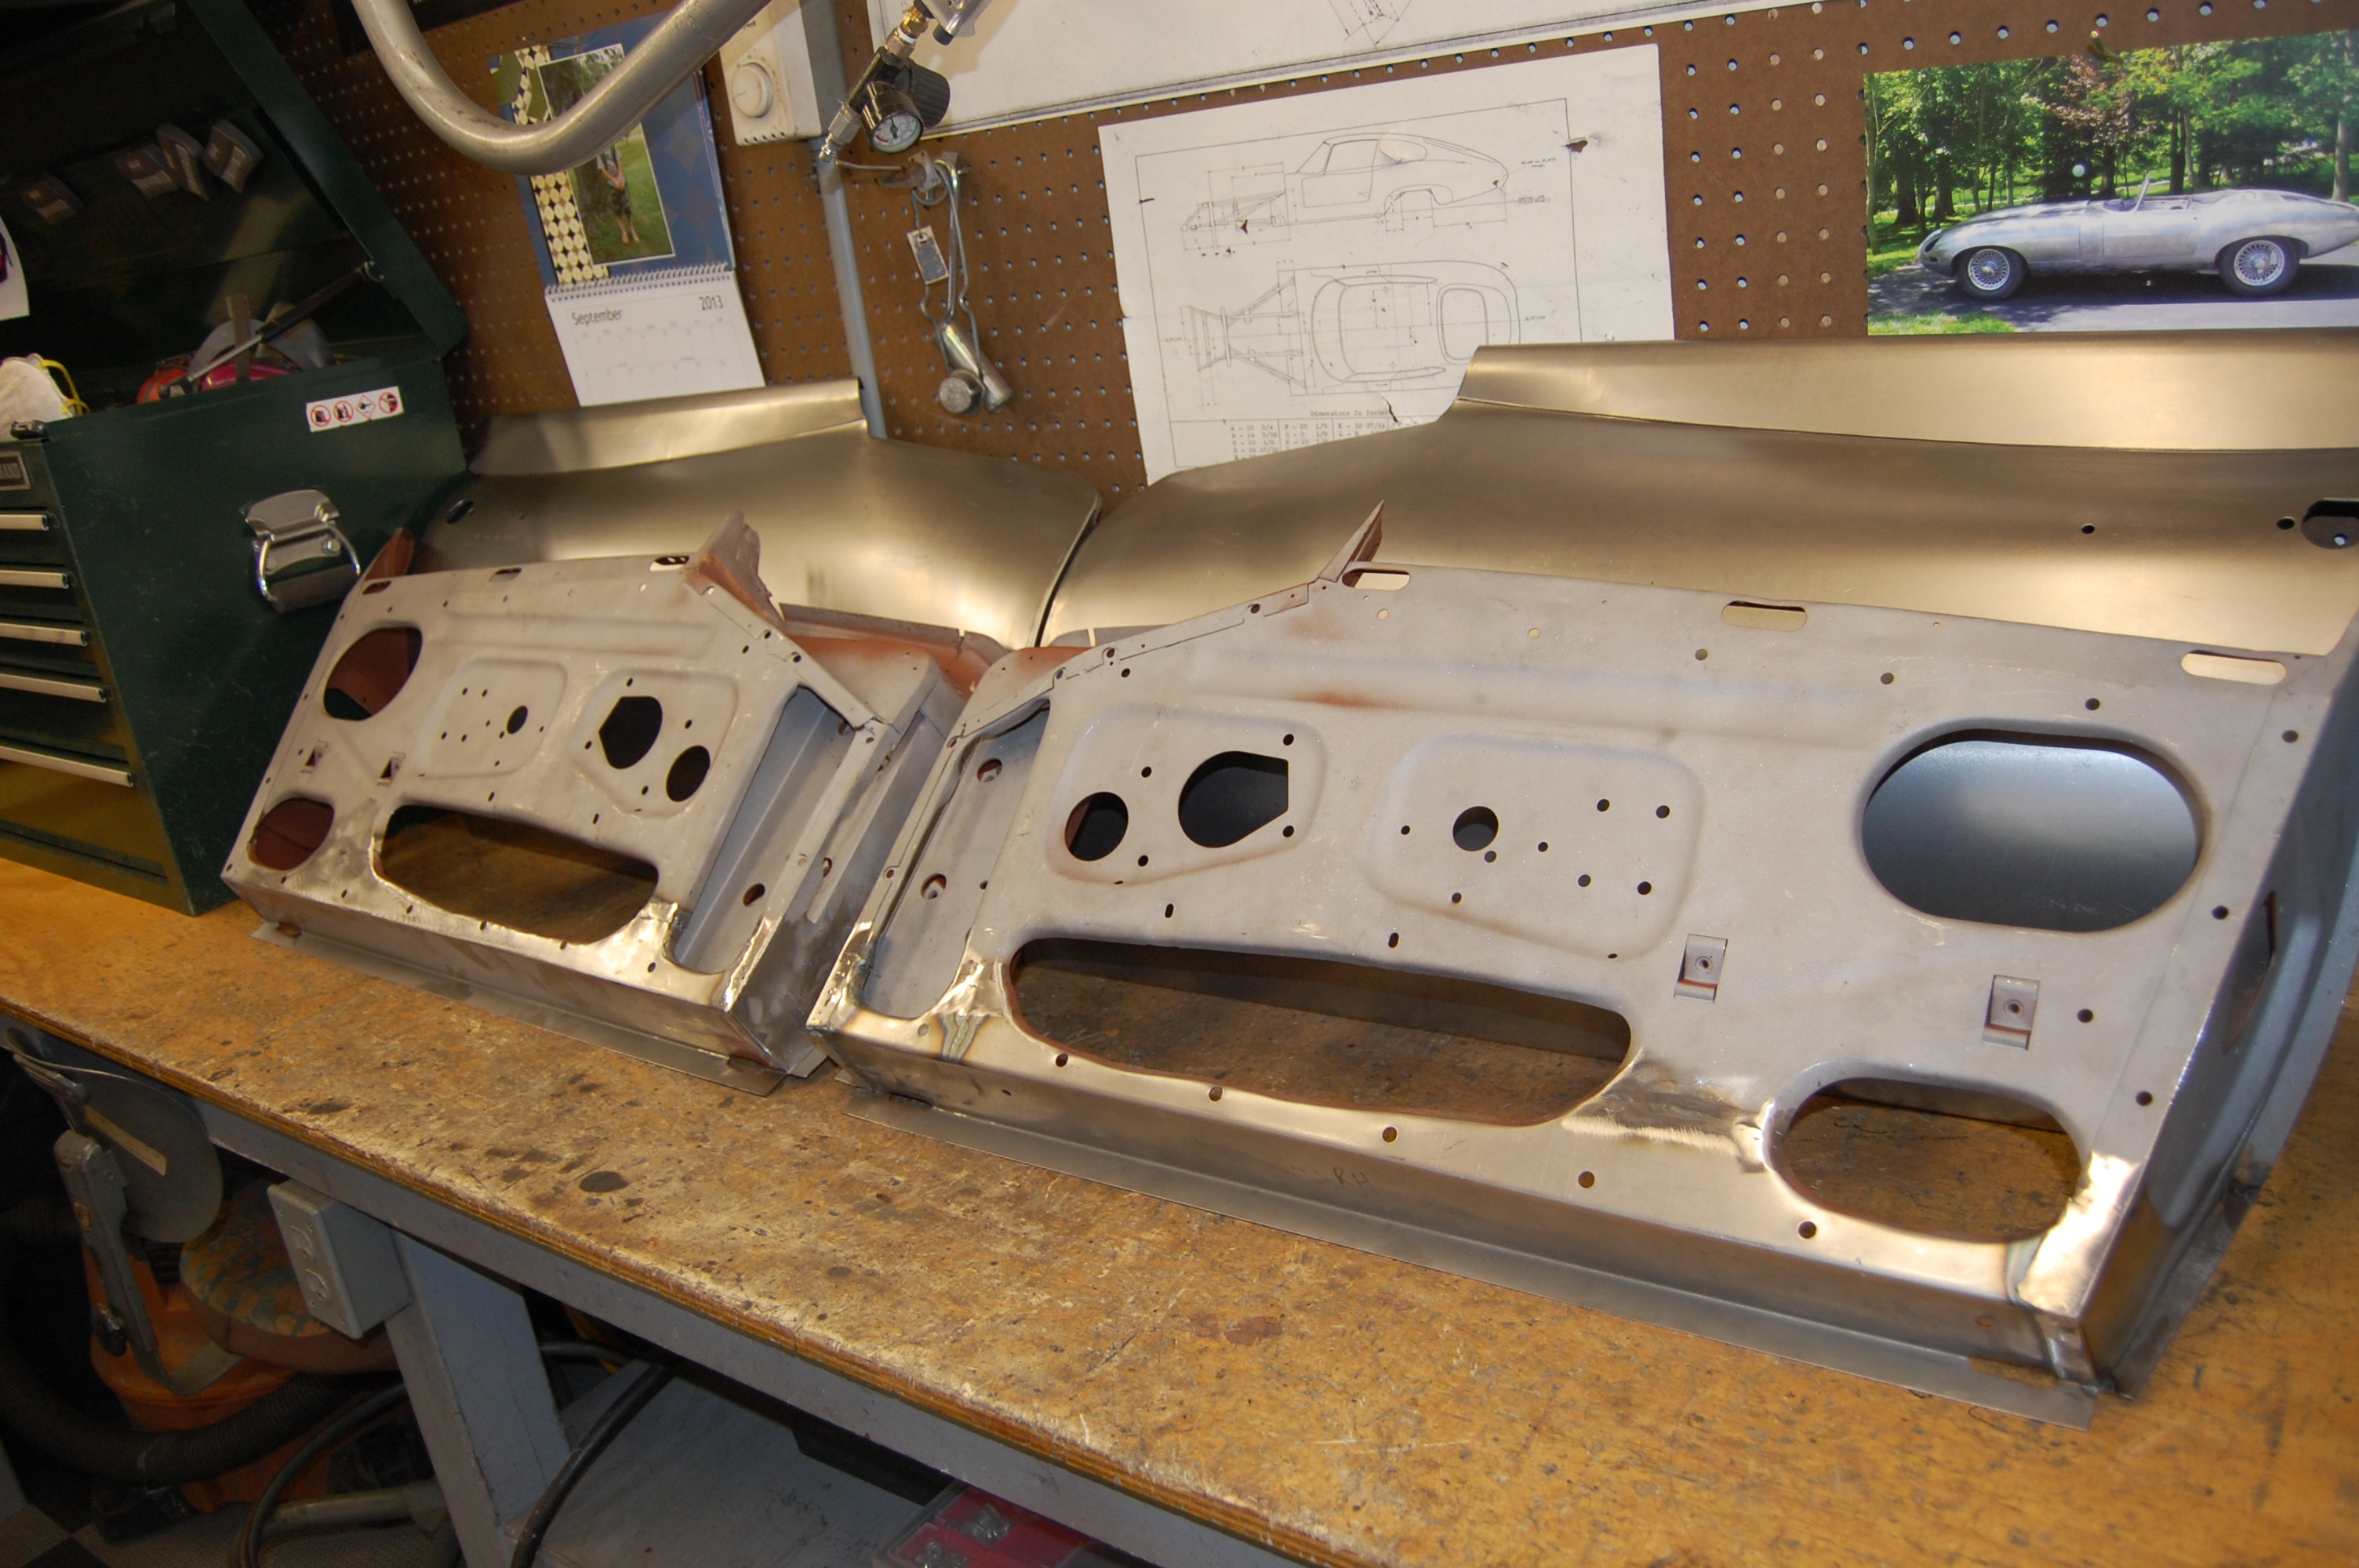
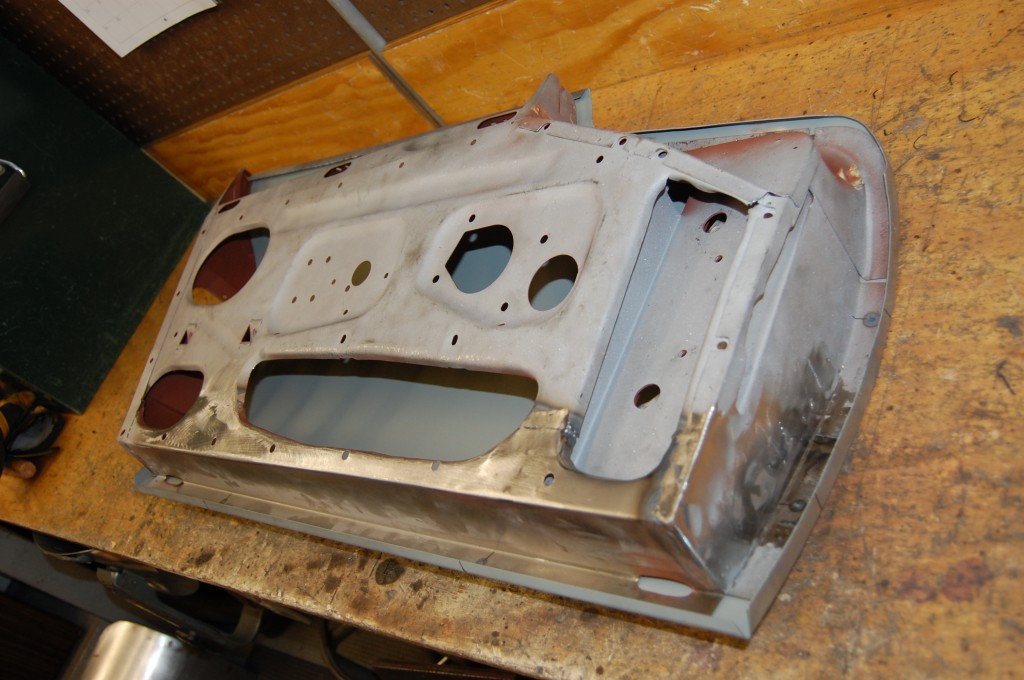
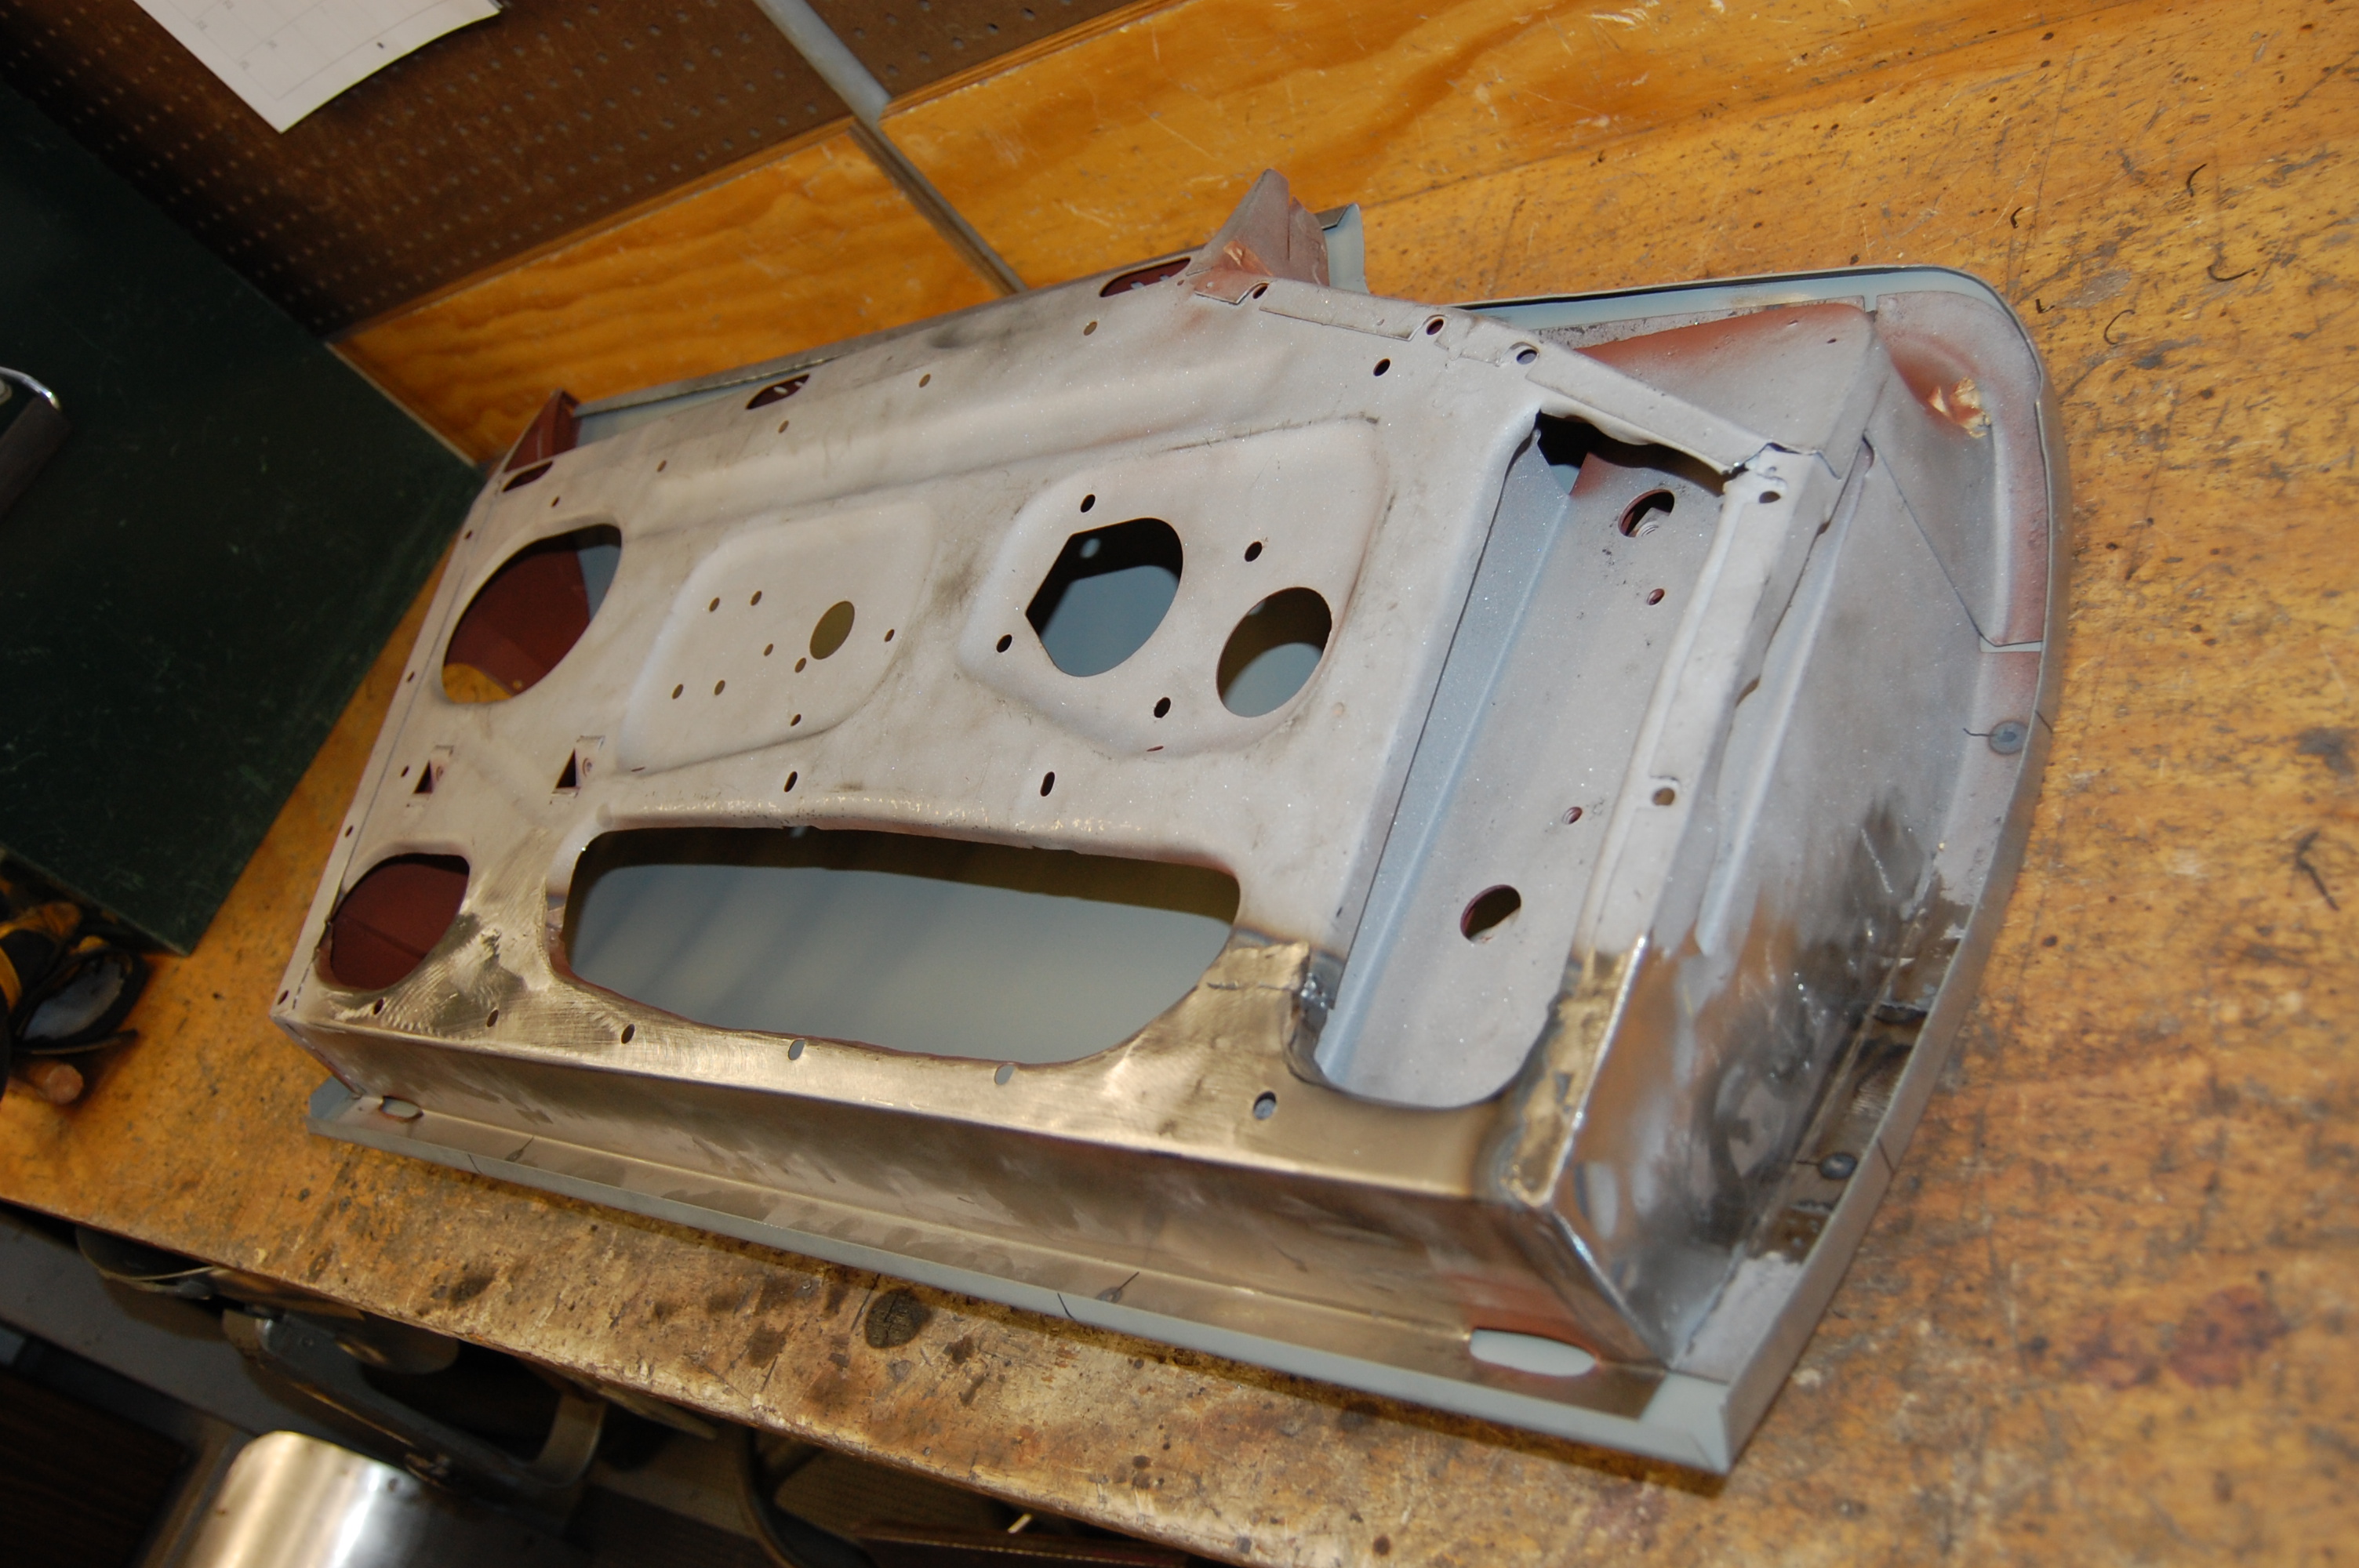
- The inner shells are completed now, and ready to accept the new skins behind them.
-
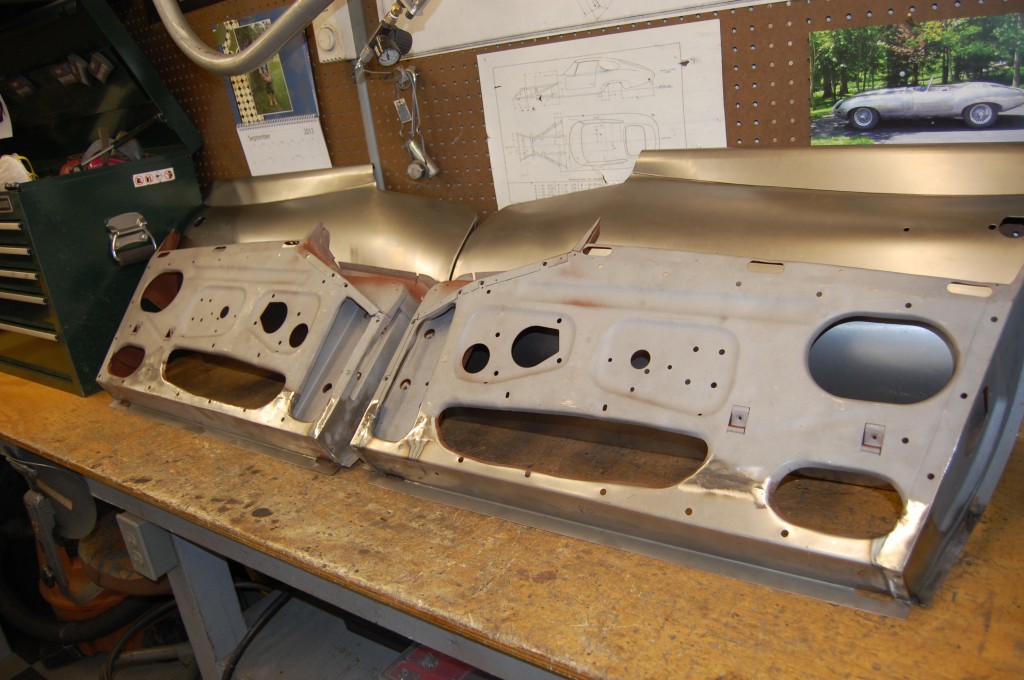
- Another shot of the restored door shells.
-

- Here is that repaired shut face from the earlier photos – never happened…
-

- This is that “mistake” area – dressed down and sandblasted.
-

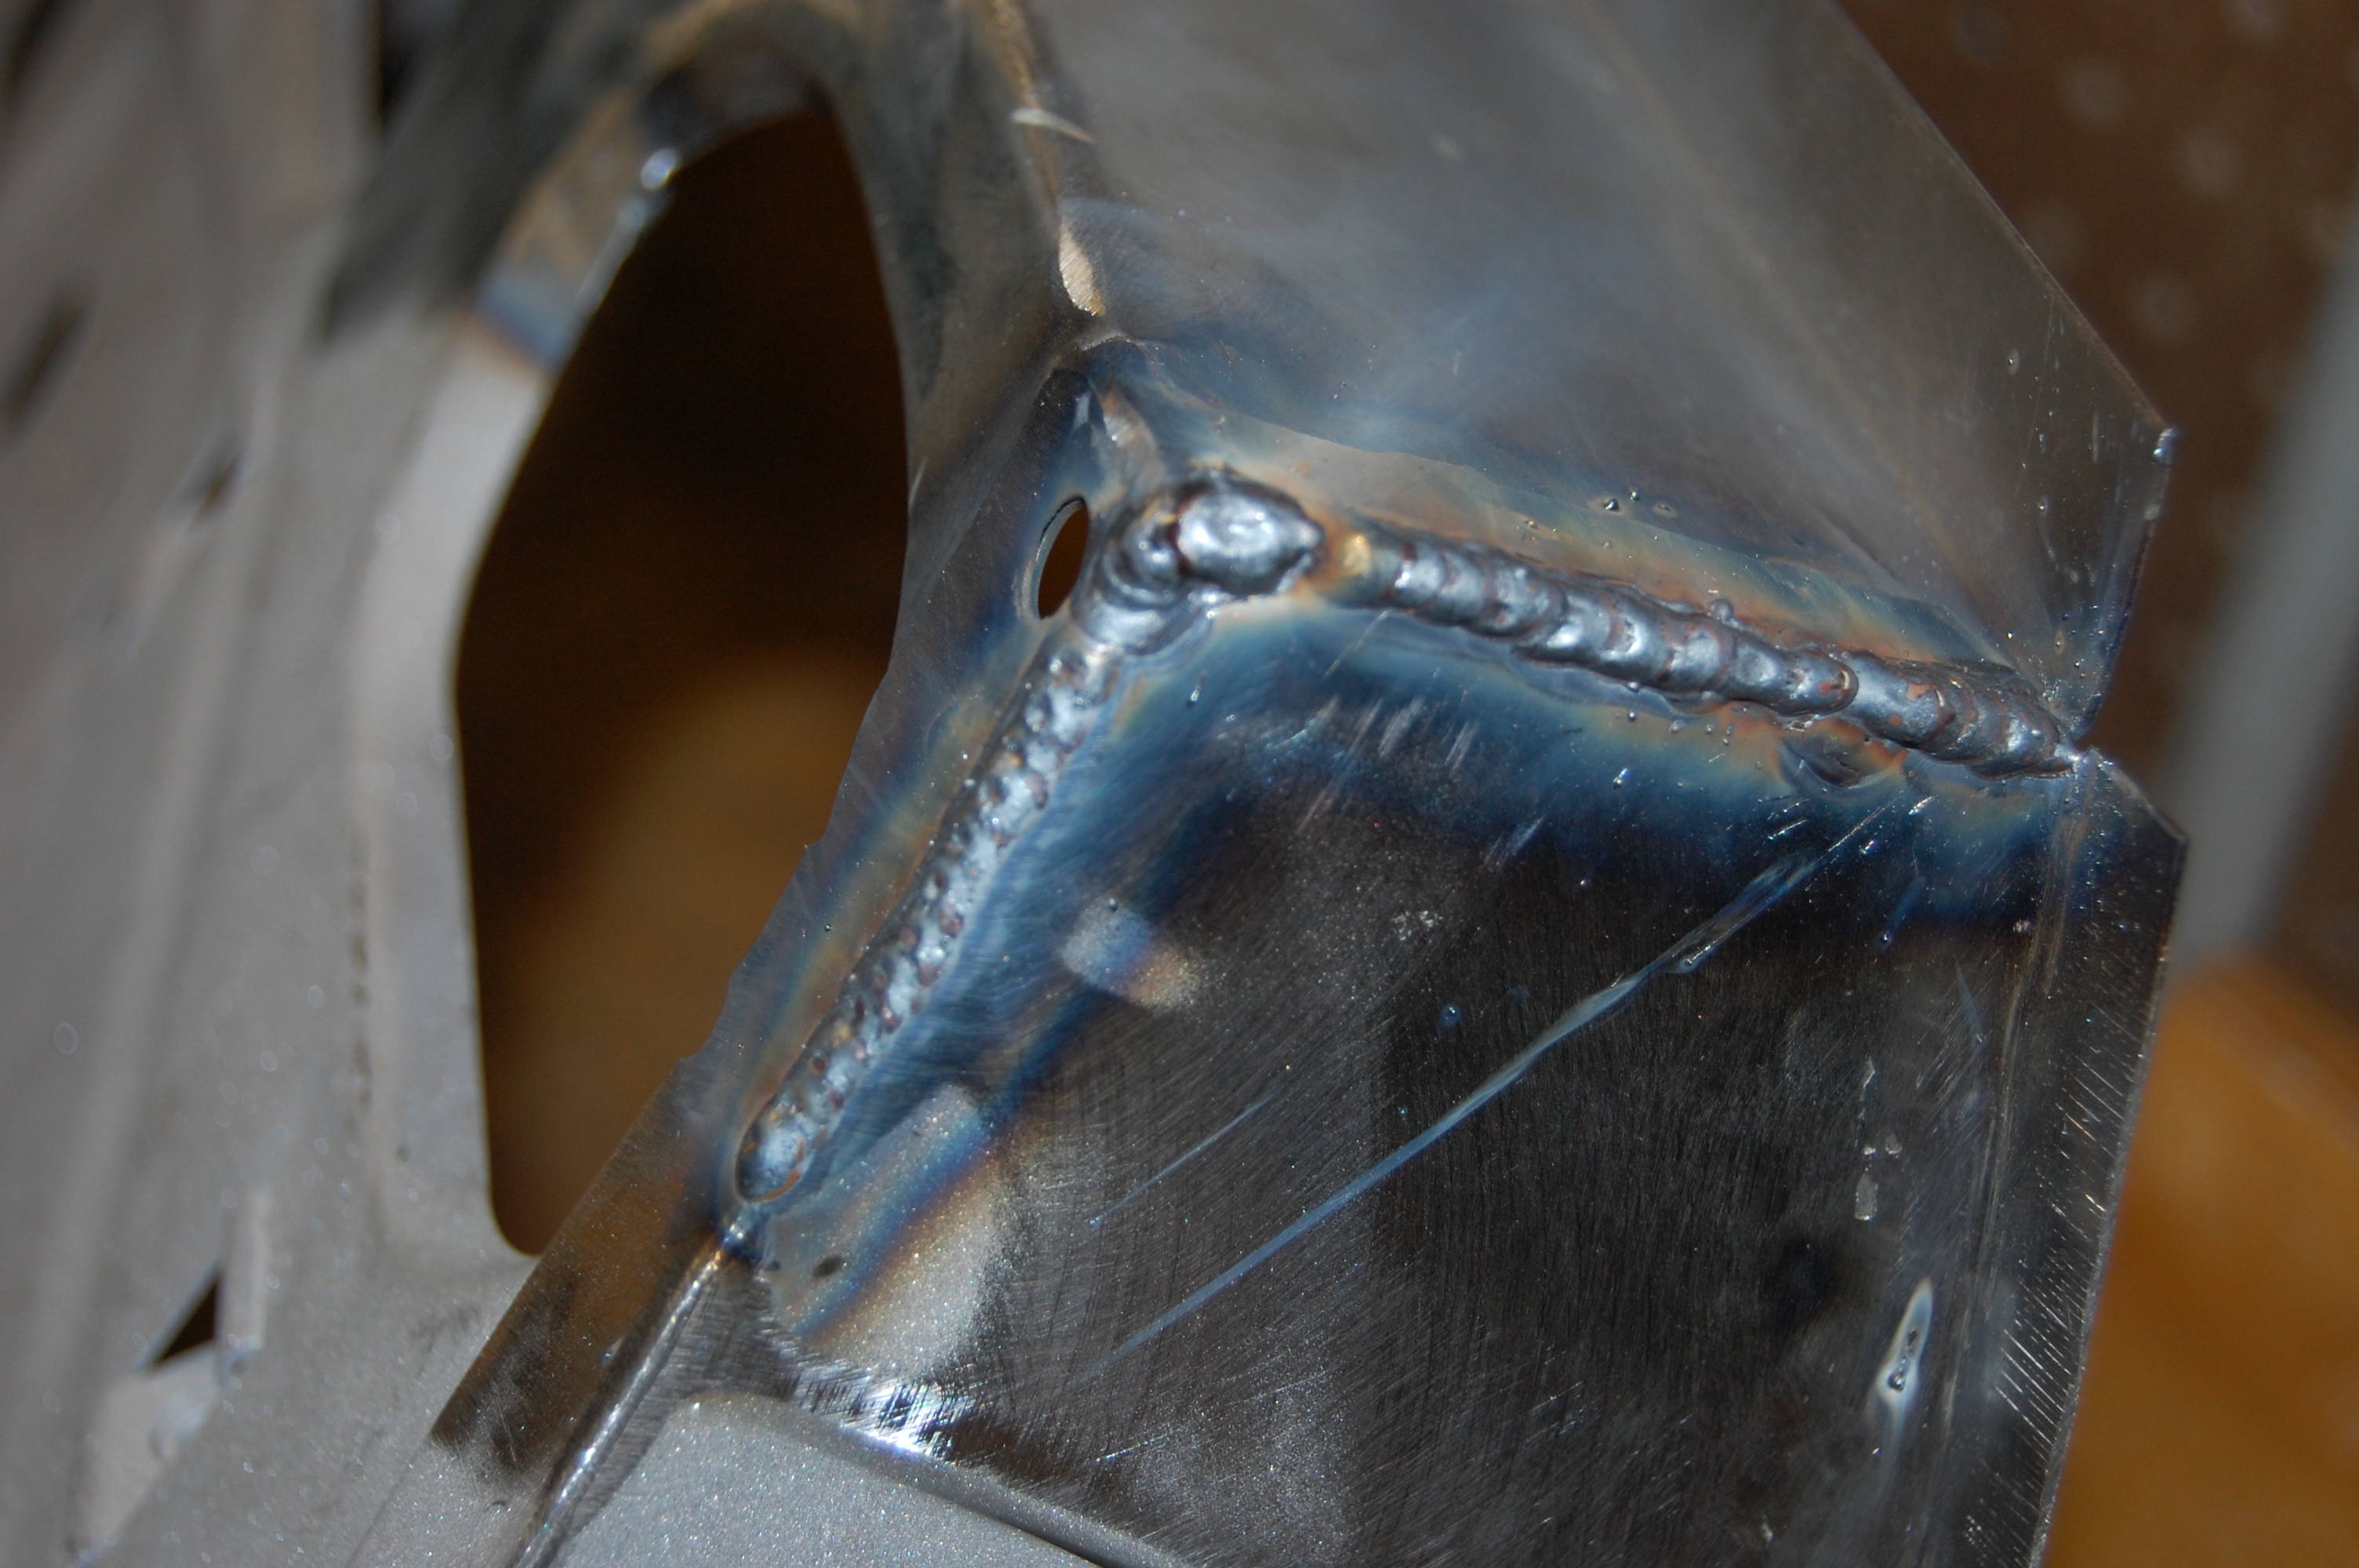
- Now the skins are being fitted to the shells.
-
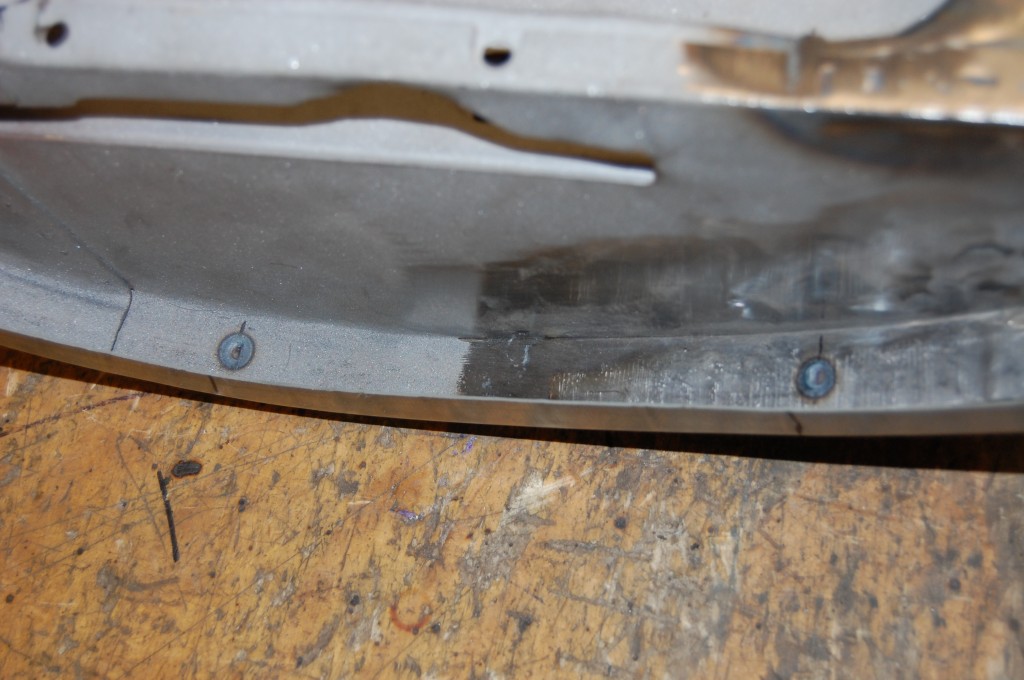
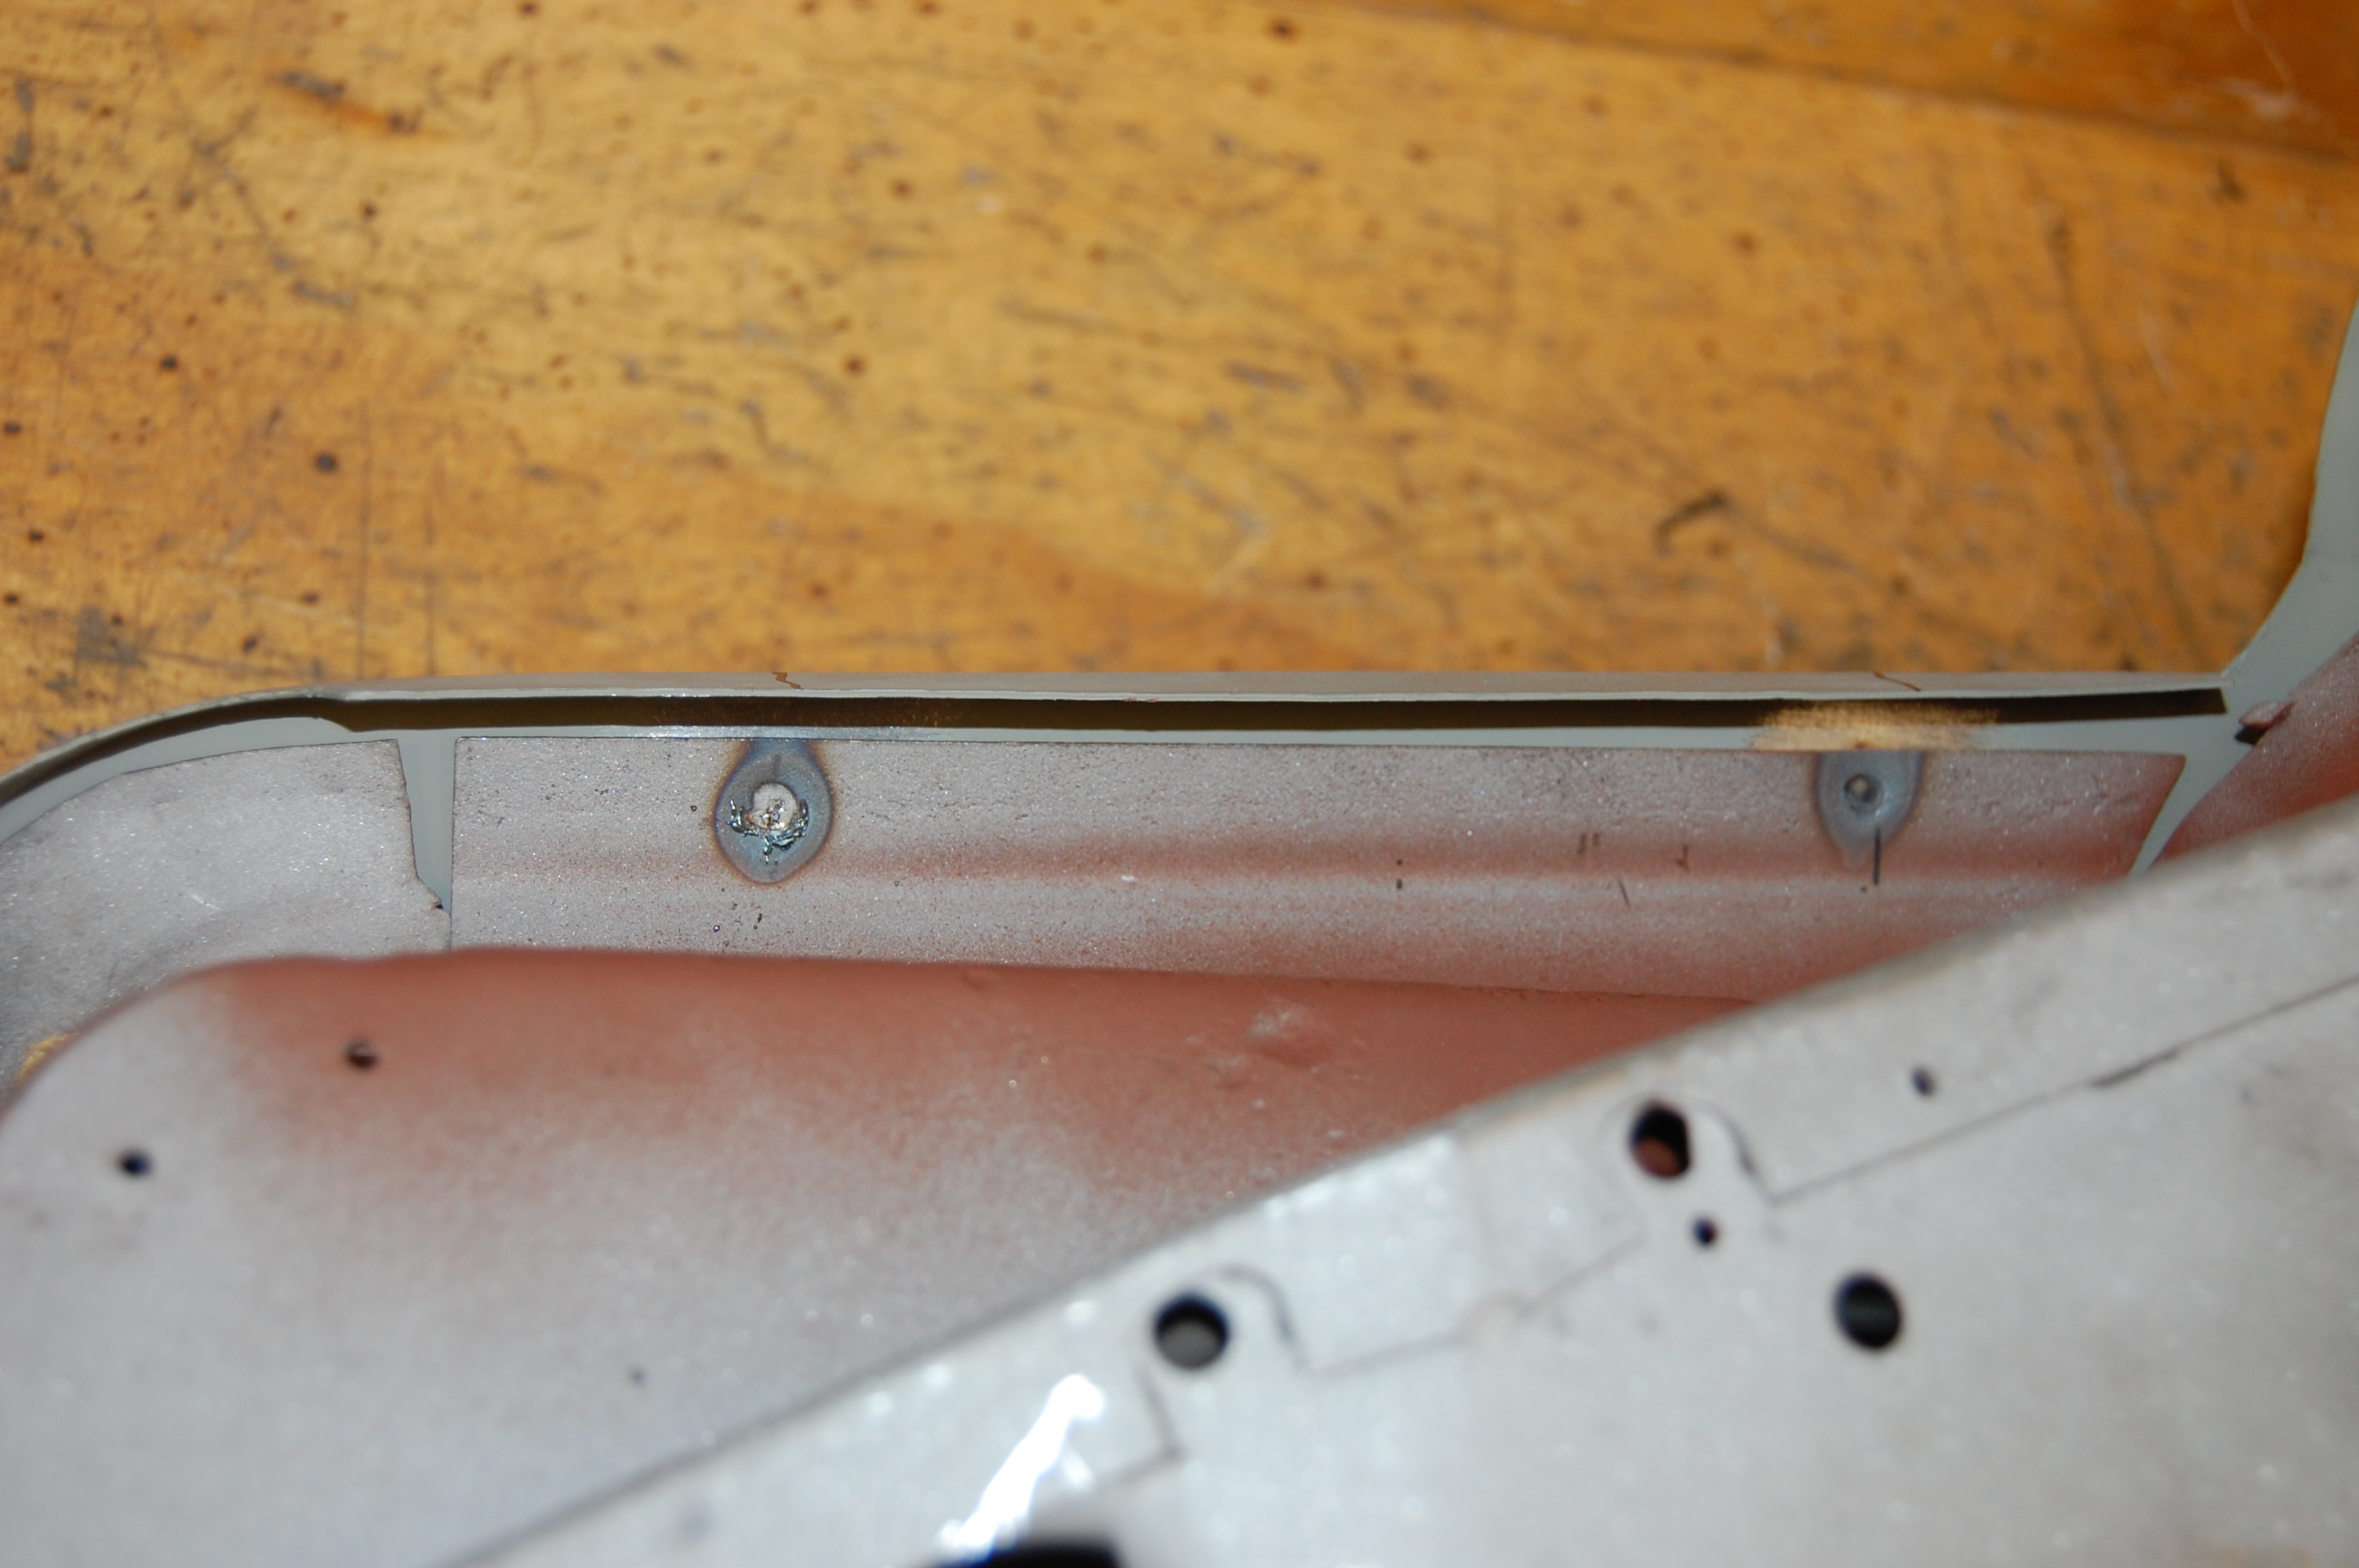
- This is EXACTLY how the factory did it – the skin is spot-welded to the flanges of the inner shell BEFORE the edge is folded over. I made up a special tip for the spot-welder a couple years ago to do this without harming the outer edge of the skin.

-
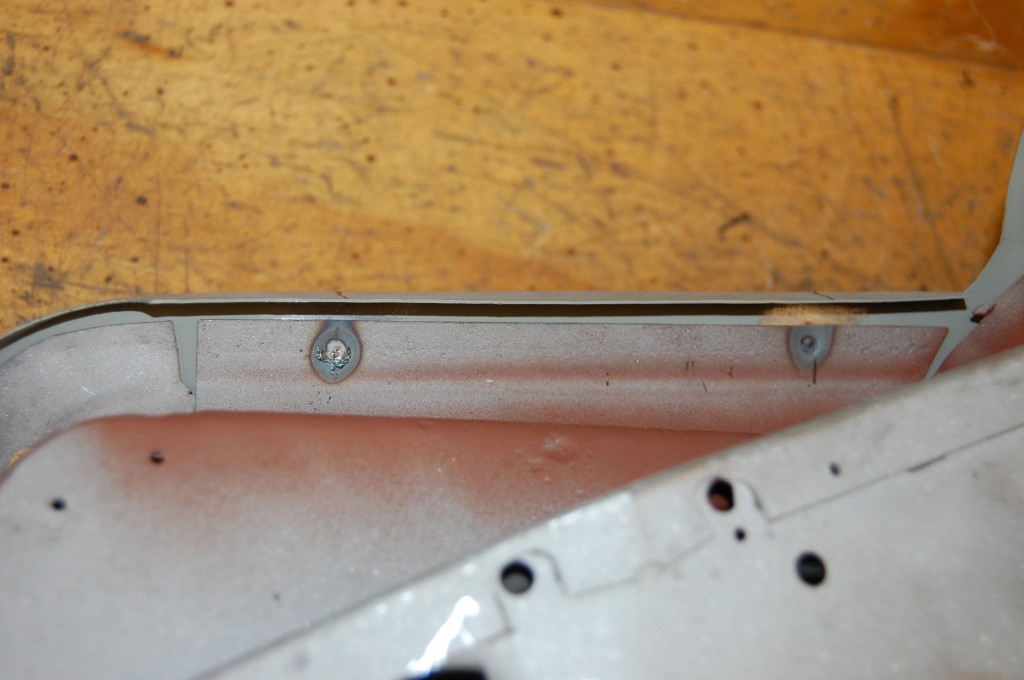
- Another shot of the spot-welds – sometimes the factory used 1 here, sometimes 2…
-
- The other door having the skin fitted and spot-welded.
-
- Another shot of the fitting.

-
- Now the edges have been folded over. It took me YEARS to get this good at it – along with several changes in tools and methods!
-
- Here’s another shot – the bottom edge is PERFECT – and DEAD STRAIGHT – if you don’t know what you’re doing here, the bottom edge comes out curved – and that’s no good – it’s REALLY obvious when placed up against the sill!

-
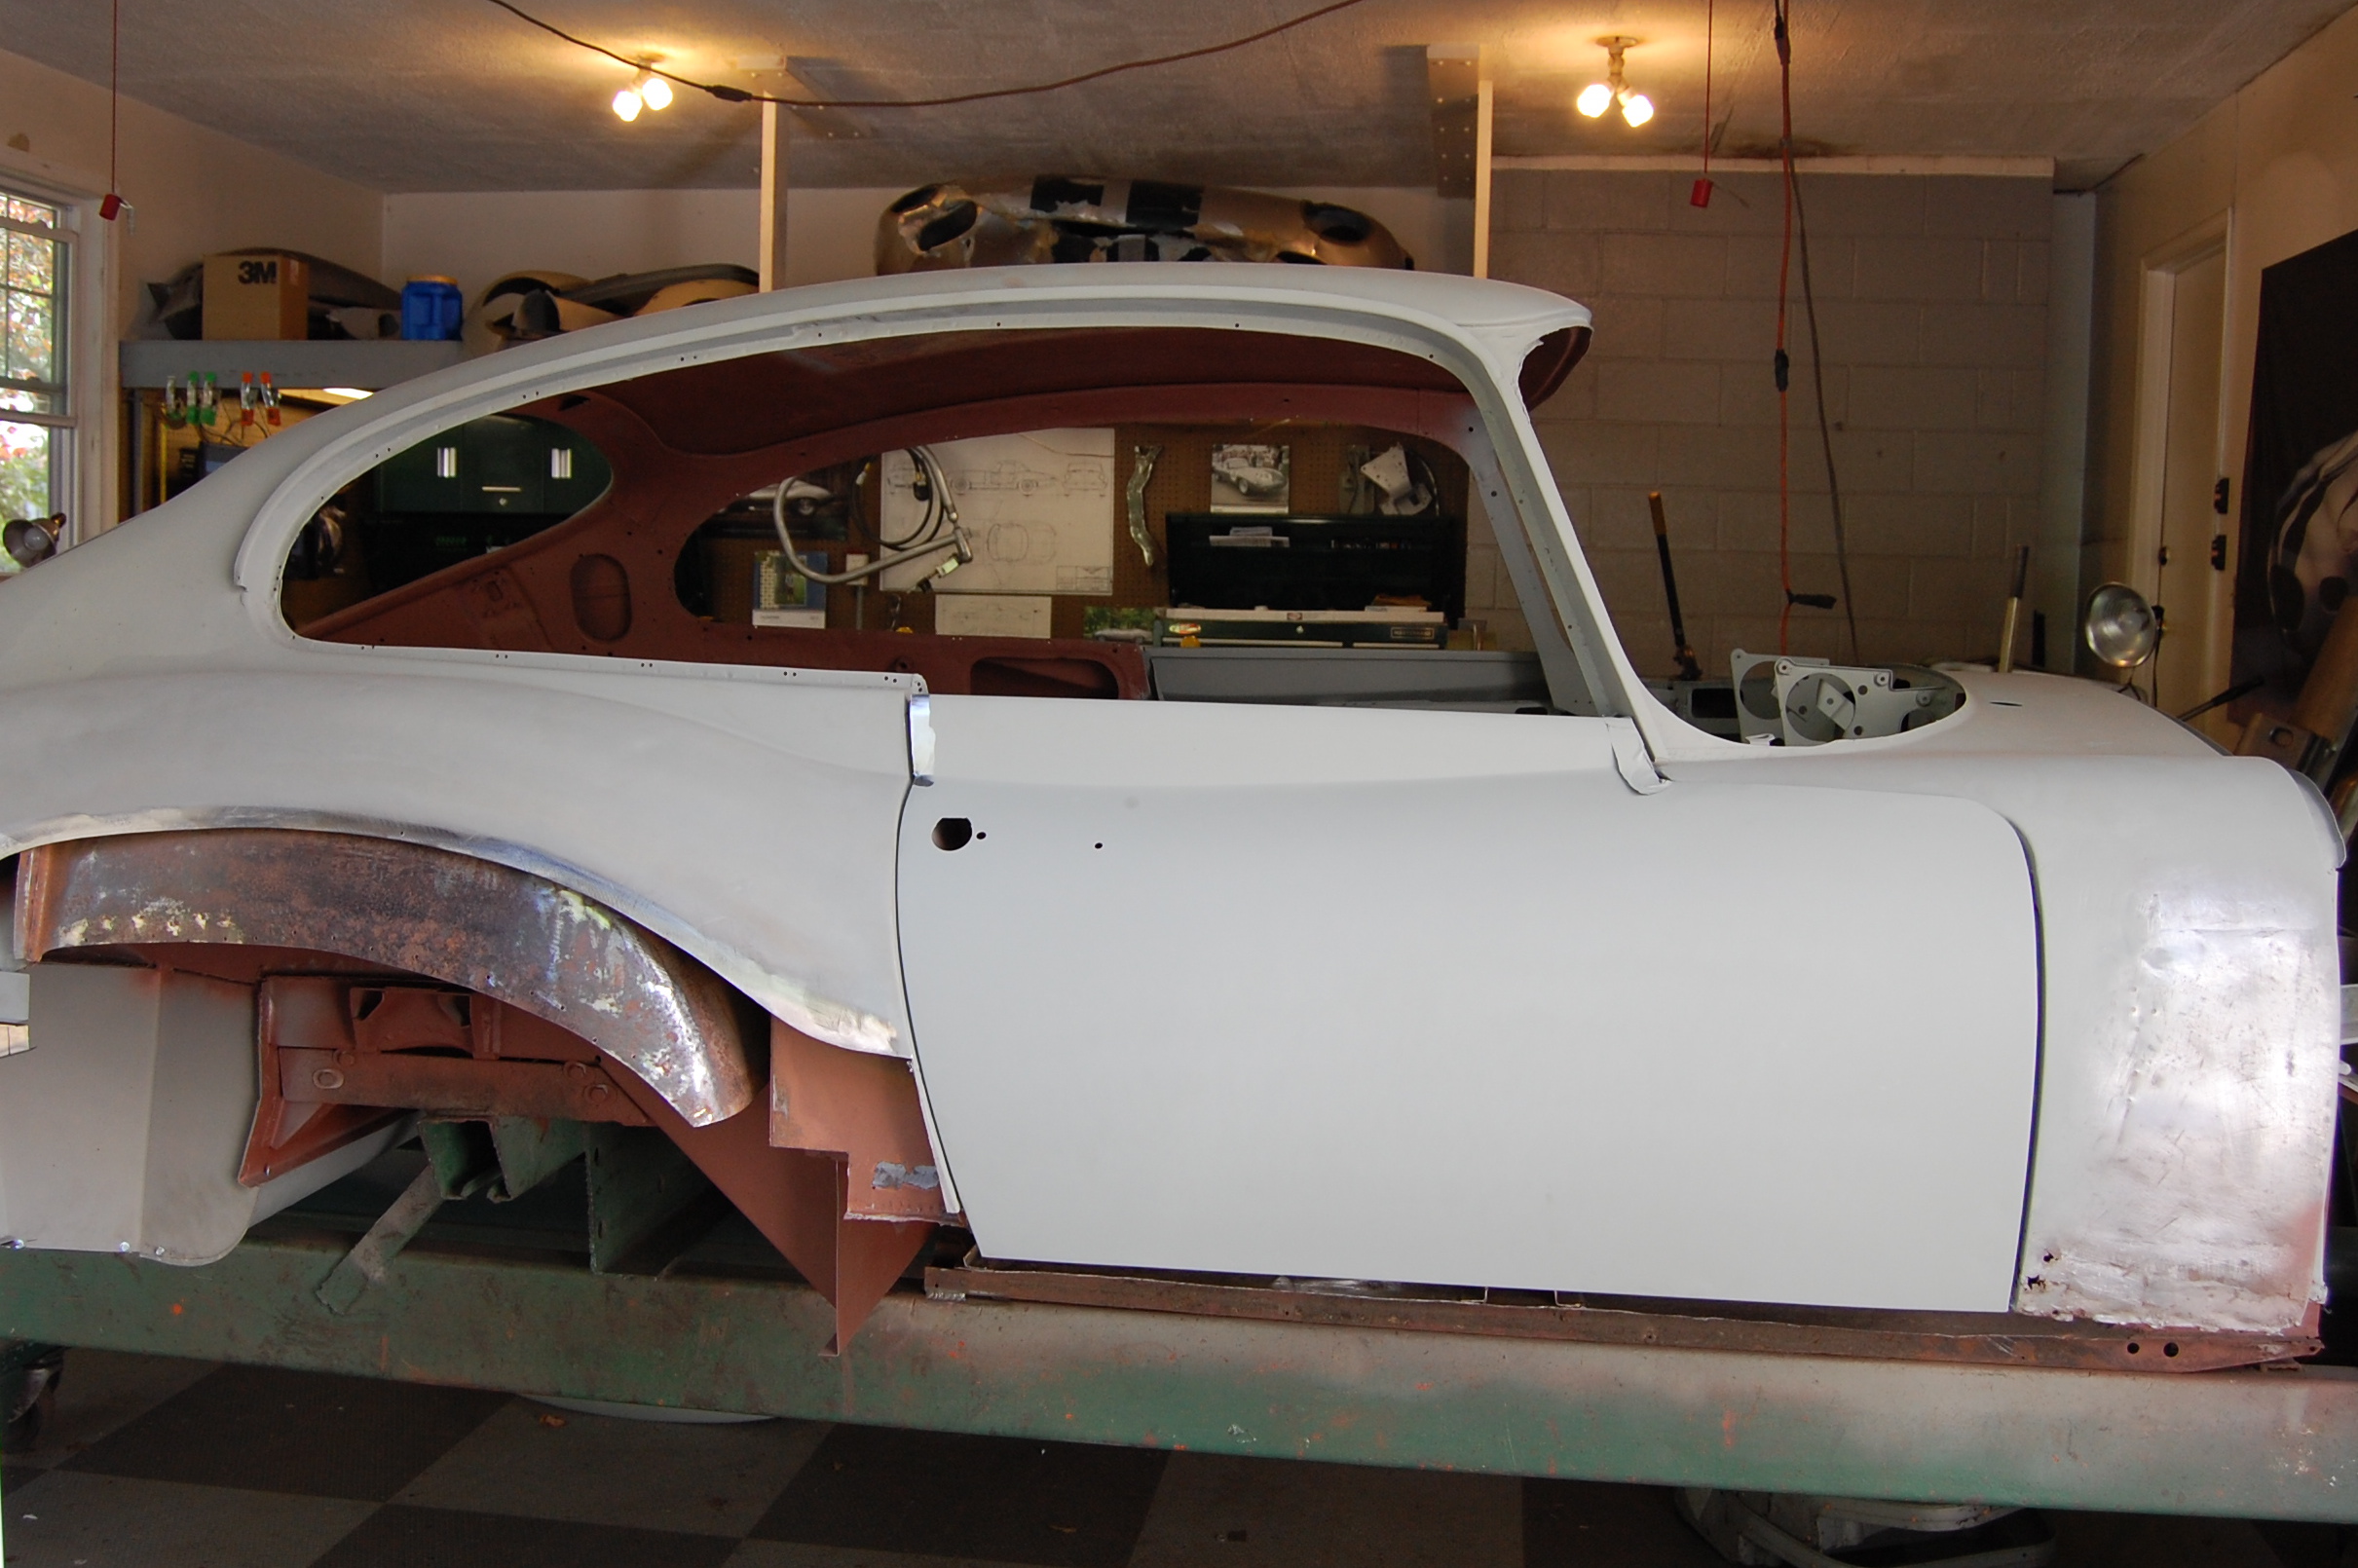
- Here is the completed LH door being fitted to the shell (OK, this is actually BEFORE the B-Post repairs in the last blog…) This will allow us to get the outer sill fitted.

-

- Here’s a shot of the other side.
-
- After lining things up and fitting the outer sills, we pull the doors off and get back to work on the shell. Several days of door work – all so we can use them for an hour to line things up and then throw them off to the side. Bt they’ll be back soon enough! Note that the tops have not been finished off yet – I do that on the shell now – learned that one the hard way too…


