
We’ve had this project on the back-burner for a while, but it’s about to kick into high gear again – and stay that way until completion! This is the bonnet from the light-blue 1968 2+2 that we are now building a FHC body shell for instead. The car will be converted to a 2-place SWB coupe, utilizing a completely rebuilt shell from our shop – AND a large pile of “coupe parts” from the same donor car that provided the shell.
We are keeping the 2+2 bonnet, but converting it to Series 1 specs with covered headlamps – see that work in earlier blogs on this project. This entry shows the bonnet being “test assembled” in preparation for the bonding of the flanges with adhesive.
This bonnet was wrecked in the past, and poor metalwork was covered with lots of filler – as usual… We repaired and reshaped the center section, and now she’s being a little cranky when going back together. Actually, everything fits pretty well and very symmetrically, but the gap between the center section flanges and the center section itself was larger than usual. I find that the optimal thickness of the adhesive is about 1/8″ – with 1/4″ being about the limit. You can actually fill a 1/4″ gap with the adhesive, but it shrinks some when it dries and the shrinkage is not really tolerable at 1/4″. It’s also tough enough to do this job as it is – filling a gap that big is tough – and messy!
There are a few ways to resolve this issue – which comes up often when assembling bonnets:
A) Slot the holes in the flanges to move the flanges closer to the skin. This is good for about 1/8″ of movement at best, and an unwanted side effect is that the oval washers will start hanging off the flange – which just looks – and is – wrong…
B) Glue the flange tighter to the skin than the bolt holes will allow, but aligned with them, and then after the adhesive dries, start shuffling things around. This is a BAD idea – what happens here is that if you do manage to force things into place, you are either pulling the skin down where the flanges are, or it just comes unglued after some driving around. You really want to glue things in a position where the is NO STRESS on the skin.
C) Start modifying the inner valances (air tubes) to drop them down (up, actually – we’re working upside down here…). I’ve done this in the past and it’s time consuming and tricky – you start to get into trouble with the mouth tray. This really only works when you have determined that the inner valance has a forming issue from the factory – which DOES happen!
D) Fabricate new, wider flanges to fill the gap with metal instead of adhesive. THIS was the best choice for this bonnet. If you add only as much width as you absolutely need to the flanges, they don’t look any wider than usual to the eye…
Follow along as we fab up a new set of center section flanges for this bonnet, and make sure that it gets assembled RIGHT – with a nice, tight bond on the adhesive, and just the right thickness!
SOME NOTES ON THIS FUN TASK! If you look closely in these photos, you’ll see another bonnet right next to this one. Last week, we assembled two bonnets at the same time so that they could both be glued at the same time (they both happen to be 1968 Series 1.5 bonnets that were converted here to Series 1 covered headlamp bonnets). The bonding is a BIG mess – and a dreaded task – it will reduce a grown man to tears – QUICK! Things start out clean and calm, but by about halfway through, the adhesive is EVERYWHERE!
For example – I went through 10 latex gloves on these two bonnets, and my right hand was still covered in adhesive in the end – which takes about a week to wear off. I got adhesive on my shirt, and then kept leaning on the wings and sticking to those… In the end, there was adhesive on my nose, chin, and lips…
You spend alot of time standing at the wheel well and leaning over to do the inner flanges, and by the end of the night, I couldn’t stand up straight. You have to bolt the flanges on as you glue them, and every tool gets covered in the adhesive…
You have to do each flange one at a time. The adhesive has a very slow cure time, really, but you need to smooth things out and get everything nice before it starts to tack up. The adhesive MUST be flowing nice and smoothly as you do this. Sometimes, you open a tube and it is already just a bit tacky – it’s not cured, but it’s not “runny” like it should be. You can also tell the tube has some partial curing issues because it’s hard to pump – you MUST throw this tube right in the trash – or set it aside and take it back if they will take it.
Last night was a great gluing session – it was messy, one tube was bad, but both bonnets came out really great, and there was no screaming or violent throwing of the caulk gun – which is basically the measure of success for this job!
Some of you will never do this or need to have it done. Some of you will have it done by me or someone else. But a few of you will do this yourself someday – and about half way through, you’ll say to yourself, “Oh my God, I thought he was just being dramatic…” Good Luck!
-
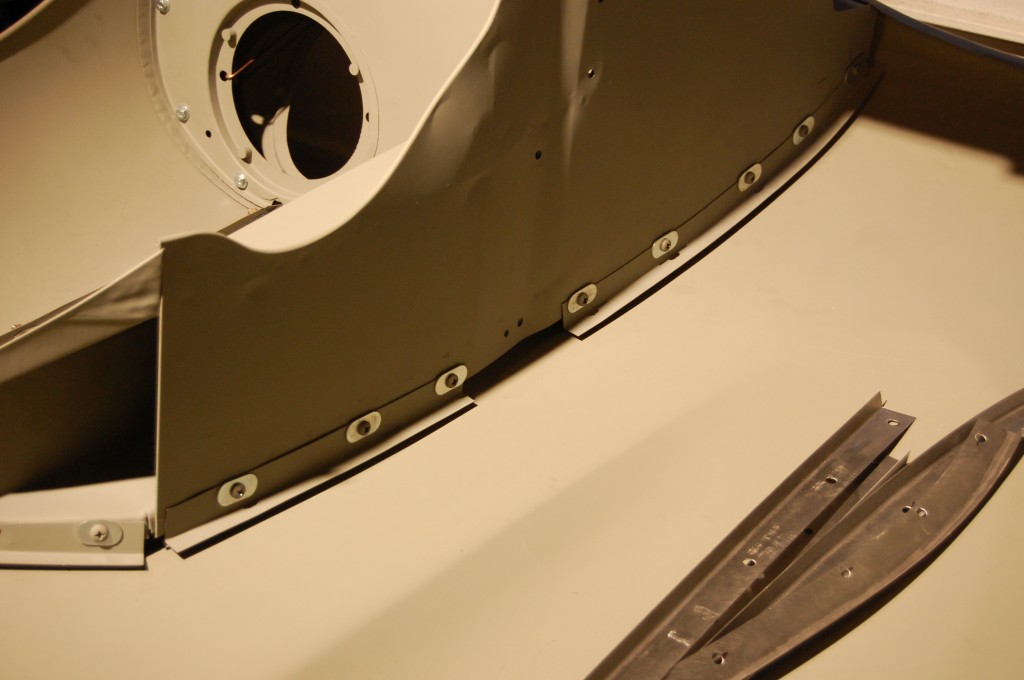
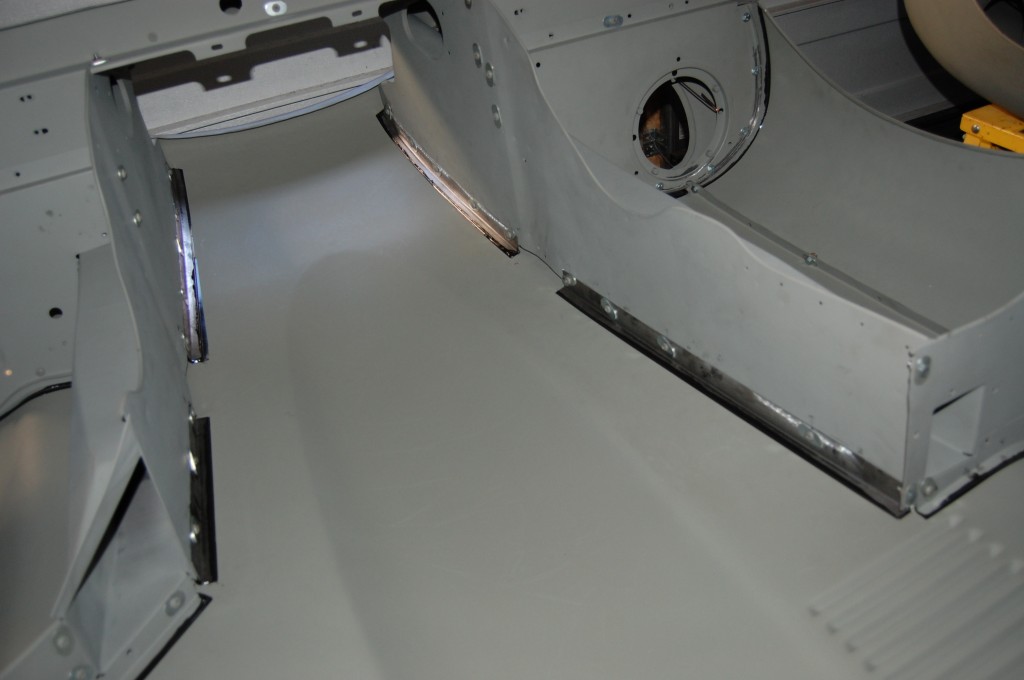
- Well, you can see that I put the stock flanges back on just for the photos – becaue the new flanges are right there! I wanted to show the difference, though, so I put them back on and slid them as close to the skin as I possibly could to show what we were dealing with. I did not notice the dents in the inner valance wall until I saw this photo! Thos are going to need a little smoothinbg when we do the final assembly. See – the camera coupled with grey primer can be VERY deceiving – don’t forget that when you see “good” bonnets on eBay in grey primer – trust me, they ALL need total restoration!
-

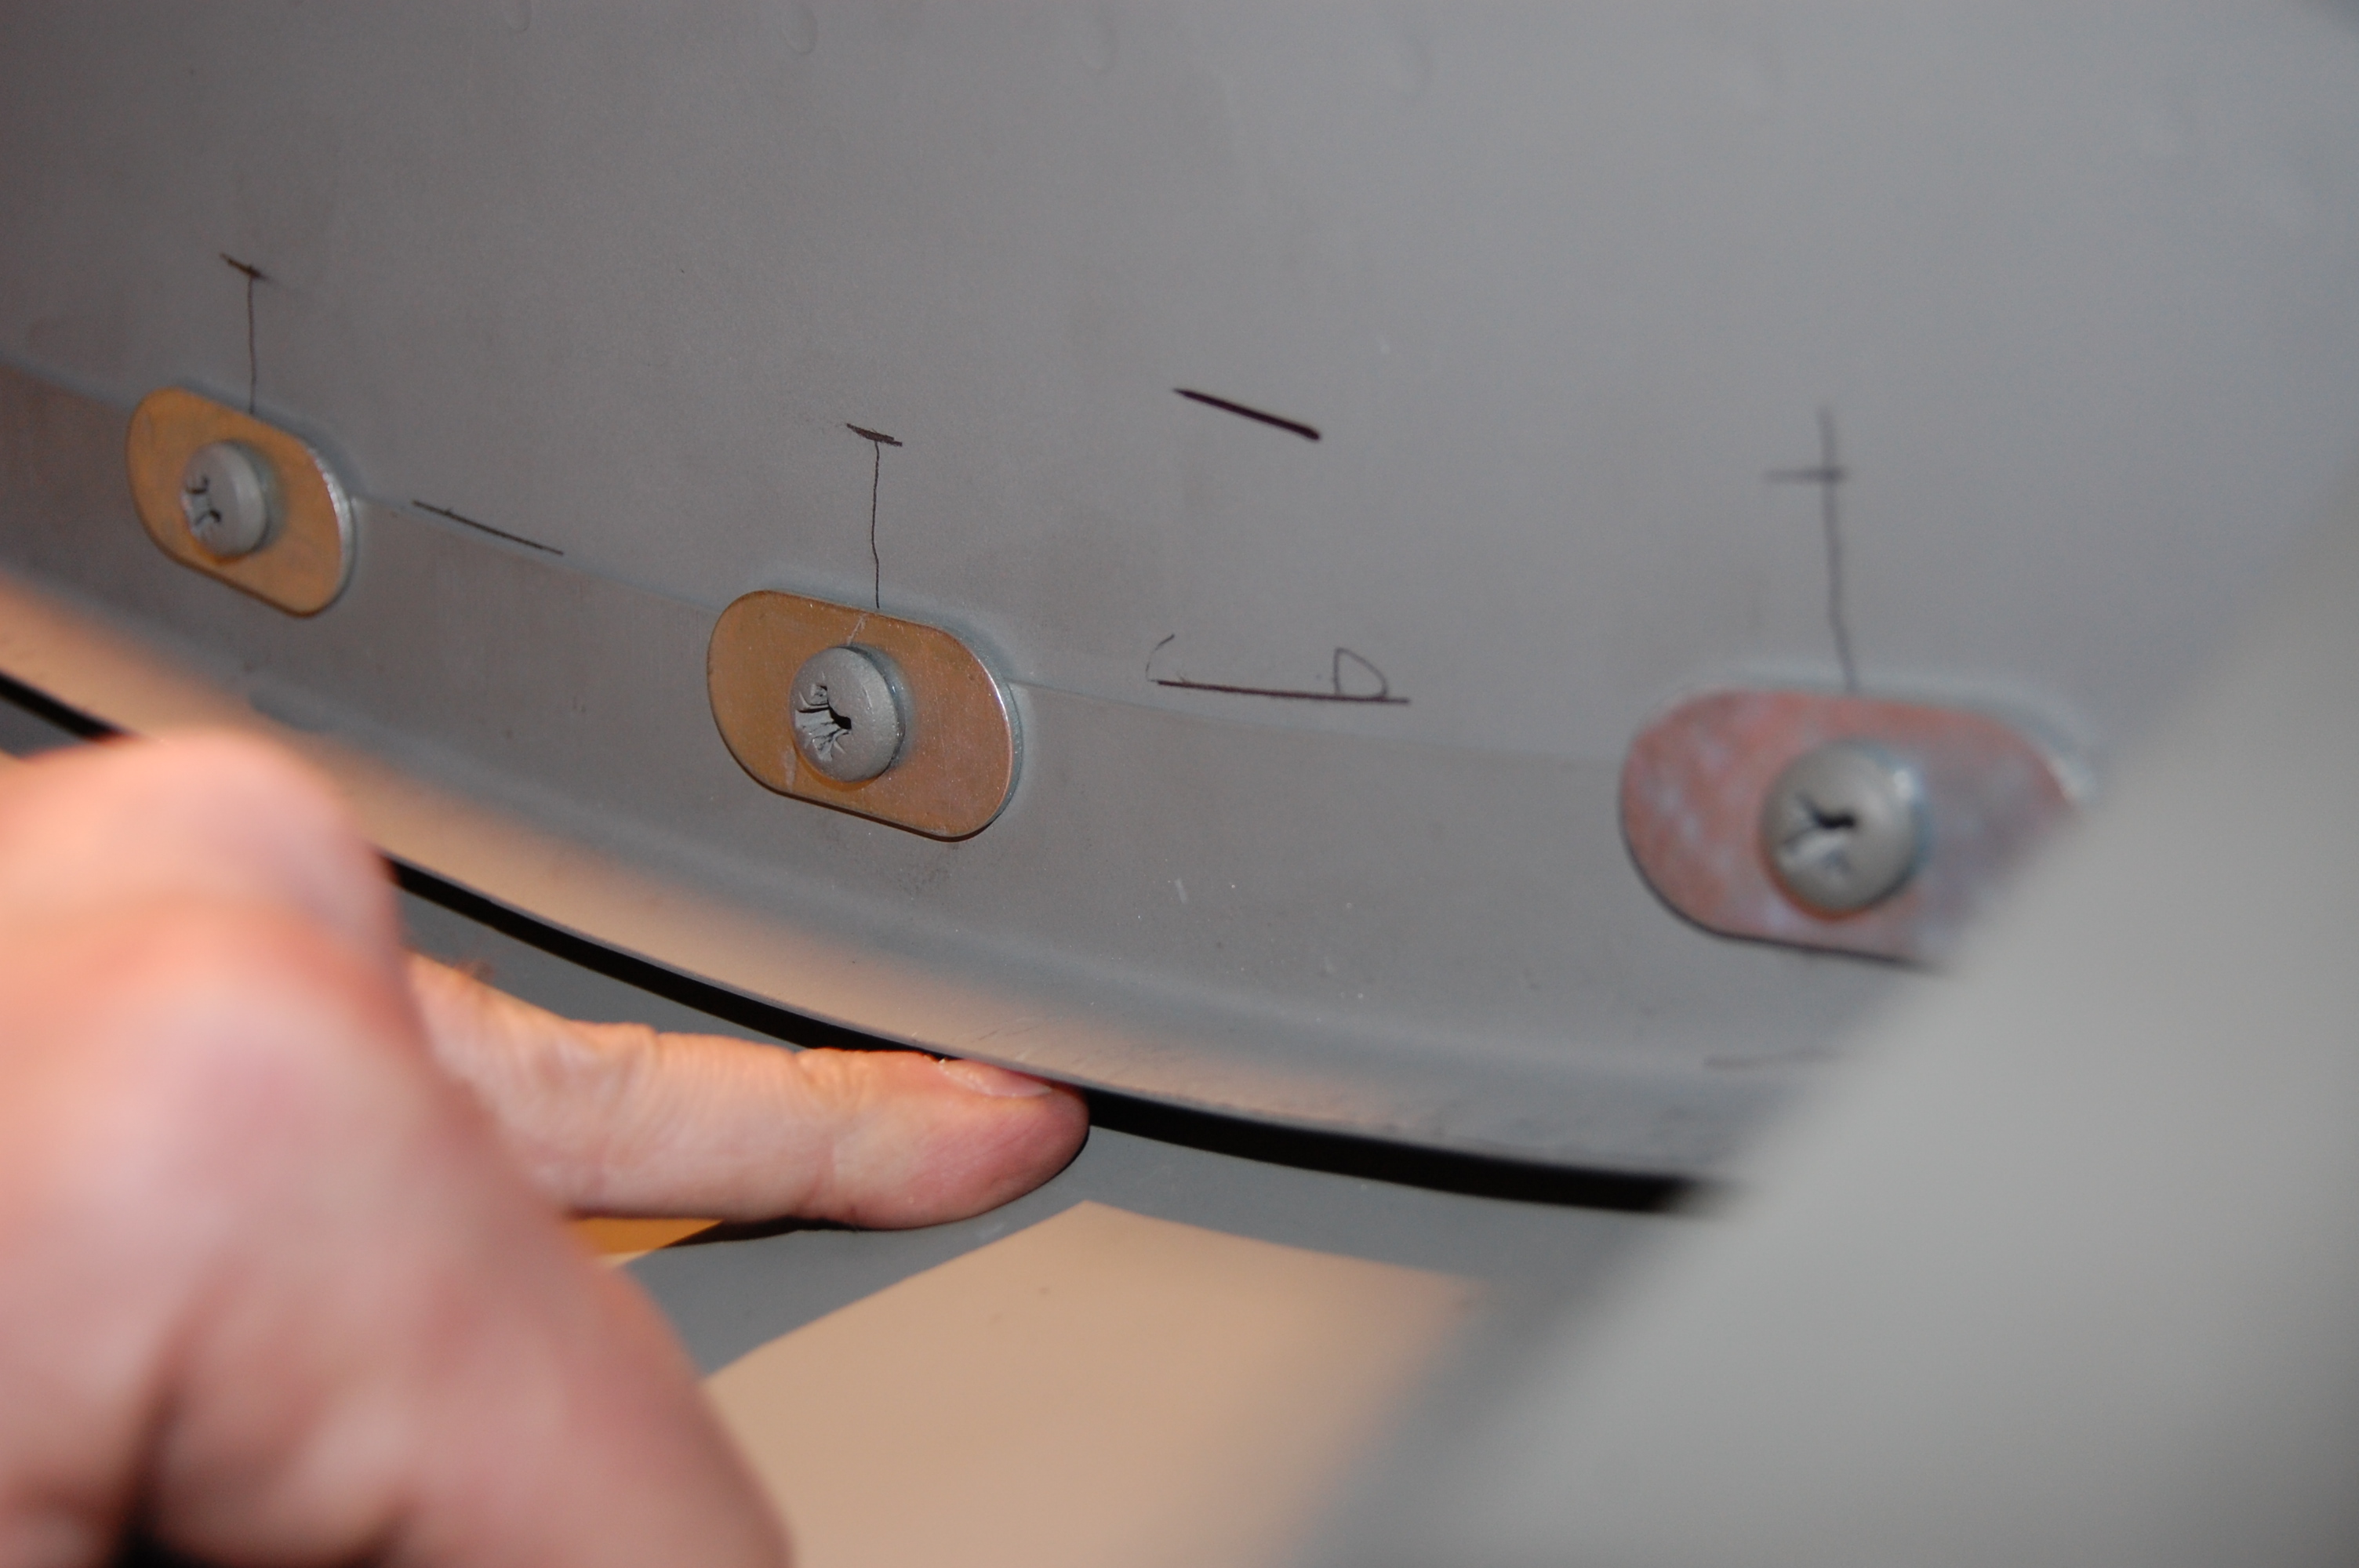
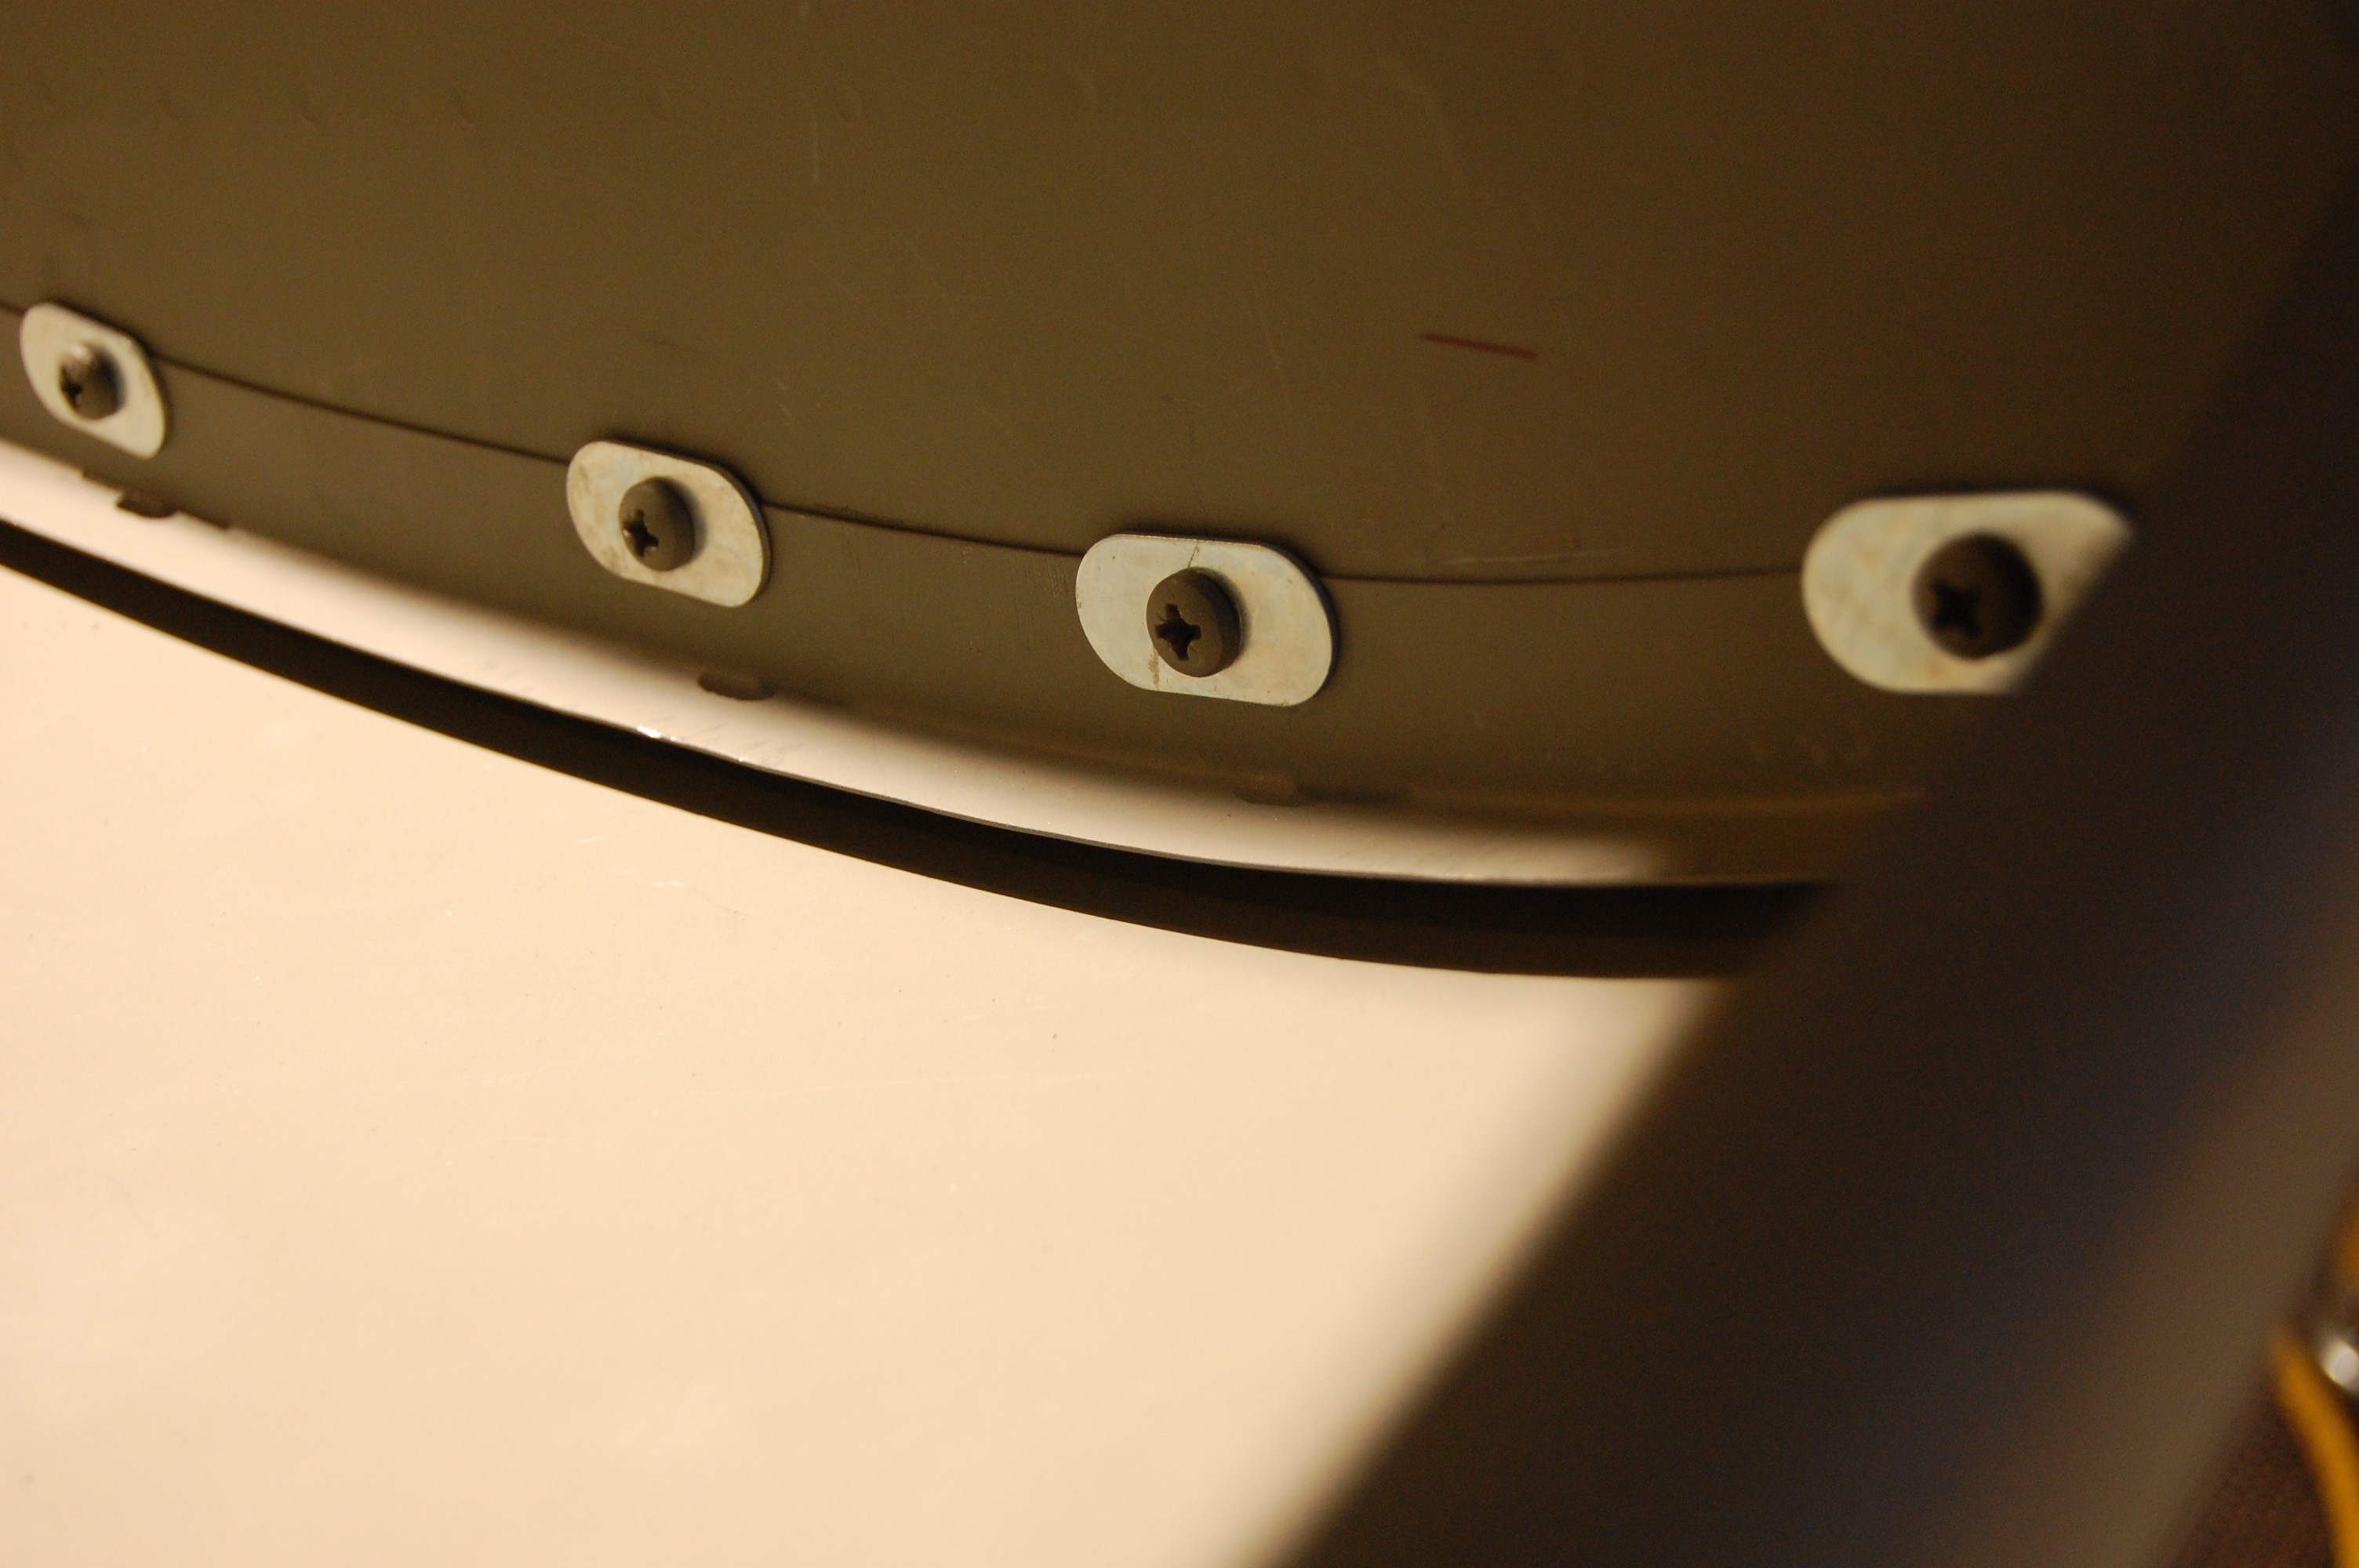
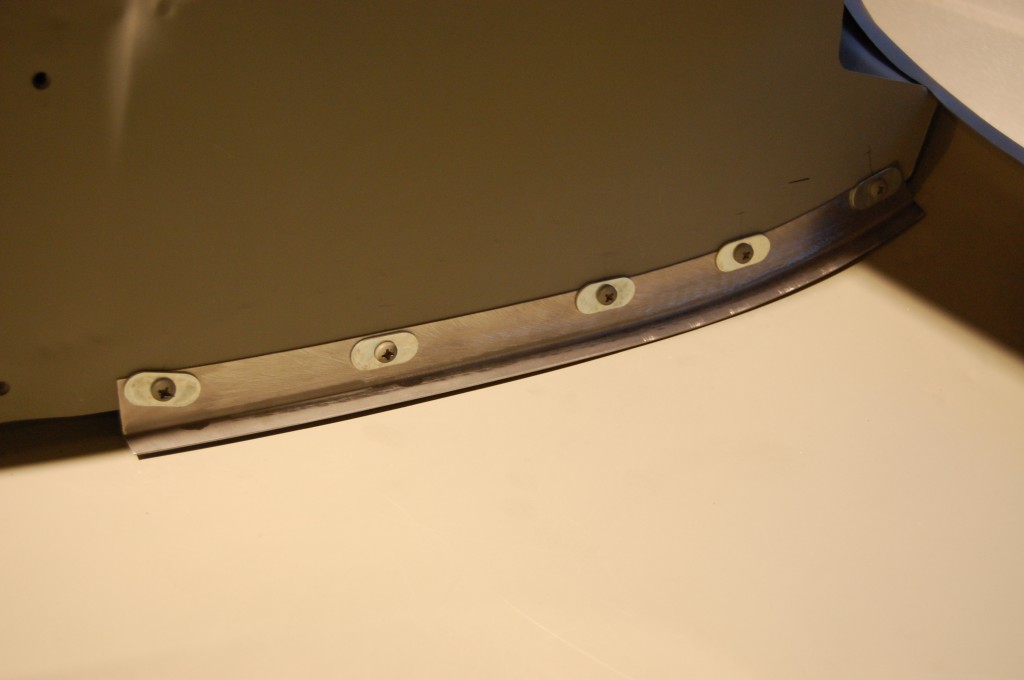
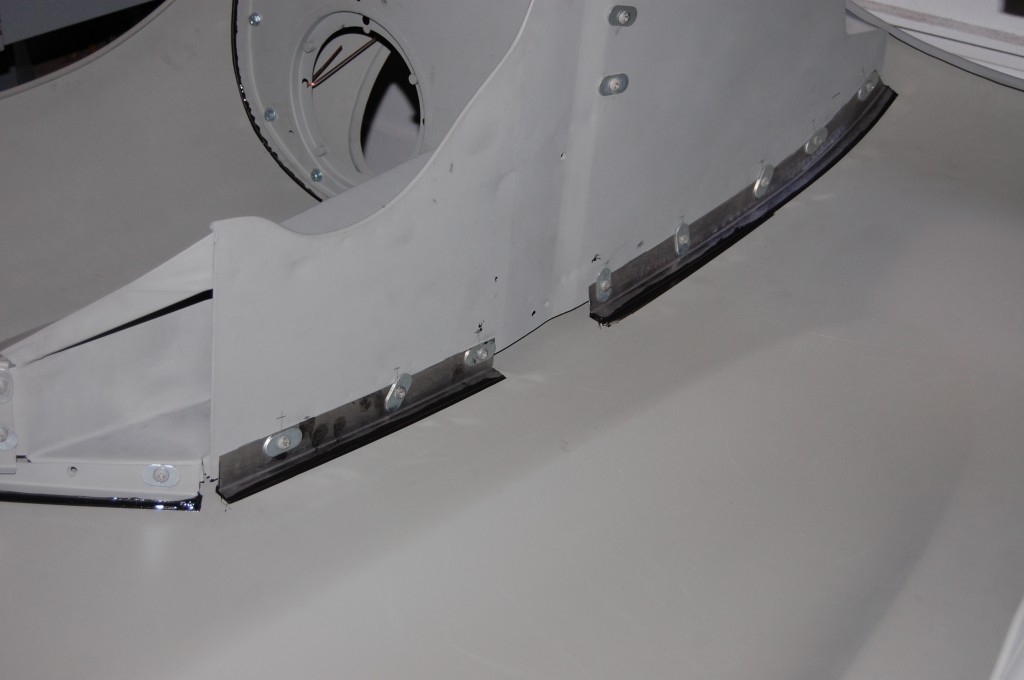
- Here was our widest gap – just a tad under 1/2″ here, and we’ve already slotted this flange and moved it toward the skin as far as possible. Look at the oval washers hanging off – NOT acceptable…
-
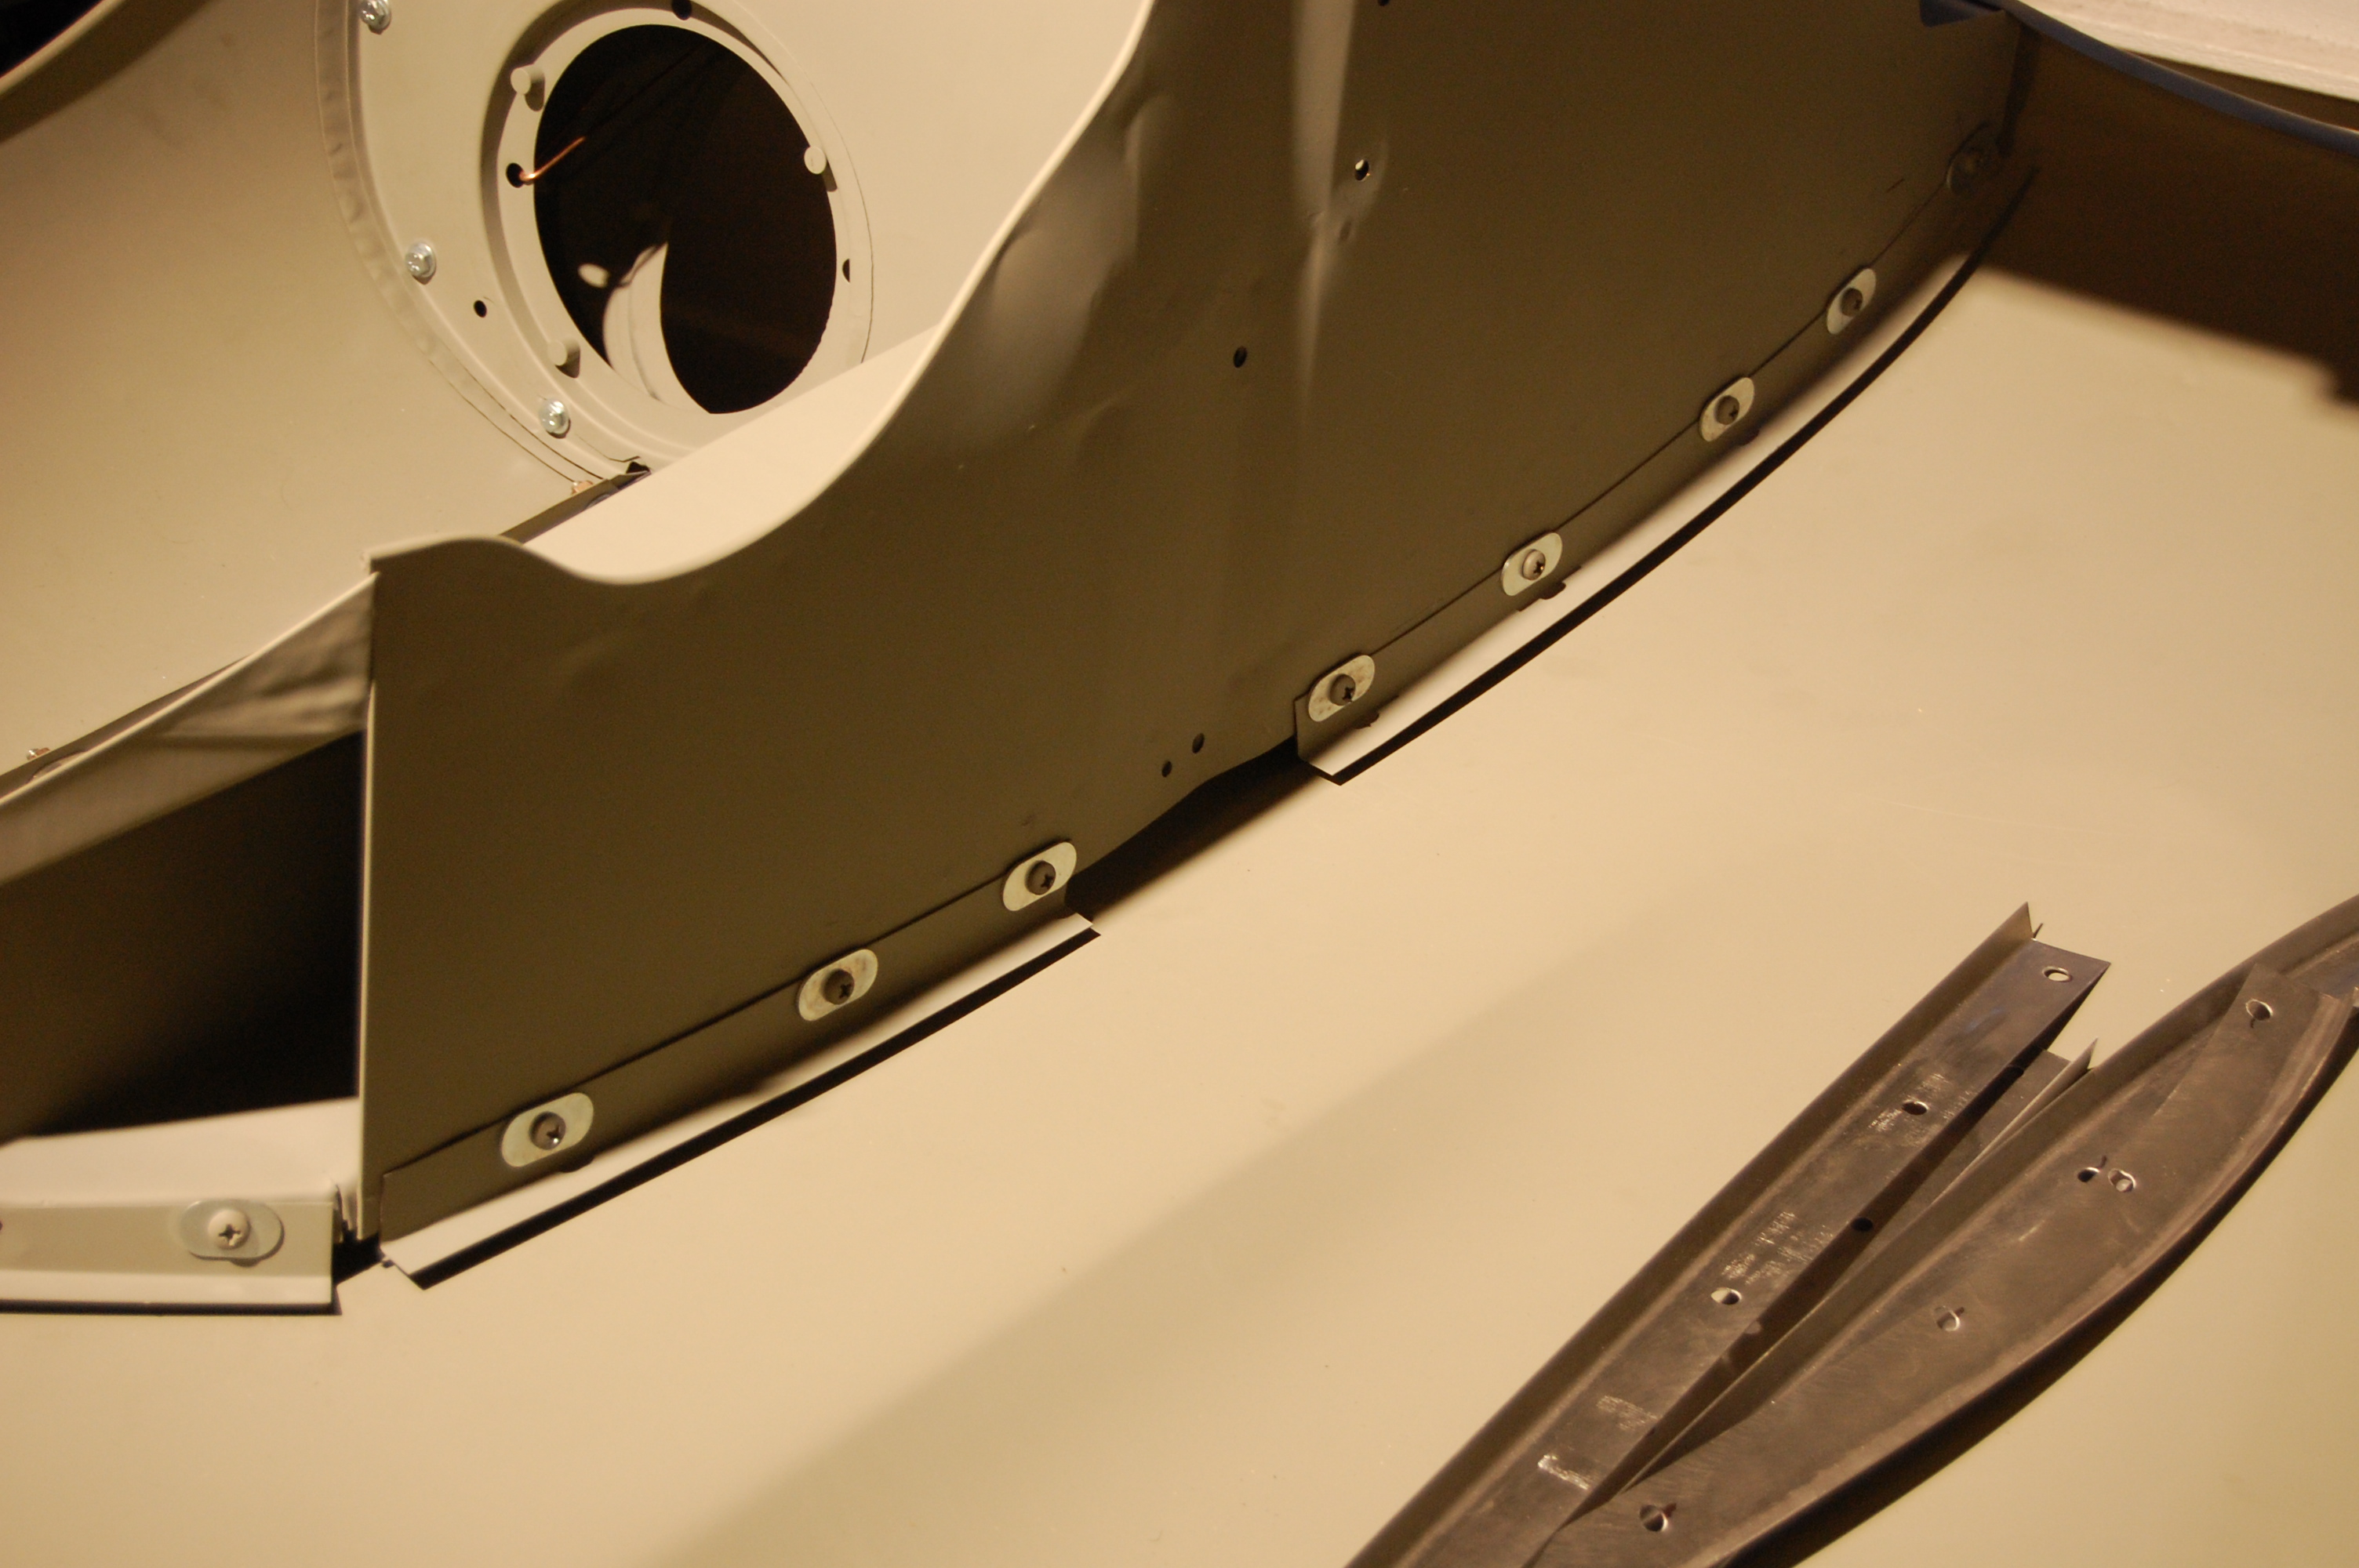
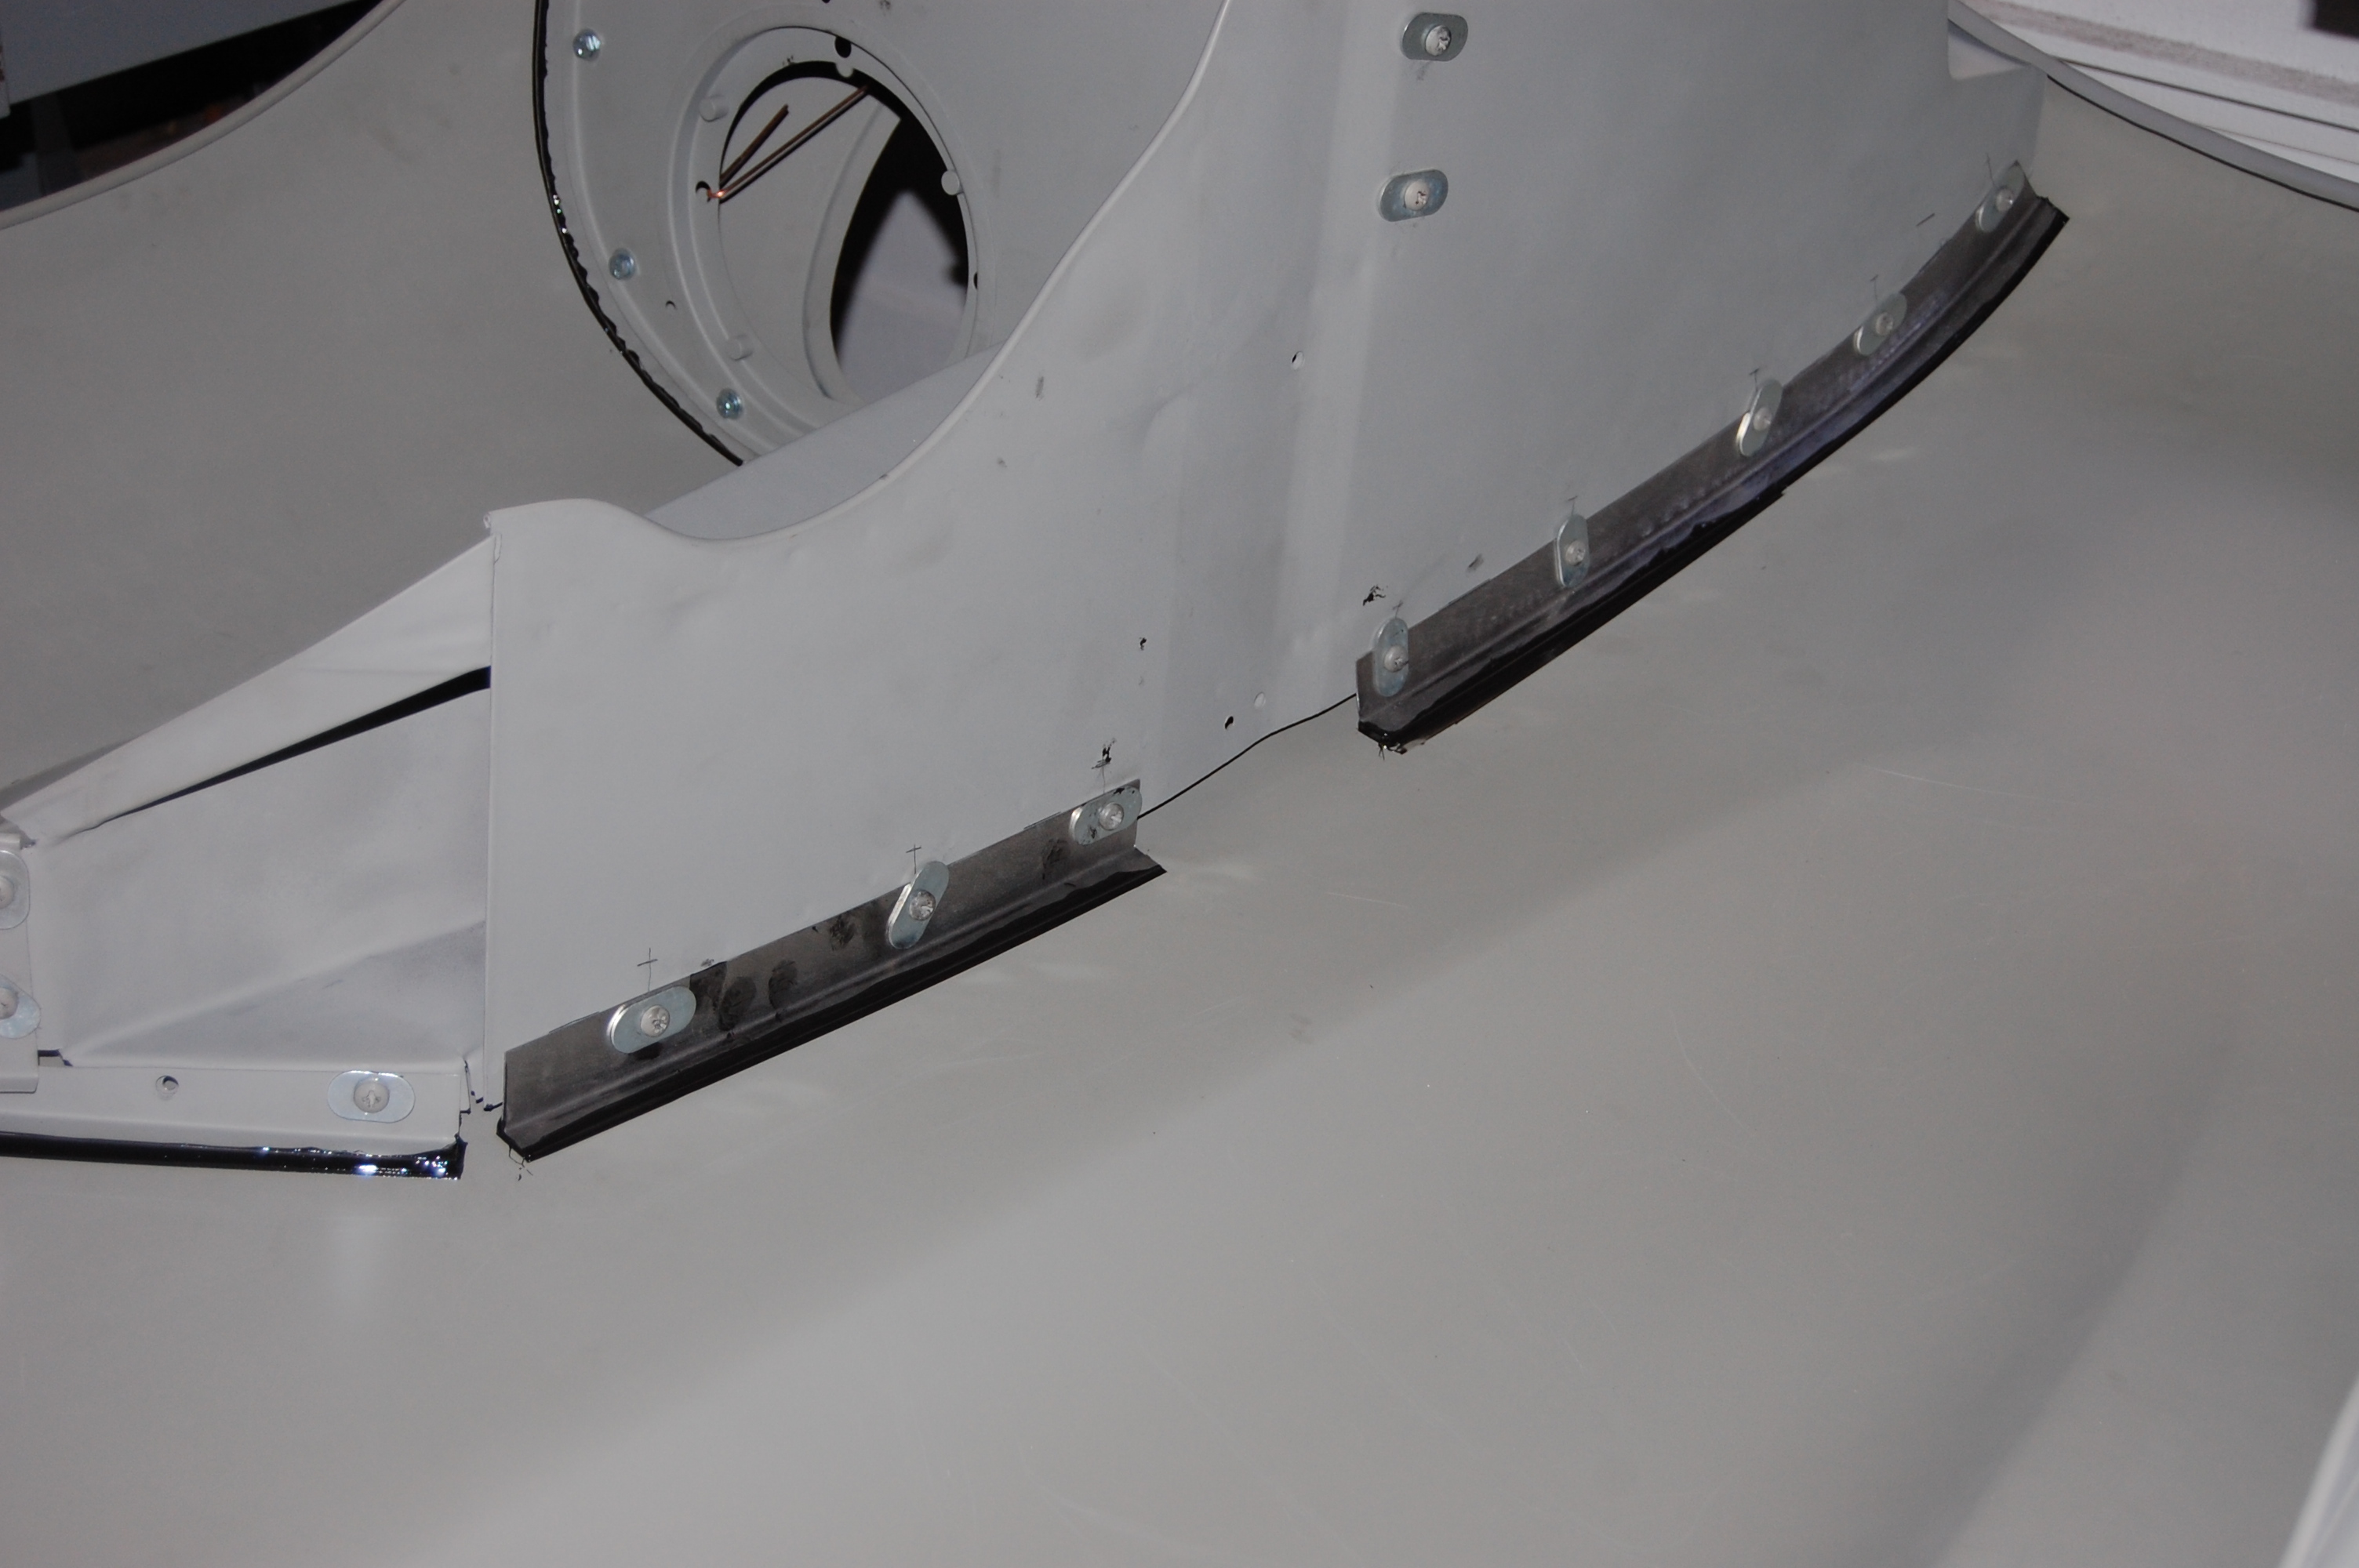
- Here’s another shot with better shadows to show the gap and oval washers.
-
- We could have made due with the stock long flange, but a wider one to match the others will look better, and it will aloow us to get the oval washers away from the edge.
-

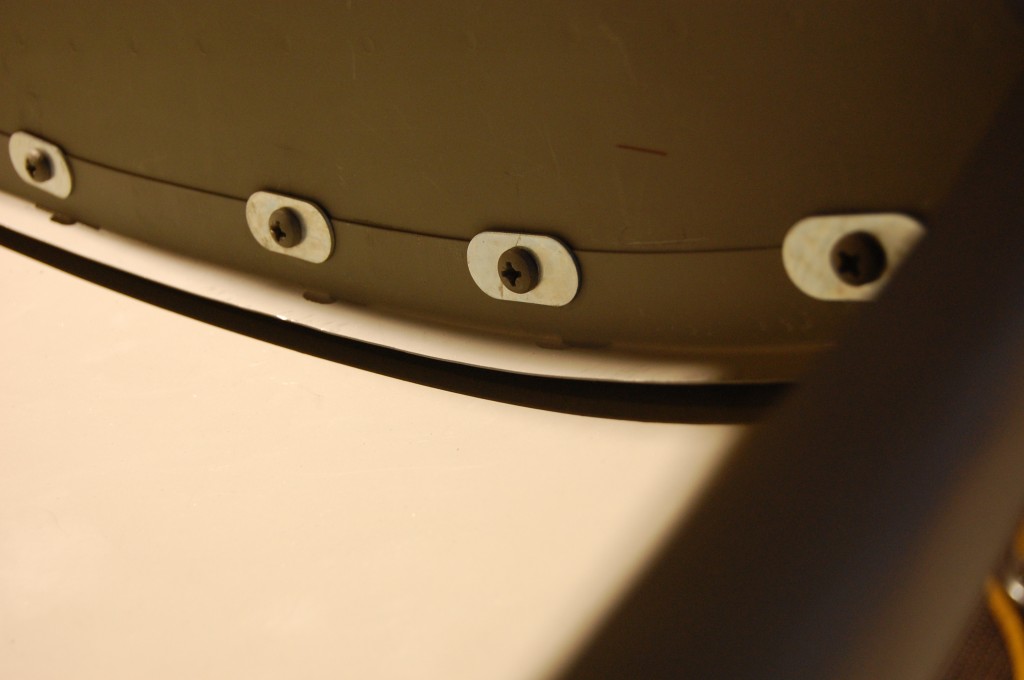
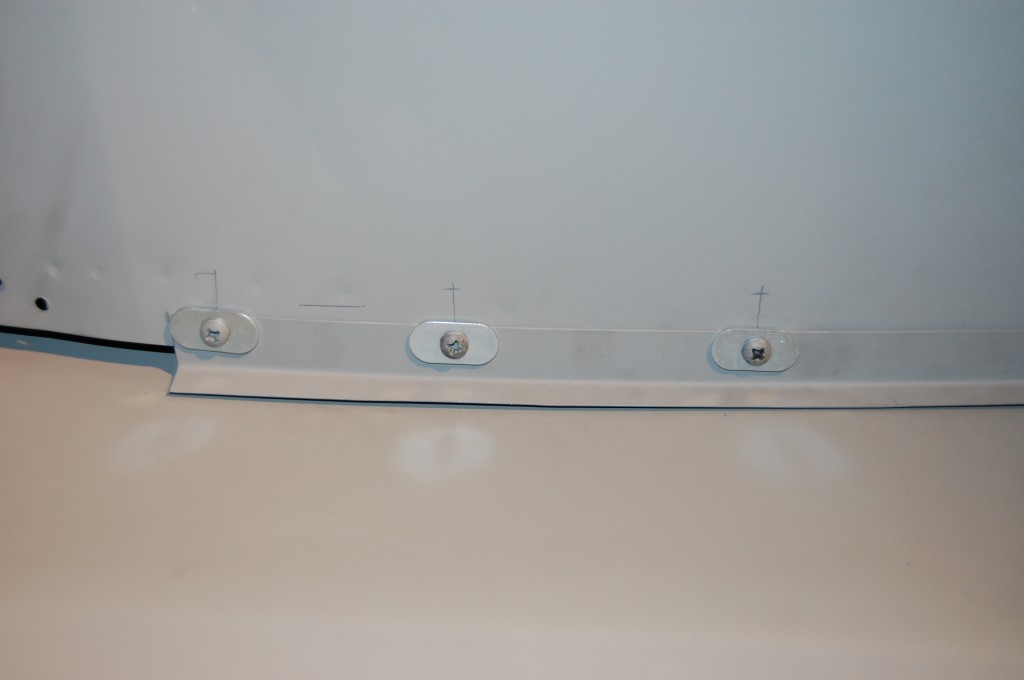
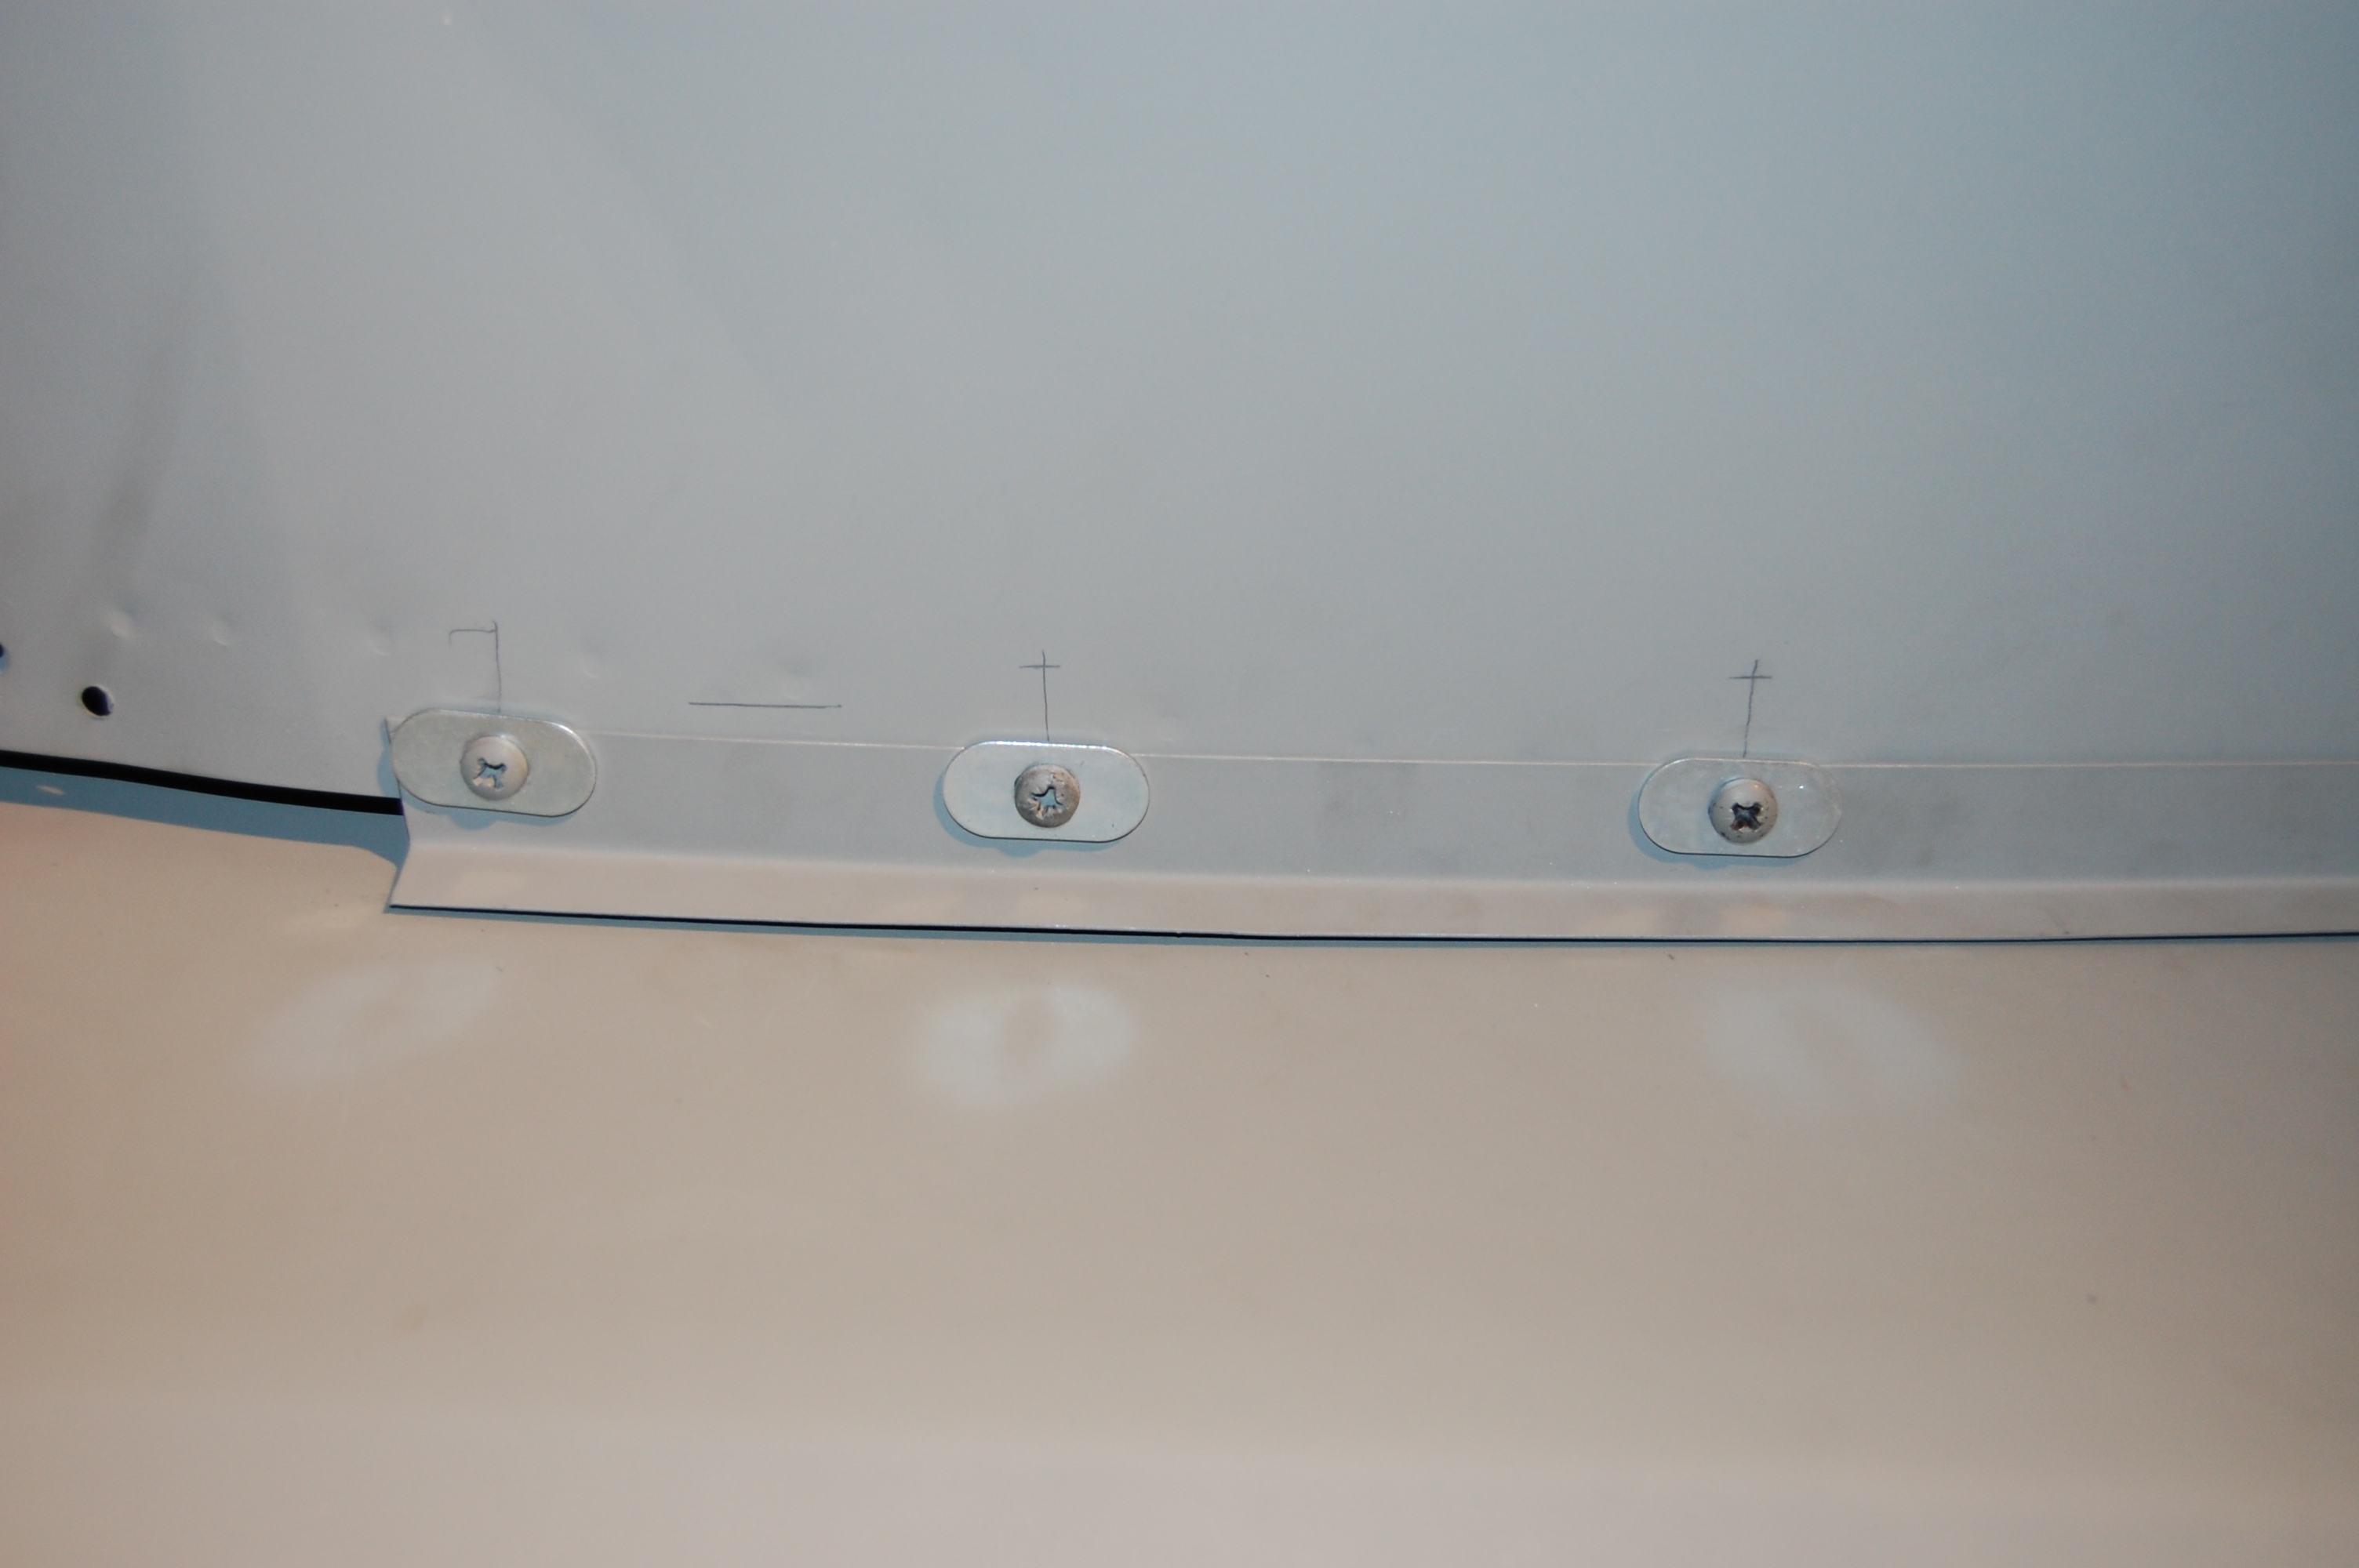
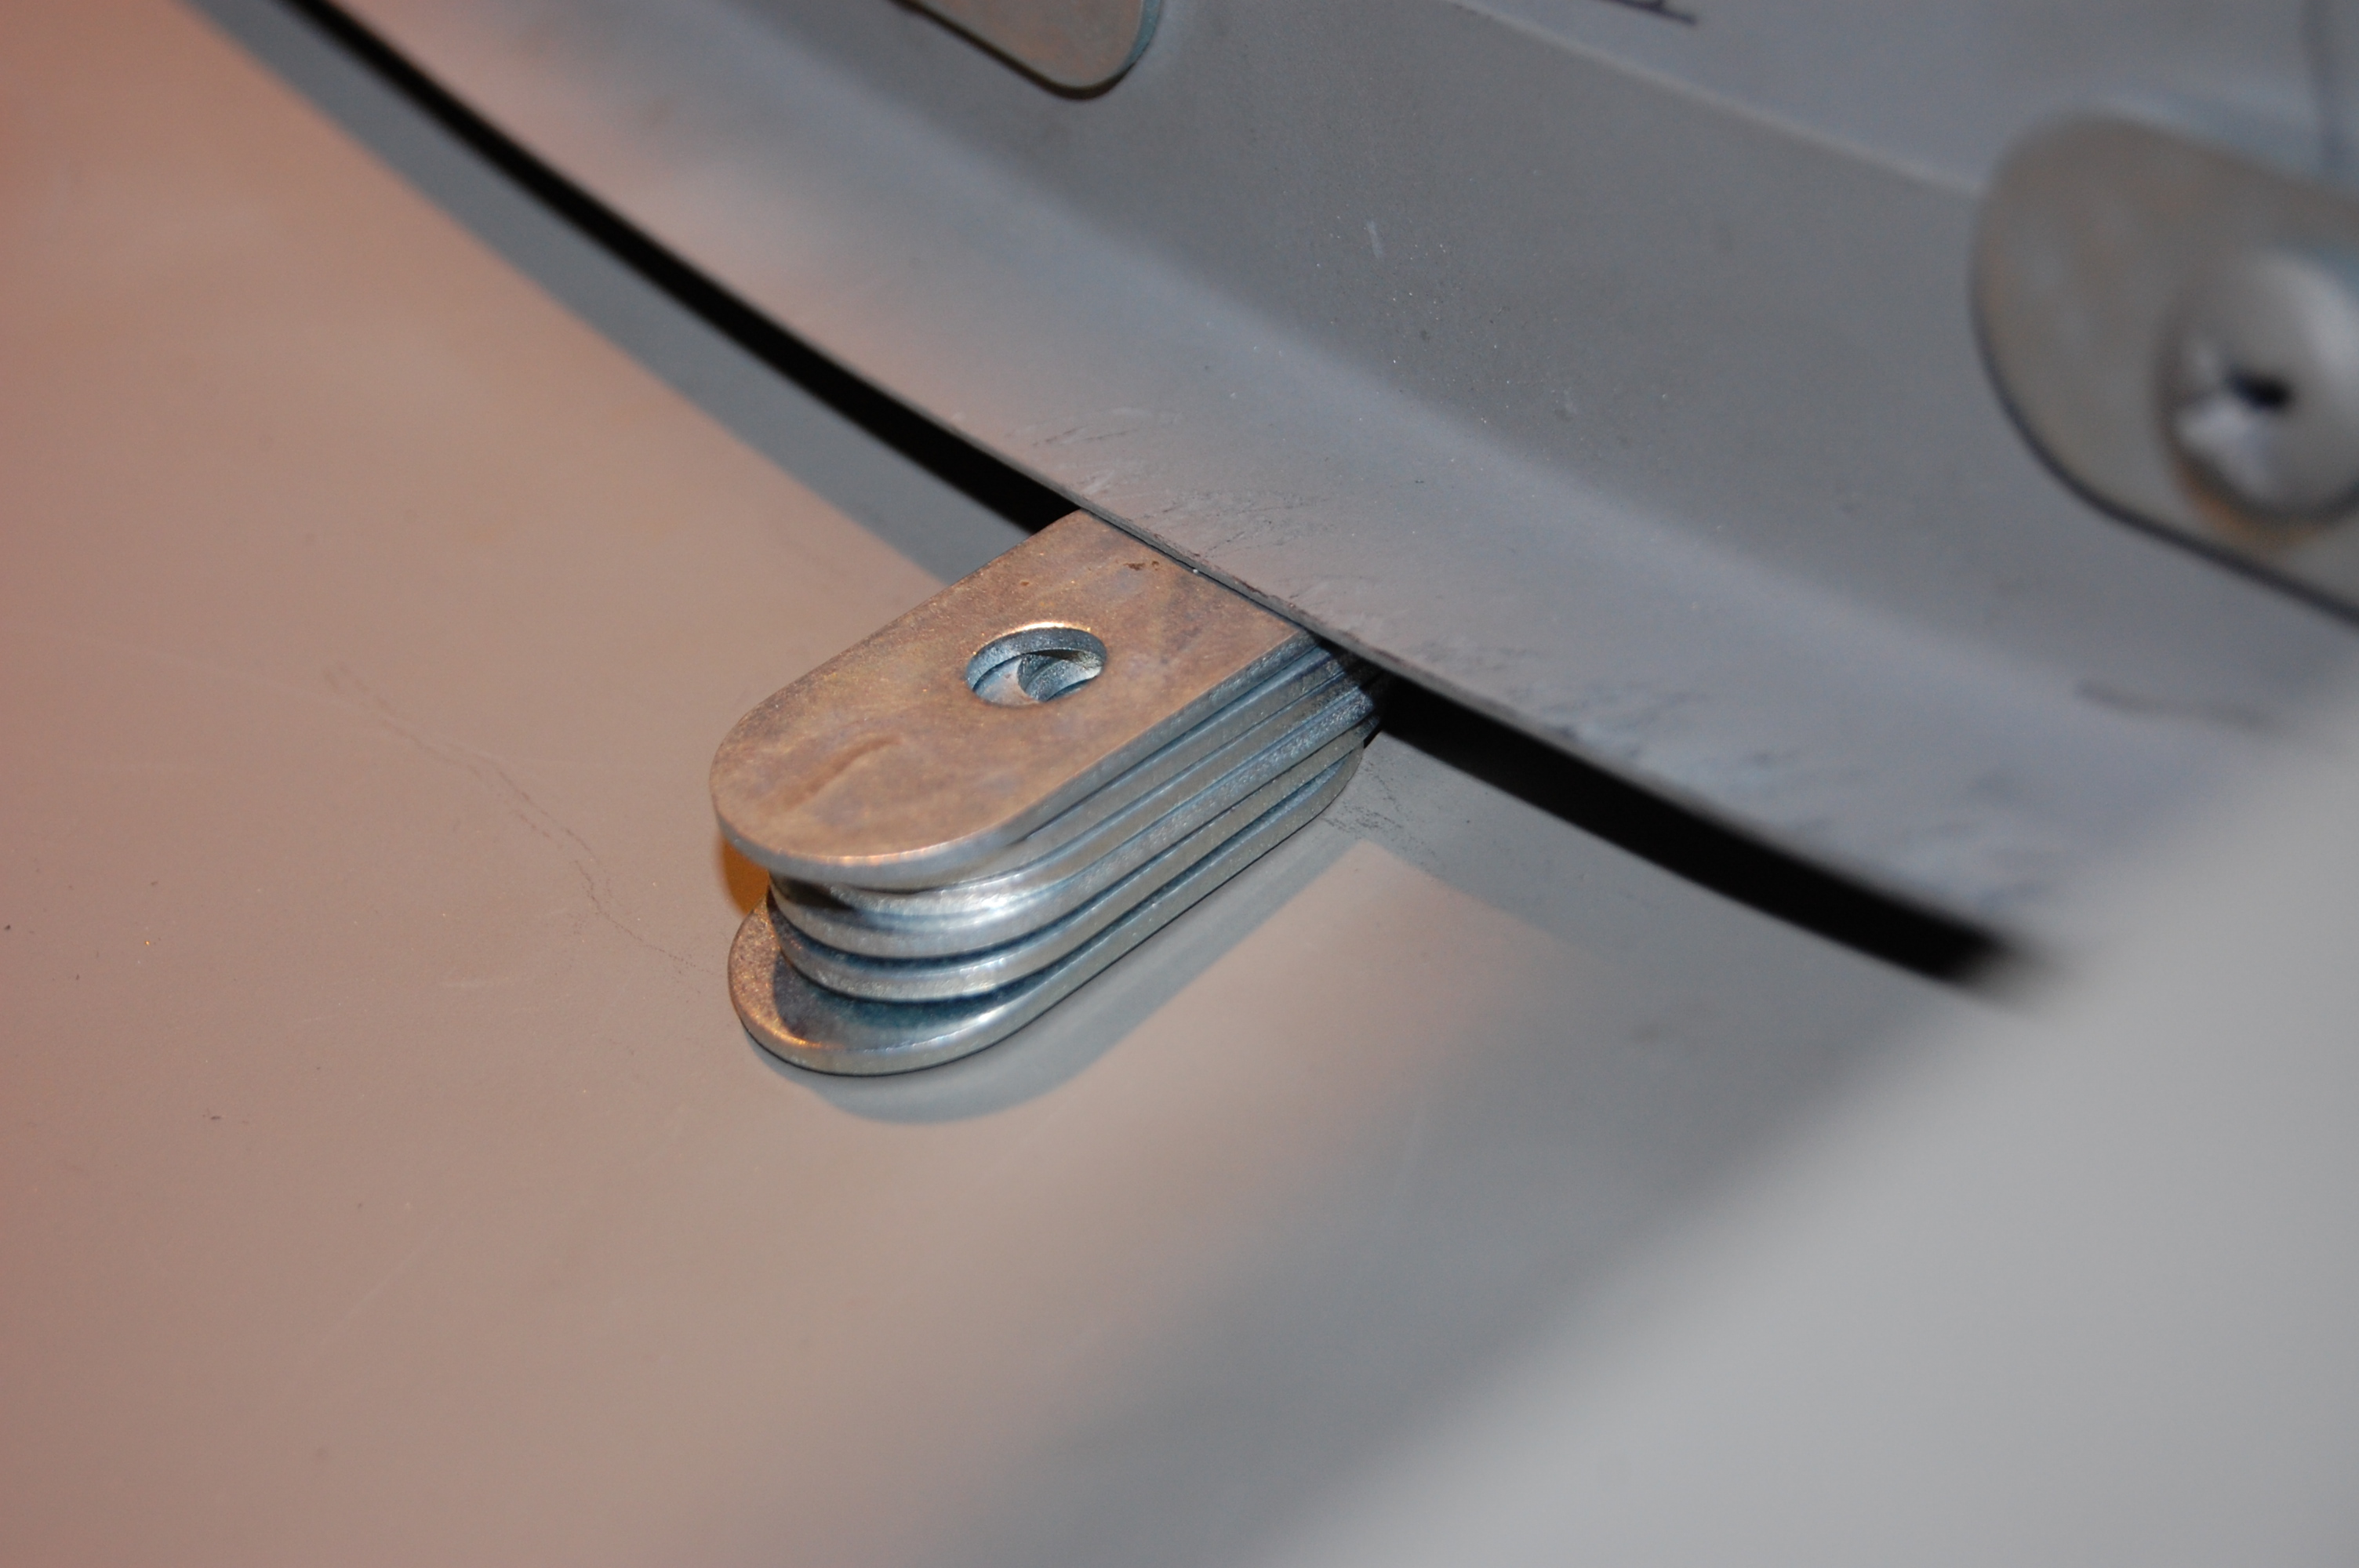
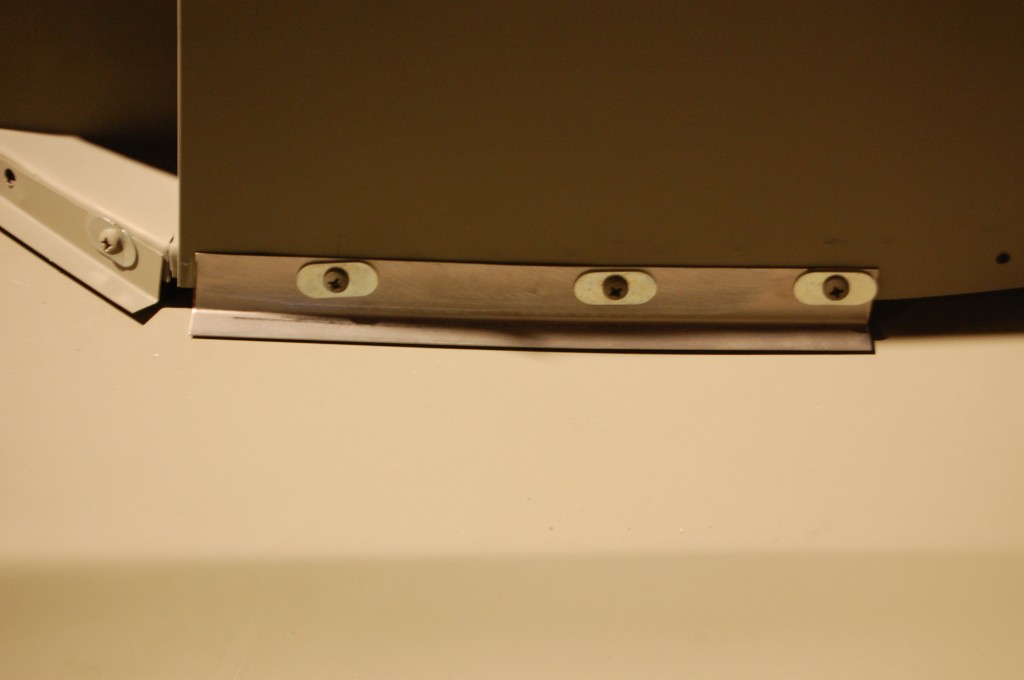
- This is the end of the shot straight flange – 5/16″ gap here was the best we could do.
-

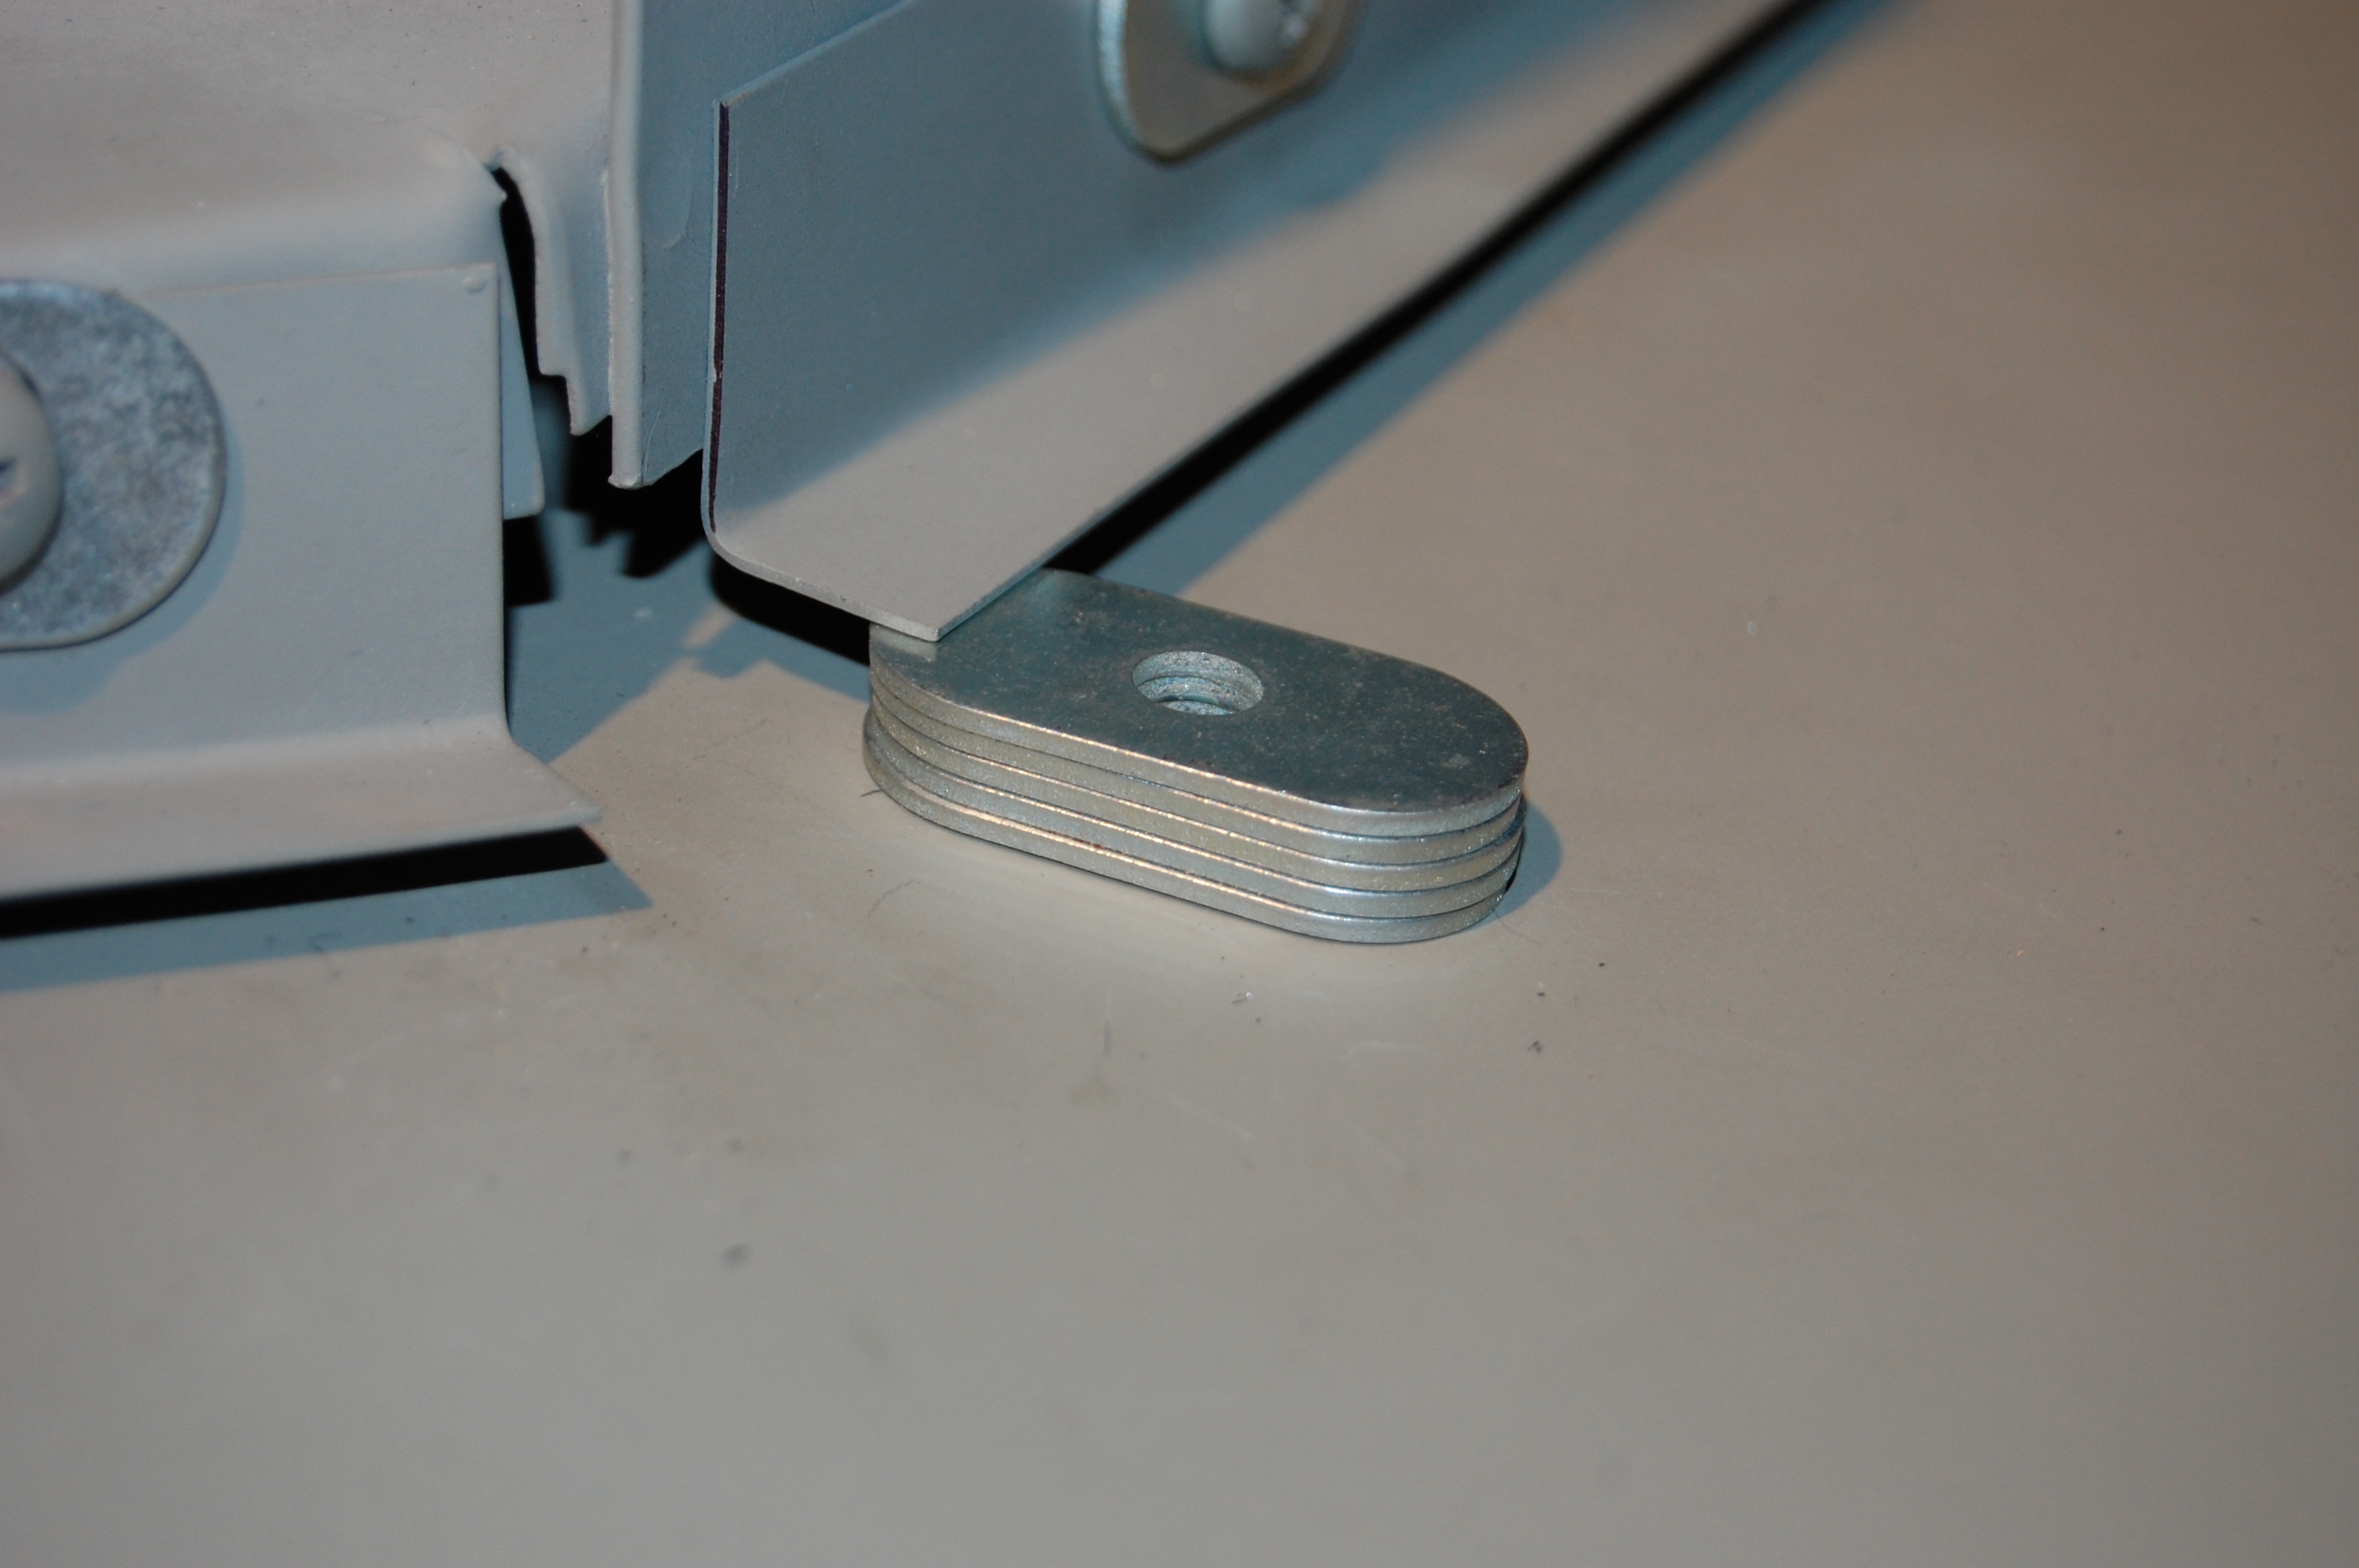
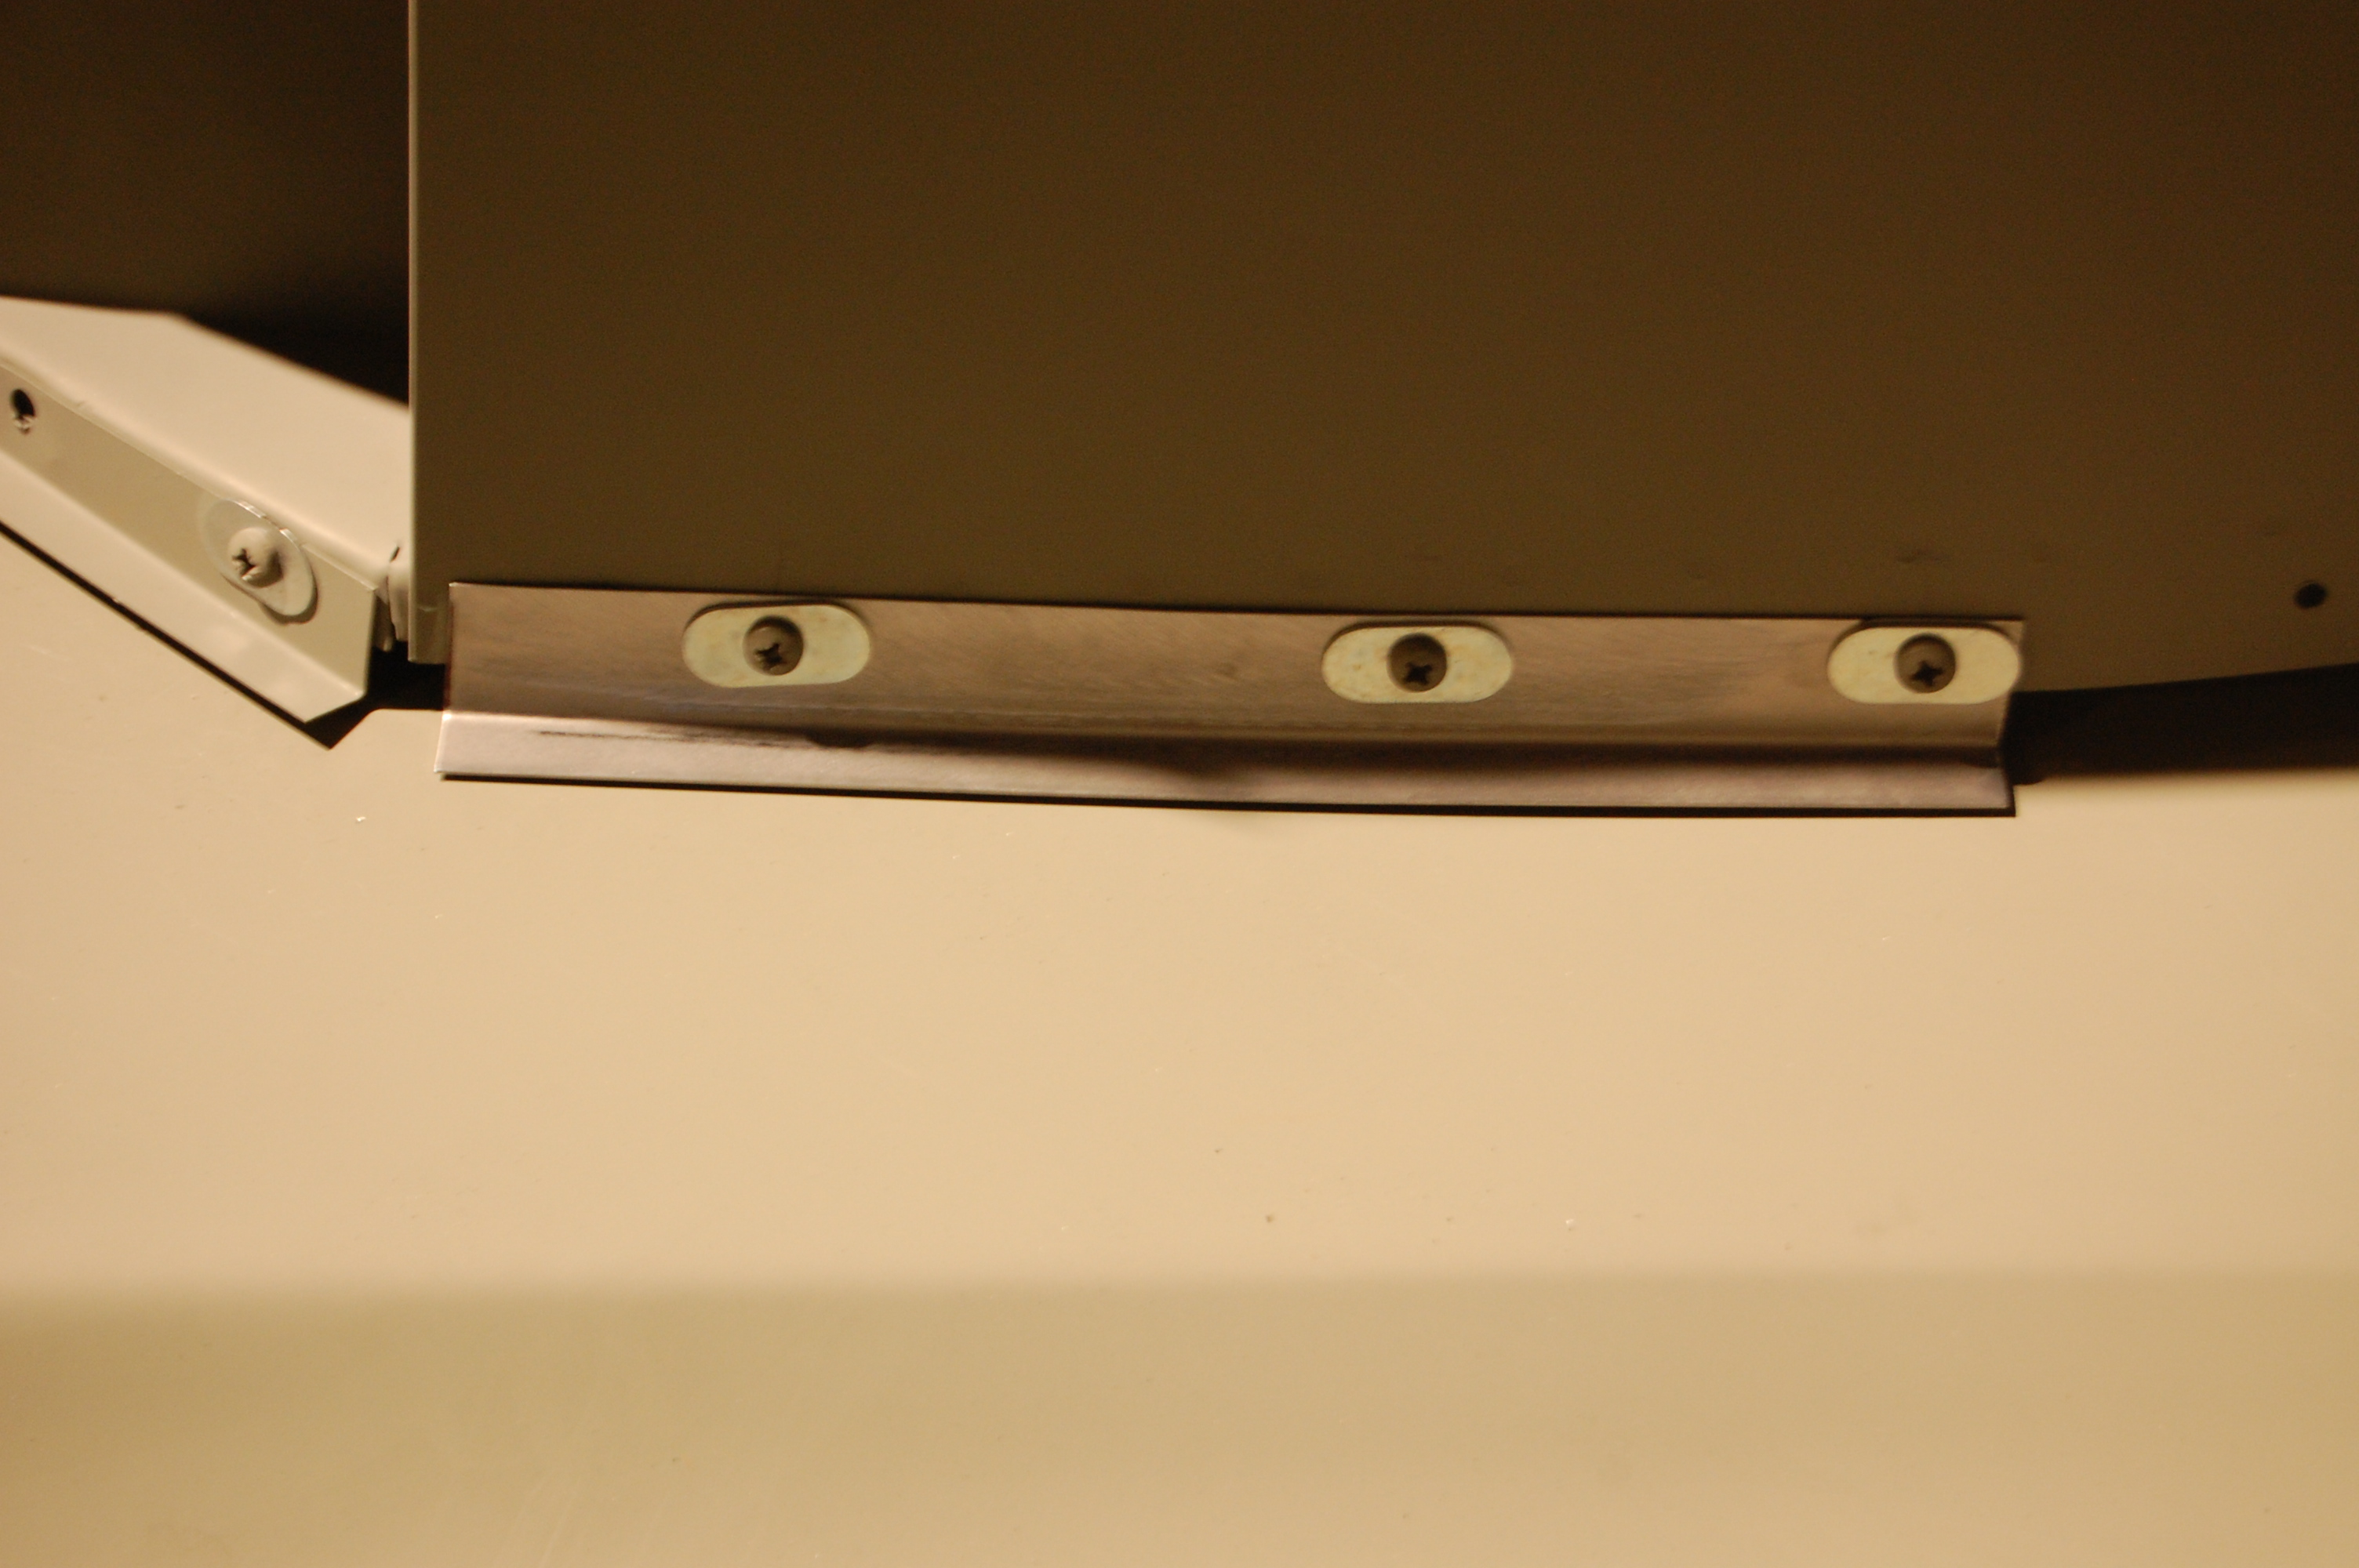
- That’s a BIG stack! This picture right here shows why we had to bite the bullet and make the new flanges – look at the stack AND the oval washer vs. the edge of the flange. You might say, “Well this inner valance is just bolted in there wrong!” – that’s not it. The curvature of the center section after the wreckage ius causing this – but it’s right. I know that doesn’t make any sense, but you’ll see that the bonnet looks great in a later post. This is just how it all fits together now after all of the adventures this bonnet has been through…
-
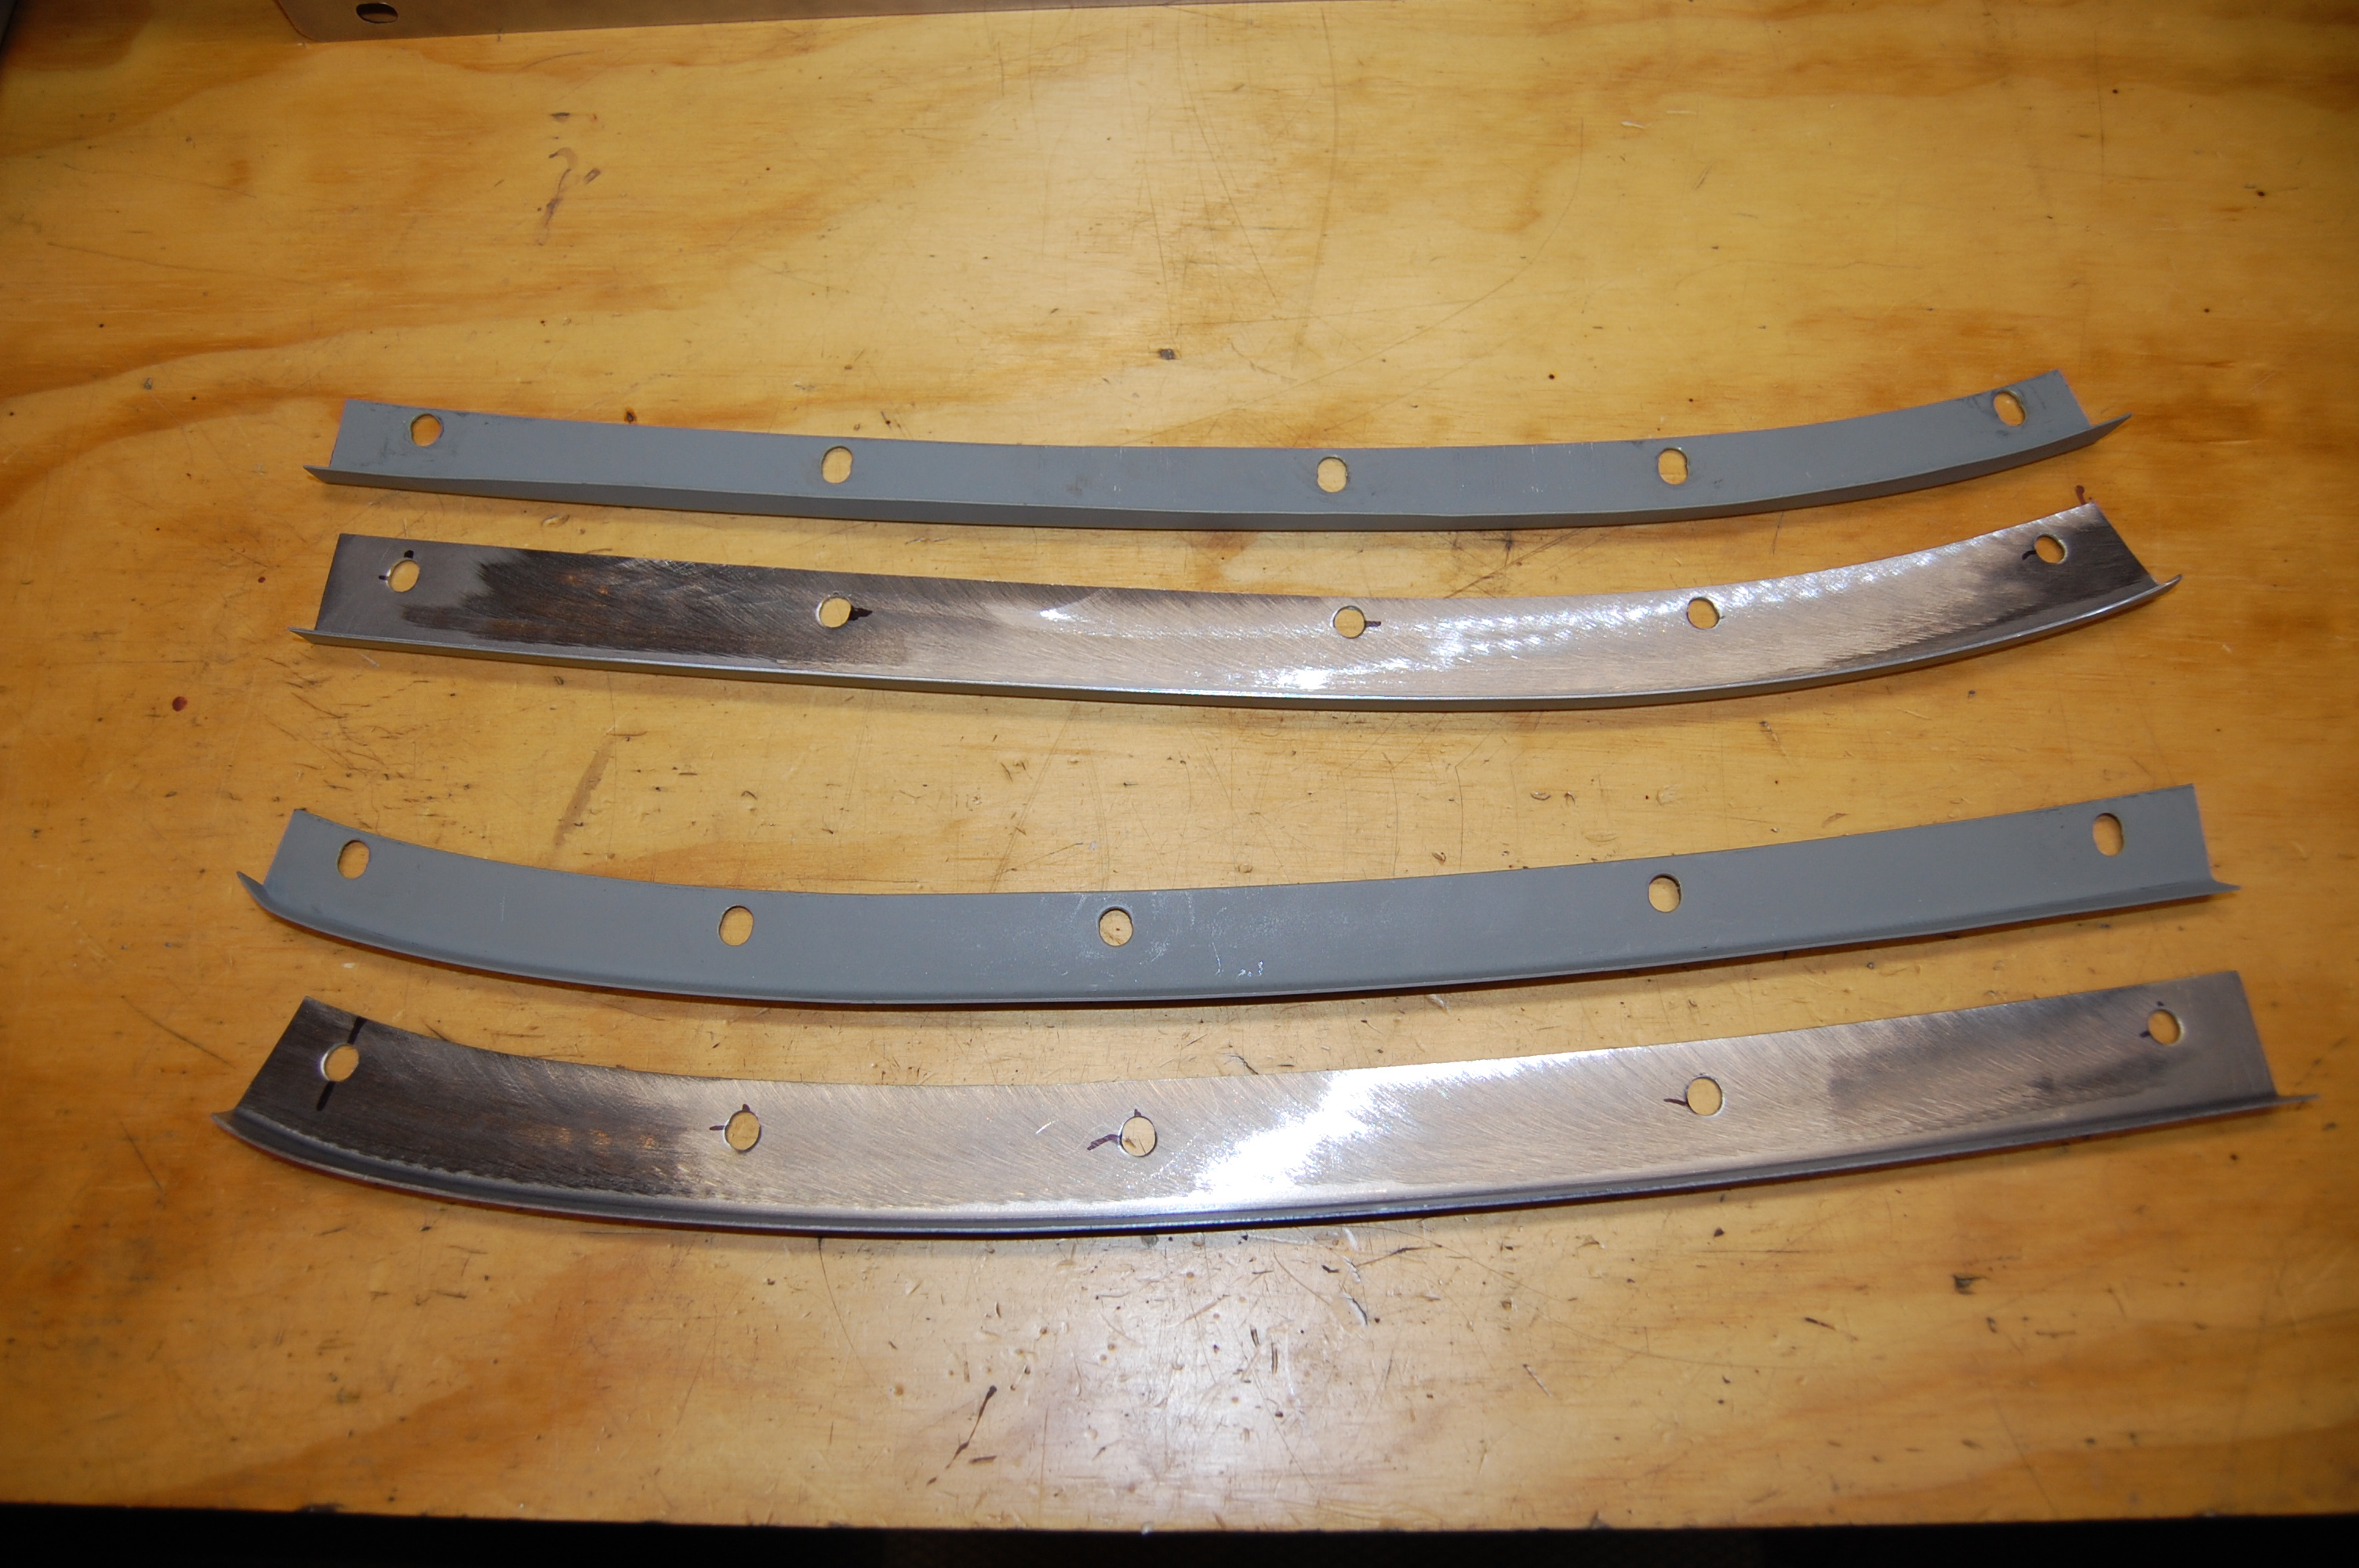
- Here are the new and old flanges for comparison.
-
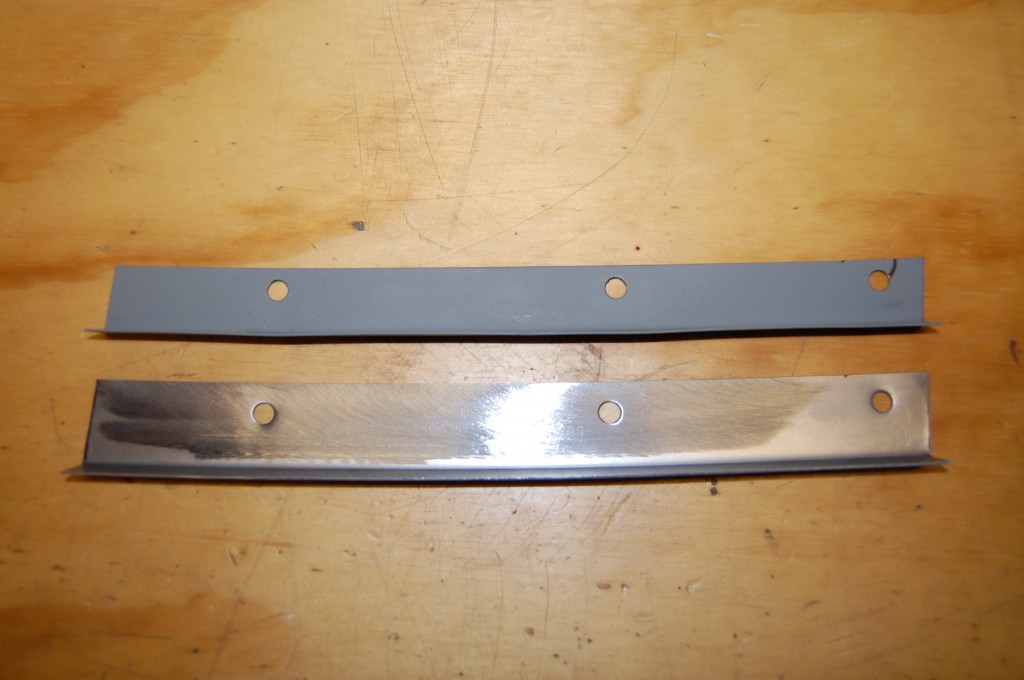
- The short one probably stands out the most for it’s added 1/4″ of width, but it actually looks pretty normal bolted on.

-

- Here’s one of the new forward flanges fitted into place – that’s MUCH better!

-
- Other side – I eliminated the flash here to show the gap – just a little under 1/8″ – perfect!

-
- The short flange has the right gap now too. The oval washers are still right at the edge, but not OFF the edge – which screams that there is a problem with the fit…
-
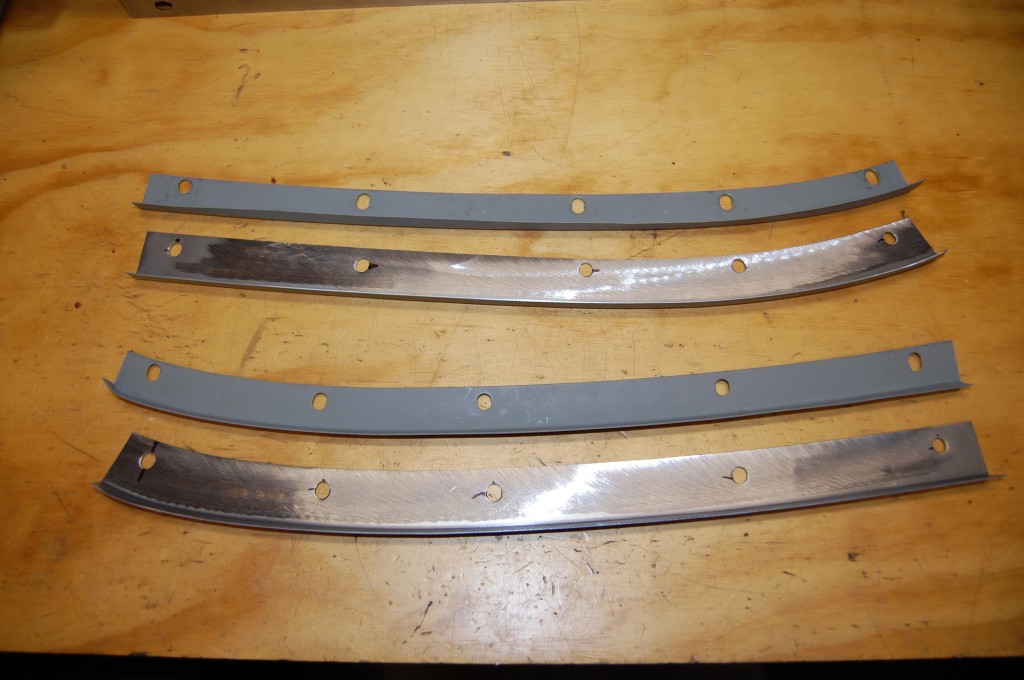
- Here is the full set of 4. We could have maybe gotten away with the stock flange on the long one on the heater side, but it was importatnt that the width of all 4 of these flanges was the same – that way, you don’t notice that they are wider.
-
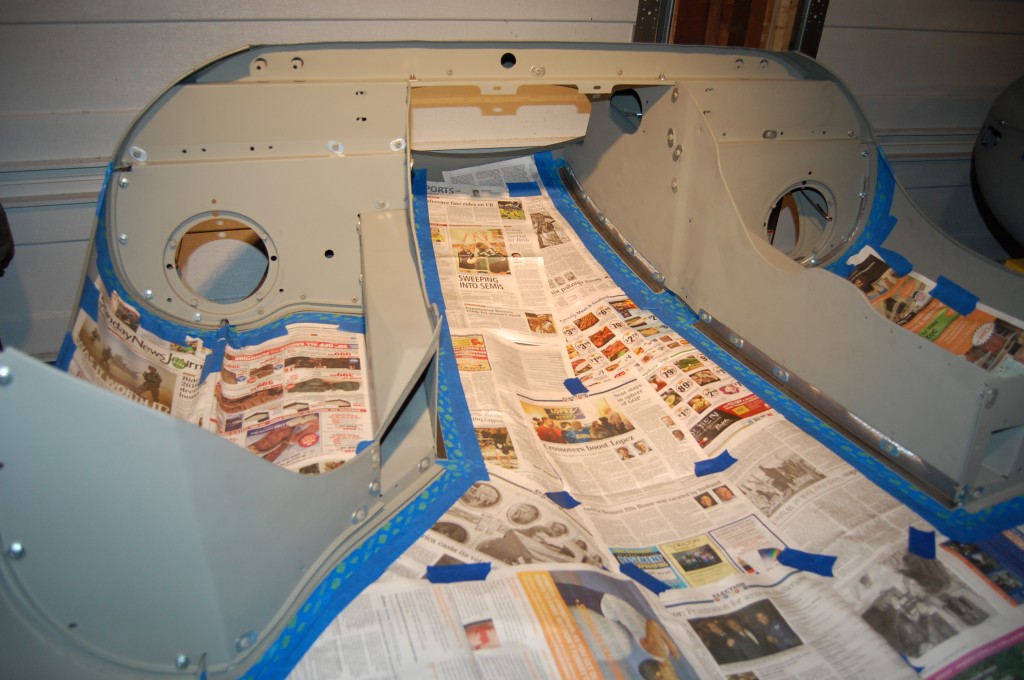
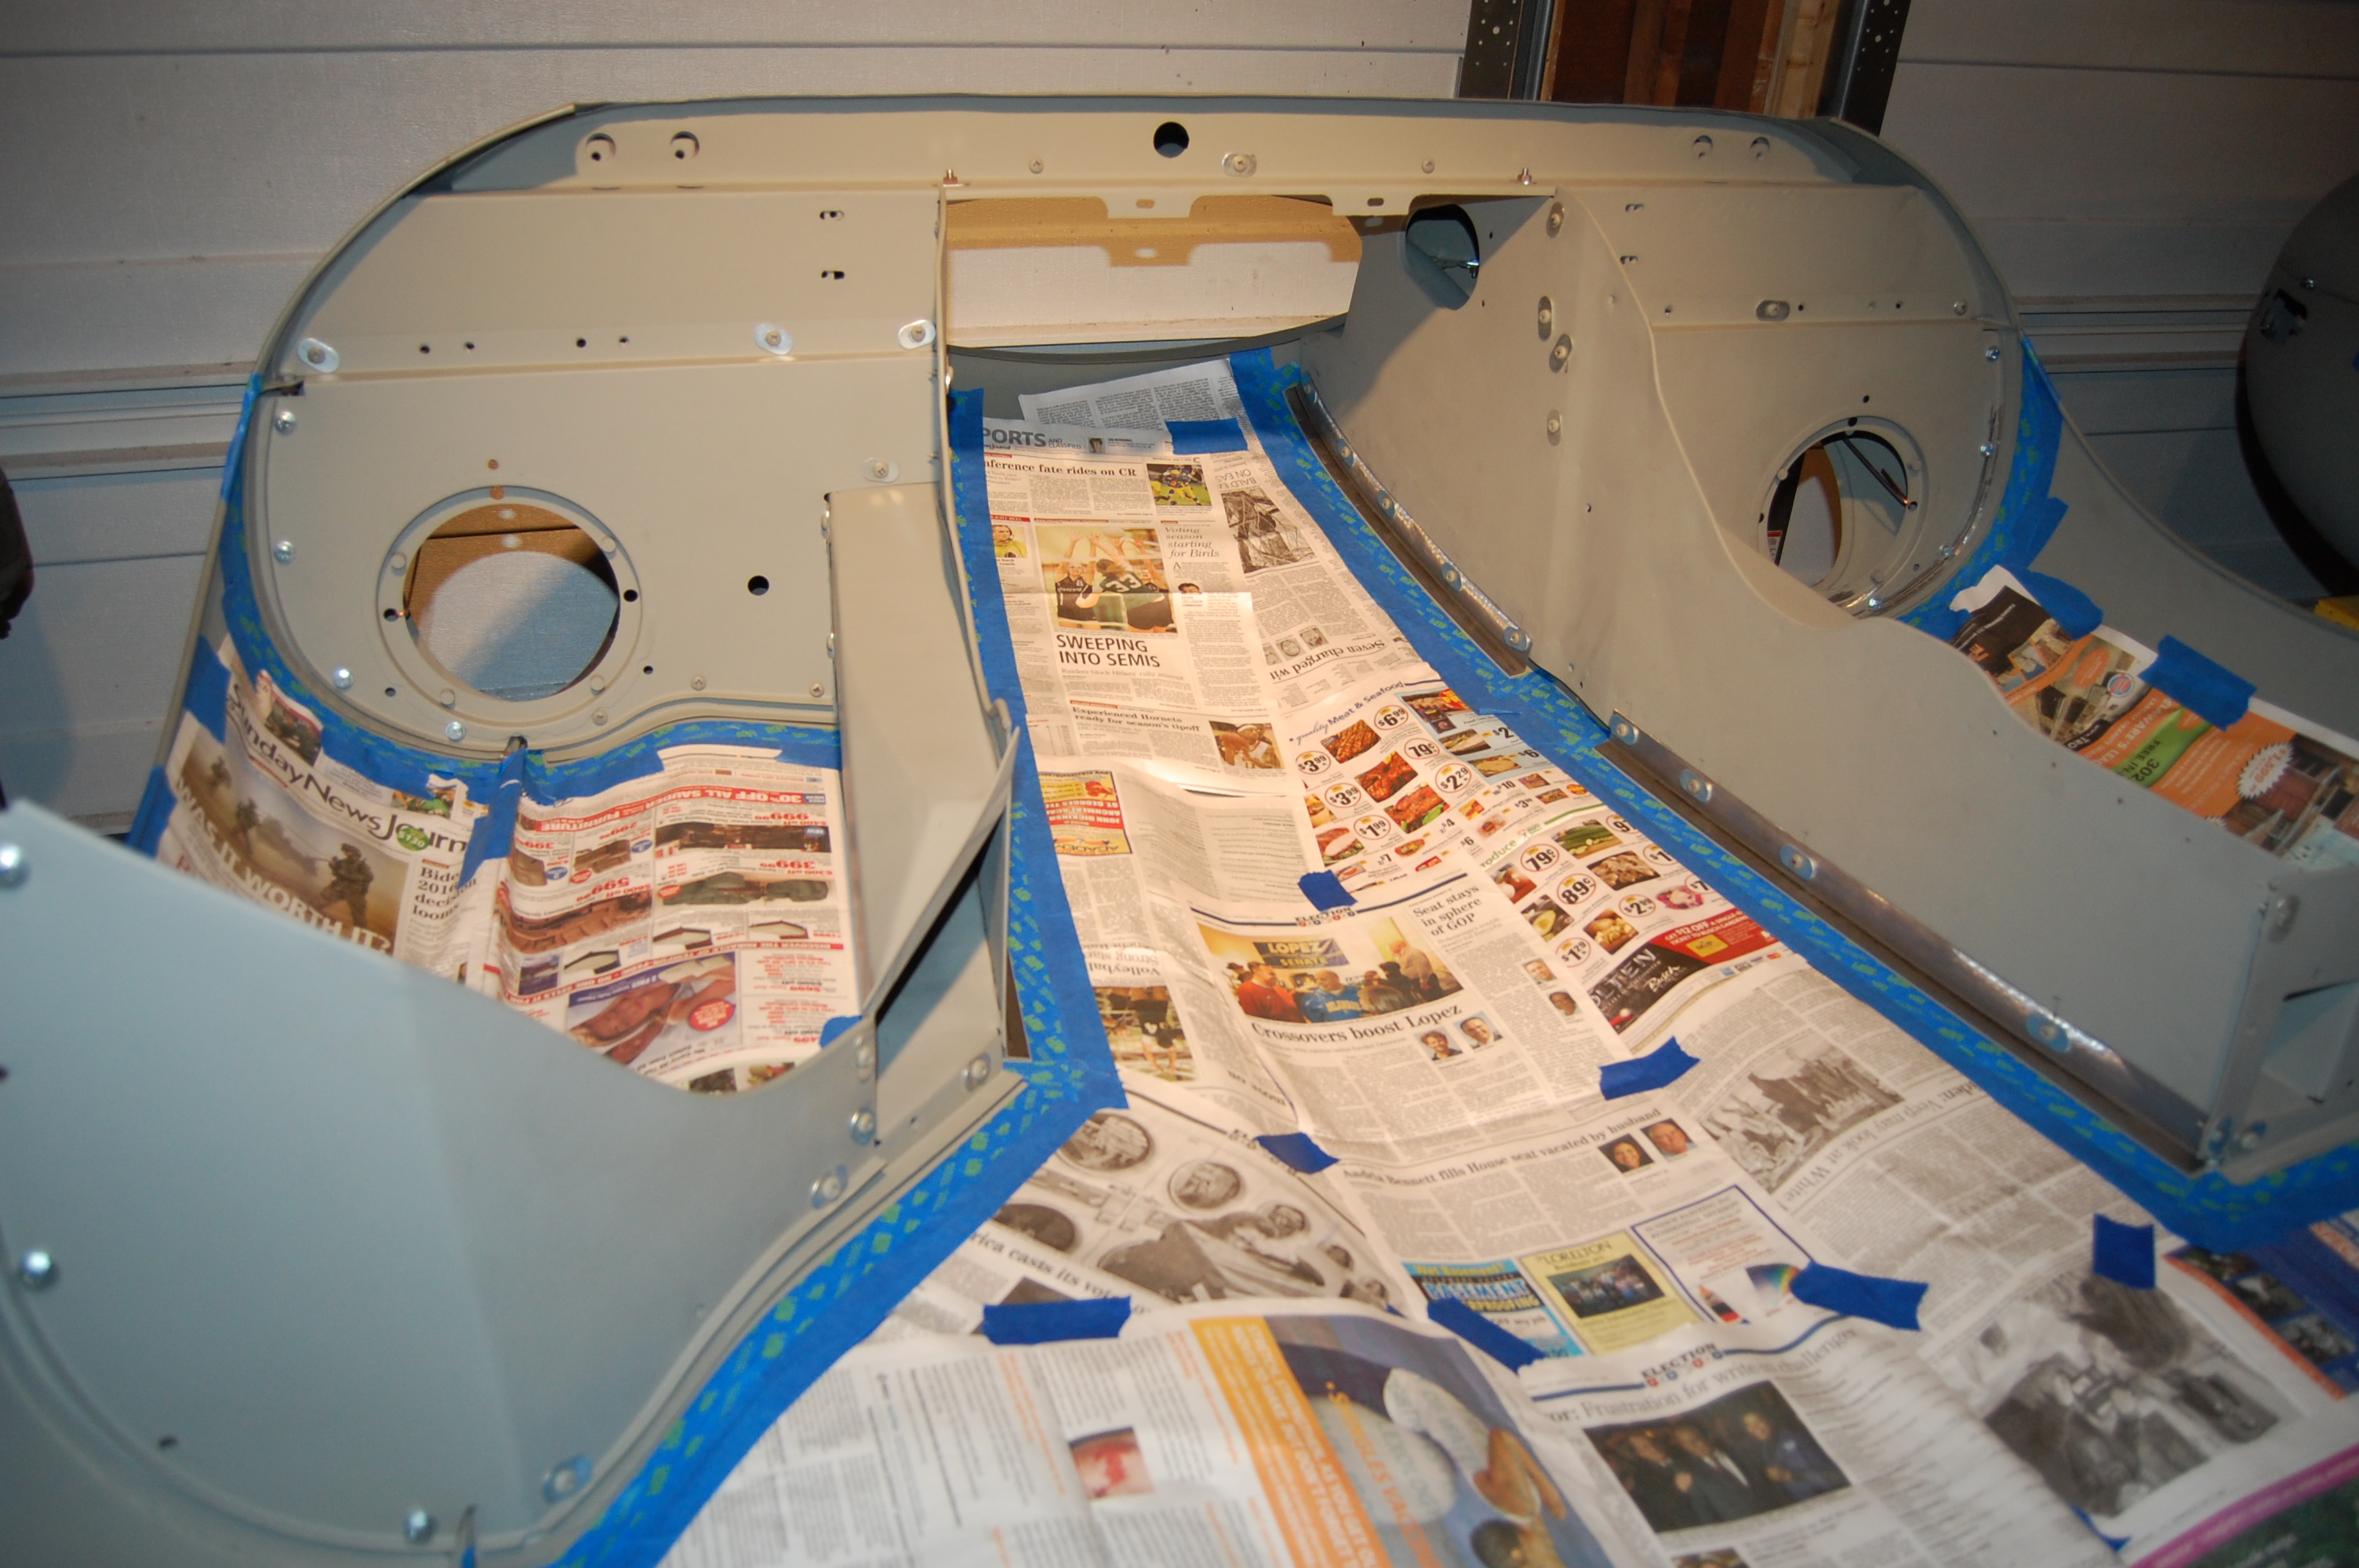
- OK – time to bond the flanges. This is a trade secret – we tape the bonnet up before the bonding.
-
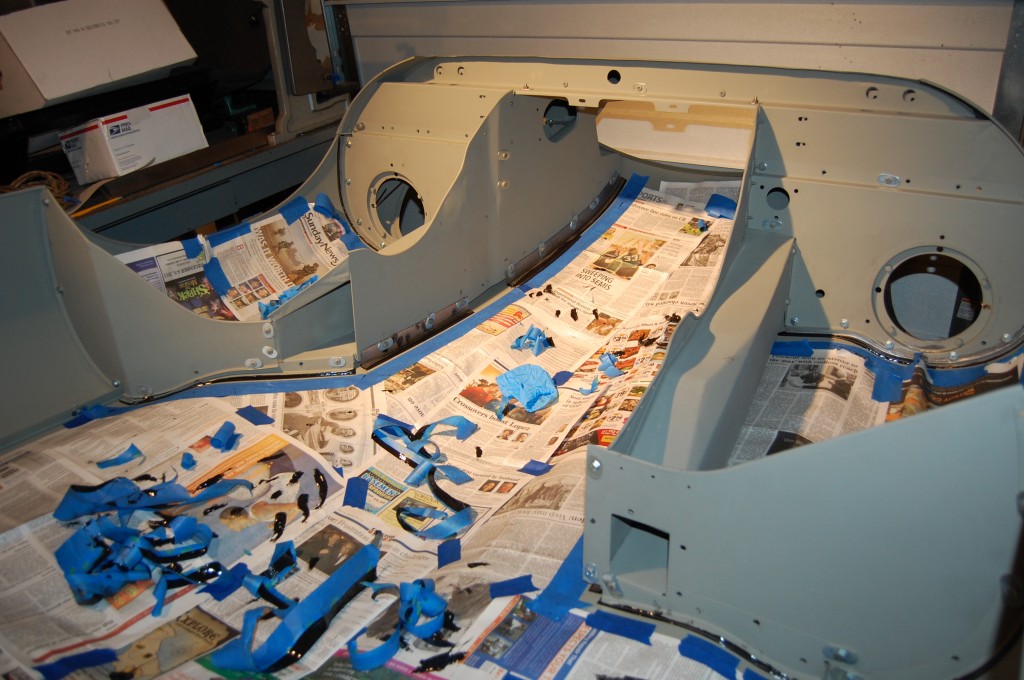
- Which is SUPER MESSY! This job can drive a grown man to tears – quick! I can pretty much guarantee a total failure accompanied by a total mental breakdown the first time you try it (or in my case, the first three or four!). It took me LOTS of bonnets to get this procedure down!

-
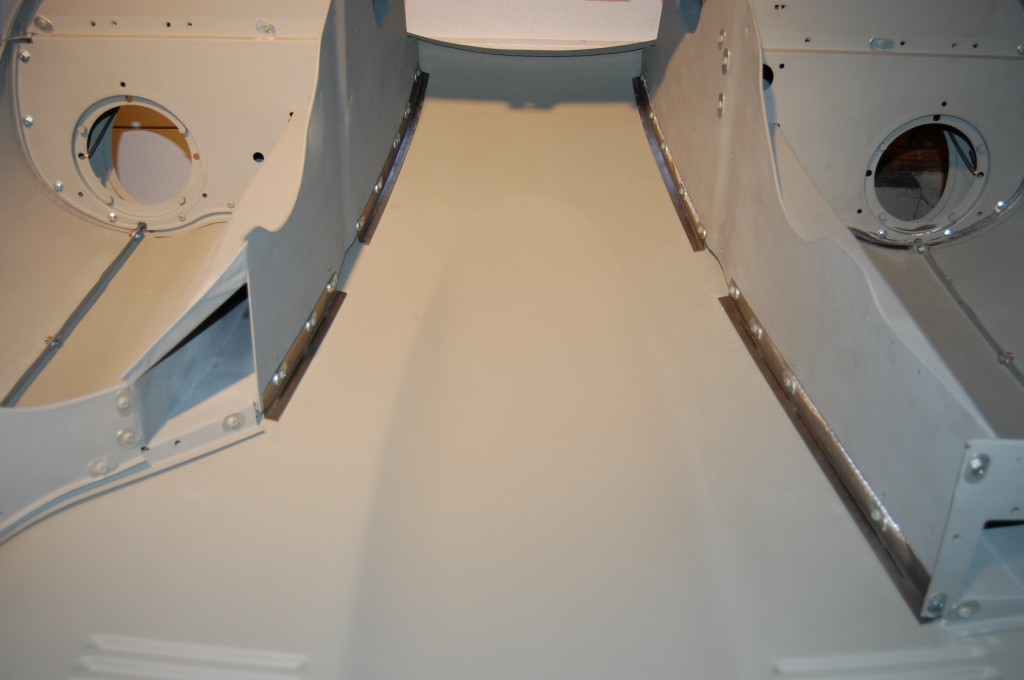
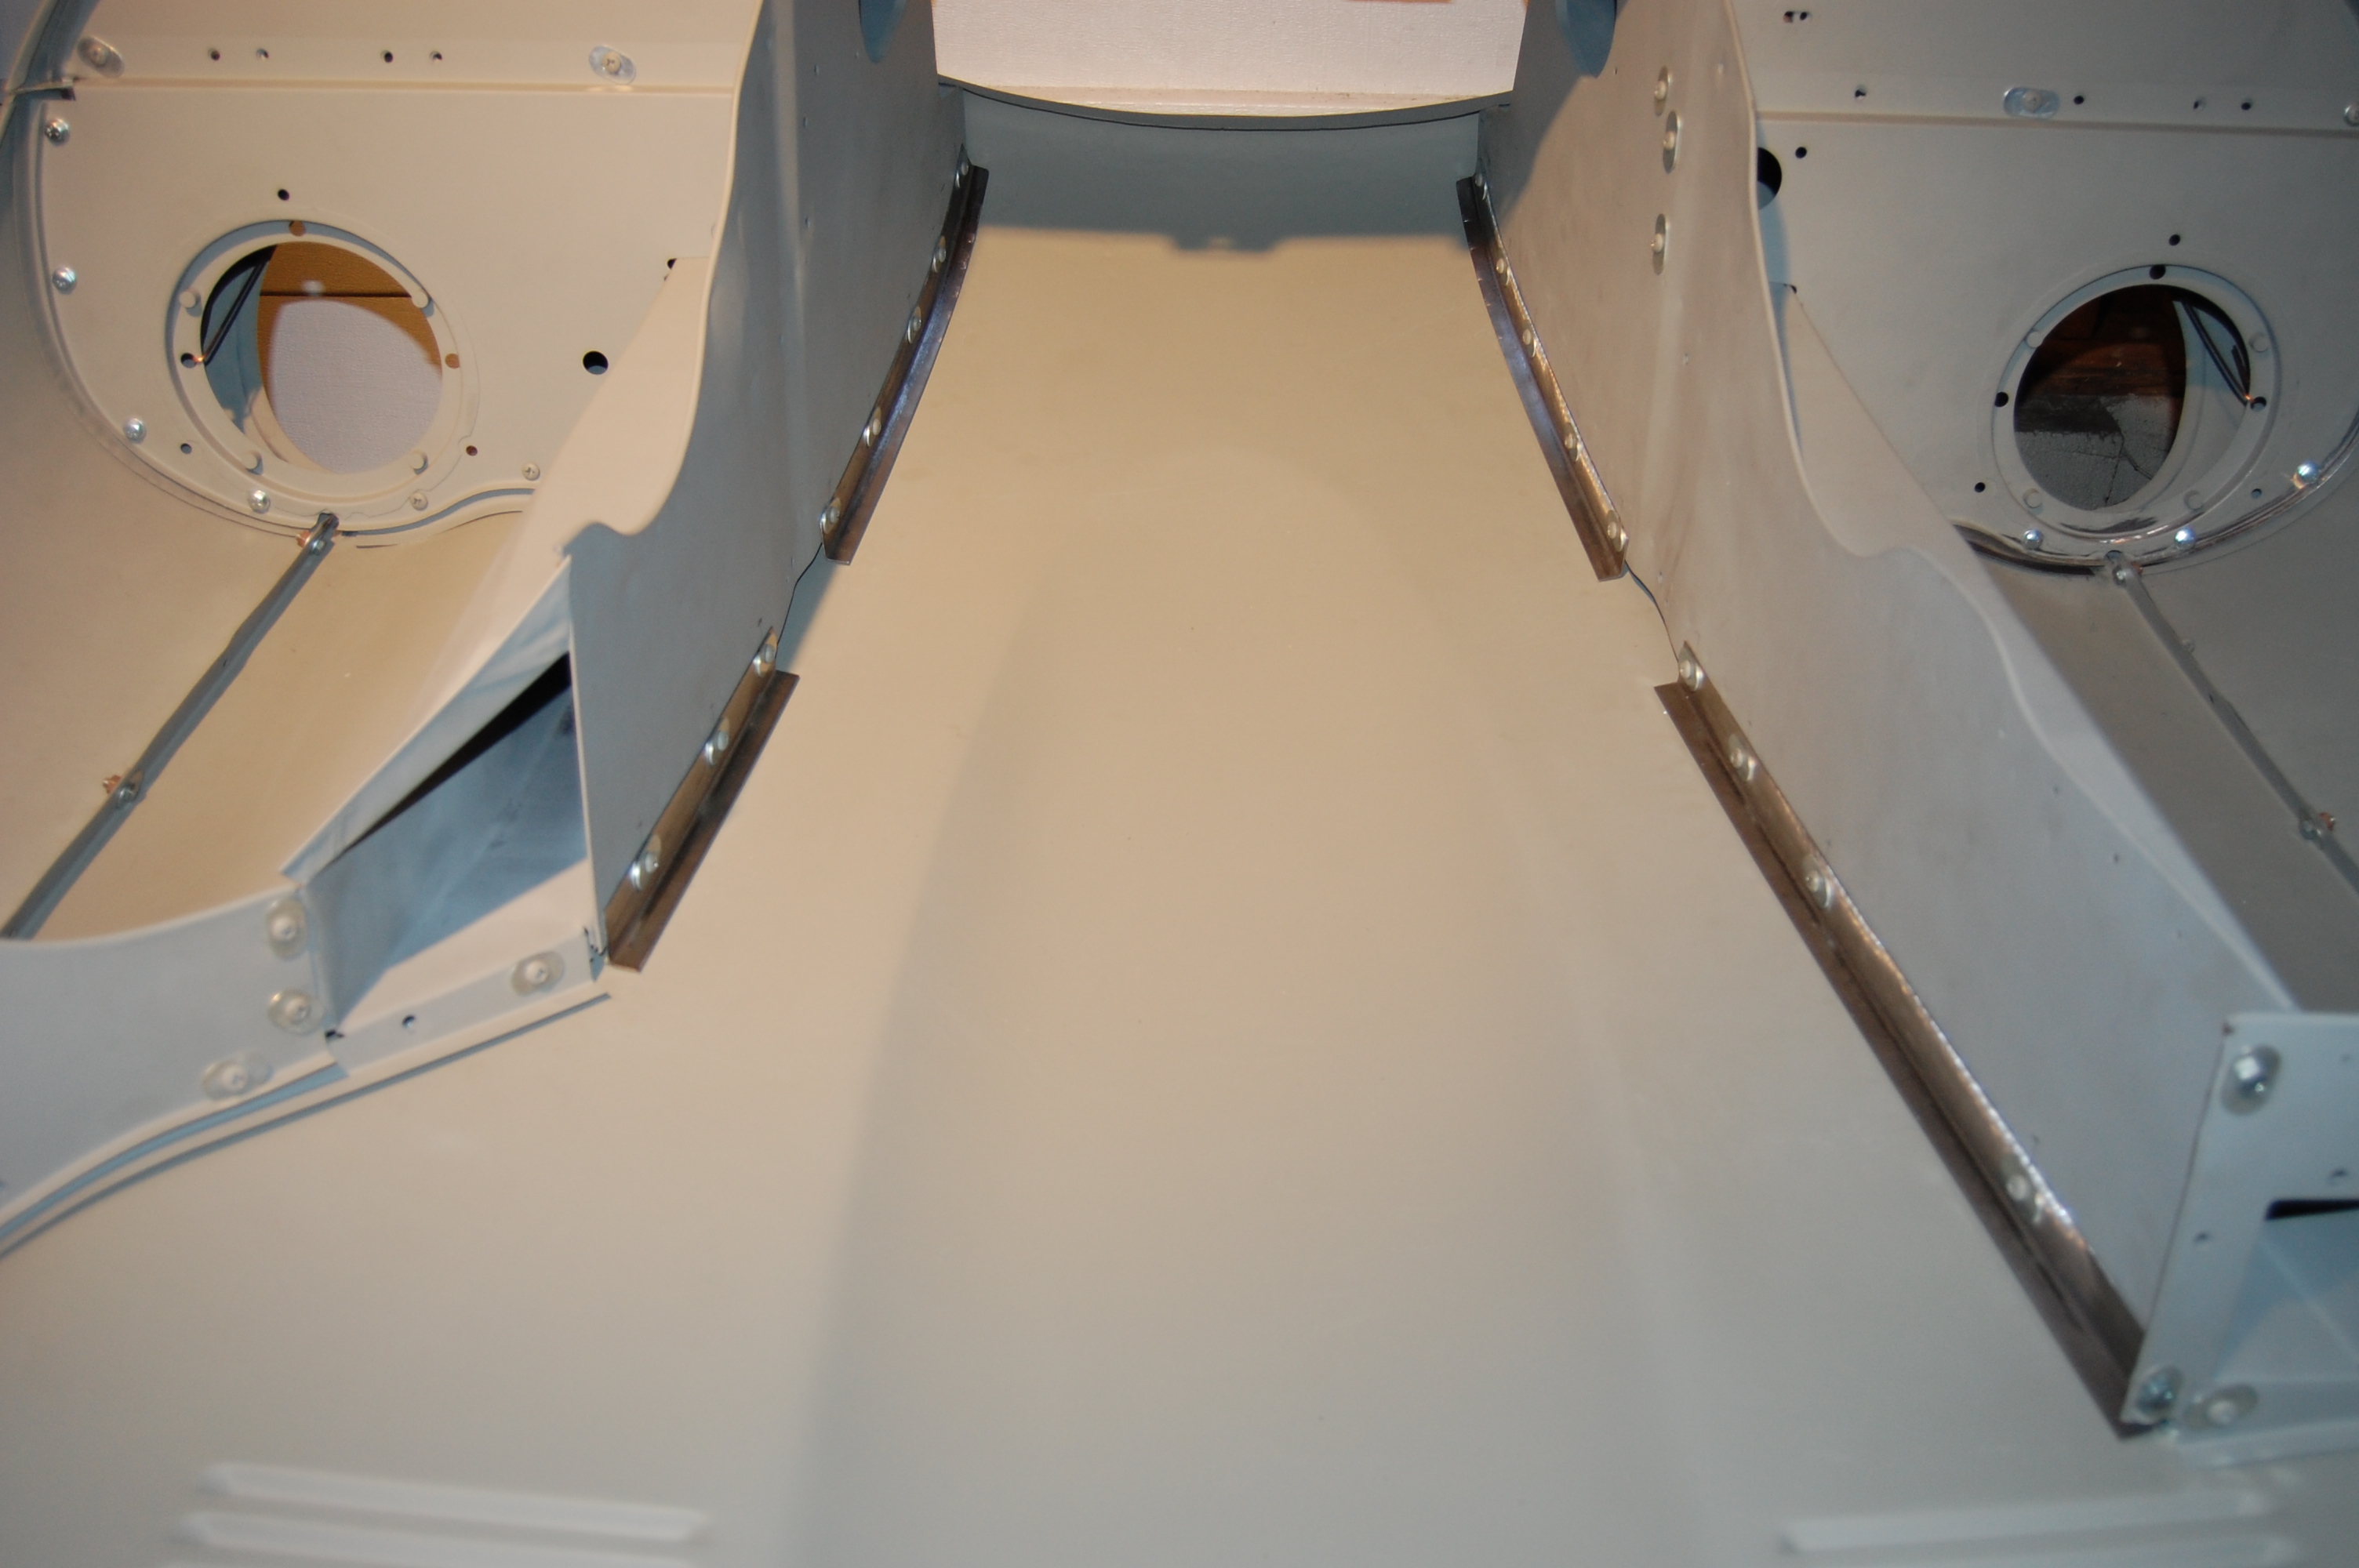
- Here’s the end result – tight fitting flanges, bonded to the skin with beautiful, neat, and uniform beads of adhesive.

-
- These look pretty normal, and will be even more so when everything is cleaned up and re-primed. Look – the dents are not really visible on the inner valance wall in this shot wity the camera flash…
-
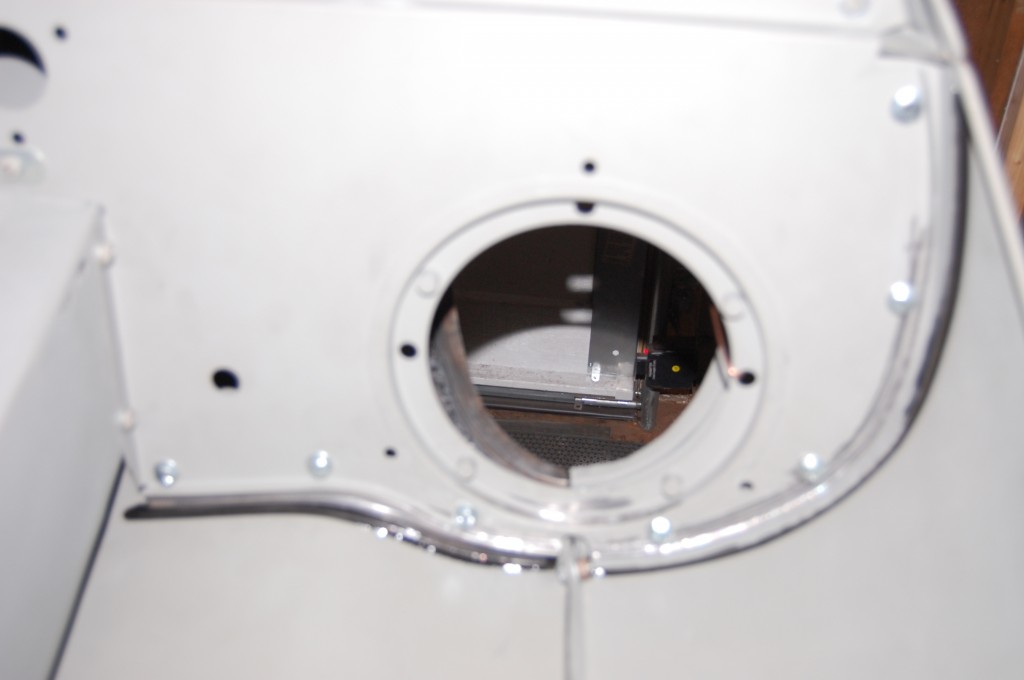
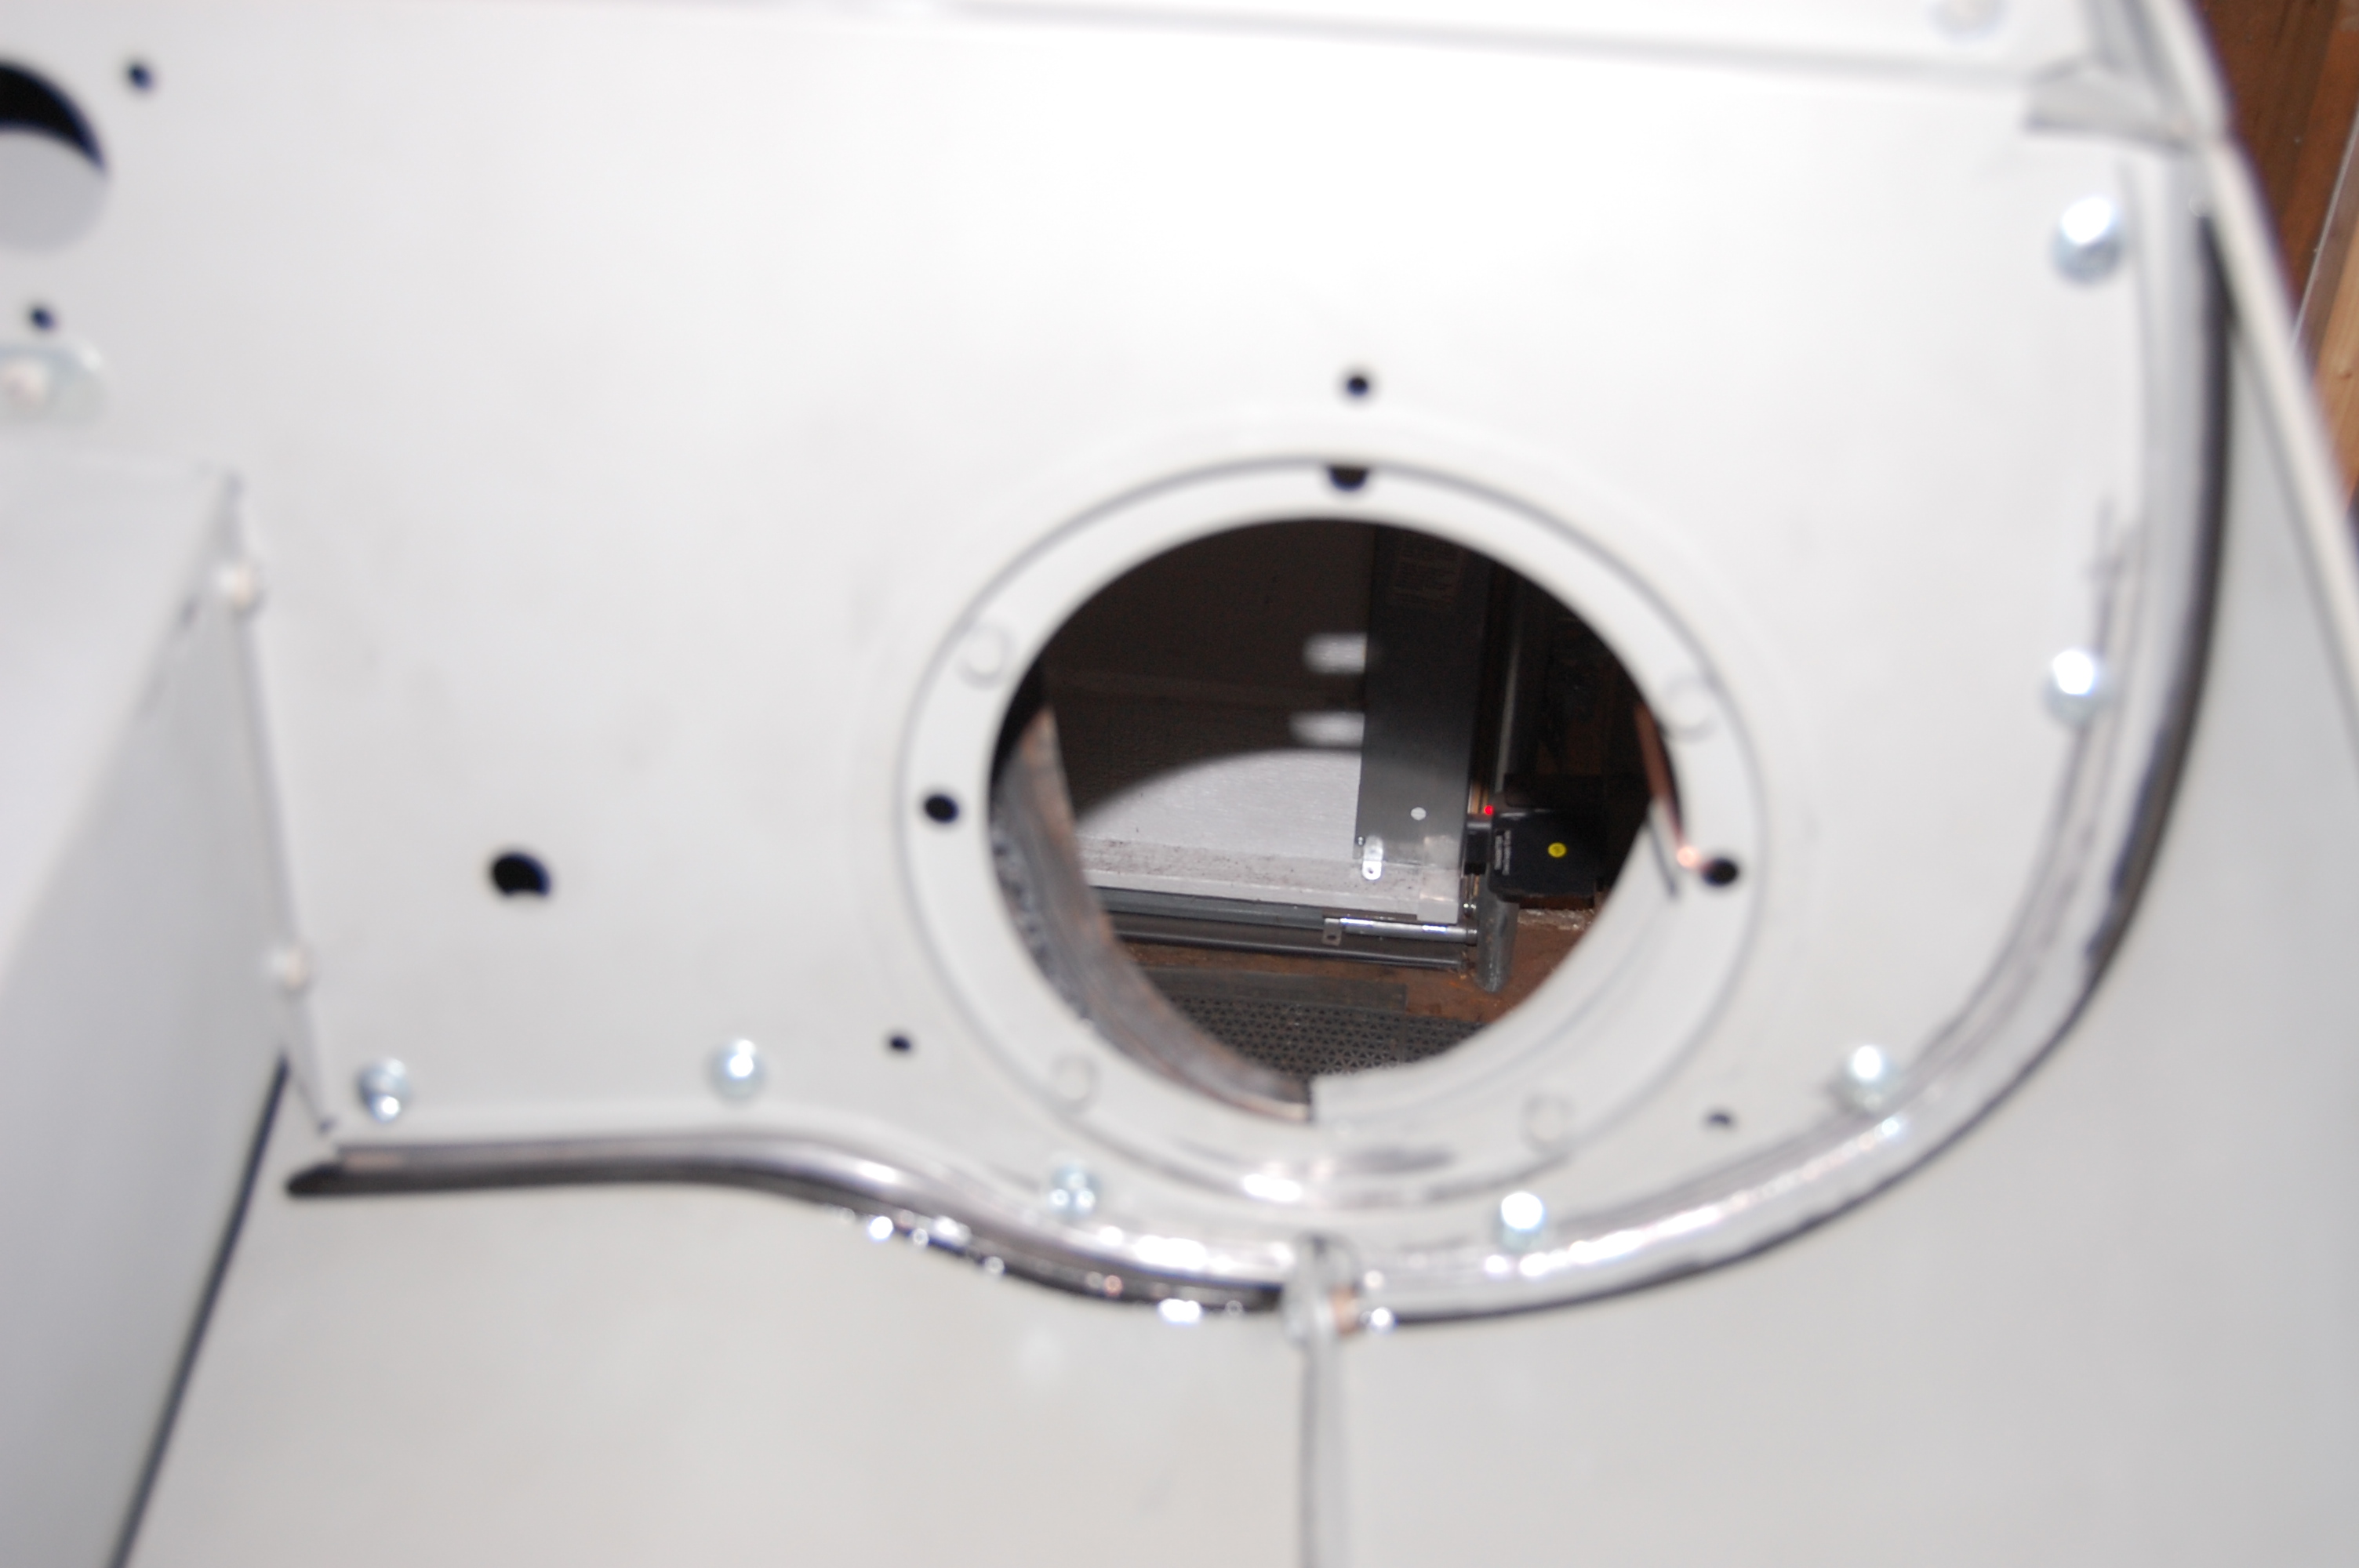
- These are the replacement Series 1 headlamp diaphragms. These are a reproduction part (not ours…) that actually do fit pretty well. We have made thee poieces new, but I can’t get the ring itself tooled up right – so at the moment, we make the whole plate, and weld in original rings when restoring bonnets. In this case, and aftermarket panel was just purchased to make the Series 1 conversion complete. But note that the edges of these pieces have been flattened and re-rolled to match this bonnet’s contour, and a new flange to the center section has been fabricated as well.
-
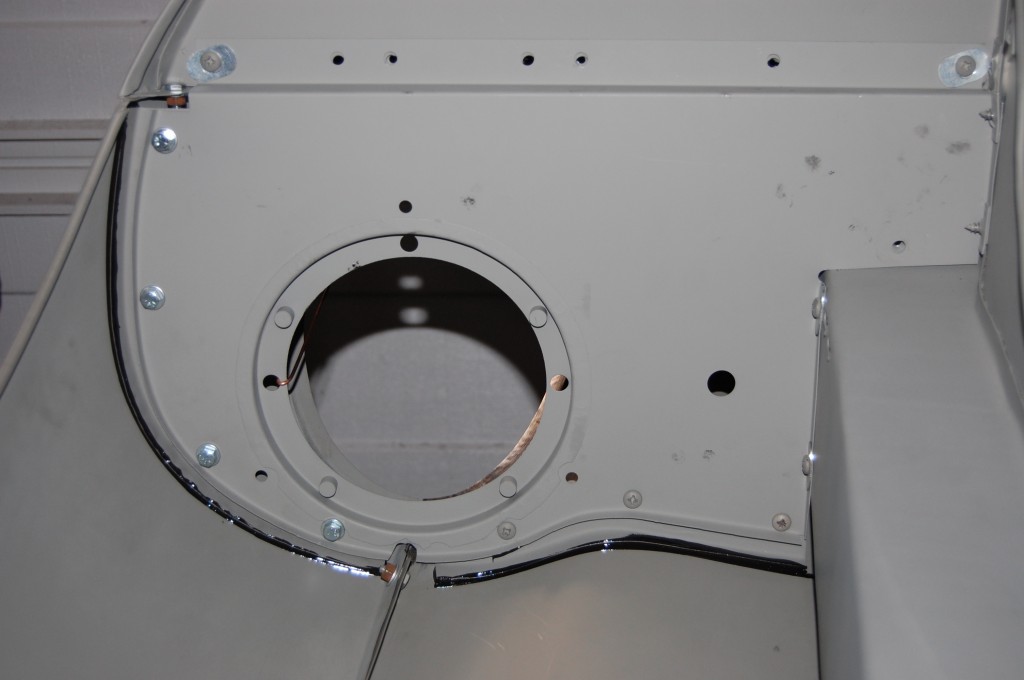
- Other side – not as much fiddling on this side, but there’s always some. It takes time to adjust bonnets this cleanly, but the end result is worth it – too many E-Types are out there with CRAZY gaps in all of these places, gobs of messy glue, caulk, or who knows what – and some that even have NO flanges! This blog shows the care that needs to be taken to assemble a bonnet right. Our typical time tabel – AFTER every piece is restored, is 8 hours for test assembly, 3 hours to tape and glue, and 6 hours to dis-assemble, dress up the primer, and do the final assembly. So – an hour more than two full days from the pile of panels to a completely assembled bonnet. It’s NOT something you just assemble and glue up in an afternoon if you want to do it right – TAKE YOUR TIME!


