If you look closely at the photos, you can see that based on what is going on in the background, this E-Type has been underway for a while now… There are alot of reasons for that – it’s been busy here, but one reason for this is thatthe next step was to repair the rear hatch drip channel – WITHOUT screwing up the roof panel, and that was a daunting task…
Finally, I mustered the courage and dove in. It turned out very well – just the way I had hoped, so I guess the big surprise was that it was not as hard as I feared. Now that this is completed, the rest of the project will start moving along at a VERY rapid pace!
This is probably a good place to talk about the body shell of this early coupe a bit – it is COMPLETELY different than the later cars. It looks the same from 5 feet away, and basically is the same, but you cannot cut a section out of this coupe shell and weld it into a later one – they were made with completely different tooling and methods.
The later coupes have the roof and entire area surrounding the rear hatch stamped as one giant piece. There are NO SEAMS whatsoever in and around the rear hatch drip channel – it’s really an amazing pressing! The later cars then have the rear wings attached on the sides with a long welded seam that is hammered and finished on the top with a sanding disc to a very high standard, and finally, a short curved overlapped flange that is spot-welded and leaded over directly behind the rear 1/4 window.
The early coupes, on the other hand, are made out of MANY pieces back here. Instead of the roof and rear hatch surround being one giant panel all the way down to the rear bumper, that assembly is 4 pieces – the roof, side pieces, and rear lower tonneau panel, with spot-welded and leaded seams radiating out from all 4 corners of the rear hatch opening. These pices simply fold inward toward the rear hatch, and the actual drip channel around the hatch is a series of seperate pieces that are spot-welded to the folded over edge on the outer skin pieces. This is basically the same design as an OTS – with the 4 welded and leaded seams in the 4 corners of the boot lid, and the drip channel being seperate pieces.
Other internal features of the entire upper structure of the shell are different as well – although again, similar in design to the later coupe shells. What is interesting is that all of these panels are riveted into place with pop rivets first, and then welded in after they are assembled with the rivets.
Finally, because of this, most fittings in the upper half of an early coupe are specific to those cars. The rear 1/4-window frames, glass, and pivot mechanisms are different. The interior cantrail trim pieces are different. The hatch itself is different, with different hinges and hinge mounts. So if you buy an early coupe, you better make sure ALL of these fittings are present, because if they are missing, you are in BIG trouble! (By the way, I do have an excellent rear hatch for these early FHC shells if you need one…)
I have read in the books that there were alot of issues with the early coupe body shells, and that is why they made so may roadsters versus coupes in 1961. For example, there are over 300 LHD outside-bonnet-lock OTS E-Types, but only 19 LHD FHC’s – that’s how many of each model had been made by the day they switched to inside locks – that’s almost TWENTY TIMES as many cars! Well, when you look at all of the separate panels, rivets, and leading of an early coupe shell, you start to understand why…
-
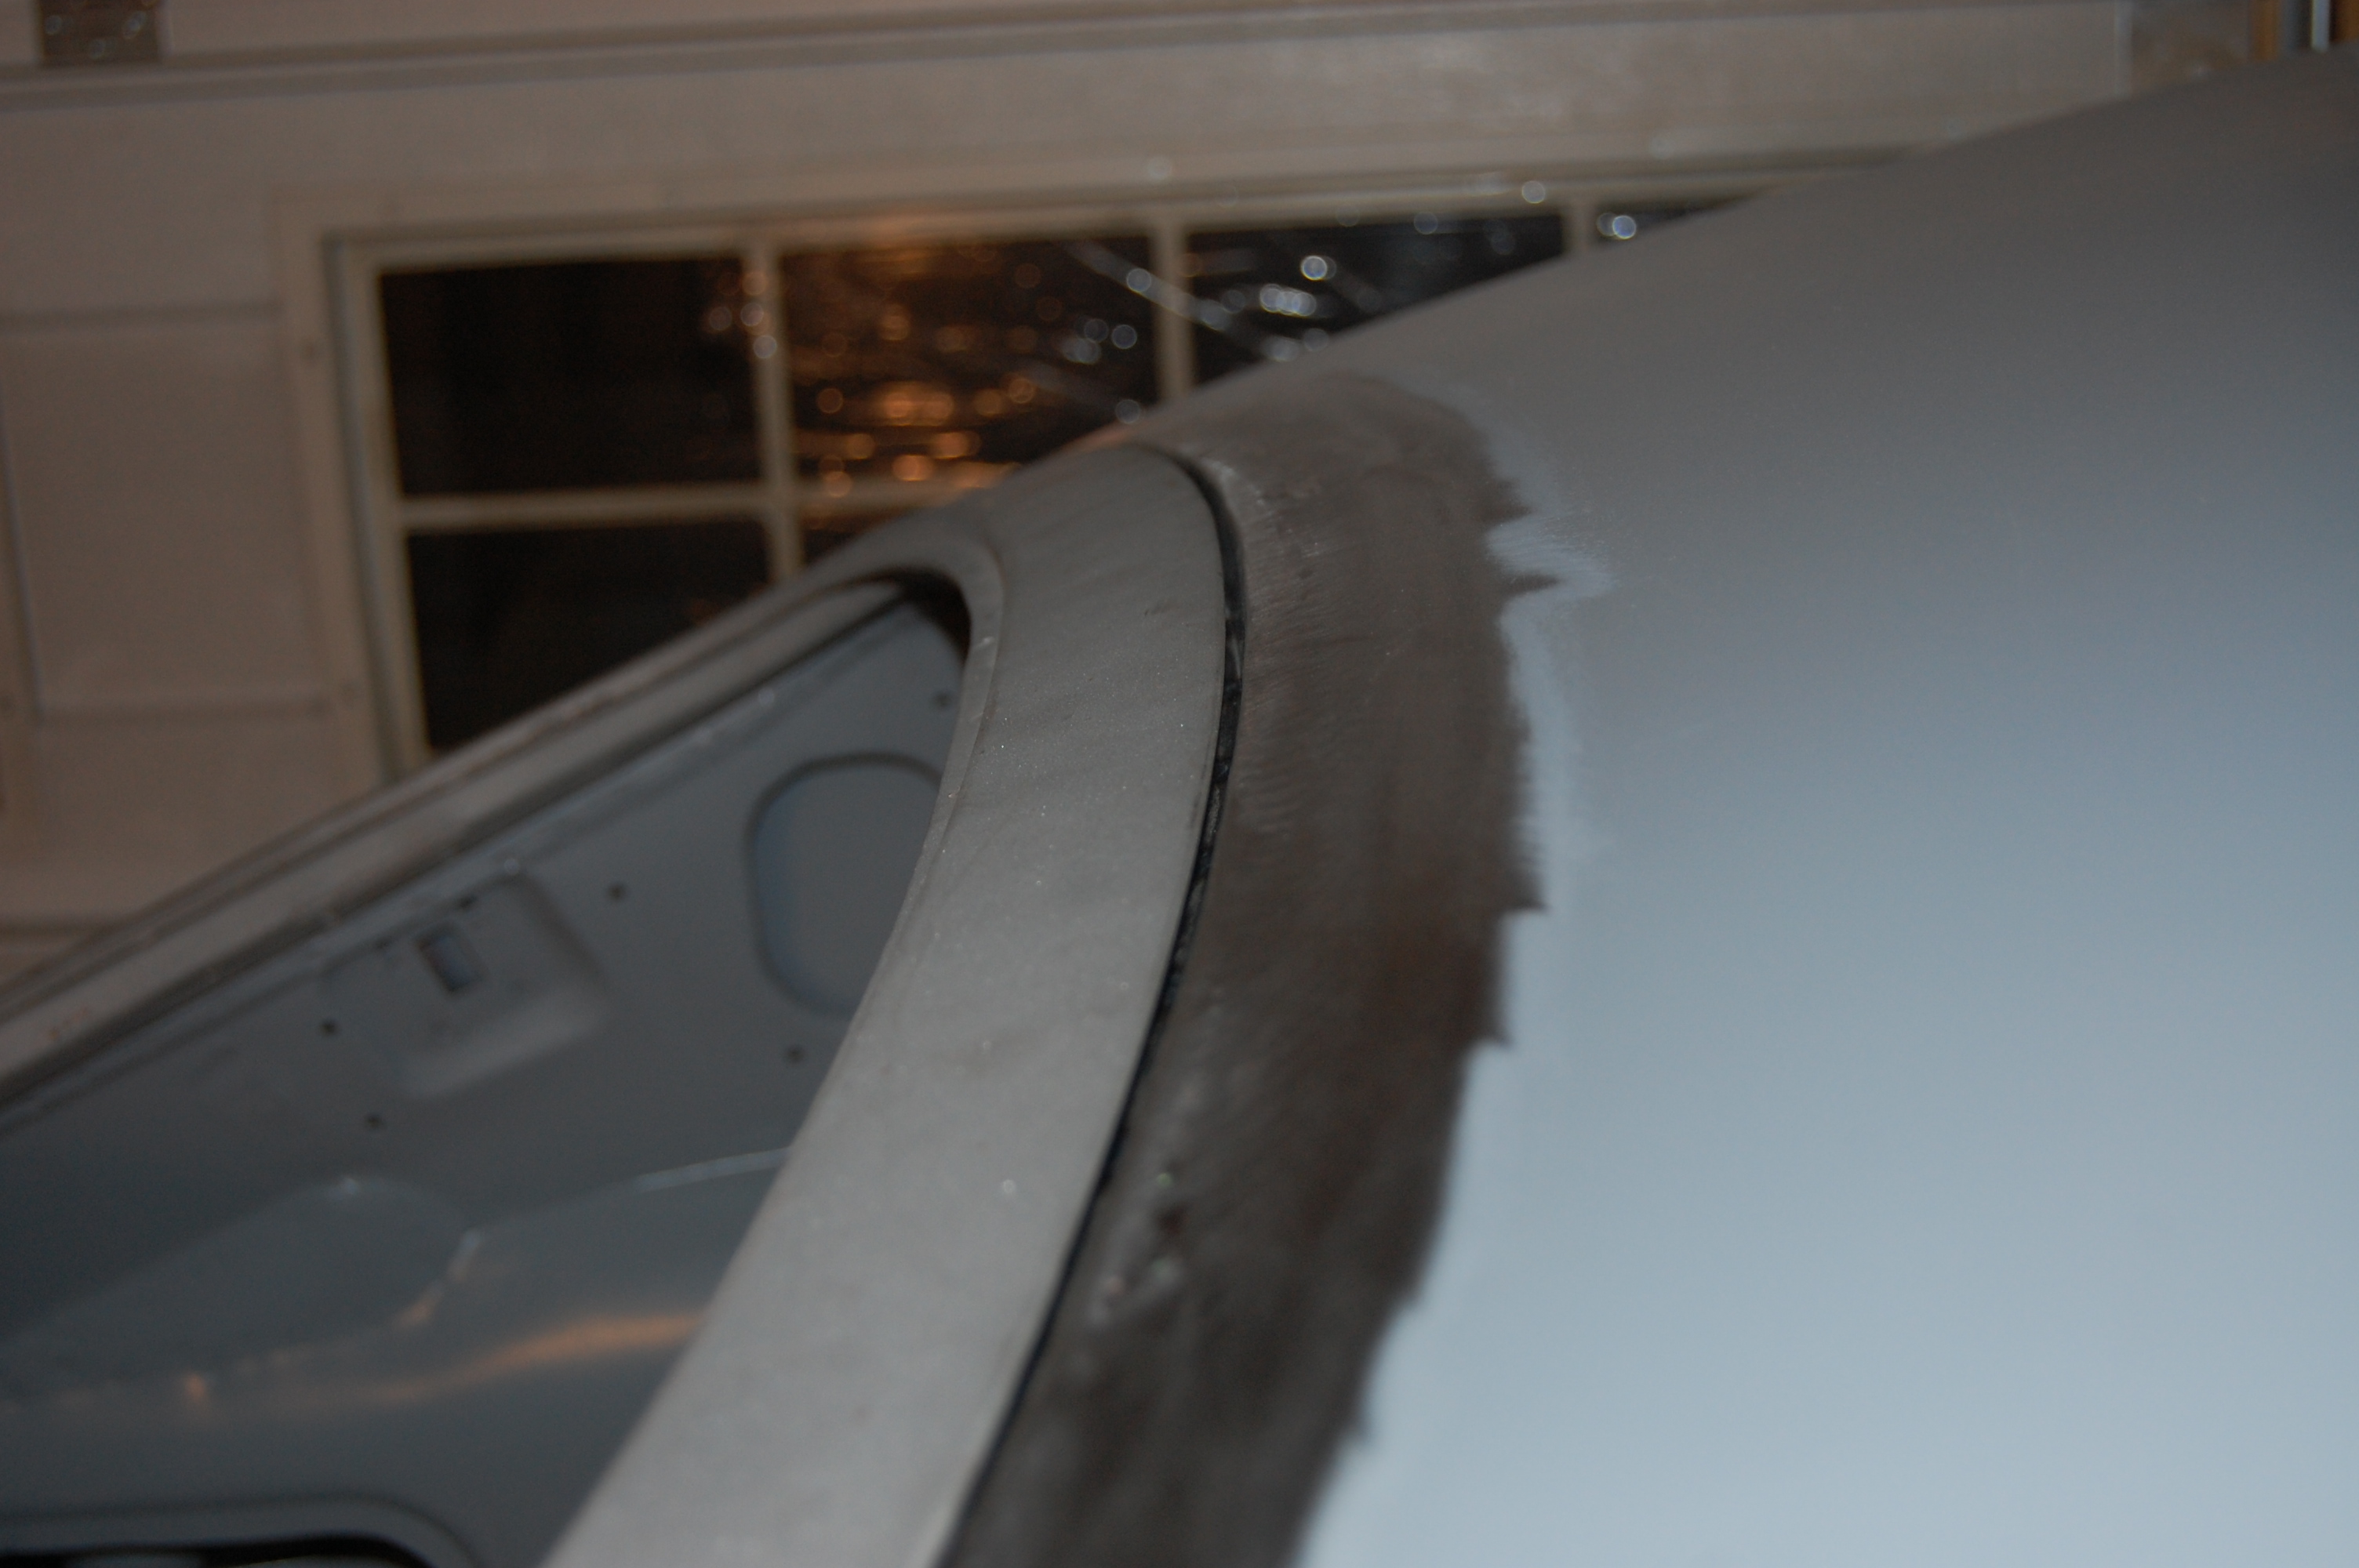
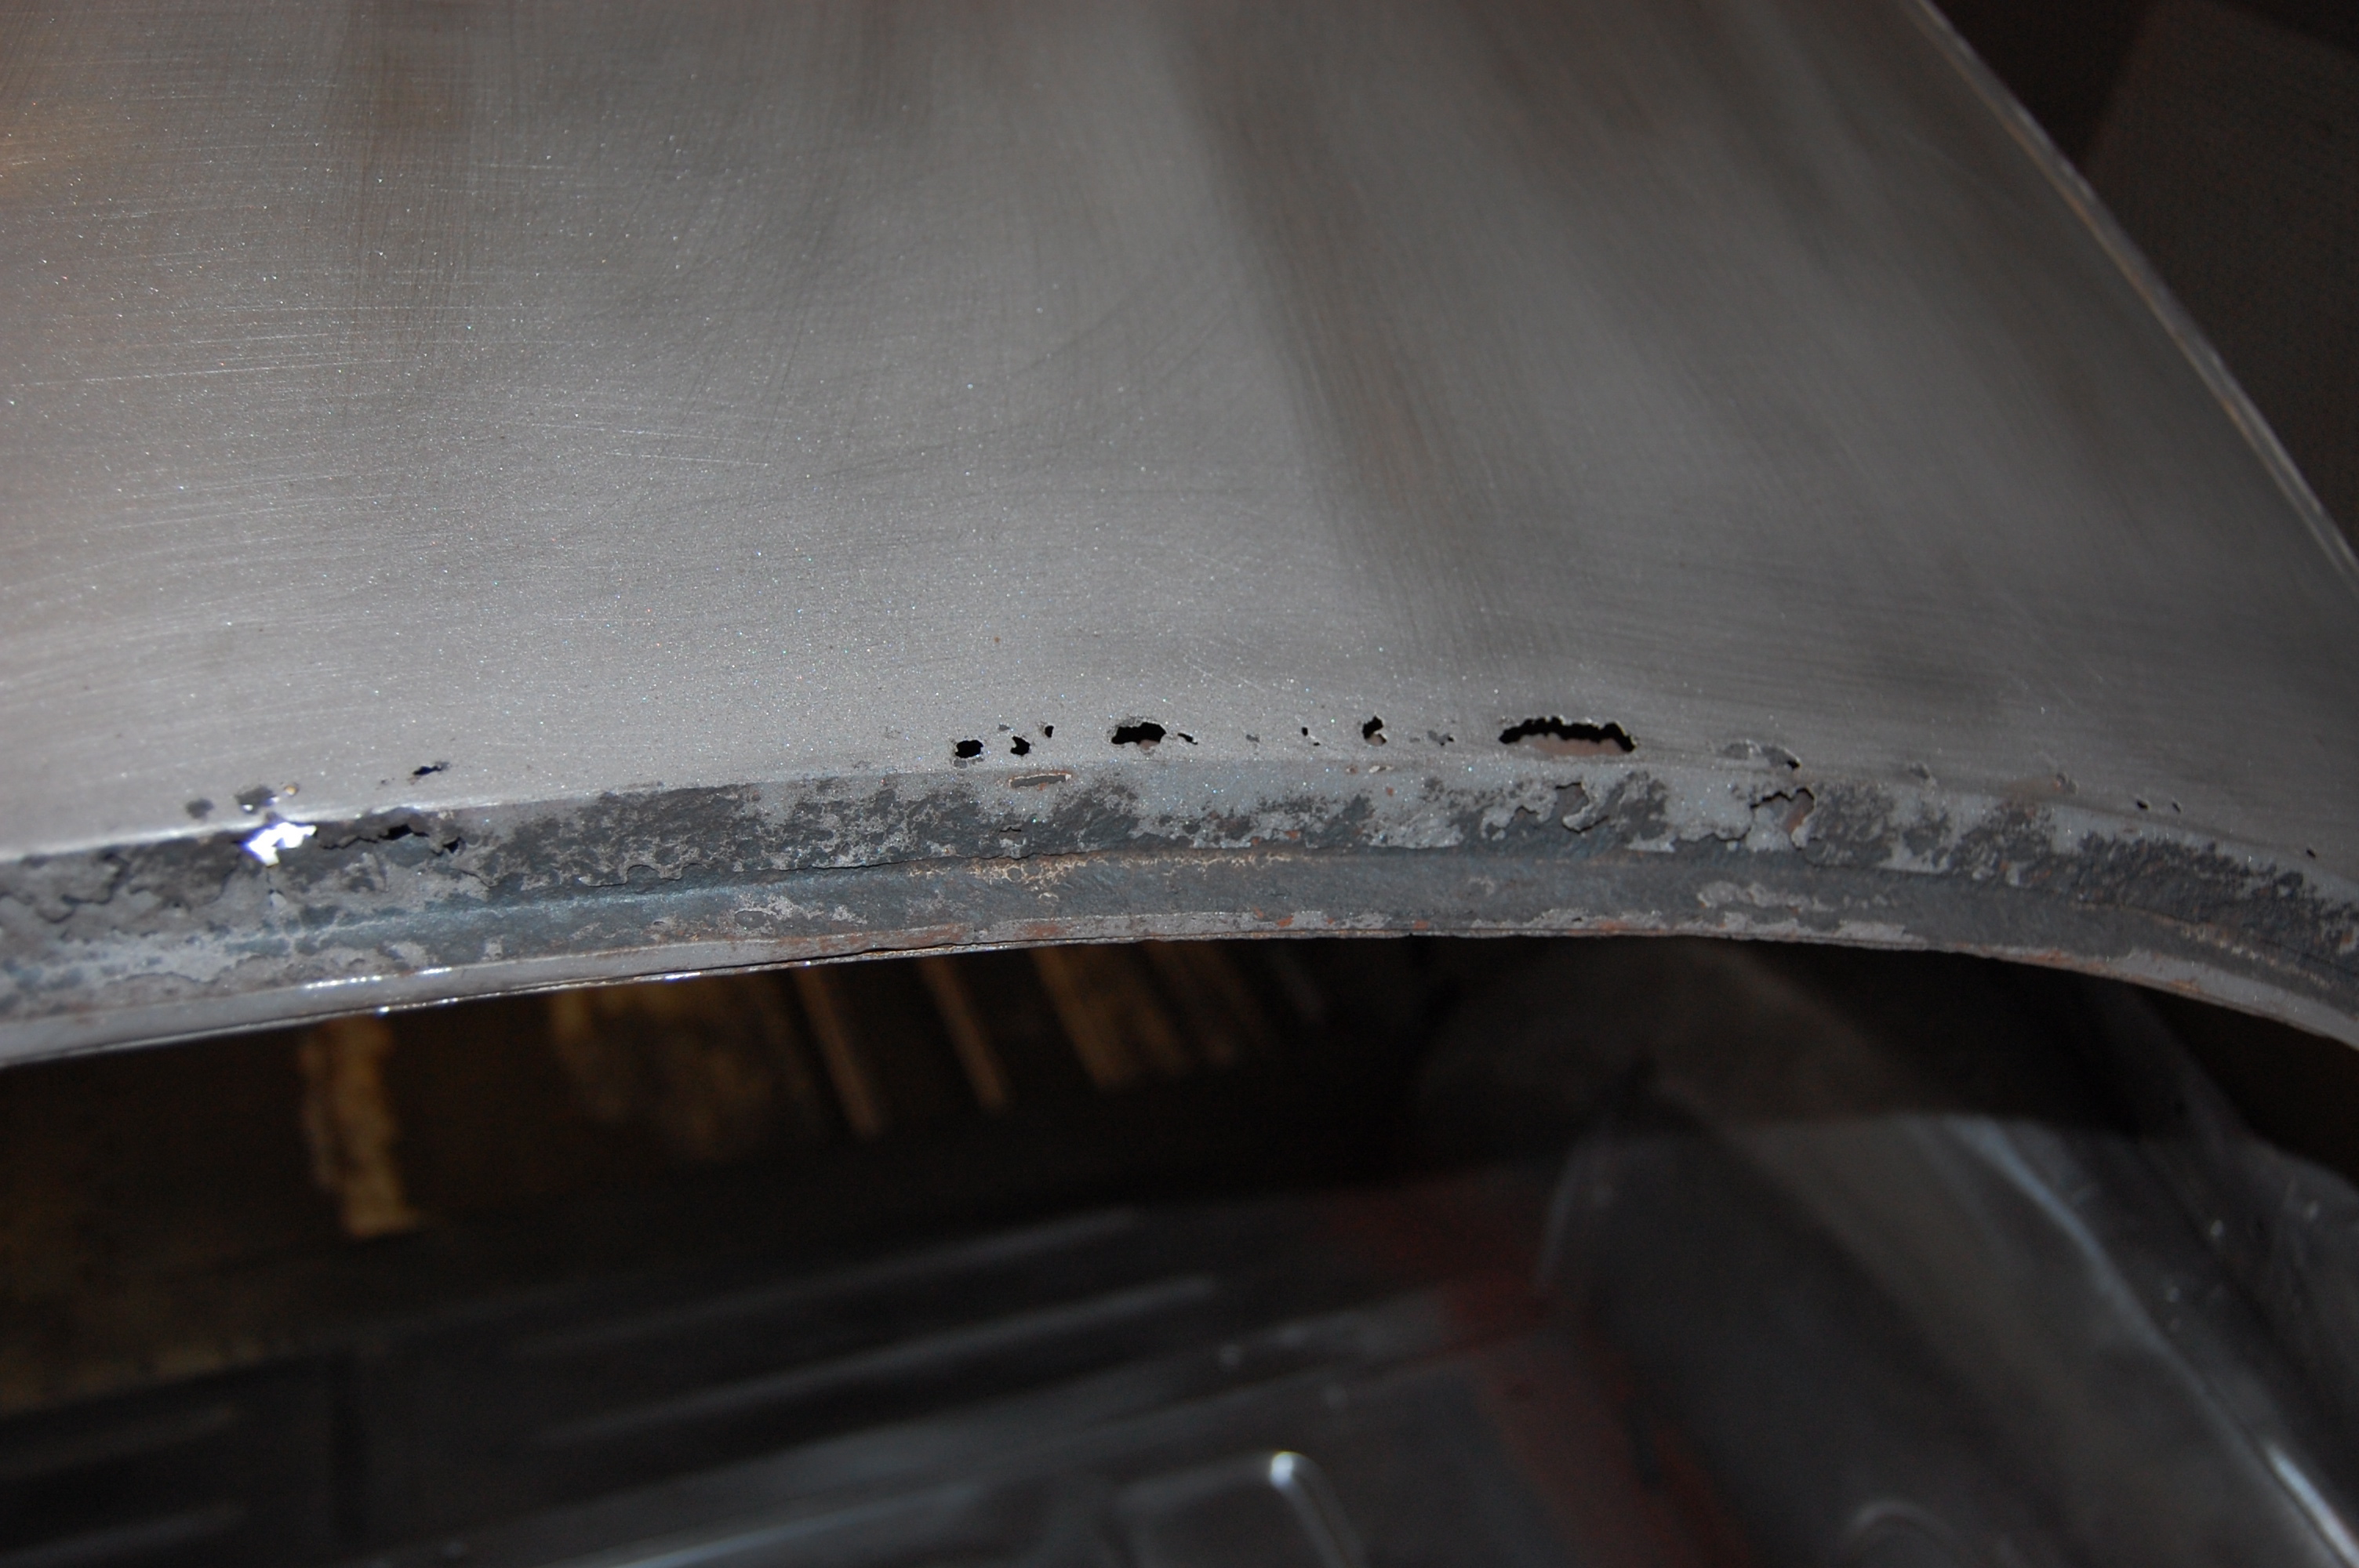
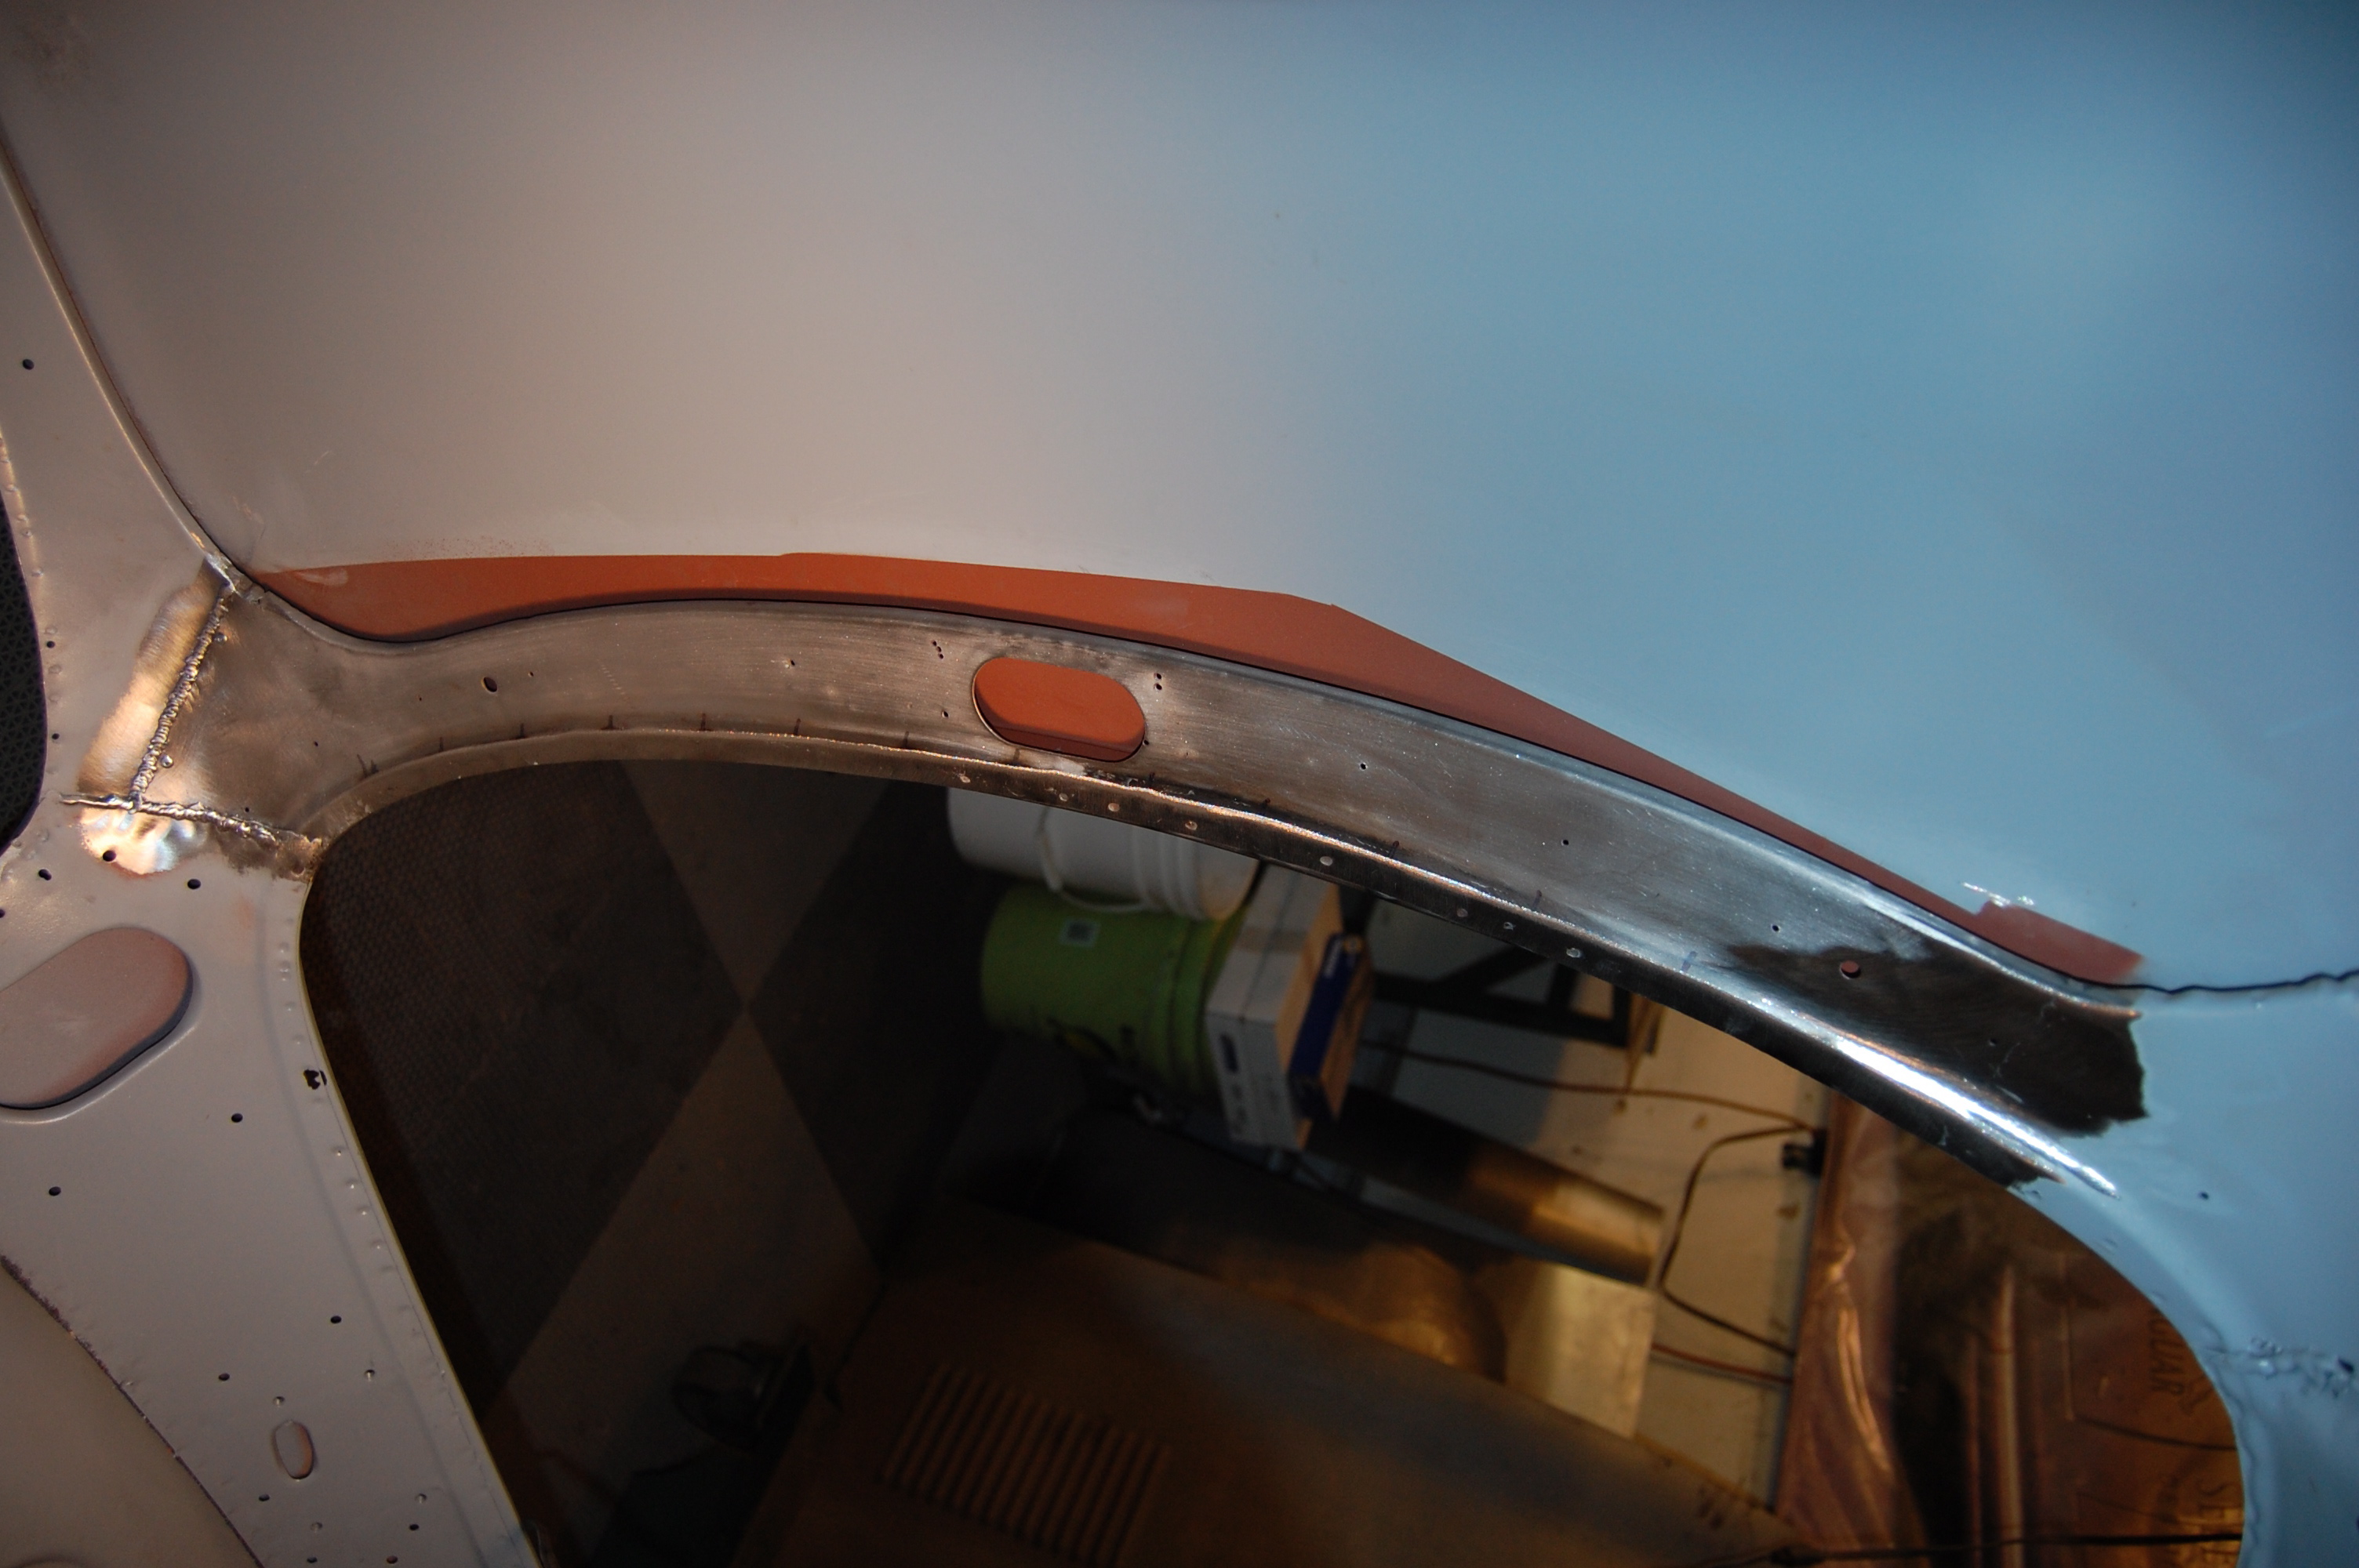
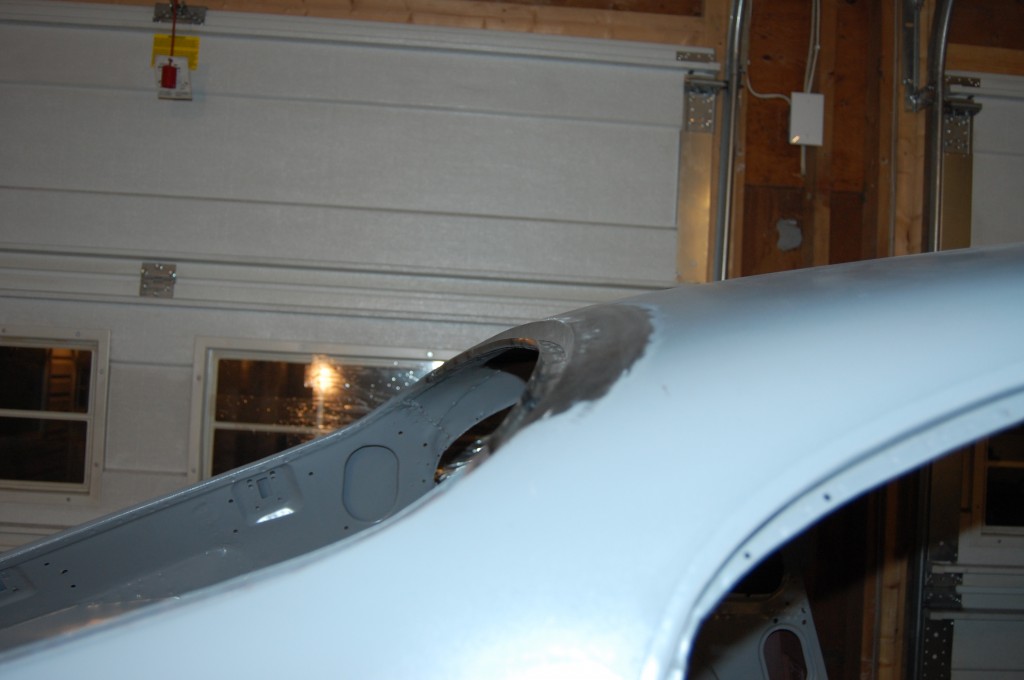
- Well, here’s the start… YUCK! This doesn’t look that bad from back this far, but it is…
-
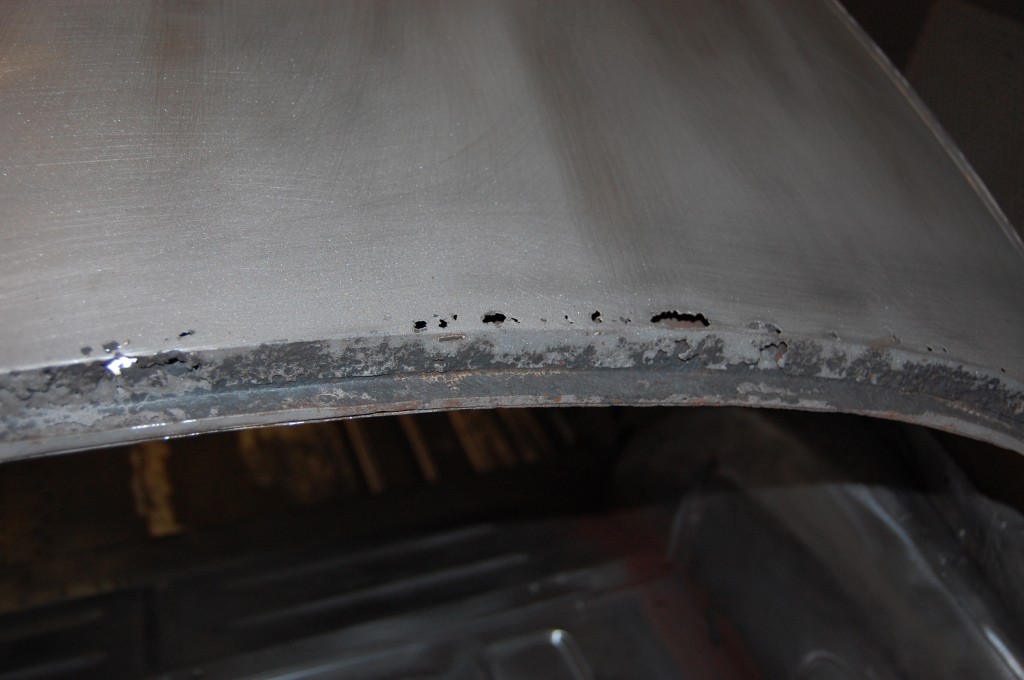
- The roof panel is perforated from the inside out – at the TOP! WHAT would cause this!?! Well, I’ll tell you – MICE! What has happened here, guaranteed, is that a mouse has made a nest up inside of the roof support channel. What happens next is that they urinate into the nest, and you basically have a wet rag of acidic urine stuffed up inside of a channel section that is bare metal internally… this is going to be complicated to fix – it’s one of those places that I famously say is “curved in 4 dimensions…” – but it MUST be cut out and fixed – trying to scrape this down and patch it up would be a HUGE mistake that would come back to haunt this car in short order.
-
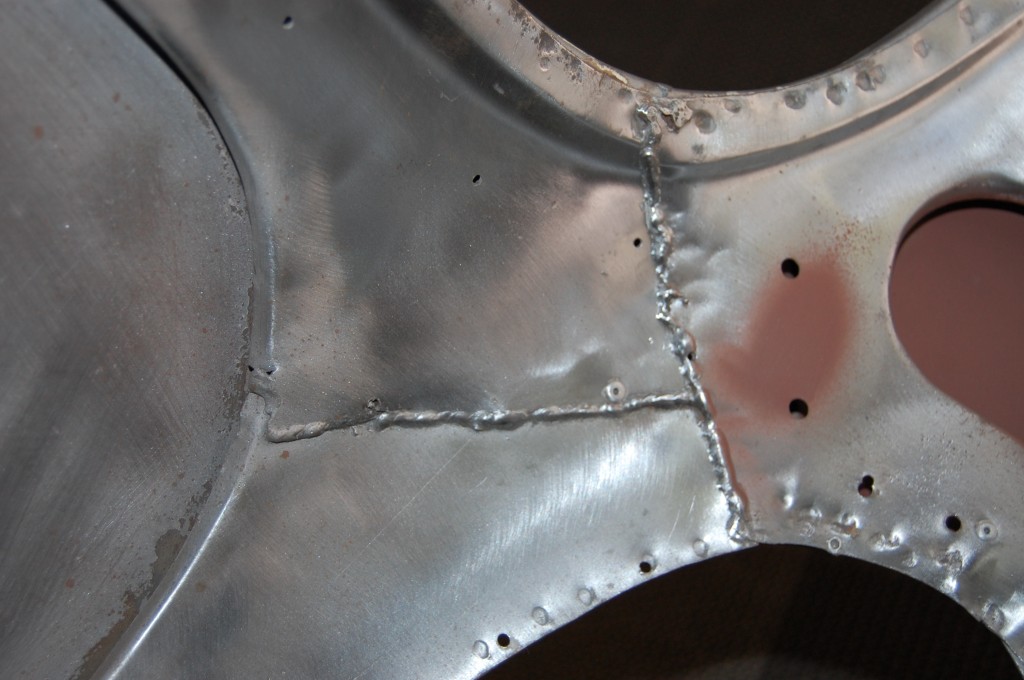
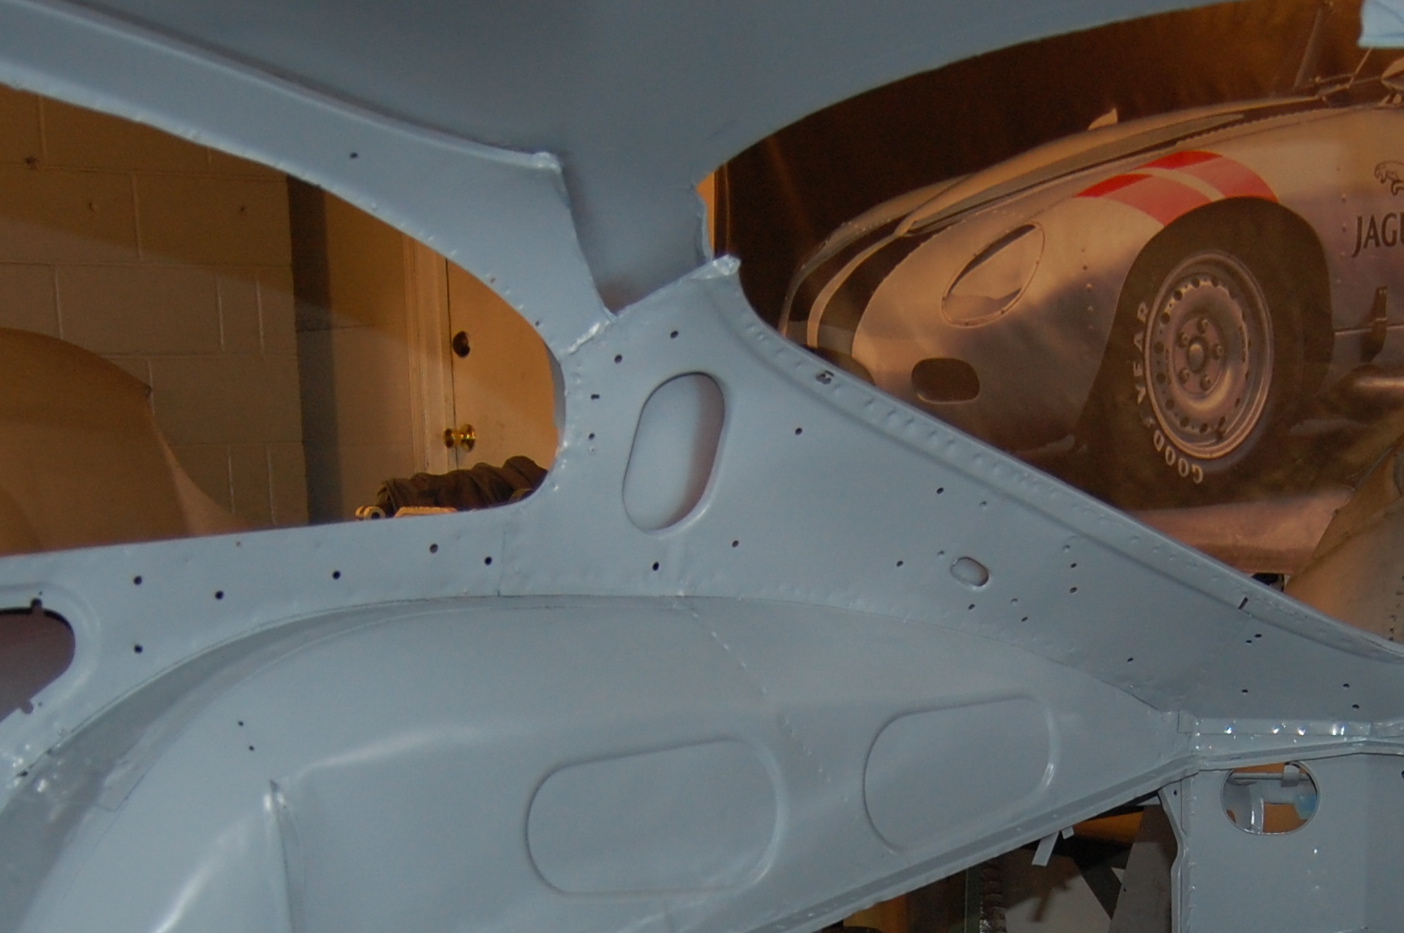
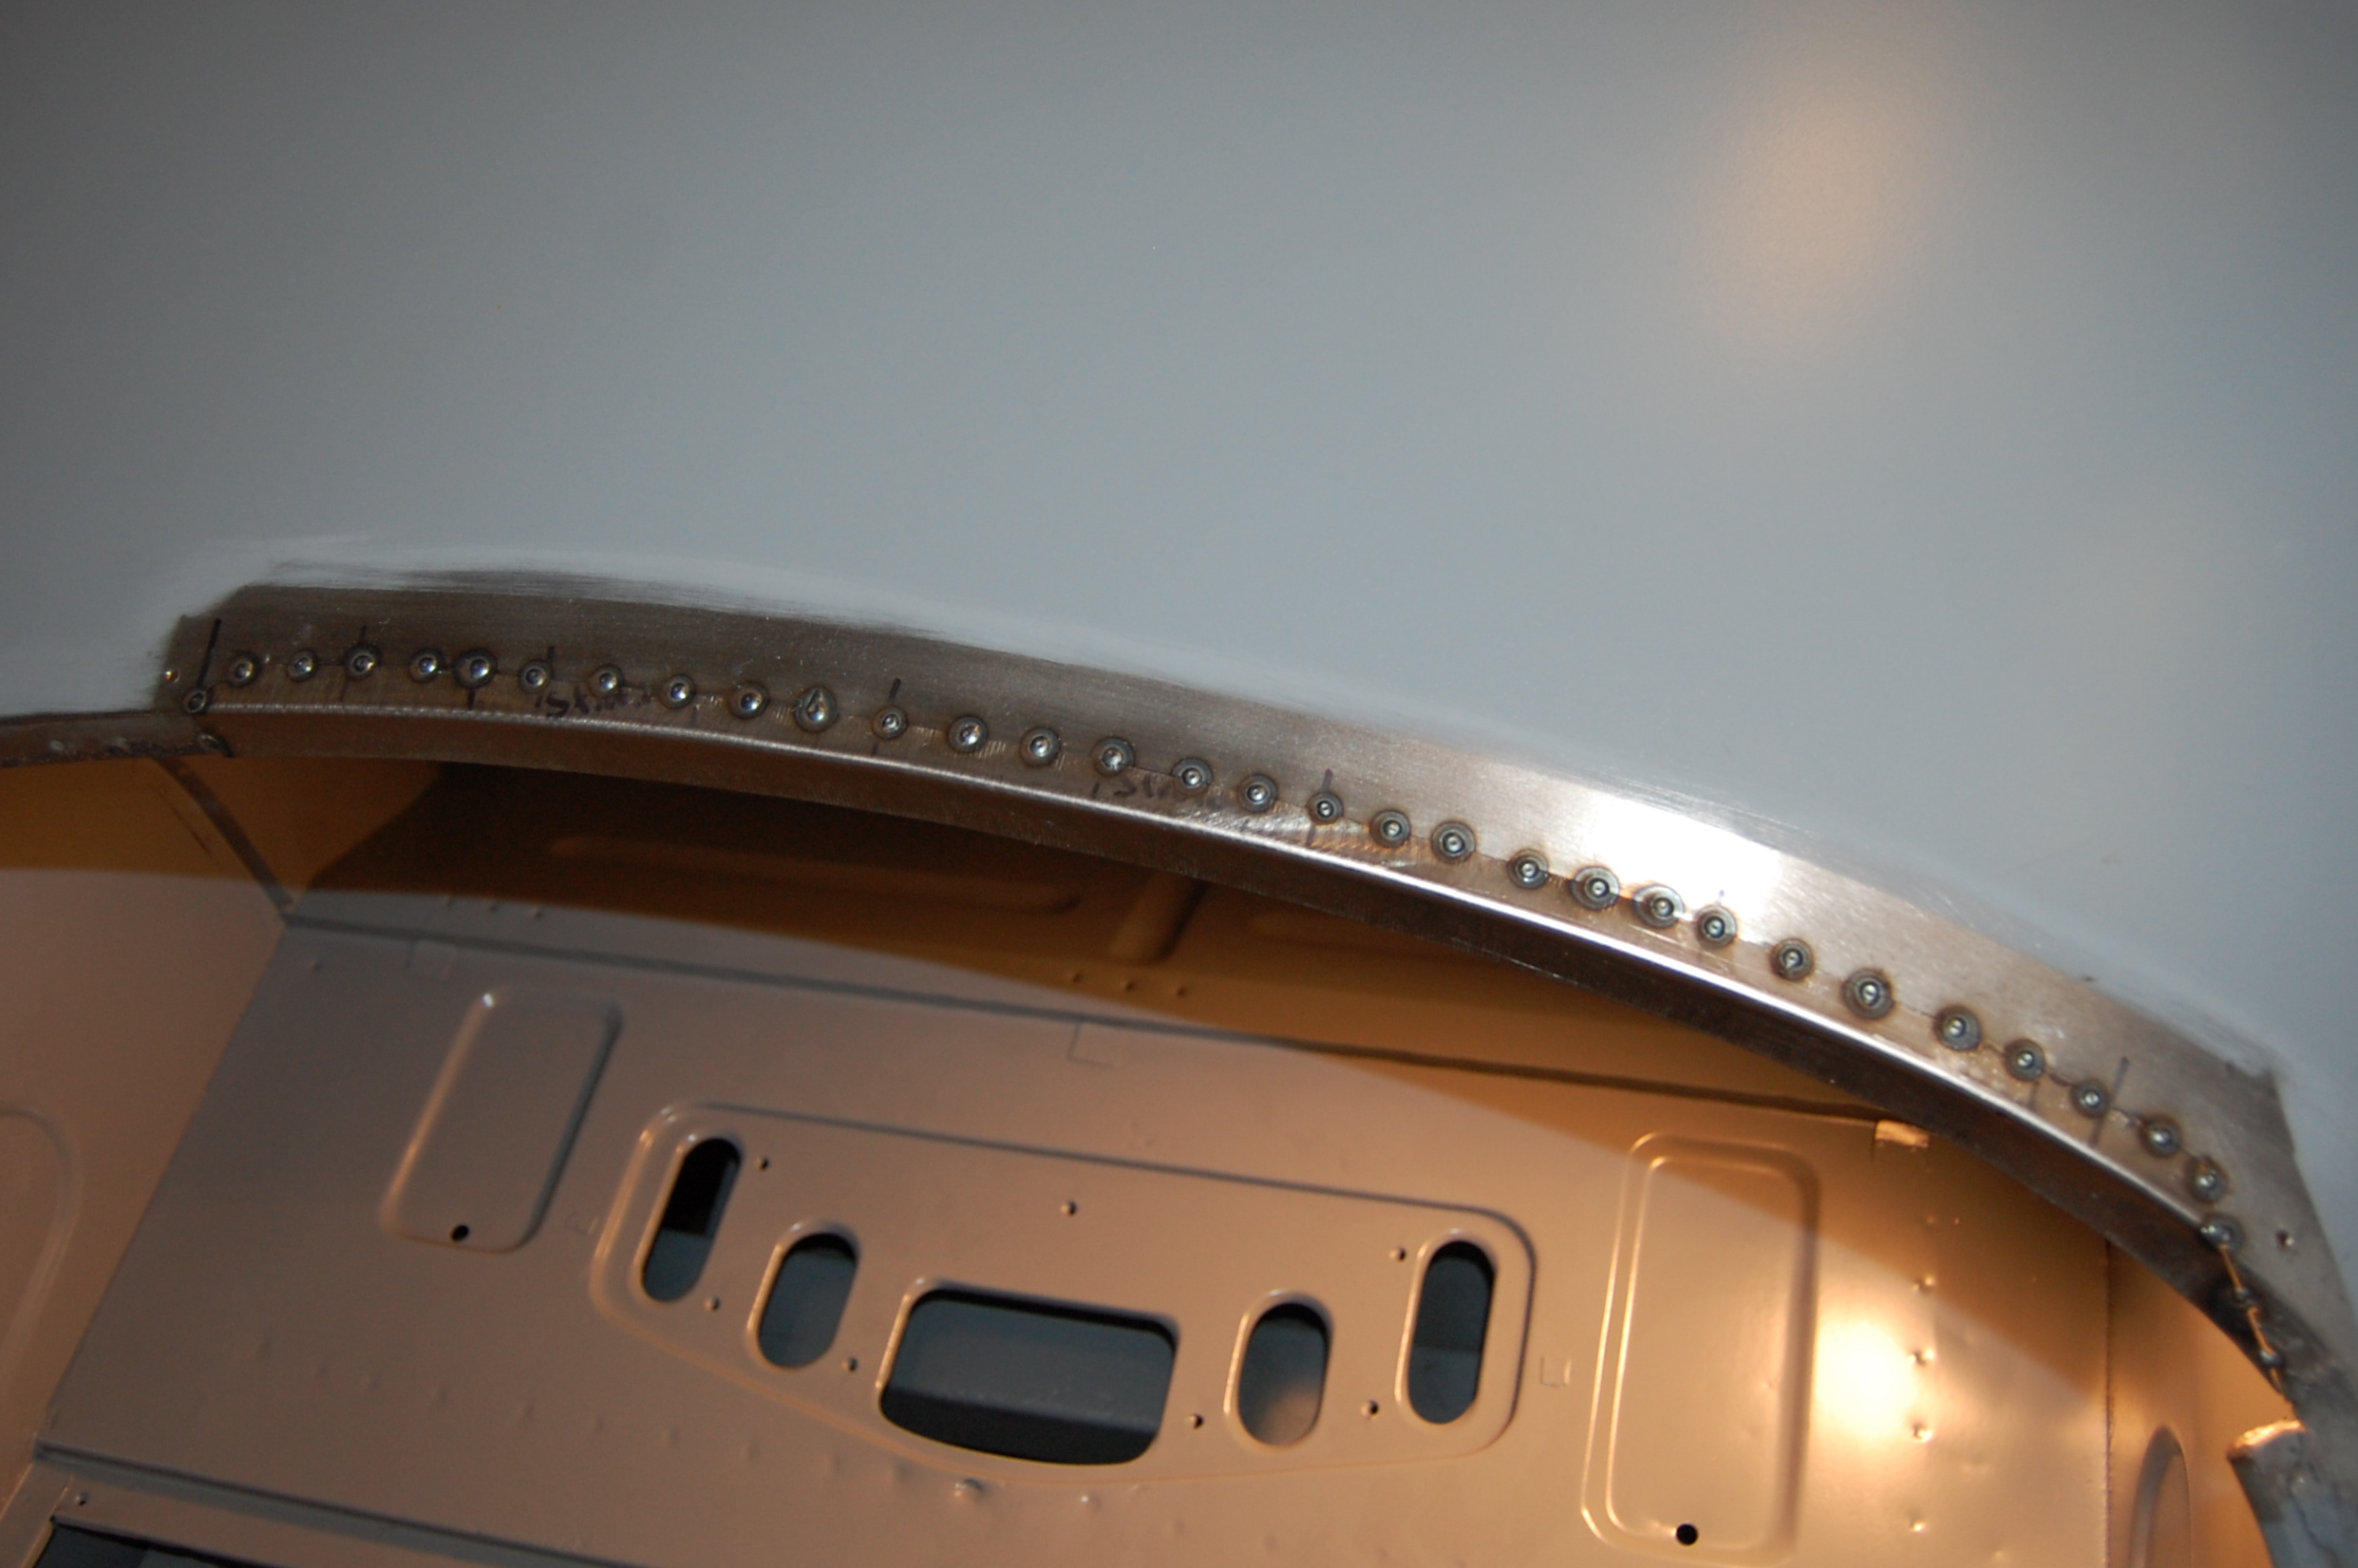
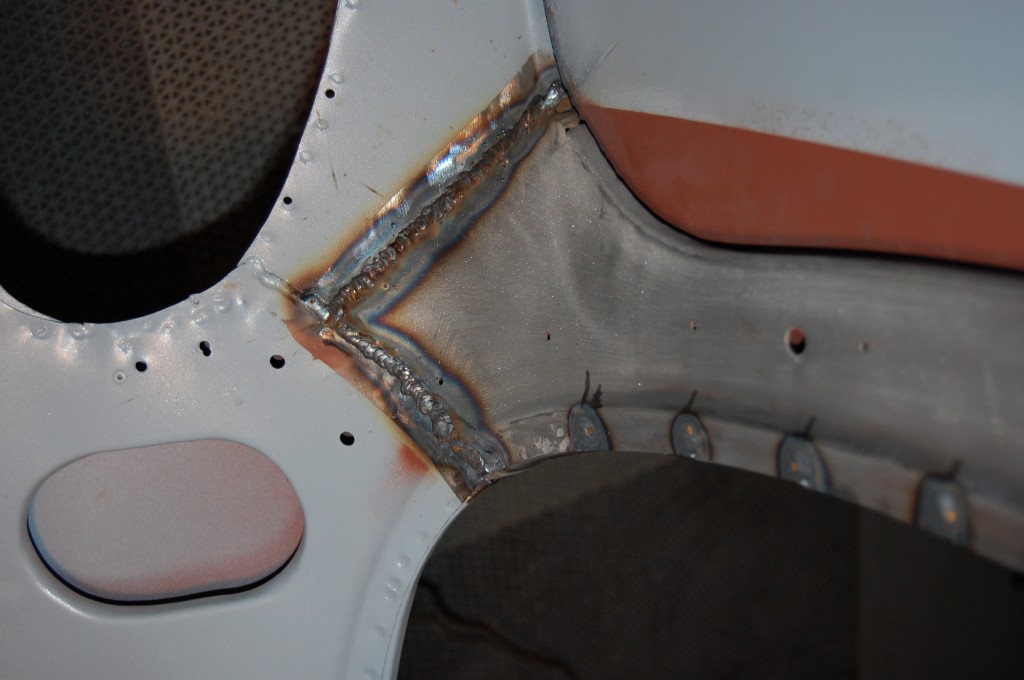
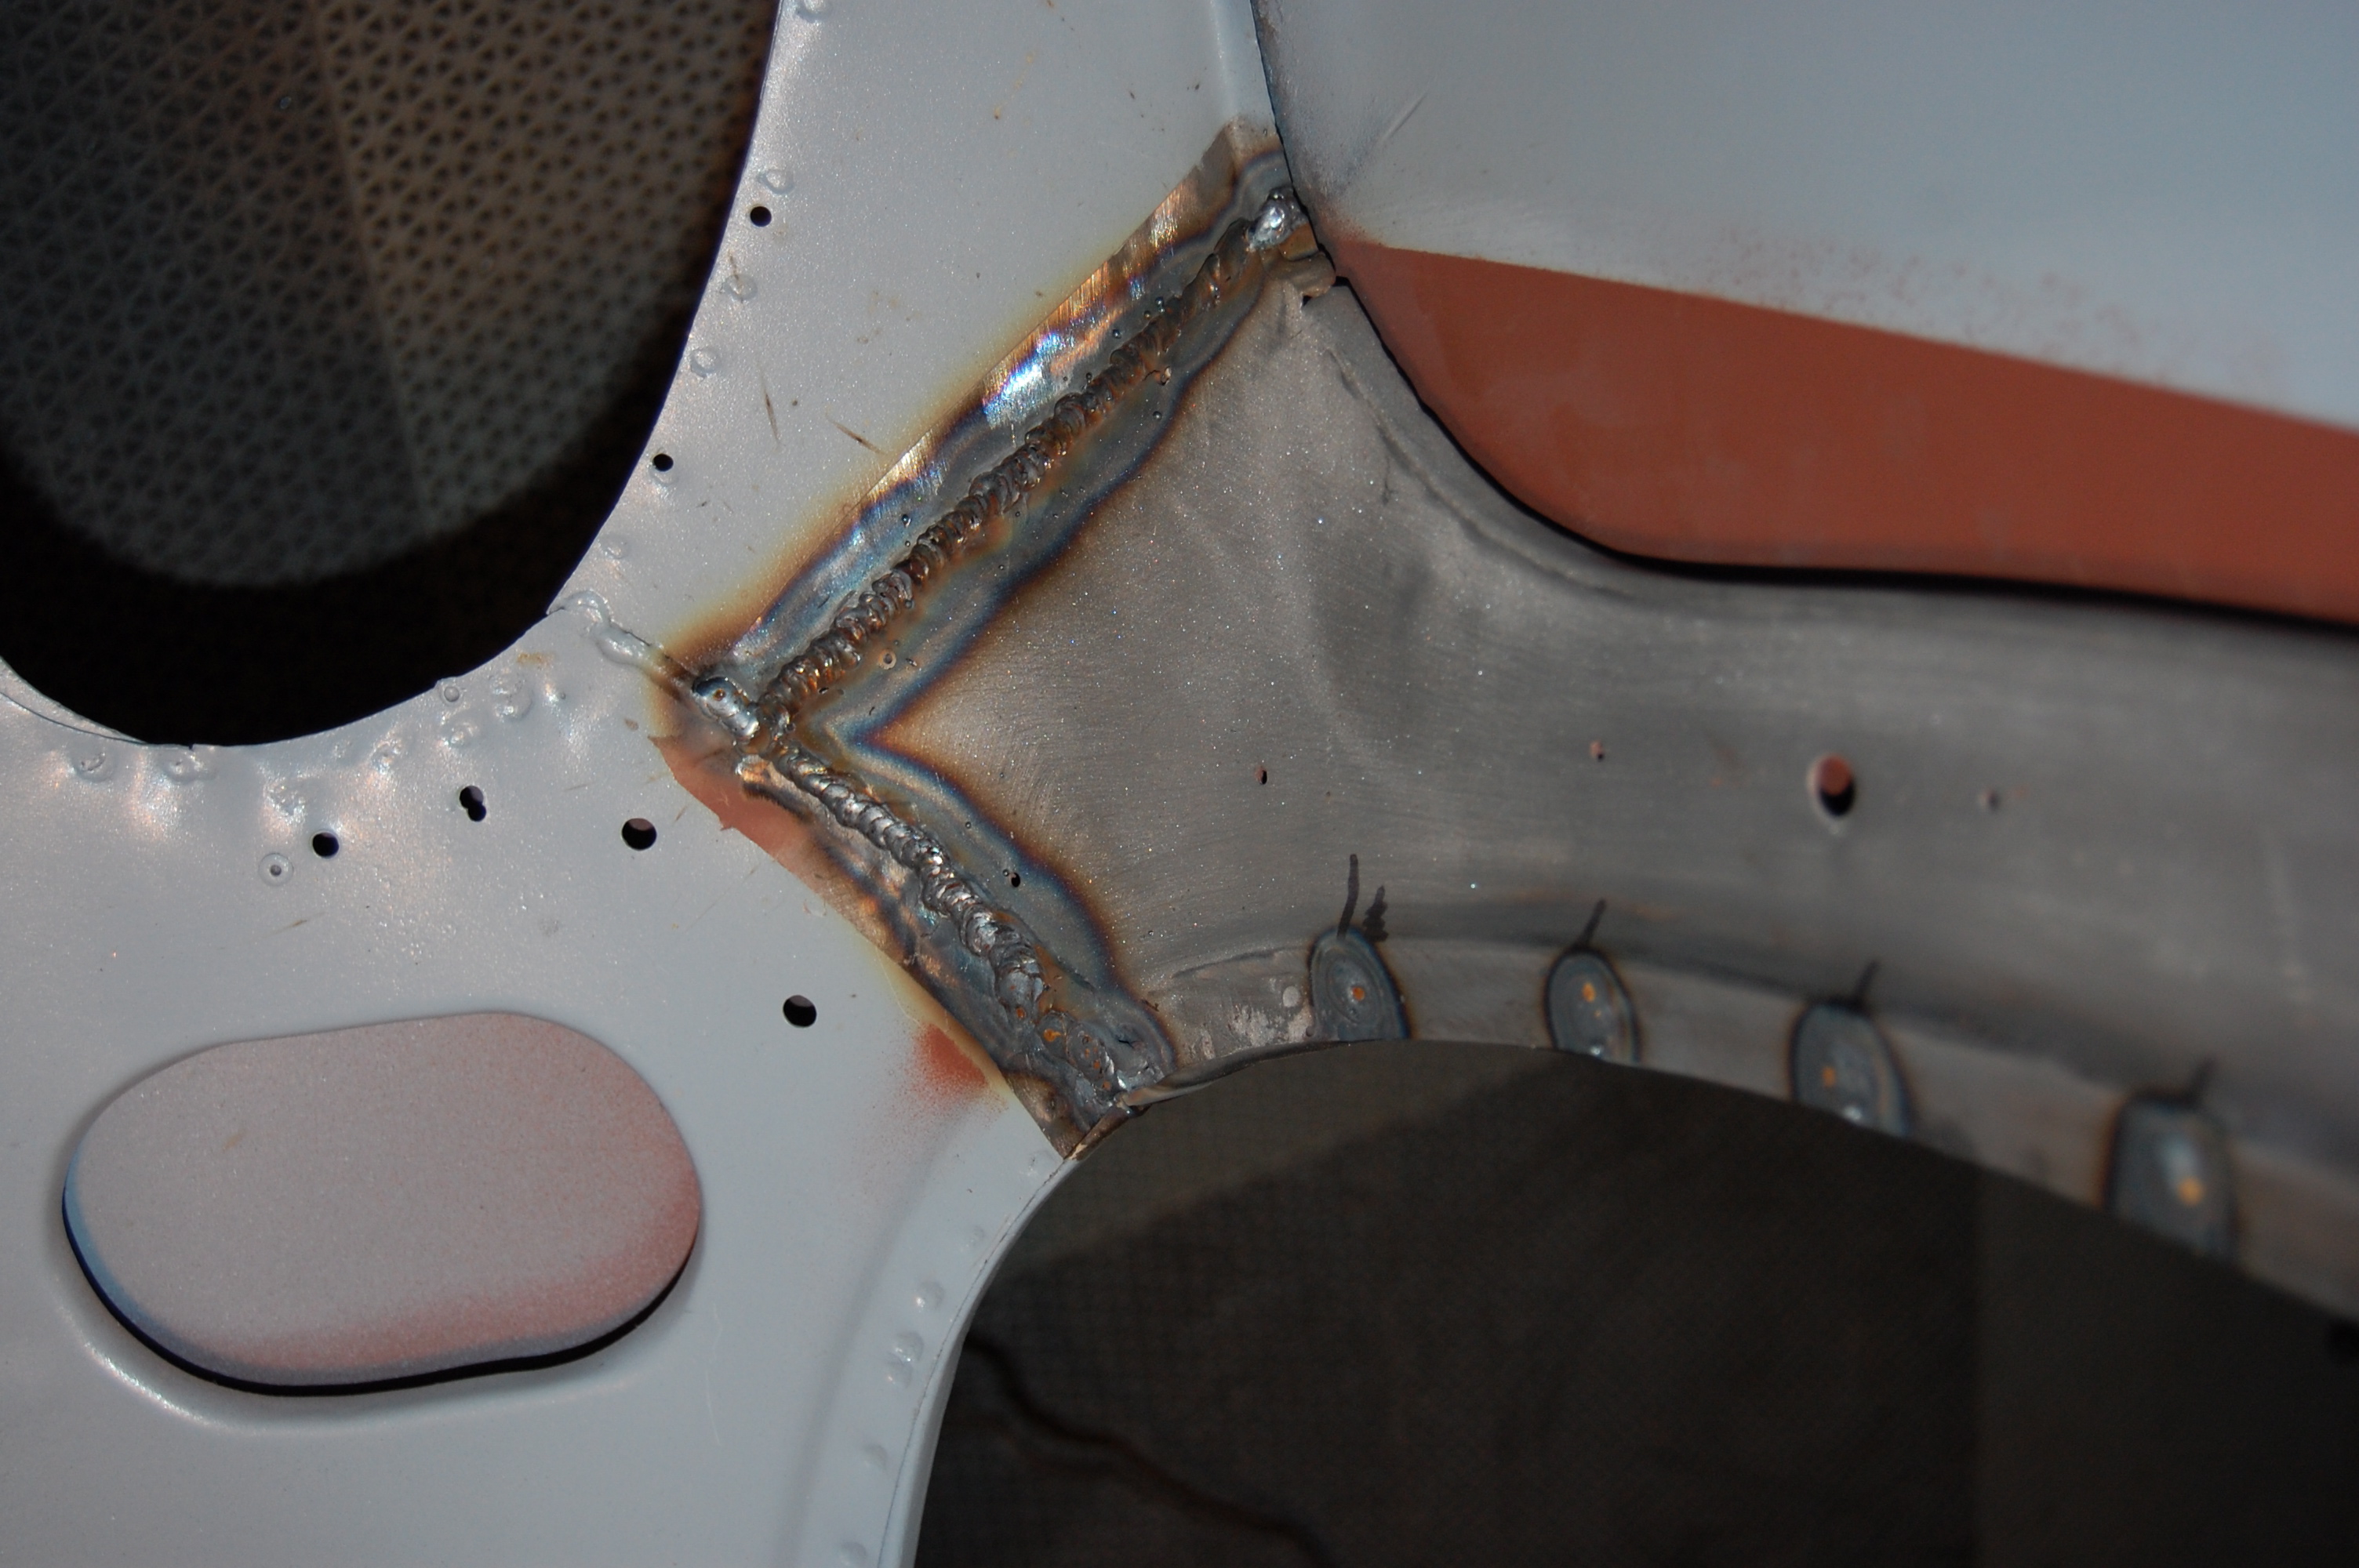
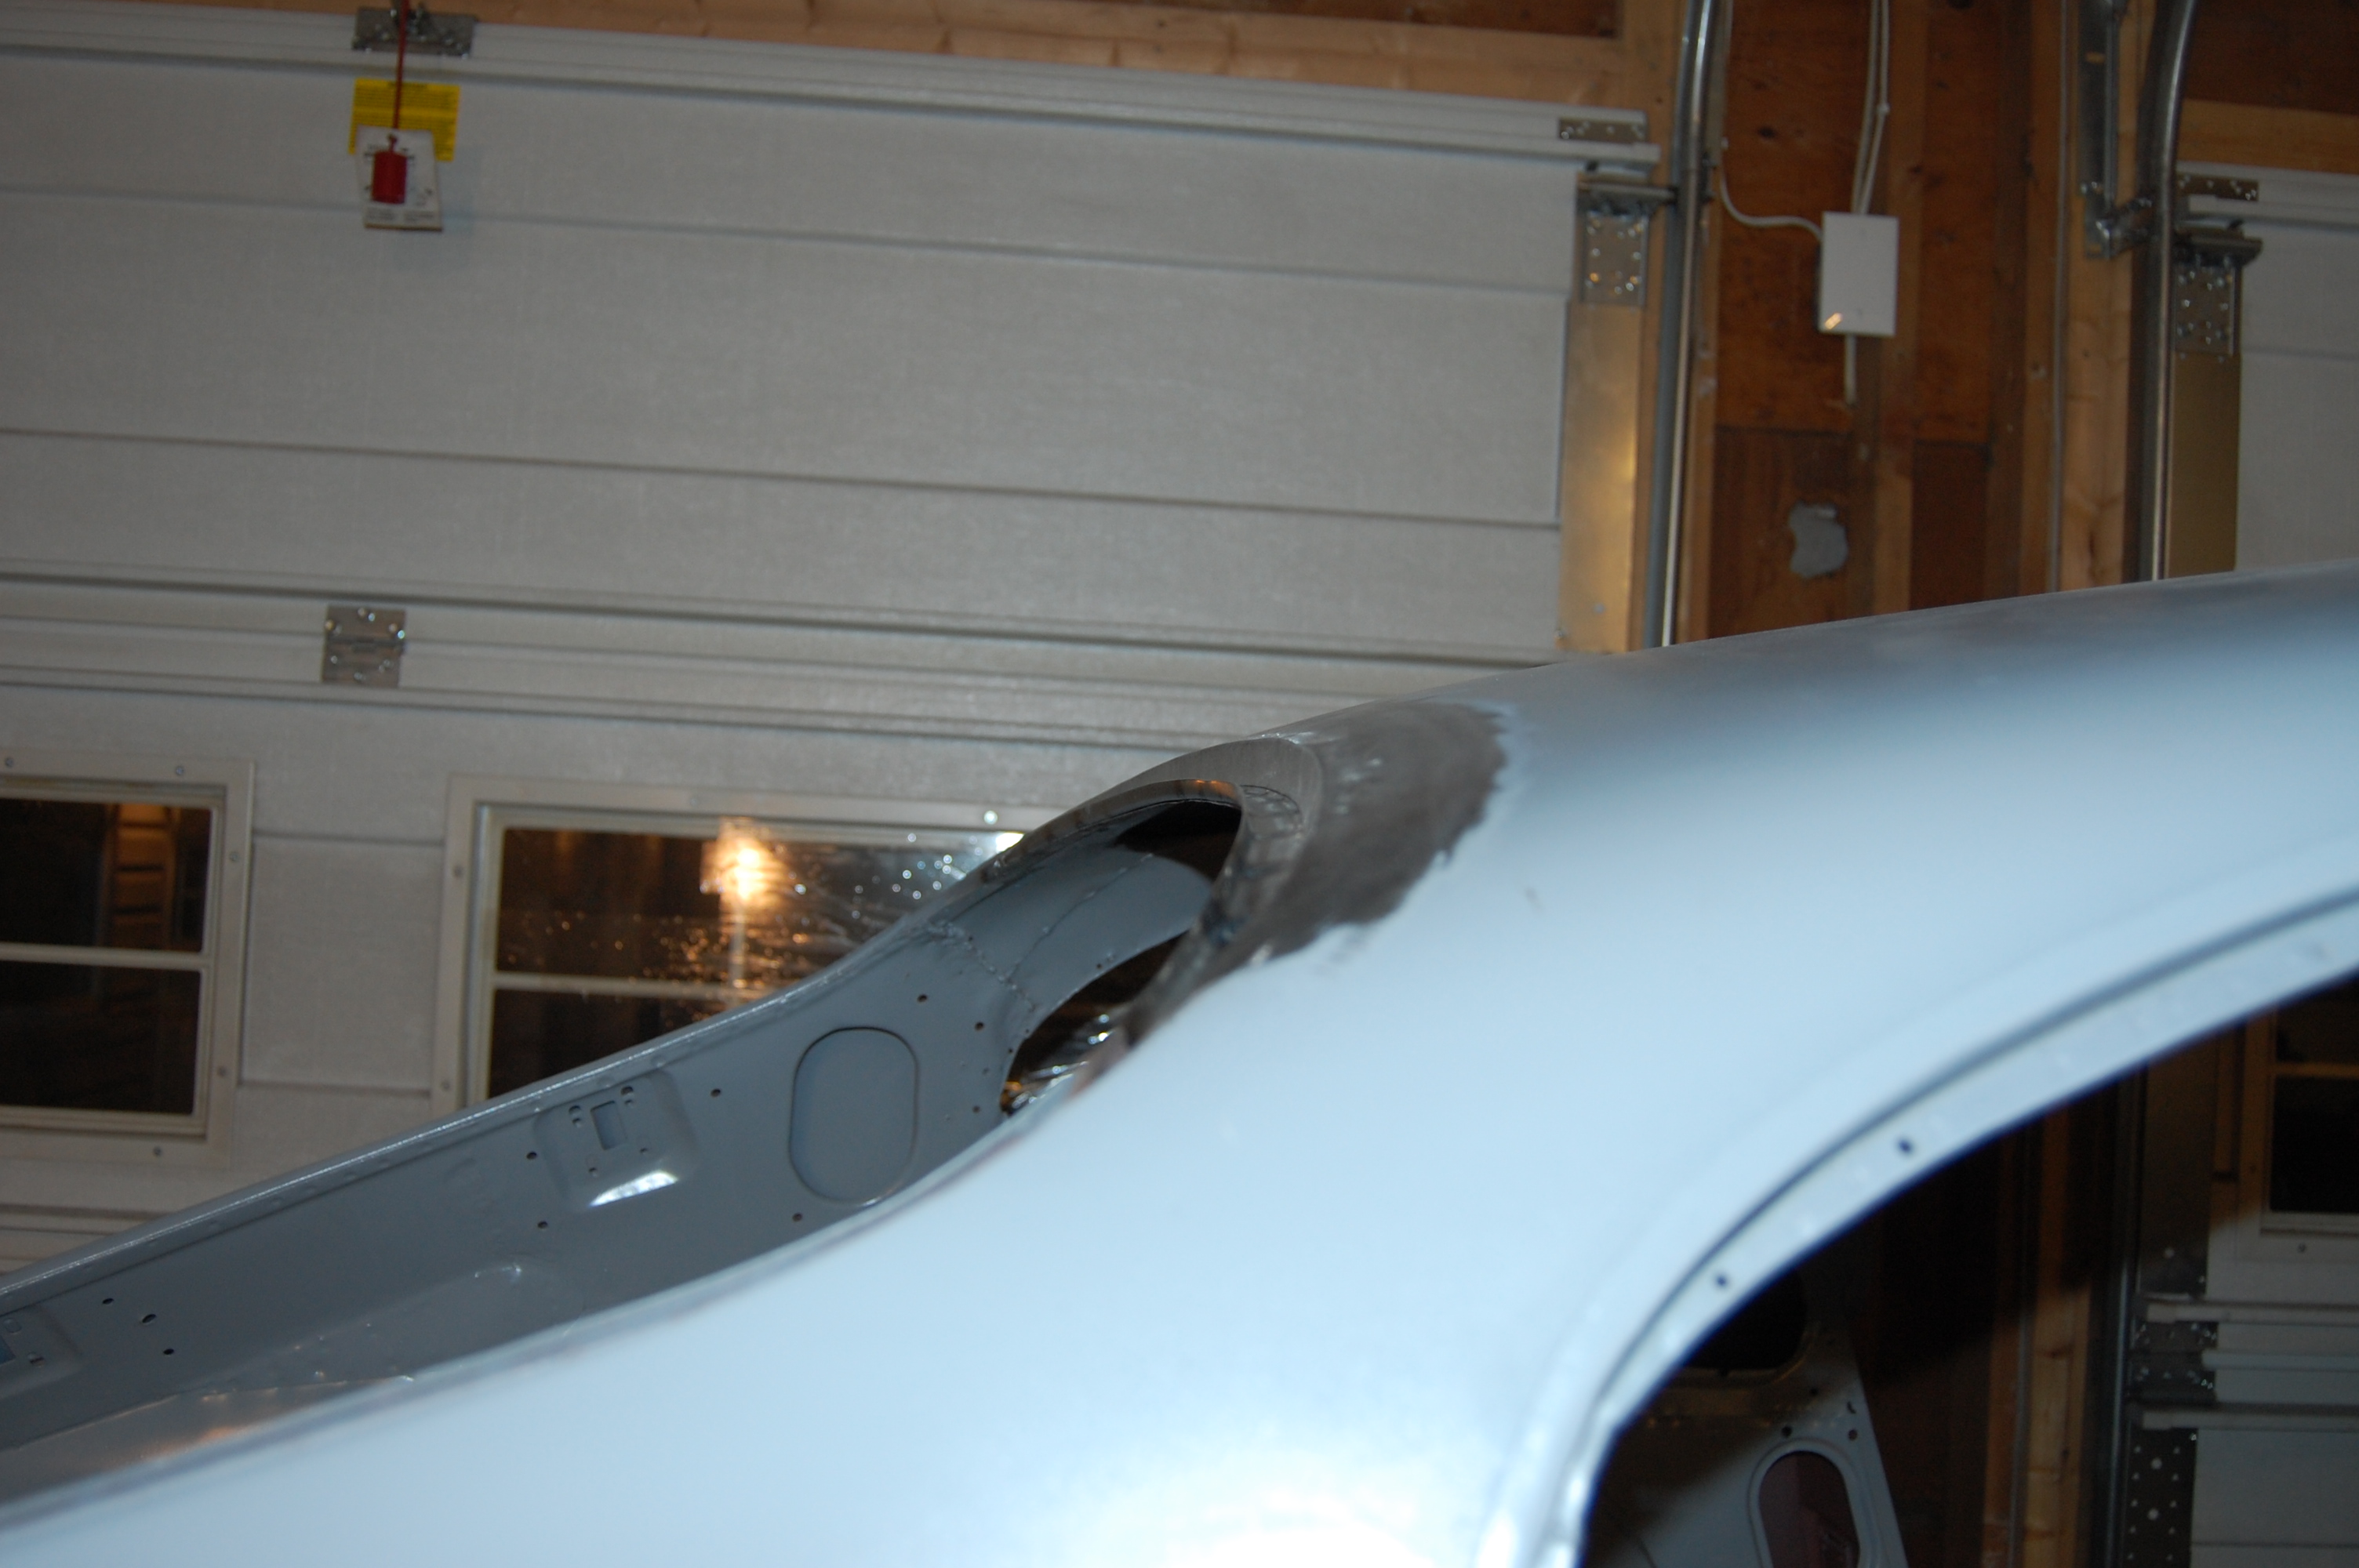
- This is a shot of the corner of the roof, 1/4-window, and rear hatch opening, showing where the internal panels all come together. Note that they are at first, riveted, and then crudely welded along their edges. I believe that this is an early from of MIG welding, and have been told in the past that Jaguar invented MIG welding to assemble portions of these cars. This weld here sure does look like it!

-

- In this photo, that internal support alon the back edge has been cut out, and a rusted section is being replaced on the bench.
-

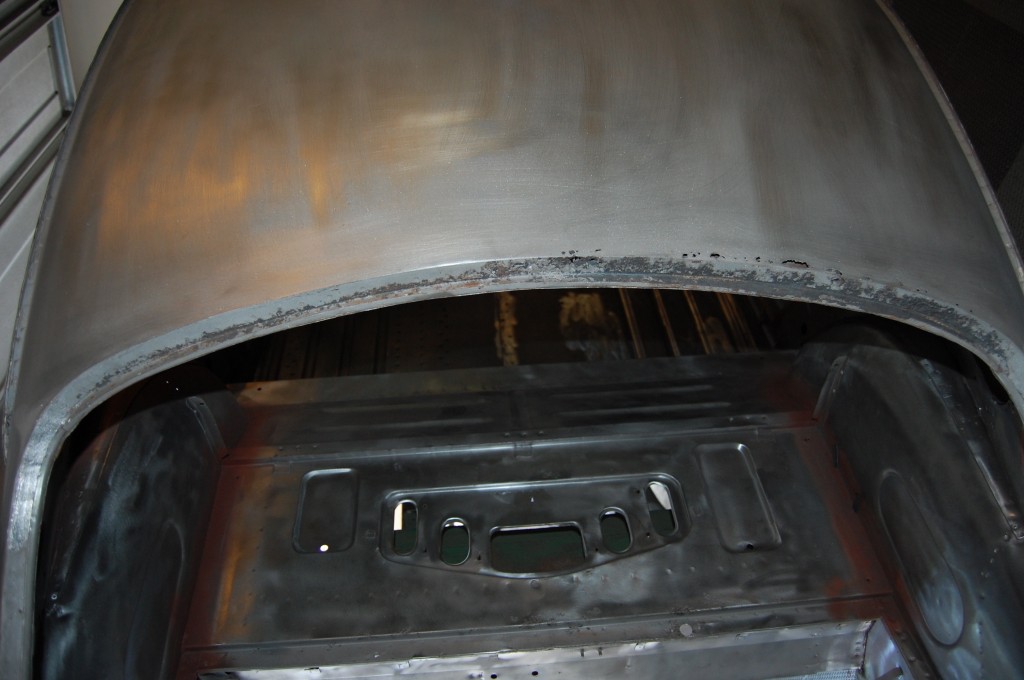
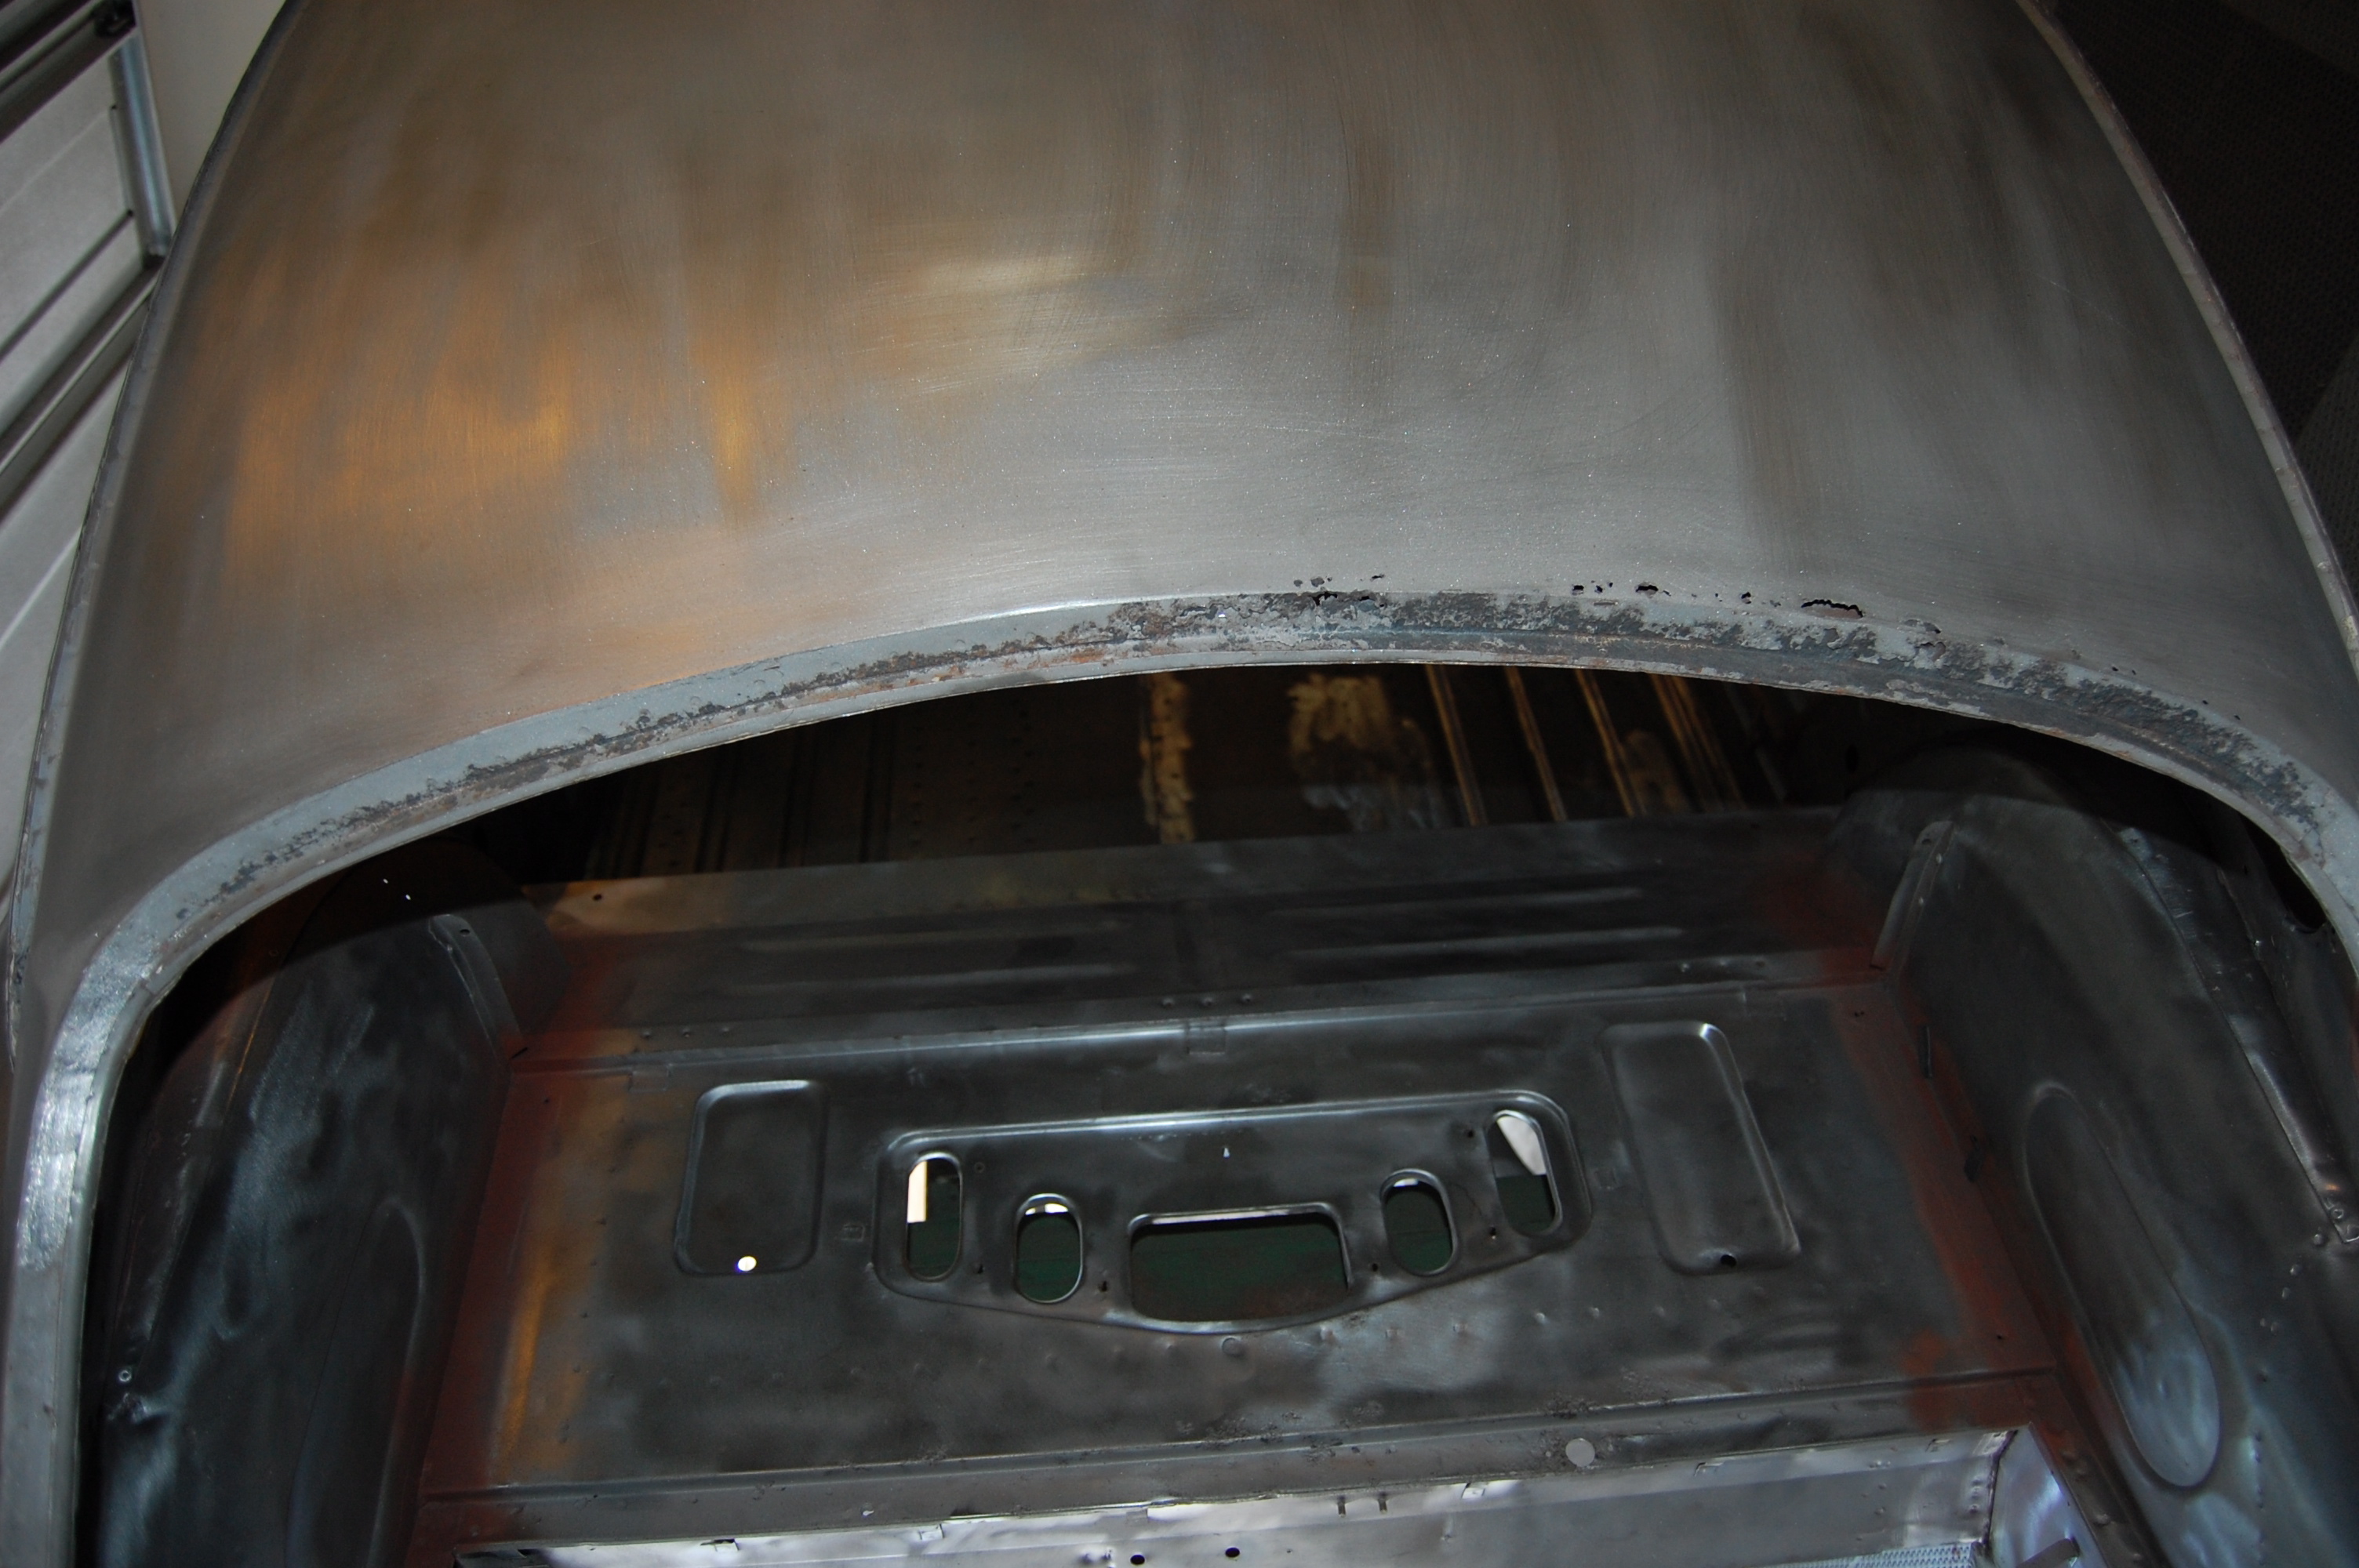
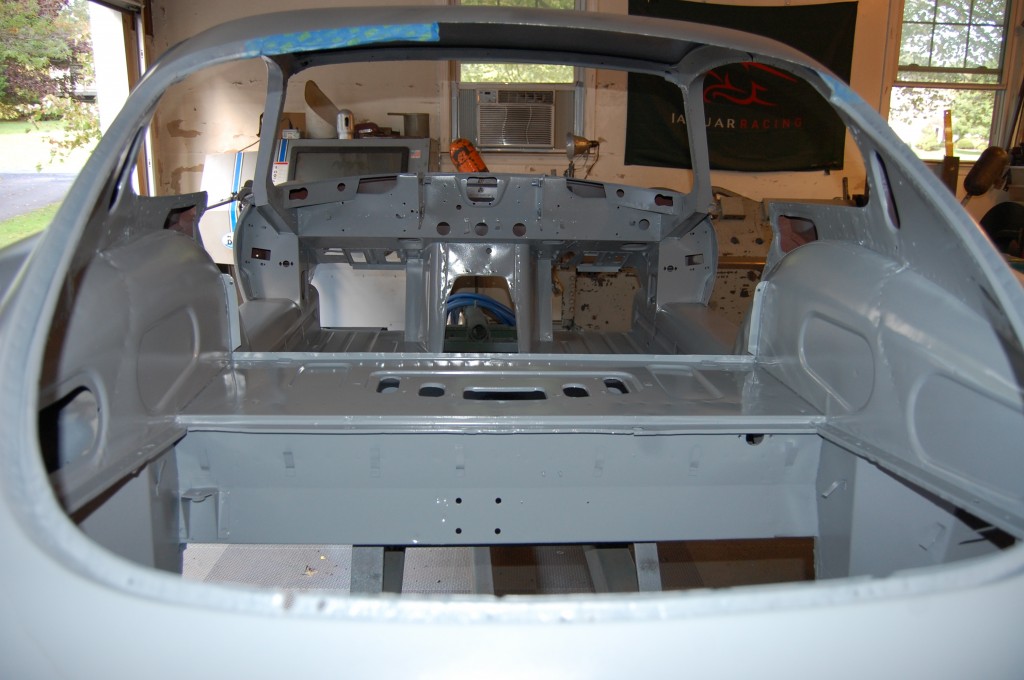
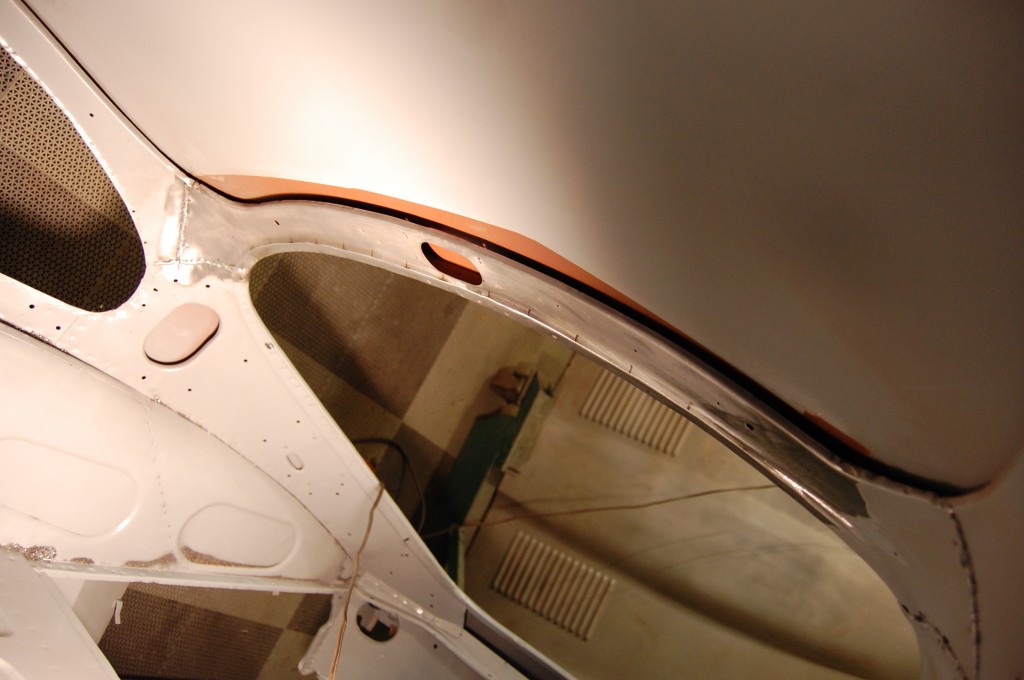
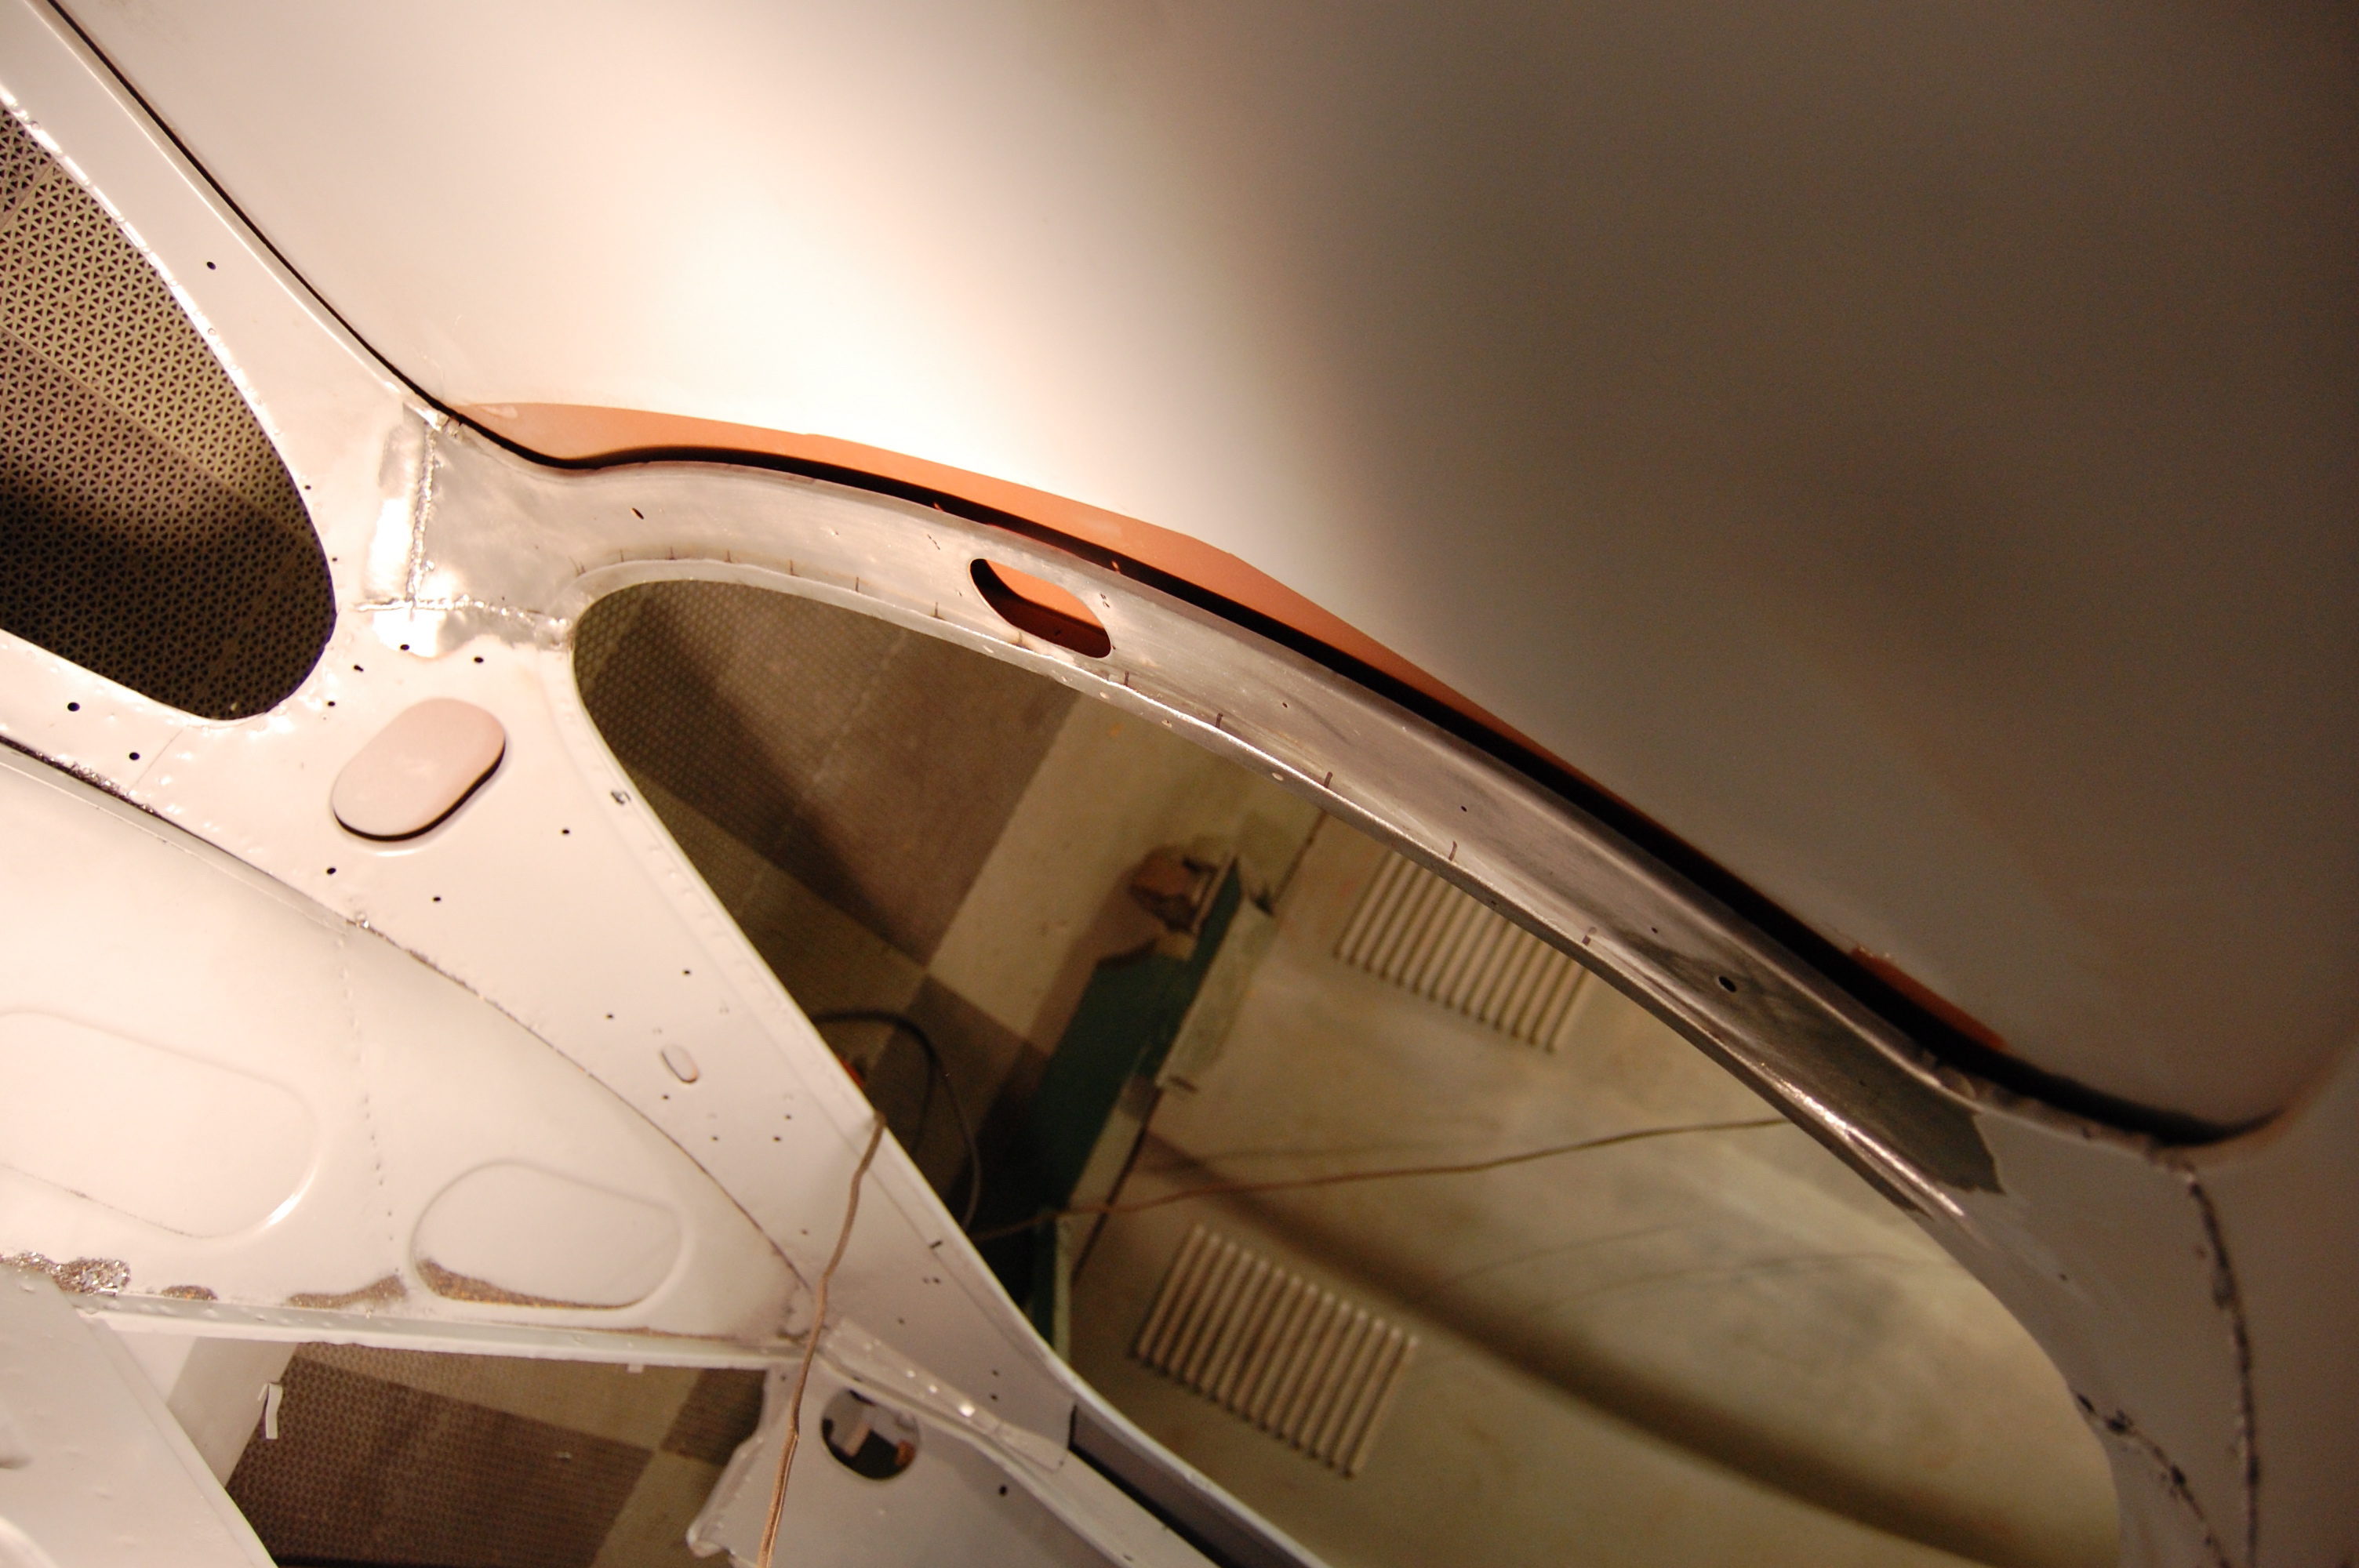
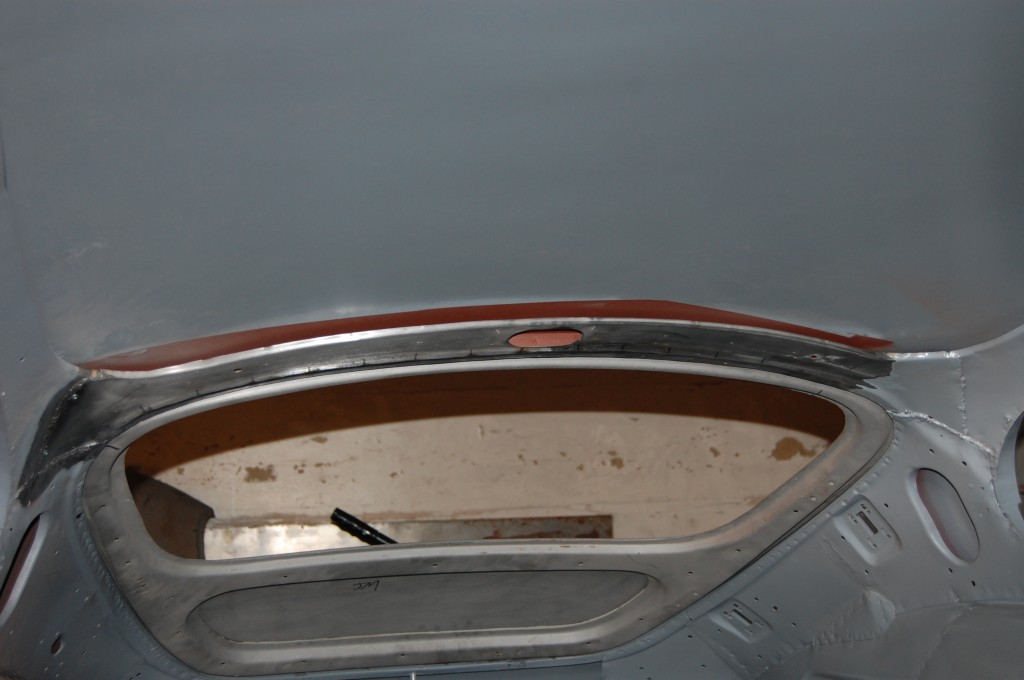
- Here is a shot of where that piece came from – as seen from the inside of the car. We have cut out the internal support, a long this section of the actual roof panel itself, and the entire upper section of the drip channel.
-

- On the end, I came up with this ingenious little idea to make the repair completely invisible when finished. I sliced the panel out EXACTLY along the welds, and will weld it back in right here using a MIG, which SHOULD resemble the original look very closely.
-
- This shot shows the piece cut out of the roof panel itself – GULP!

-
- First, we bend a nice crisp angle into a piece of 19-gauge steel, and start shrinking and stretching the piece into a shape that exactly resembles the original section of the roof that has been removed.
-
- A shot showing what this patch looks like from the inside in the early stages.

-
- As we got closer to the correct shape, I trimmed the panel to fit the cut in the roof, but left the ends attached so that I could continue to use the screws at the ends to fine tune the shape and fit it up tightly.

-
- It was finally time to trim the ends off, and begin to tack the patch into position.
-

- The piece is now fully tacked into place.
-

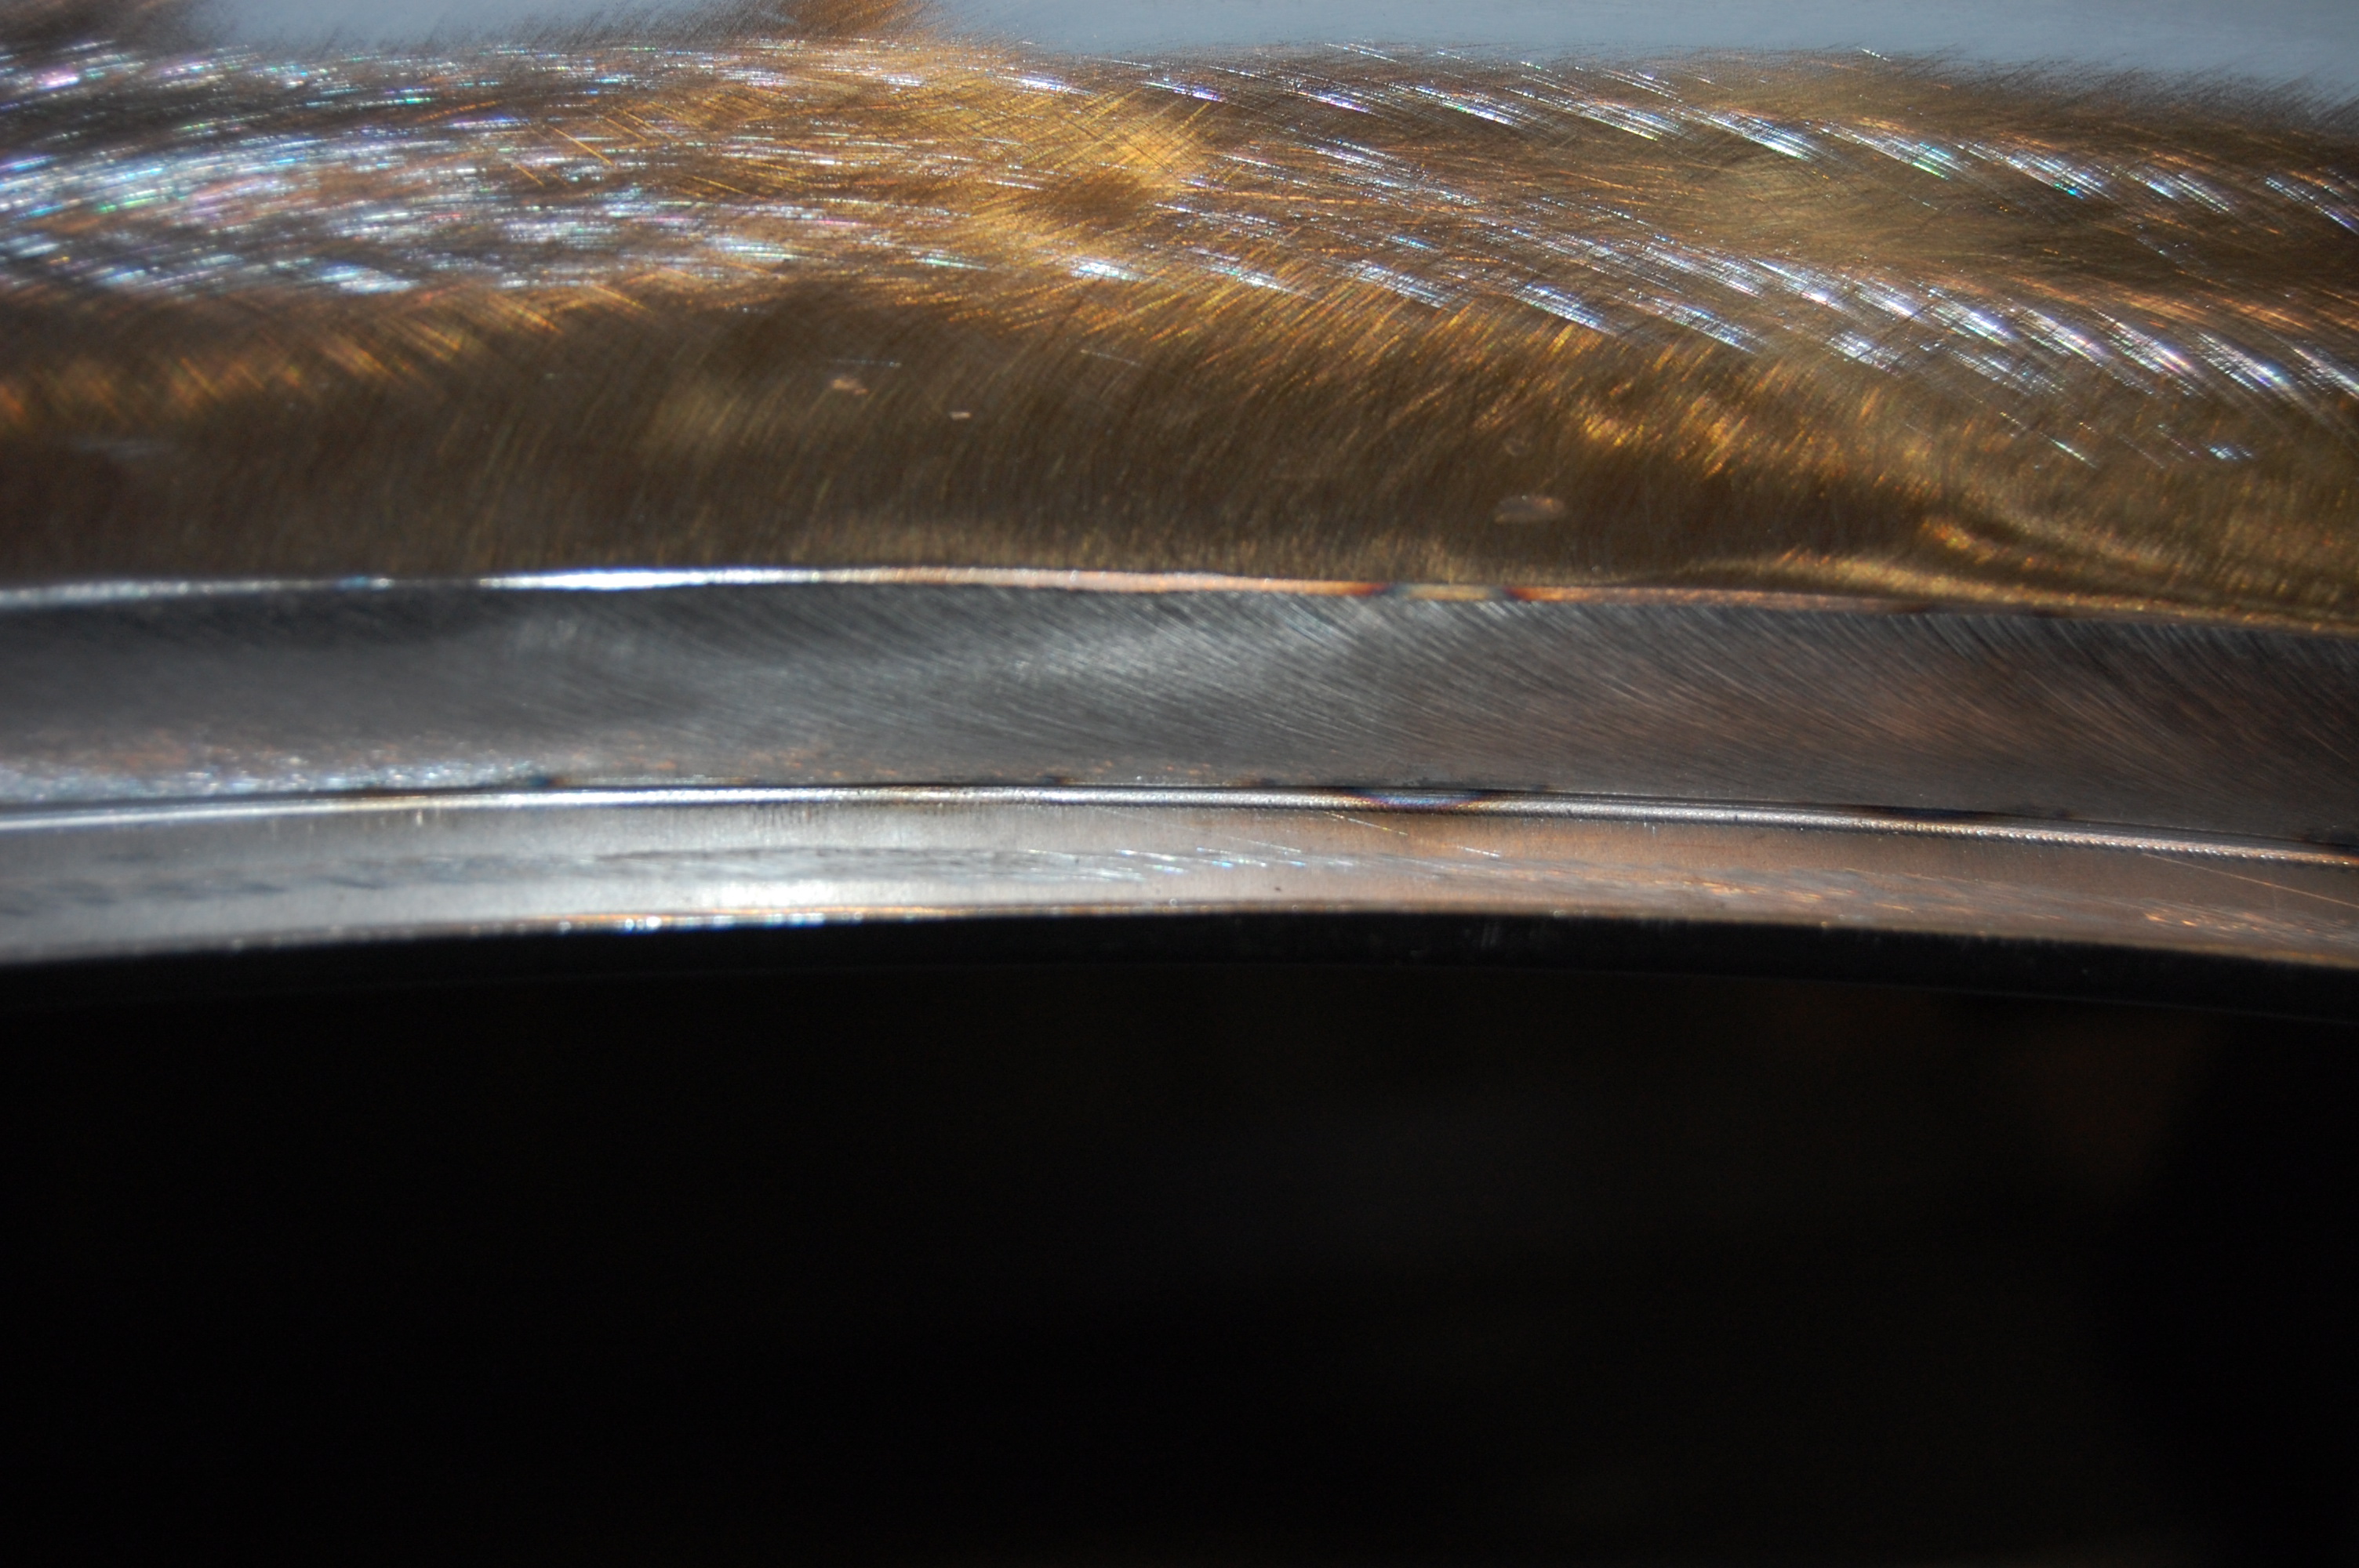
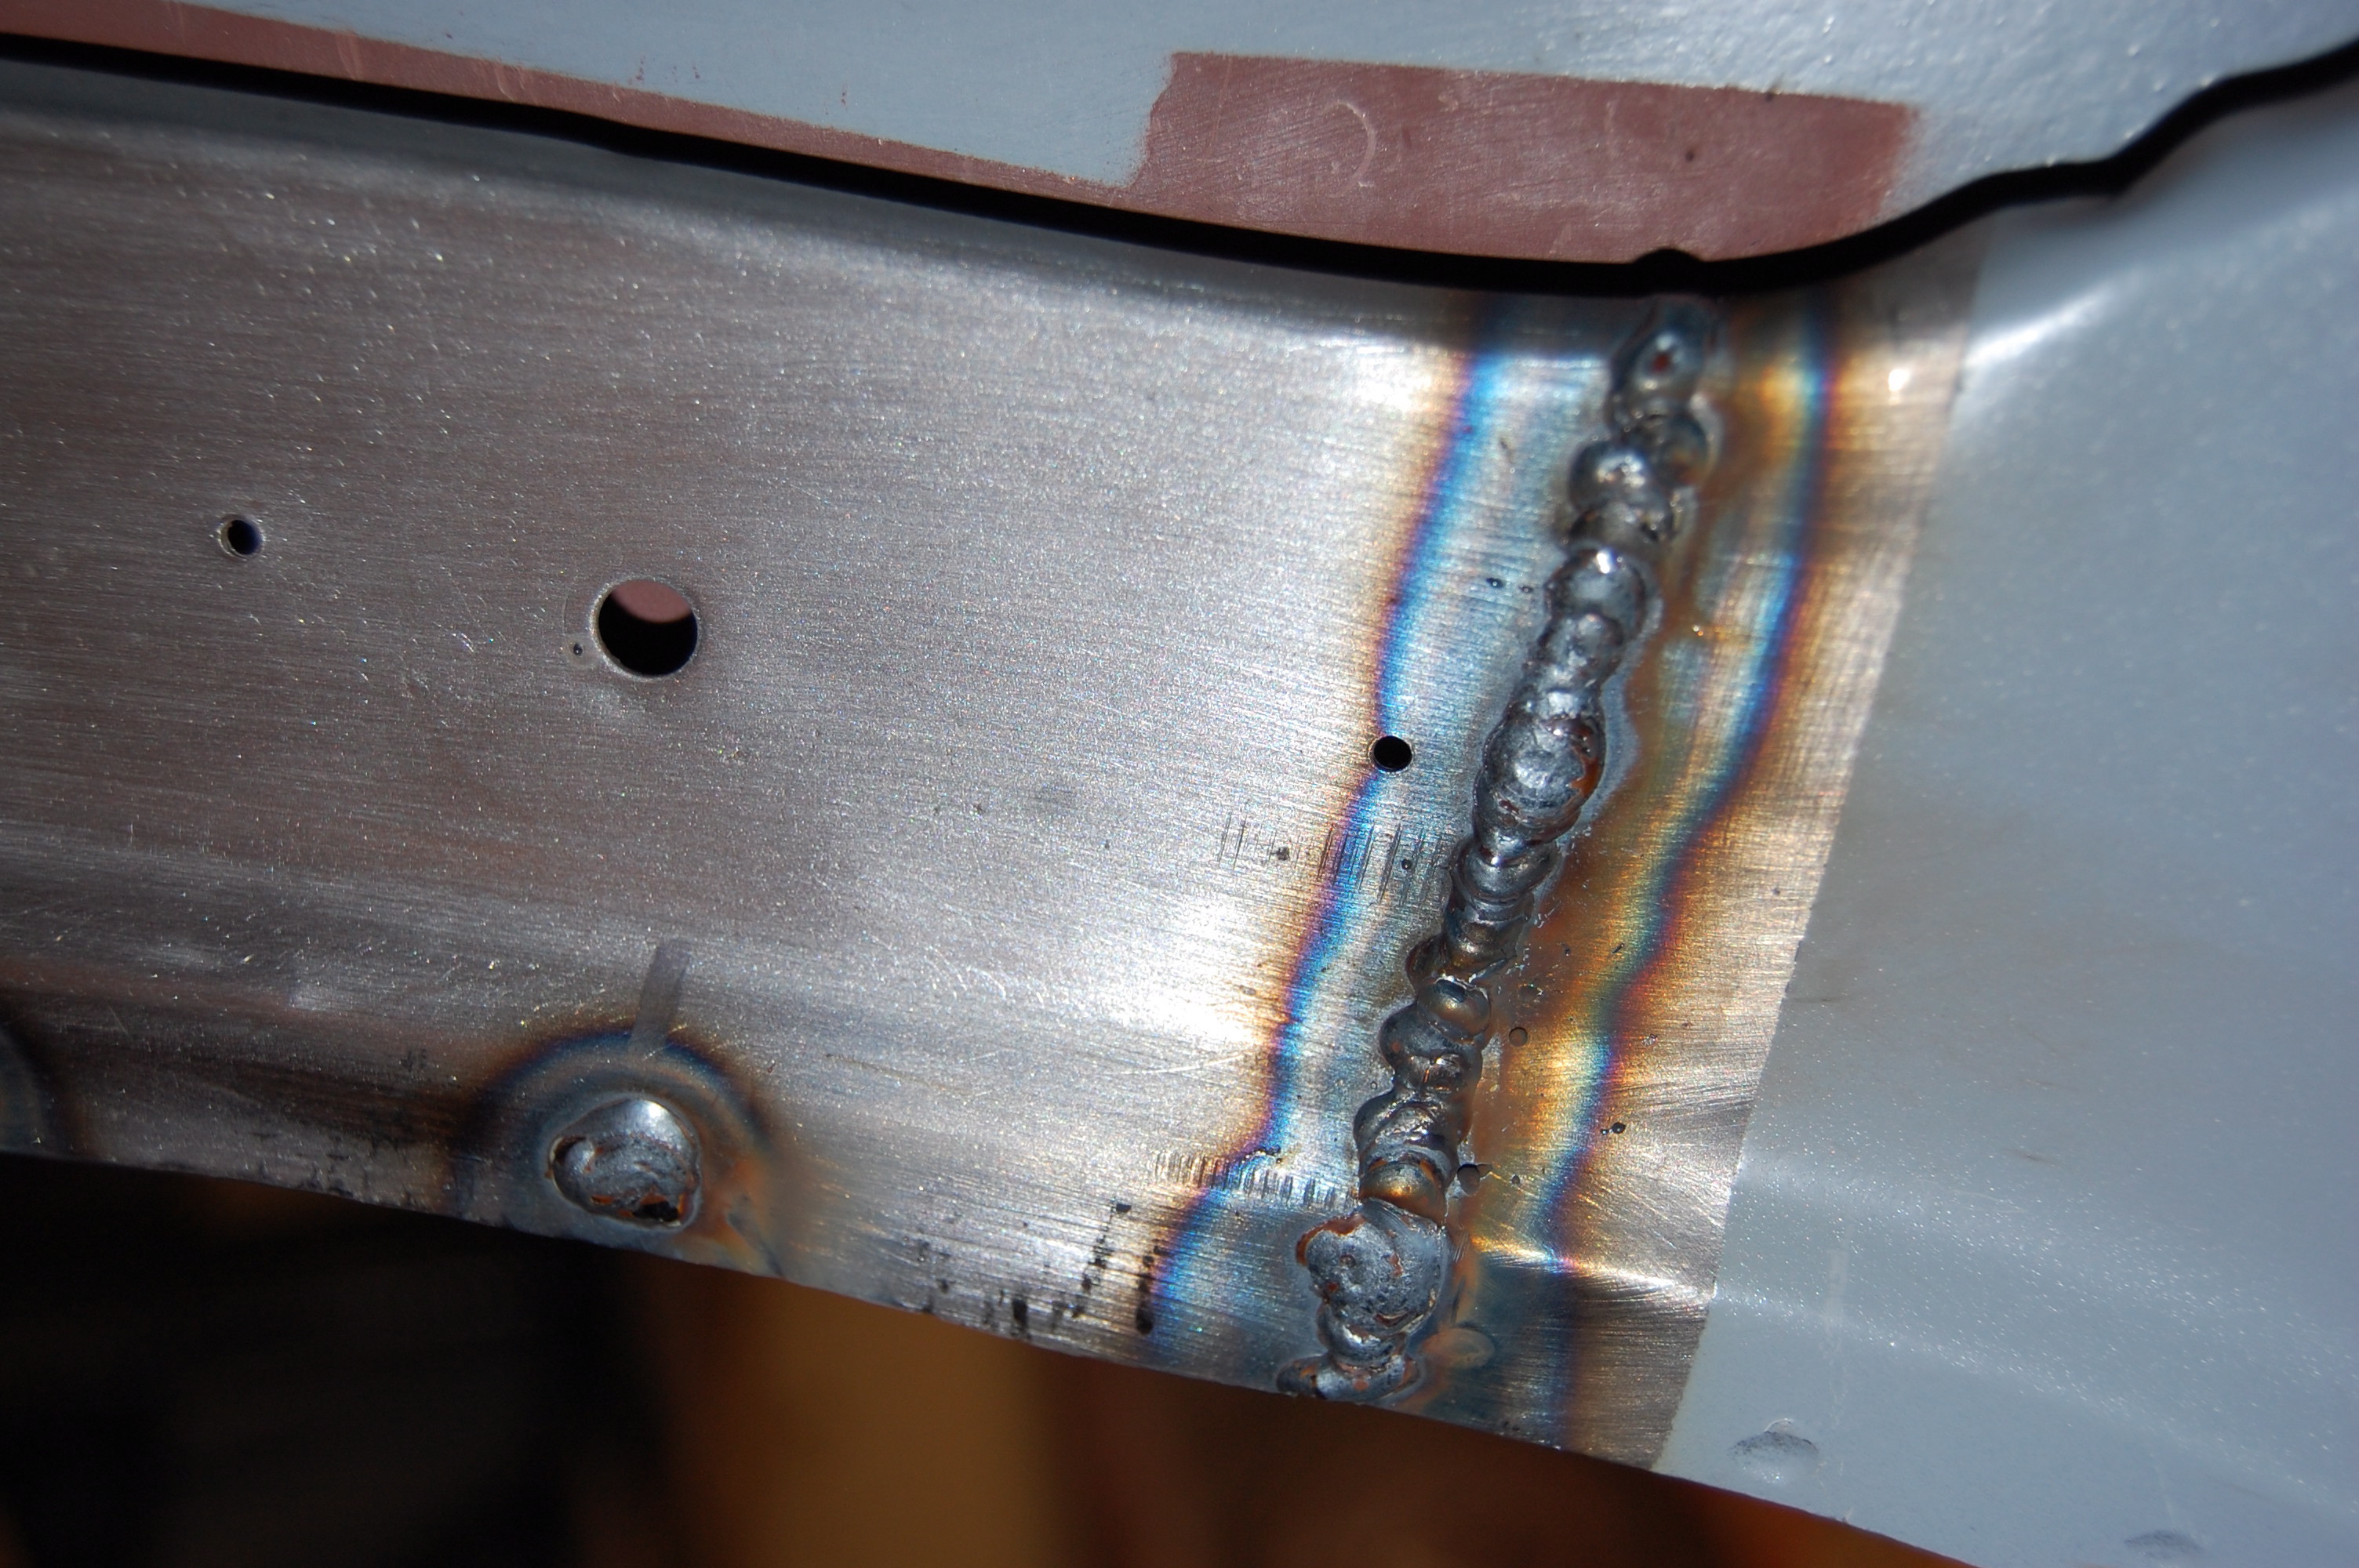
- Next, we carefully TIG weld the entire seam.
-

- A close-up of the TIG weld.
-
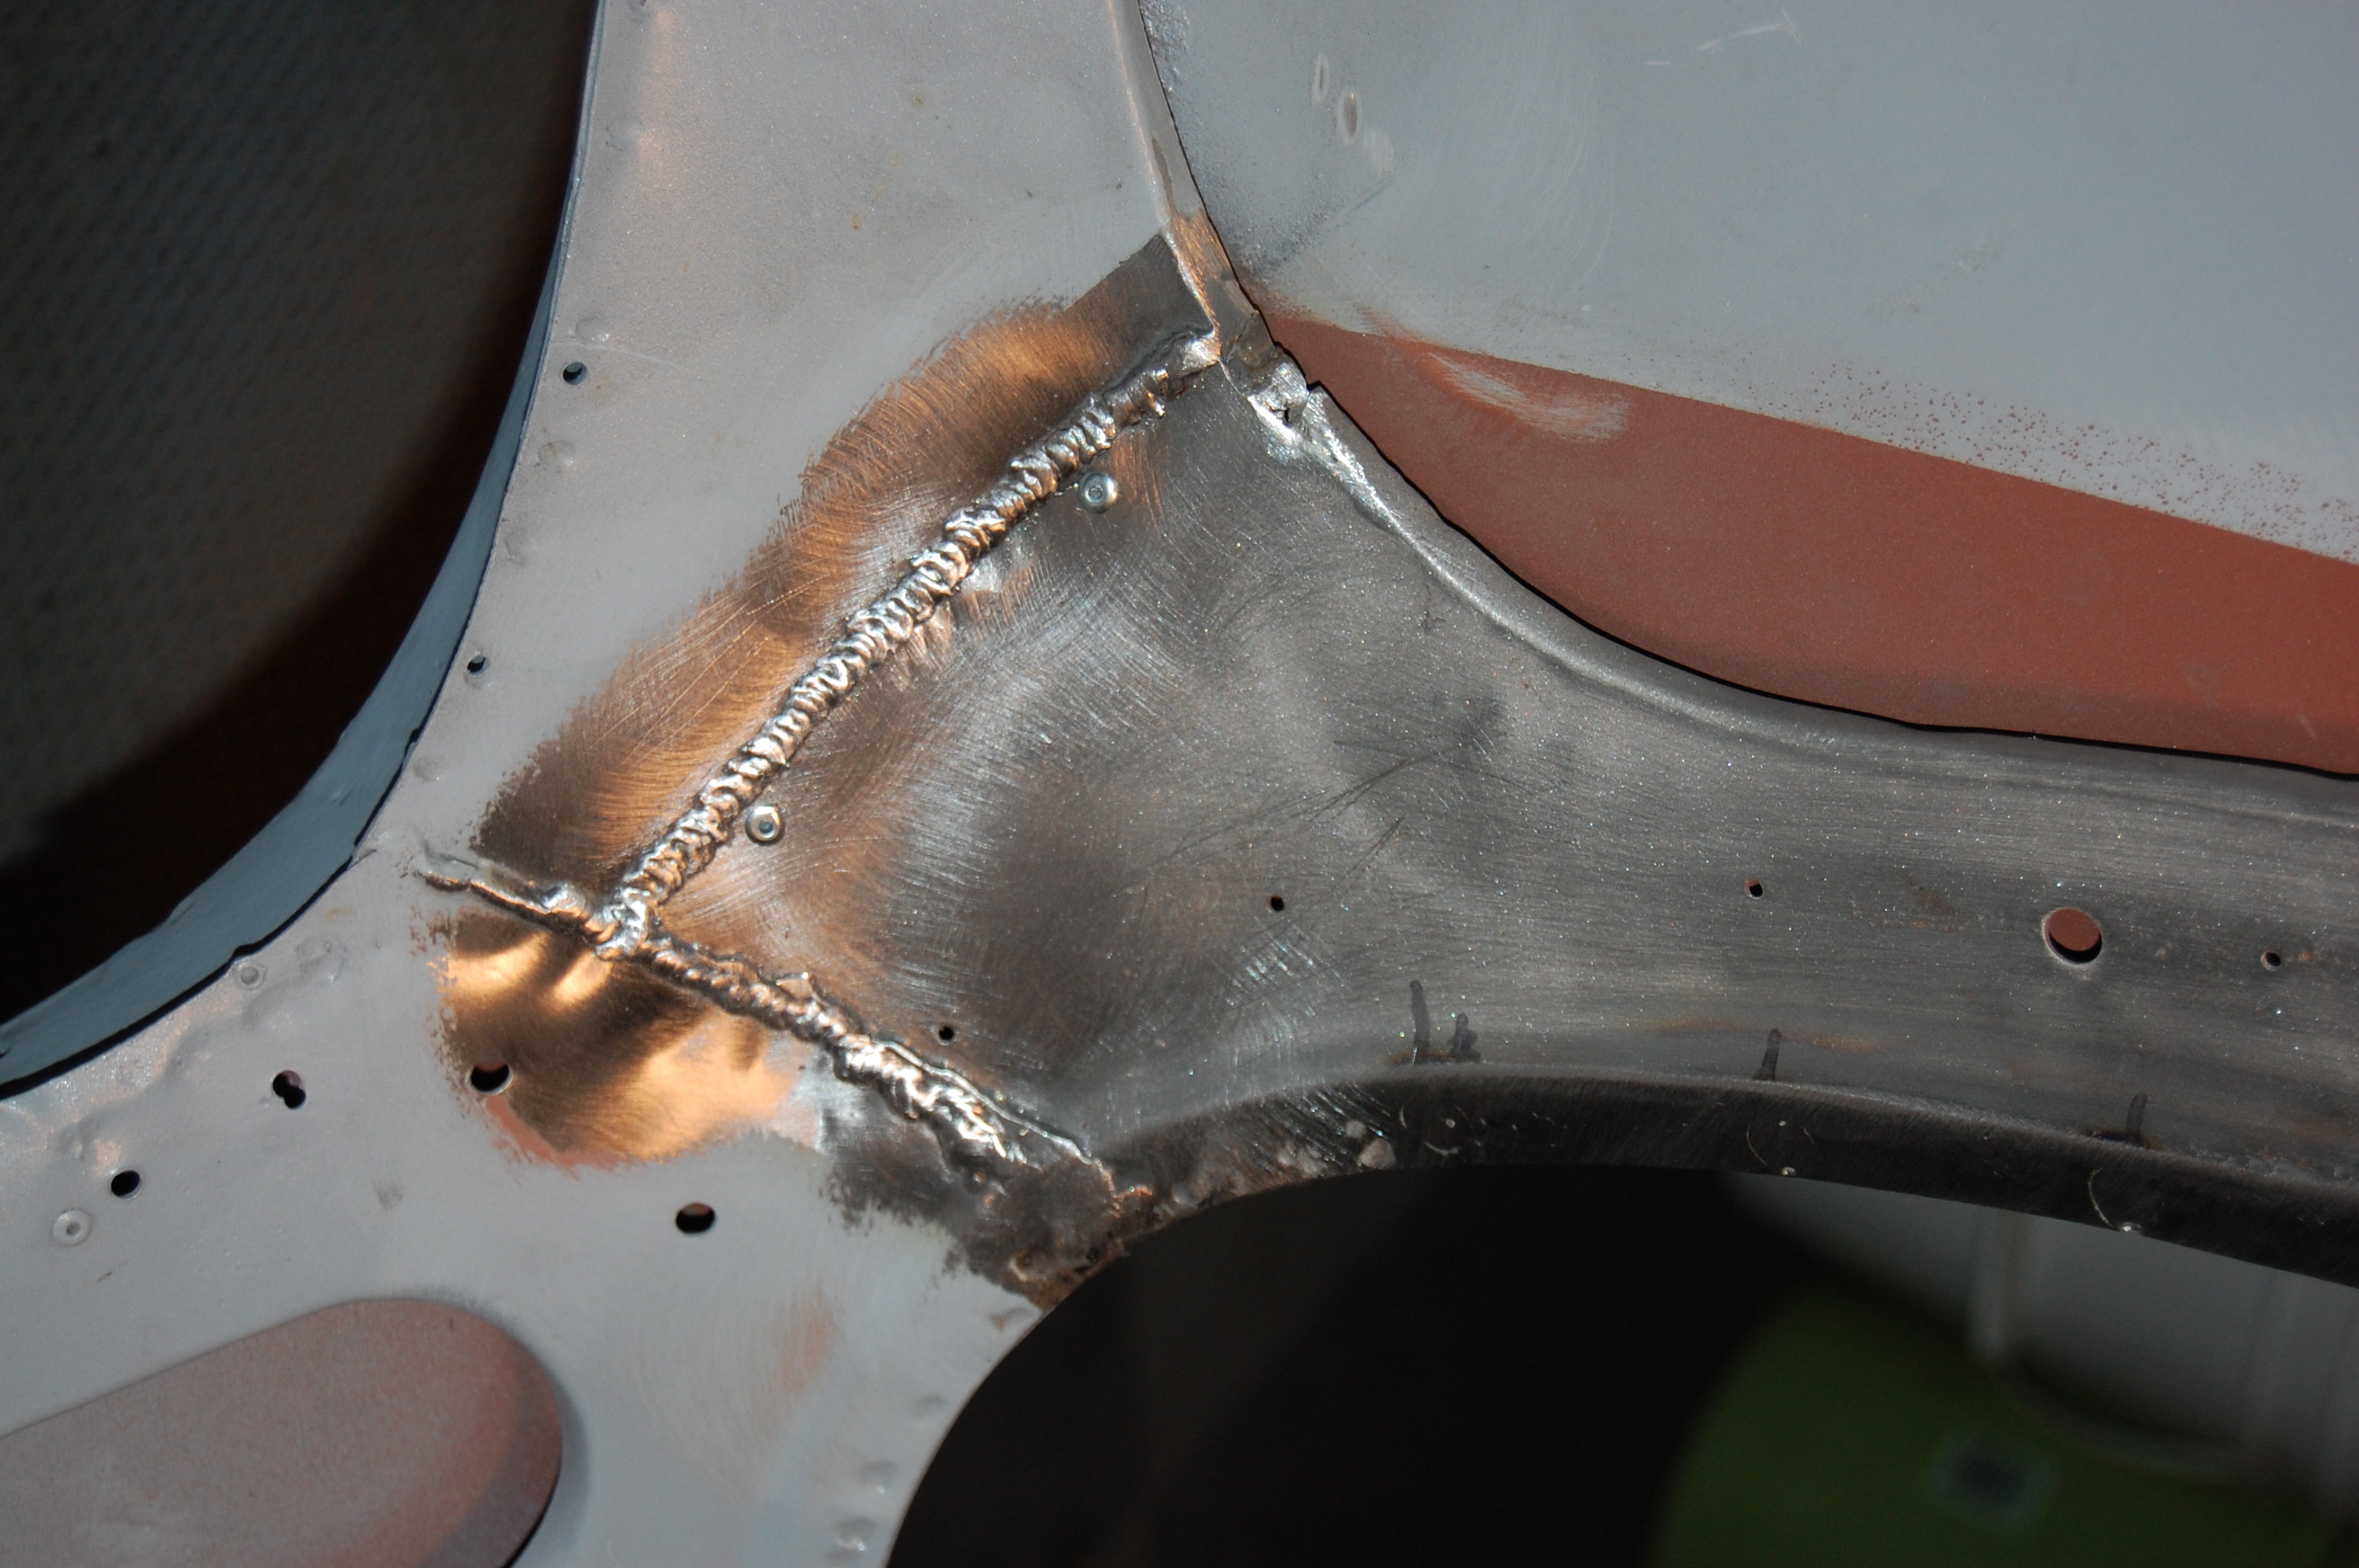
- The weld is then ground down and planished, and delicate hammer and dolly work is done as well to get a flawless surface for the roof with no warpage – HOORAY! Make no mistake about what has happened between this photo and the last – it is NOT simple grinding and sanding – this was 90 minutes of continuous and very careful work!

-
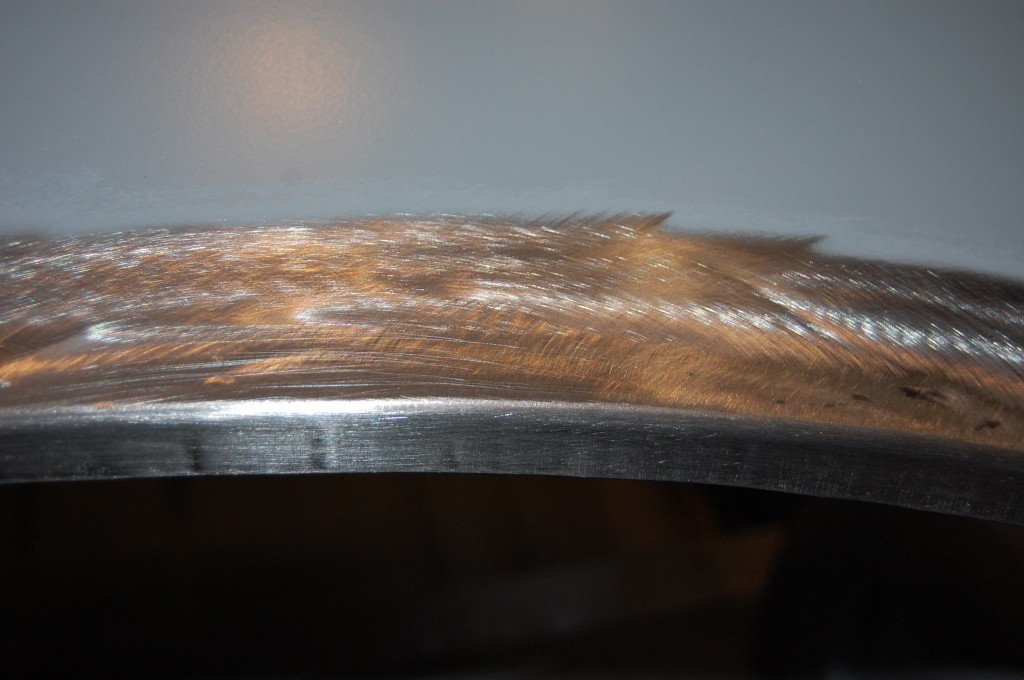
- Another shot of the seamless roof panel repair.

-

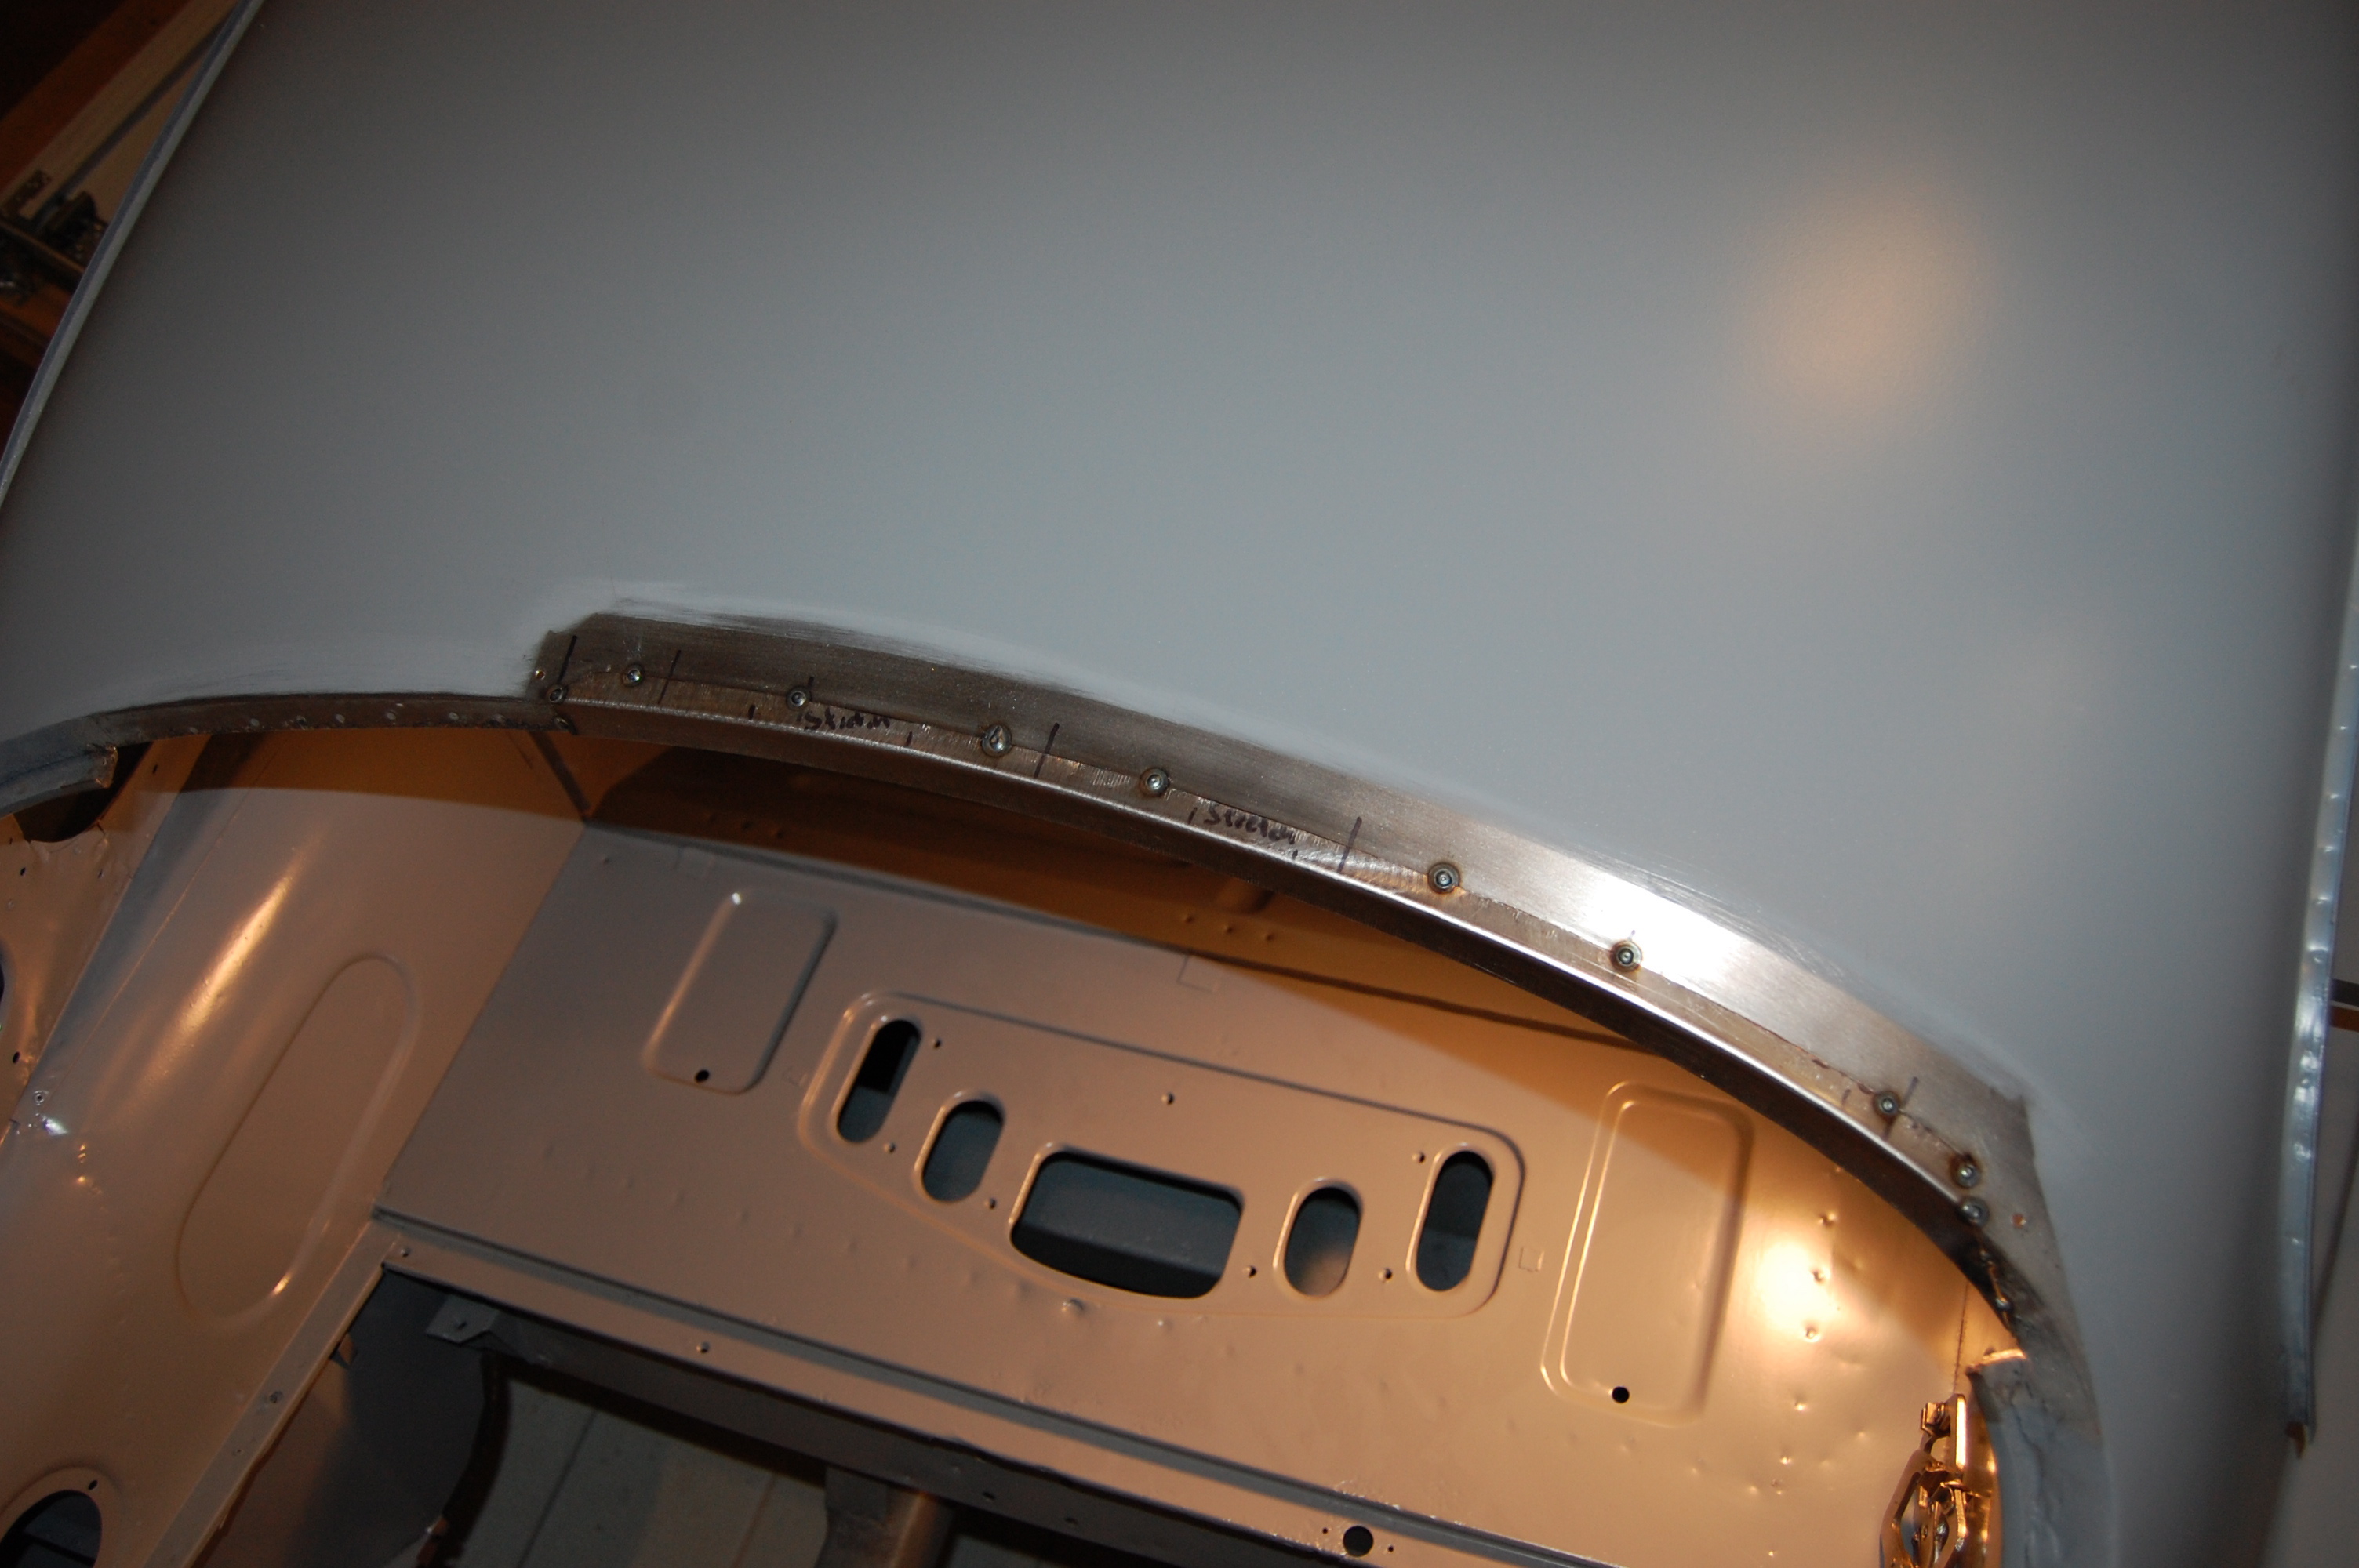
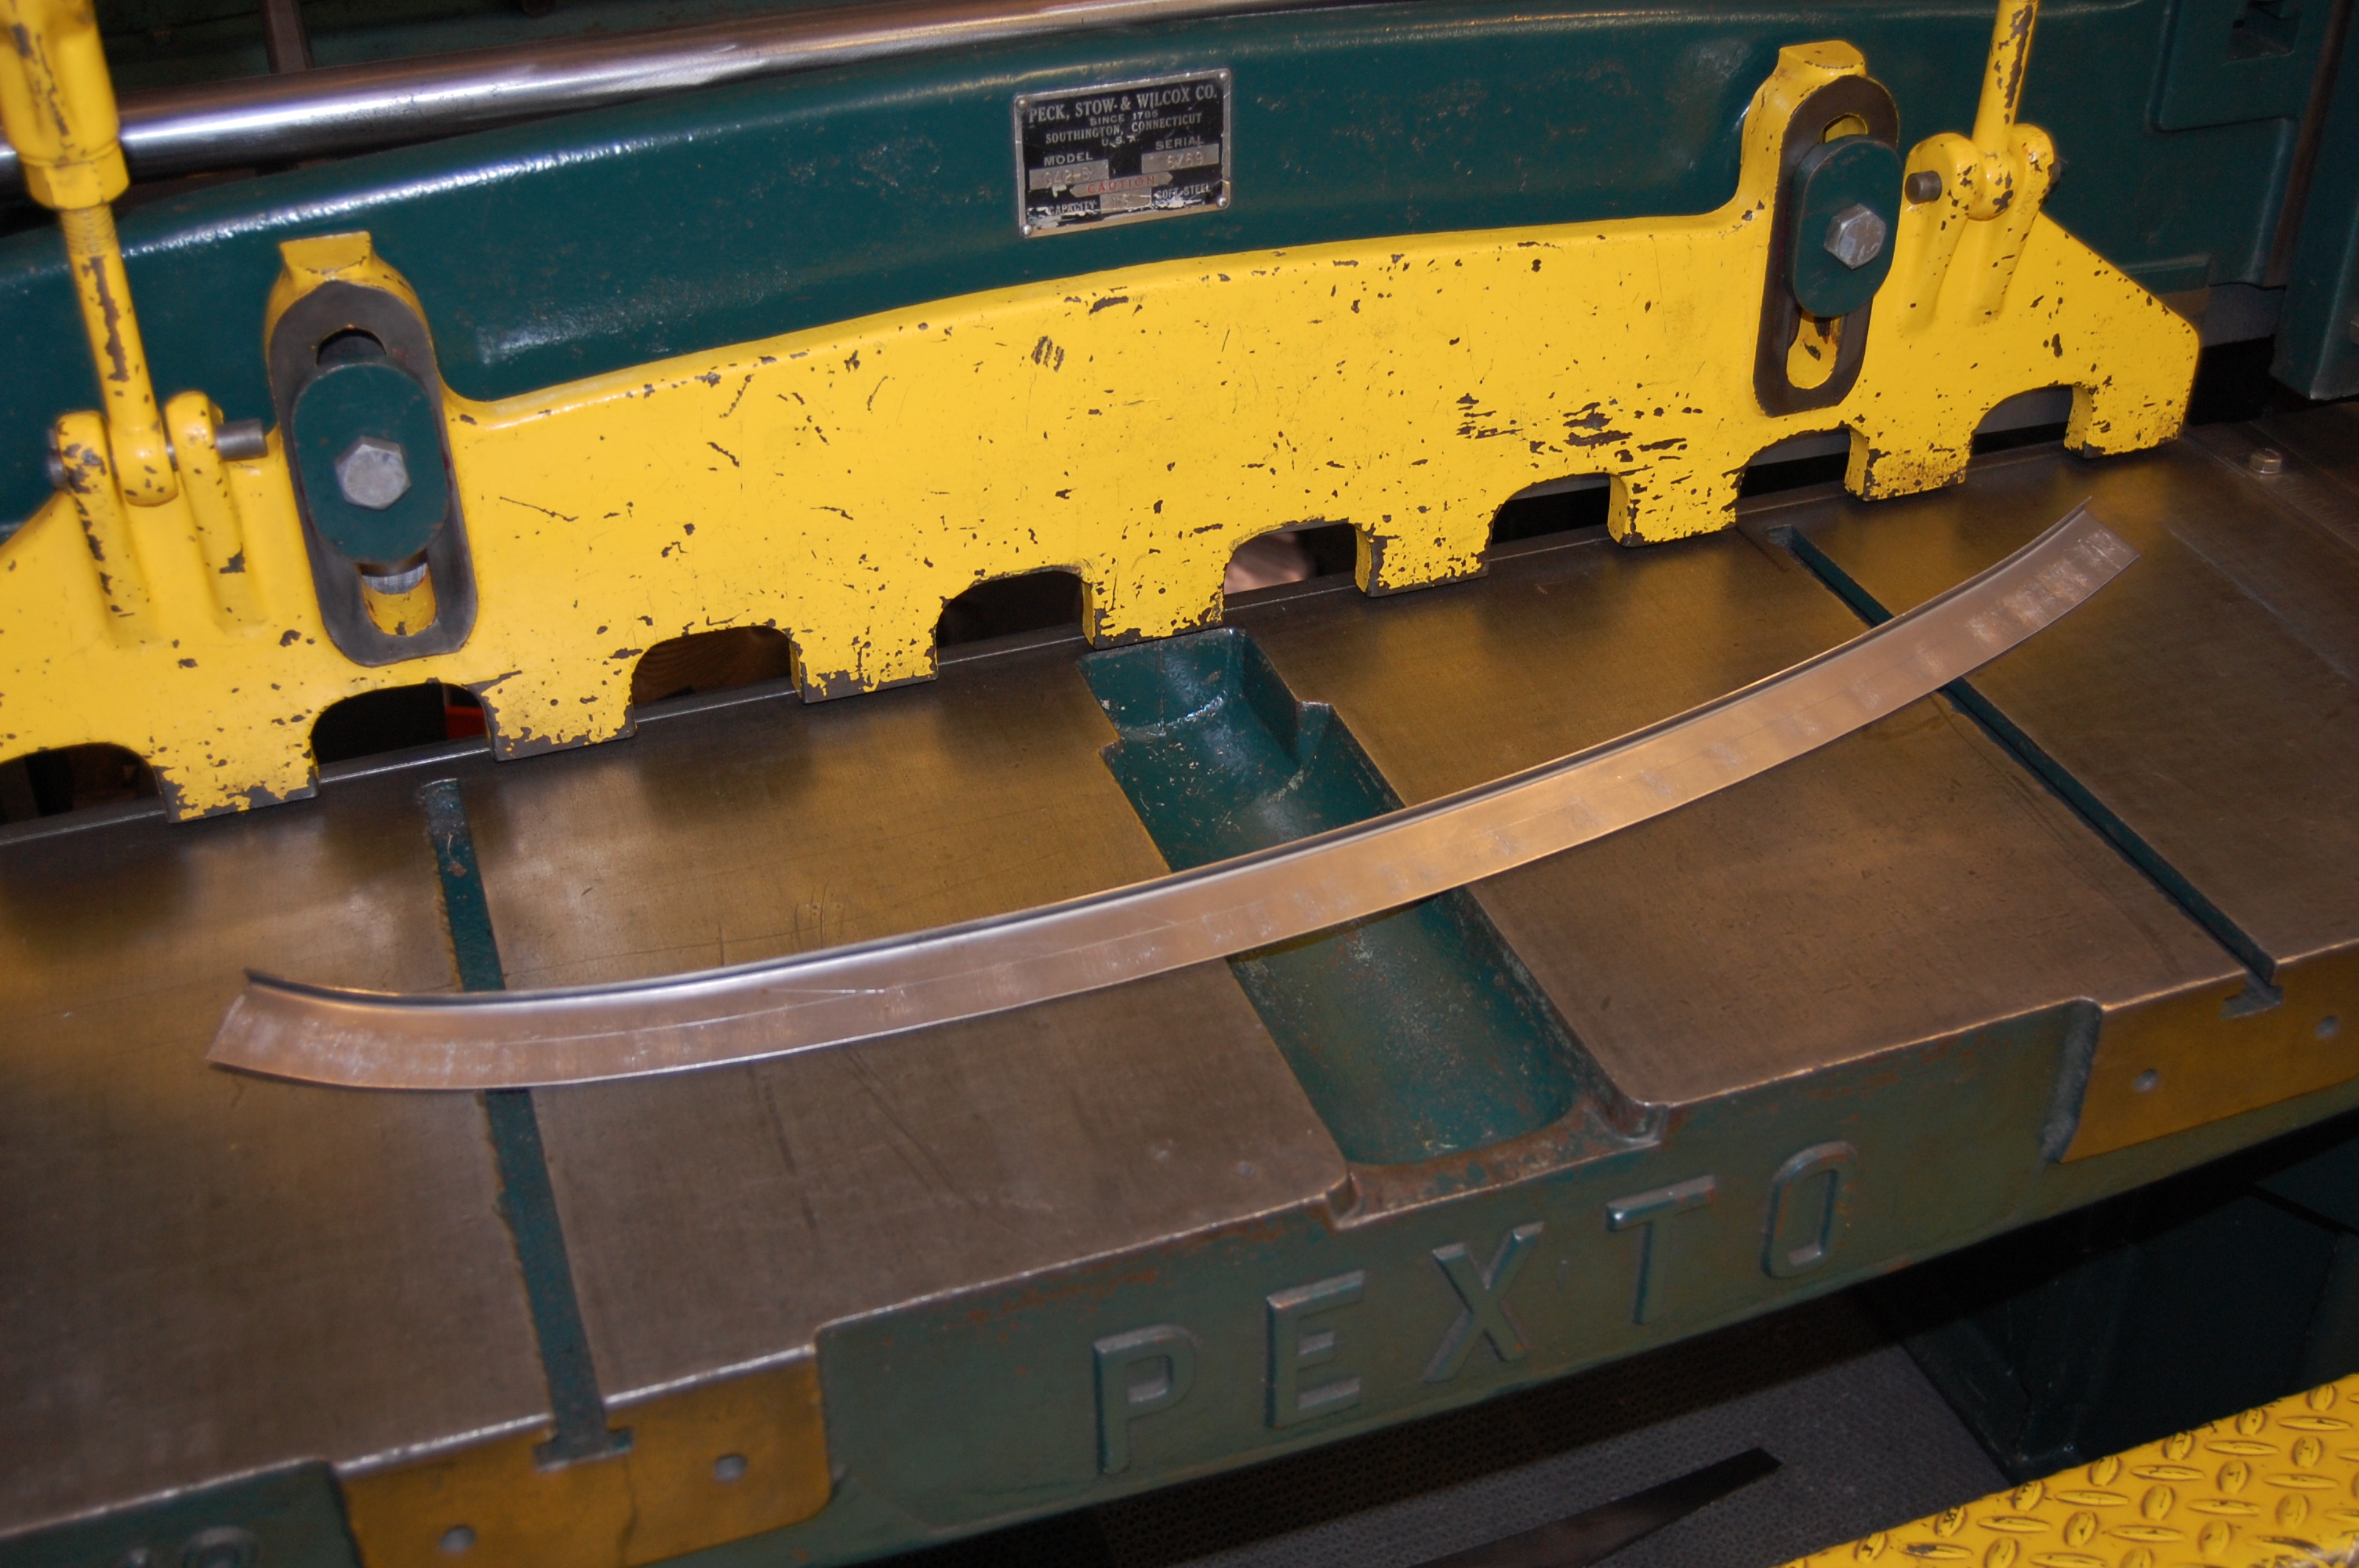
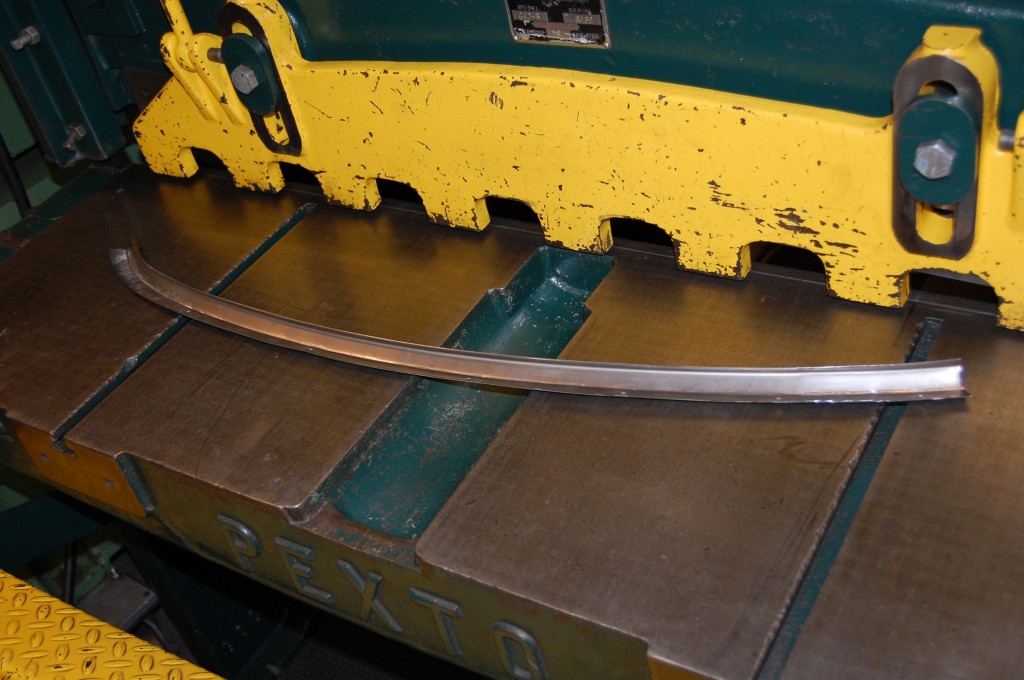
- Next, it’s time to make a new drip channel piece. We start with another piece of 19-gauge steel, with a lip turned on one edge that matches the lip on the original body shell (although it varied considerable in height around the perimeter of the hatch – remember, hand built…)
-

- Next, we start shaping the piece to fit.
-
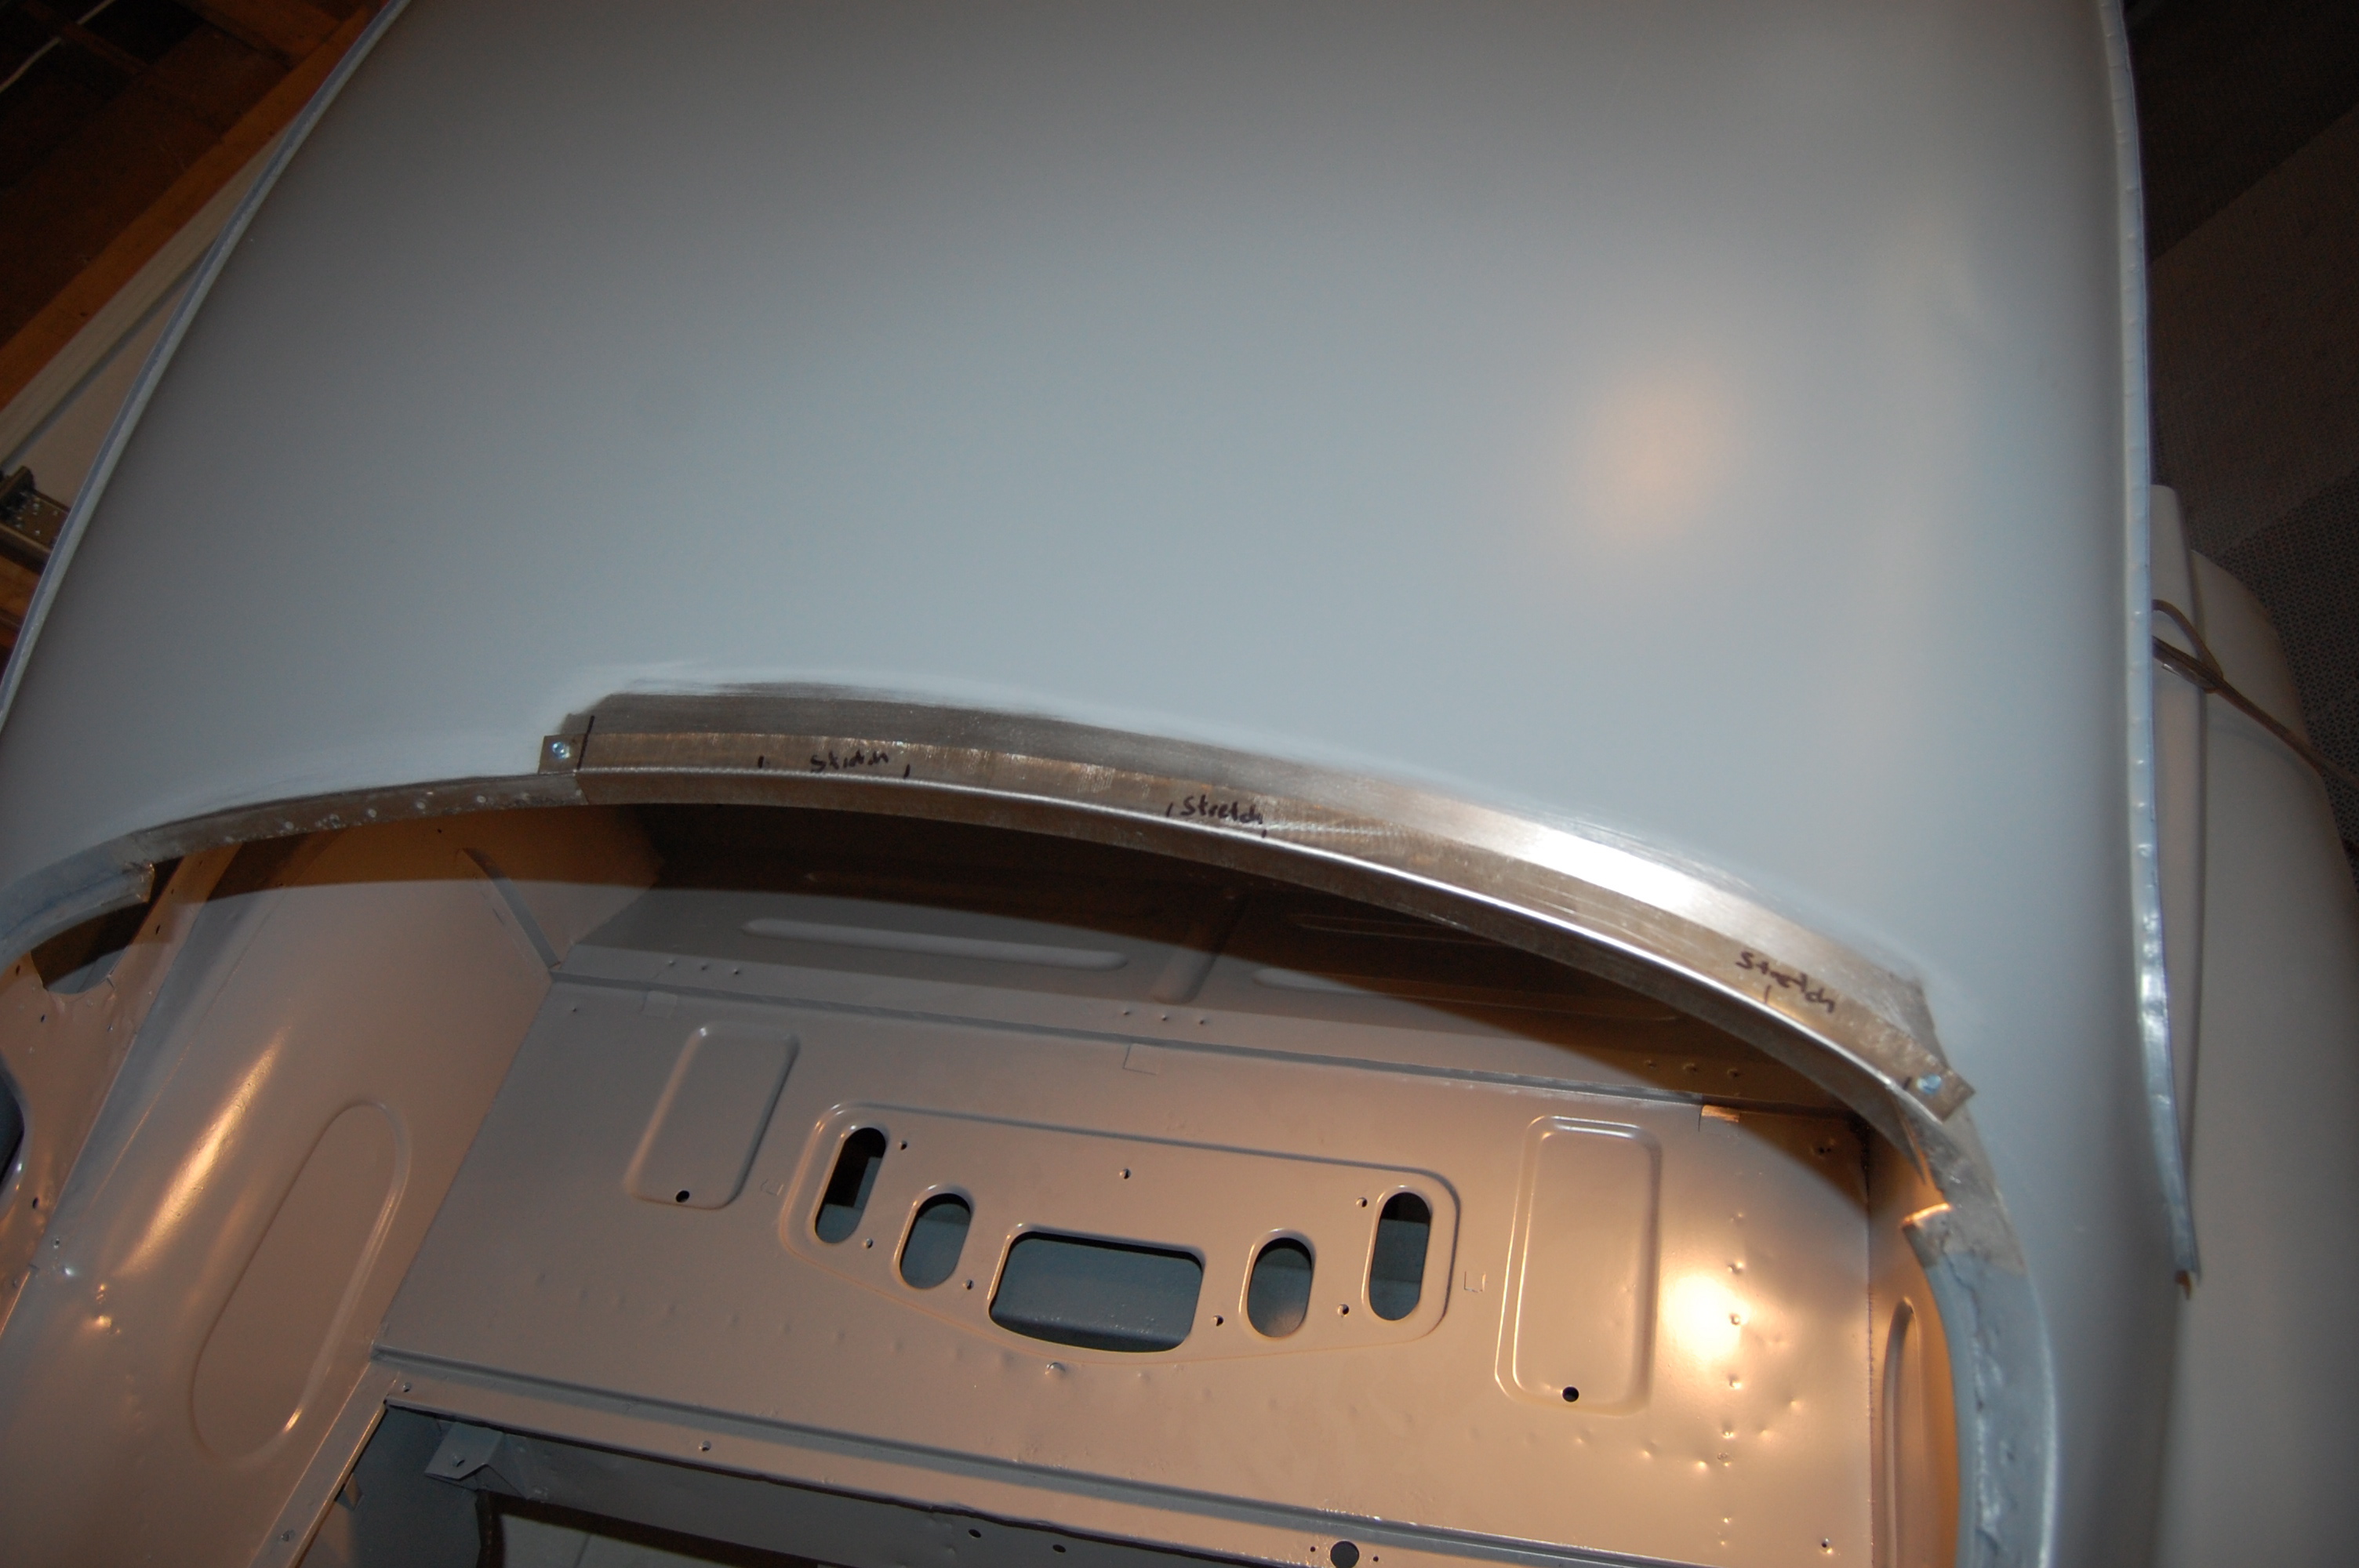
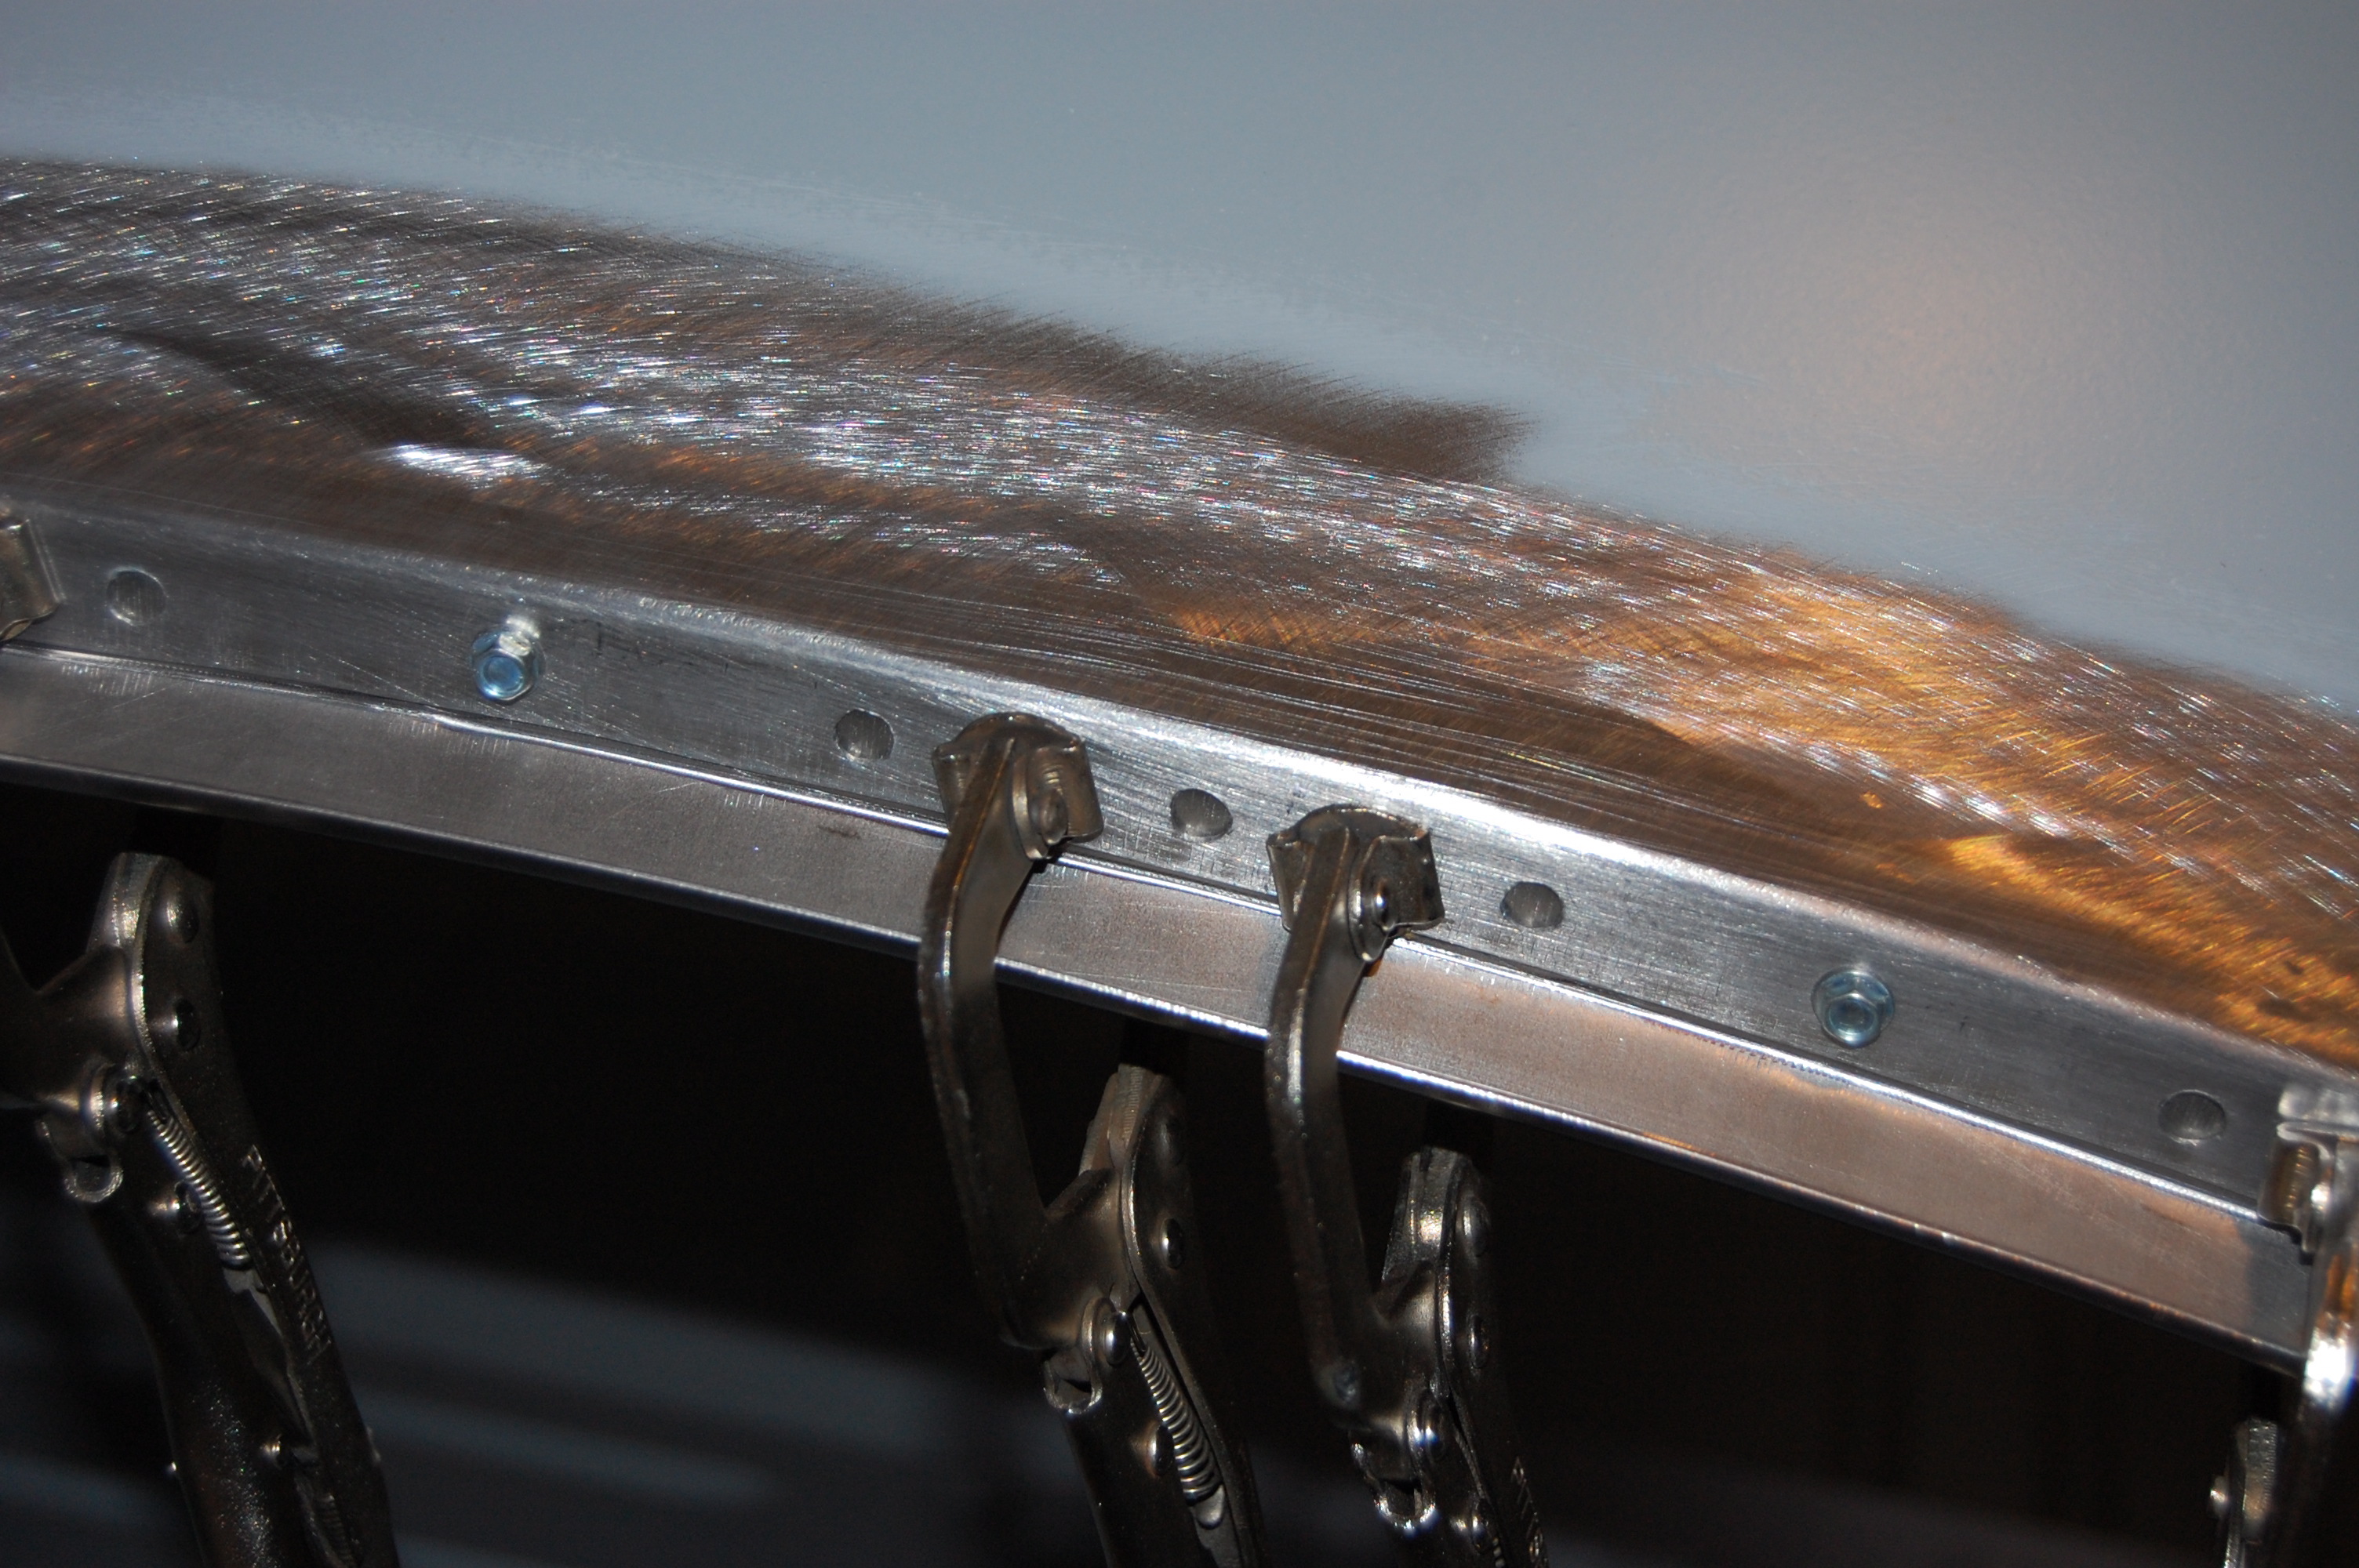
- Another shot where ALOT of time has passed! By now, we have curved the piece, and then turned up the second, inner lip that will be welded to the roof panel’s turned down edge.
-

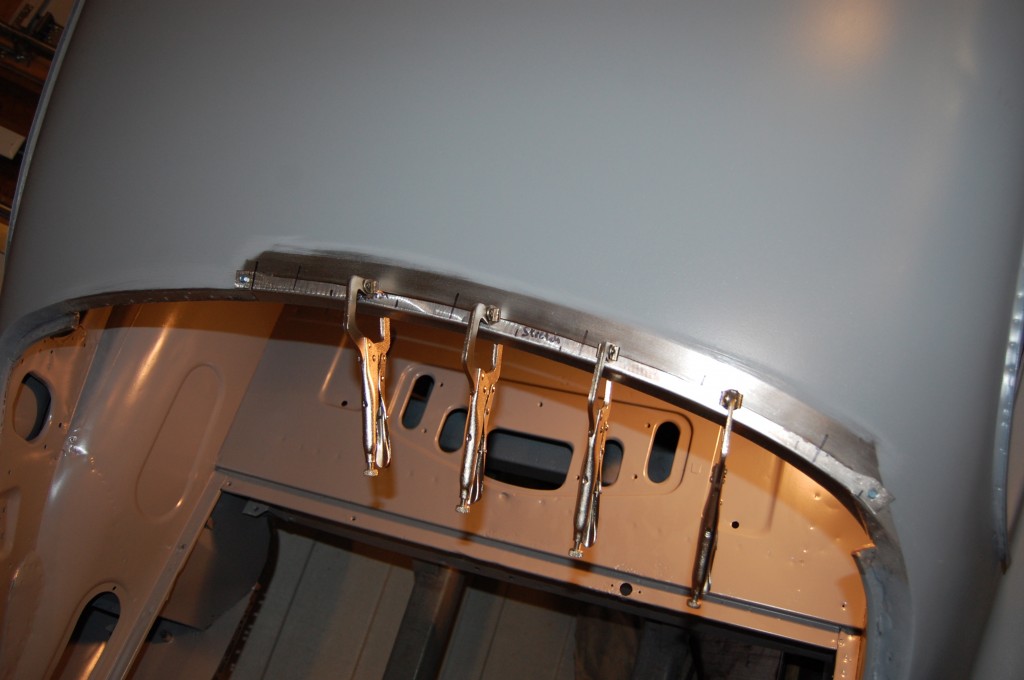
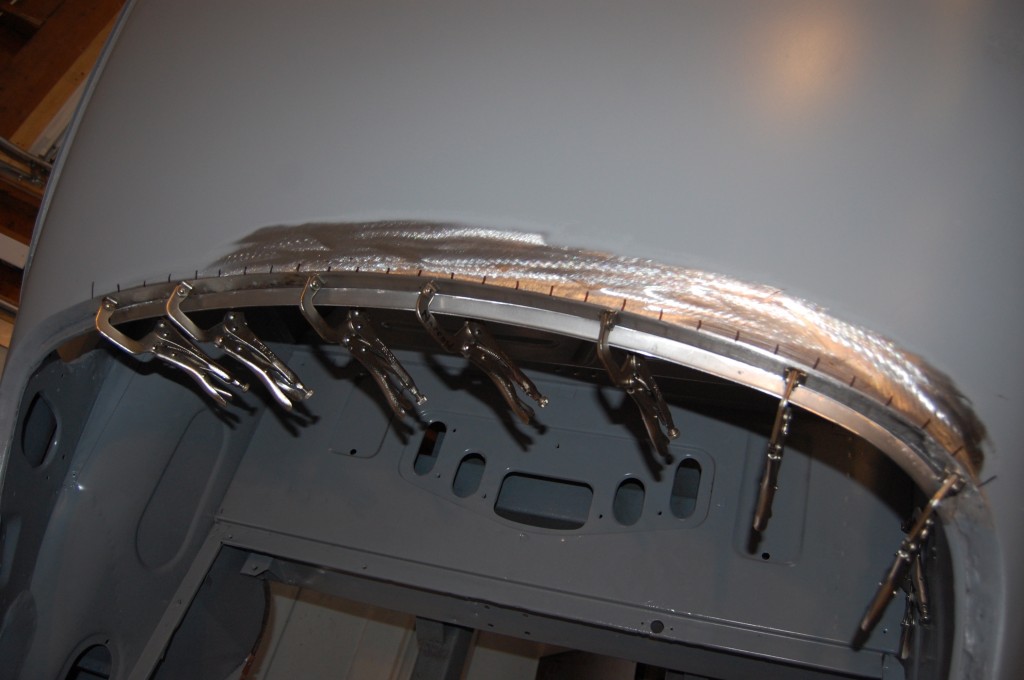
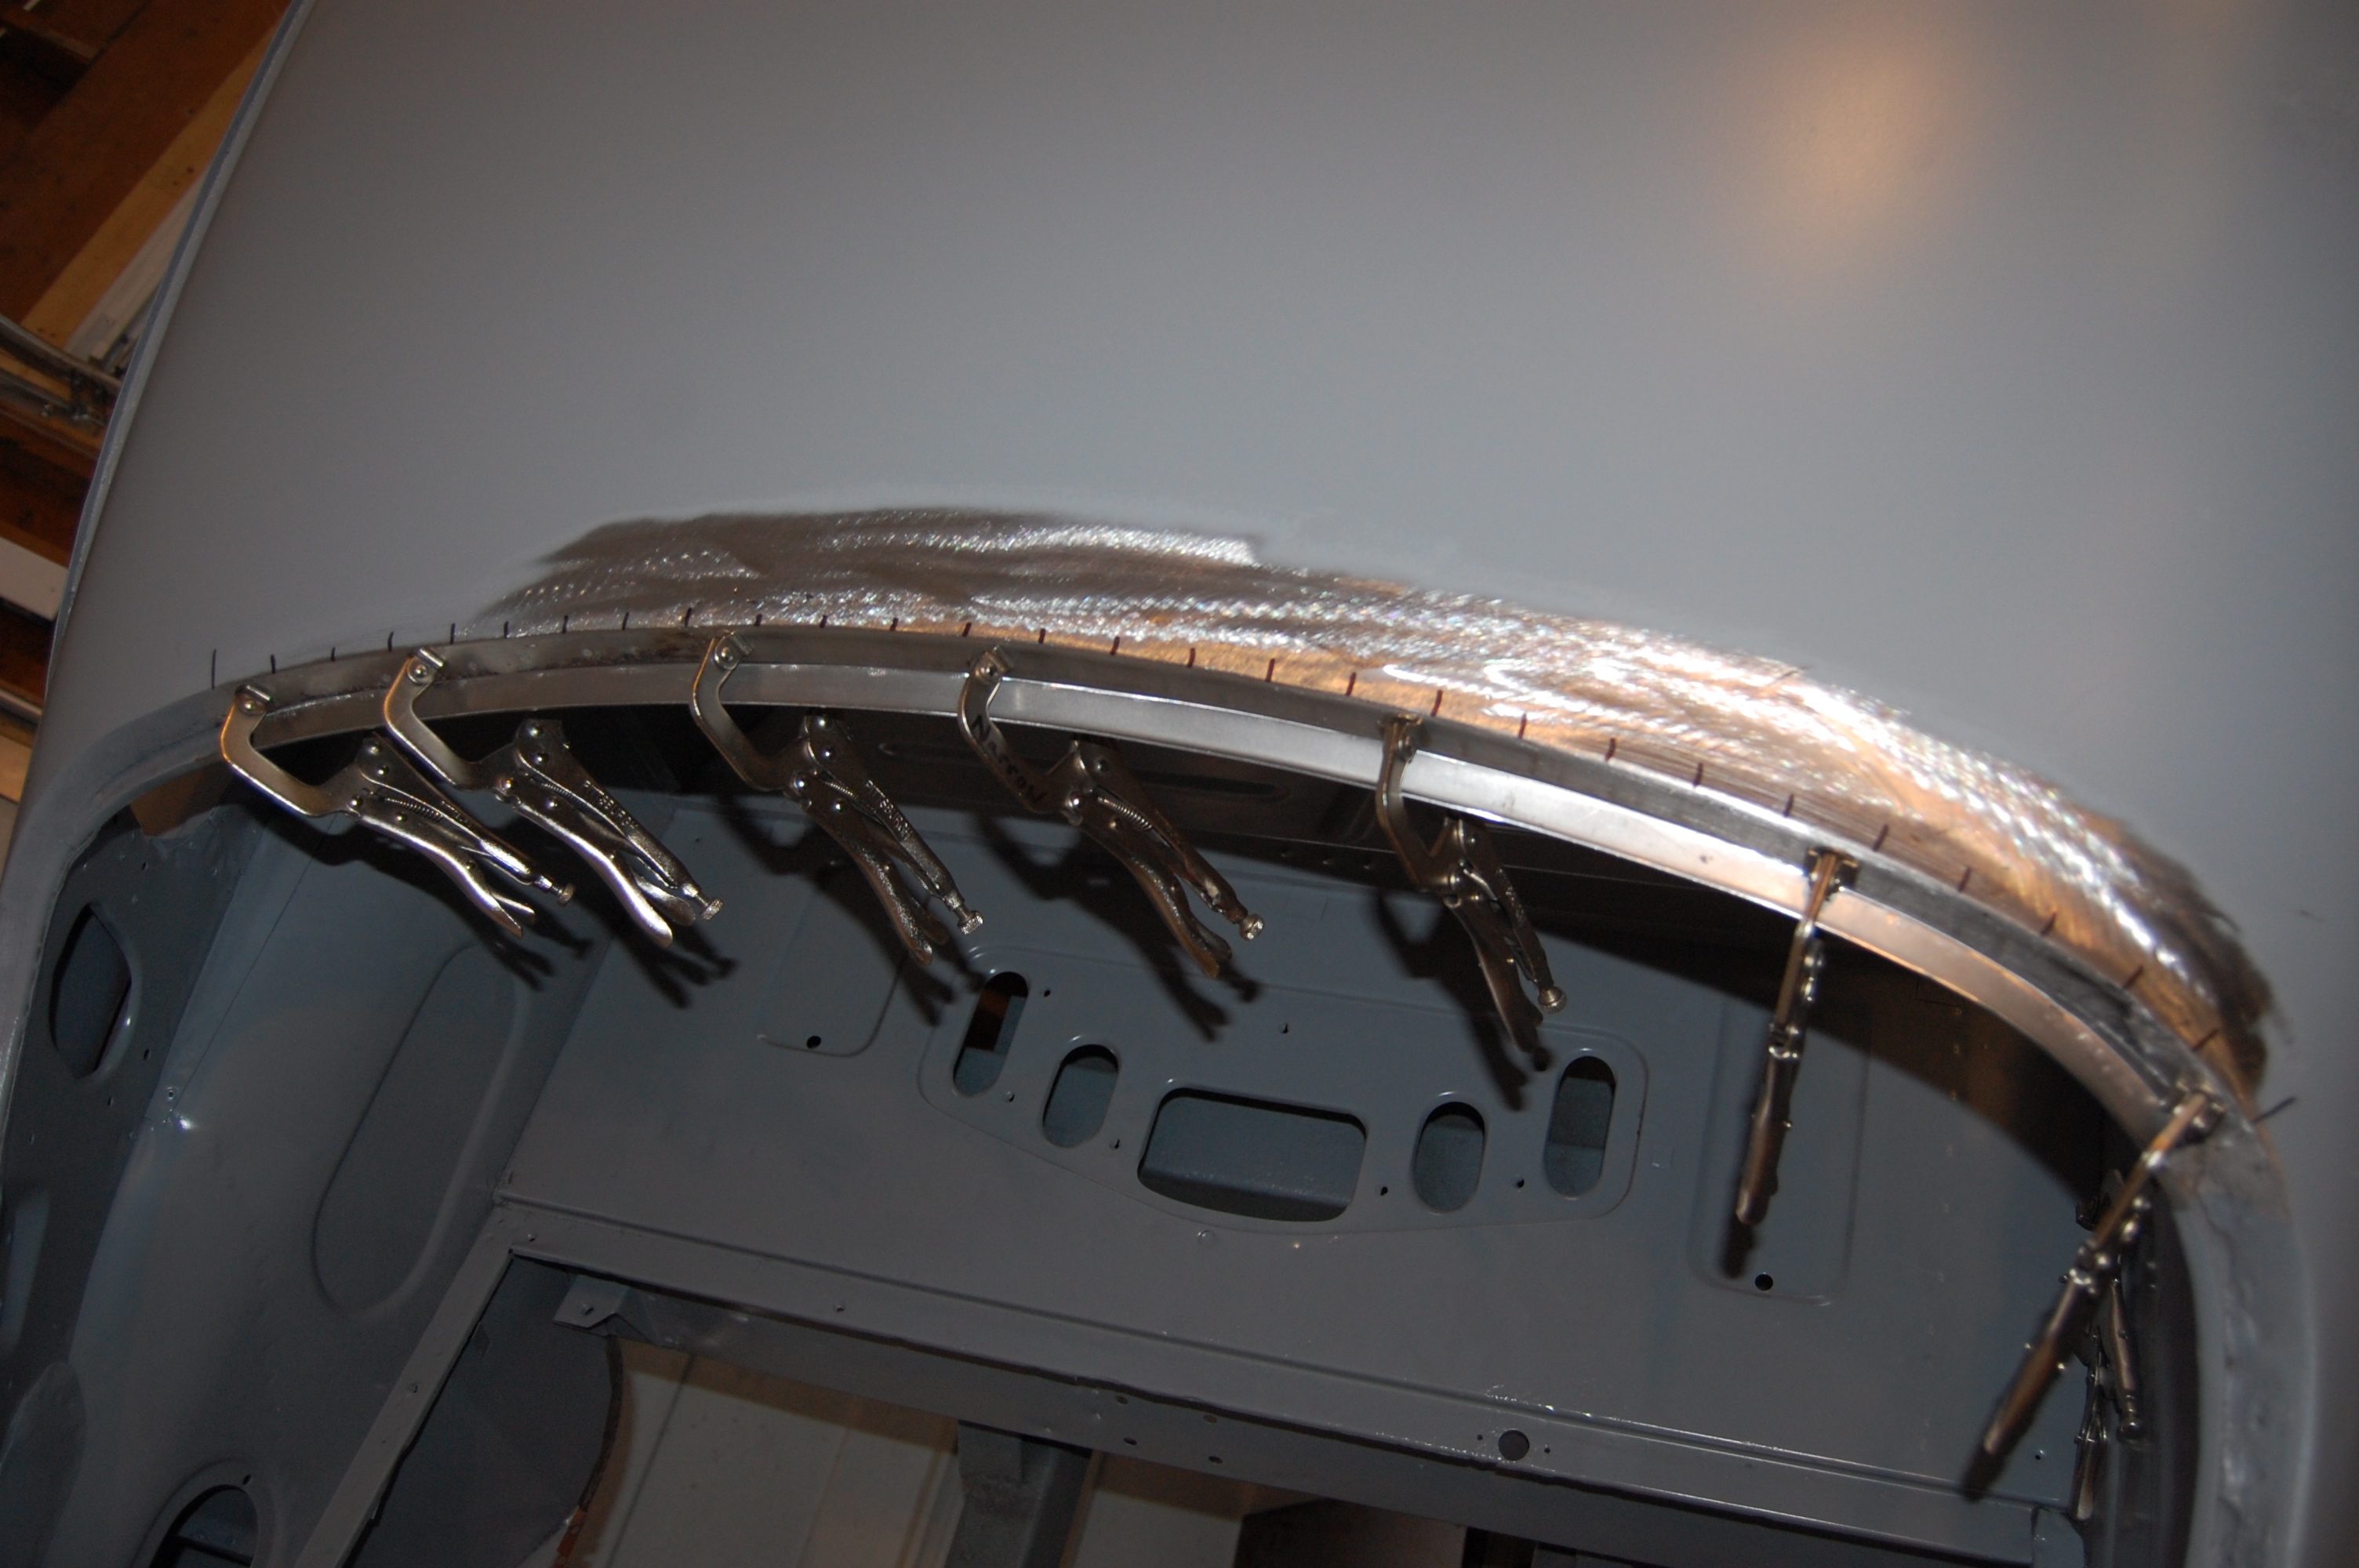
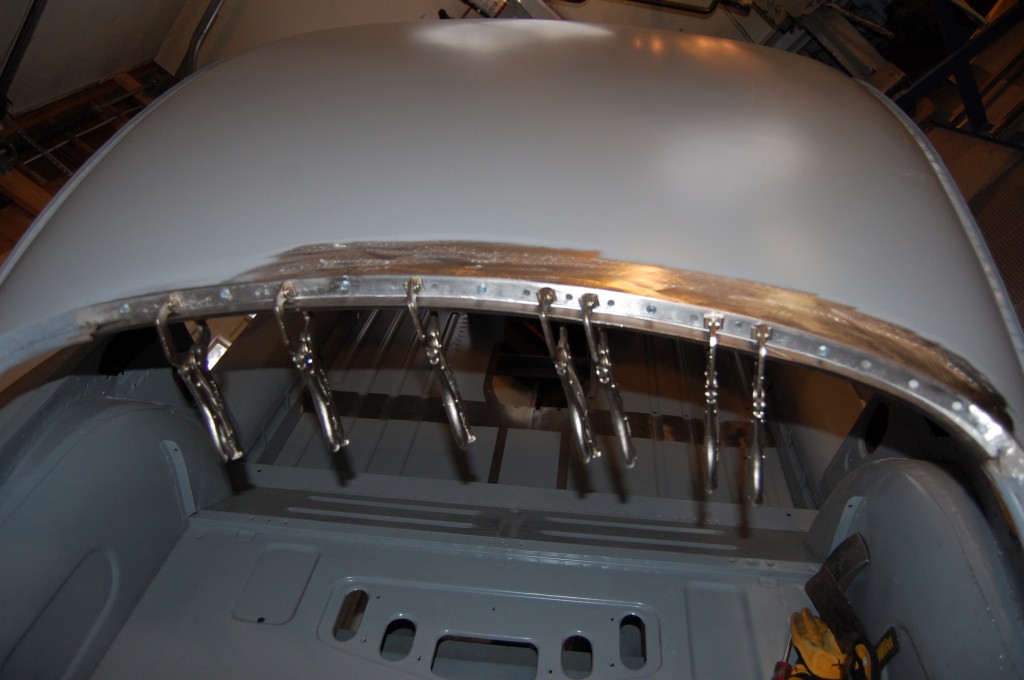
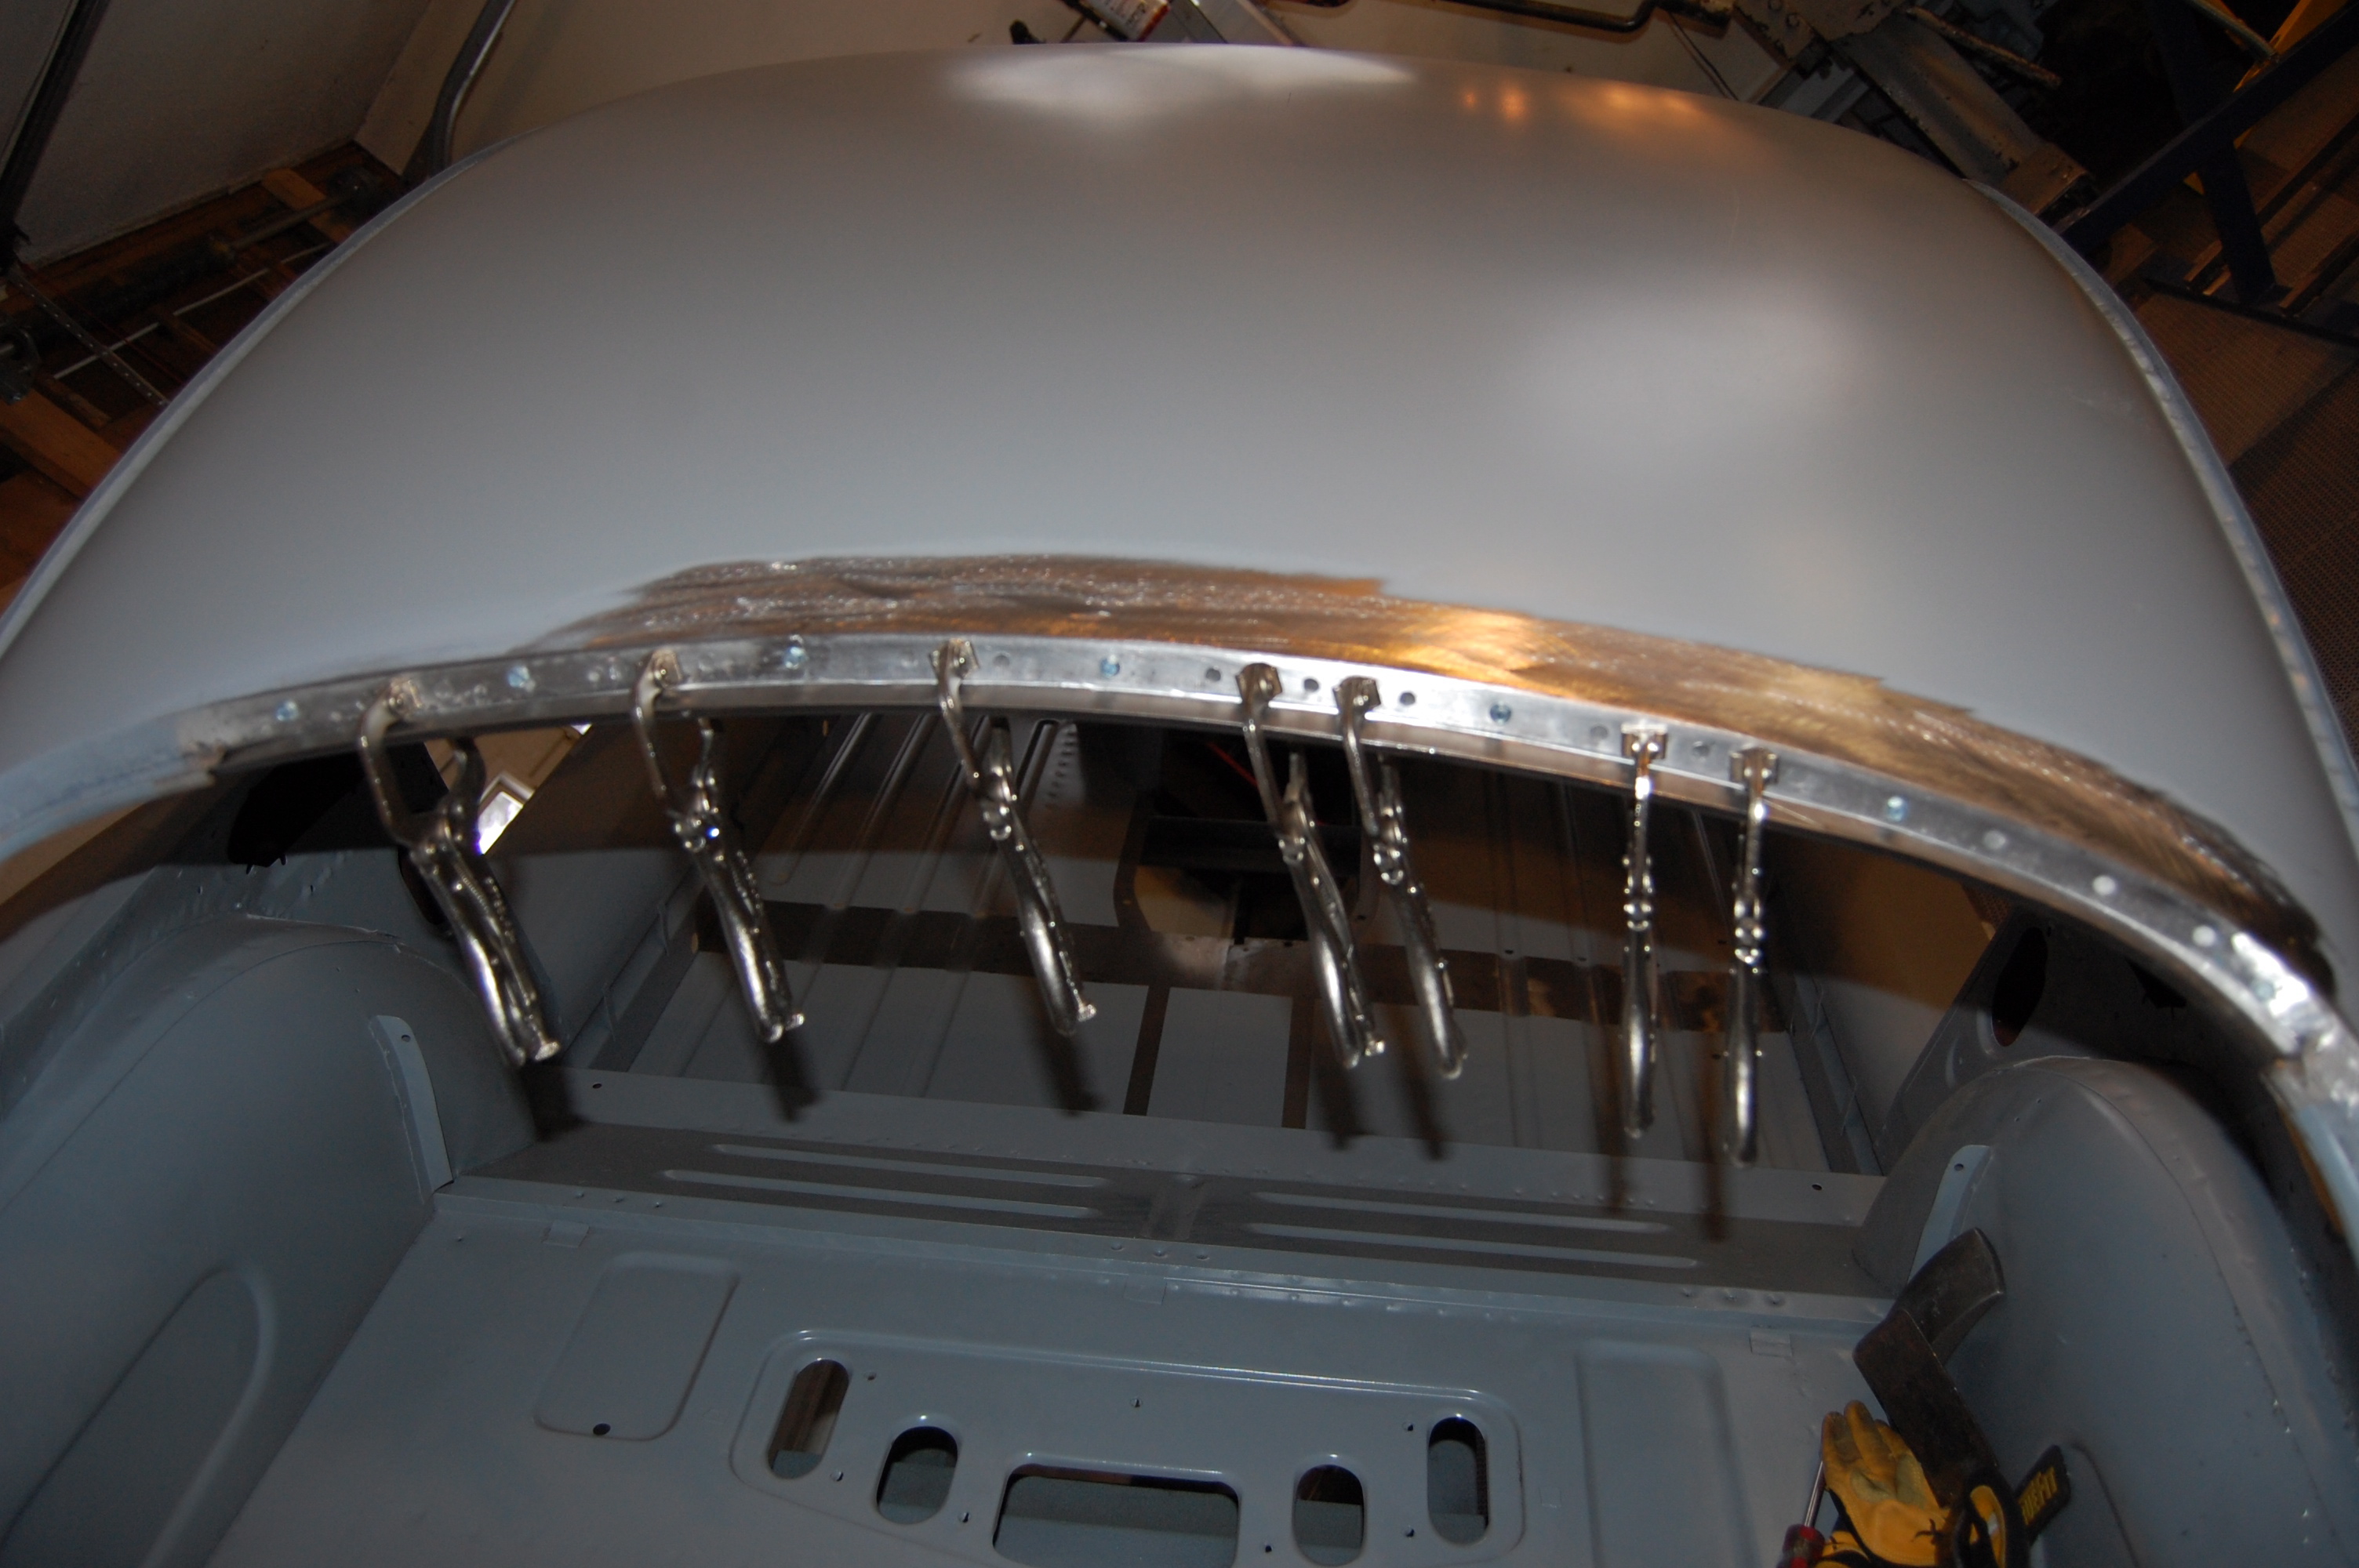
- At this tsage, I had everything fitting VERY nicely. I switched over to screws from vice-grips so that I could begin fitting the hatch itself. This looks great, but it MUST fit the hatch too! And one of the trickiest parts of that is whether the roof has the proper upward arch – it’s no good if the finished repaired roof sits 1/4-inch below or above the close hatch! That was one of the toughest things to get right!
-
- Next, I had to decide how to weld it… The obvious choice is the just get in here with the spot-welder of course, but that requires that the inner edge of the drip channel is PERFECTLY flat and flush against the edge of the roof panel, and it’s not. It’s close, but not a good flush fit everywhere. Now the problem is, that I can of course go ahead and make that change, but every time you touch this, it changes the arcs of the piece, and that is most important – actually, CRITCAL! So I decided to Plug-weld it…
-
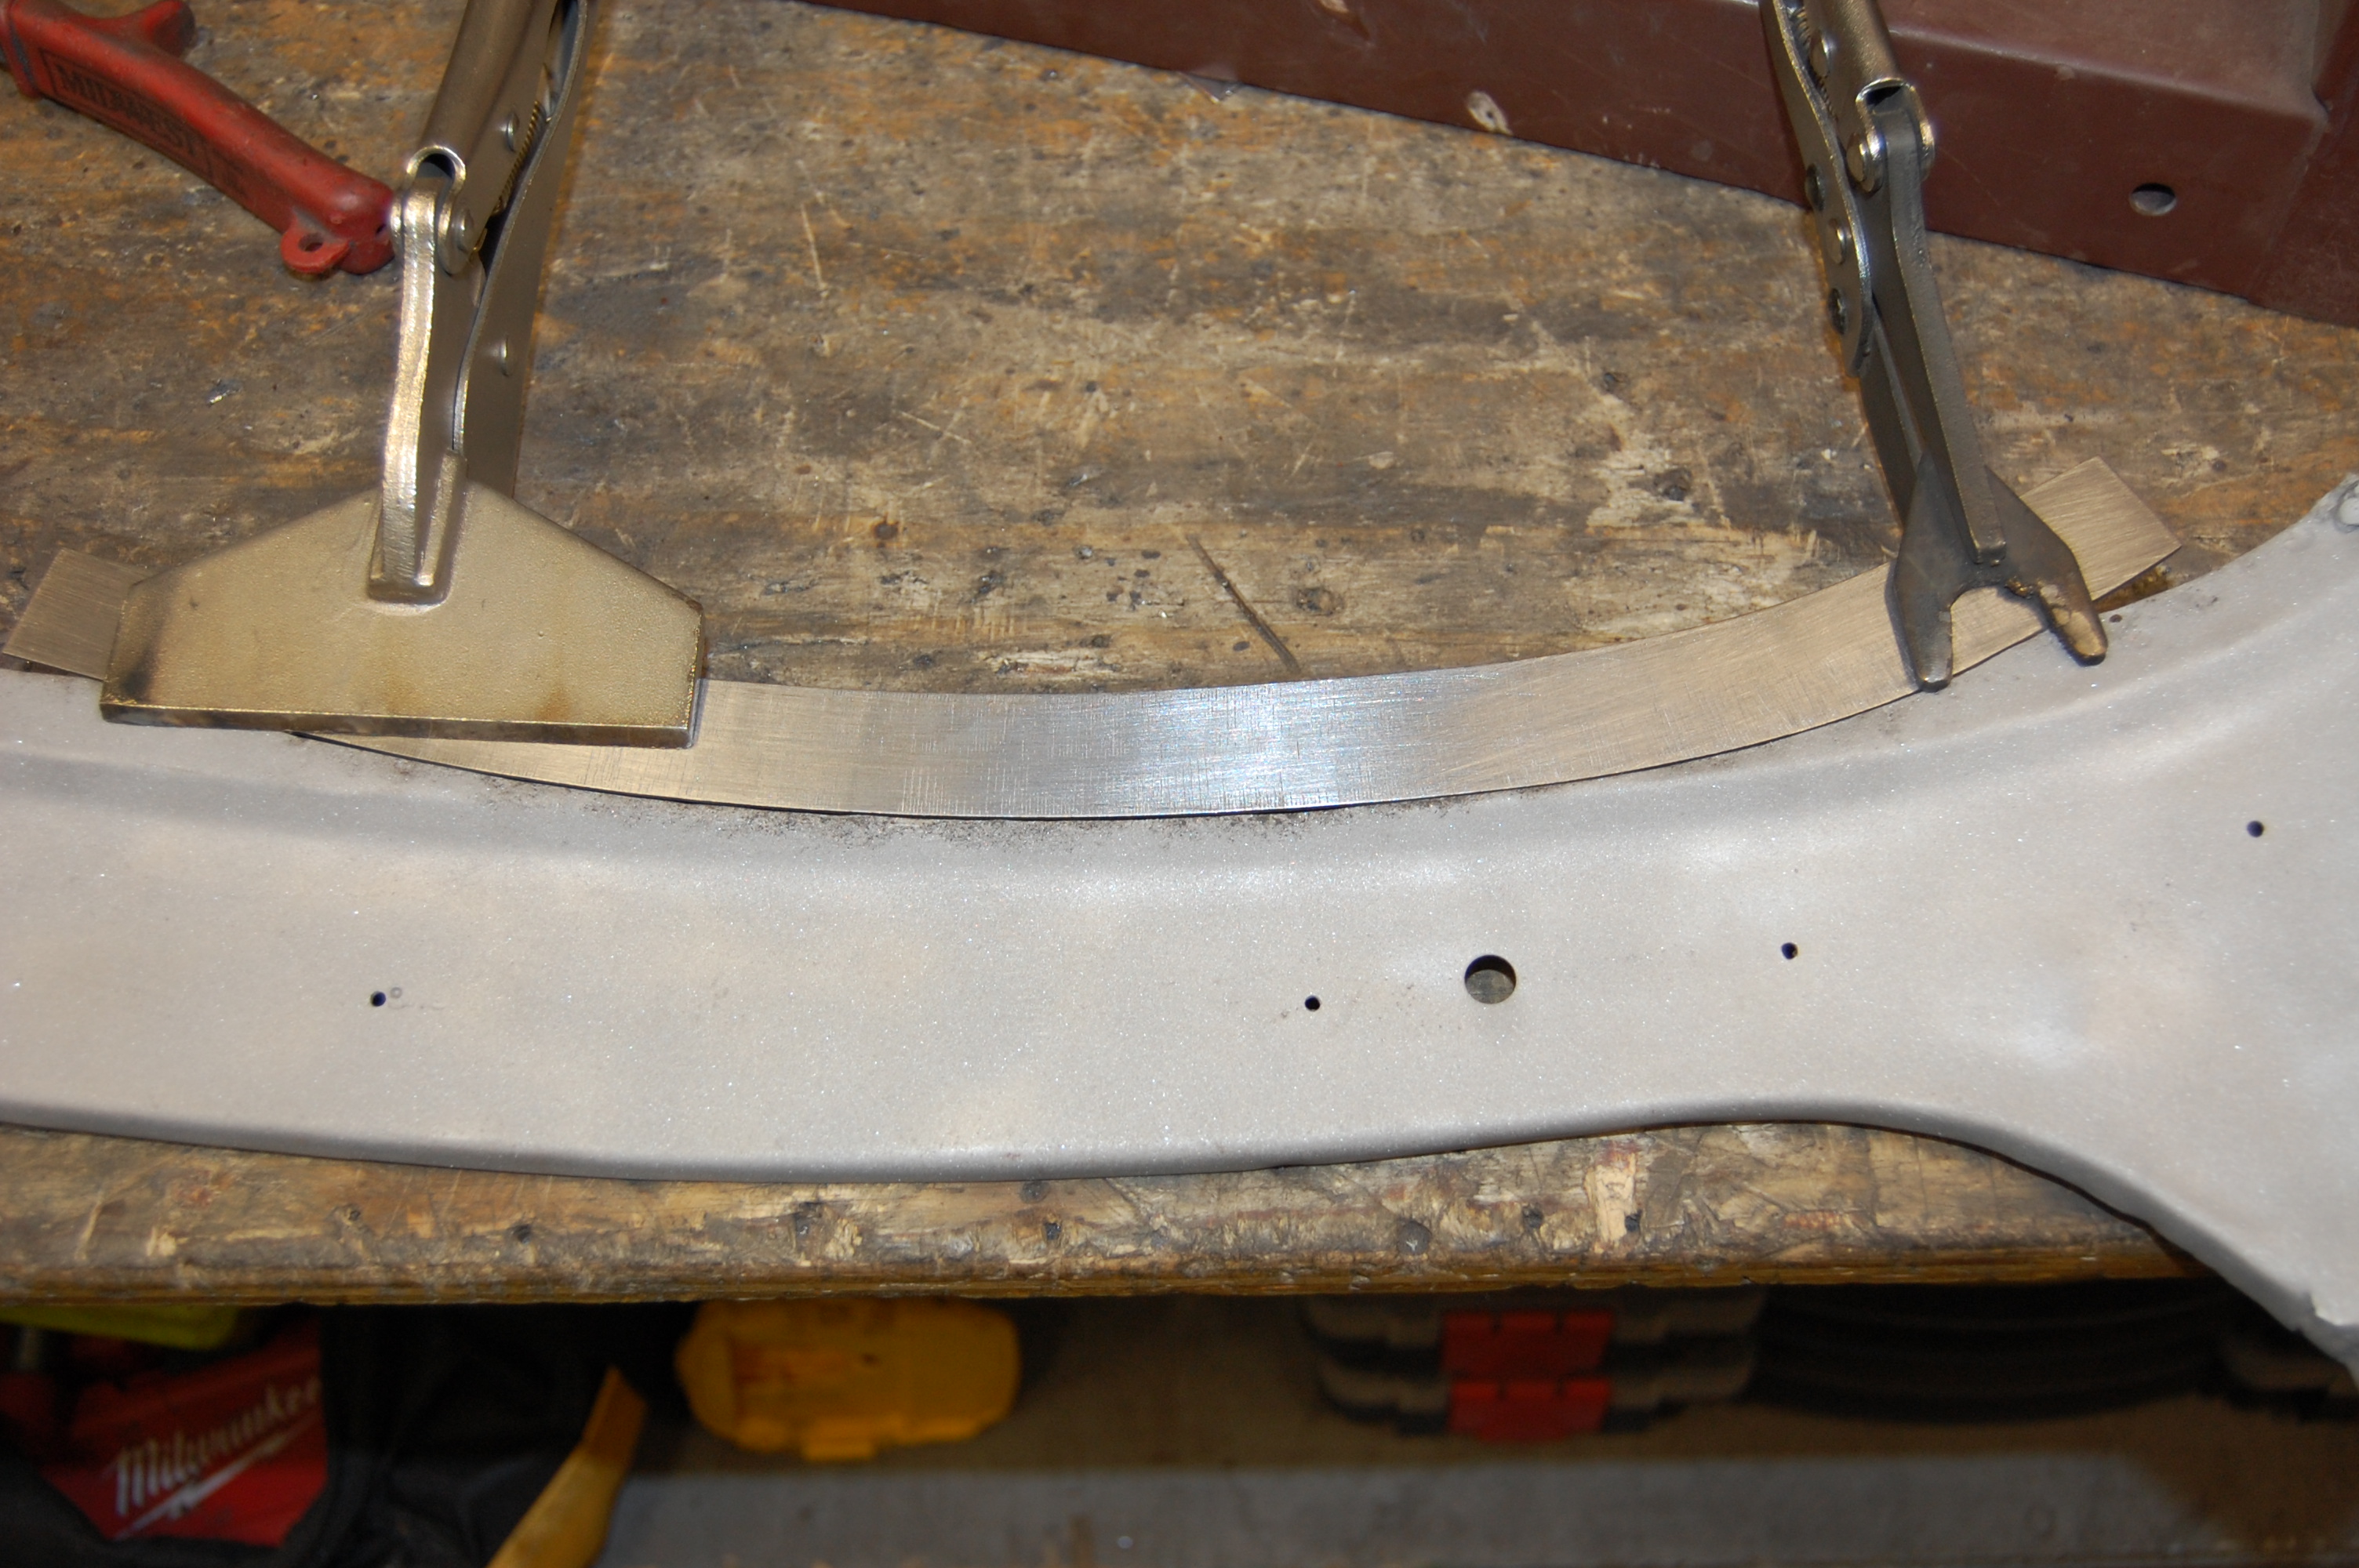
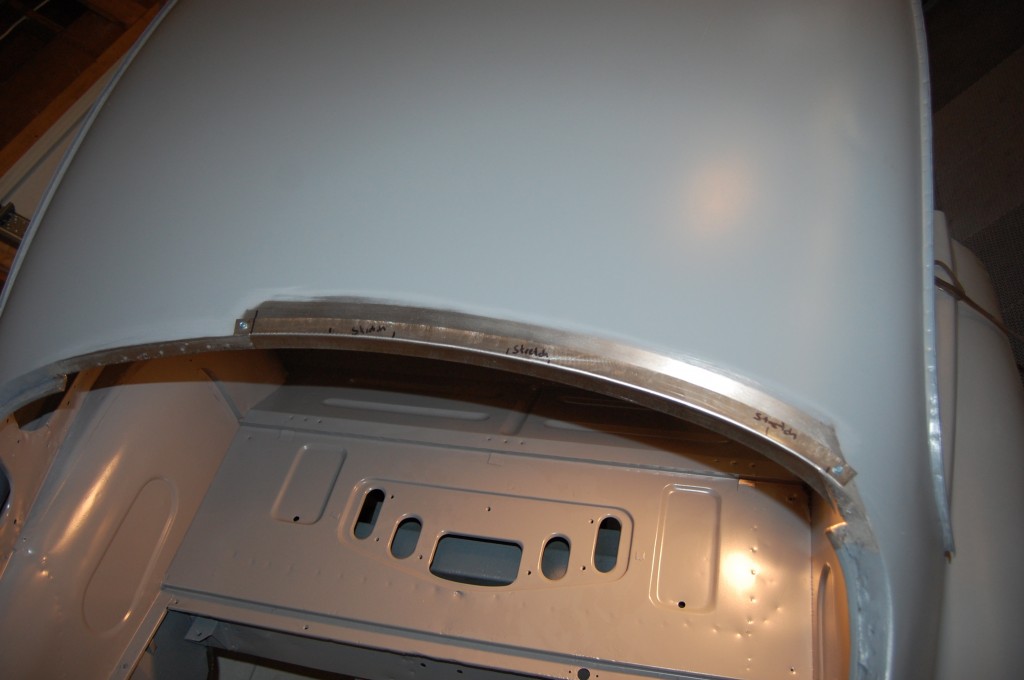
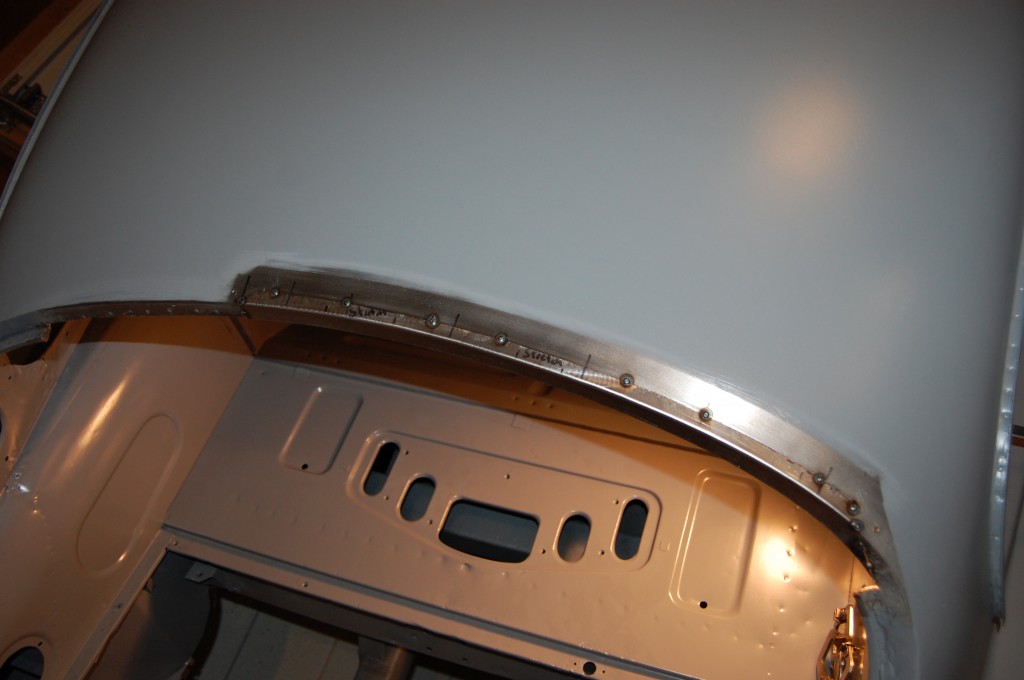
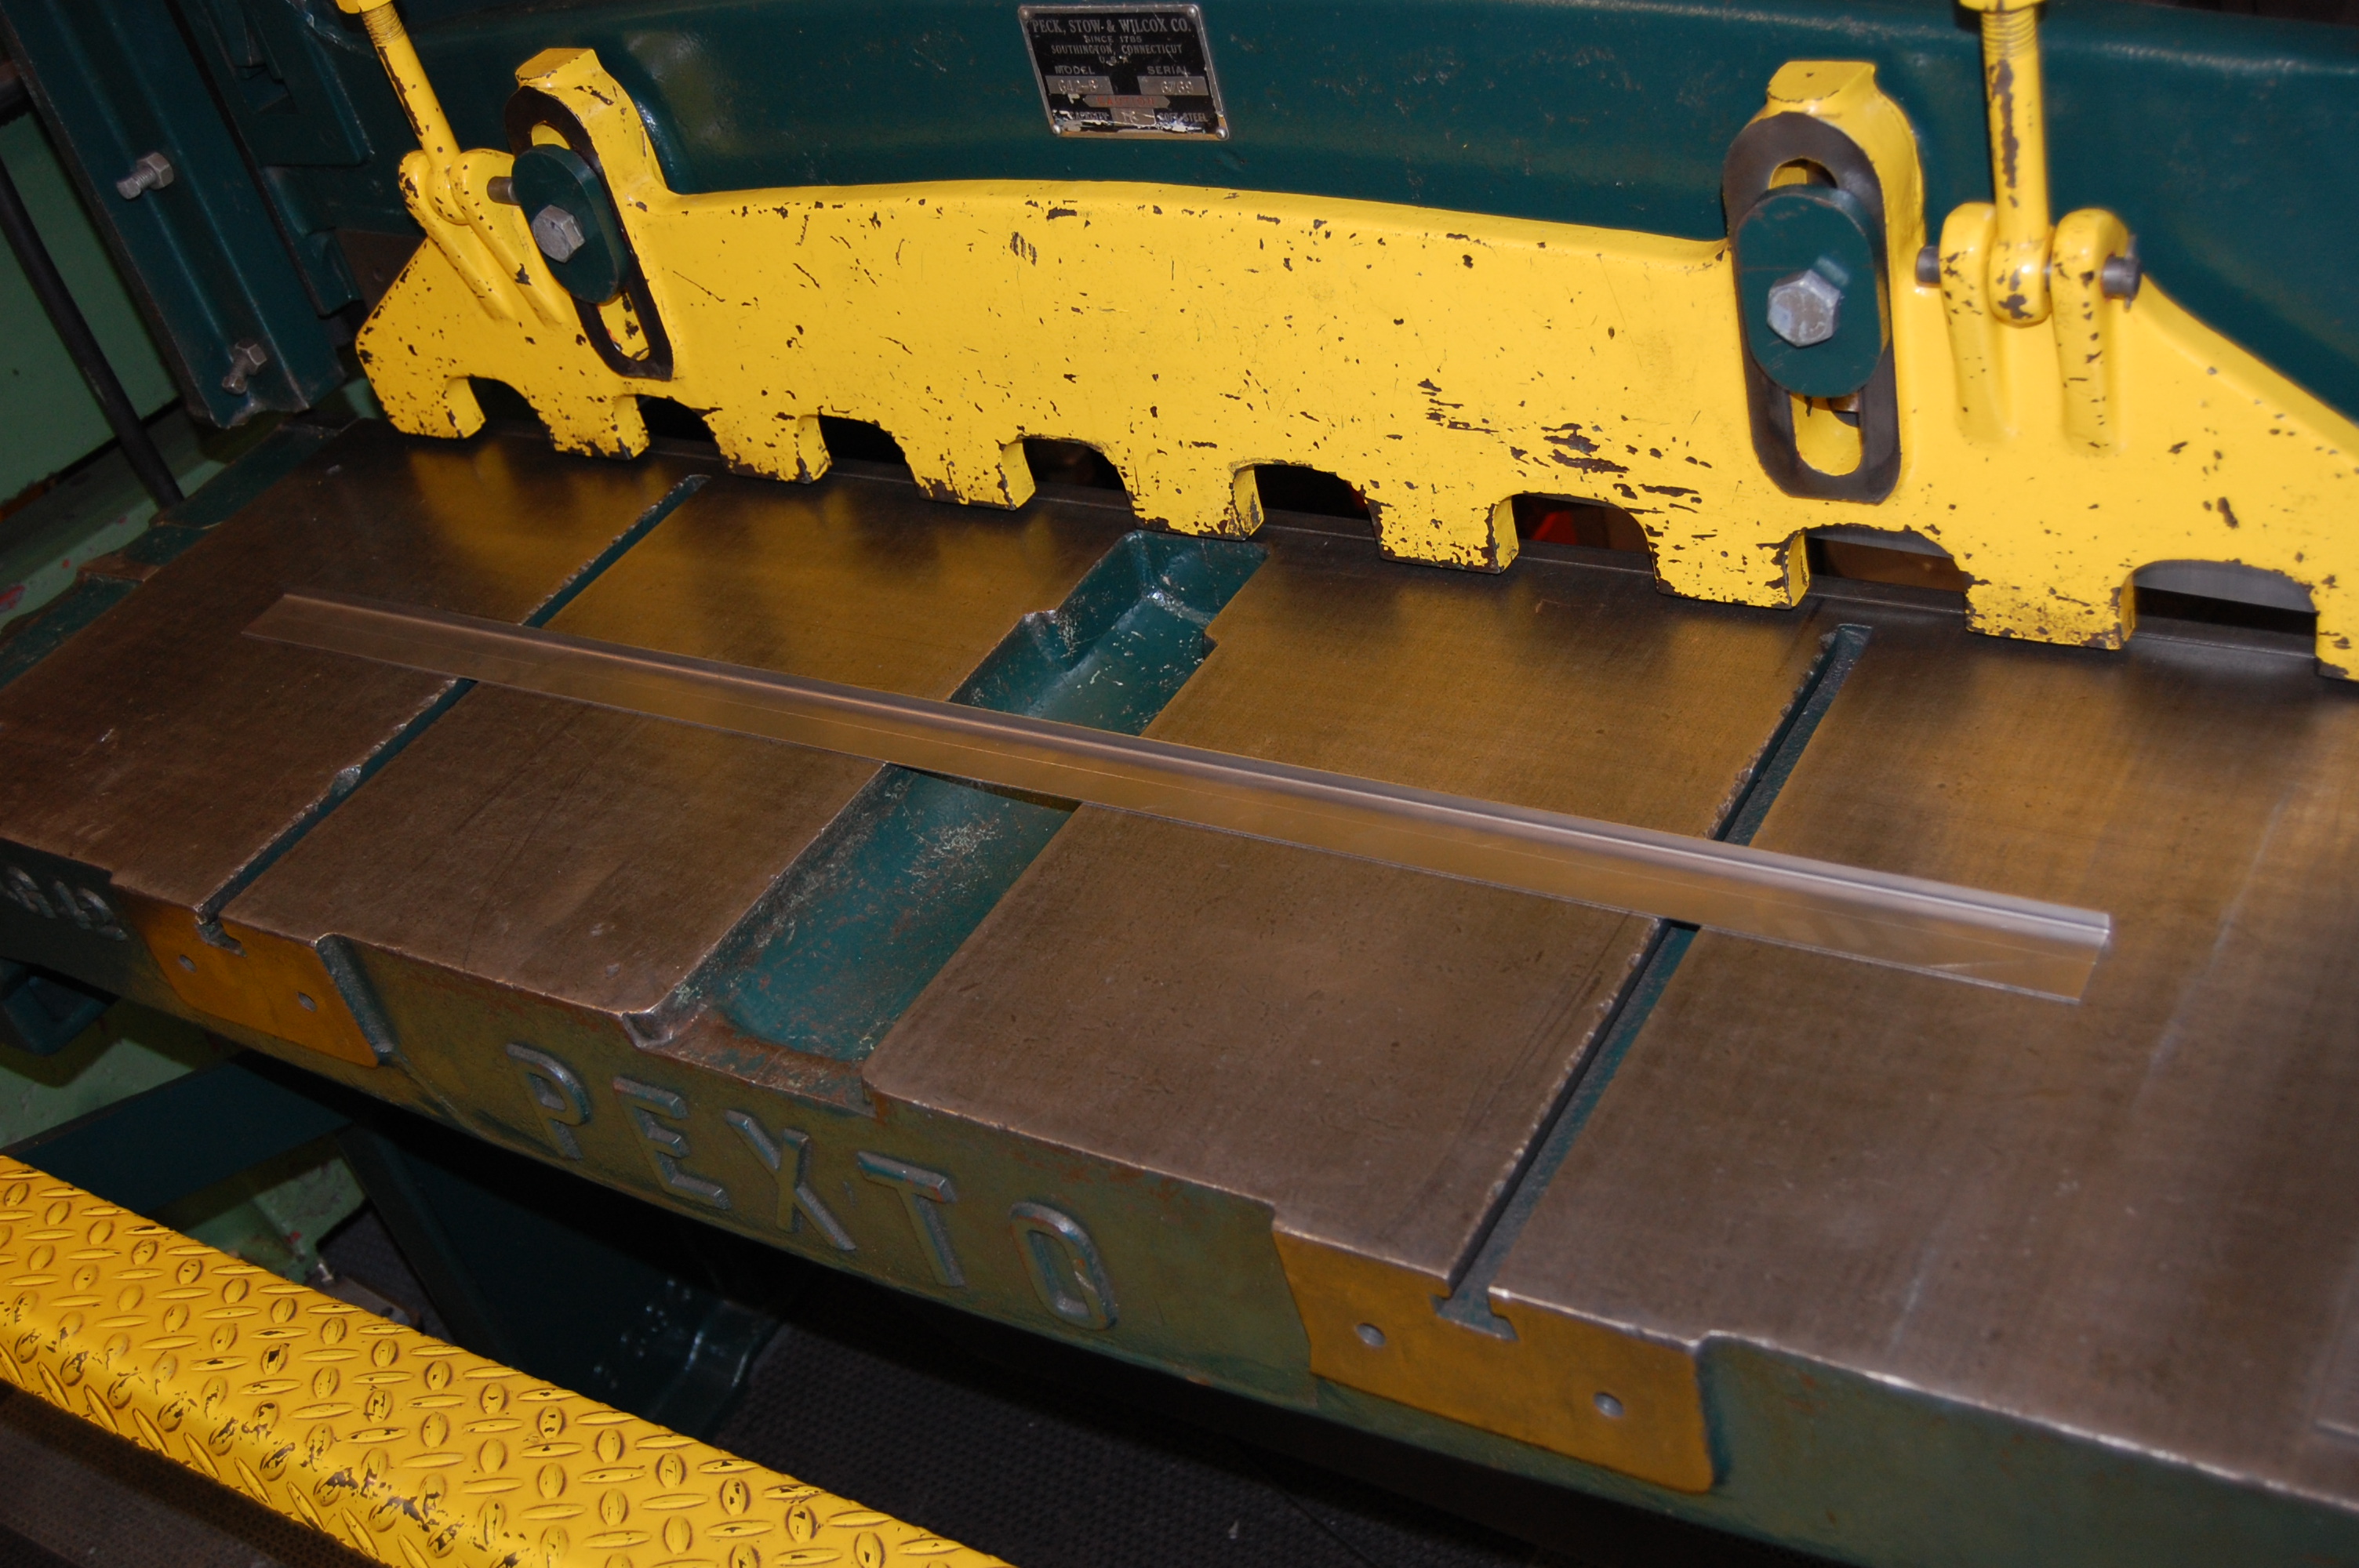
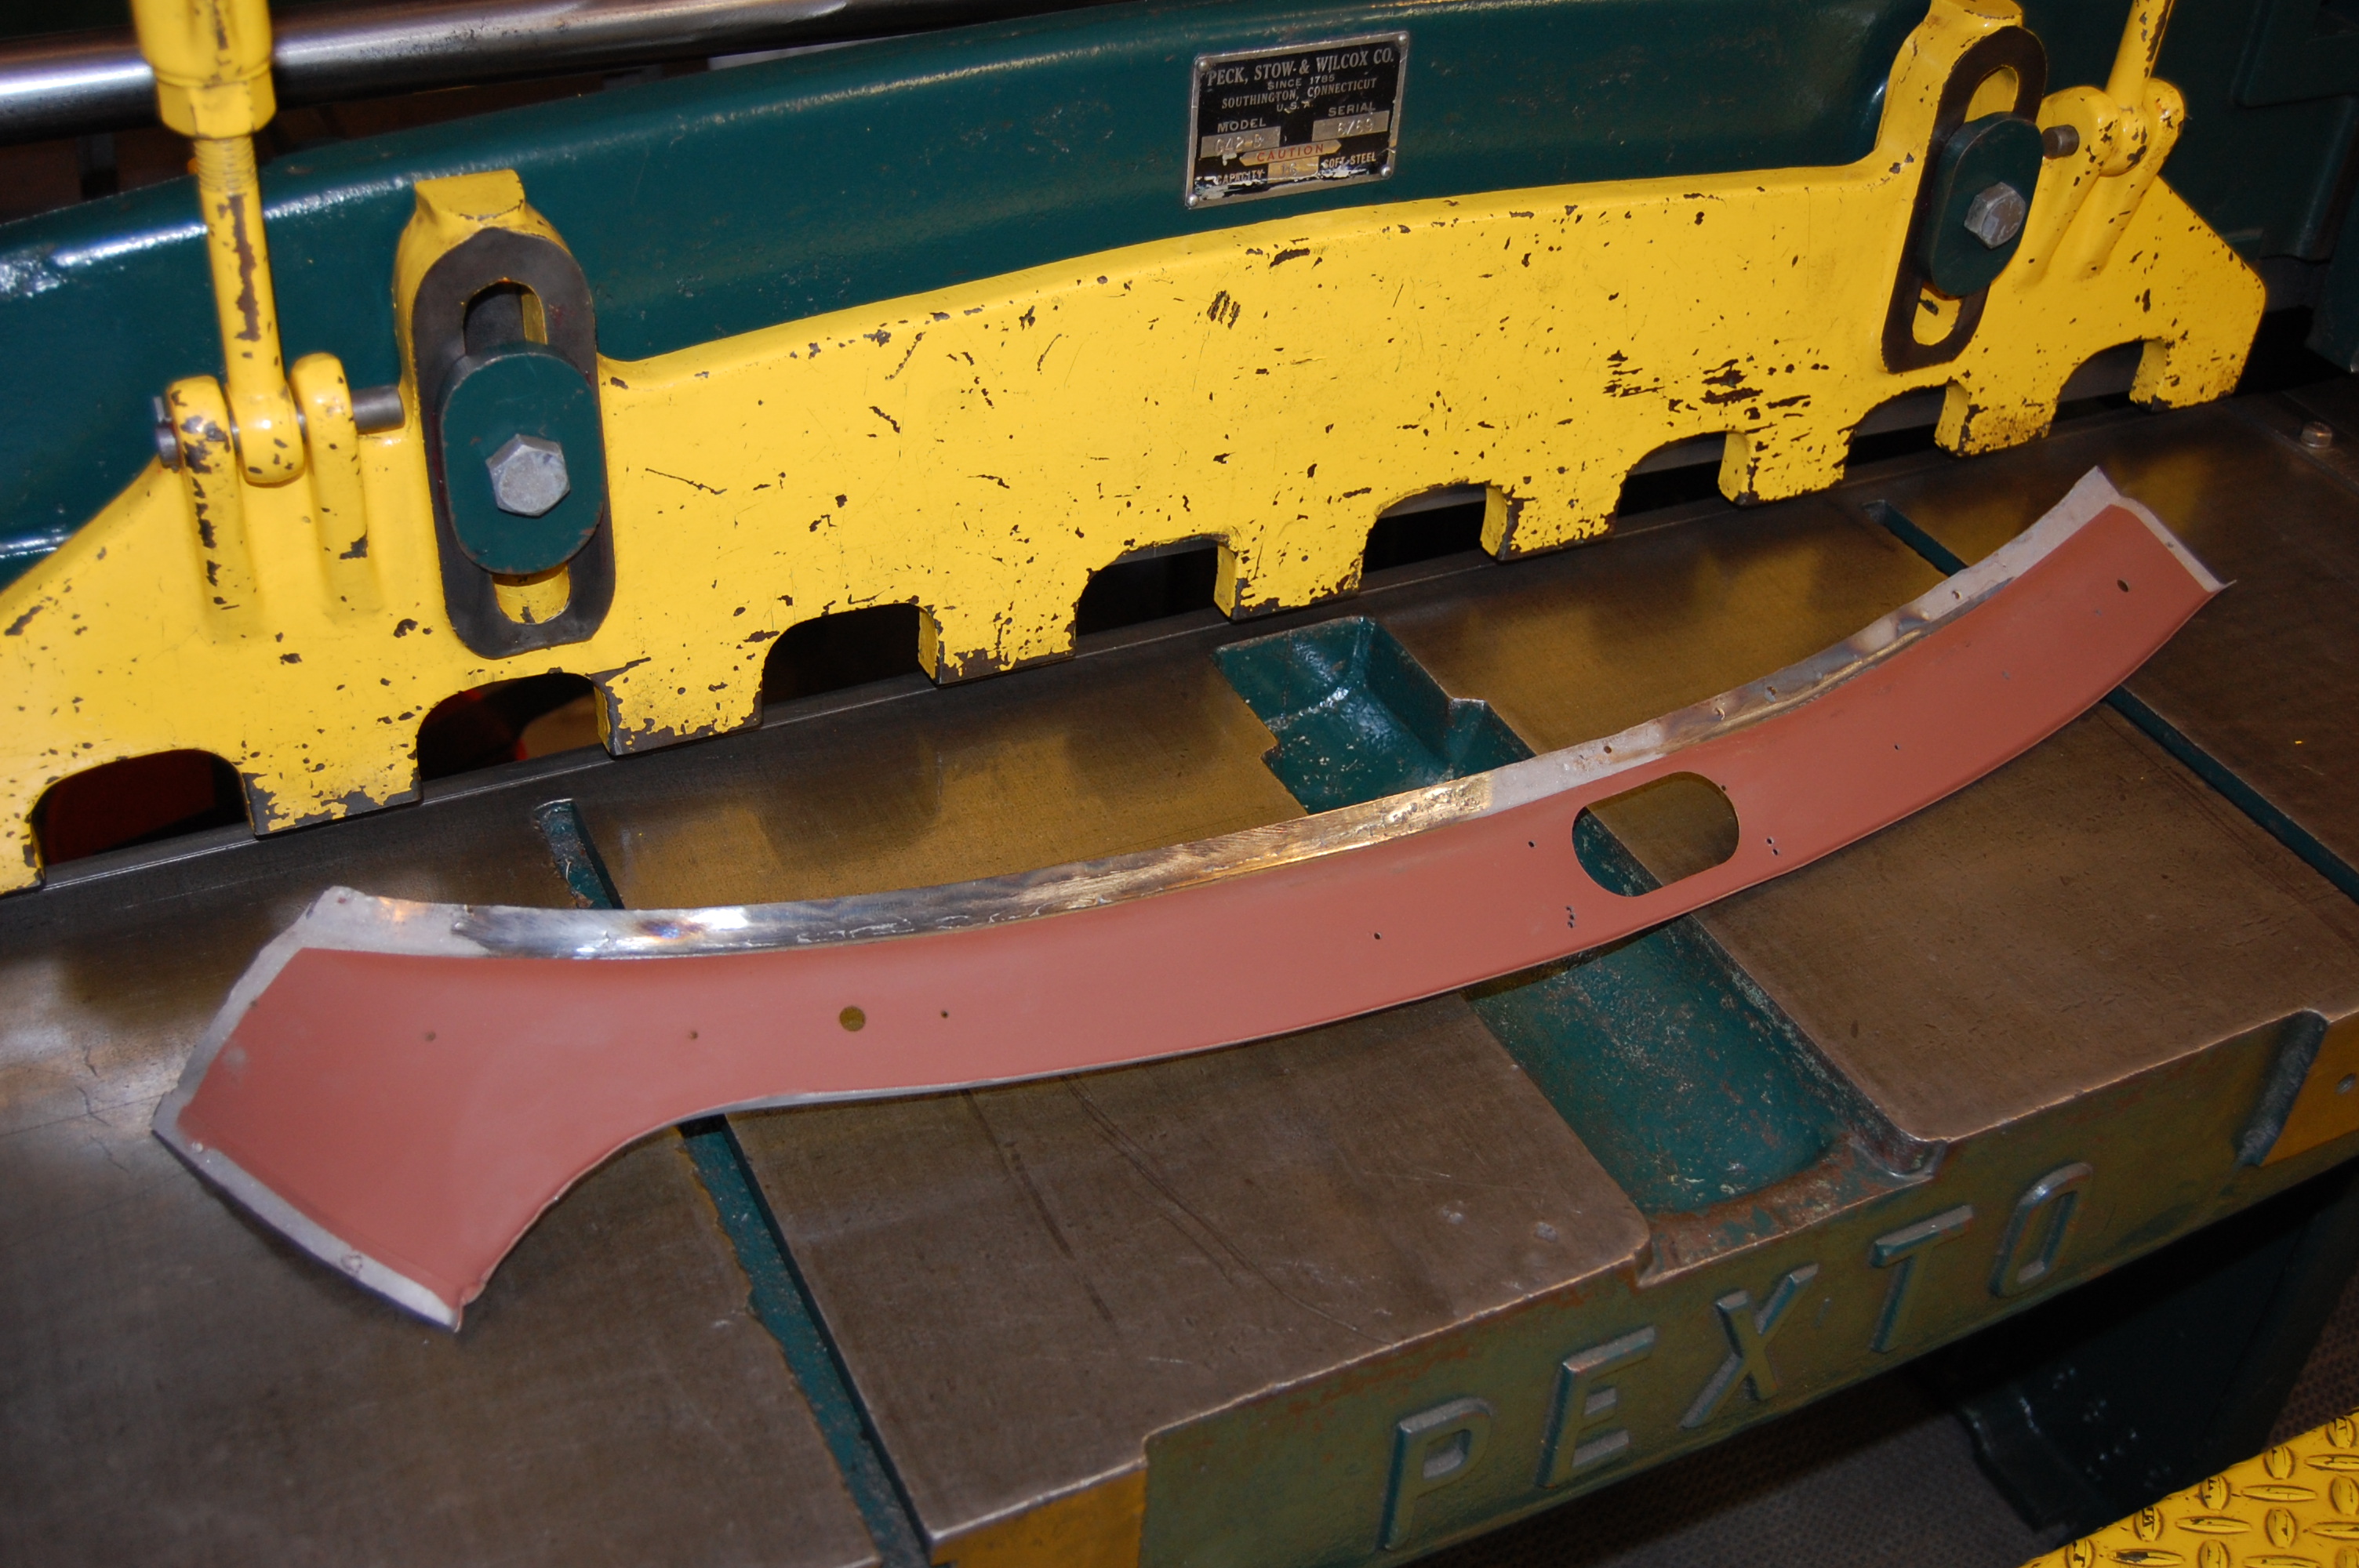
- Here is a shot of the drip channel itself, now completed and ready to be welded in.

-
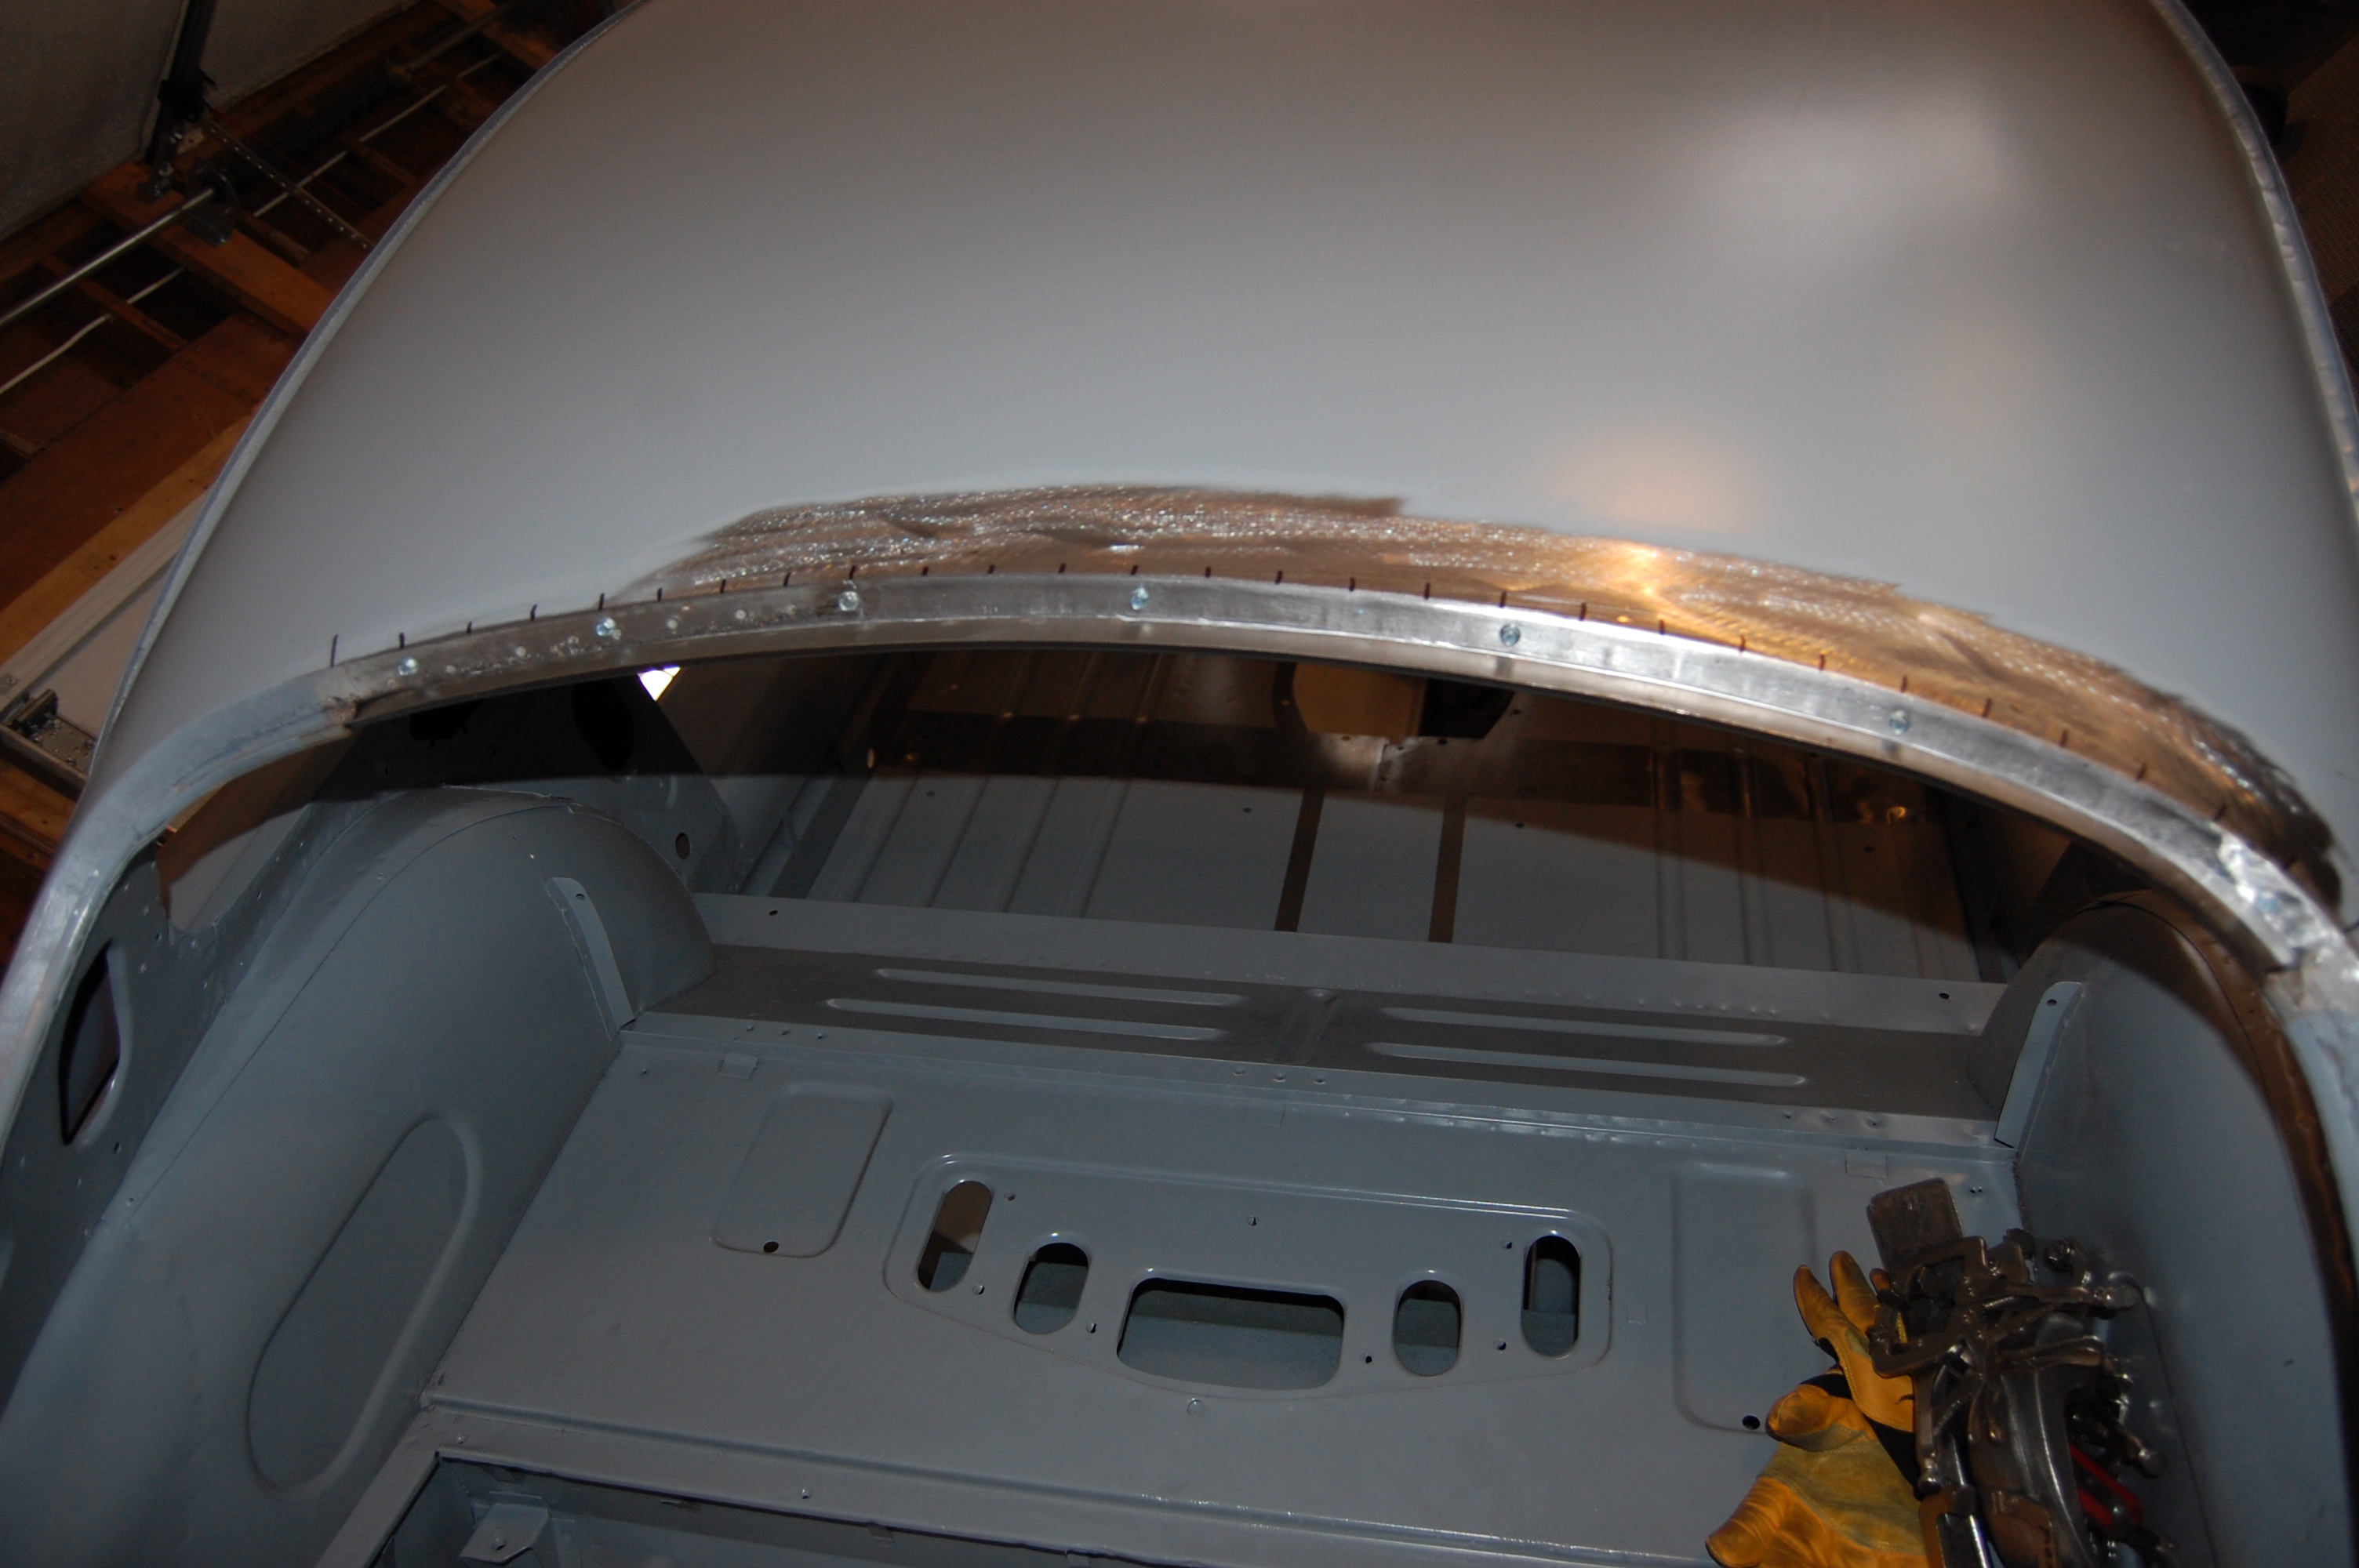
- Back into place, fitting the two pieces as tightly together as we can with screws AND vice-grips.
-

- We need these two pieces TIGHT!
-

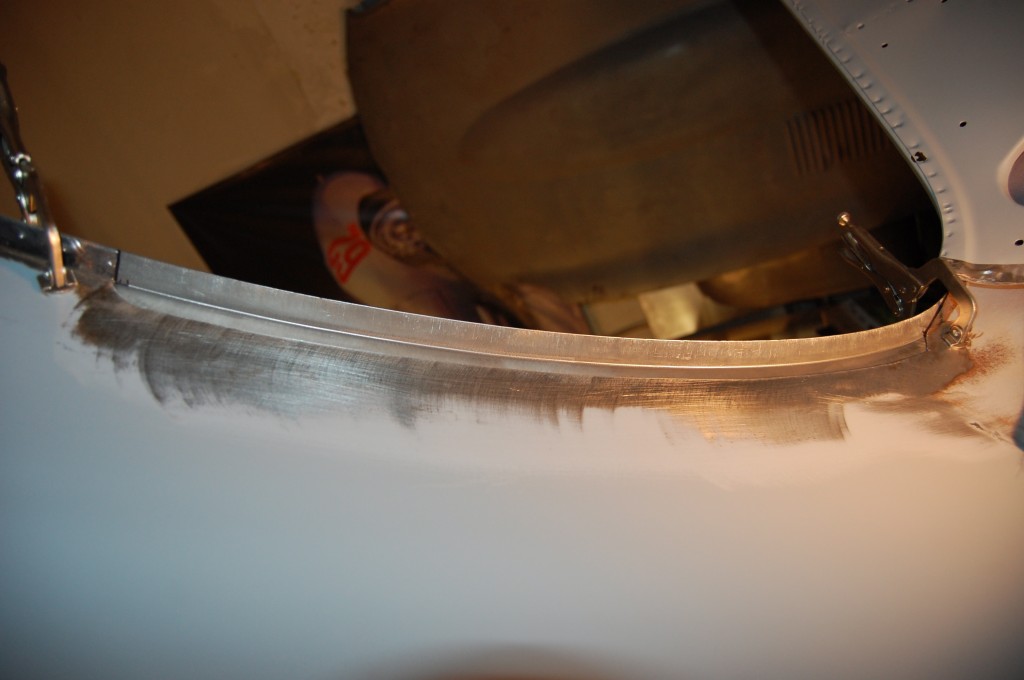
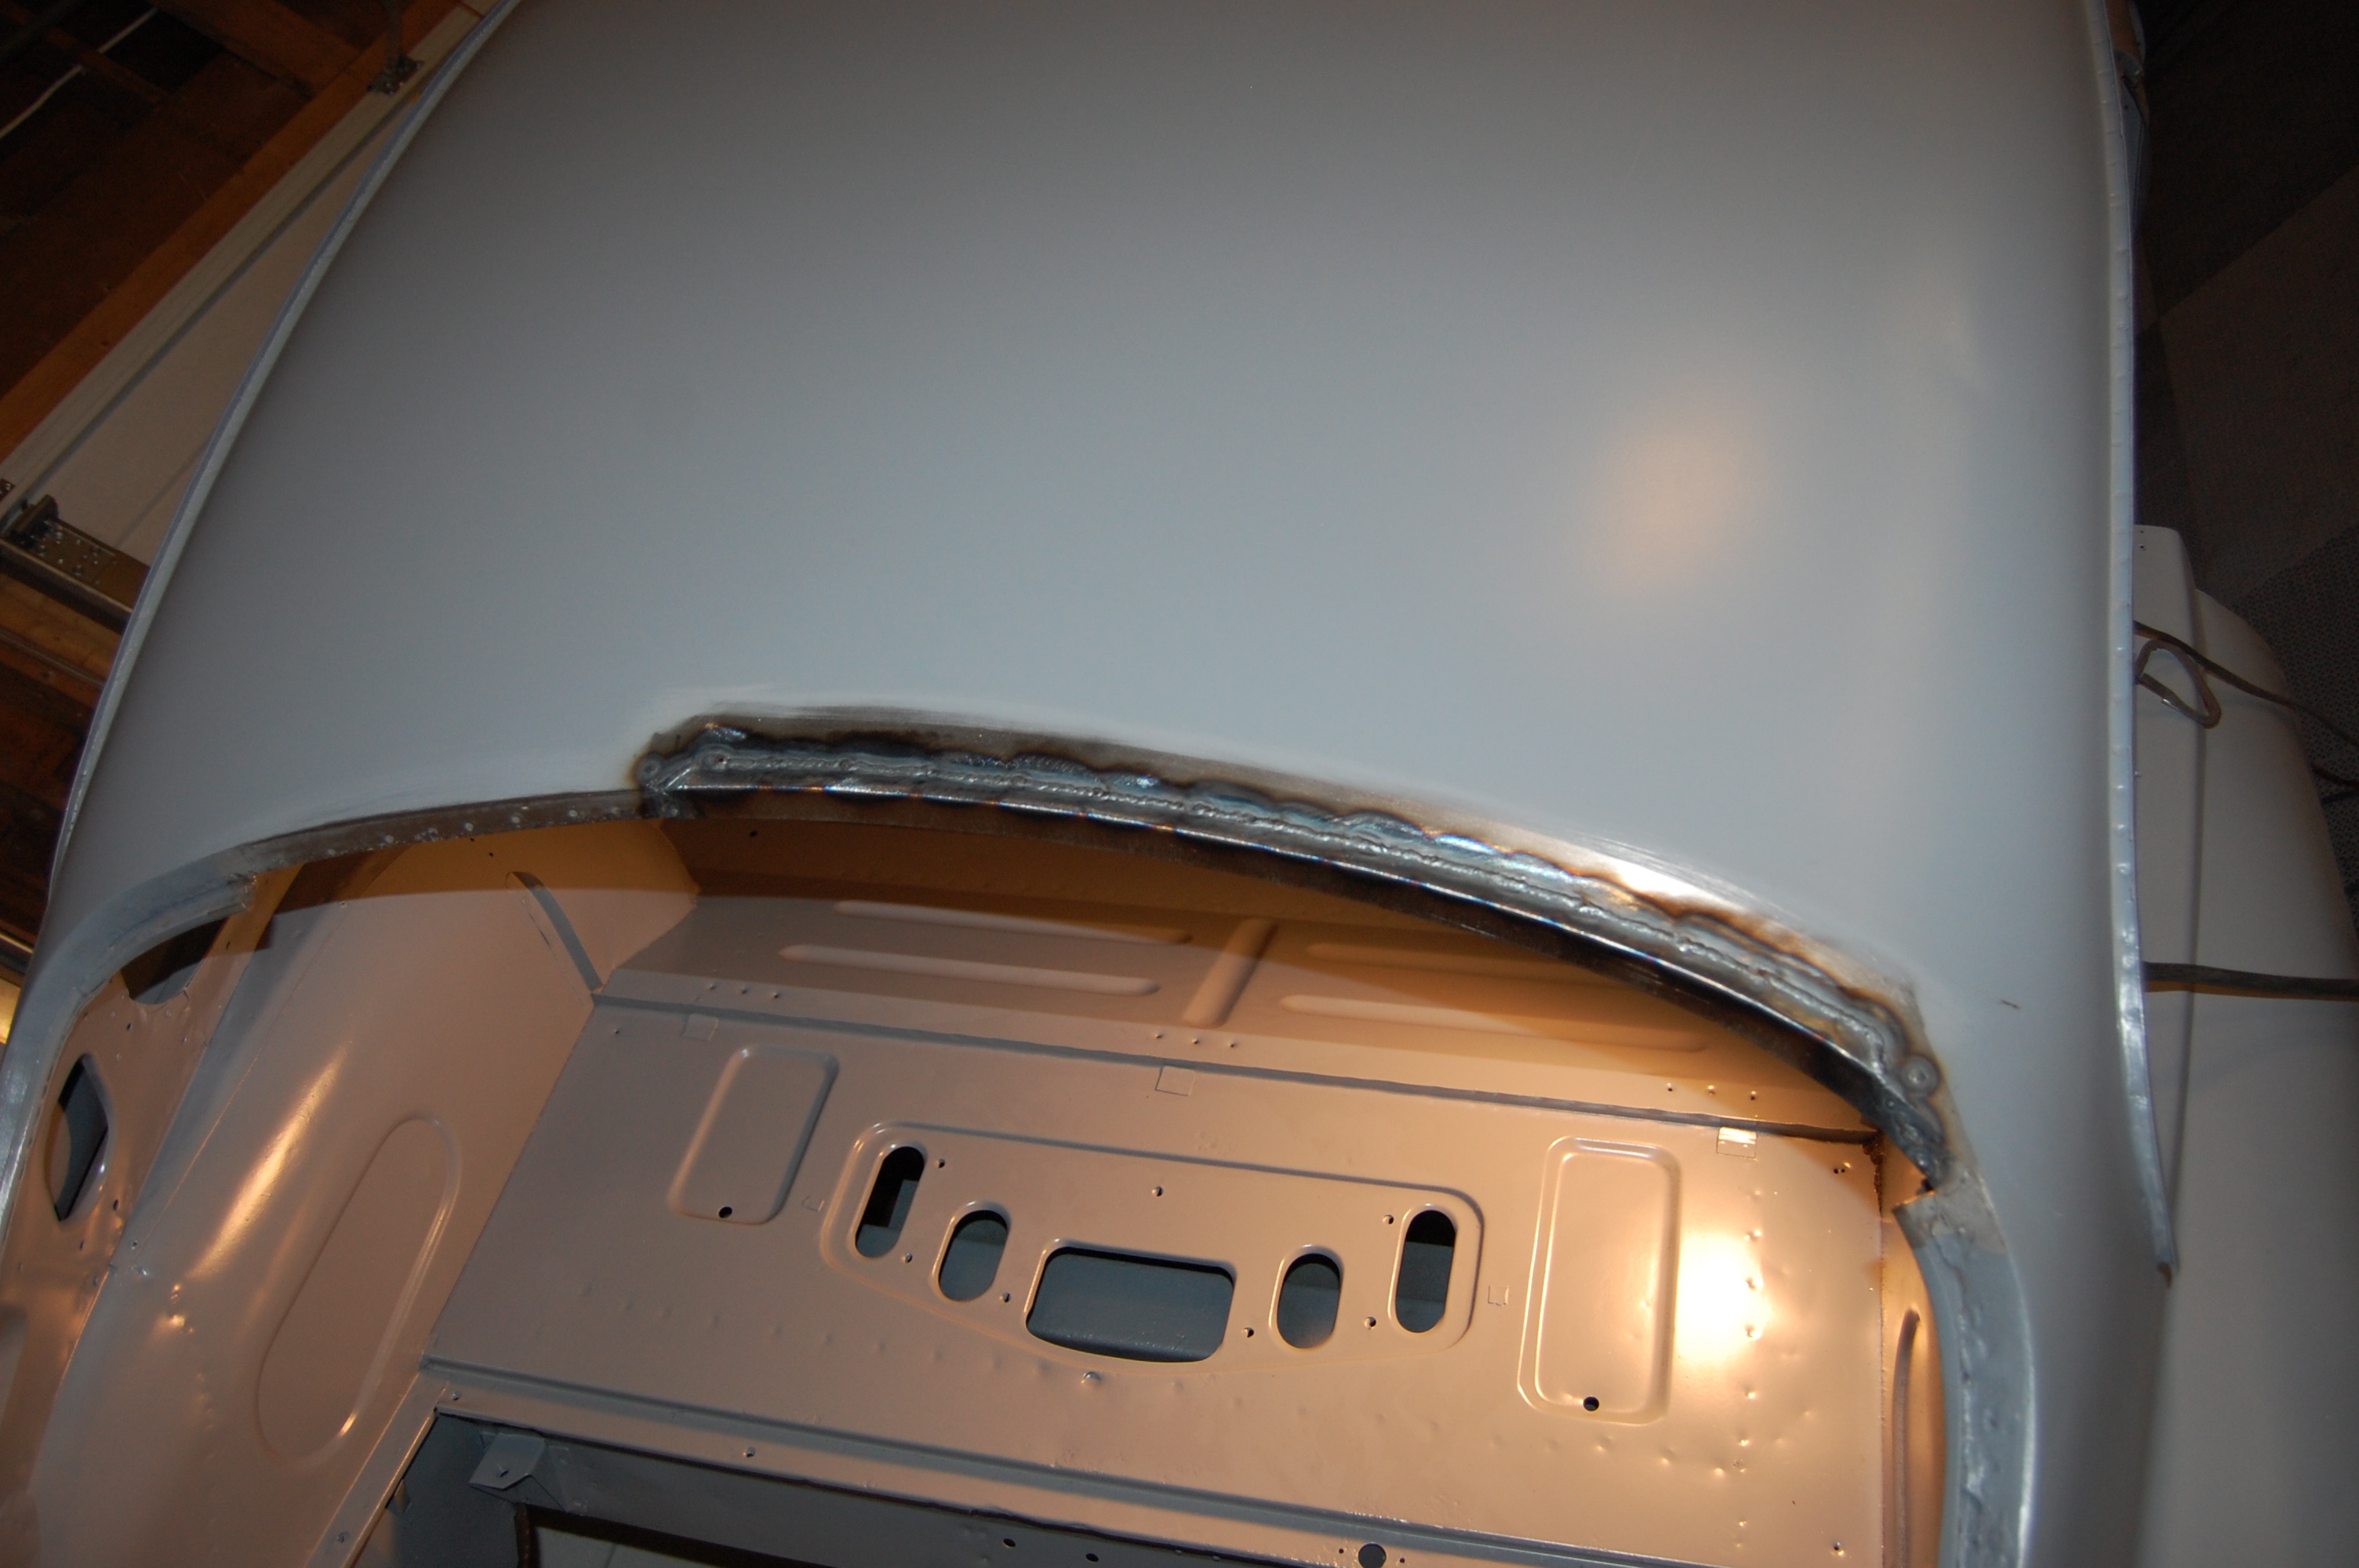
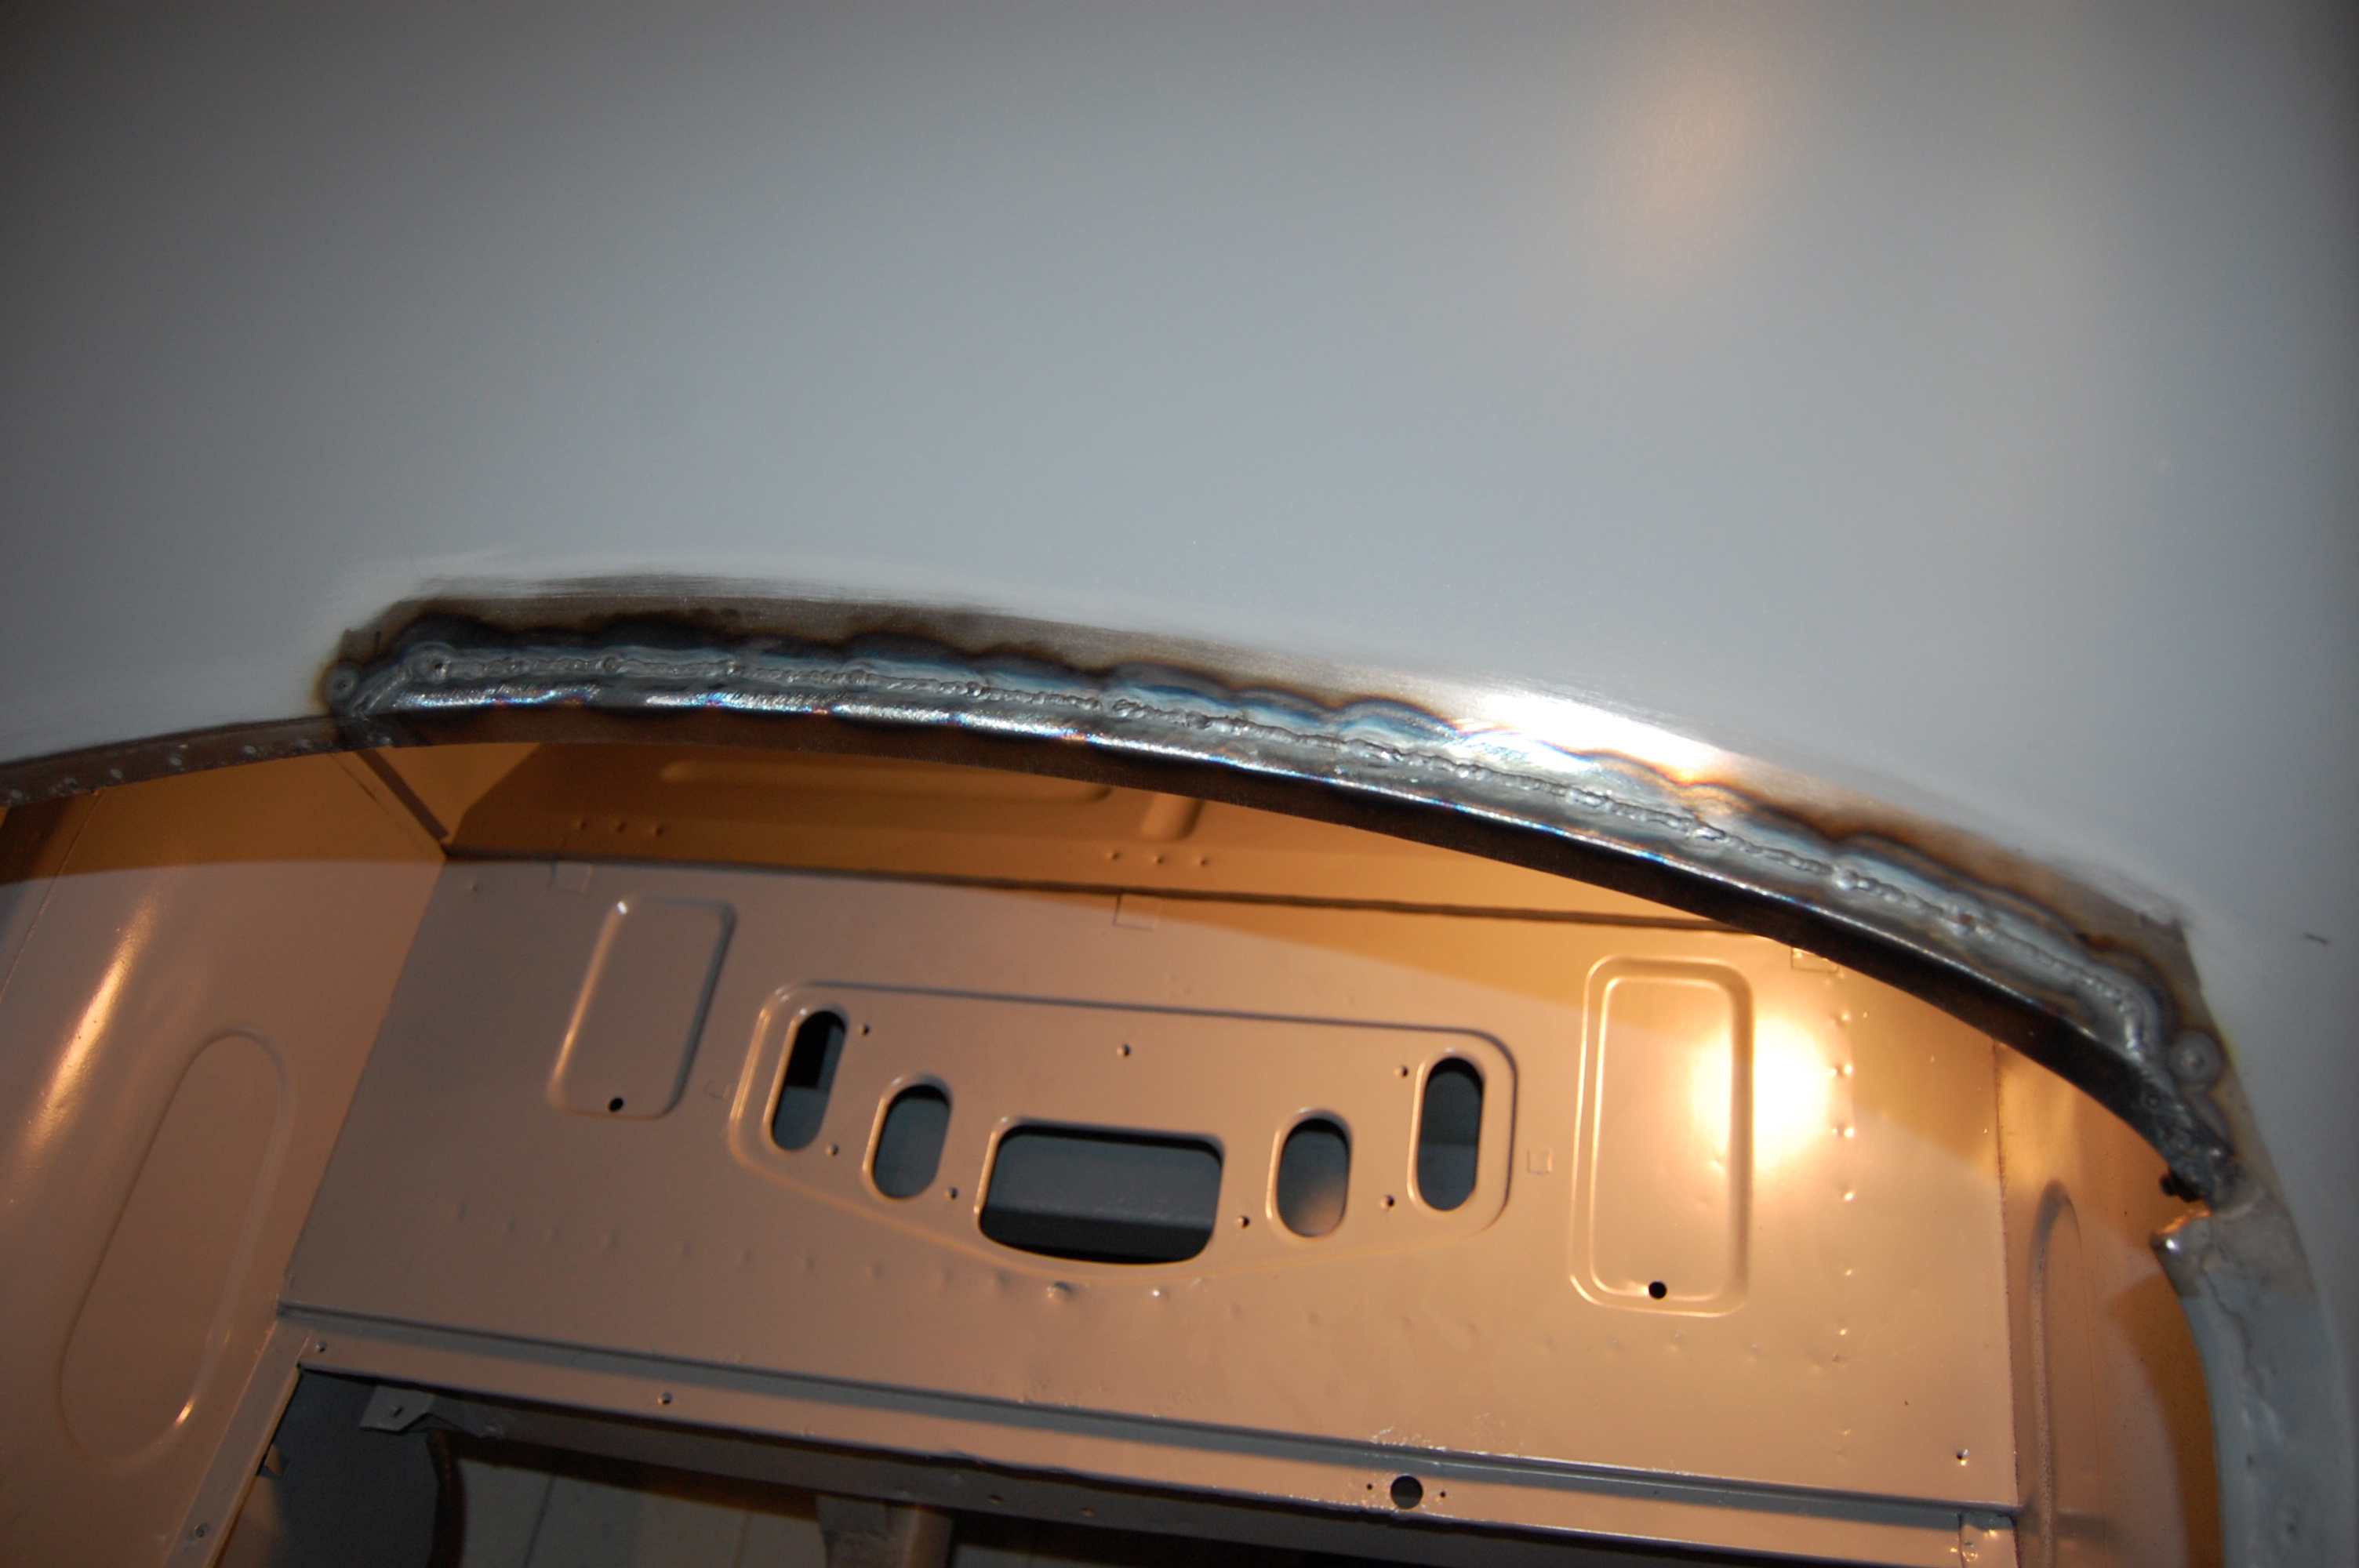
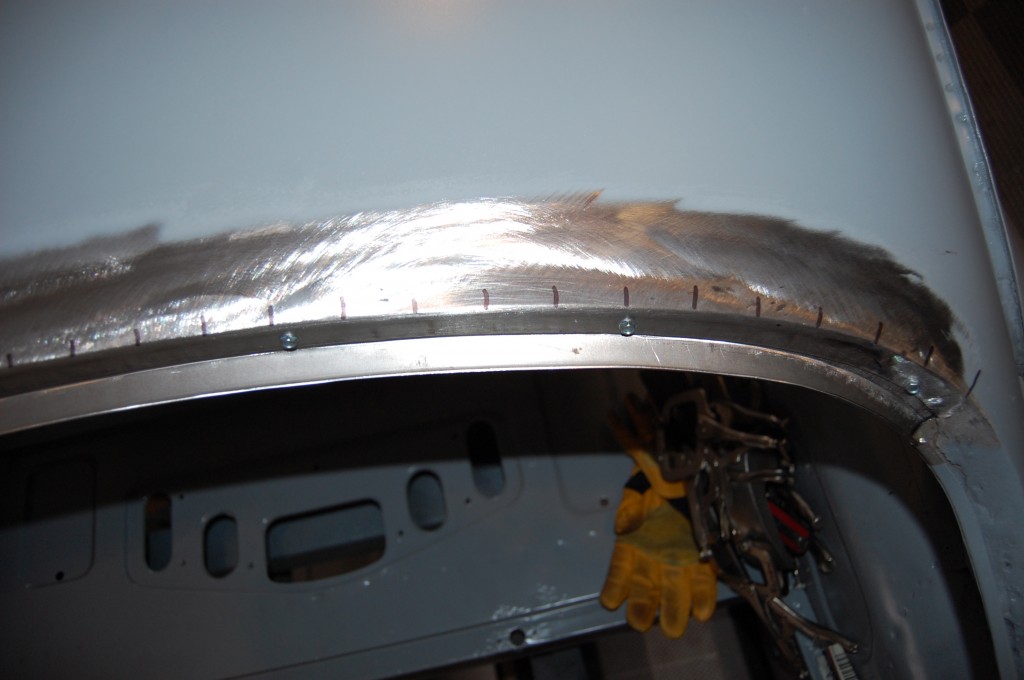
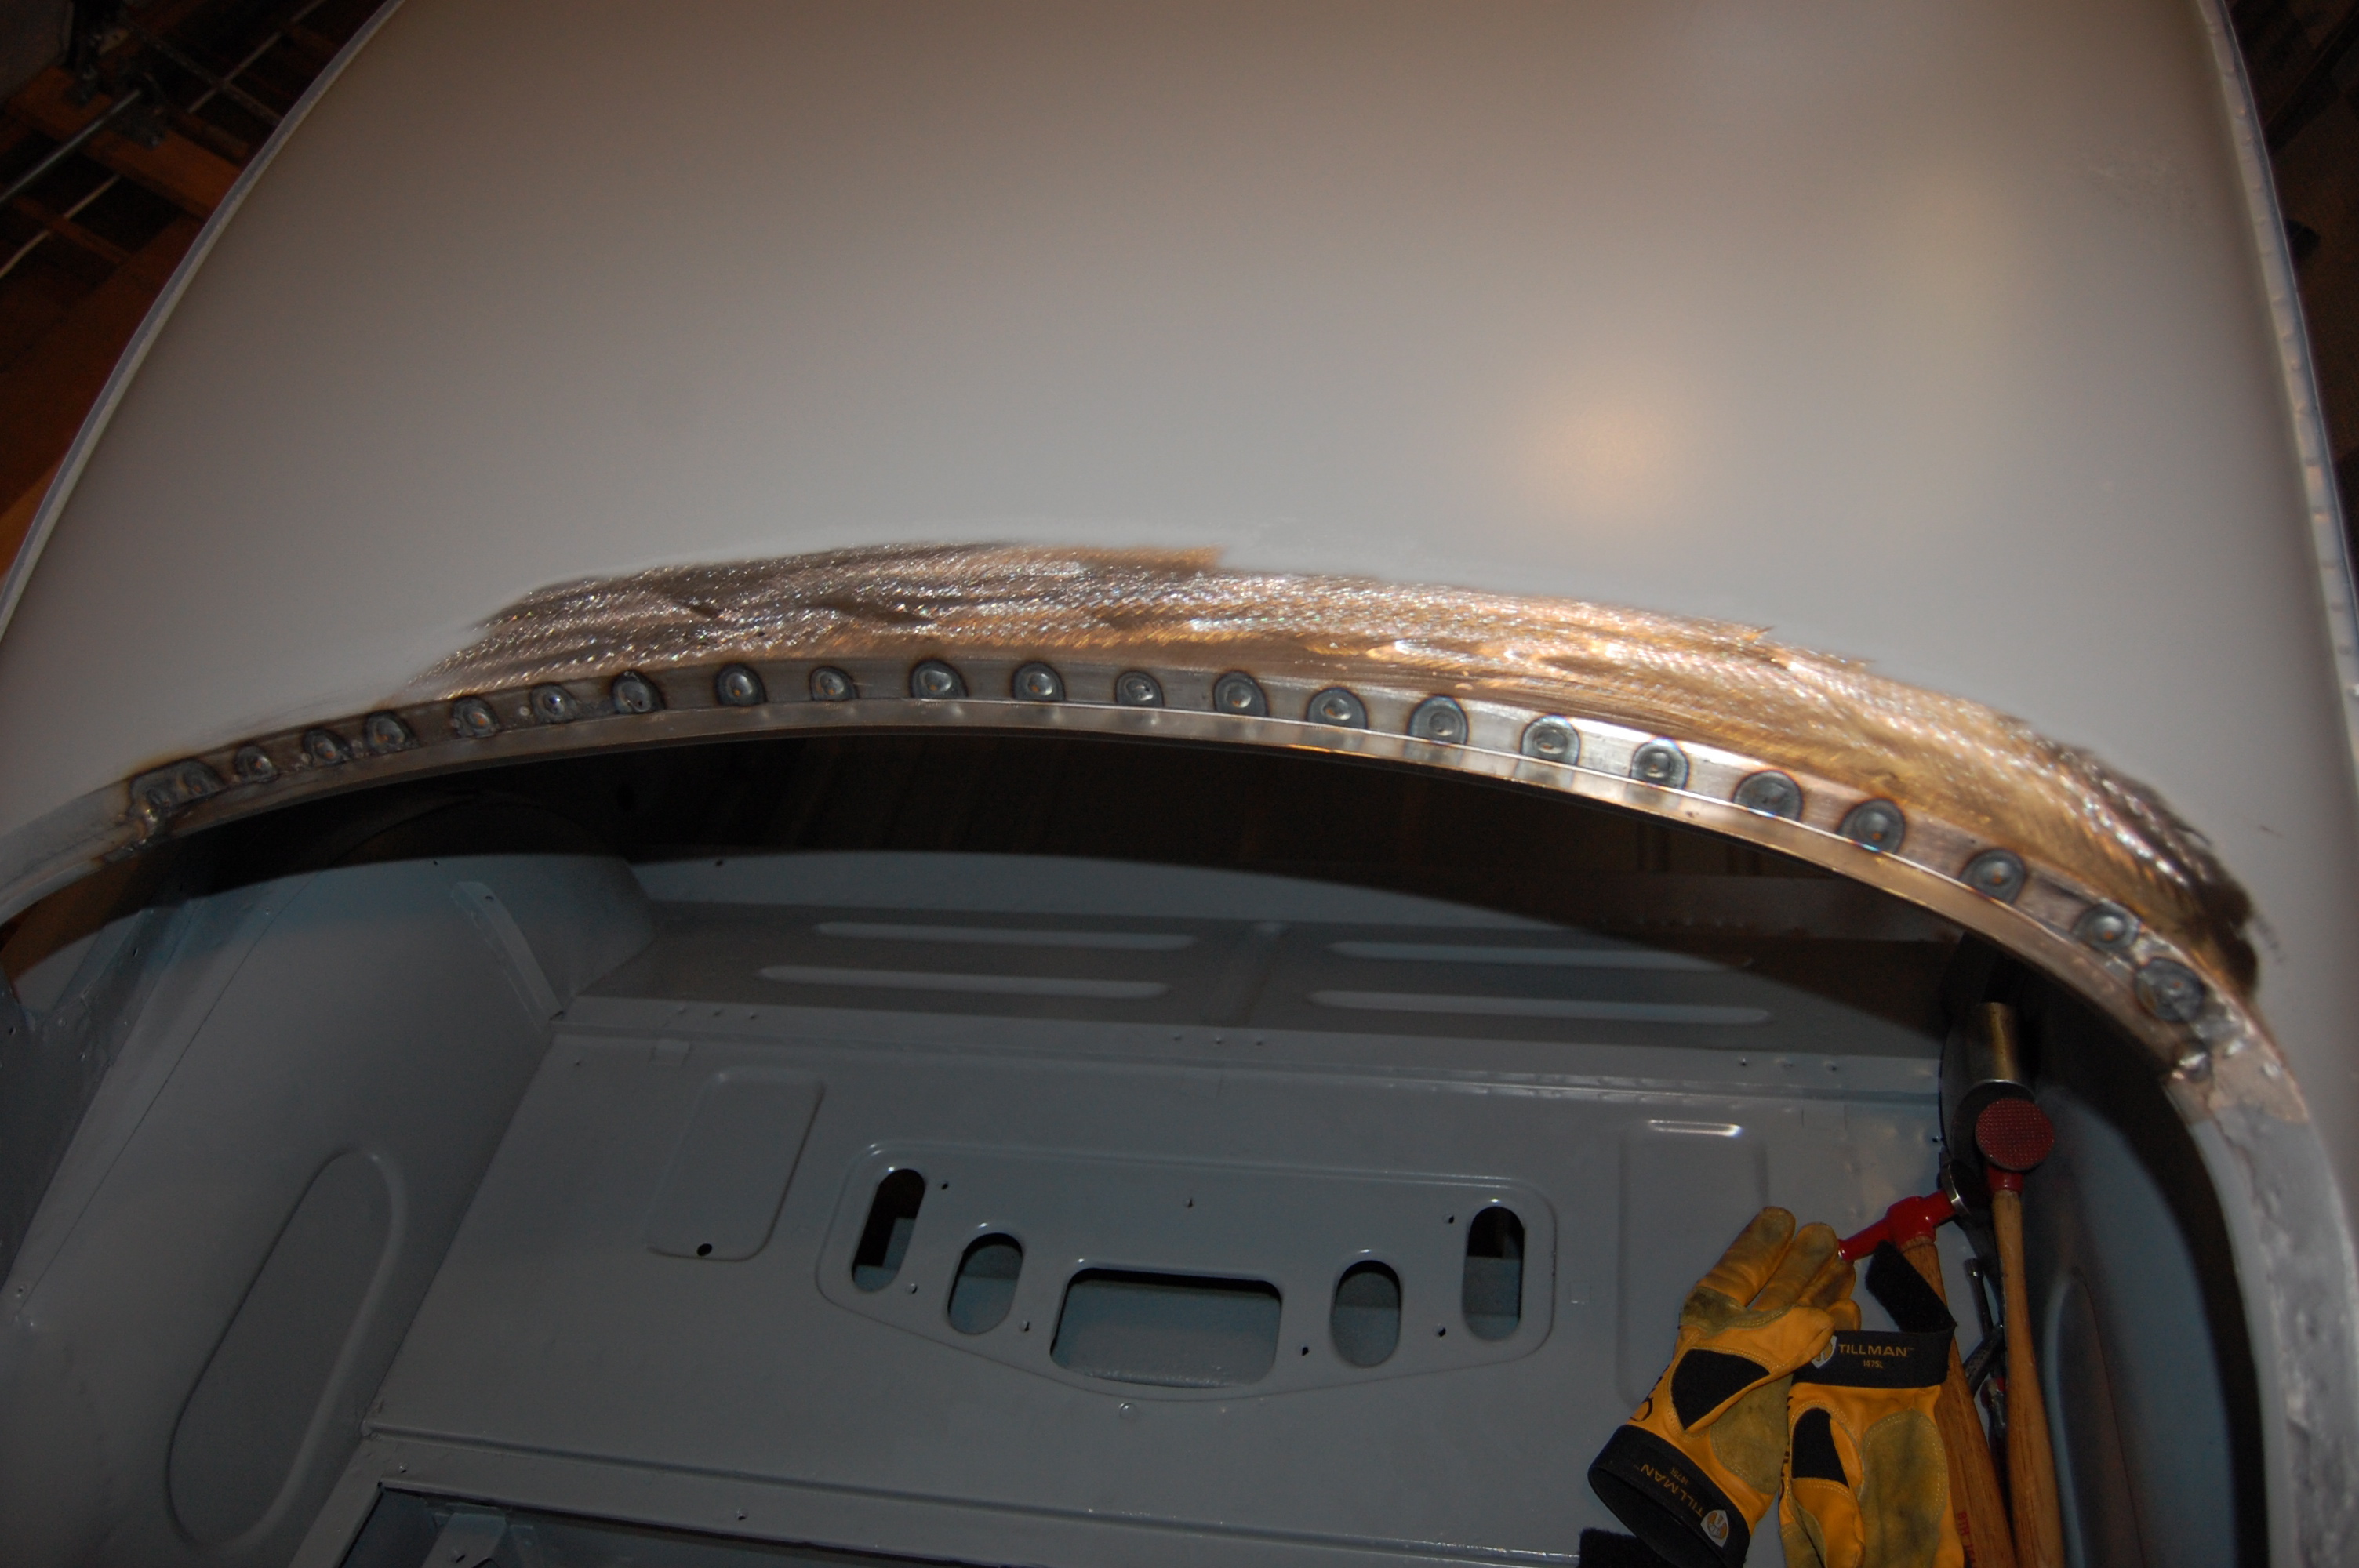
- OK, she’s plug-welded into place, and ready to be dressed down.
-
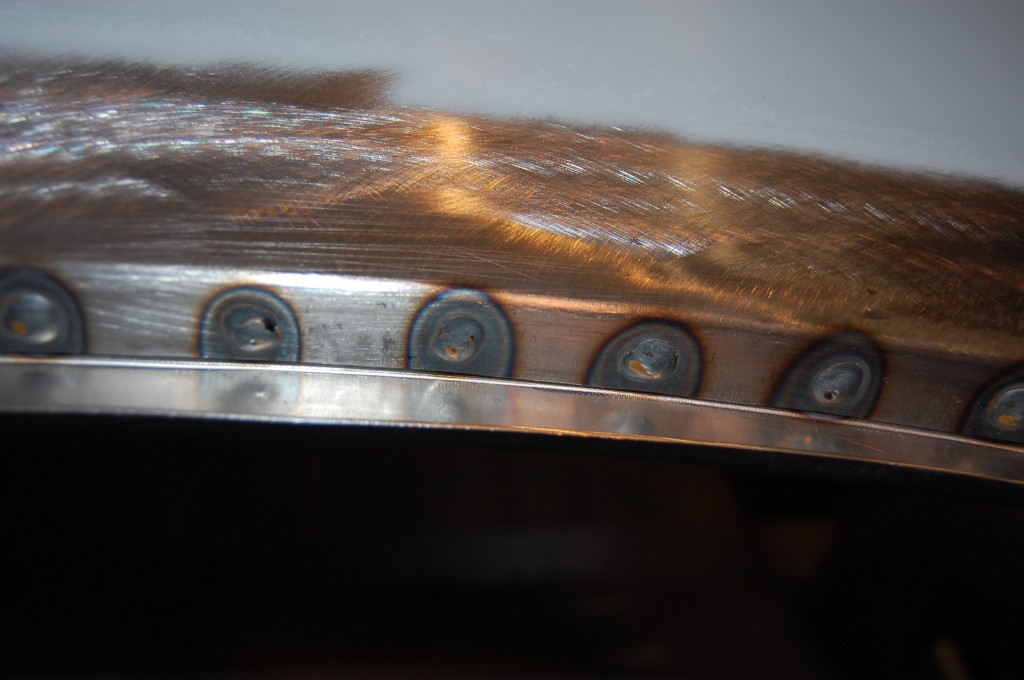
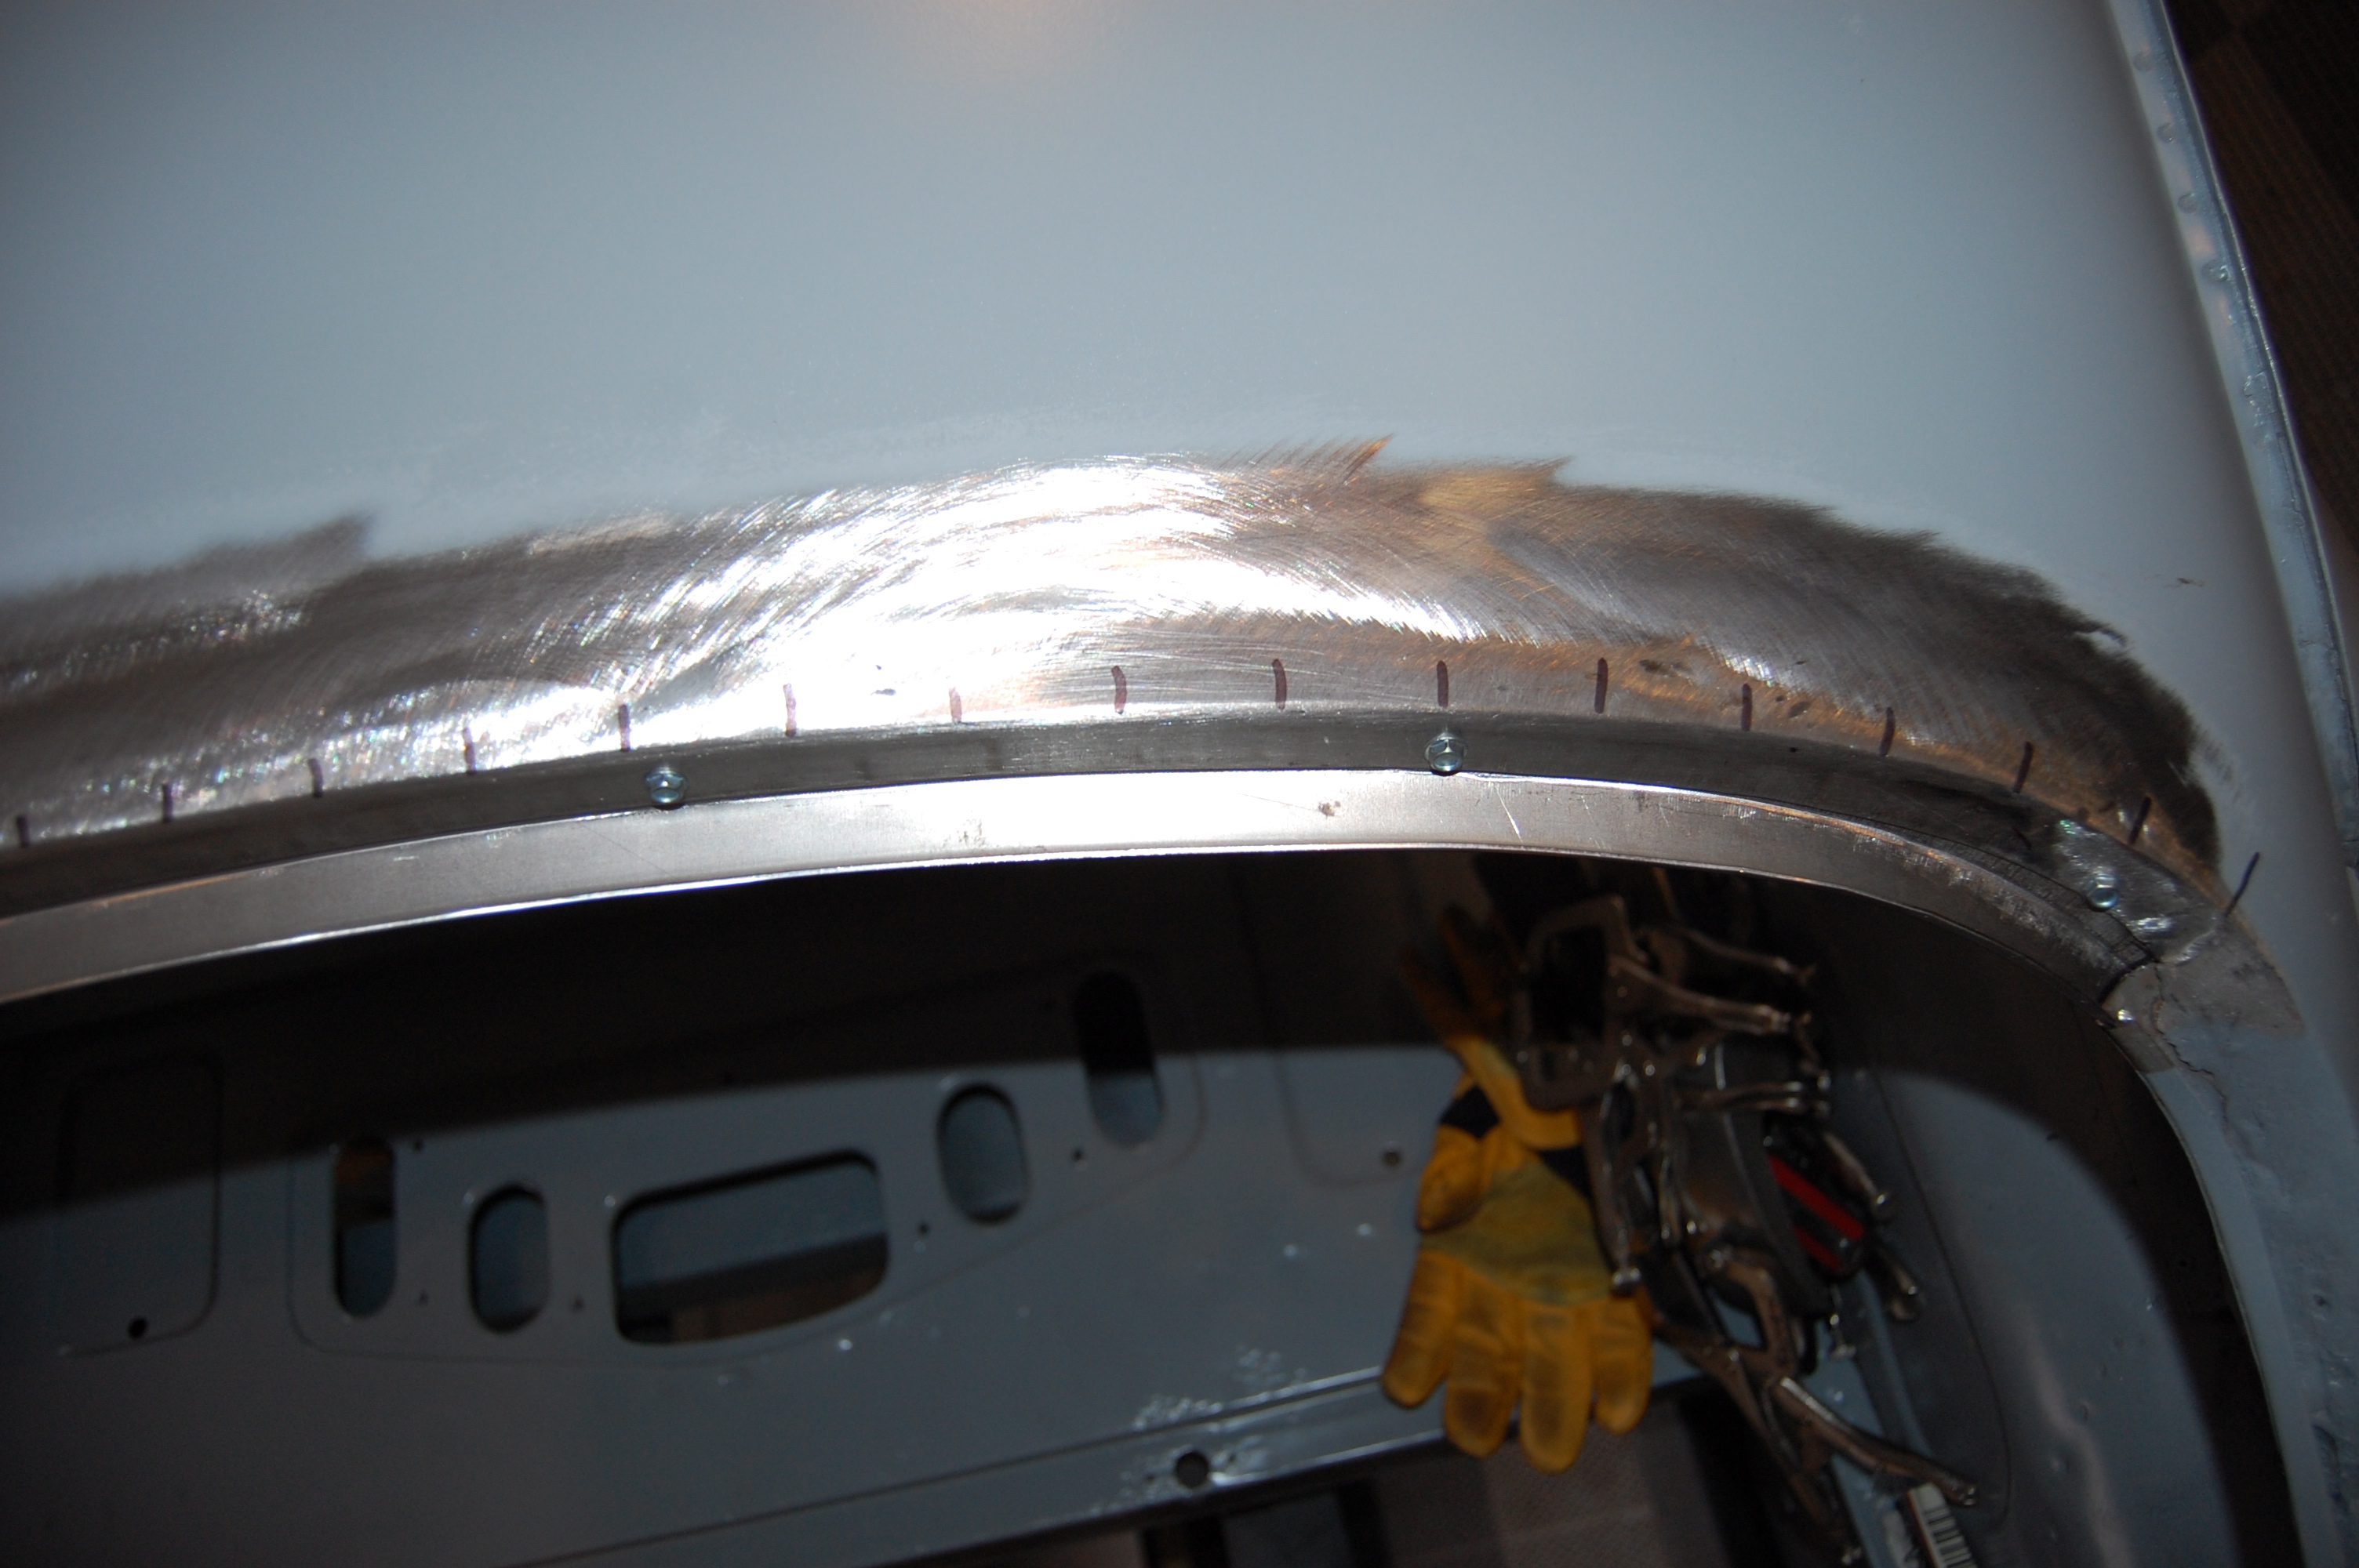
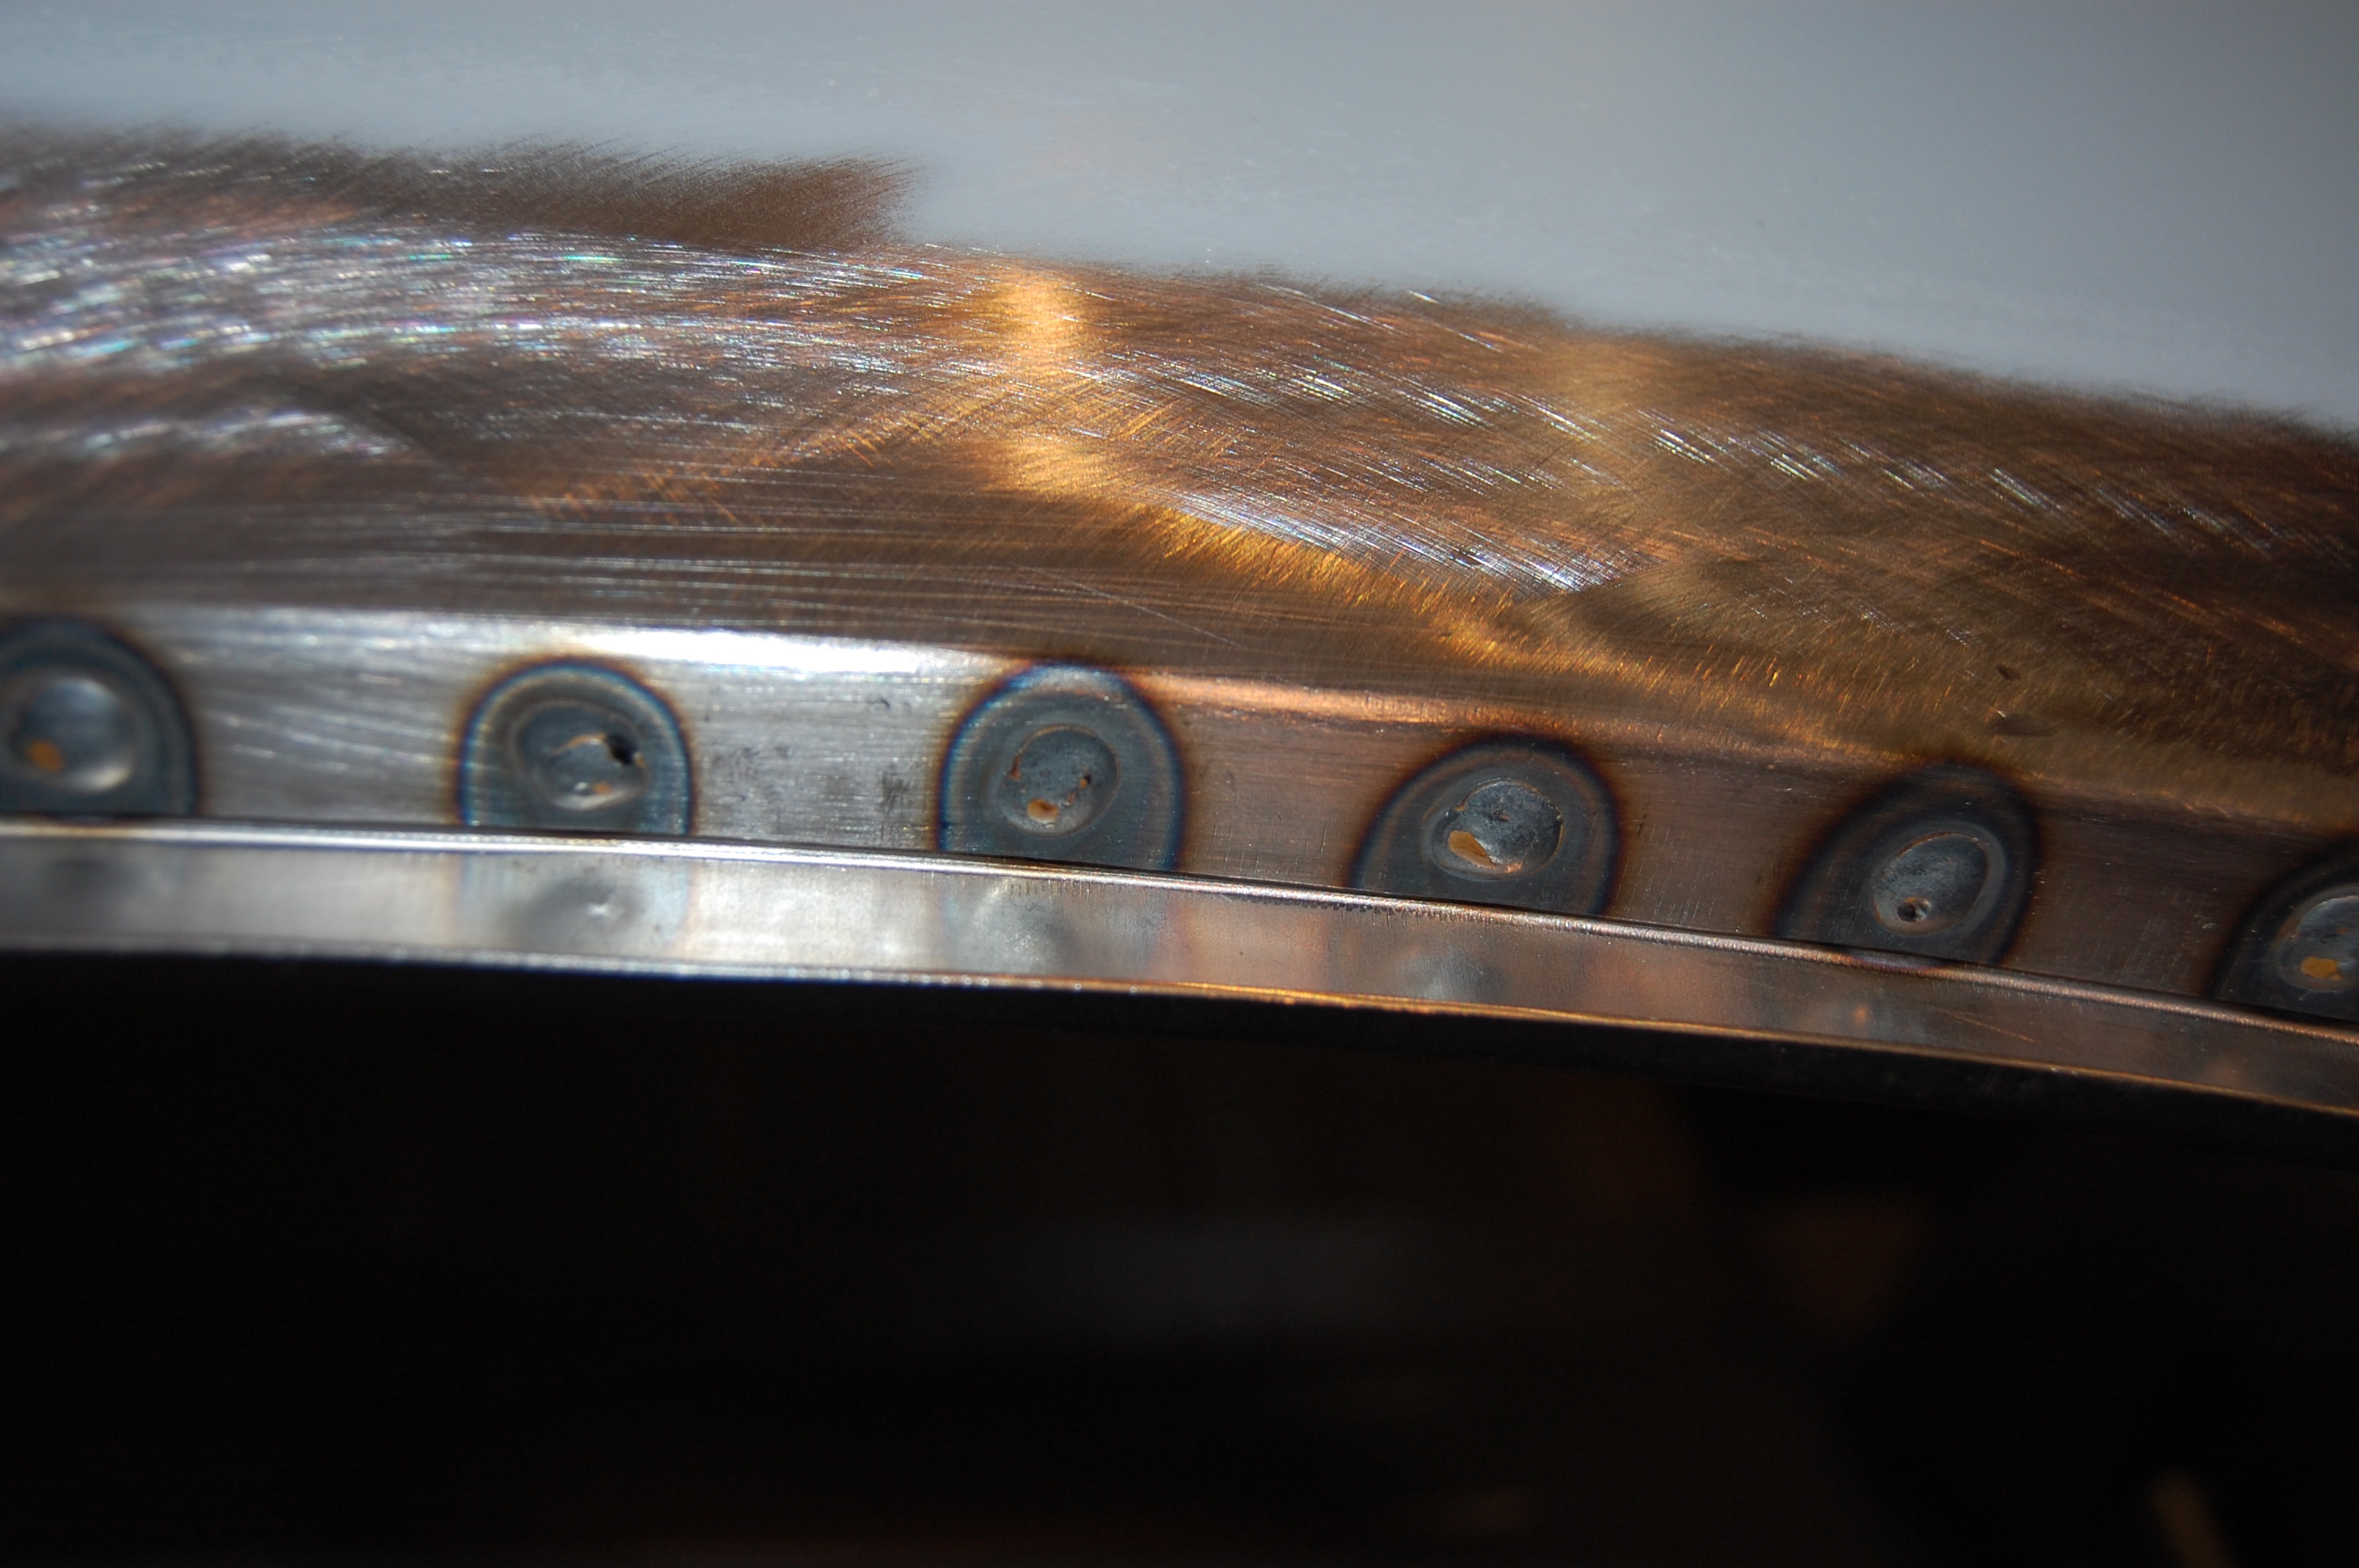
- A cose-up og the plug welds – you want these to be just right – too much heat will start warping the roof panel again…
-
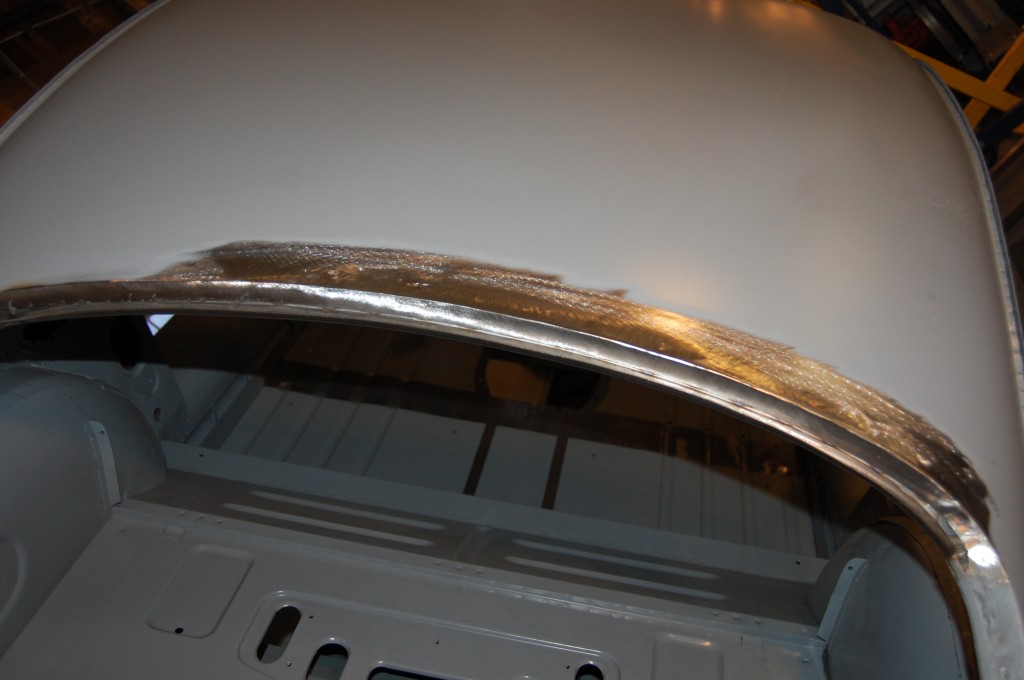
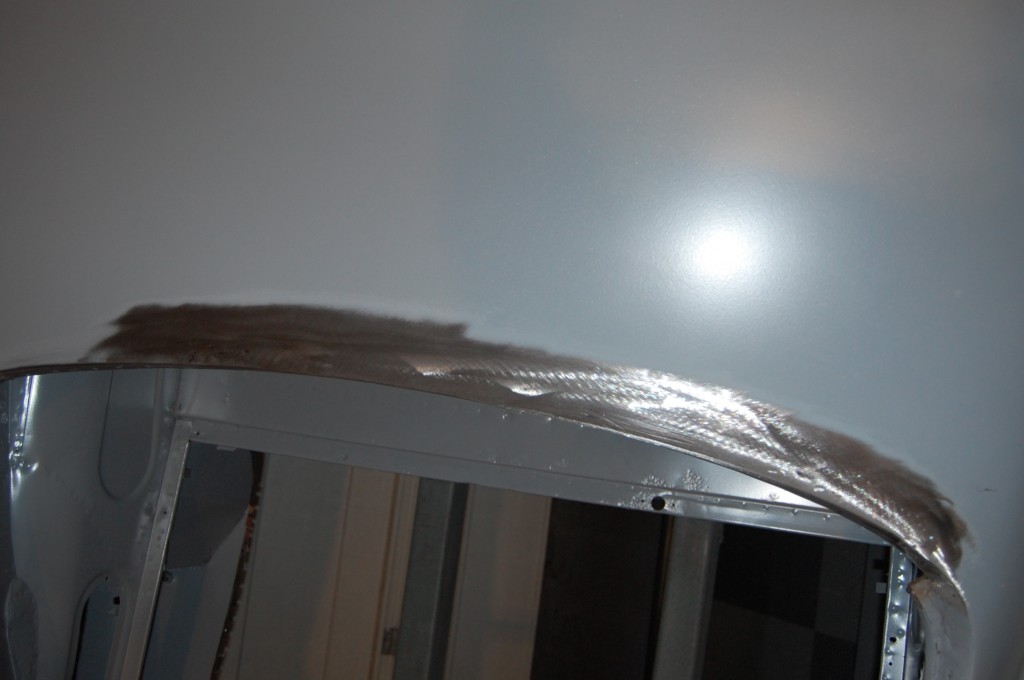
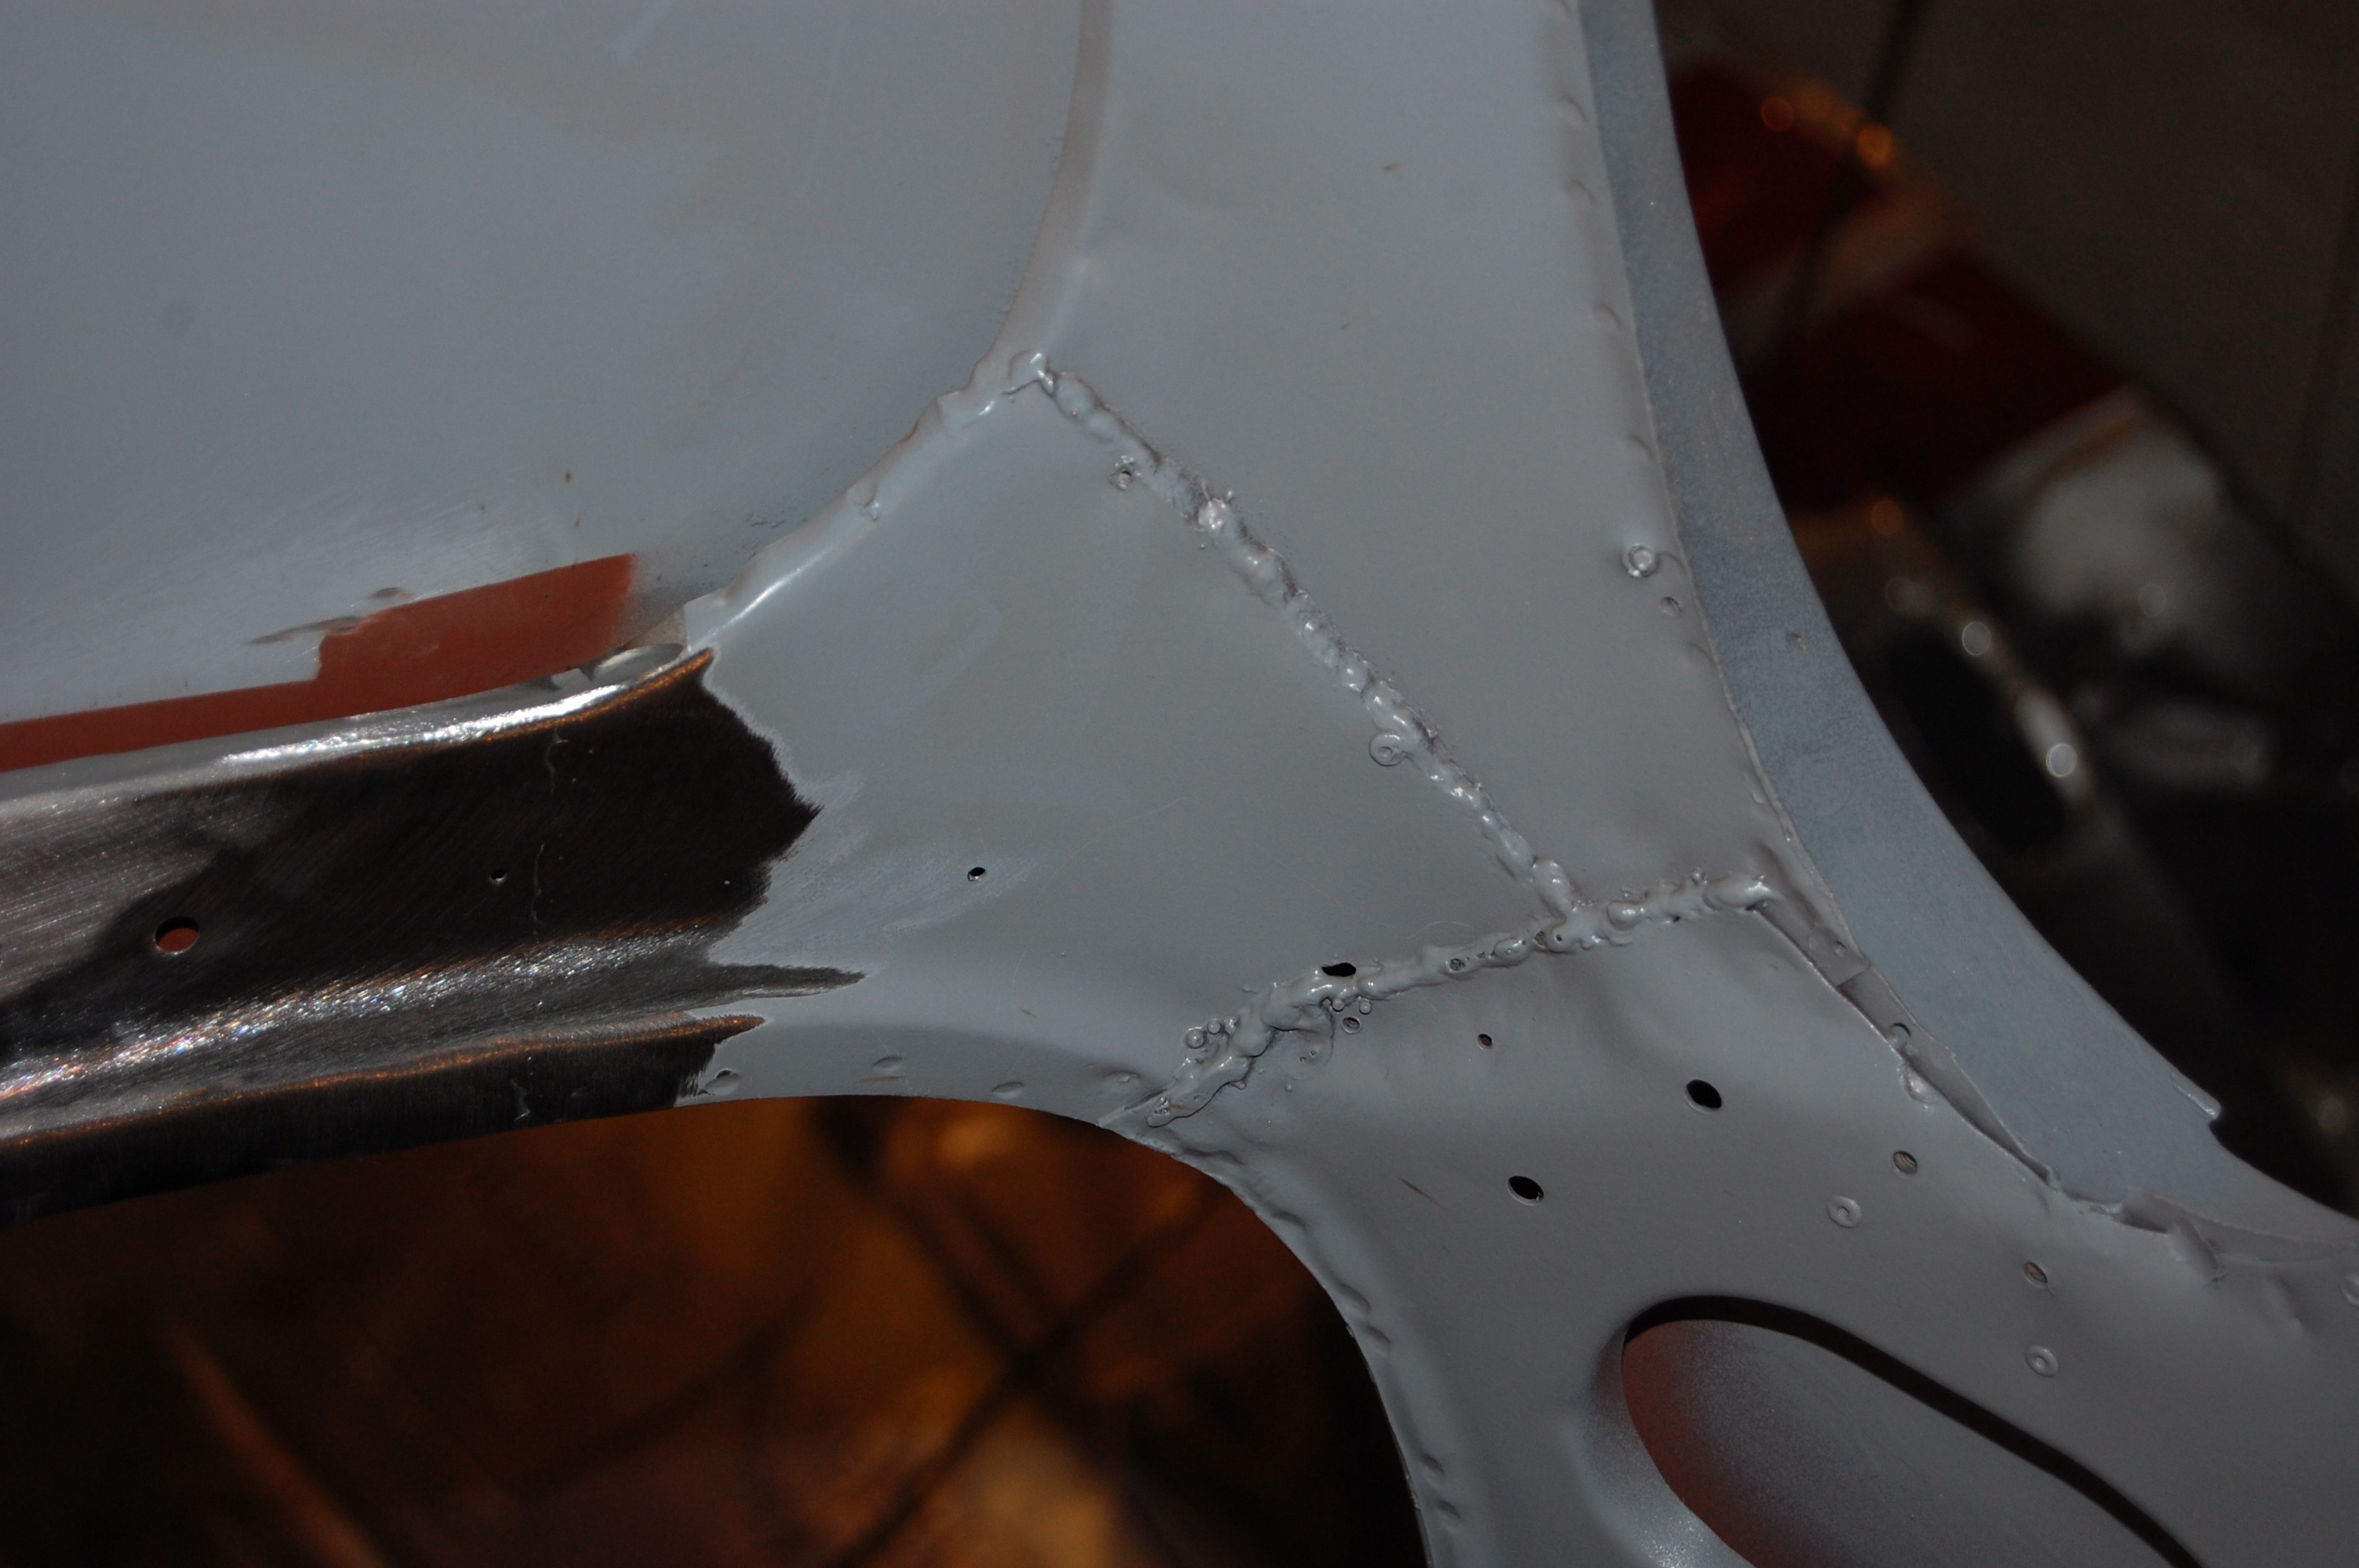
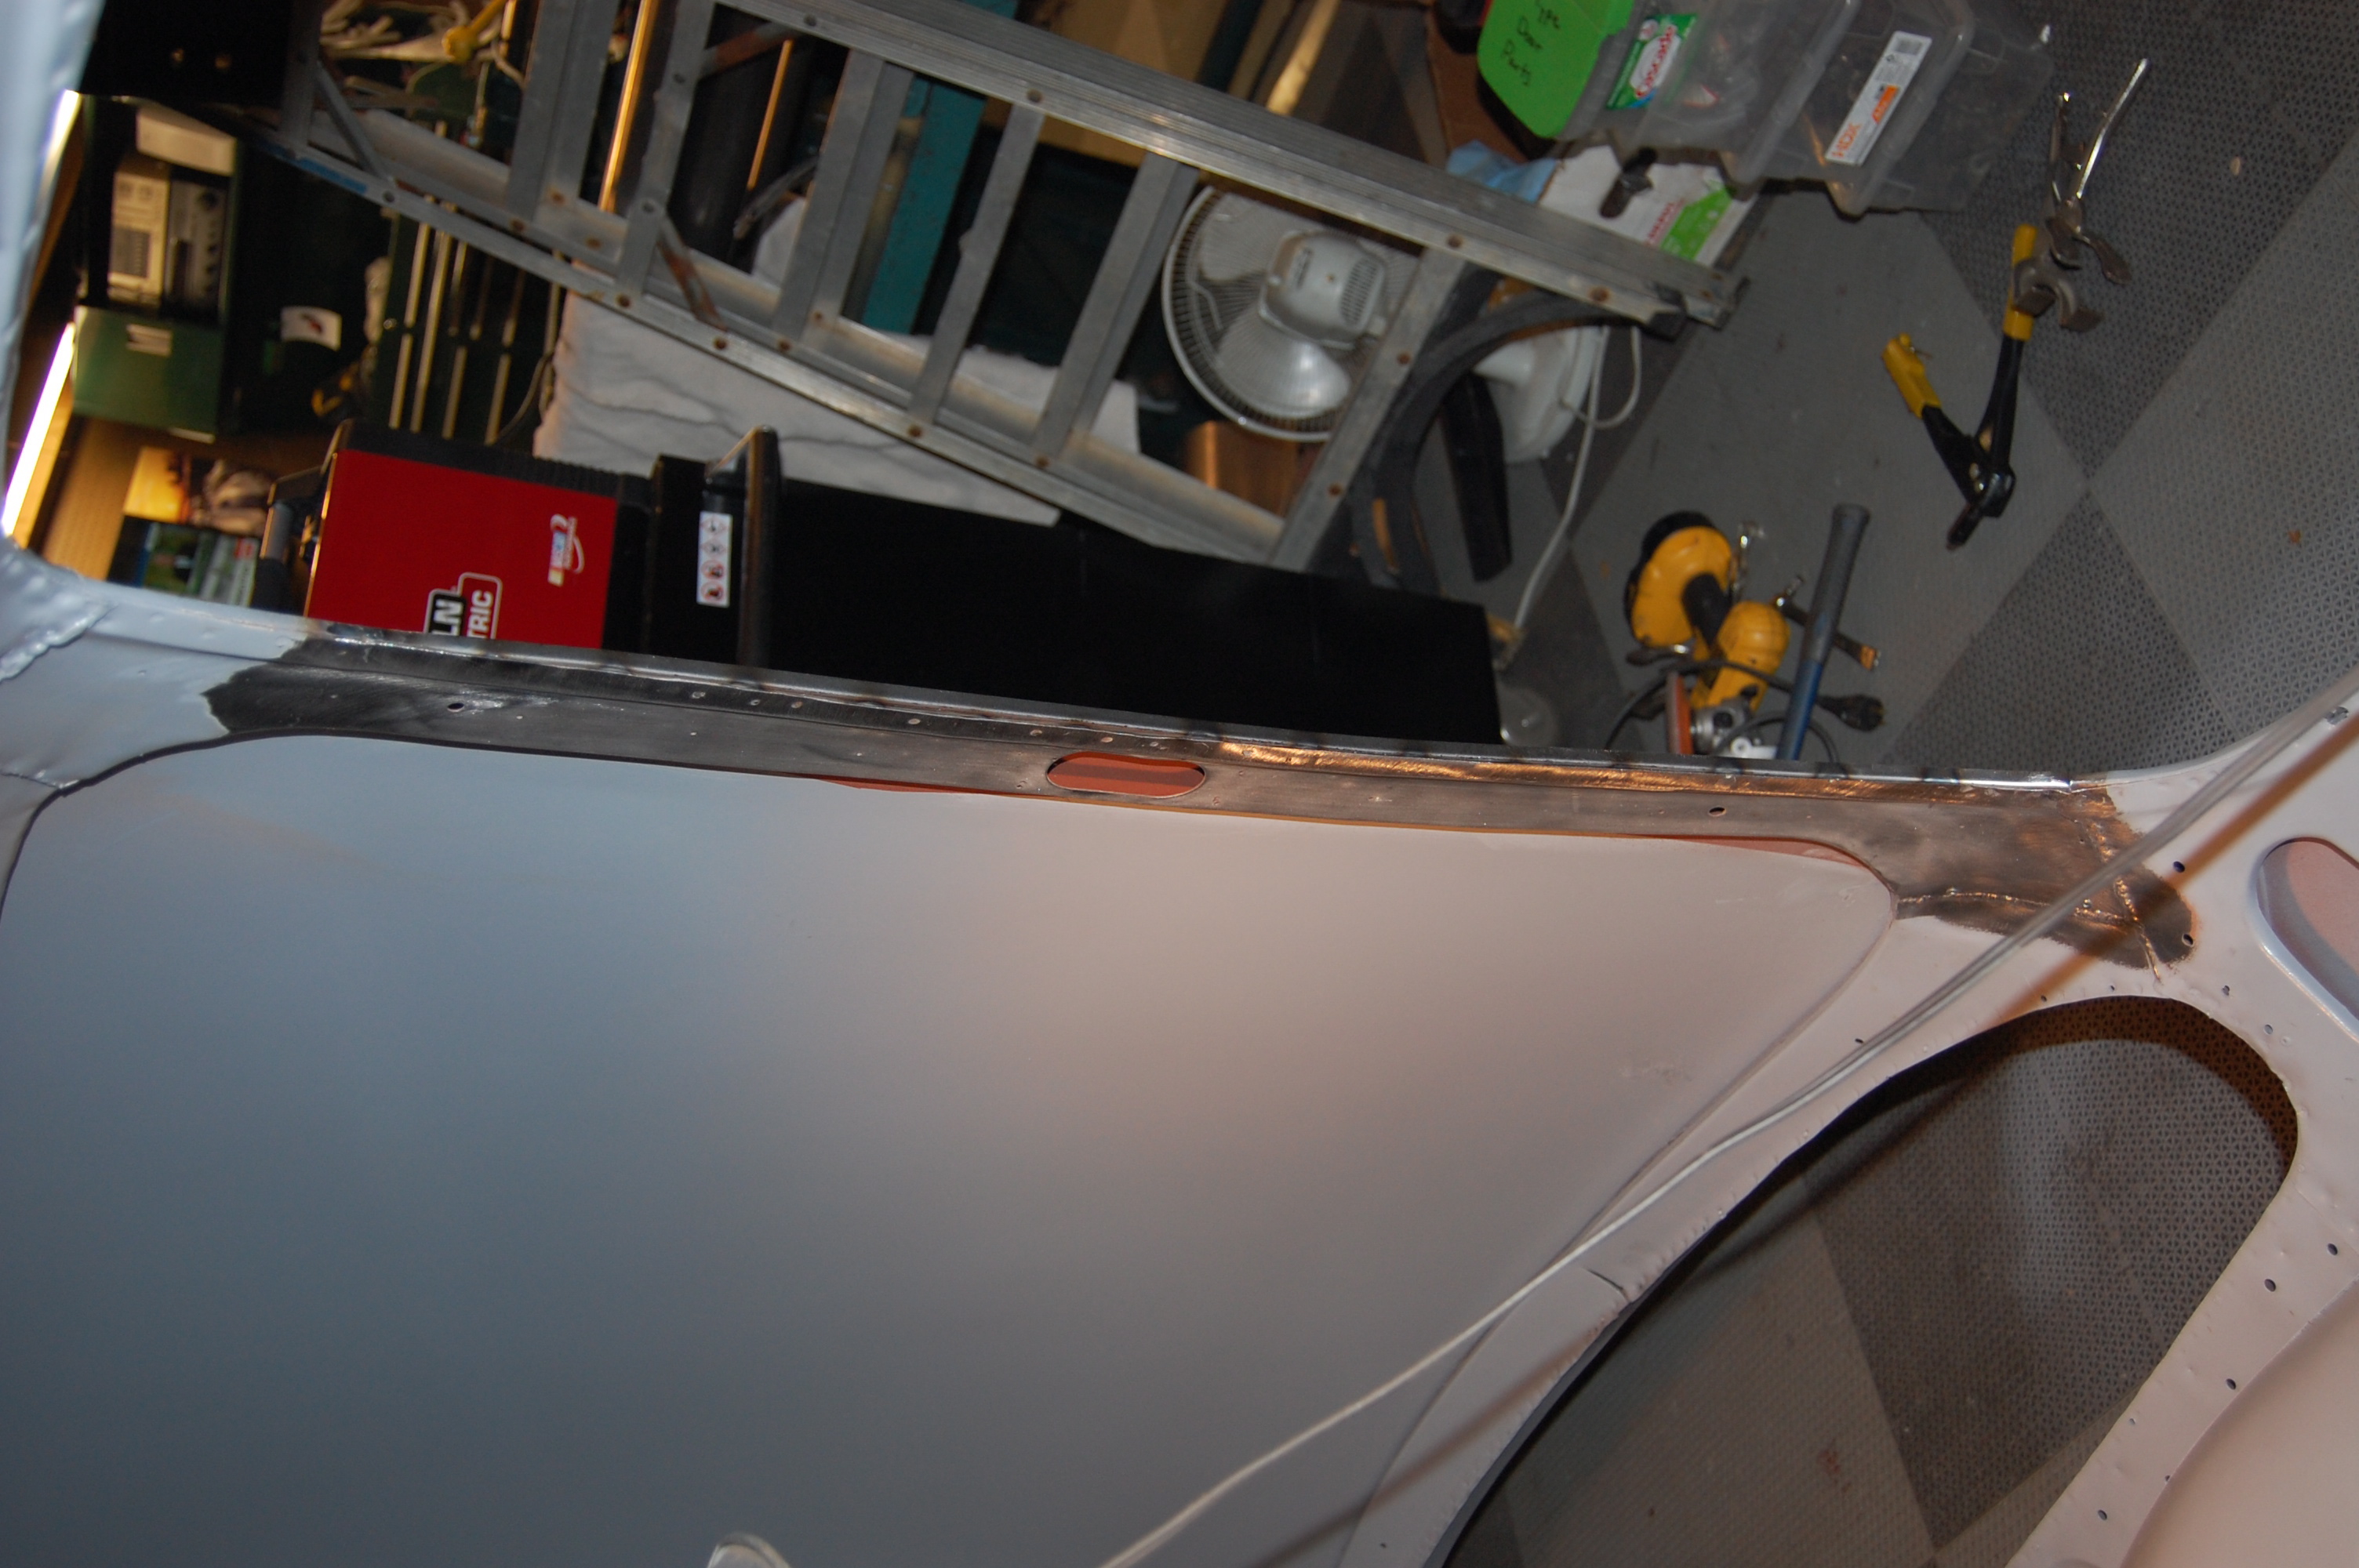
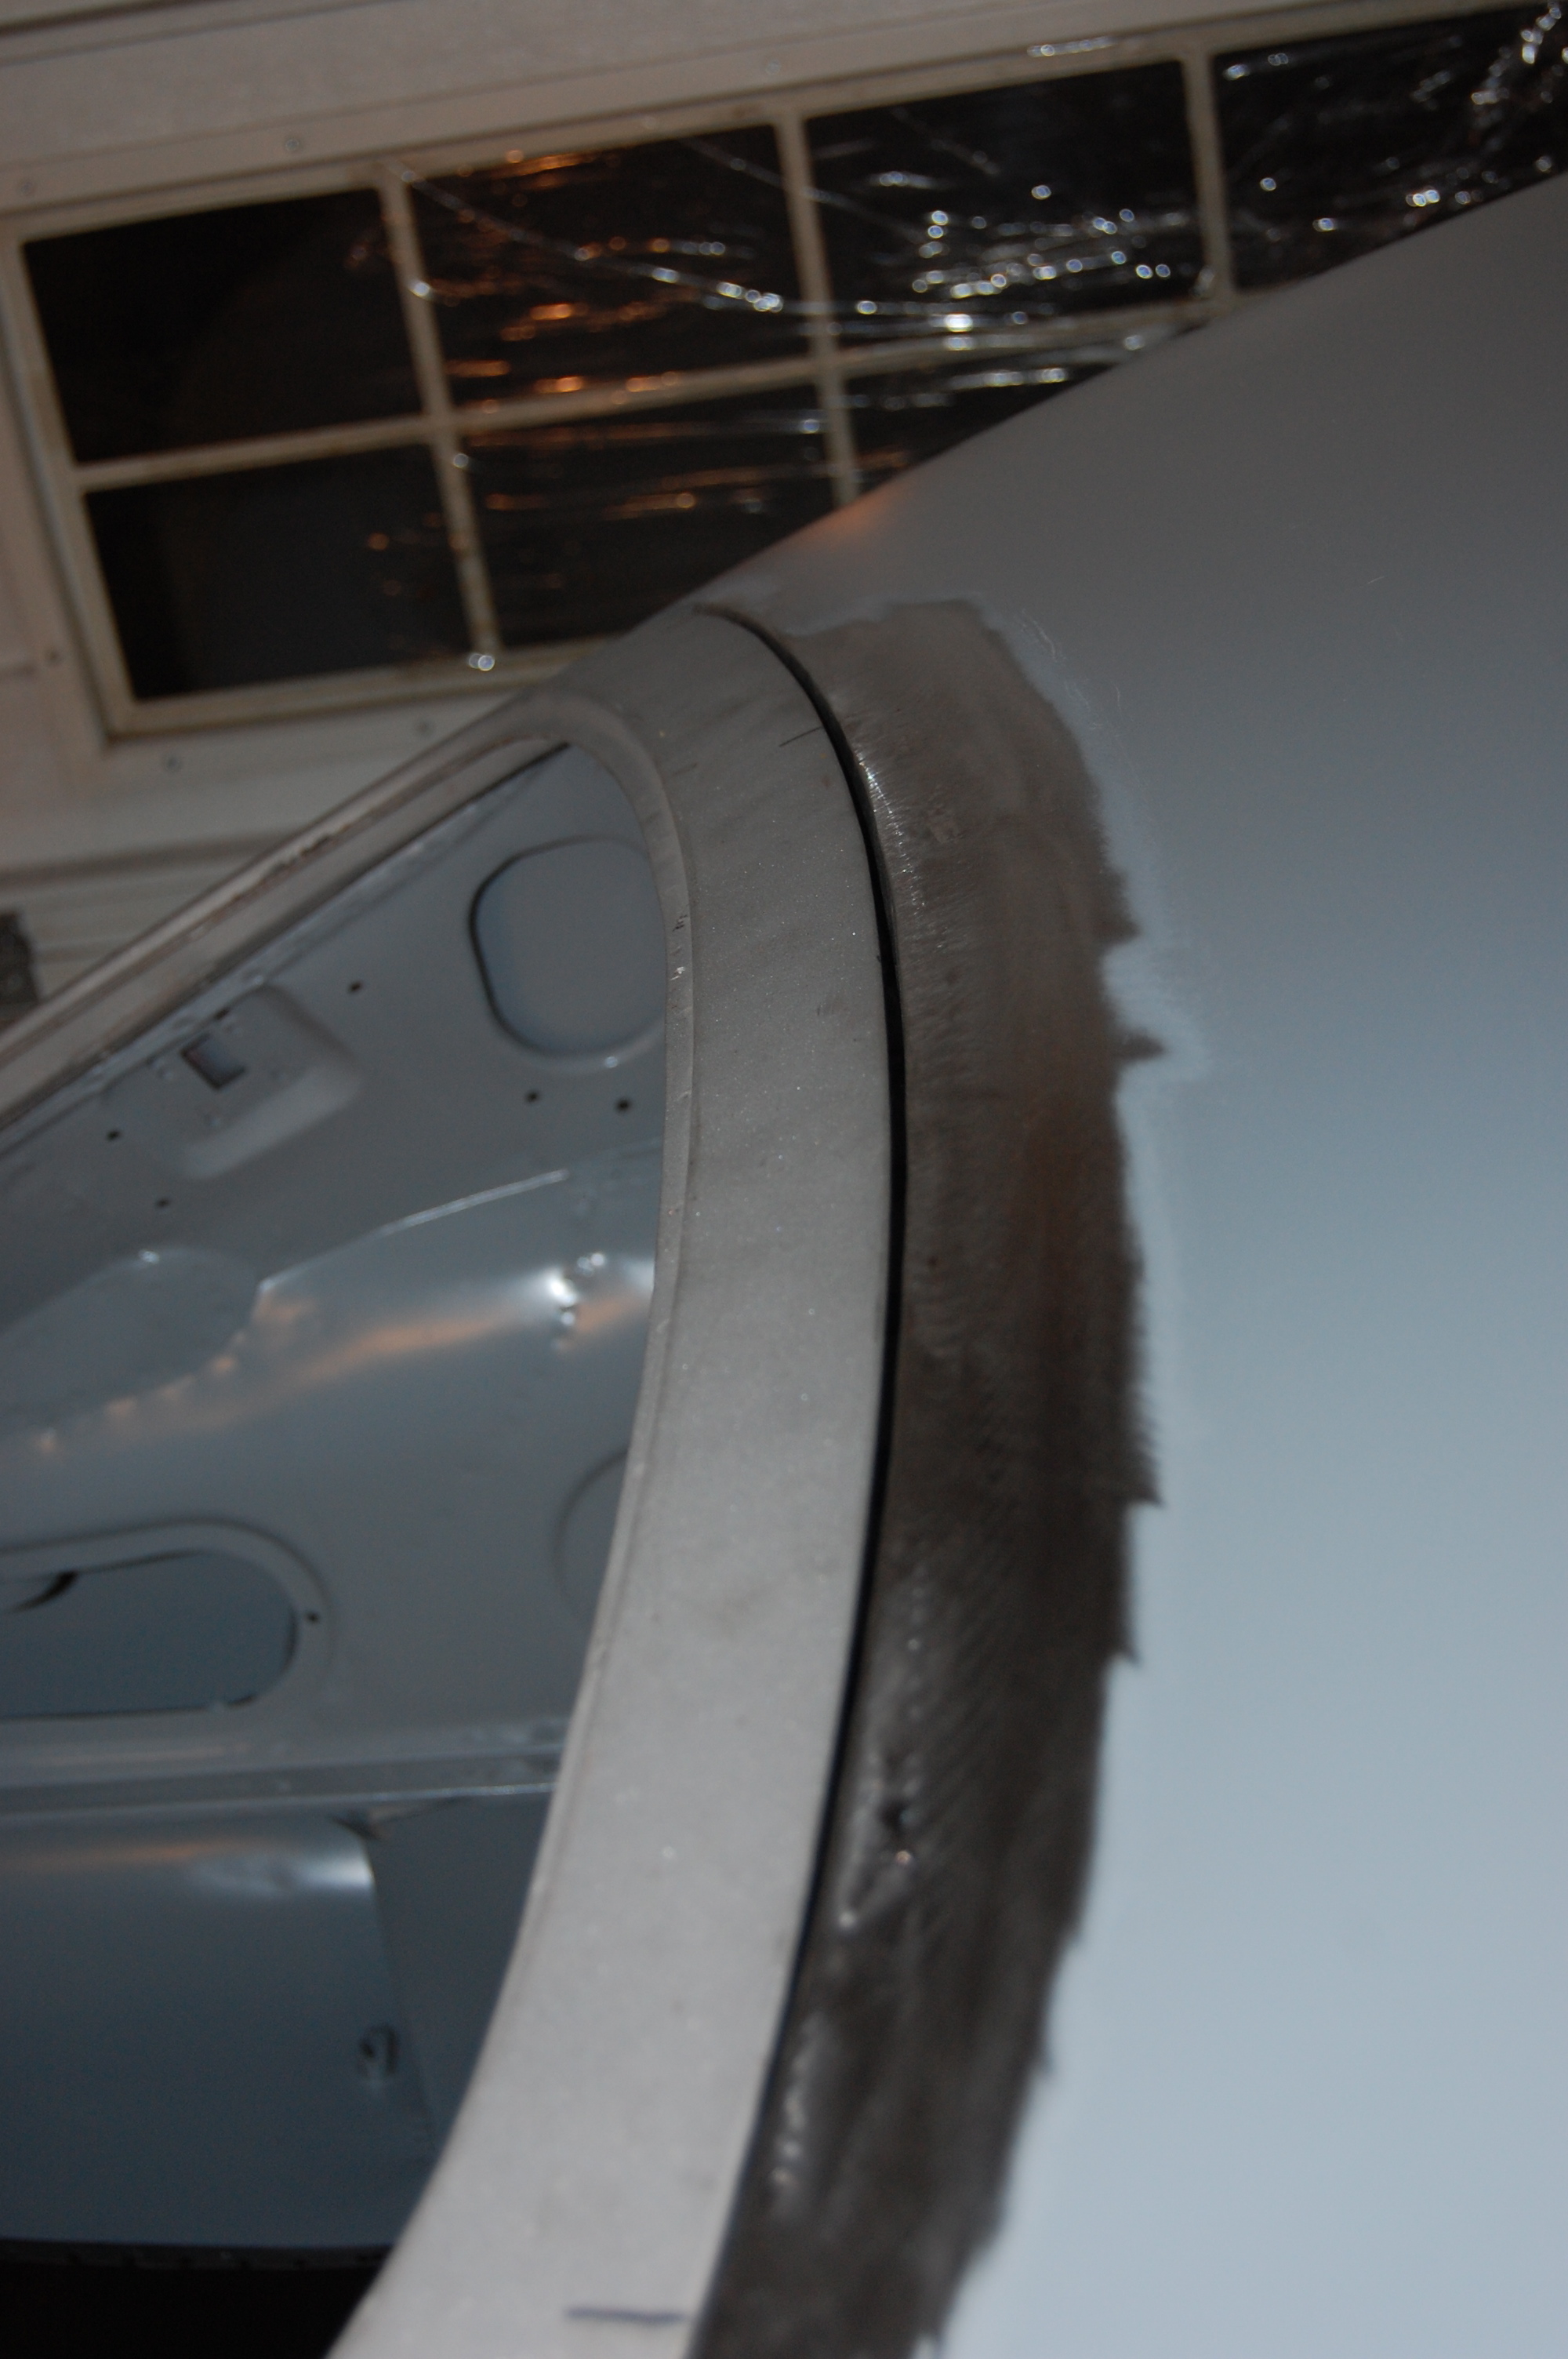
- OH YEAH! Here, the repair is coming together VERY nicely after dressing down the plug welds!

-

- This whole repair will be smoothed with filler and high-build primer, of course, but NOT MUCH!
-

- Next, it’s time to re-install this original roof support rail.
-

- We have used plug-welding again to be sure of a good, tight repair. Note that we have sprayed some rd oxide on both pieces before assembly. The whole shell is going to get another coat of epoxy as well…
-
- This is what I was talking about earlier – the new welded seams are EXACTLY where the old ones were.
-

- On this side, we will dress this down and sculpt it to be invisible.
-

- Thee welds have now been brushed clean, and Yes, “Chuck the E-Type nerd/Psycho” has re-installed pop-rivets where the originals were. You have to smile at this – NEVER HAPPENED!!!
-

- Unless you compare it to the original side – I guess to REALLY mimick the original, I should have been sloppier! Note that we have also dressed down the seam in the left side of this photo.
-

- Ahhhhh!!!! I’m sitting here grinning from ear to ear…
-
- This shot without the flash shows that the inner support opiece has been positioned at just the proper distance from the roof panel all the way across – another important consideration! OK – I’ll admit that wasn’t a big deal – I welded it in and it was a bit too far away from the skin, and I was able to push it up into place by hand with very little effort…
-

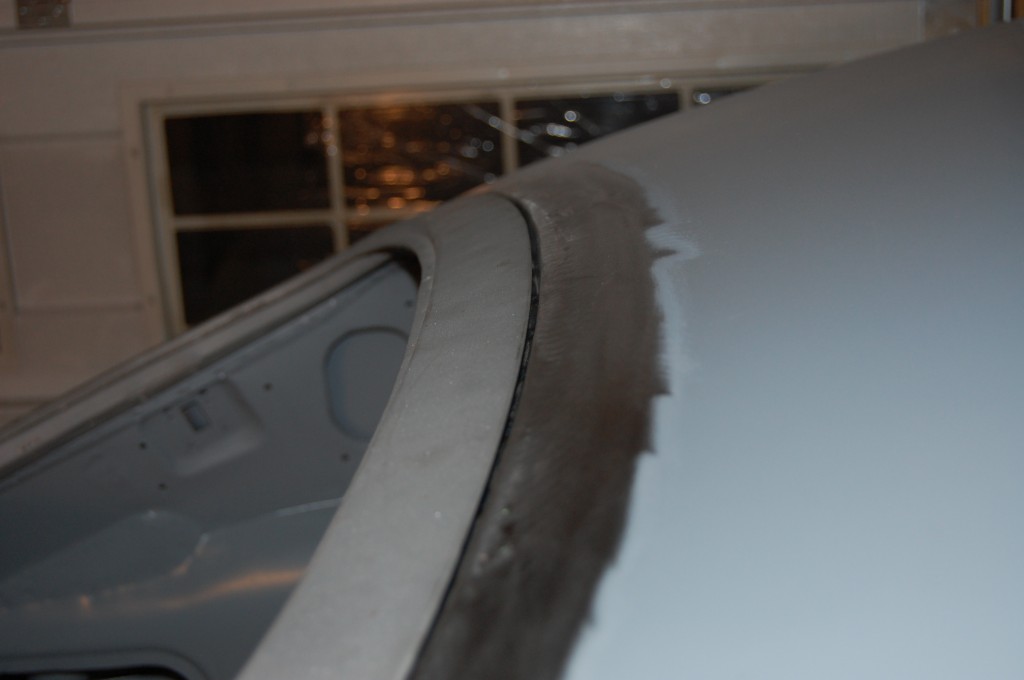
- Here is the repair from another angle…
-
- Every curve and angle has to be JUST right – and it is!
-
- A time-consuming repair, but well worth it, and honestly, nothing’s too good for this shell – I LOVE these early E-Types and it is an honor and a pleasure to bring this one back to life!

-
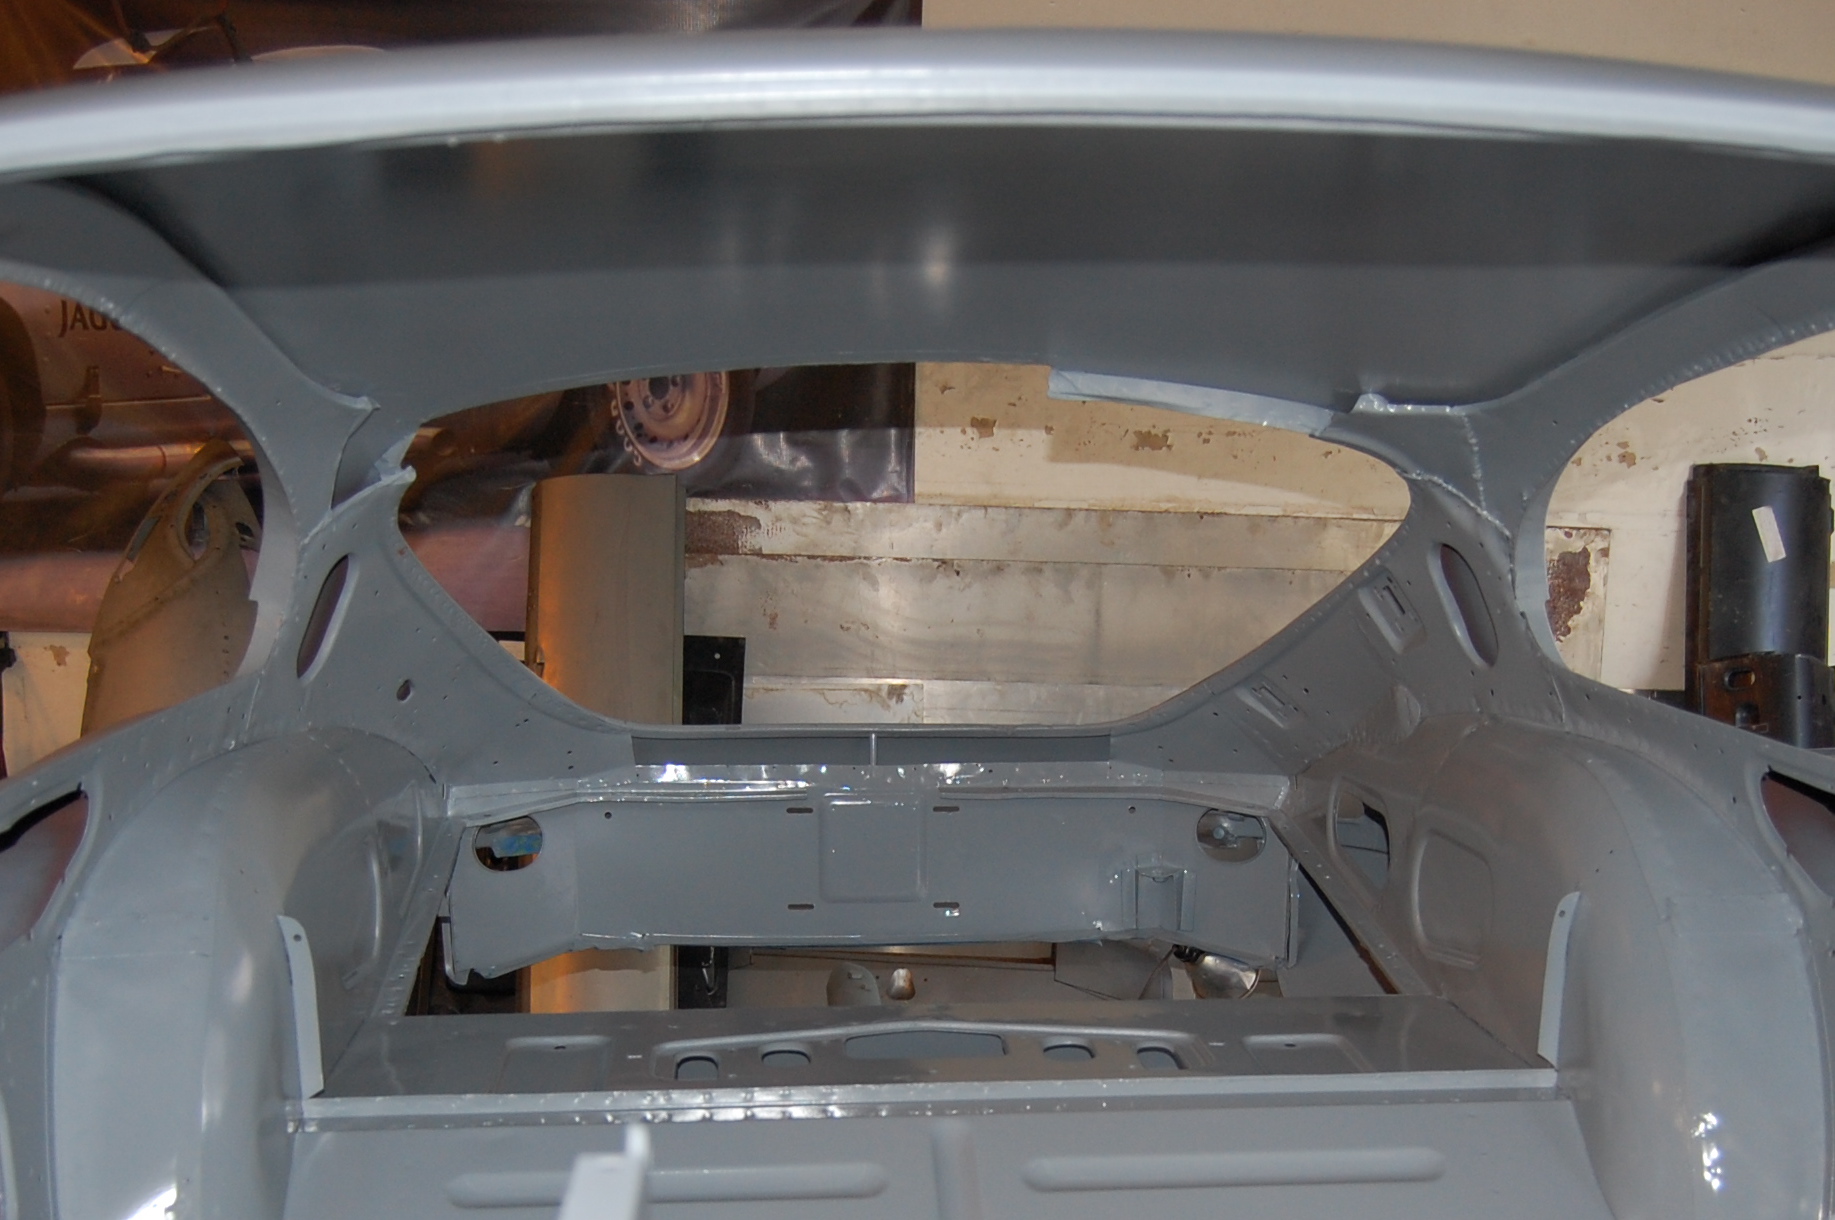
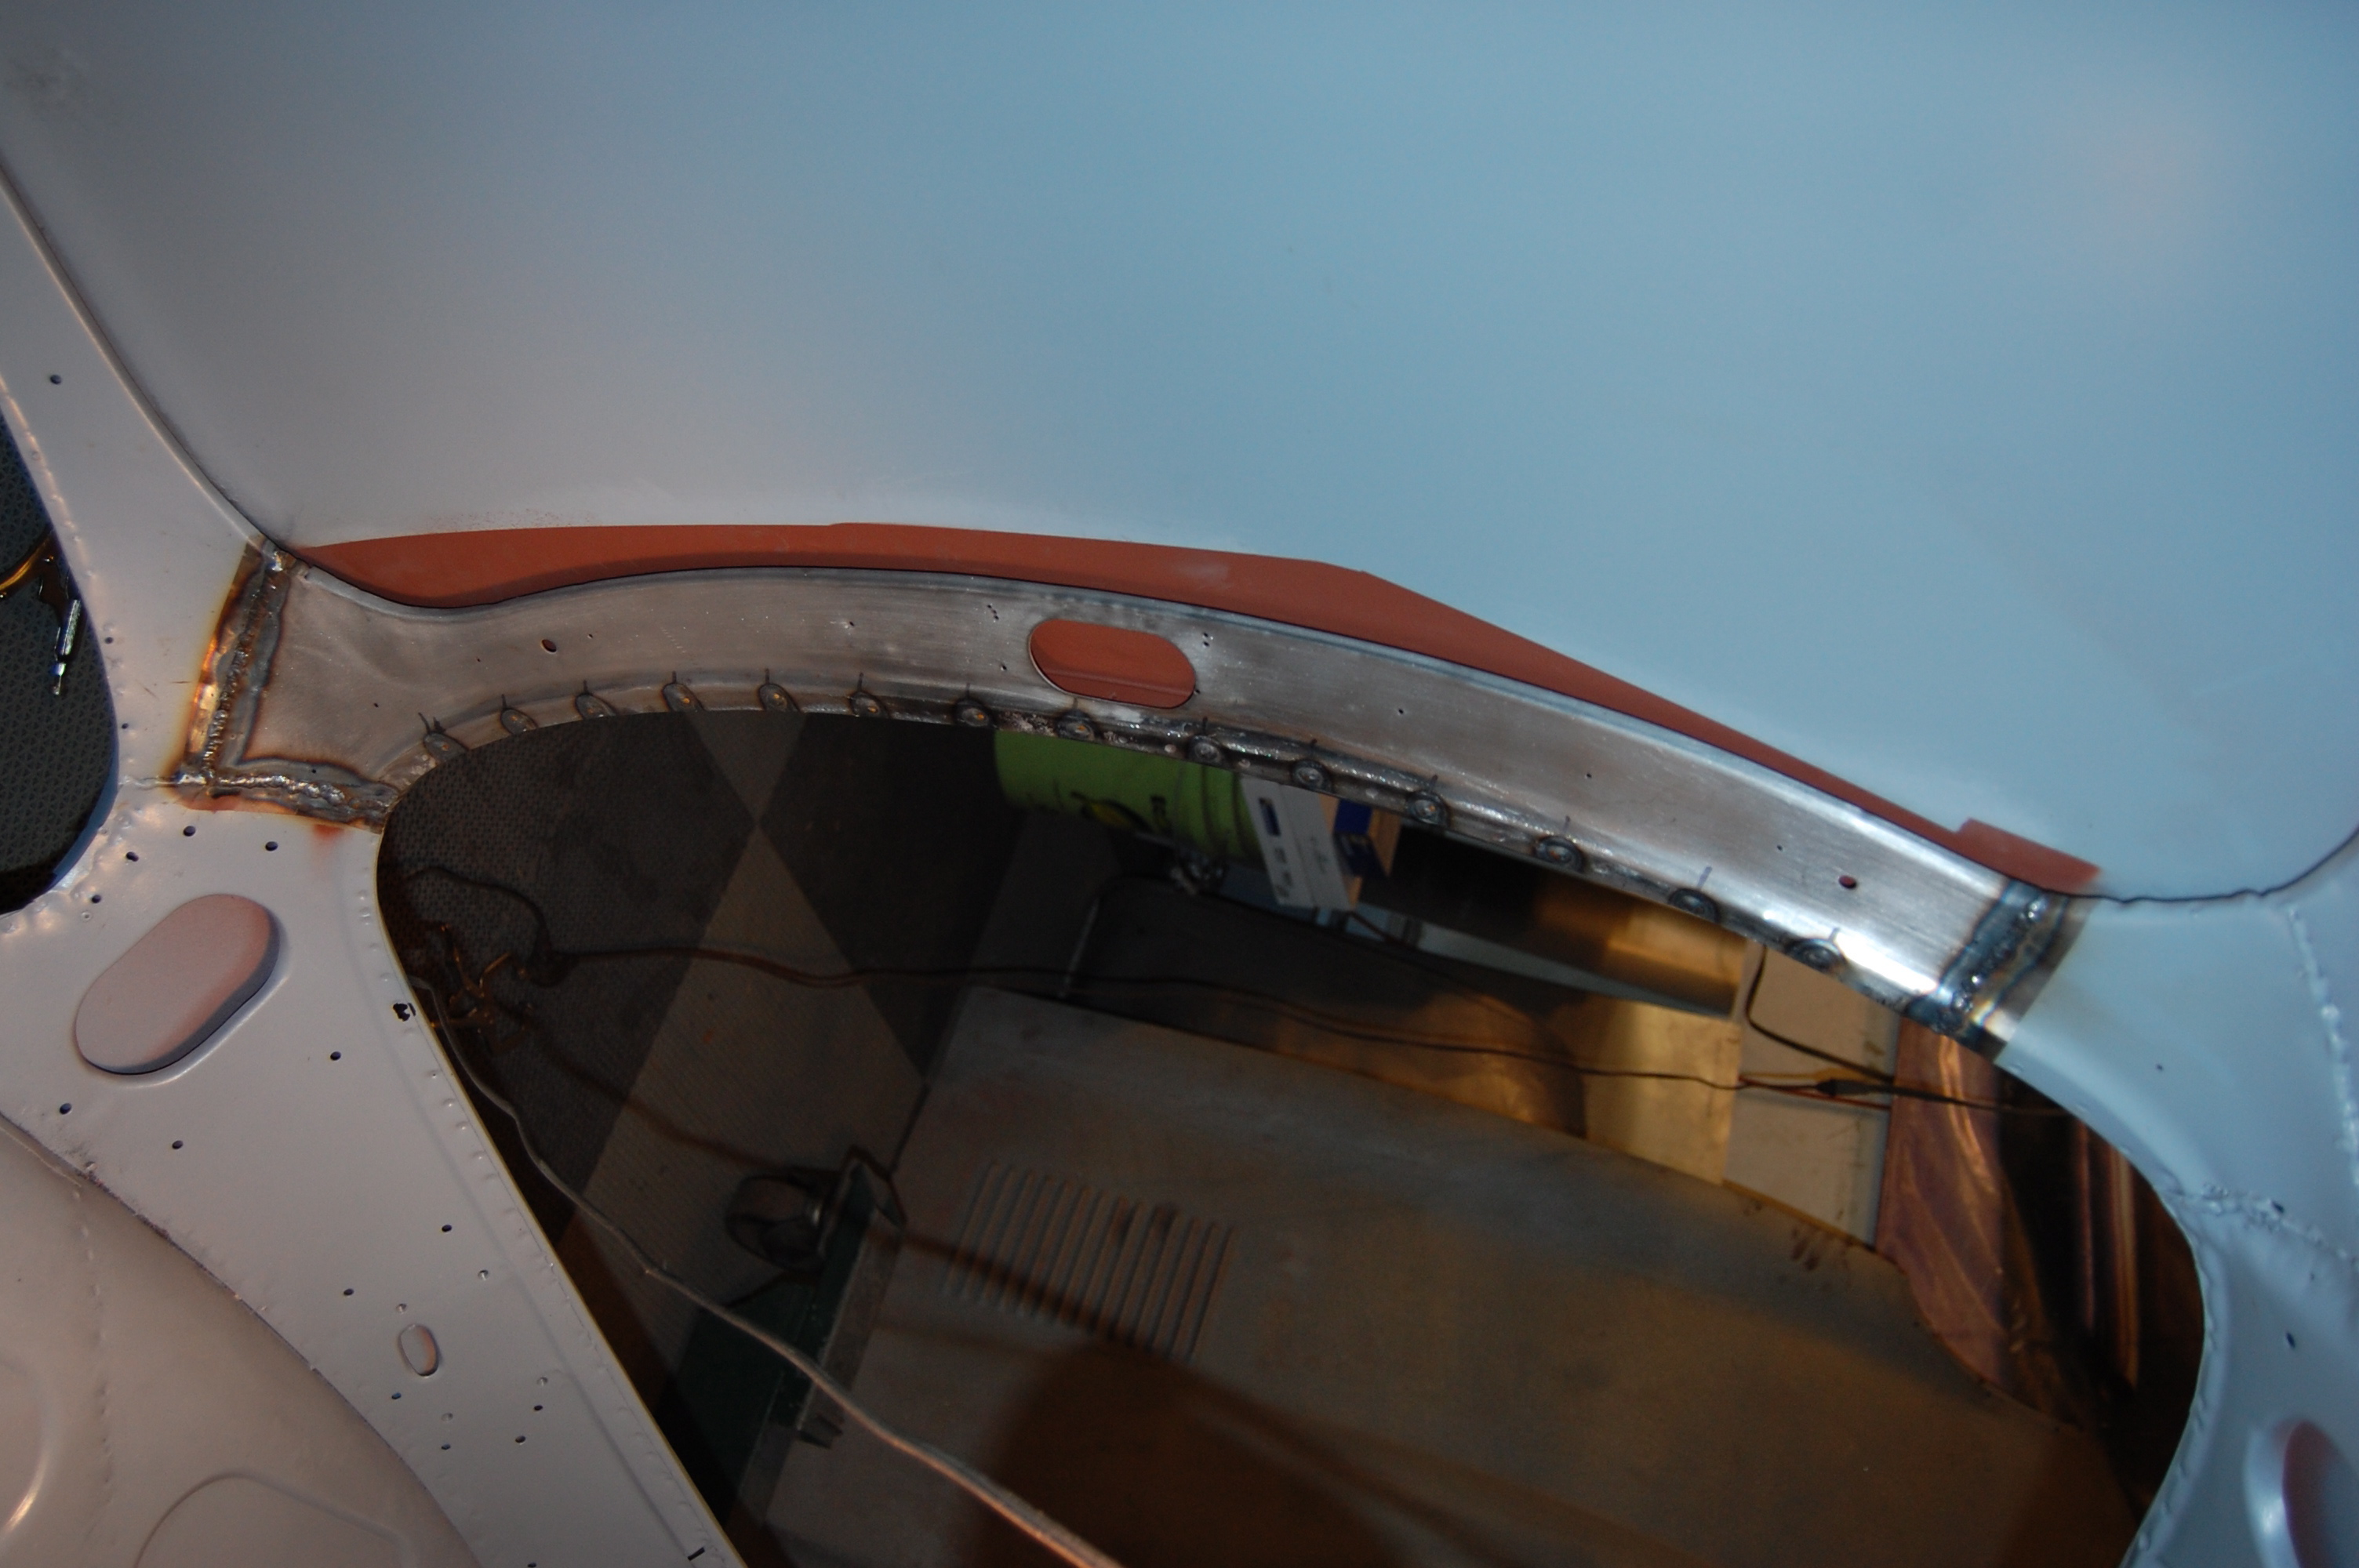
- Here is another shot of the repair, with the original hatch set into place.

-

- Eveything needs to be JUST right… I’m sure that the hatch gaps will be fine-tuned at the body shop, but we are just as close here as it was originally. Actually, the hatch did not fit that well to begin with!
-
- Believe me, the extra time and care taken in the metalwork on this repair is going to pay off TEN-FOLD at the body shop!