Well, I finally got a chance to try out a set of skins made here on a set of doors. We picked up the new roller on Black Friday last Fall, and it worked out very well on the prototype skins. At that time, we made three prototypes while fine-tuning the machines, the patterns, and the process. I ended up selling the best two of the three prototypes to a local restorer working on a 3.8-lier coupe, and he confirmed that the fit was good, so the pattern is at least in the ballpark.
So I went ahead and formed up two more skins and fitted them to this 1968 Series 1.5 roadster. I did end up doing alot of fine-tuning of the edges, but it really wasn’t much more than with the other aftermarket skins available out there that we used to use. I was hoping that doing these doors would tell me where the pattern needs to be fine-tuned, but in the end, each door needed different work for a perfect fit, and so I don’t know any more than I did before. It might be as close as you’re going to get now – it came from an absolutely virgin door from a Series 2 roadster.
Based on what I have seen over the years on these shells, the factory just slapped the door on, got it into a good place for the fit overall, and then made up everything with the gaps with lead. On some cars, there is no lead at all inside of the rubber channels, and on others, they are FULL of it! What we’re trying to do now is actually match a door skin to a door opening that has already been leaded to fit some other door…
You might think that the doors are all the same, but they’re not. They’re CLOSE – but due to the way they are formed around the inner shell on the edges, you gain or lose width and height here and there – not much – like maybe 1/32″ or 1/16″, but when you are trying to create a perfect 1/8″ gap 18 inches long, little variances like that REALLY show up!
The answer is to grind away the edges, or build them up with weld and then sculpt them back with grinding and sanding. Even where you grind down the edge to take away metal, you still have to weld it back up and re-grind because it splits the seam… I have to say, I did a PHENOMENAL job with that work on these doors, and then I didn’t take any photos of the edges and now they’re gone! AAAAGGGHHHH!!!!!
BUT – now I have a new idea… It seems the shells are more “out of whack” than the doors in most cases – hence all the lead around the edges… SO – if I can find the time to build up two “master” doors with our skins, I can fit them to the shell and see where you would add or take away metal. THEN – since we make our own skins, I can add or remove metal after I trace the pattern to the steel sheet, and I should be able to form up a door skin that fits each shell perfectly with now adjustments needed (or damn few!)
Sadly – this is the kind of stuff I lay in bed and think about at night – because I am an “E-Type fabrication nerd” I guess… Here are the shots I did get of the doors on this car:
-

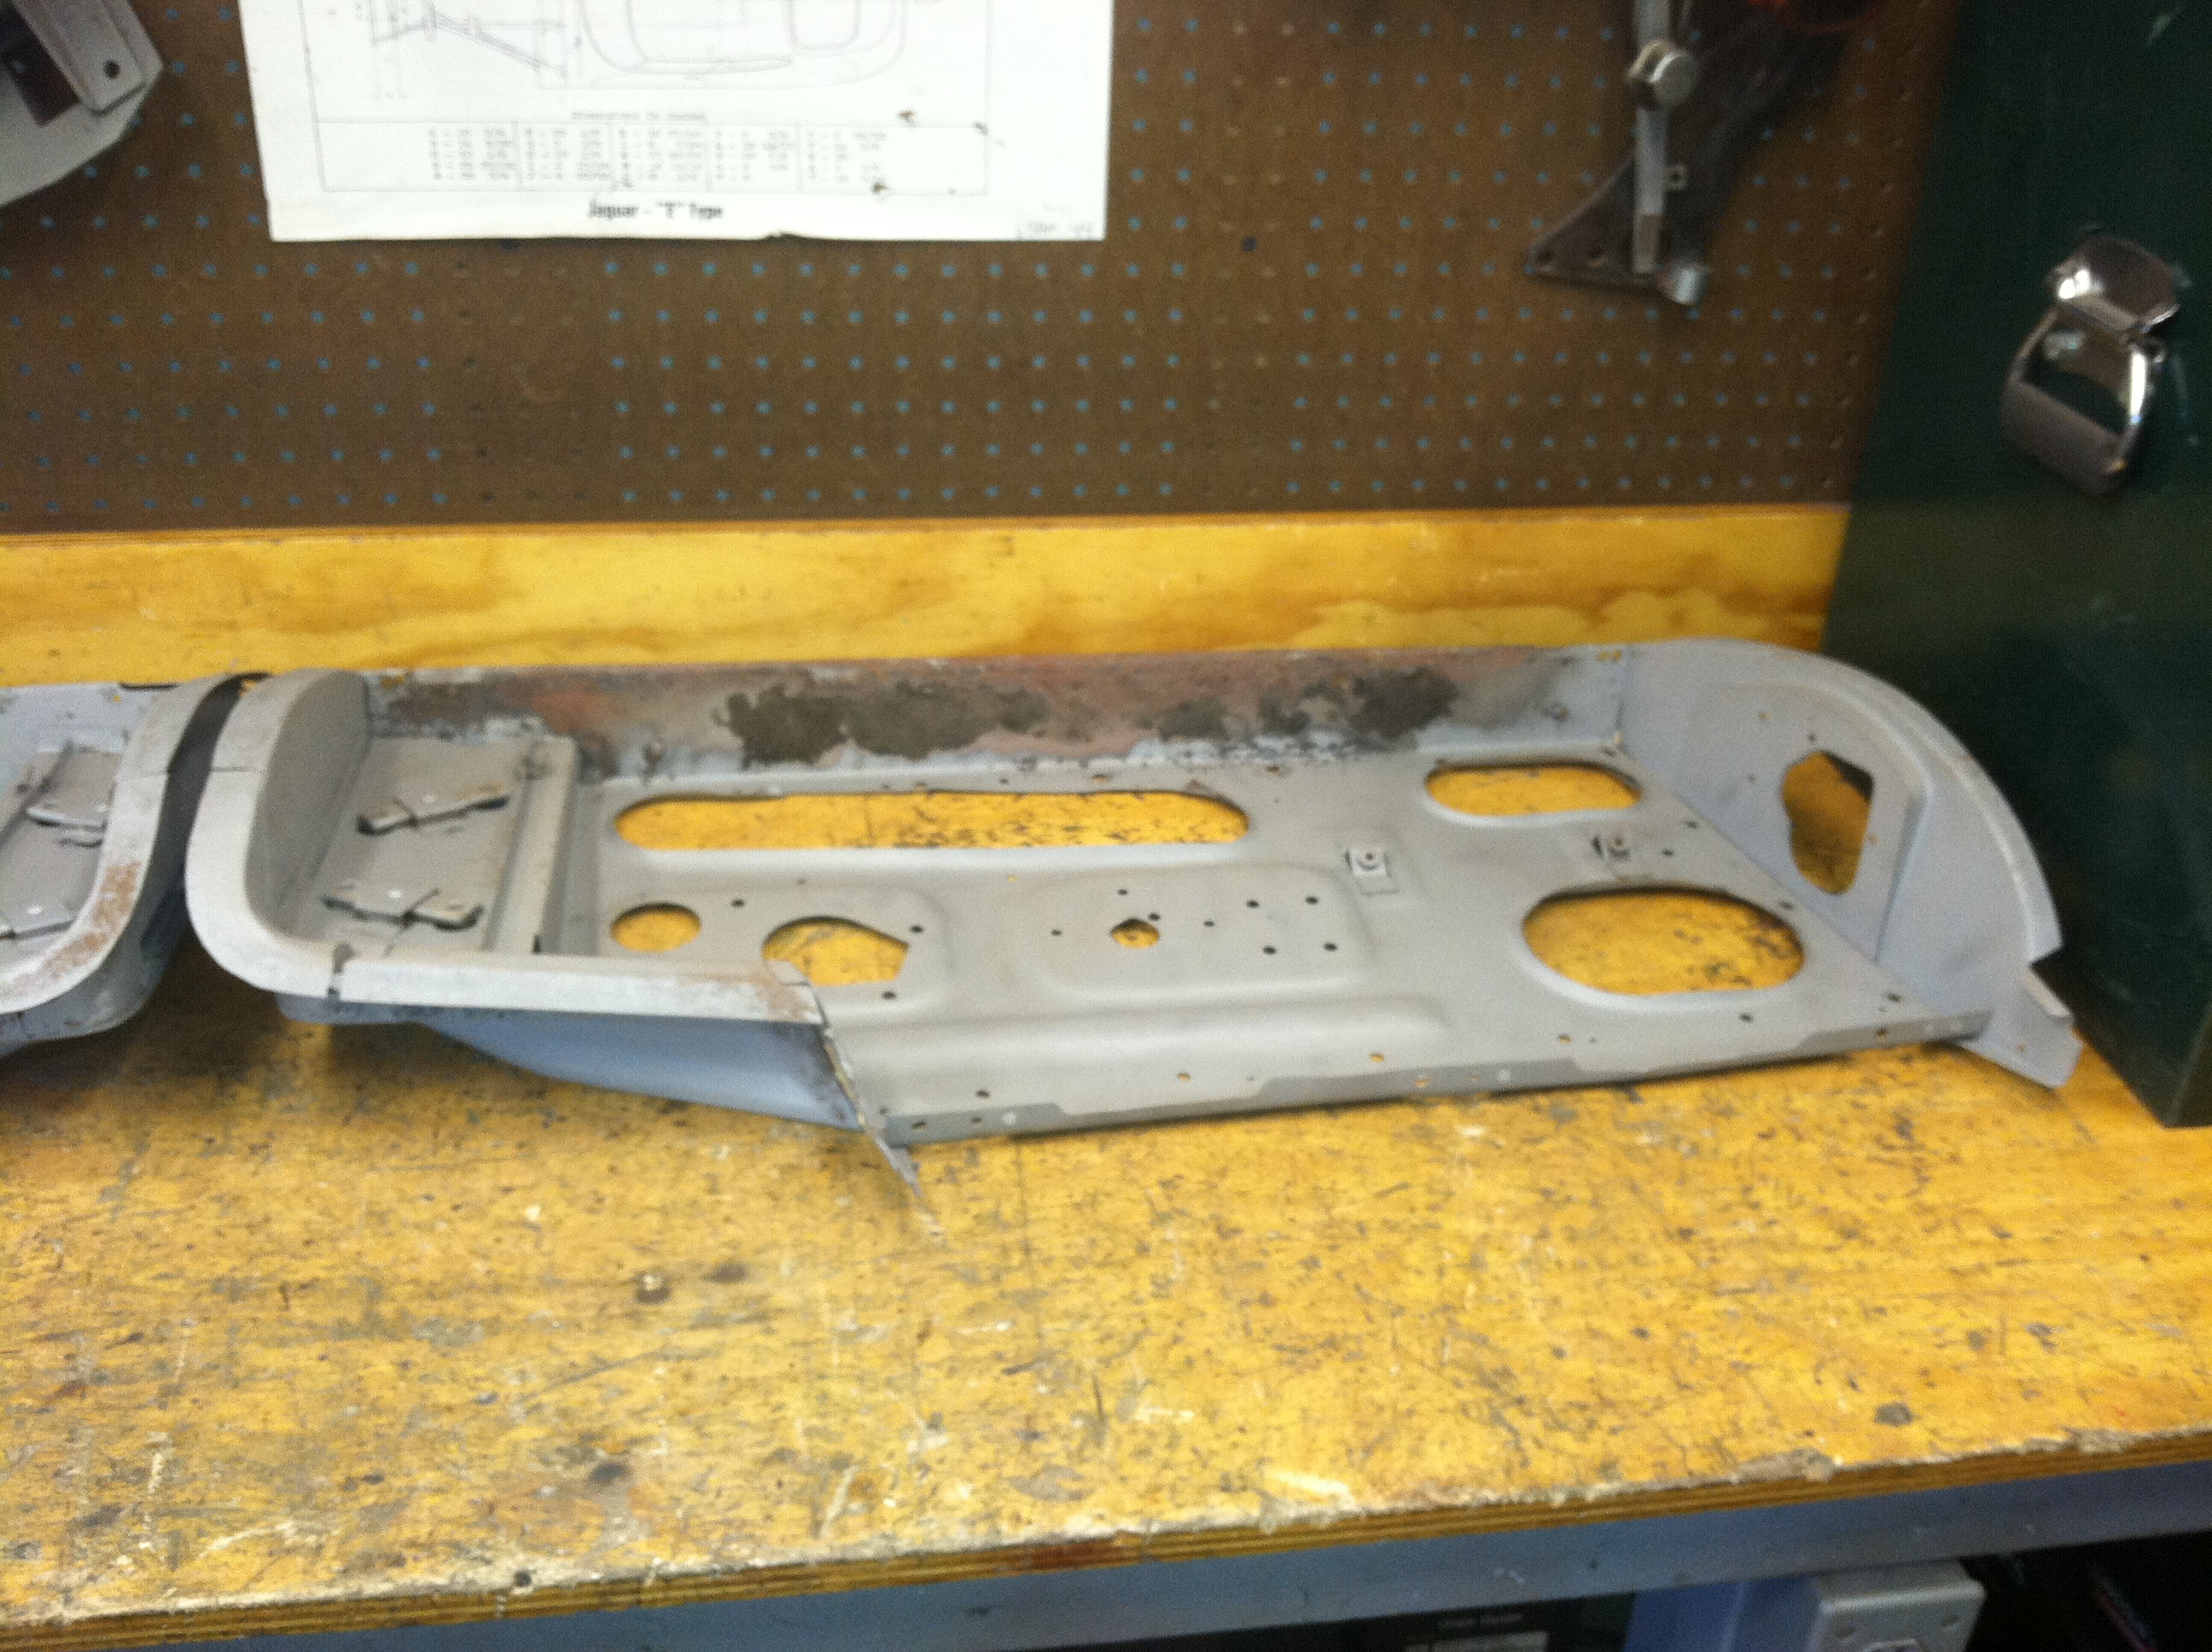
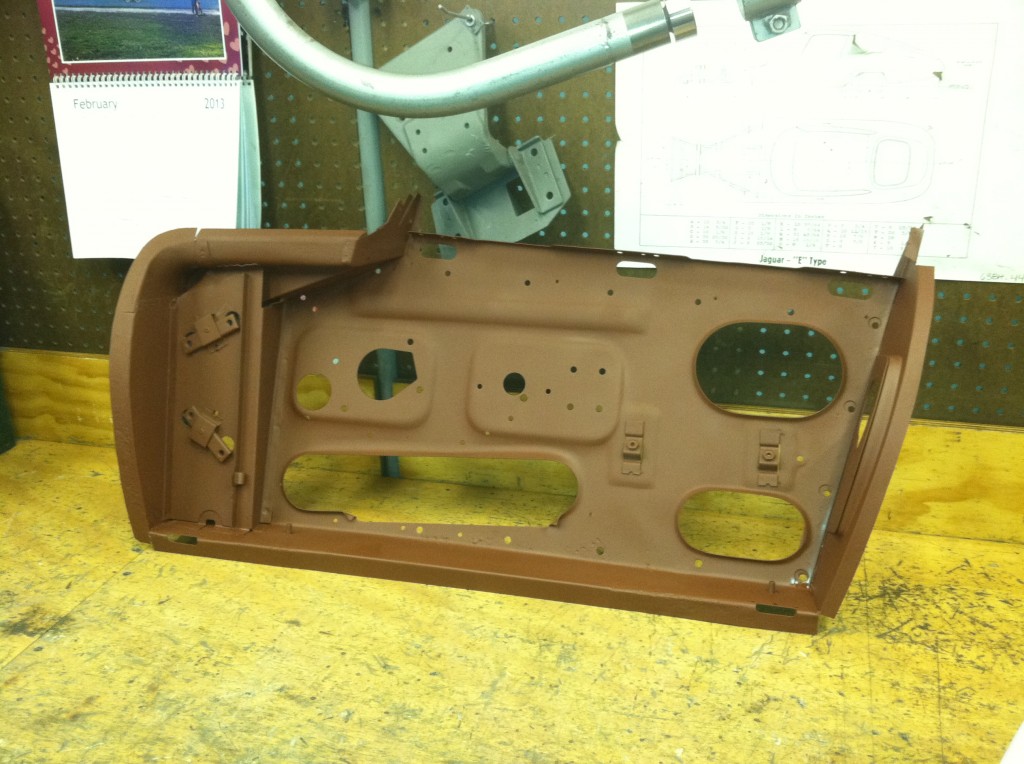
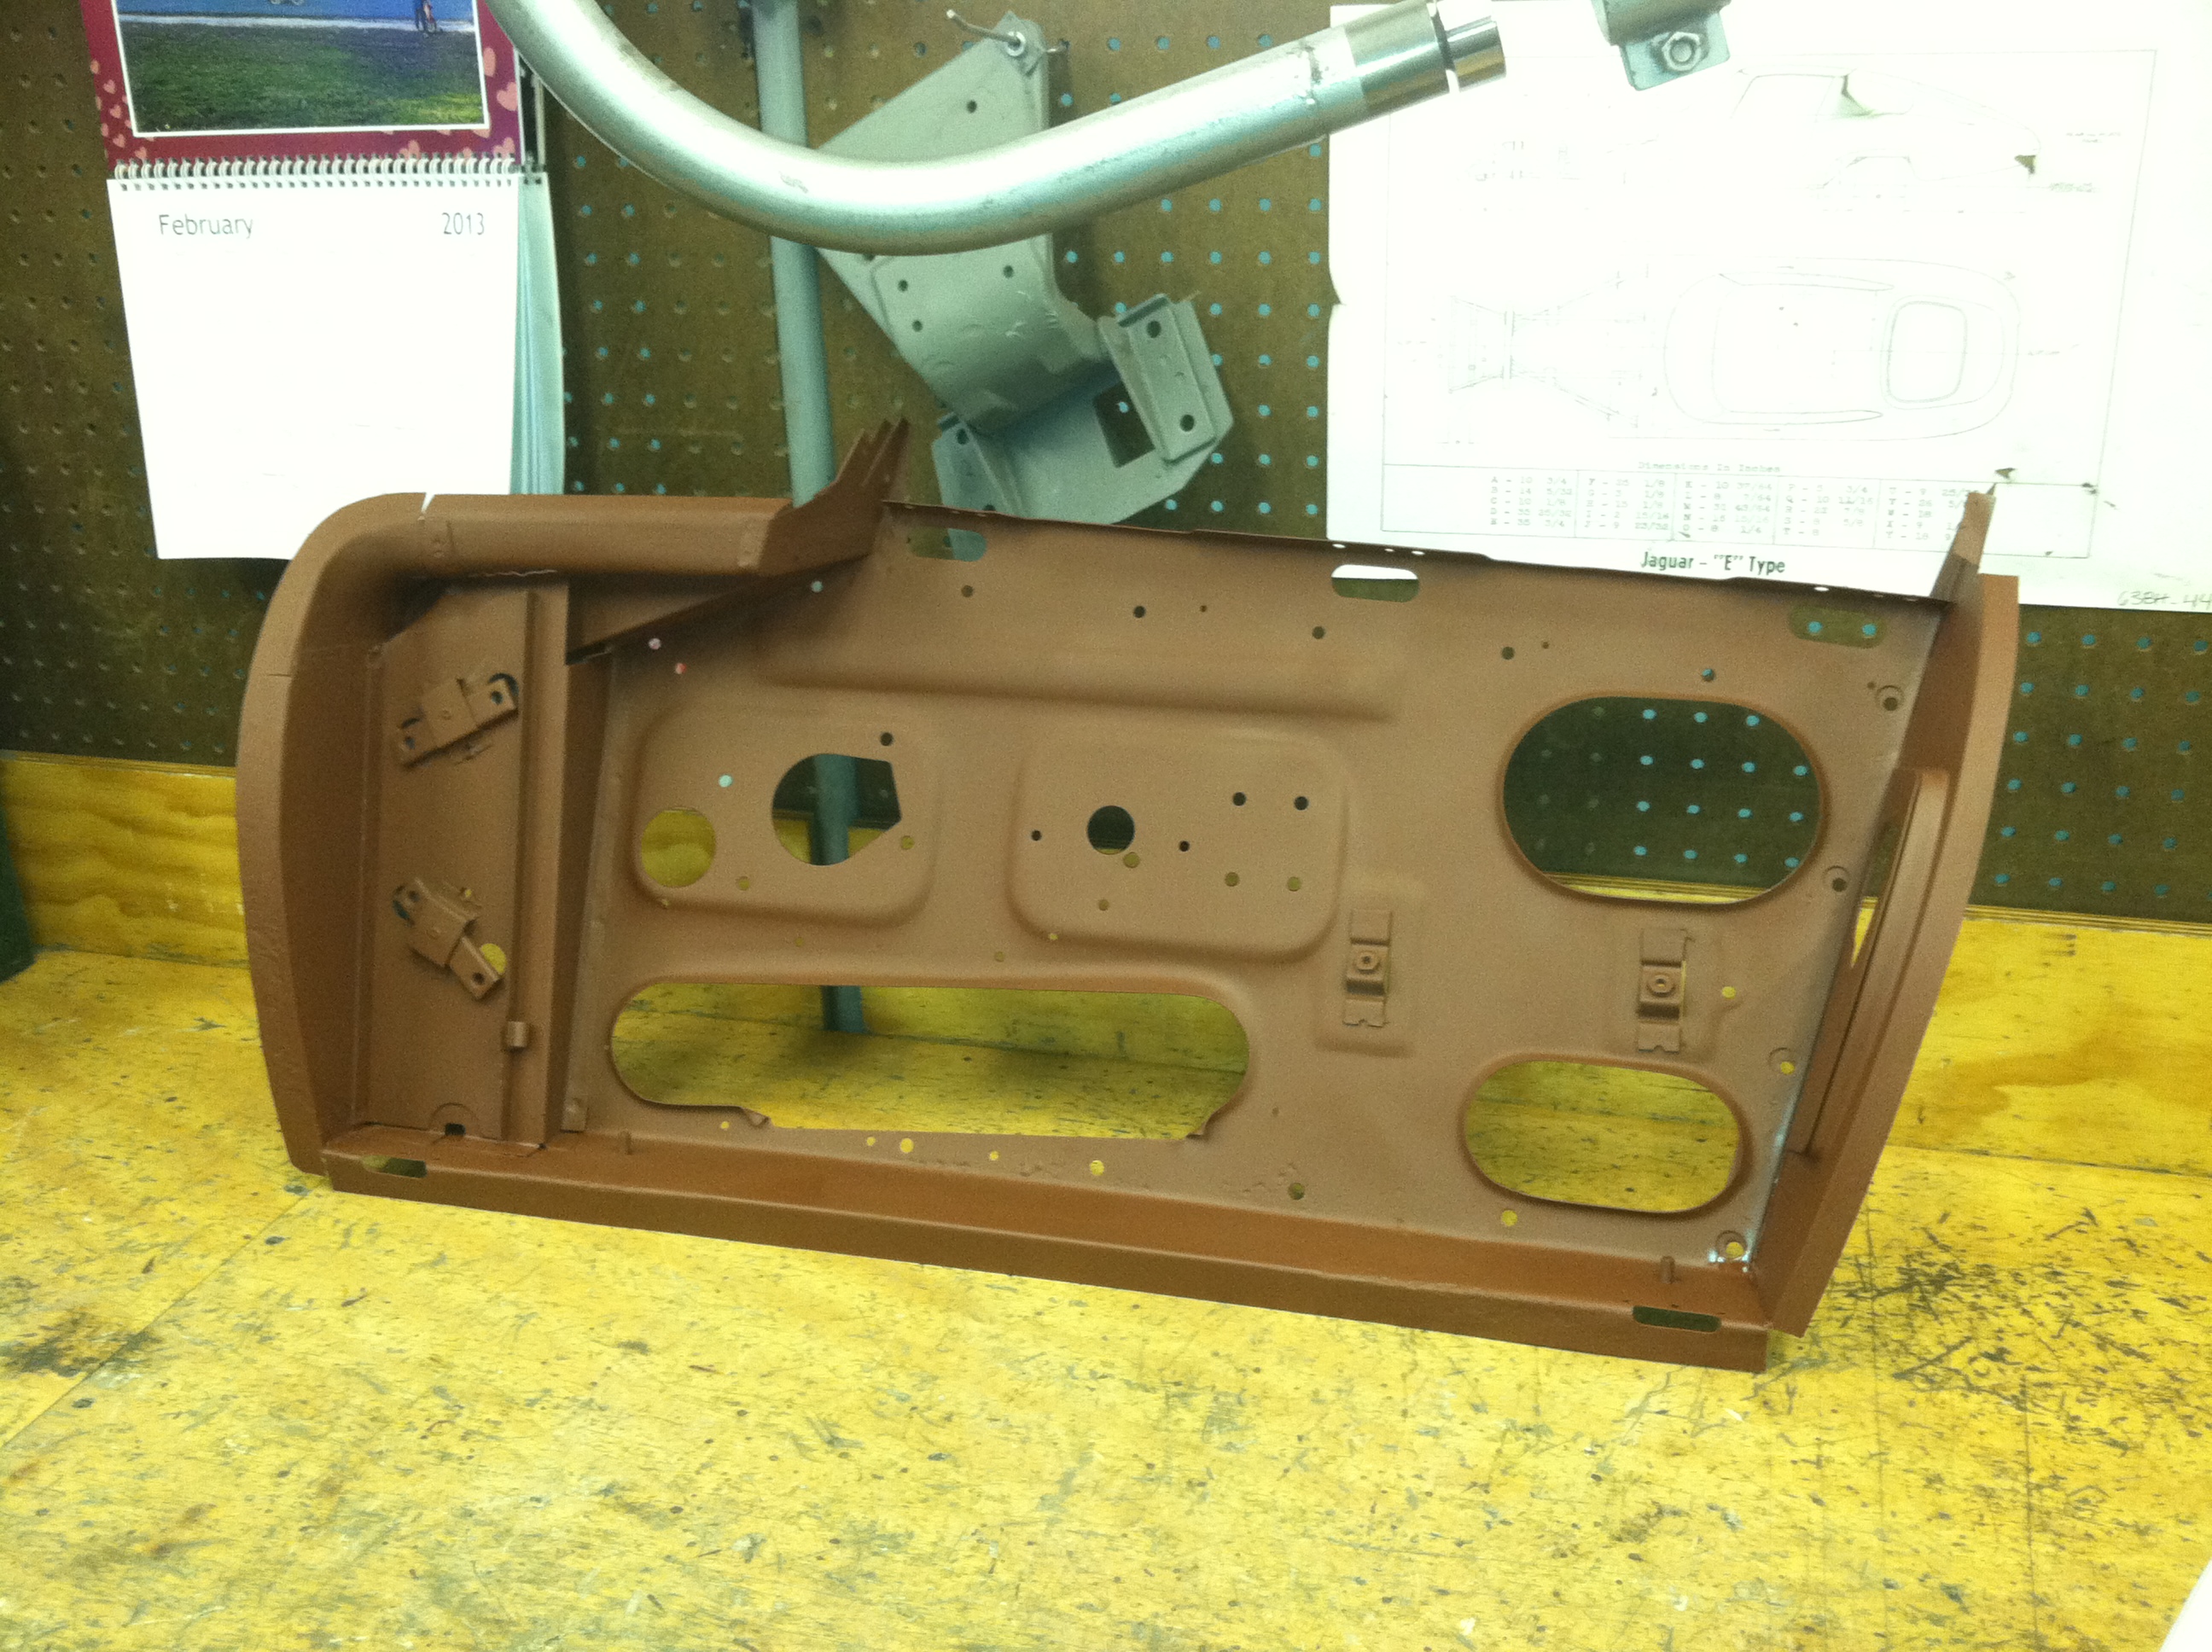
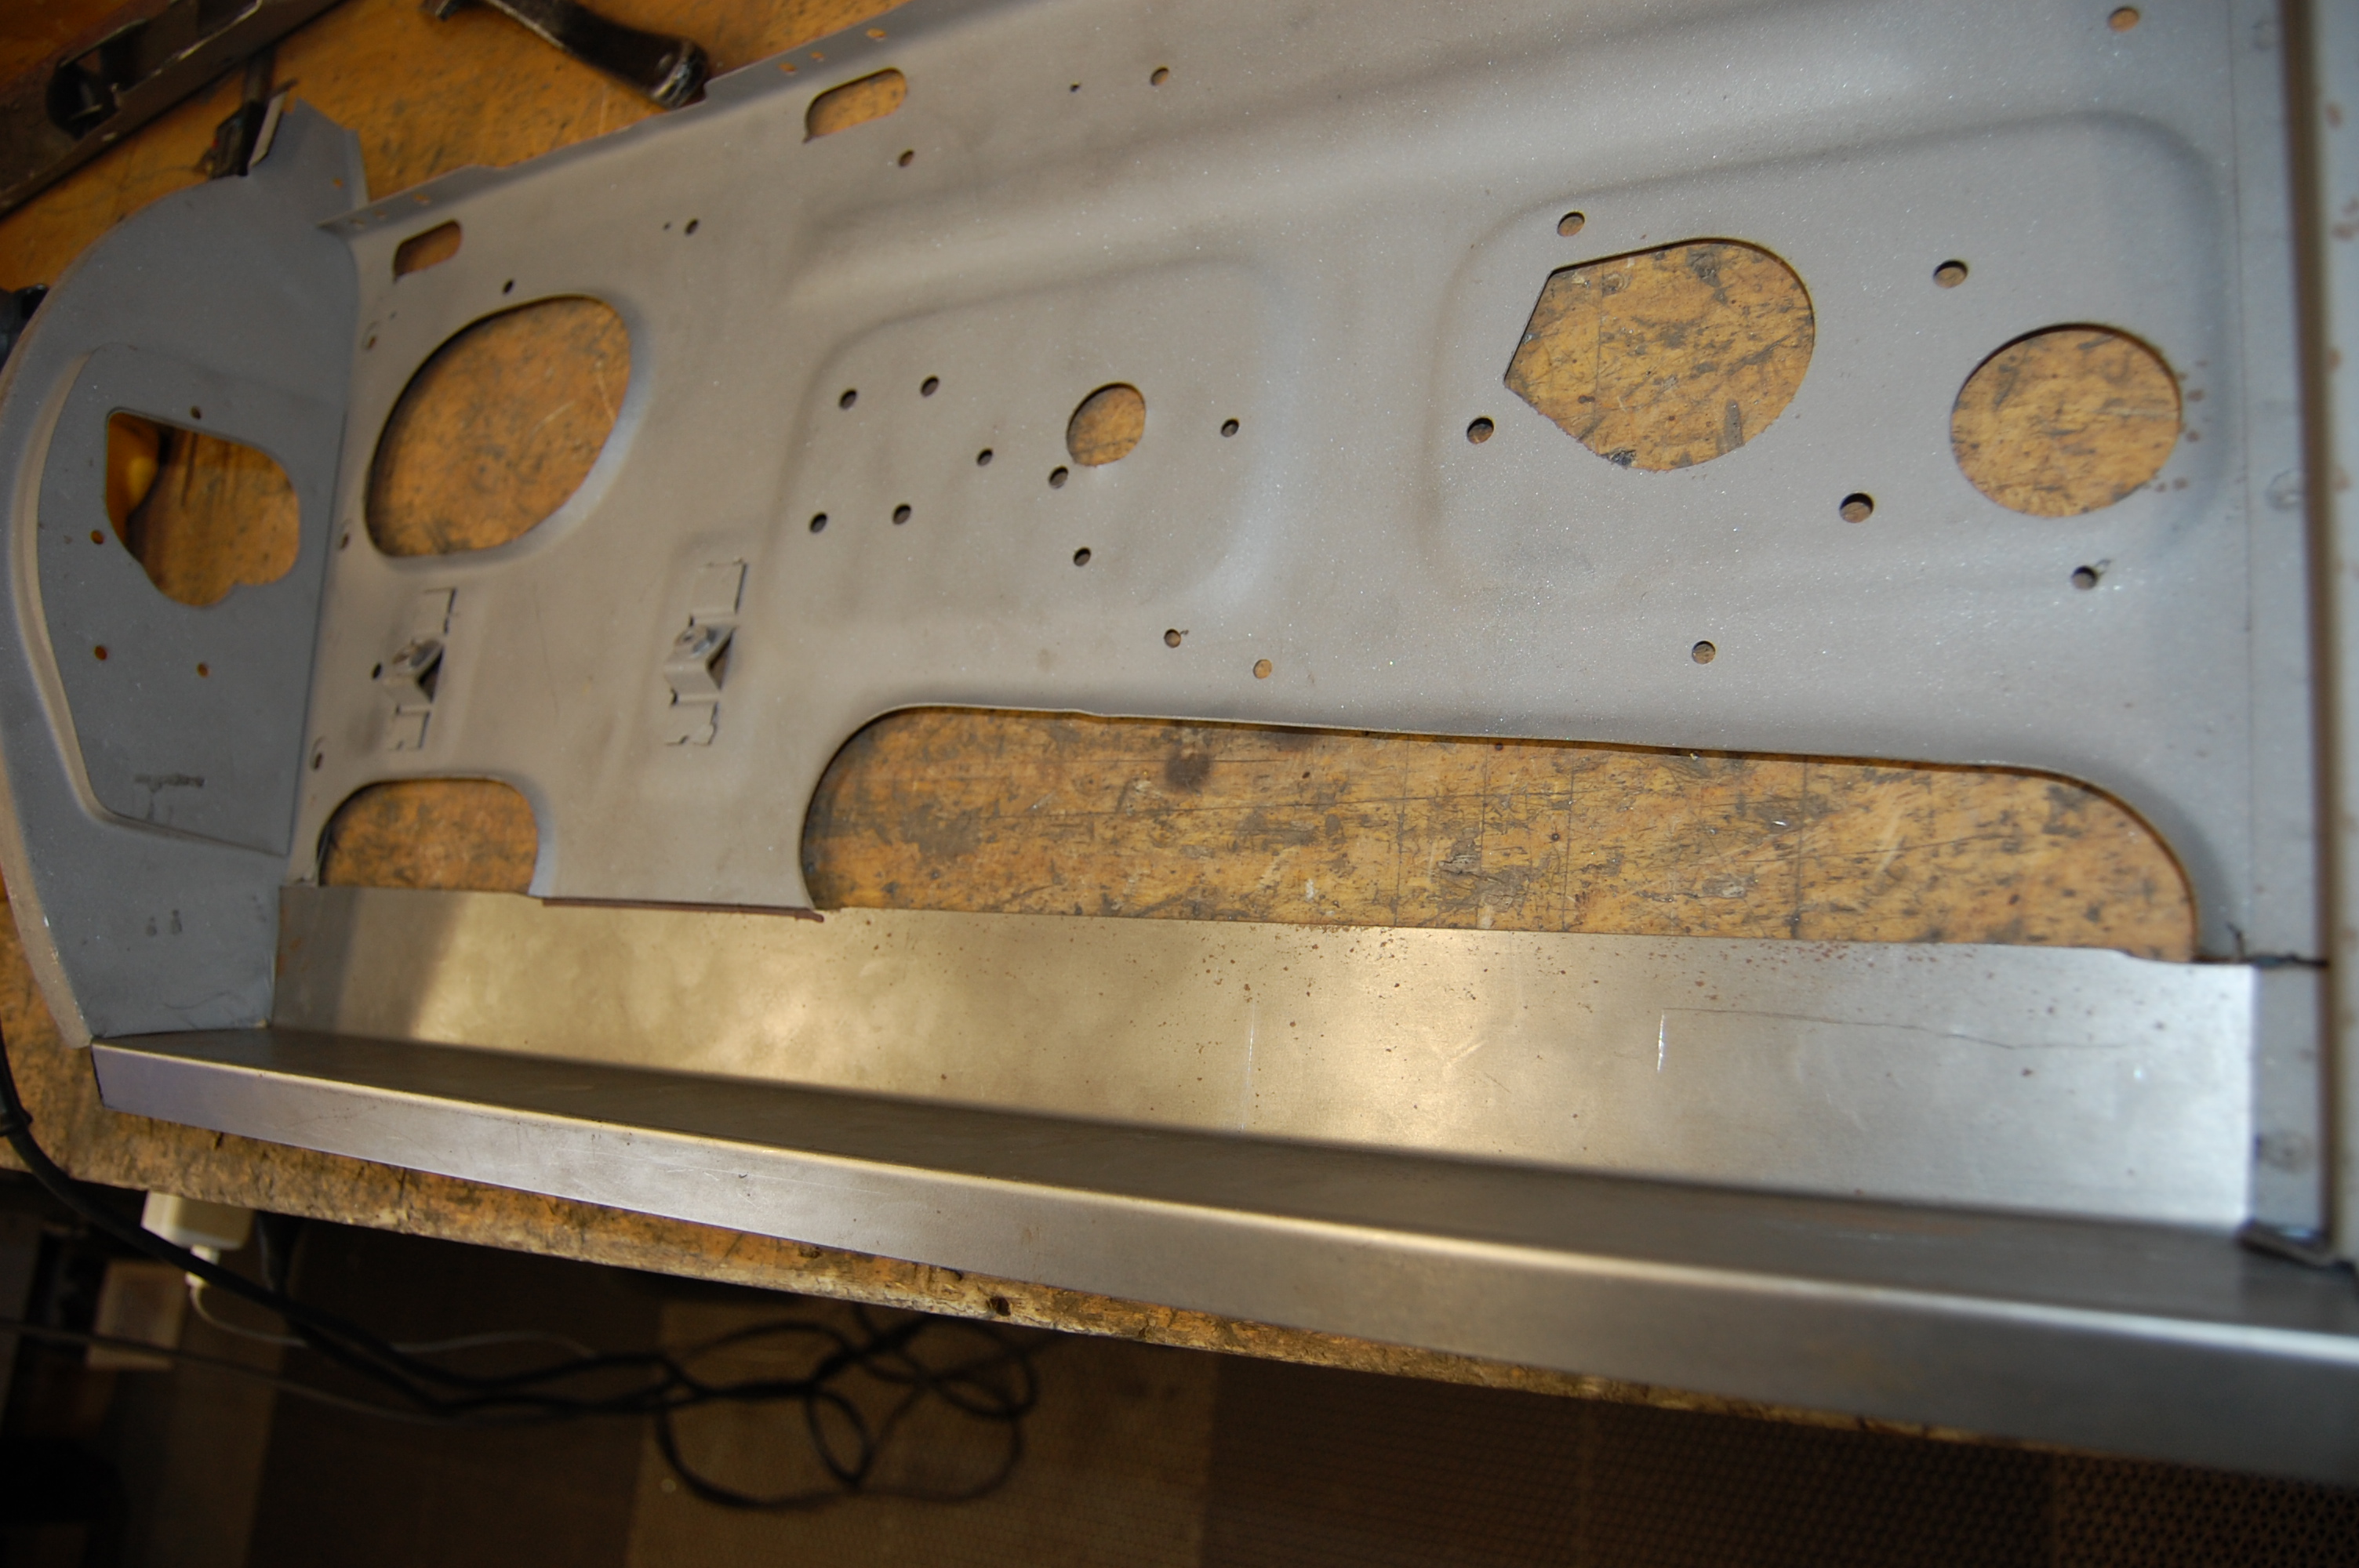
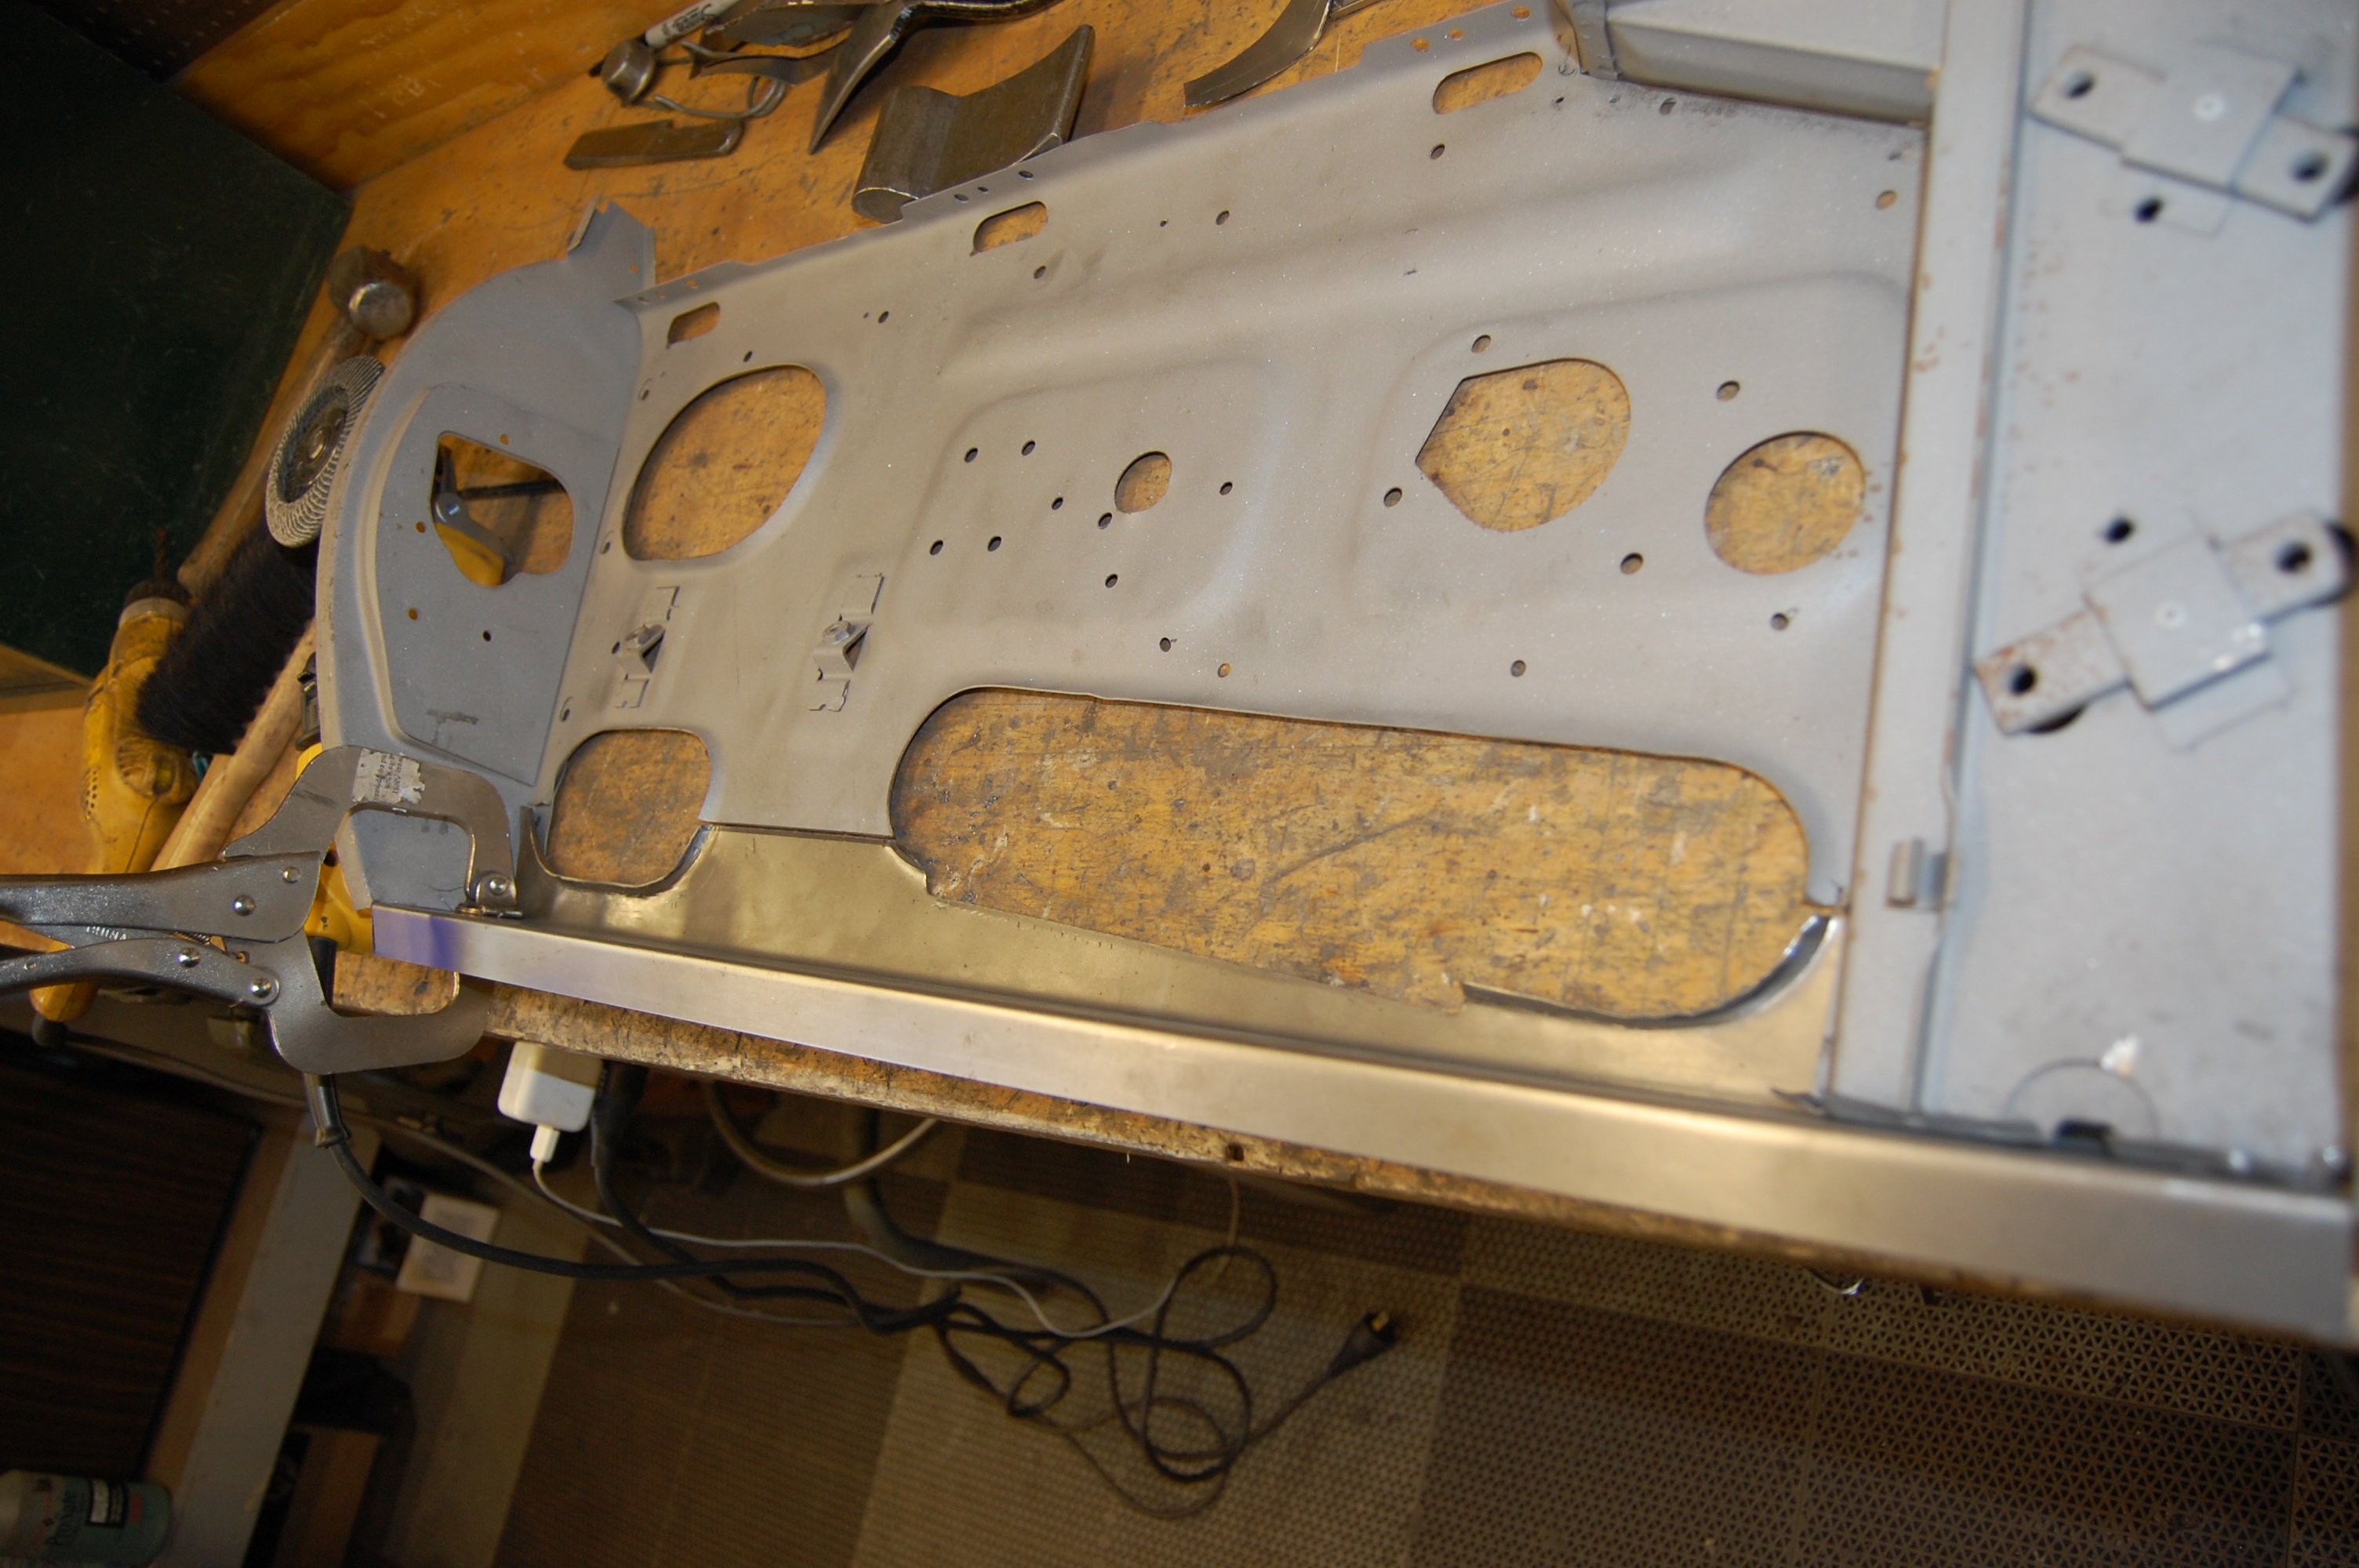
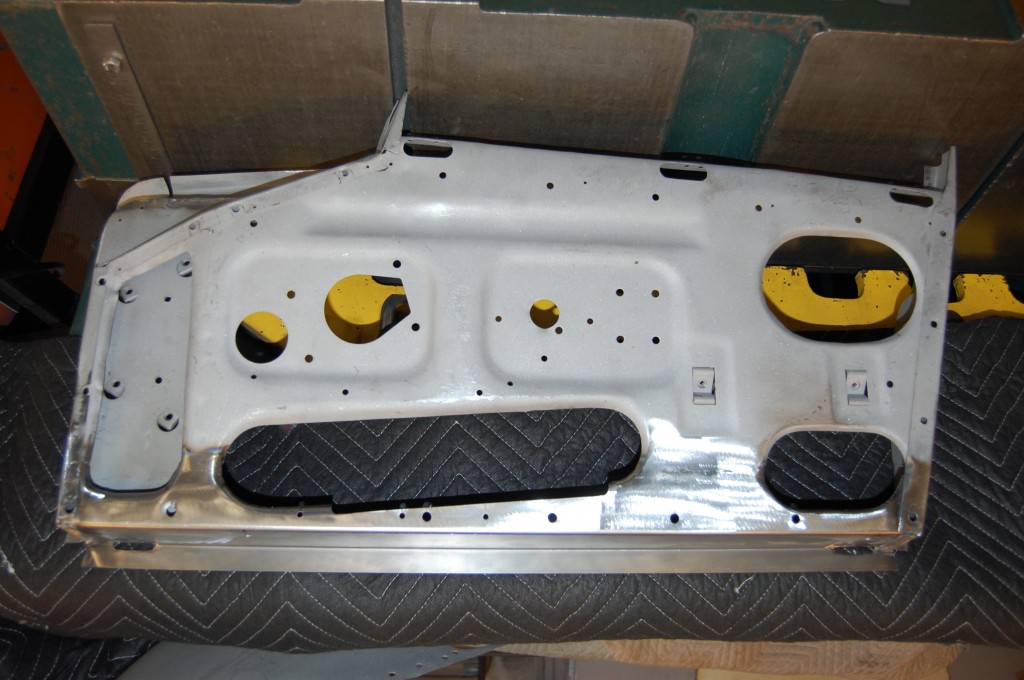
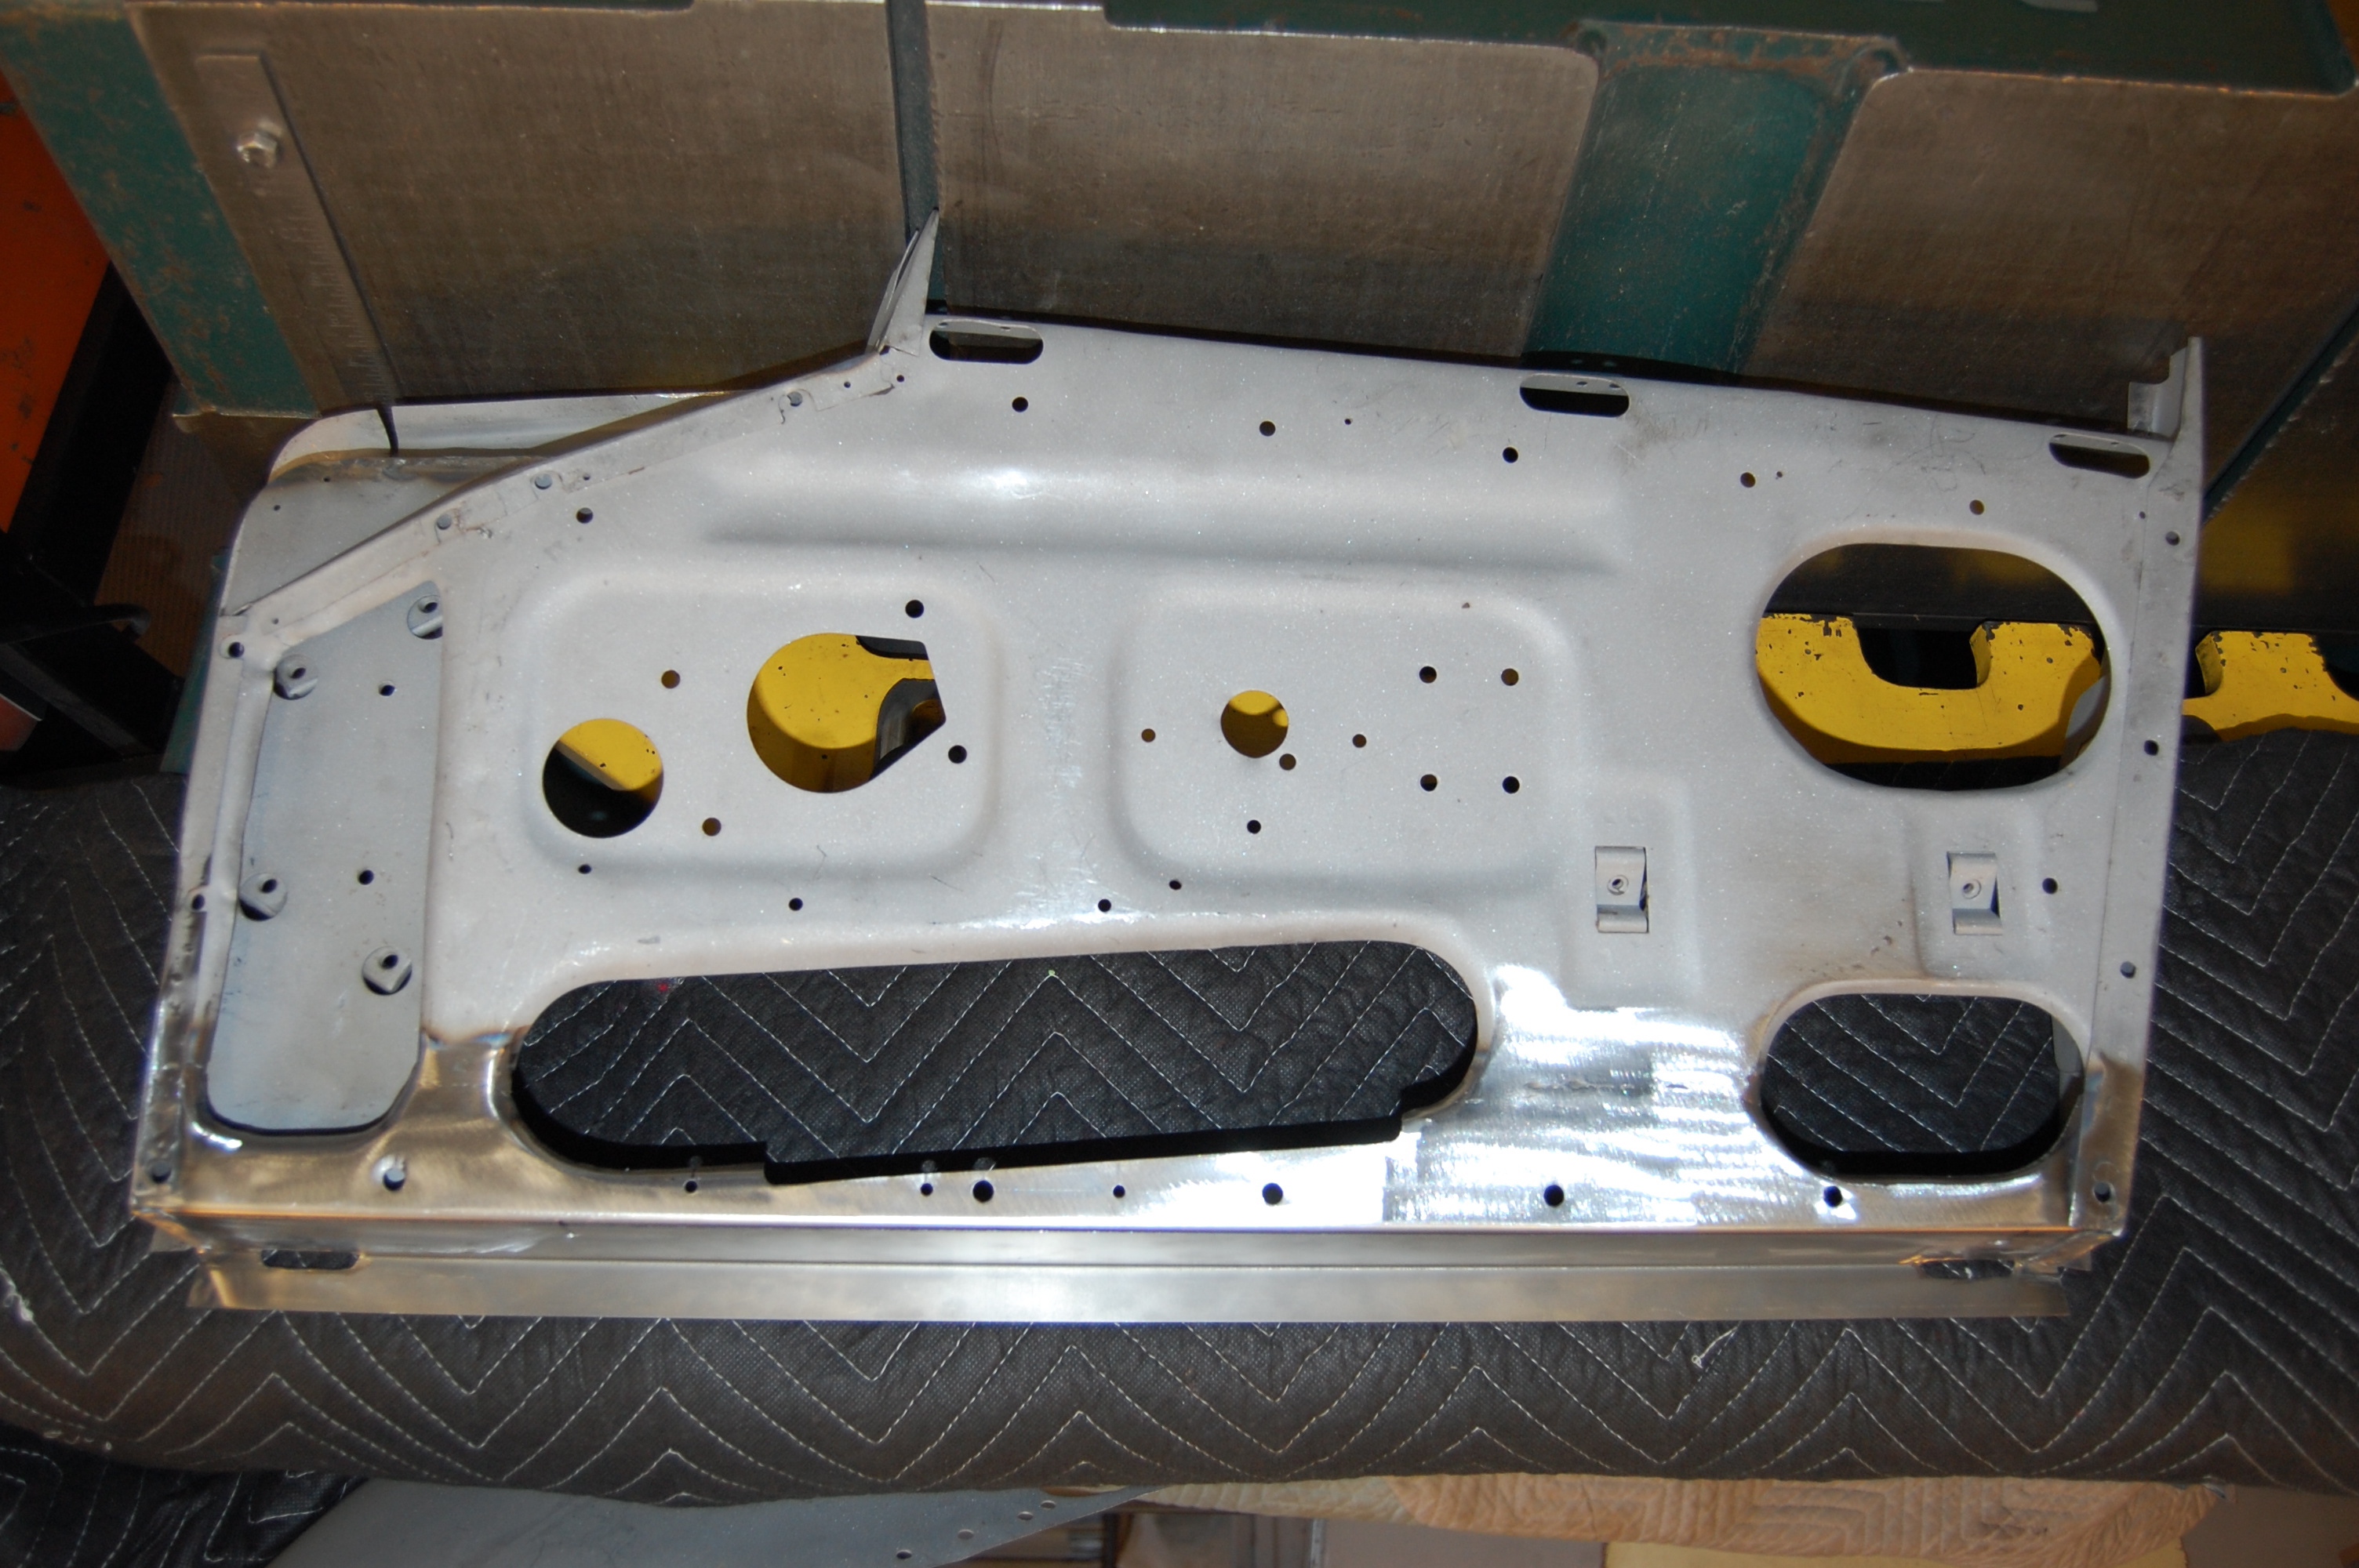
- The blasted inner shells.
-

- The passenger side will need a whole new bottom.
-
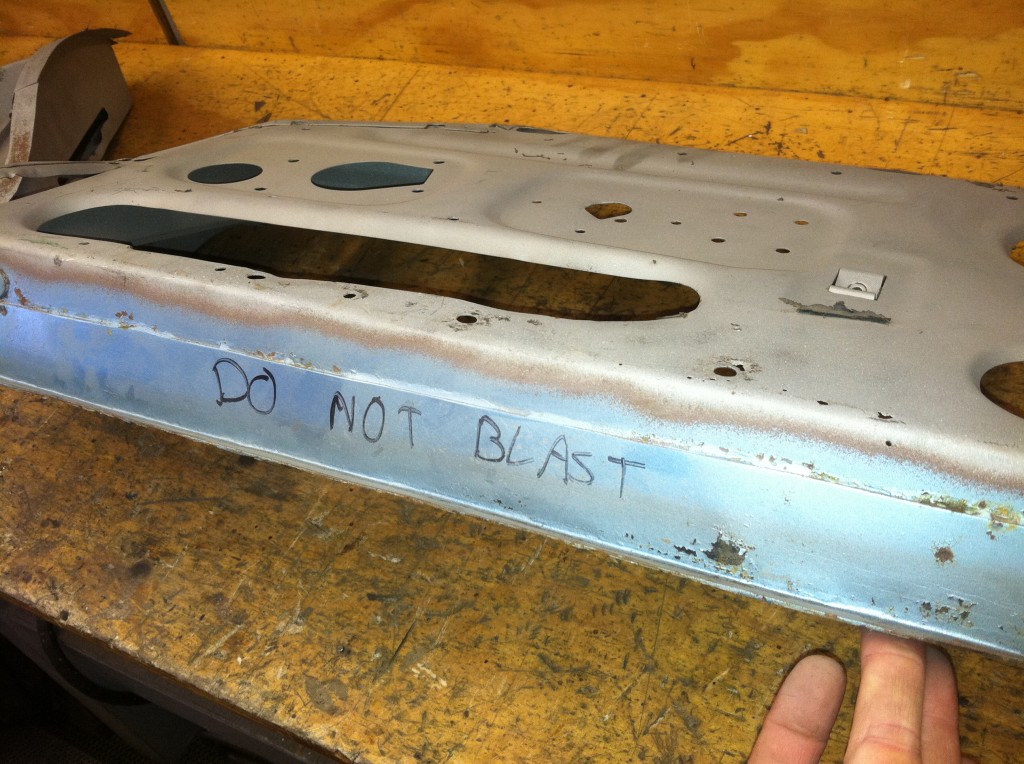
- We didn’t even bother to blast it…

-
- The patch was soldered with lead right over the old rusty door shell.

-

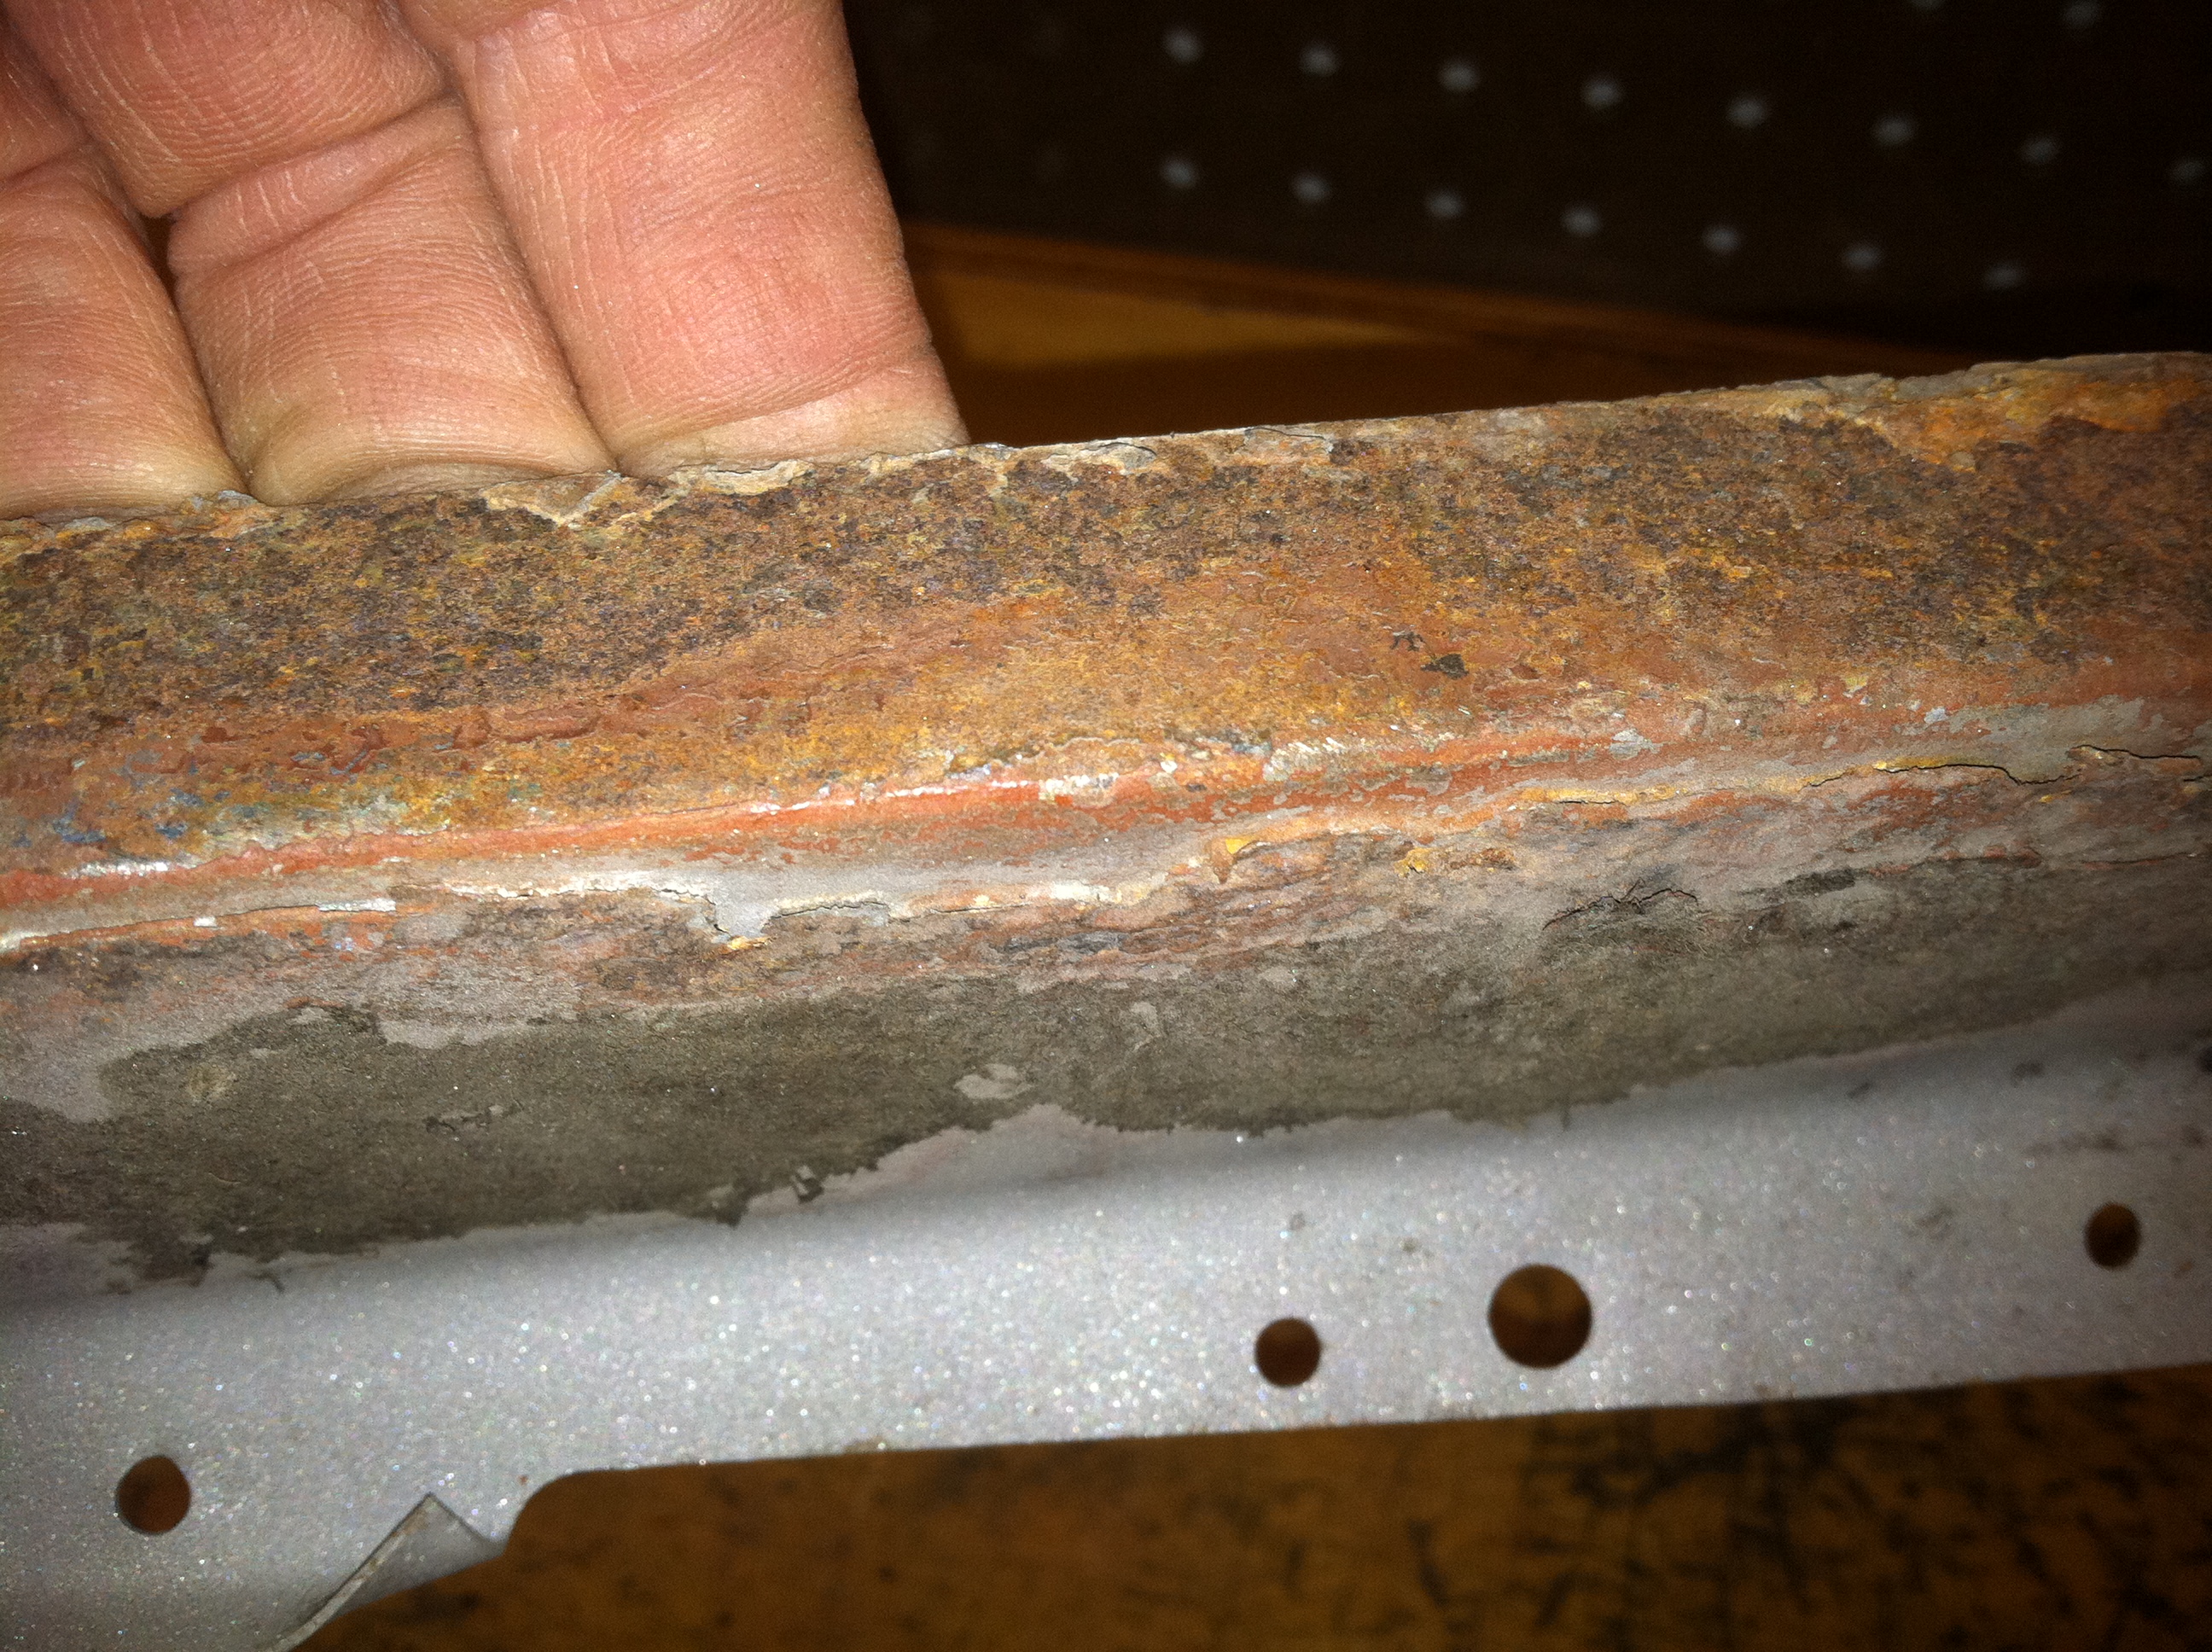
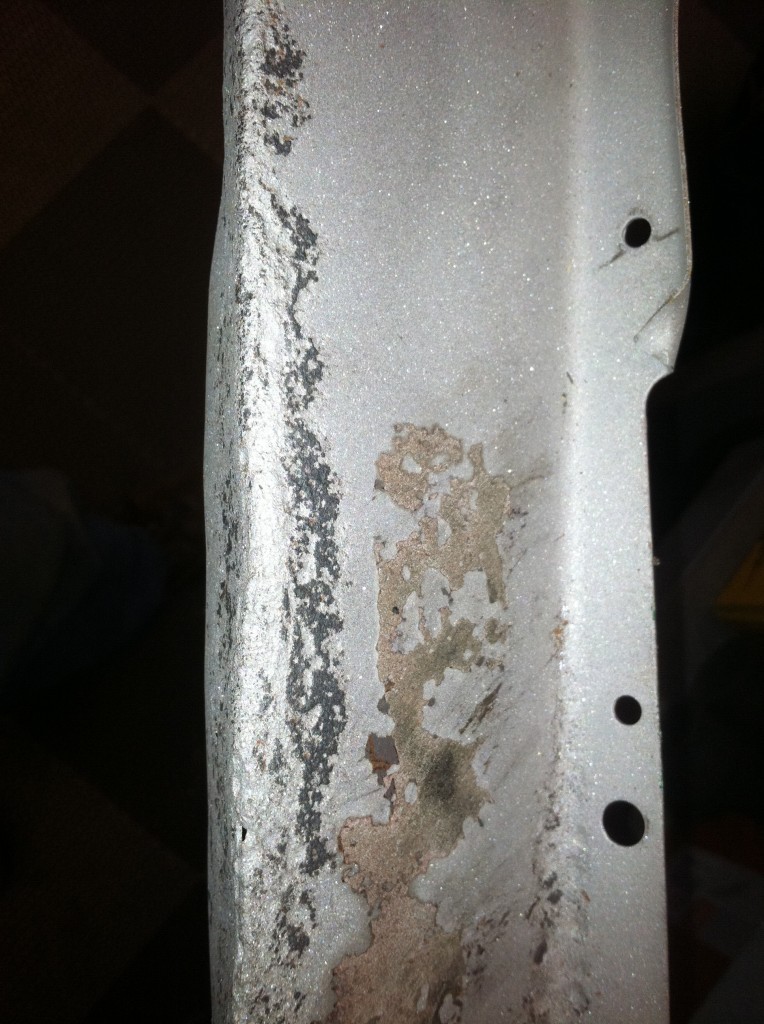
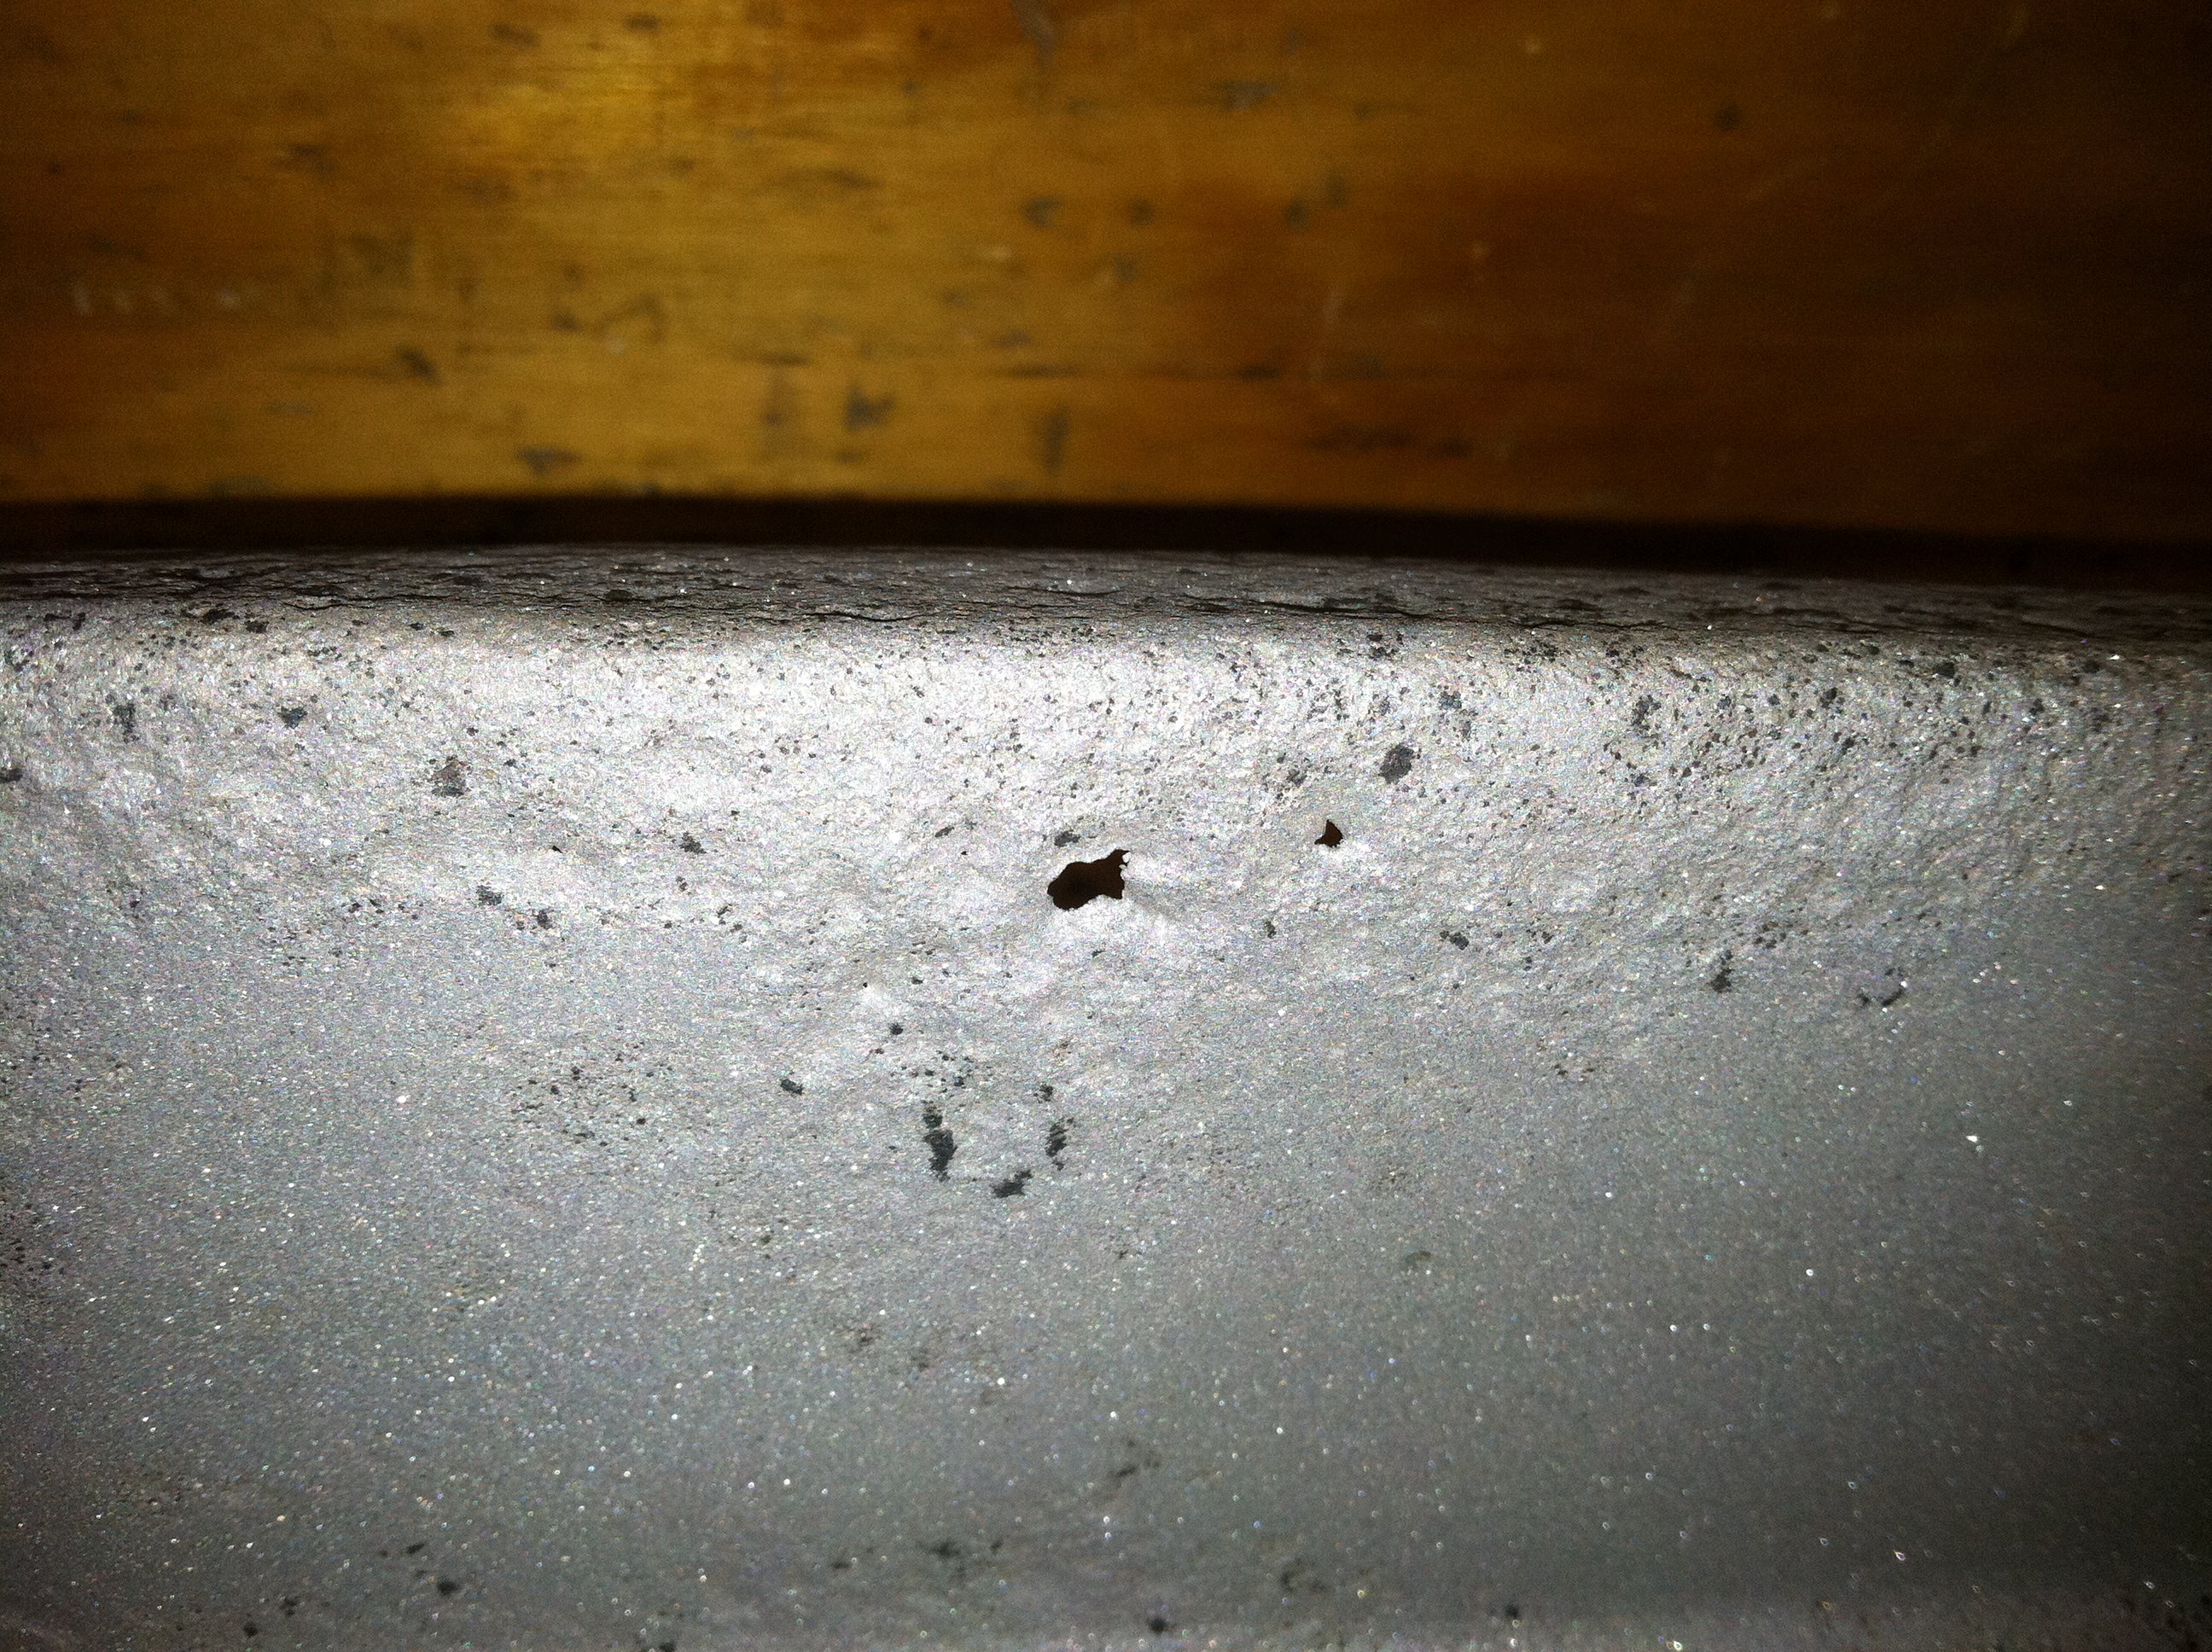
- This is the LH (driver’s over here…) side. This side had a little pitting and I thought I could get away with welding up the few holes ith the TIG on this side…
-
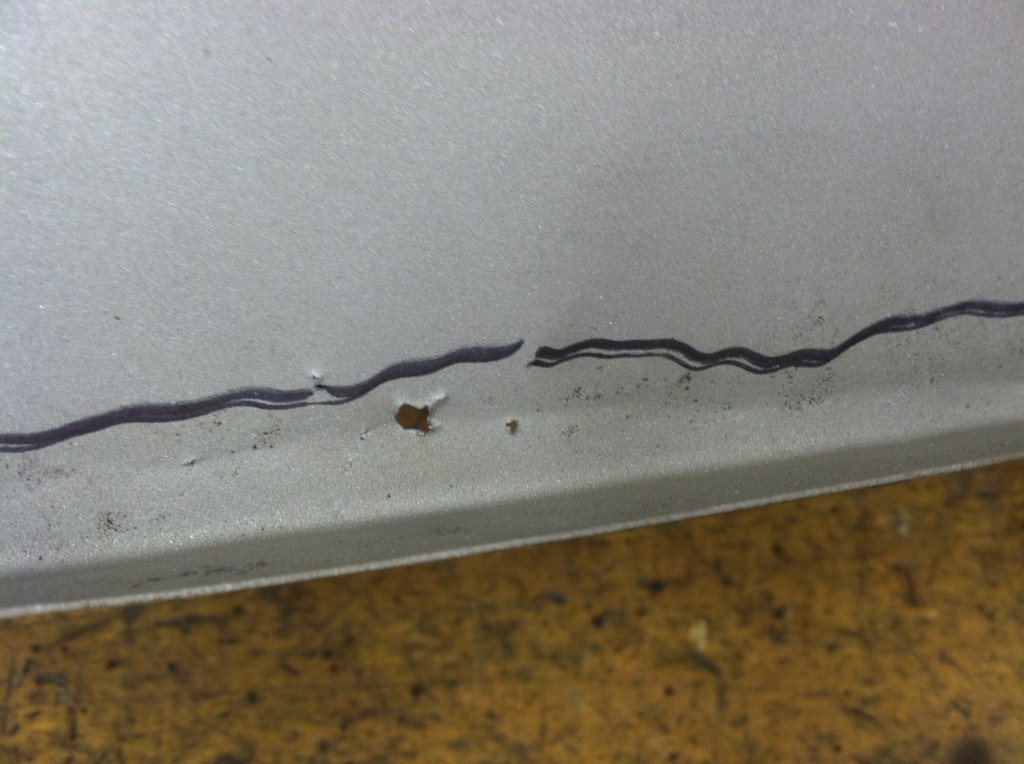
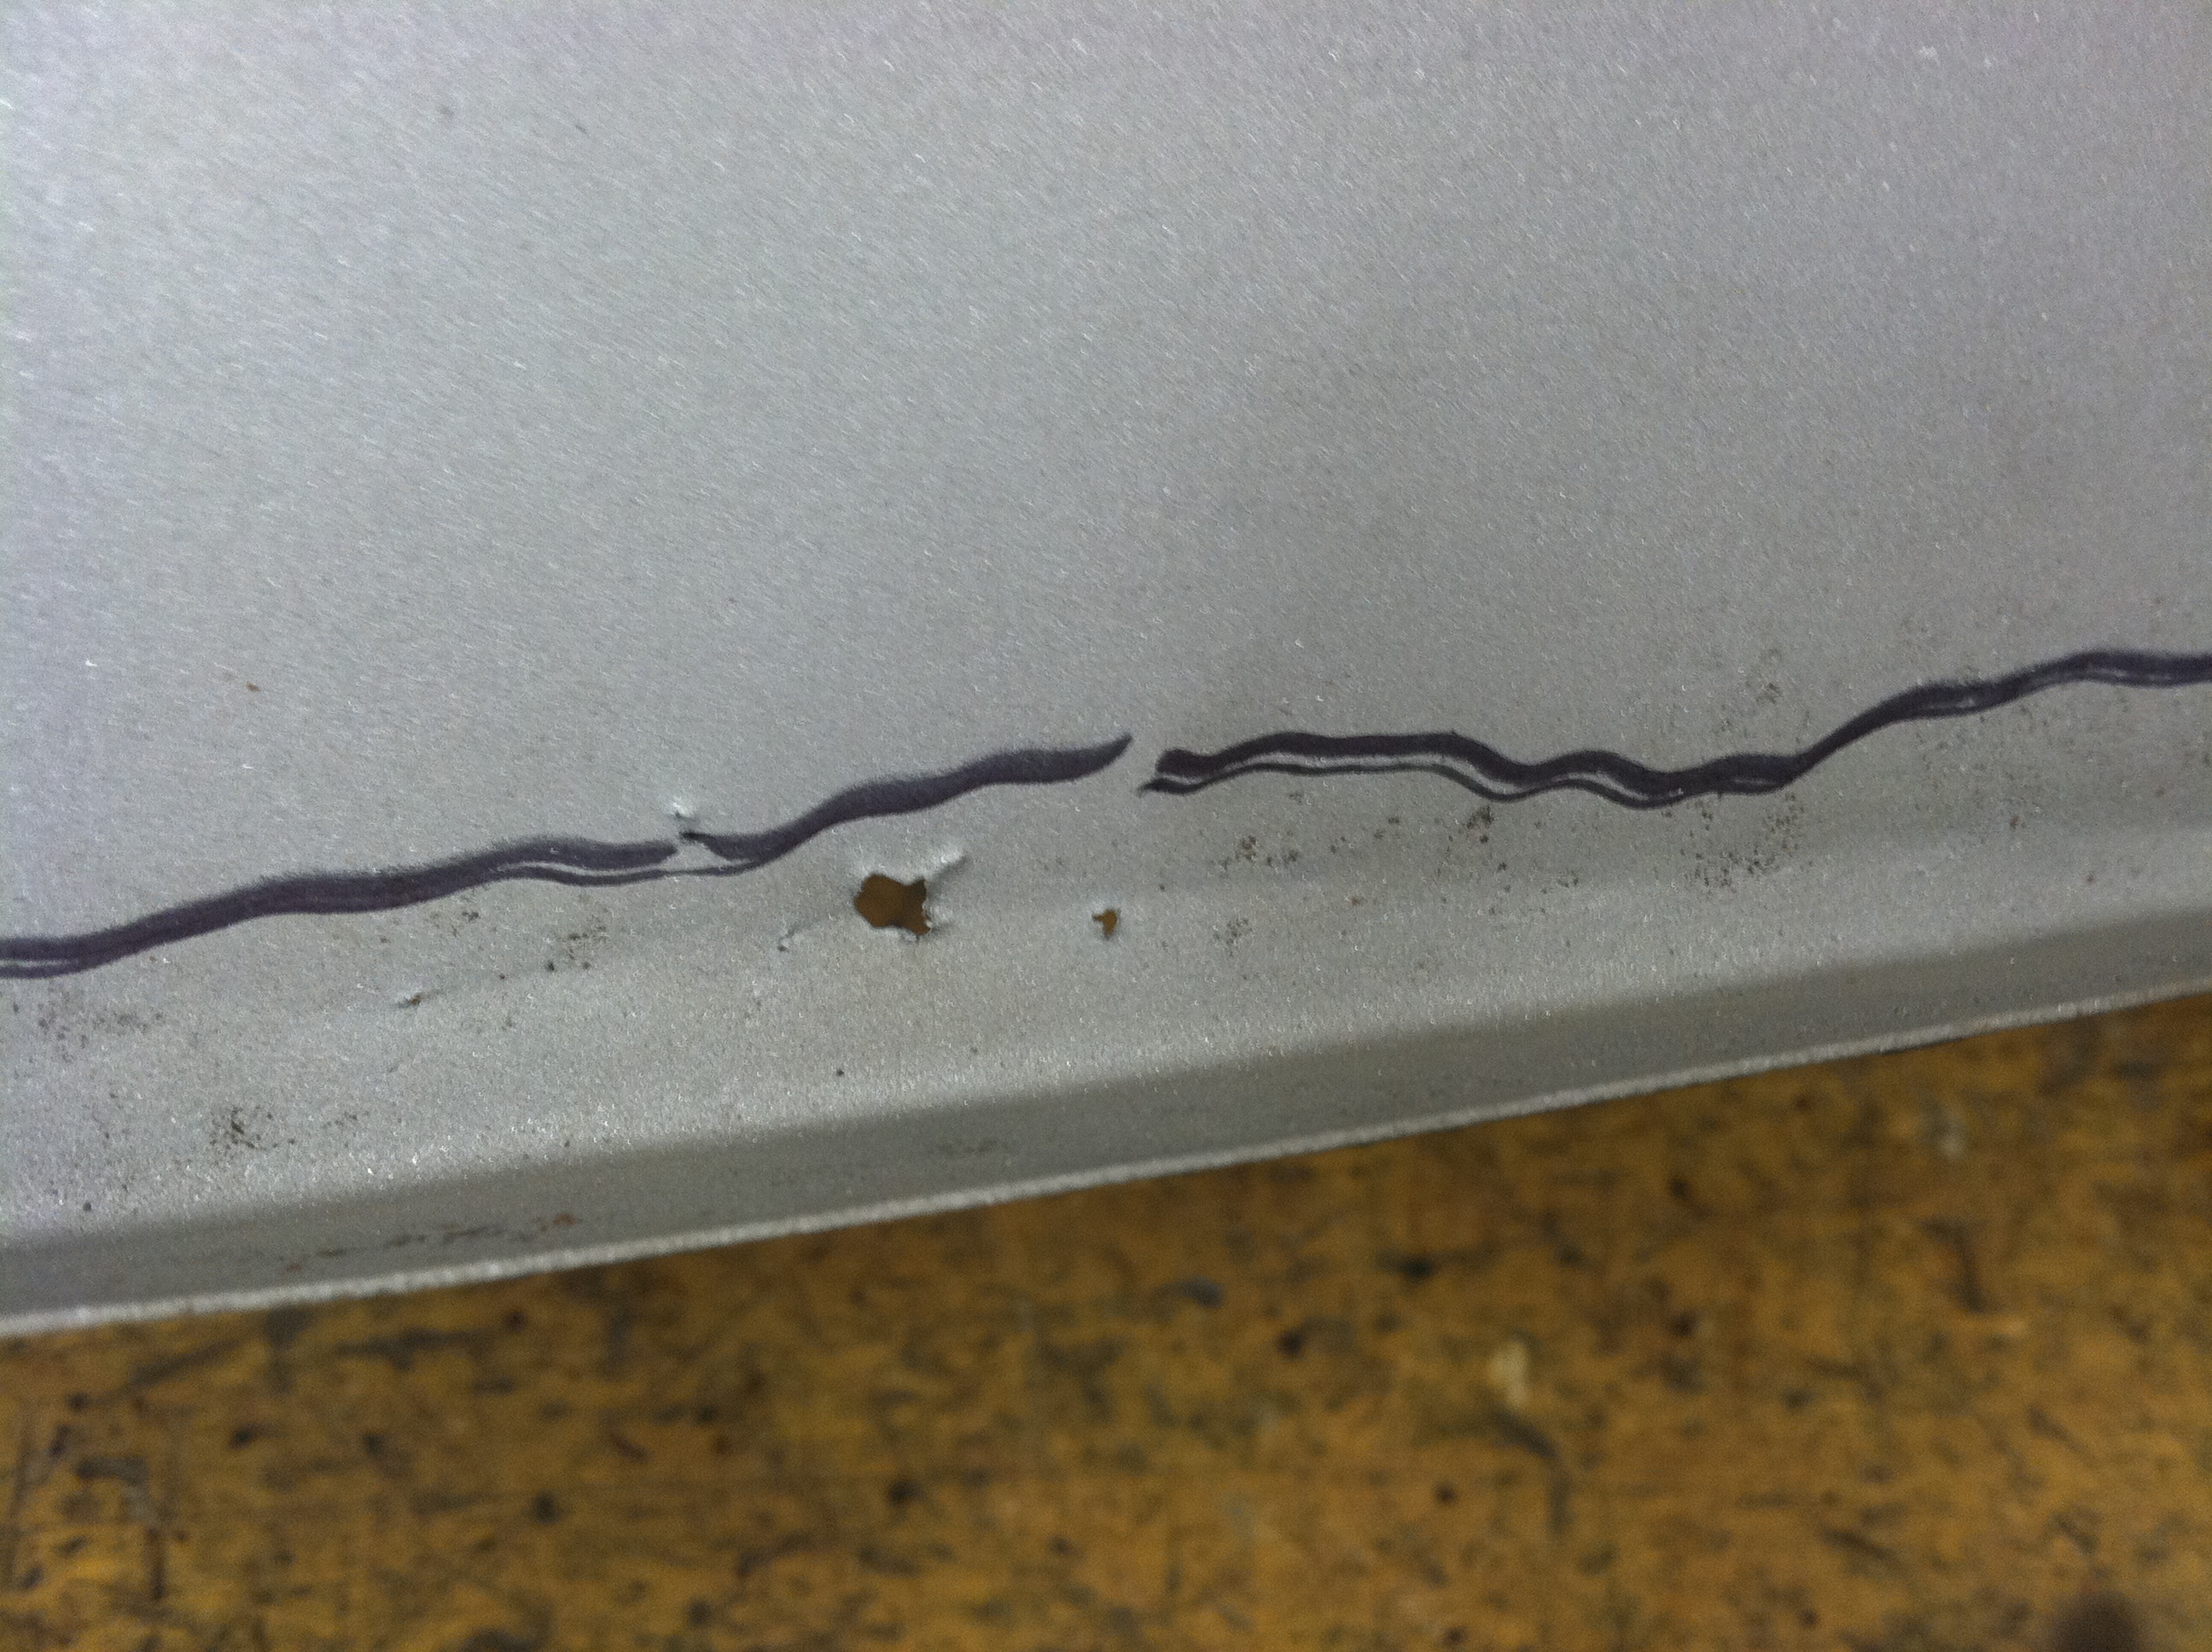
- But the metal was just too thin in this area. Look just below the black line – paper thin metal is beanding and ready to tear – too far gone.
-

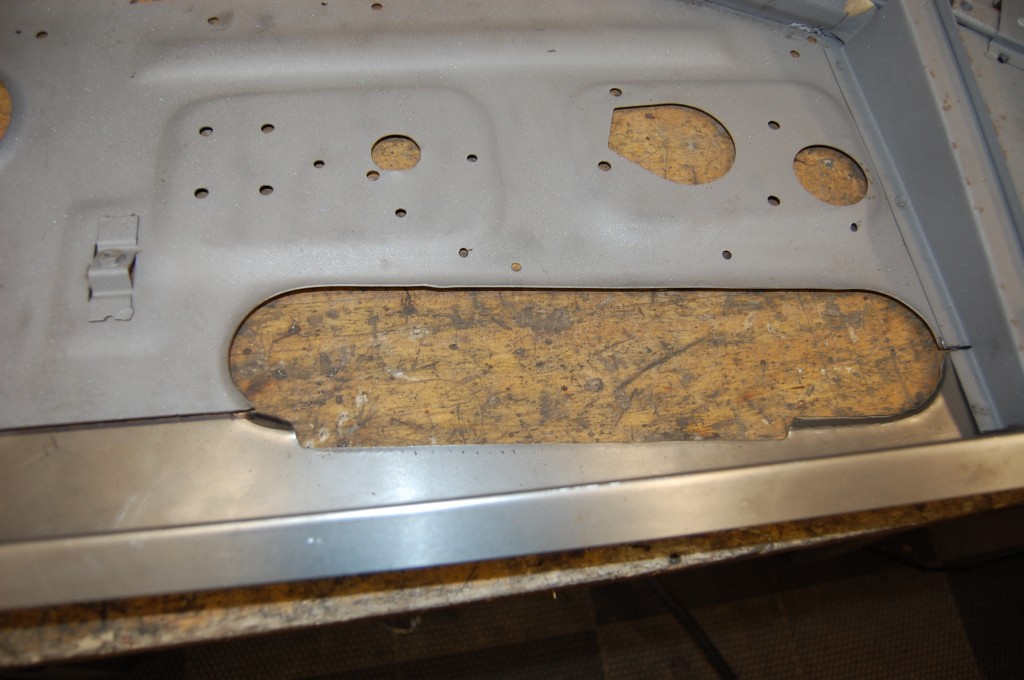
- But aside from that one area, the remainder of the door was fine. And so I was feeling strong, and attempted a patch in the middle of the bottom panel. If you do this, it should be done so that it doesn’t show – AT ALL!

-
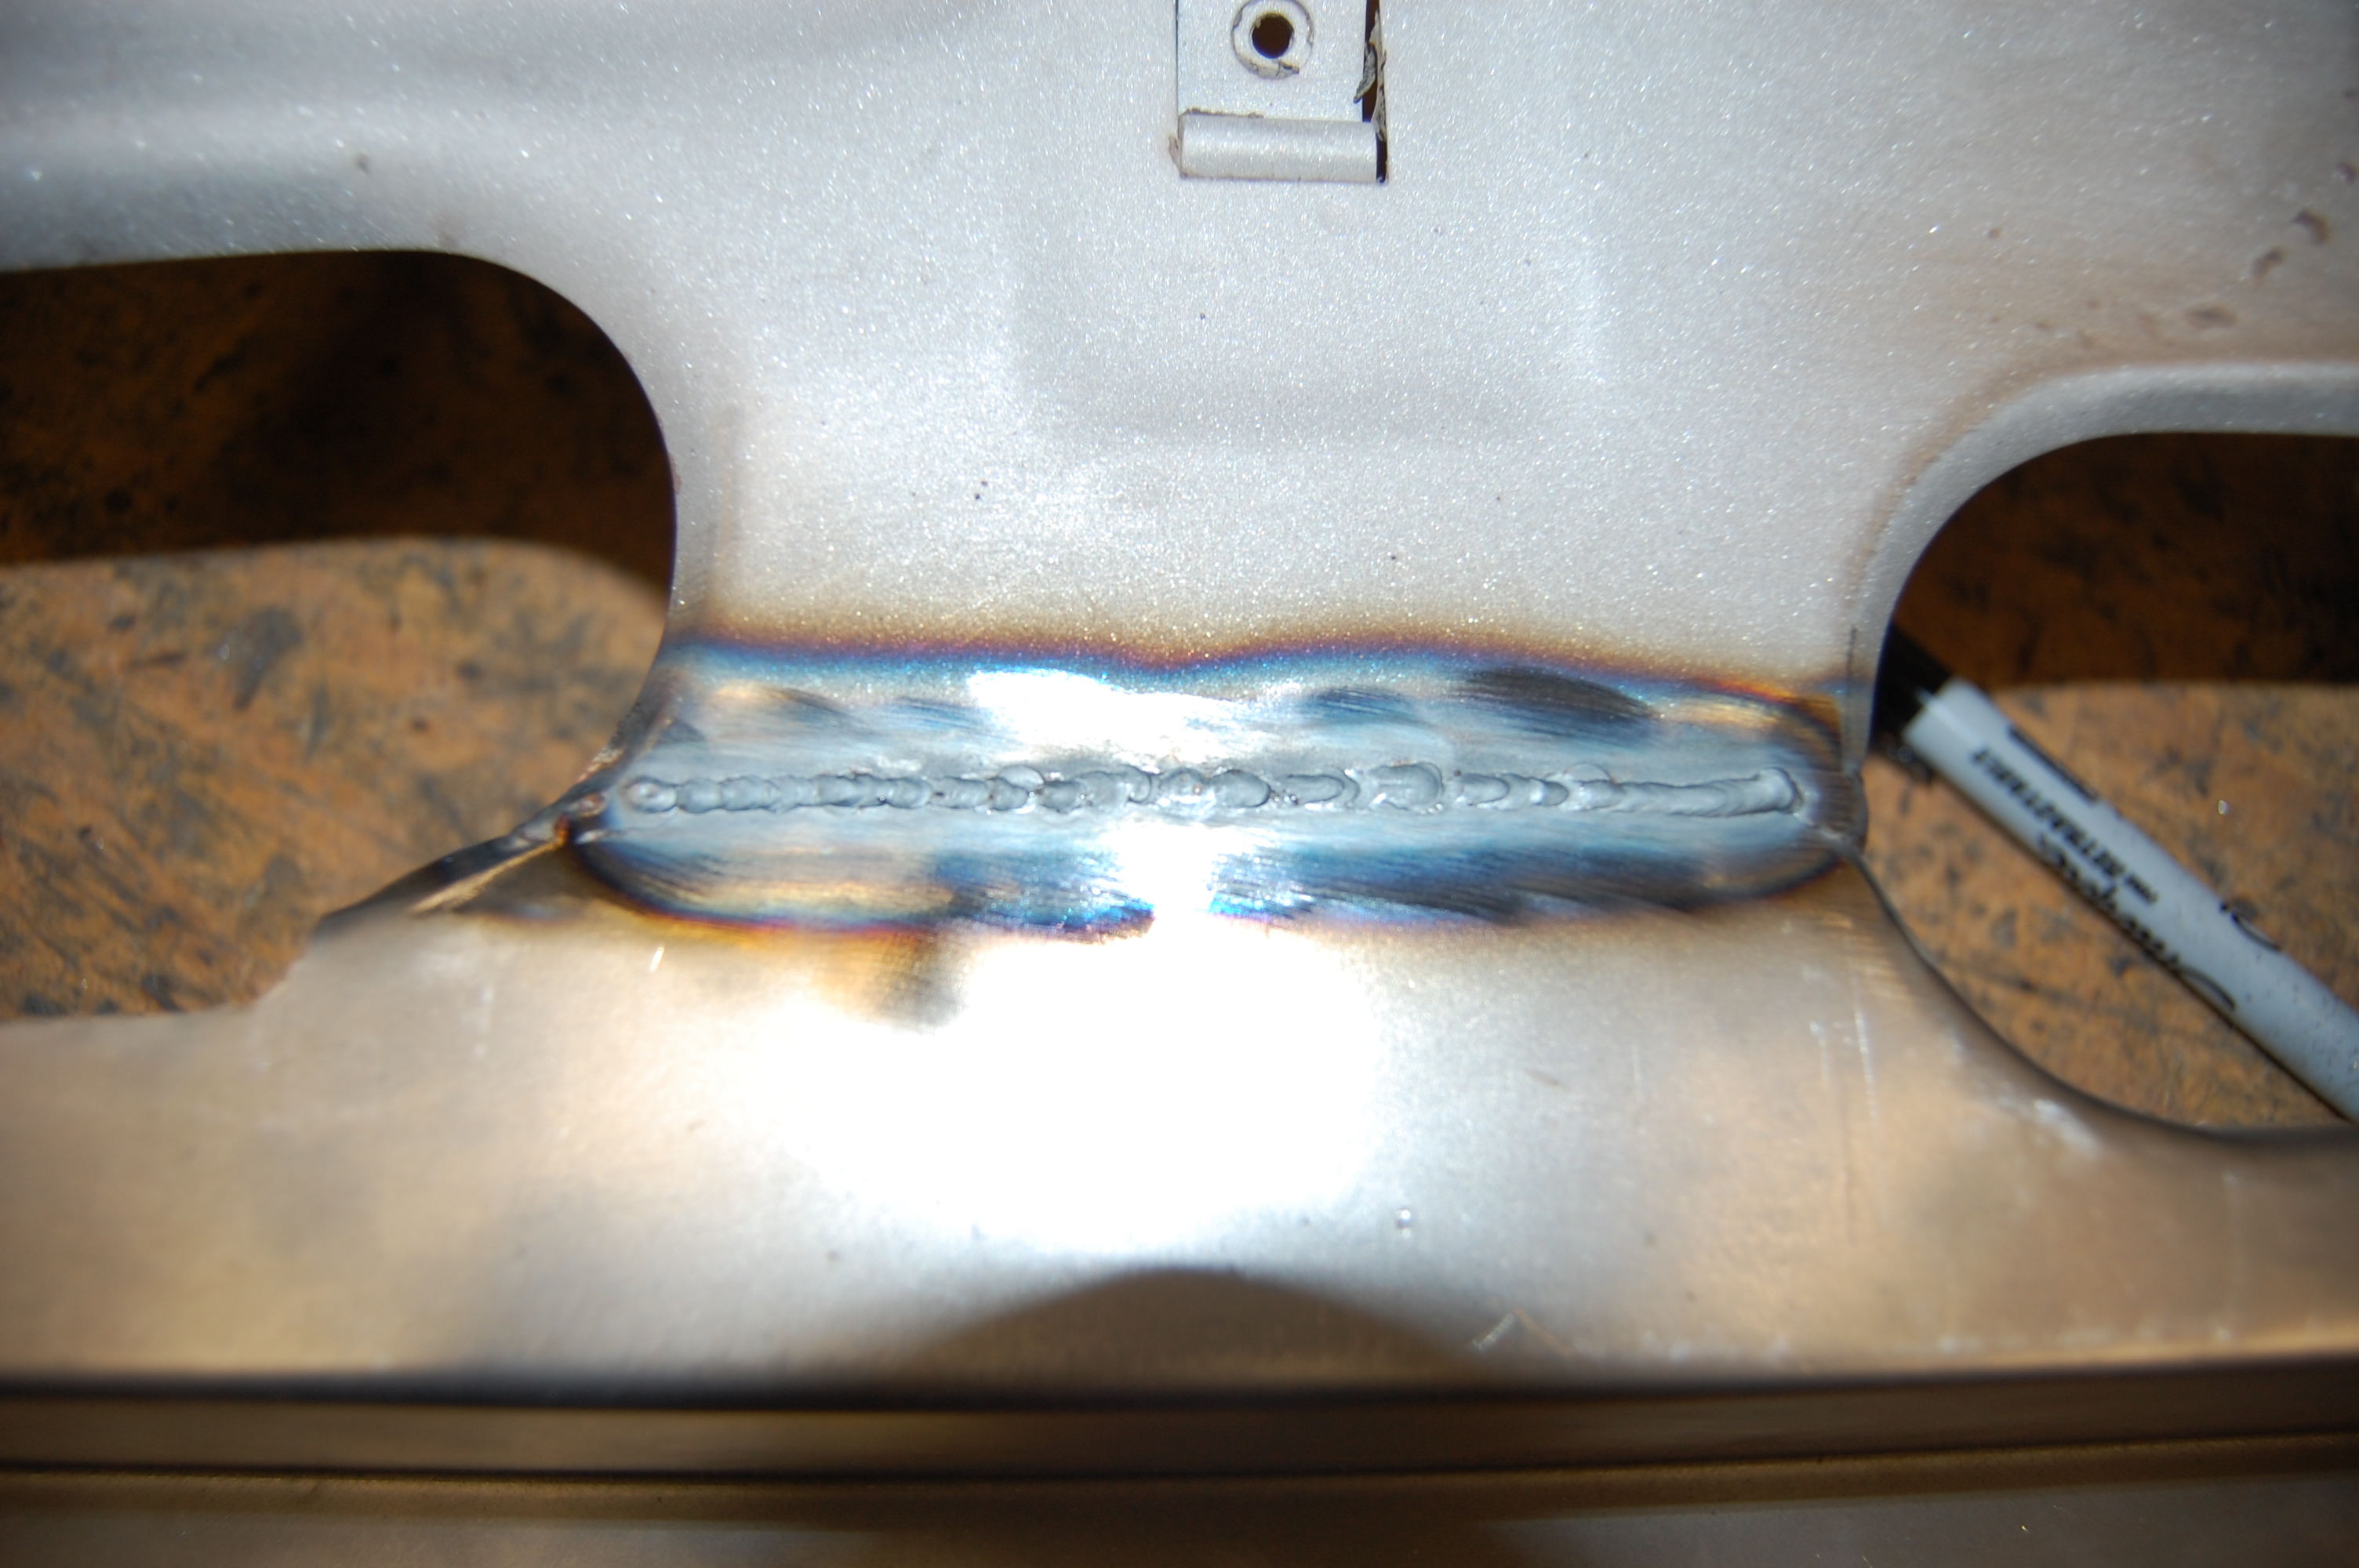
- Next, it was TIG welded, and then the weld was planished – a very important step in a repair like this.
-

- Ground down smooth, and it looks pretty good!
-
- What patch?
-

- Here it is after re-blasting the shell. If you look closely, you can just see that the patch has a little bit tighter radius on the bend at the bottom. Otherwise, it’s invisible.
-
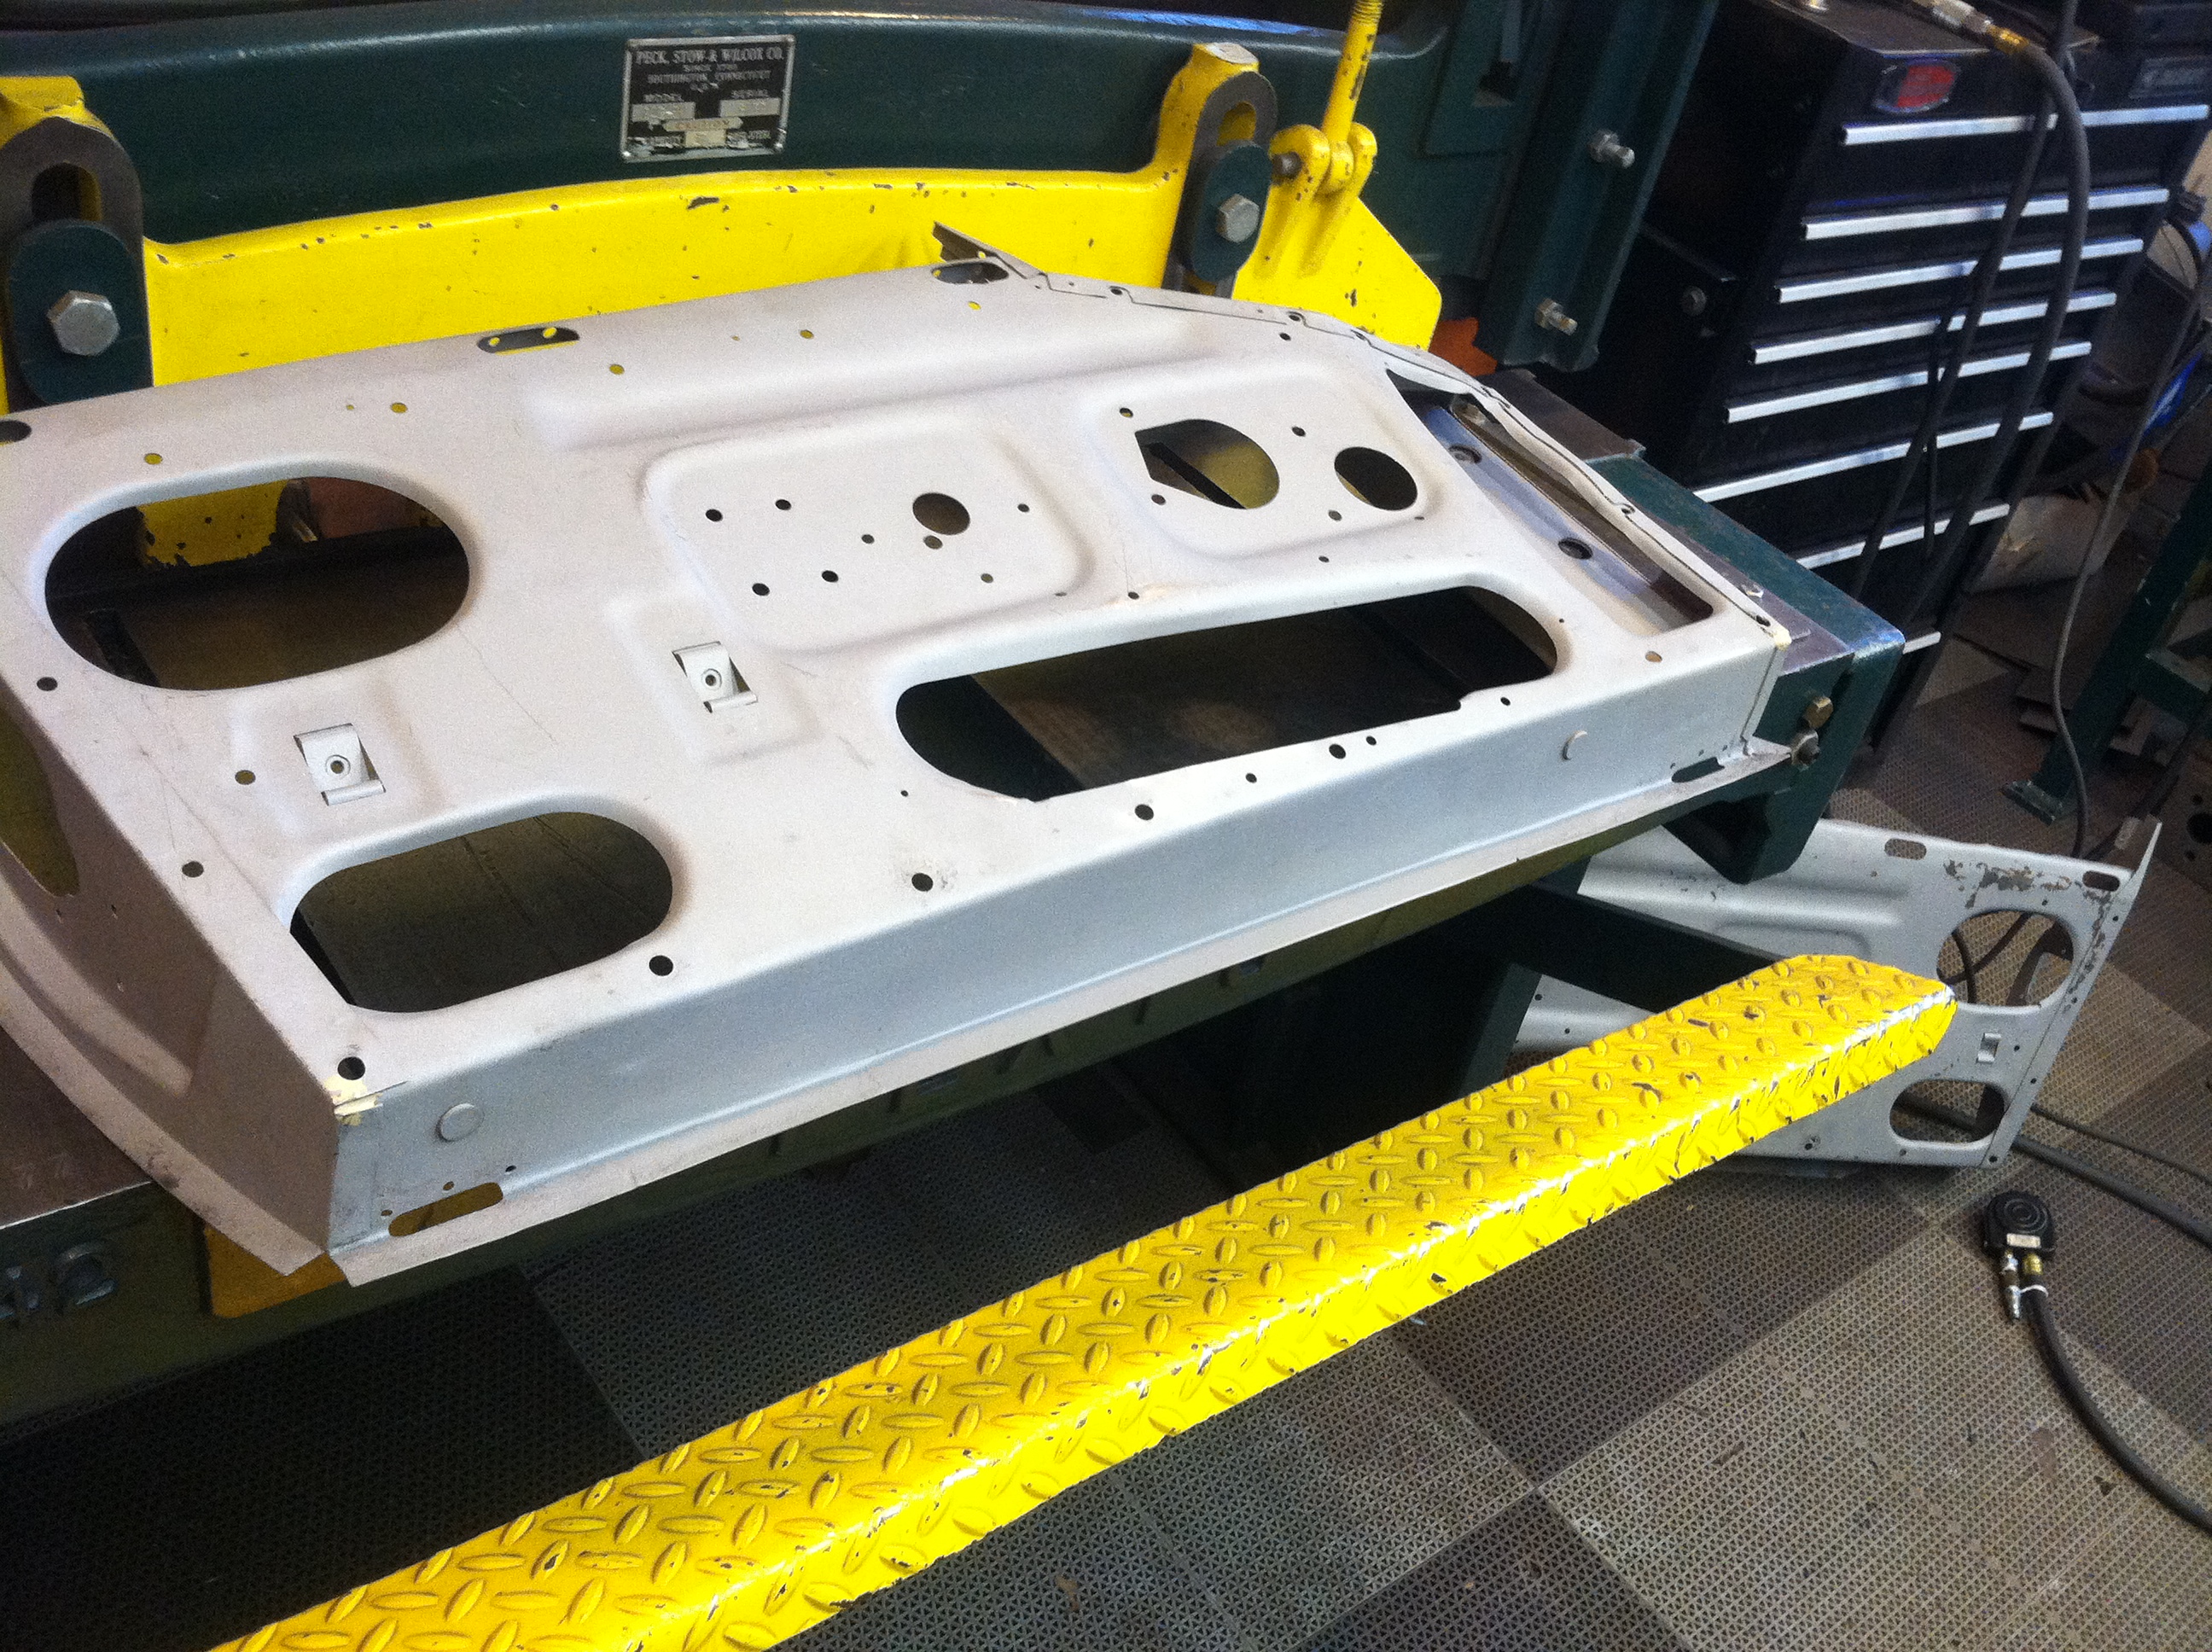
- LH shell is ready for the skin.
-

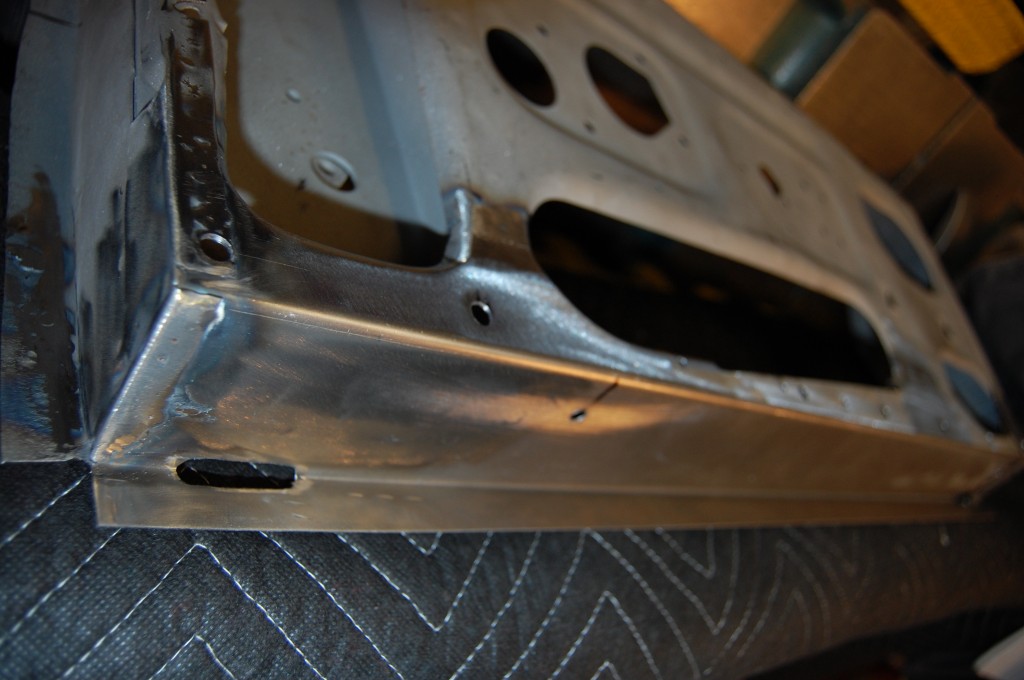
- The RH shell needed a whole new bottom. We do it this way, to hide the seam up on the shell under the interior door panel.
-

- Now we’ve cut and rolled the edges of the access holes. This is a ’68, so the long access hole has a cross-ver design with the bottom edge cut out. We reproduce that exactly.
-
- See…

-

- The location of the seam also minimizes the amount of welding. This is now TIG welded.
-
- All finished, and good as new!
-
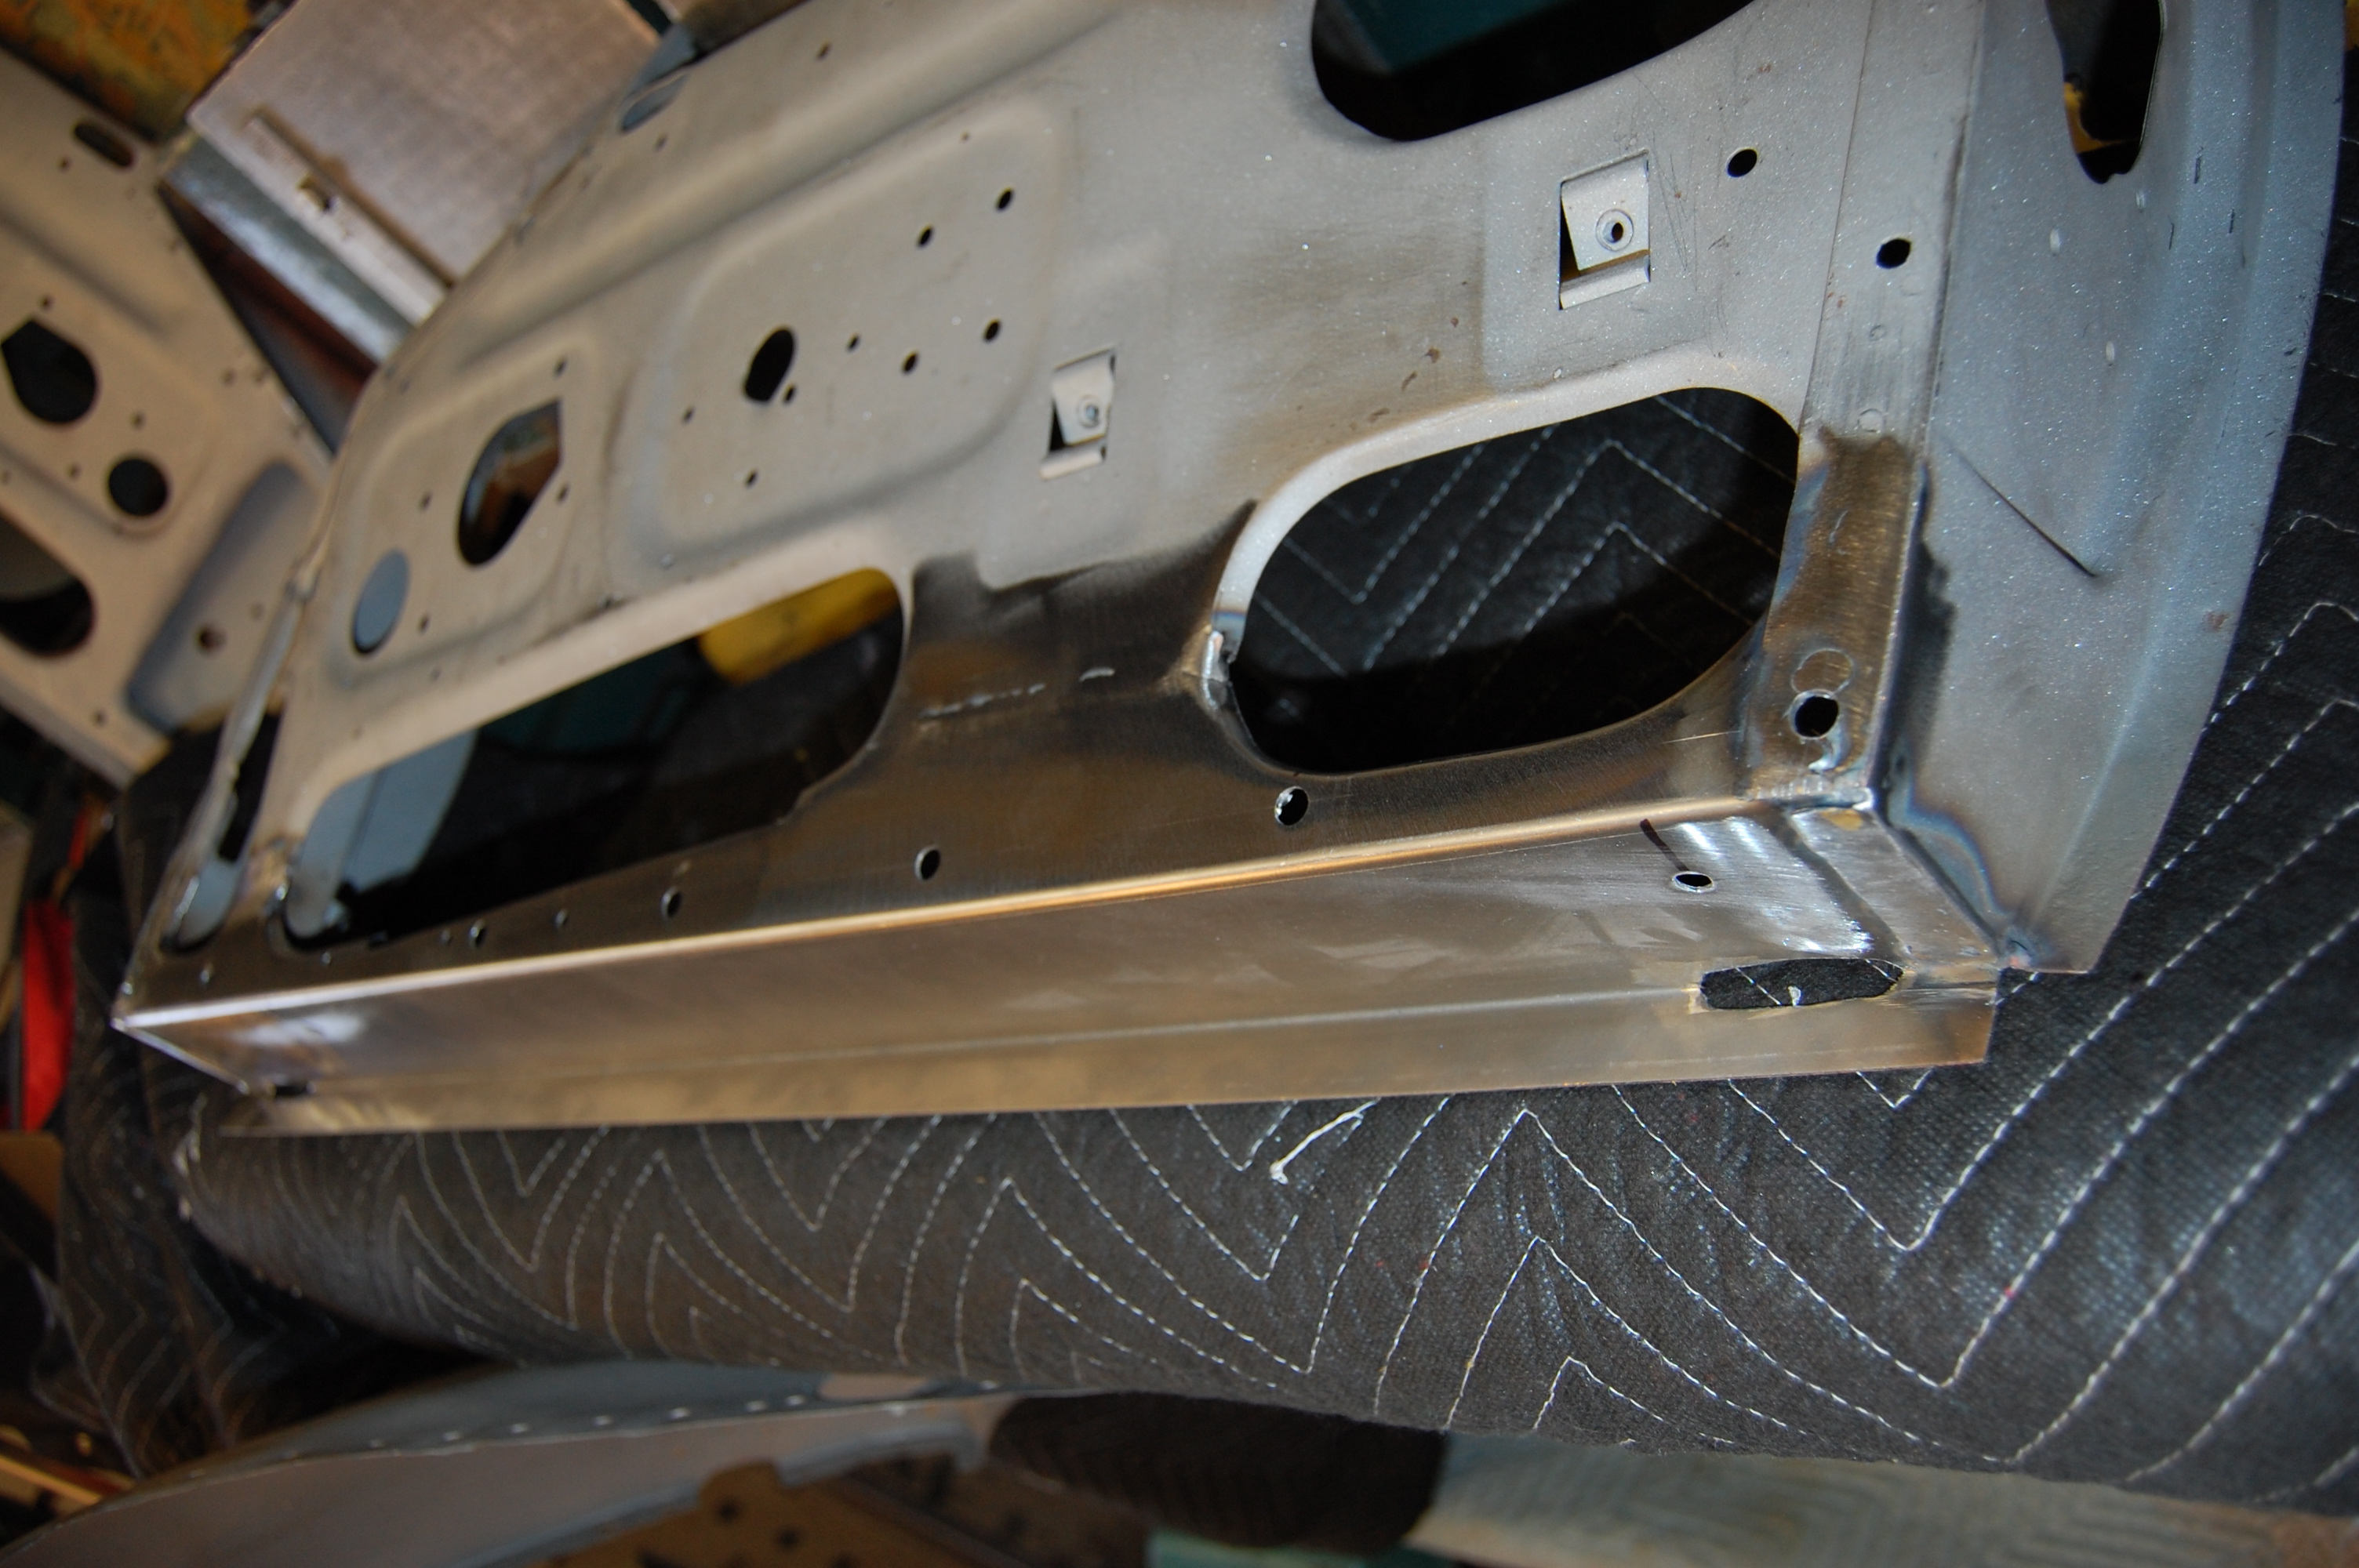
- We have also added the drip channel holes and holes for the window channel mounting studs.

-

- Another shot – this will look absolutely untouched when painted and viewed from the bottom. And there’s nothing to hide – this shell IS new again!
-

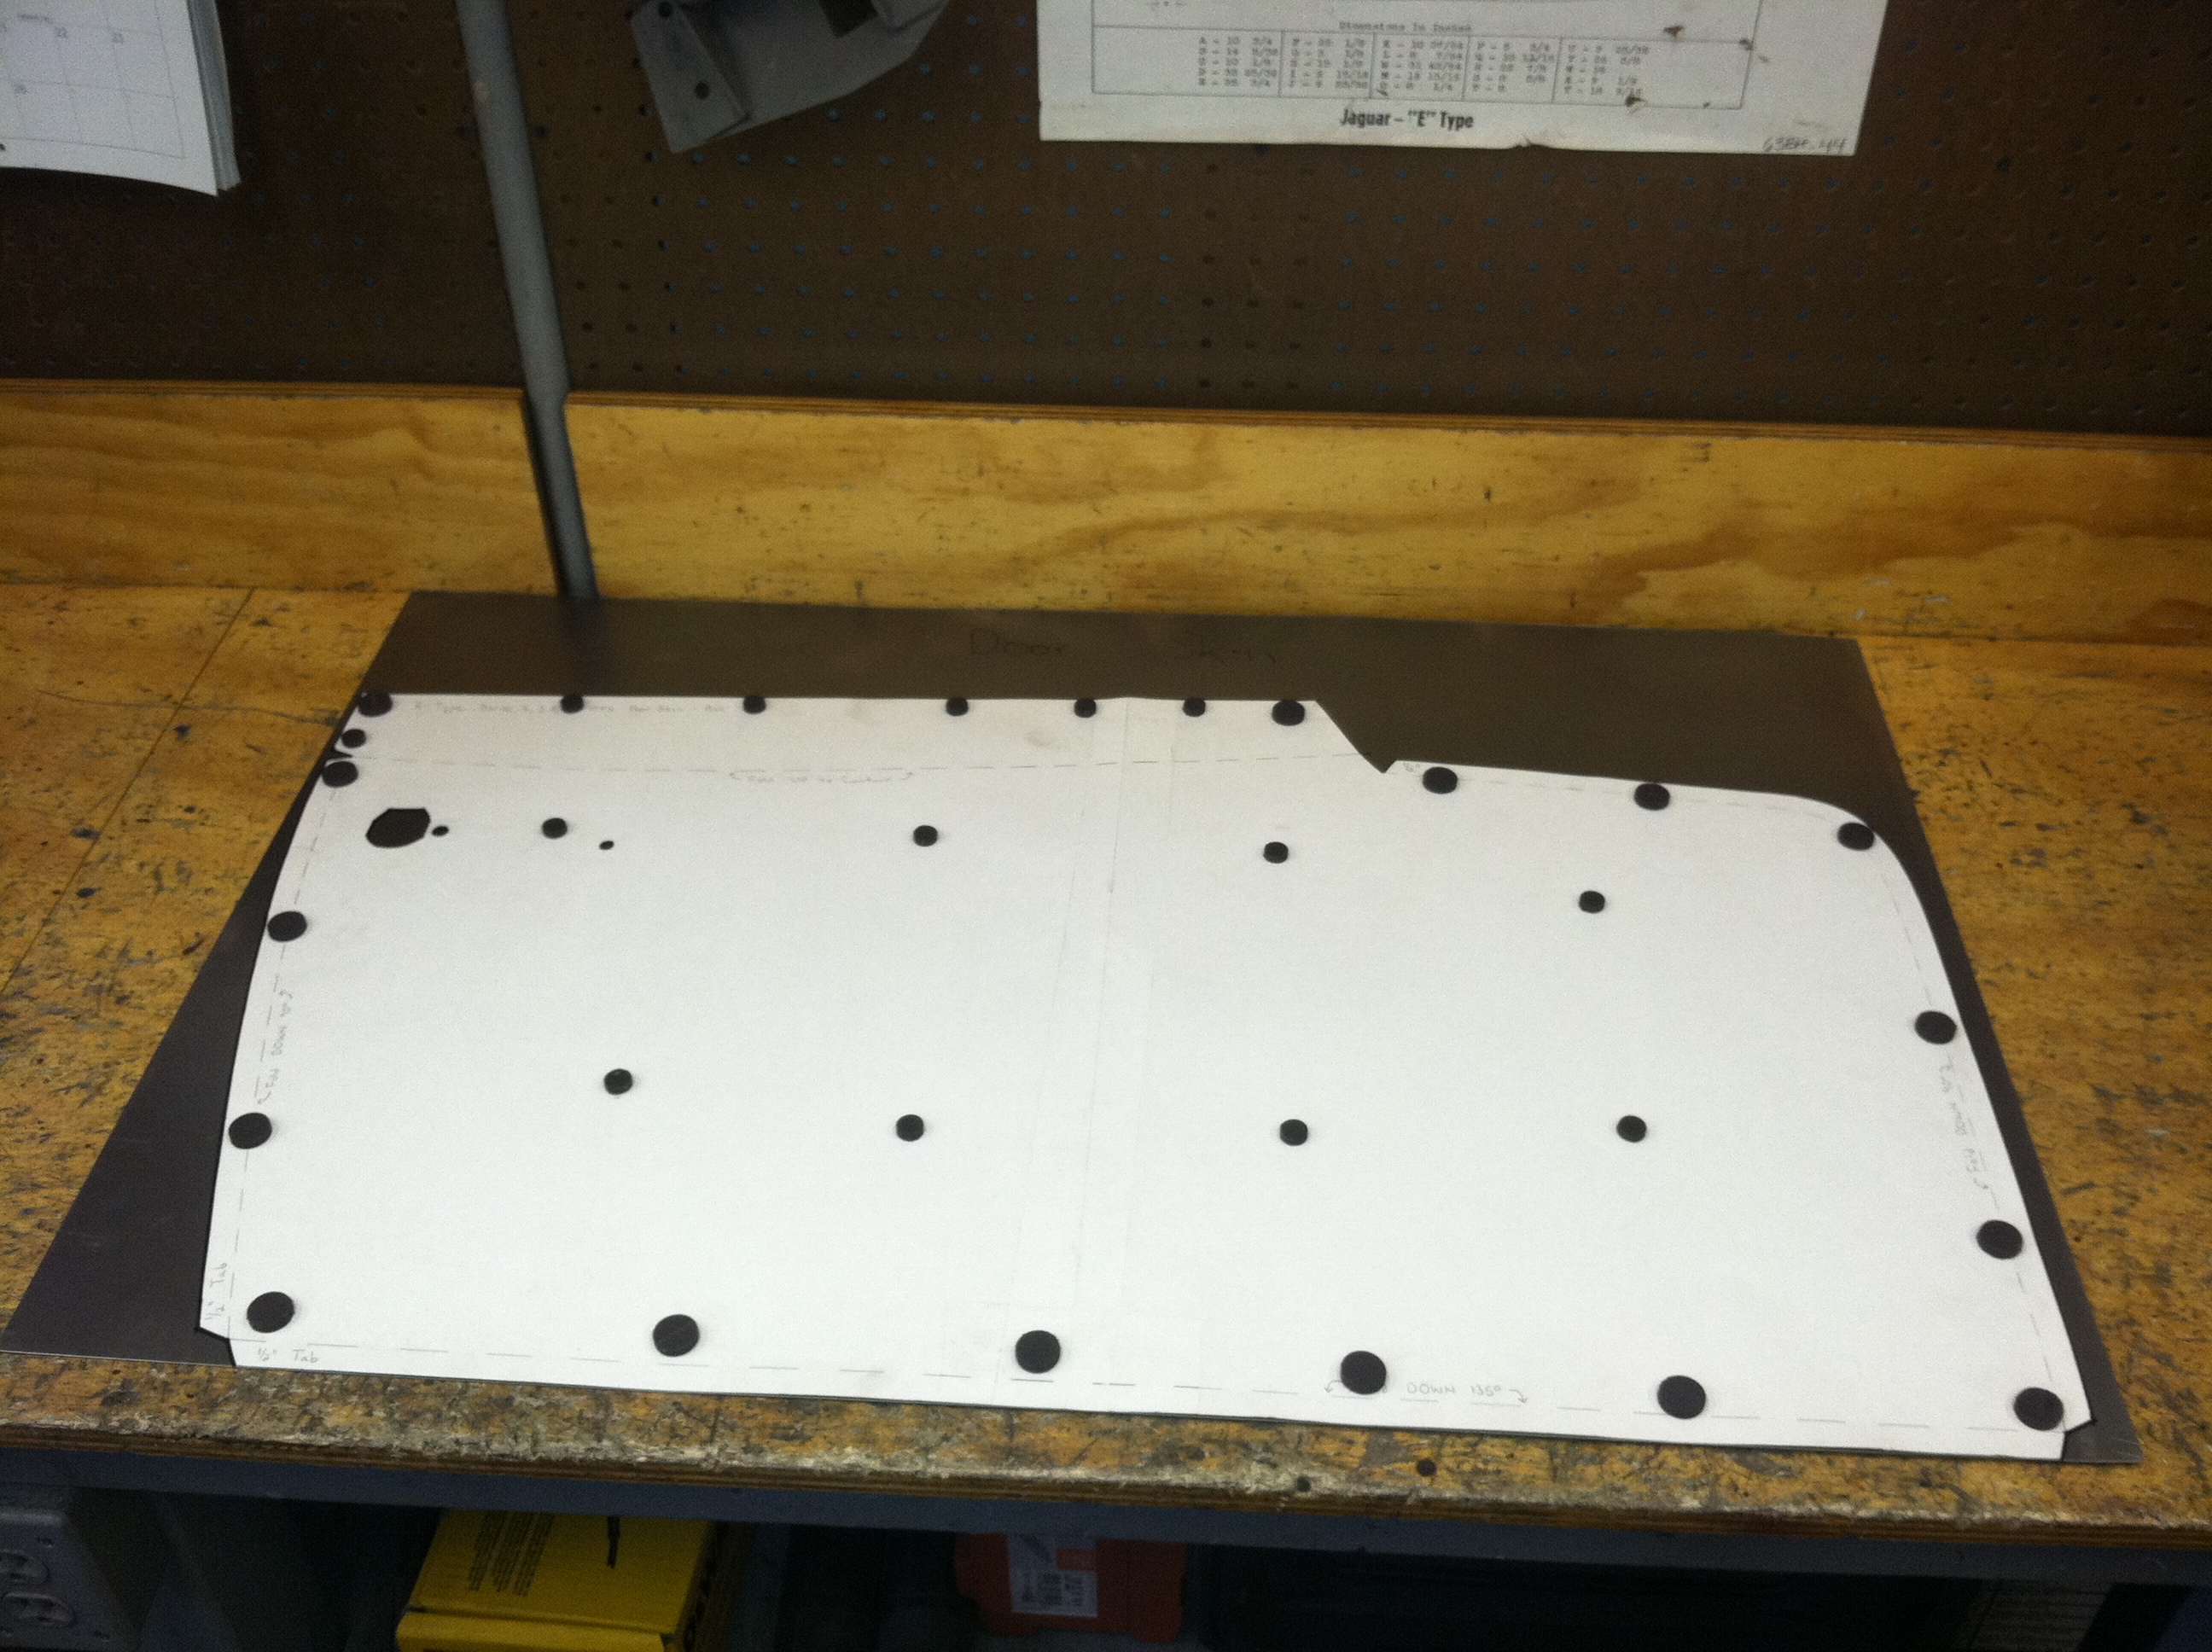
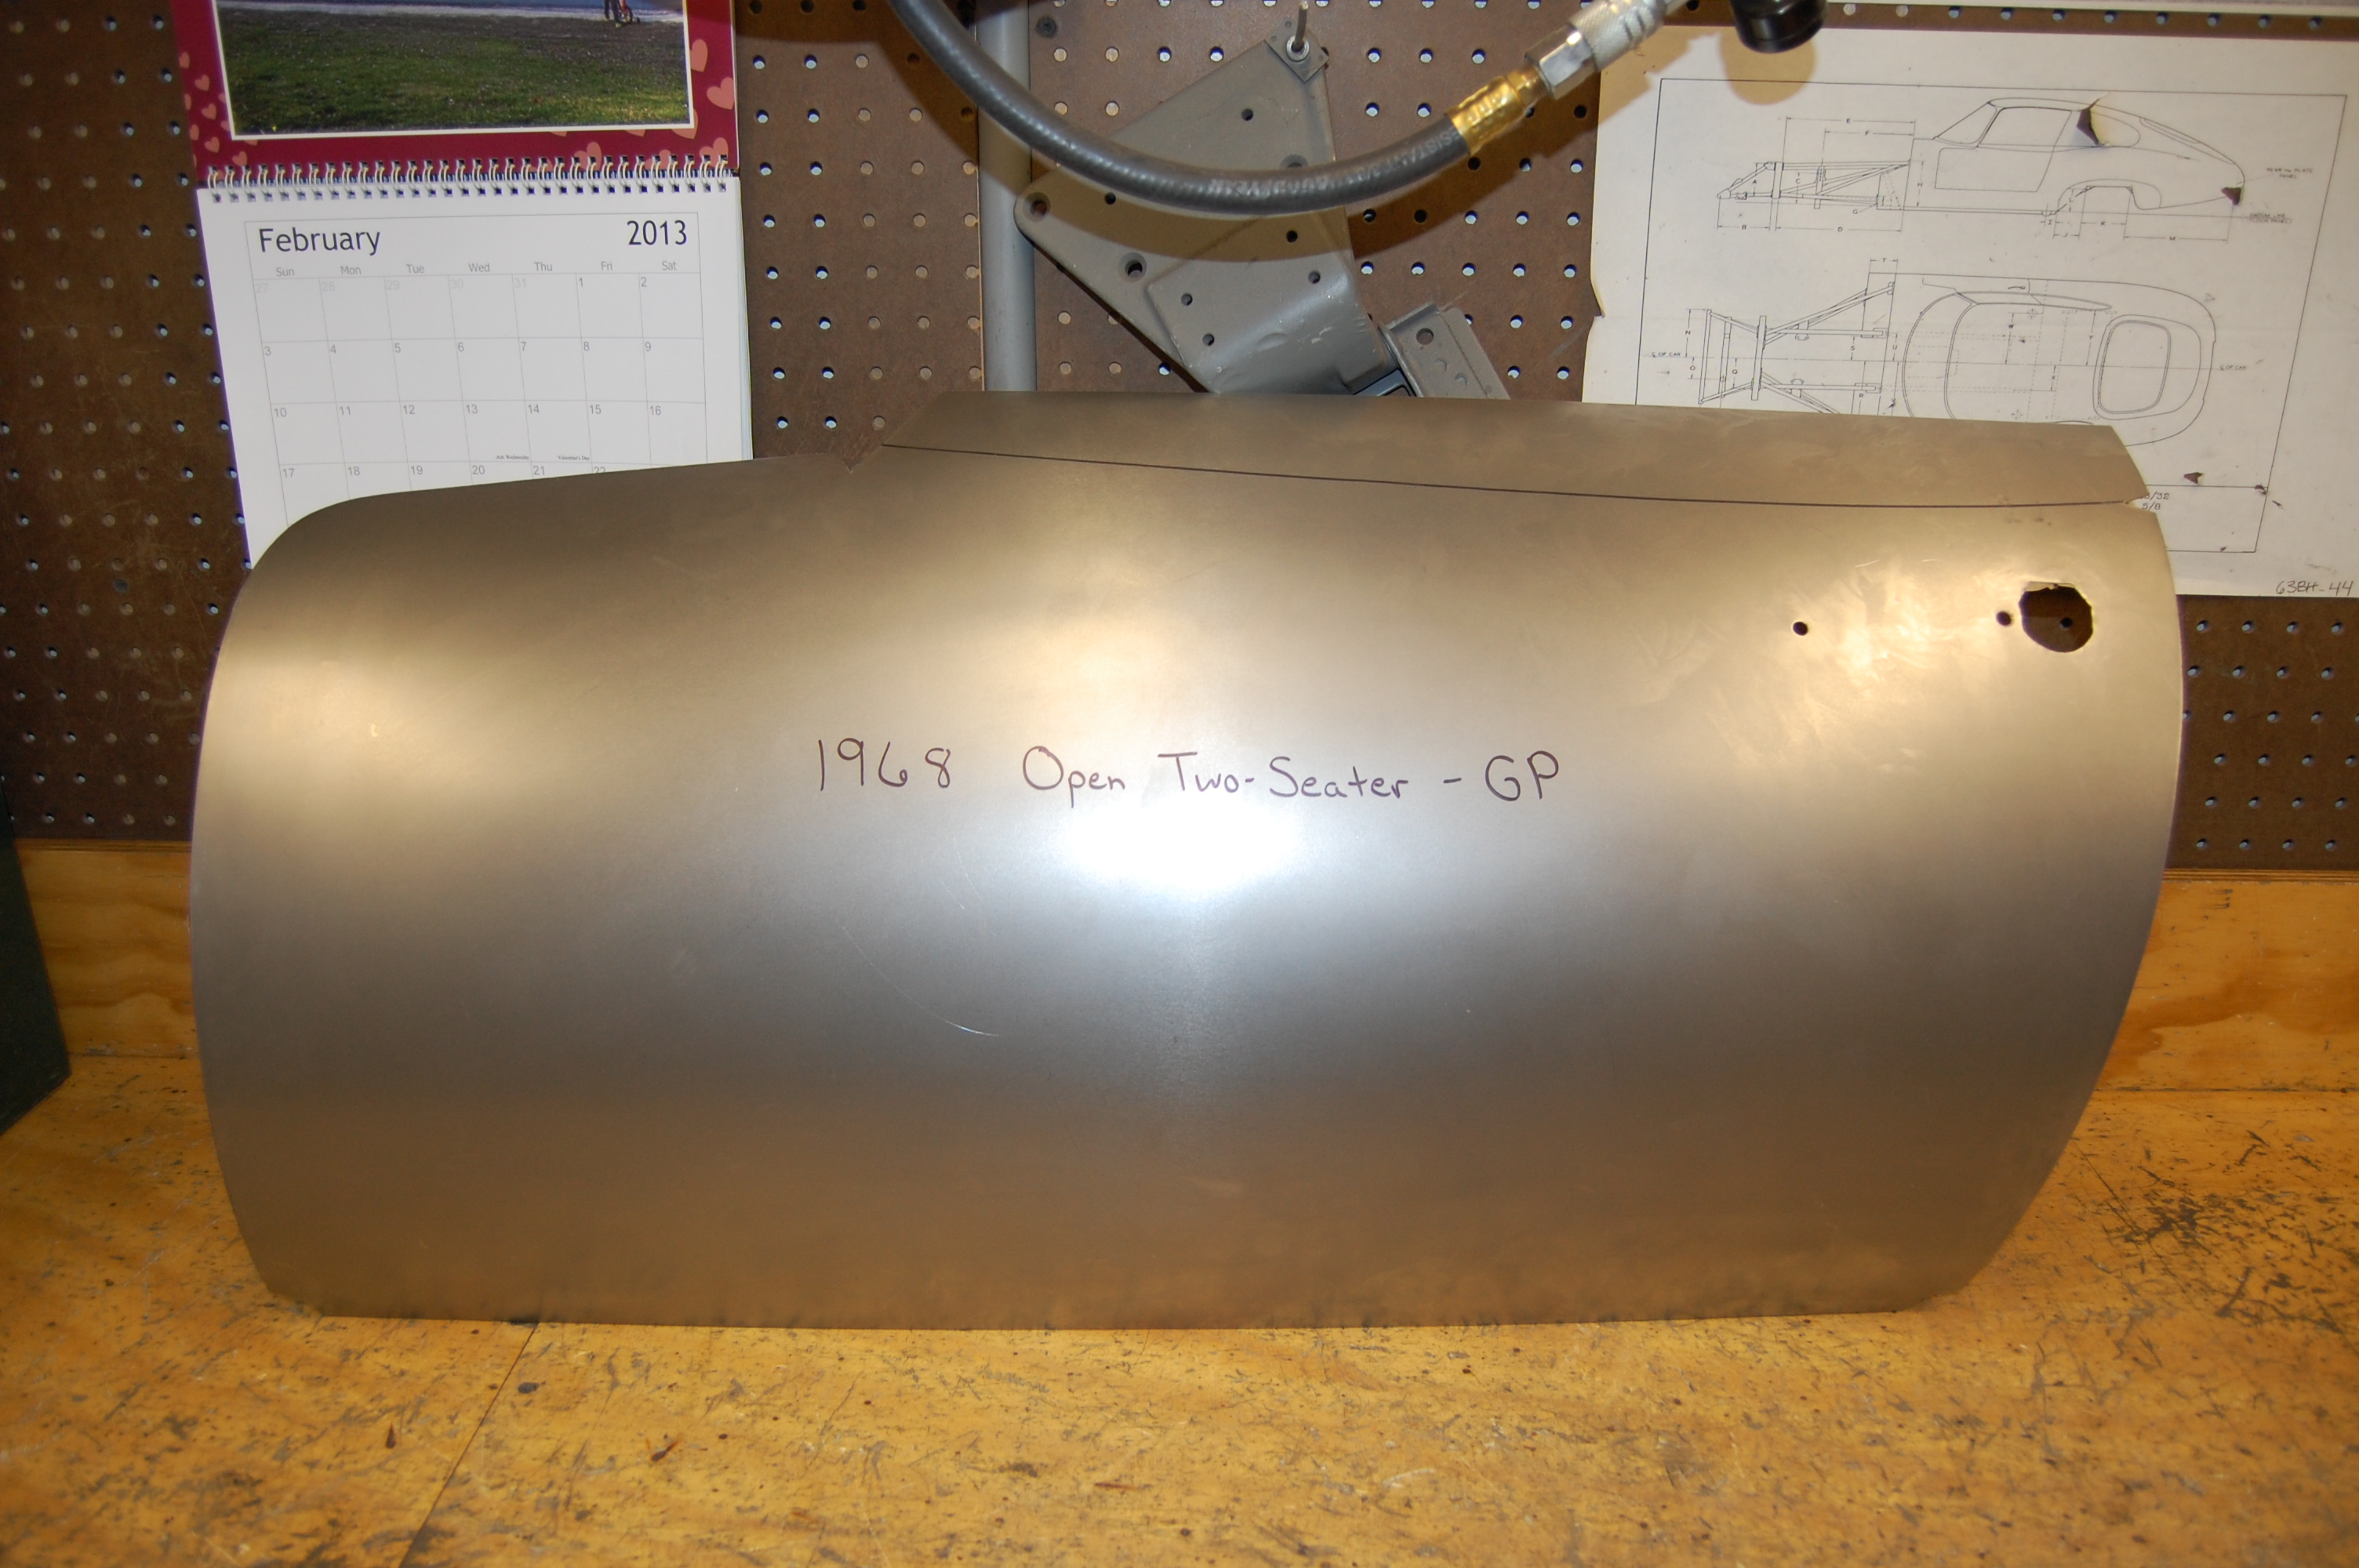
- Step 1 of the skinning process – trace the pattern. Looks like no big deal – anyone can do this stuff, right? Well, it took me over 10 hours to make that piece of paper, with the help of about a dozen original doors. Figuring out what’s “right” is almost impossible sometimes with these cars!
-
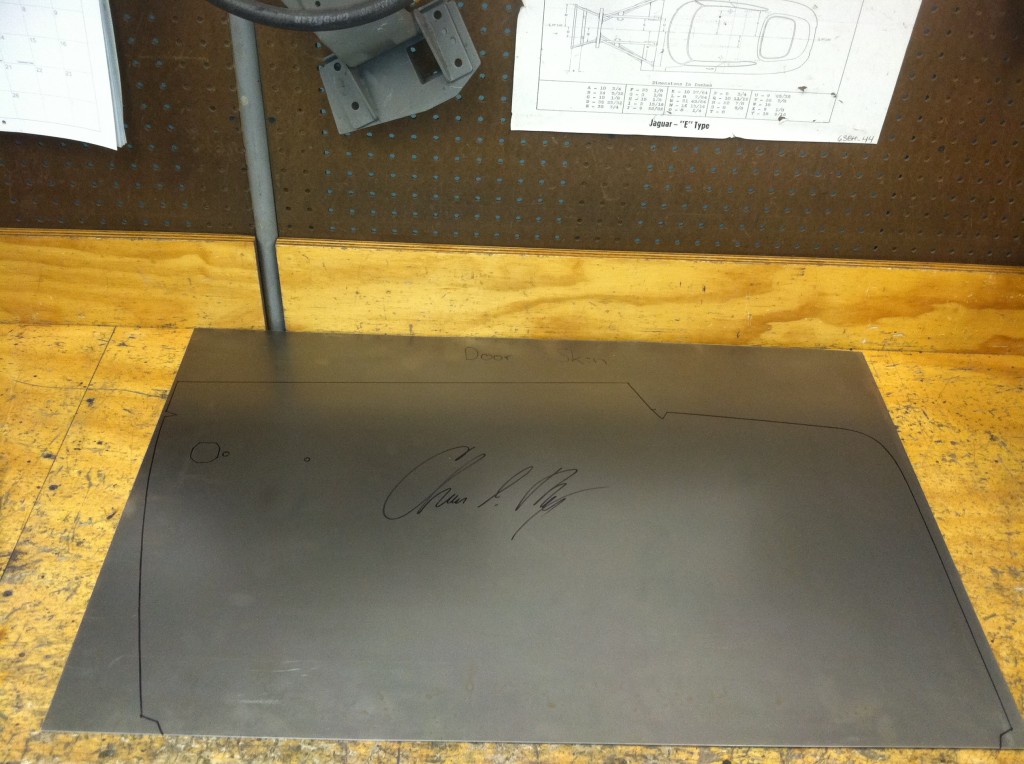
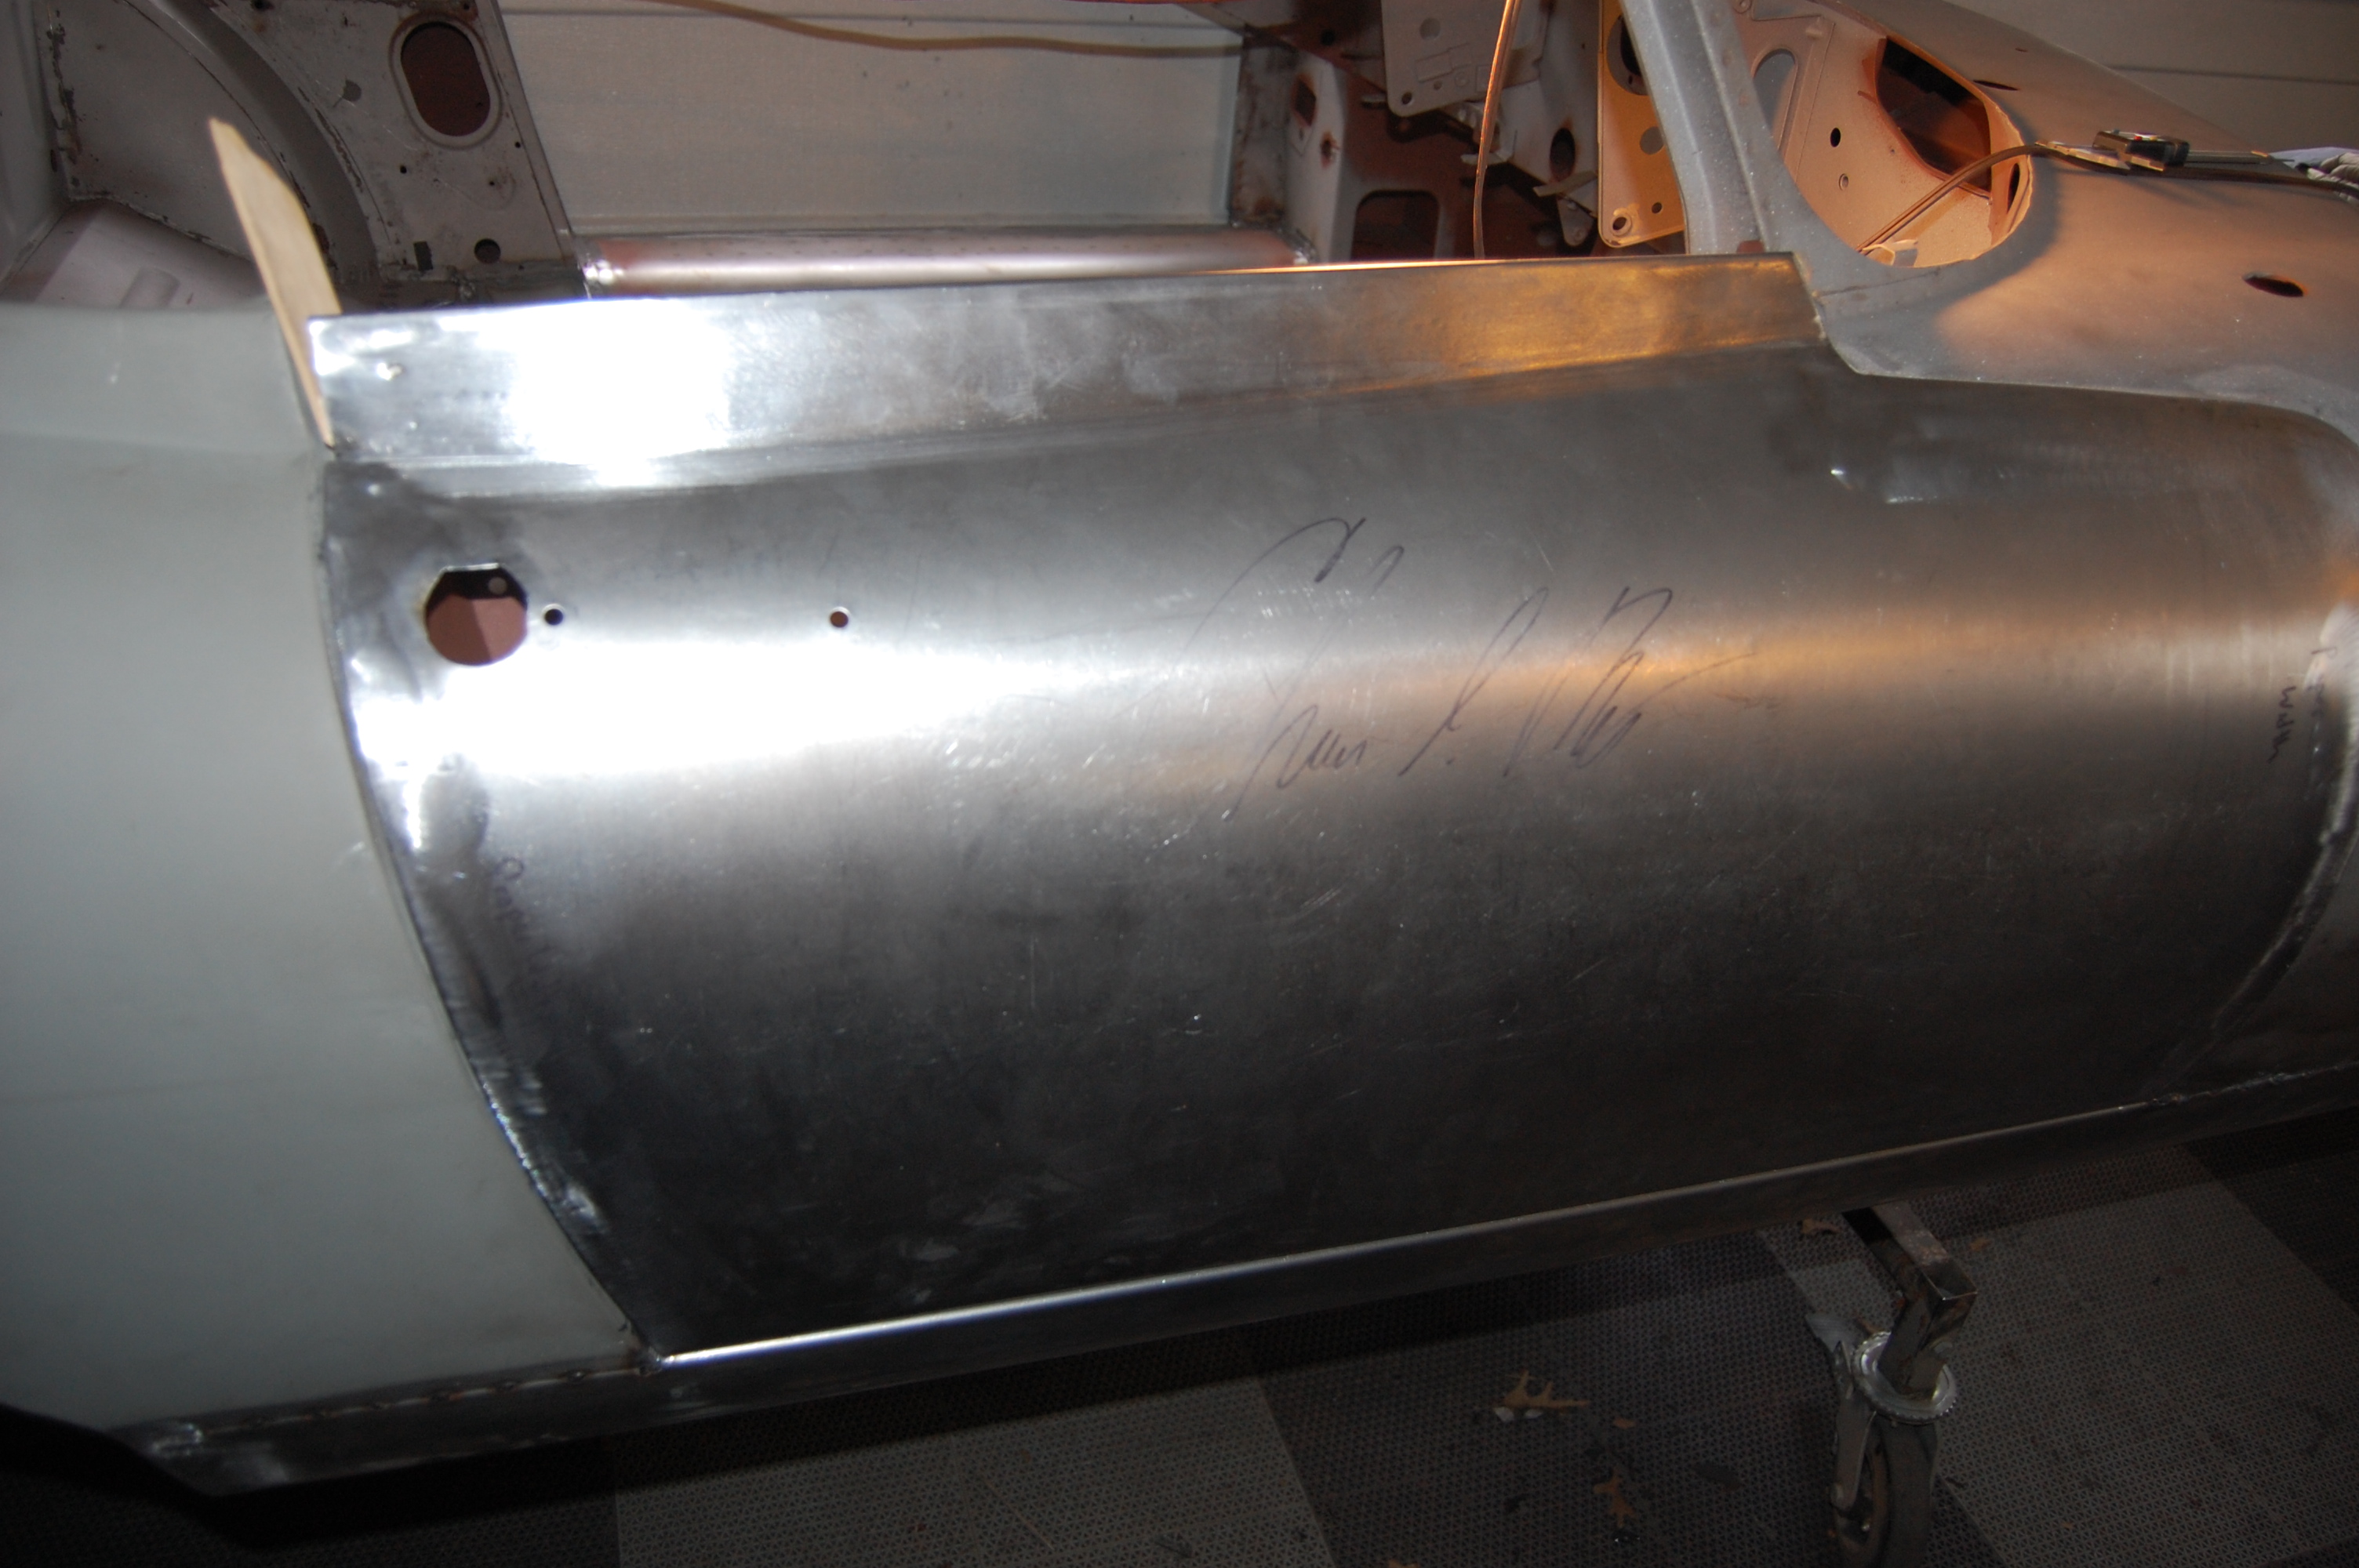
- I signed the blank so you could se later on that this is in fact the same piece of metal. Even I can’t believe we can pull this off here – this is one of those parts that 10 years ago, I would have just stated, “Nobody can make that – period.”

-

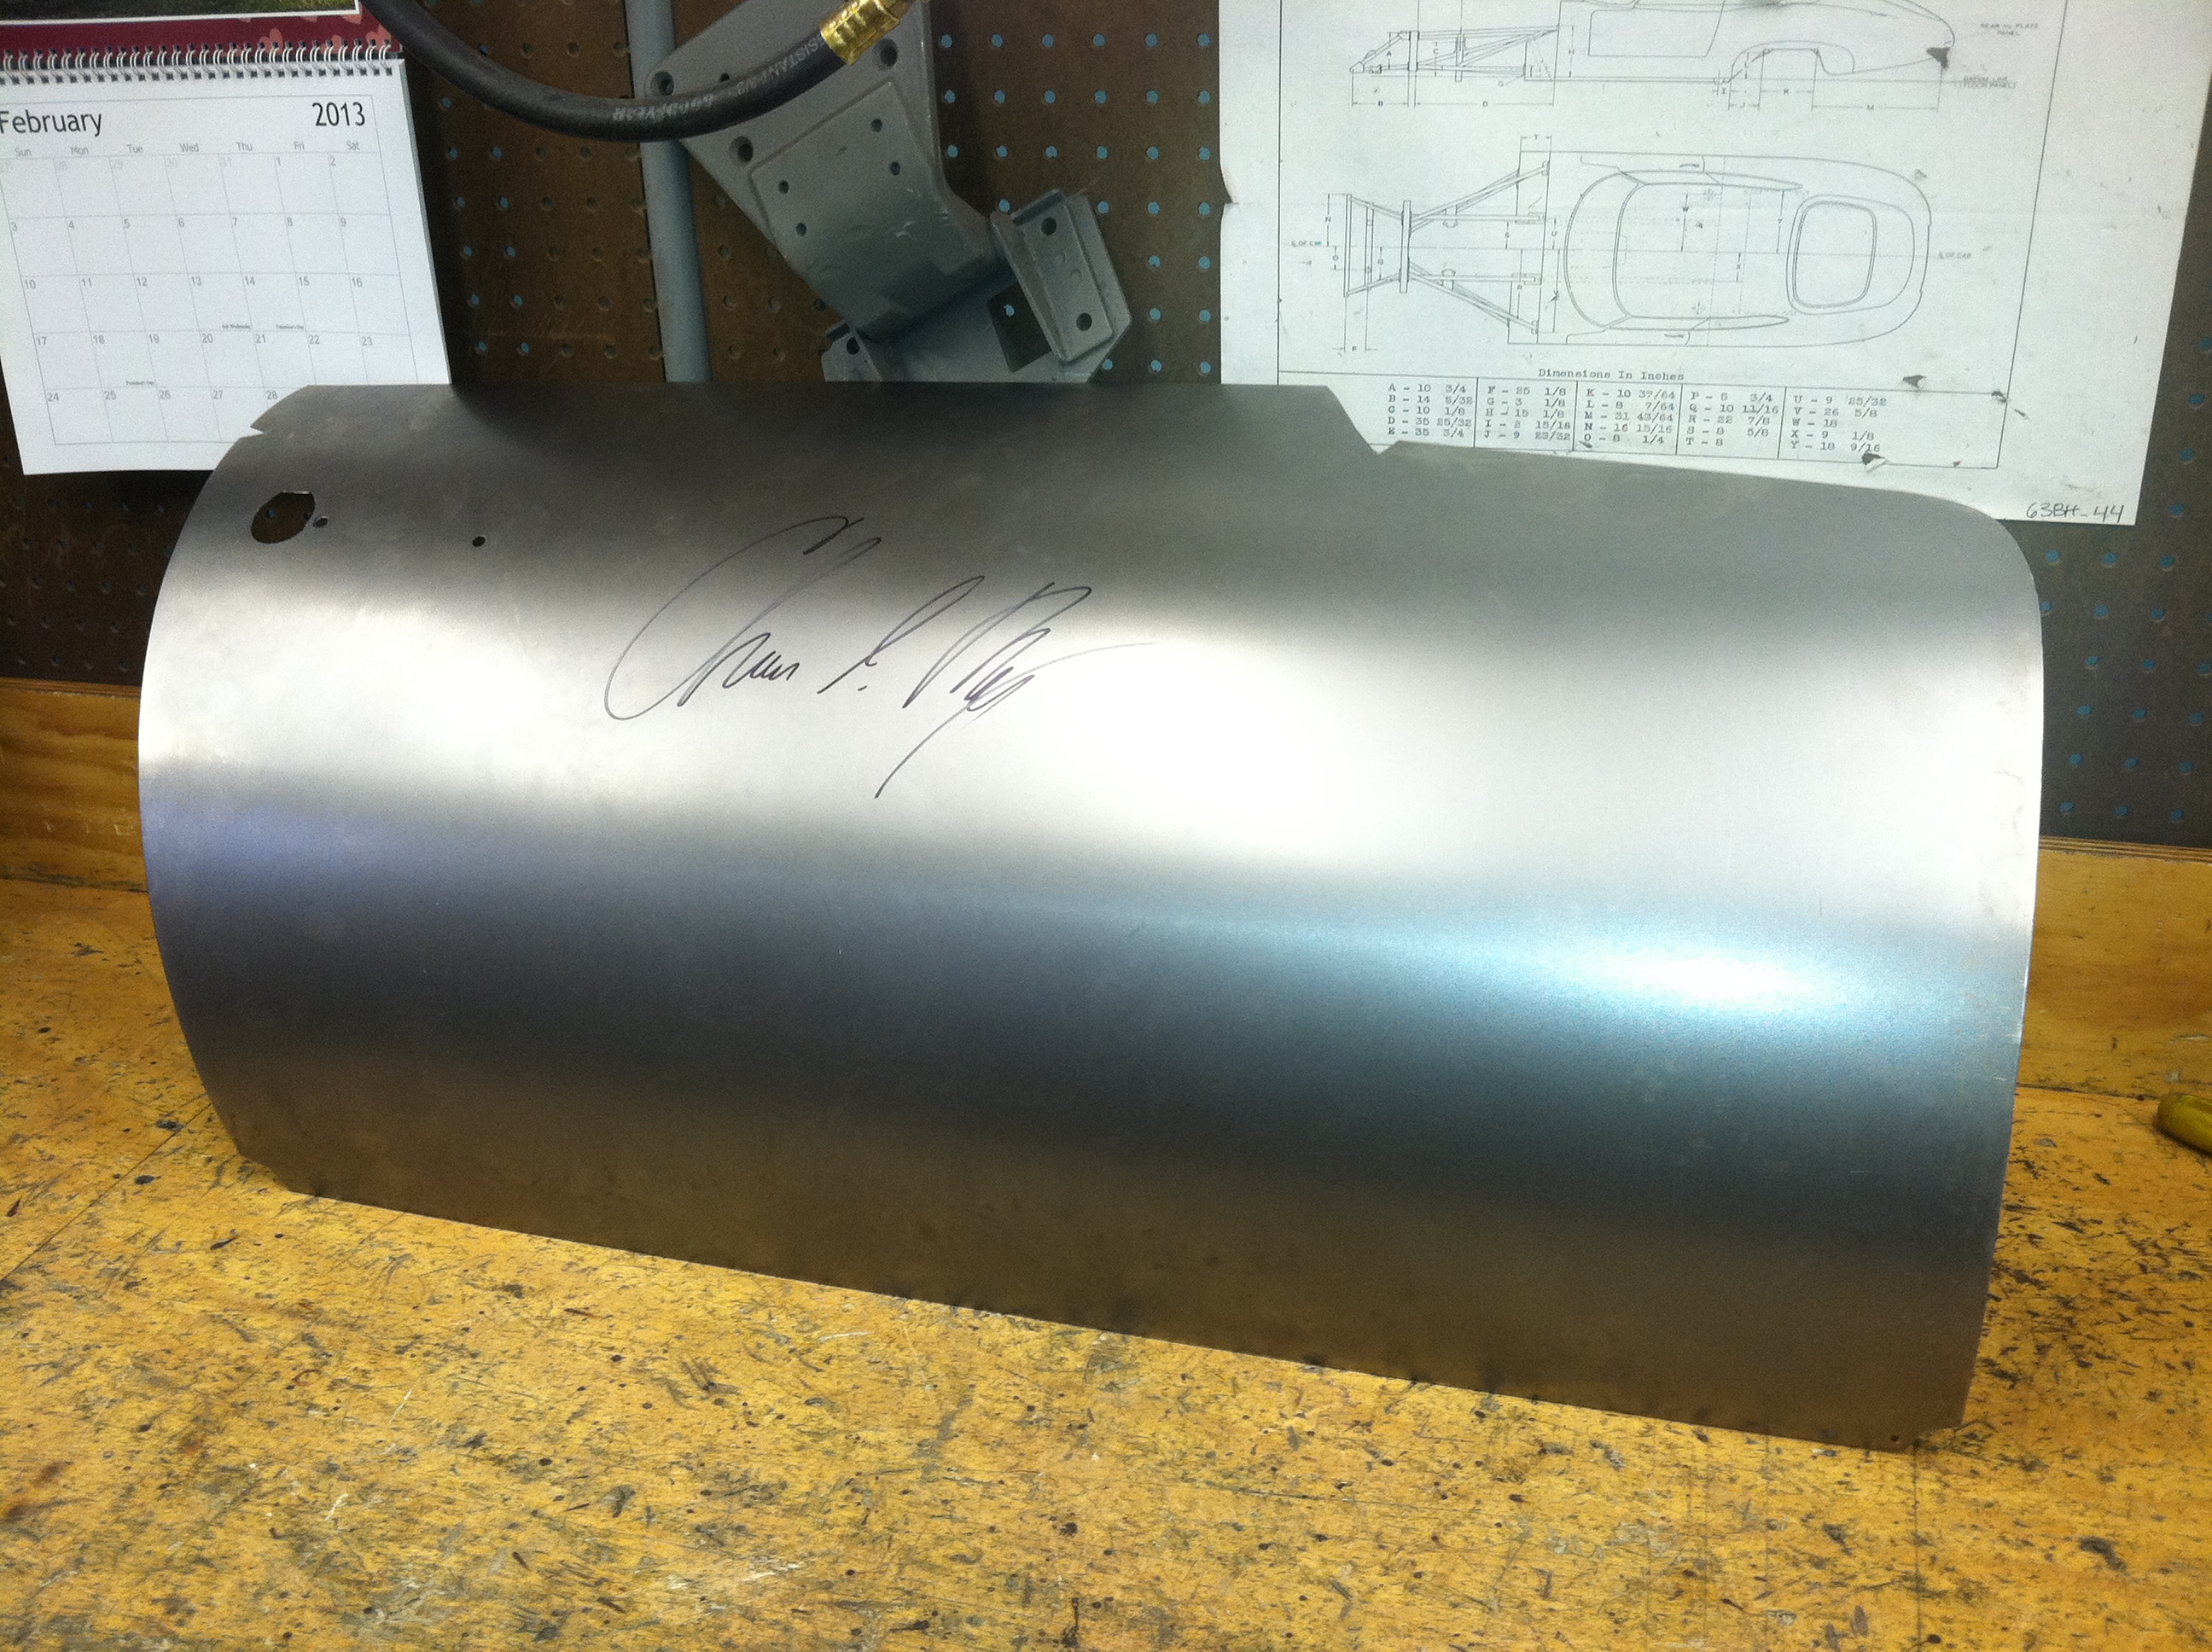
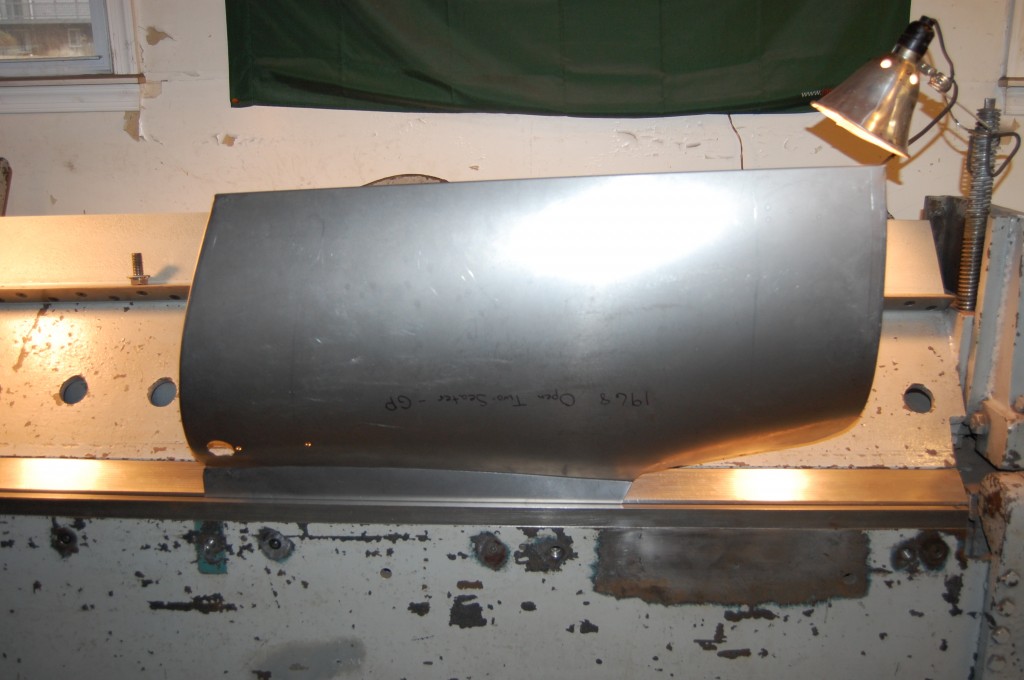
- Next, we cut it out, smooth the edges, and then give it the proper curve in the roller.
-

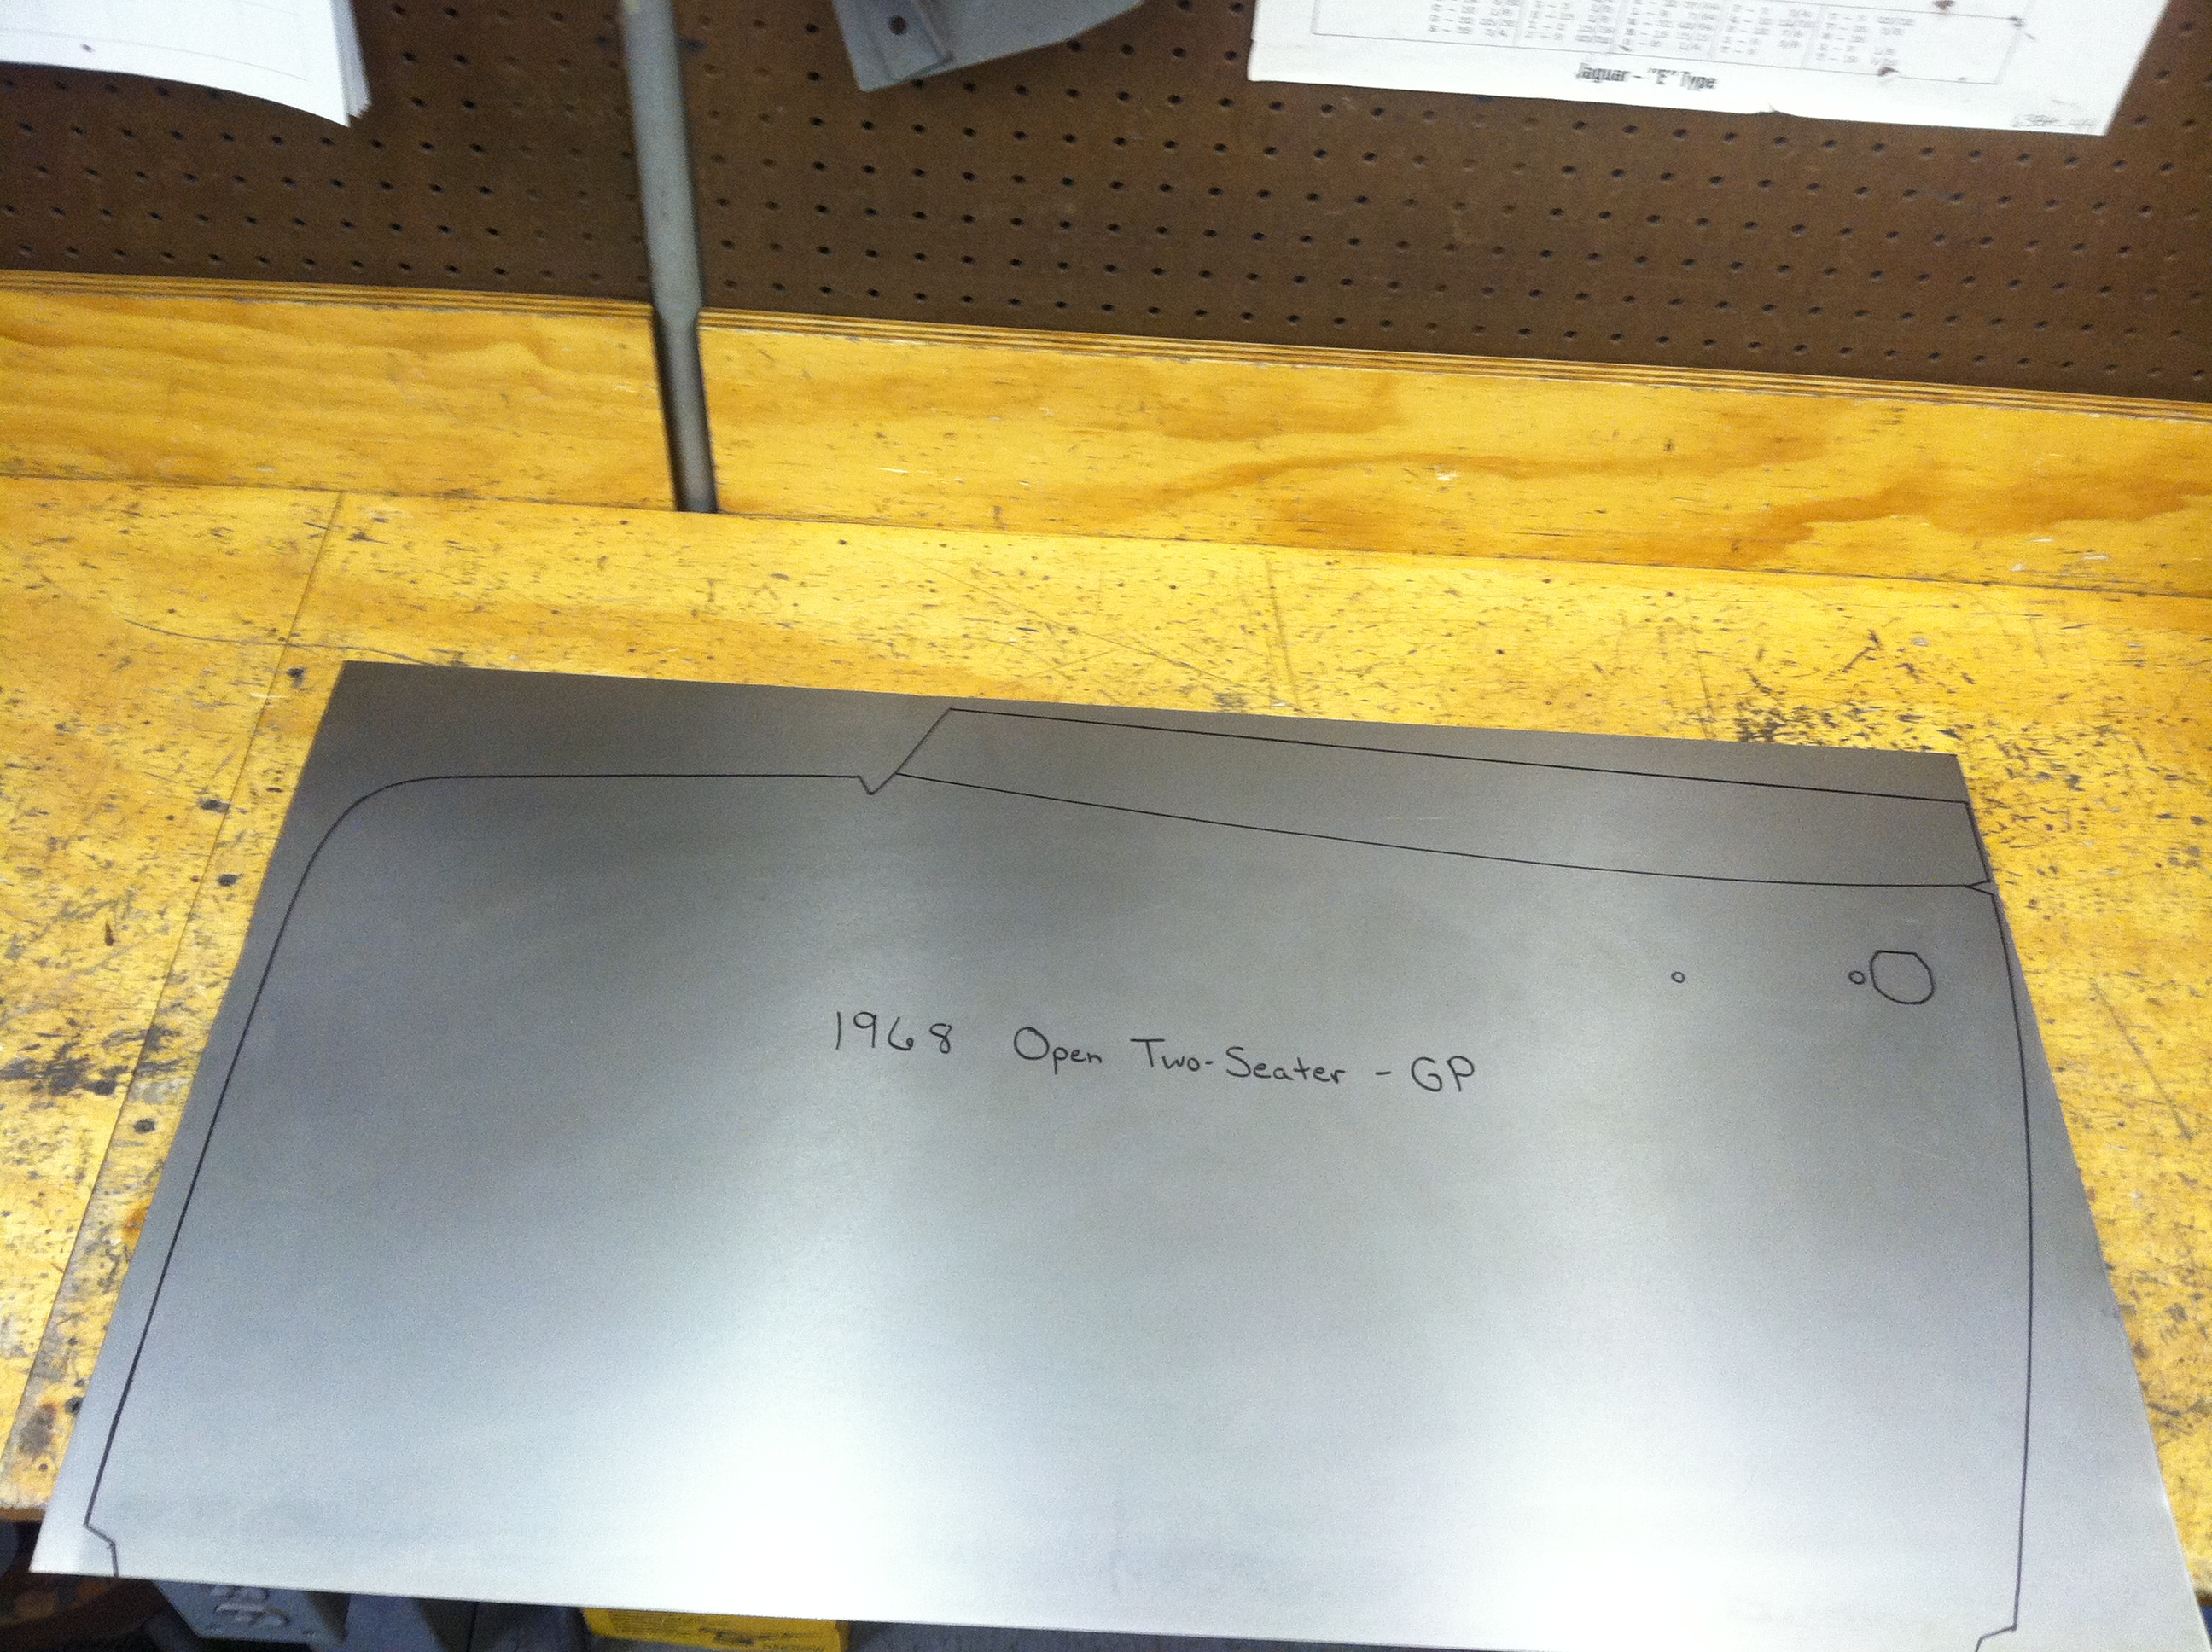
- Here’s the other side traced out.
-

- And cut and curved. The prototypes didn’t have the door handle holes cut in, but they’re now properly located on the pattern as well. Their location on the aftermarket doors has been known to be a little out of whack…
-

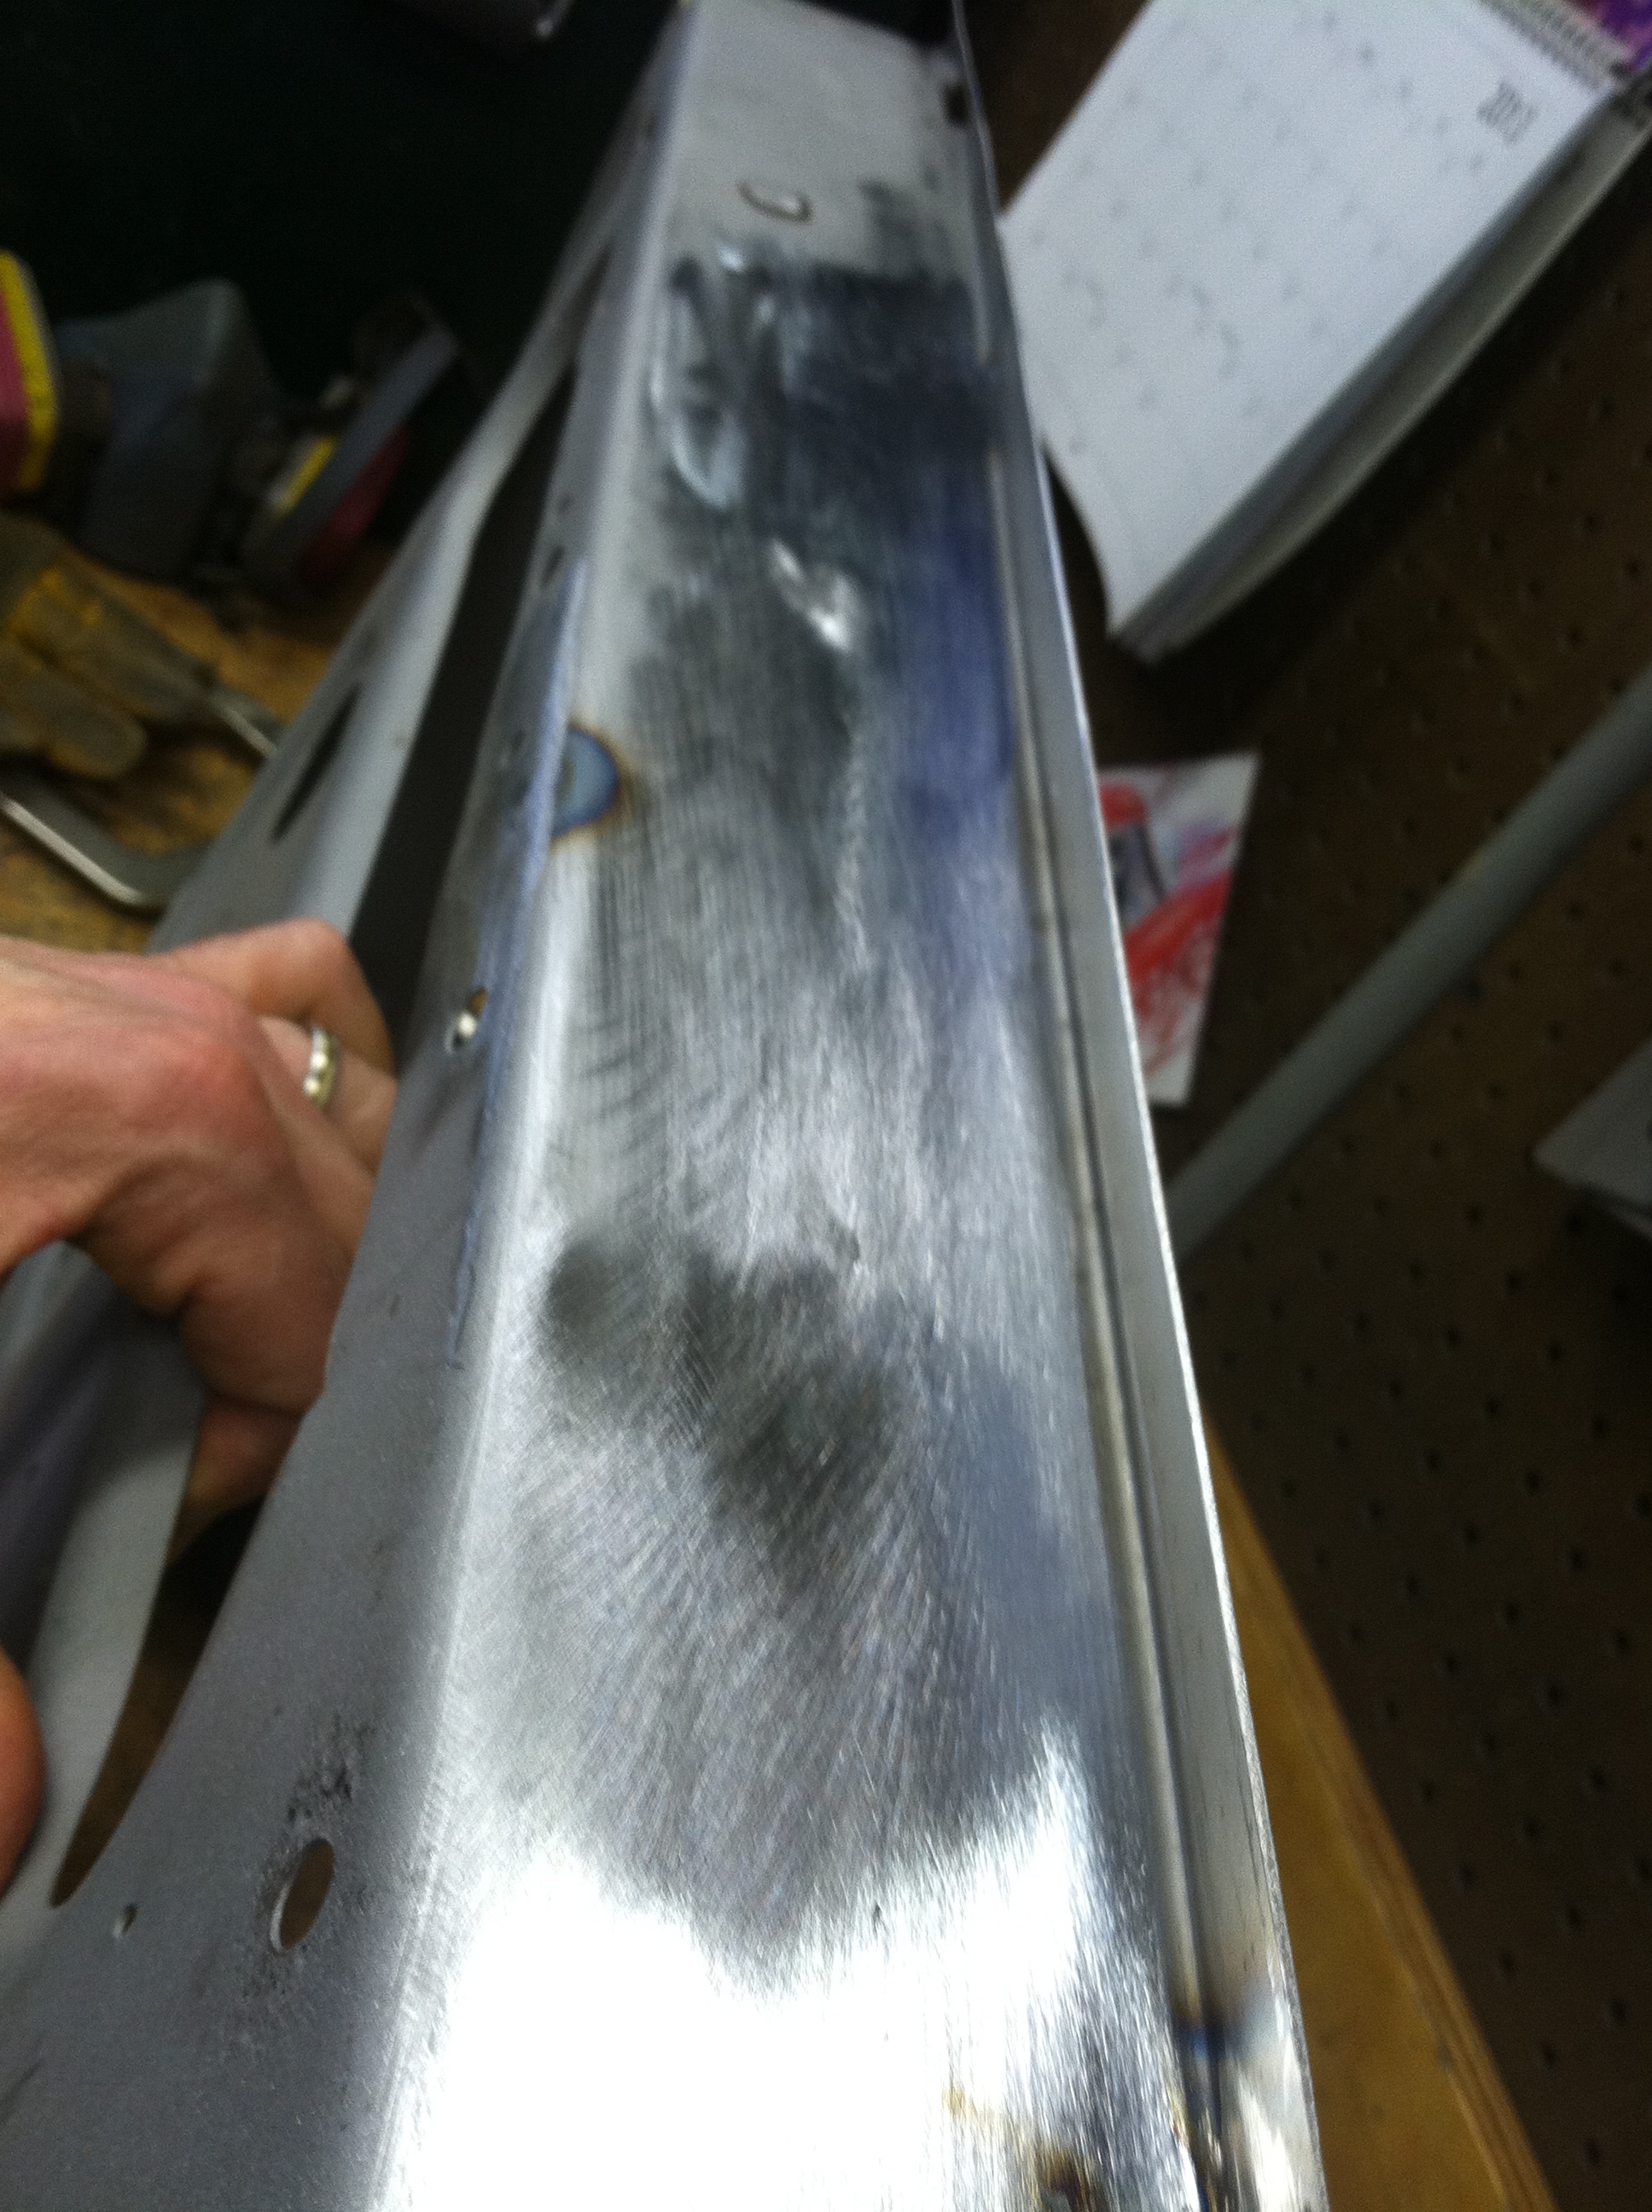
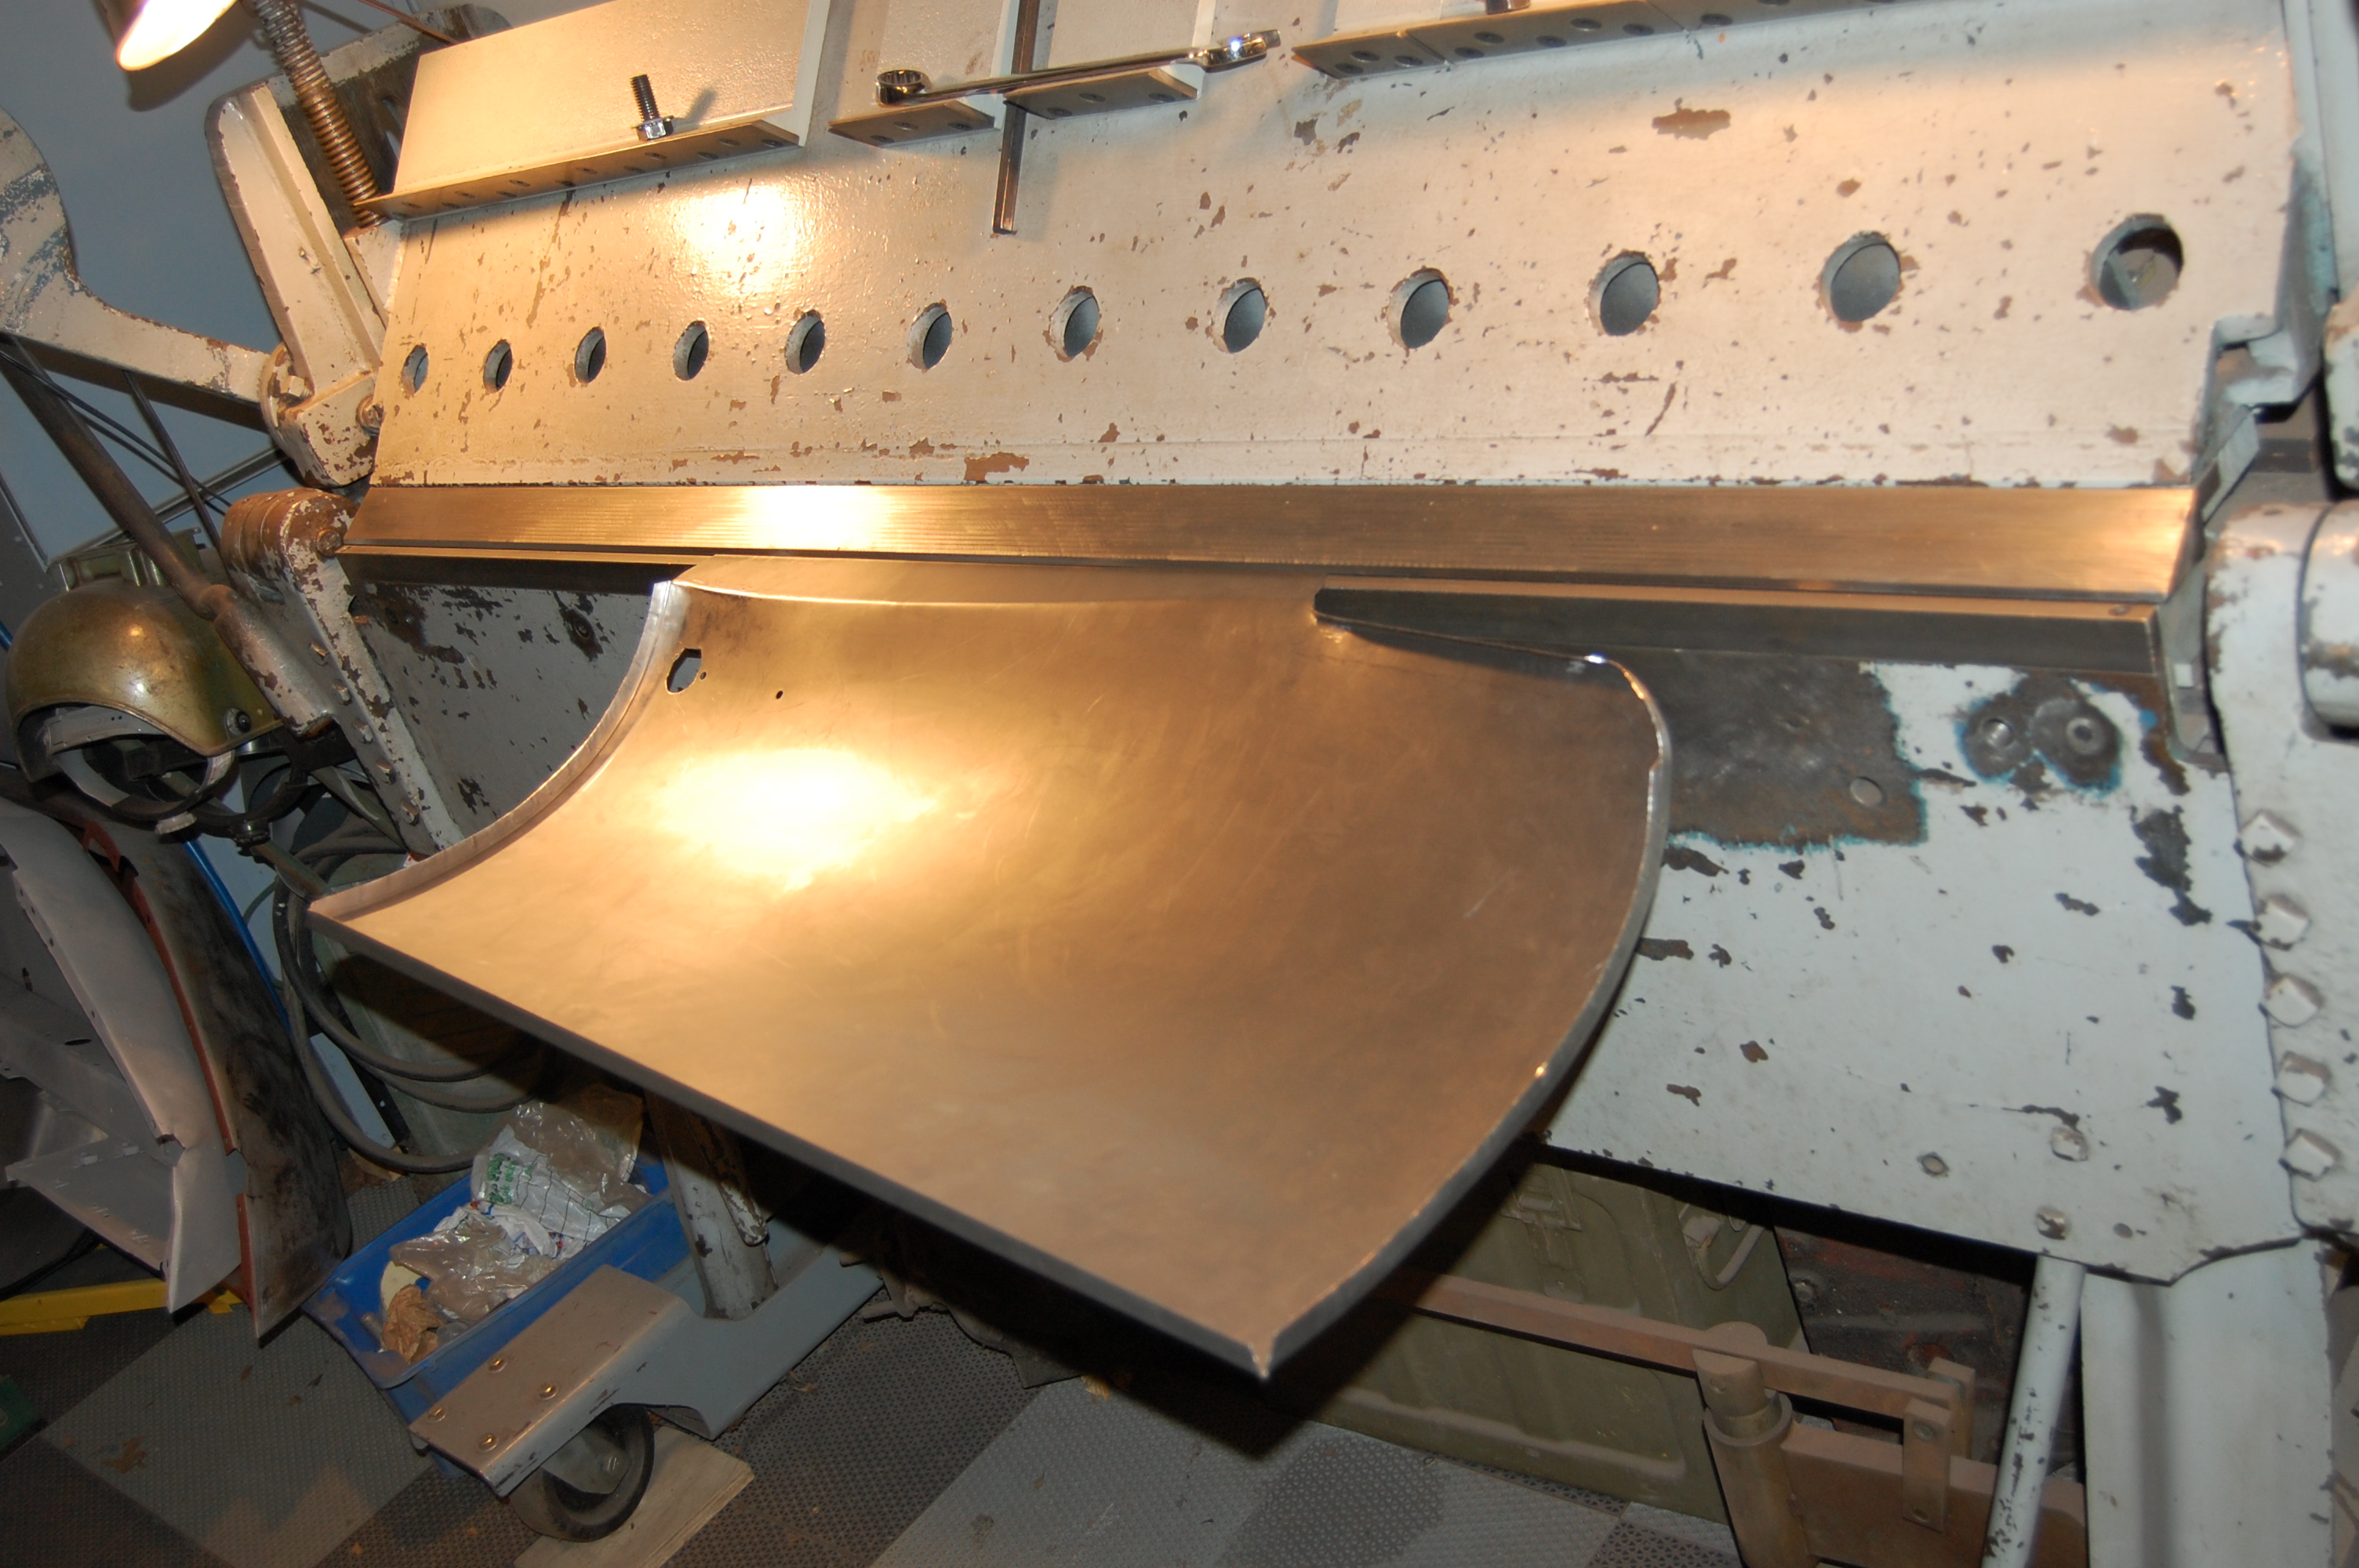
- In this shot, the edges have been folded up, the top contour has been rolled in, and we’re finishing off the top edge.
-
- No tricks – it’s still the same piece of metal!

-
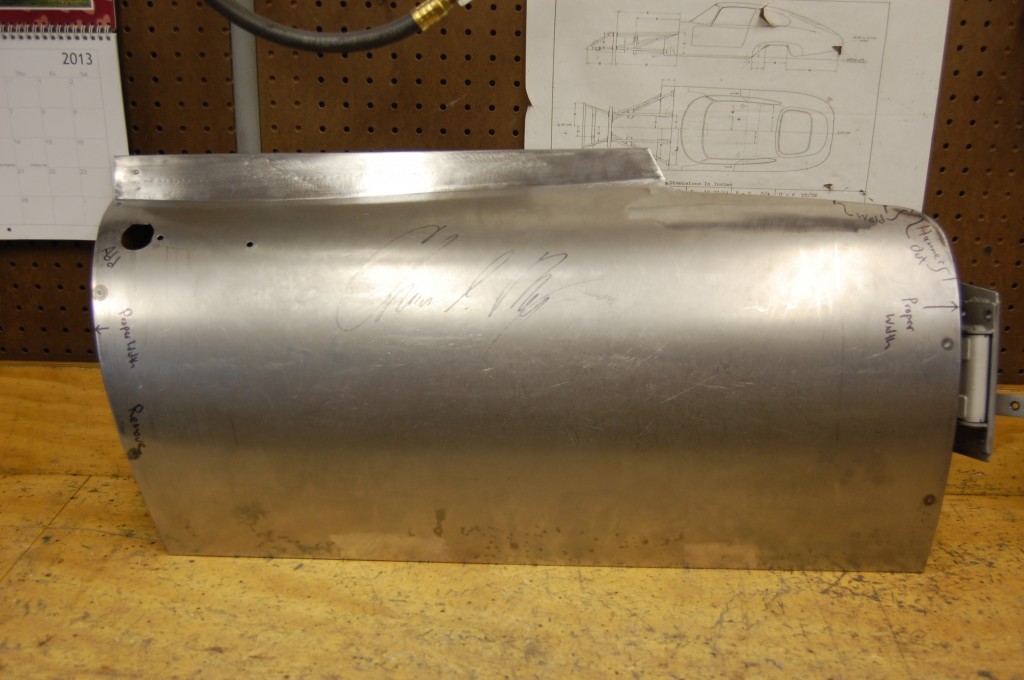
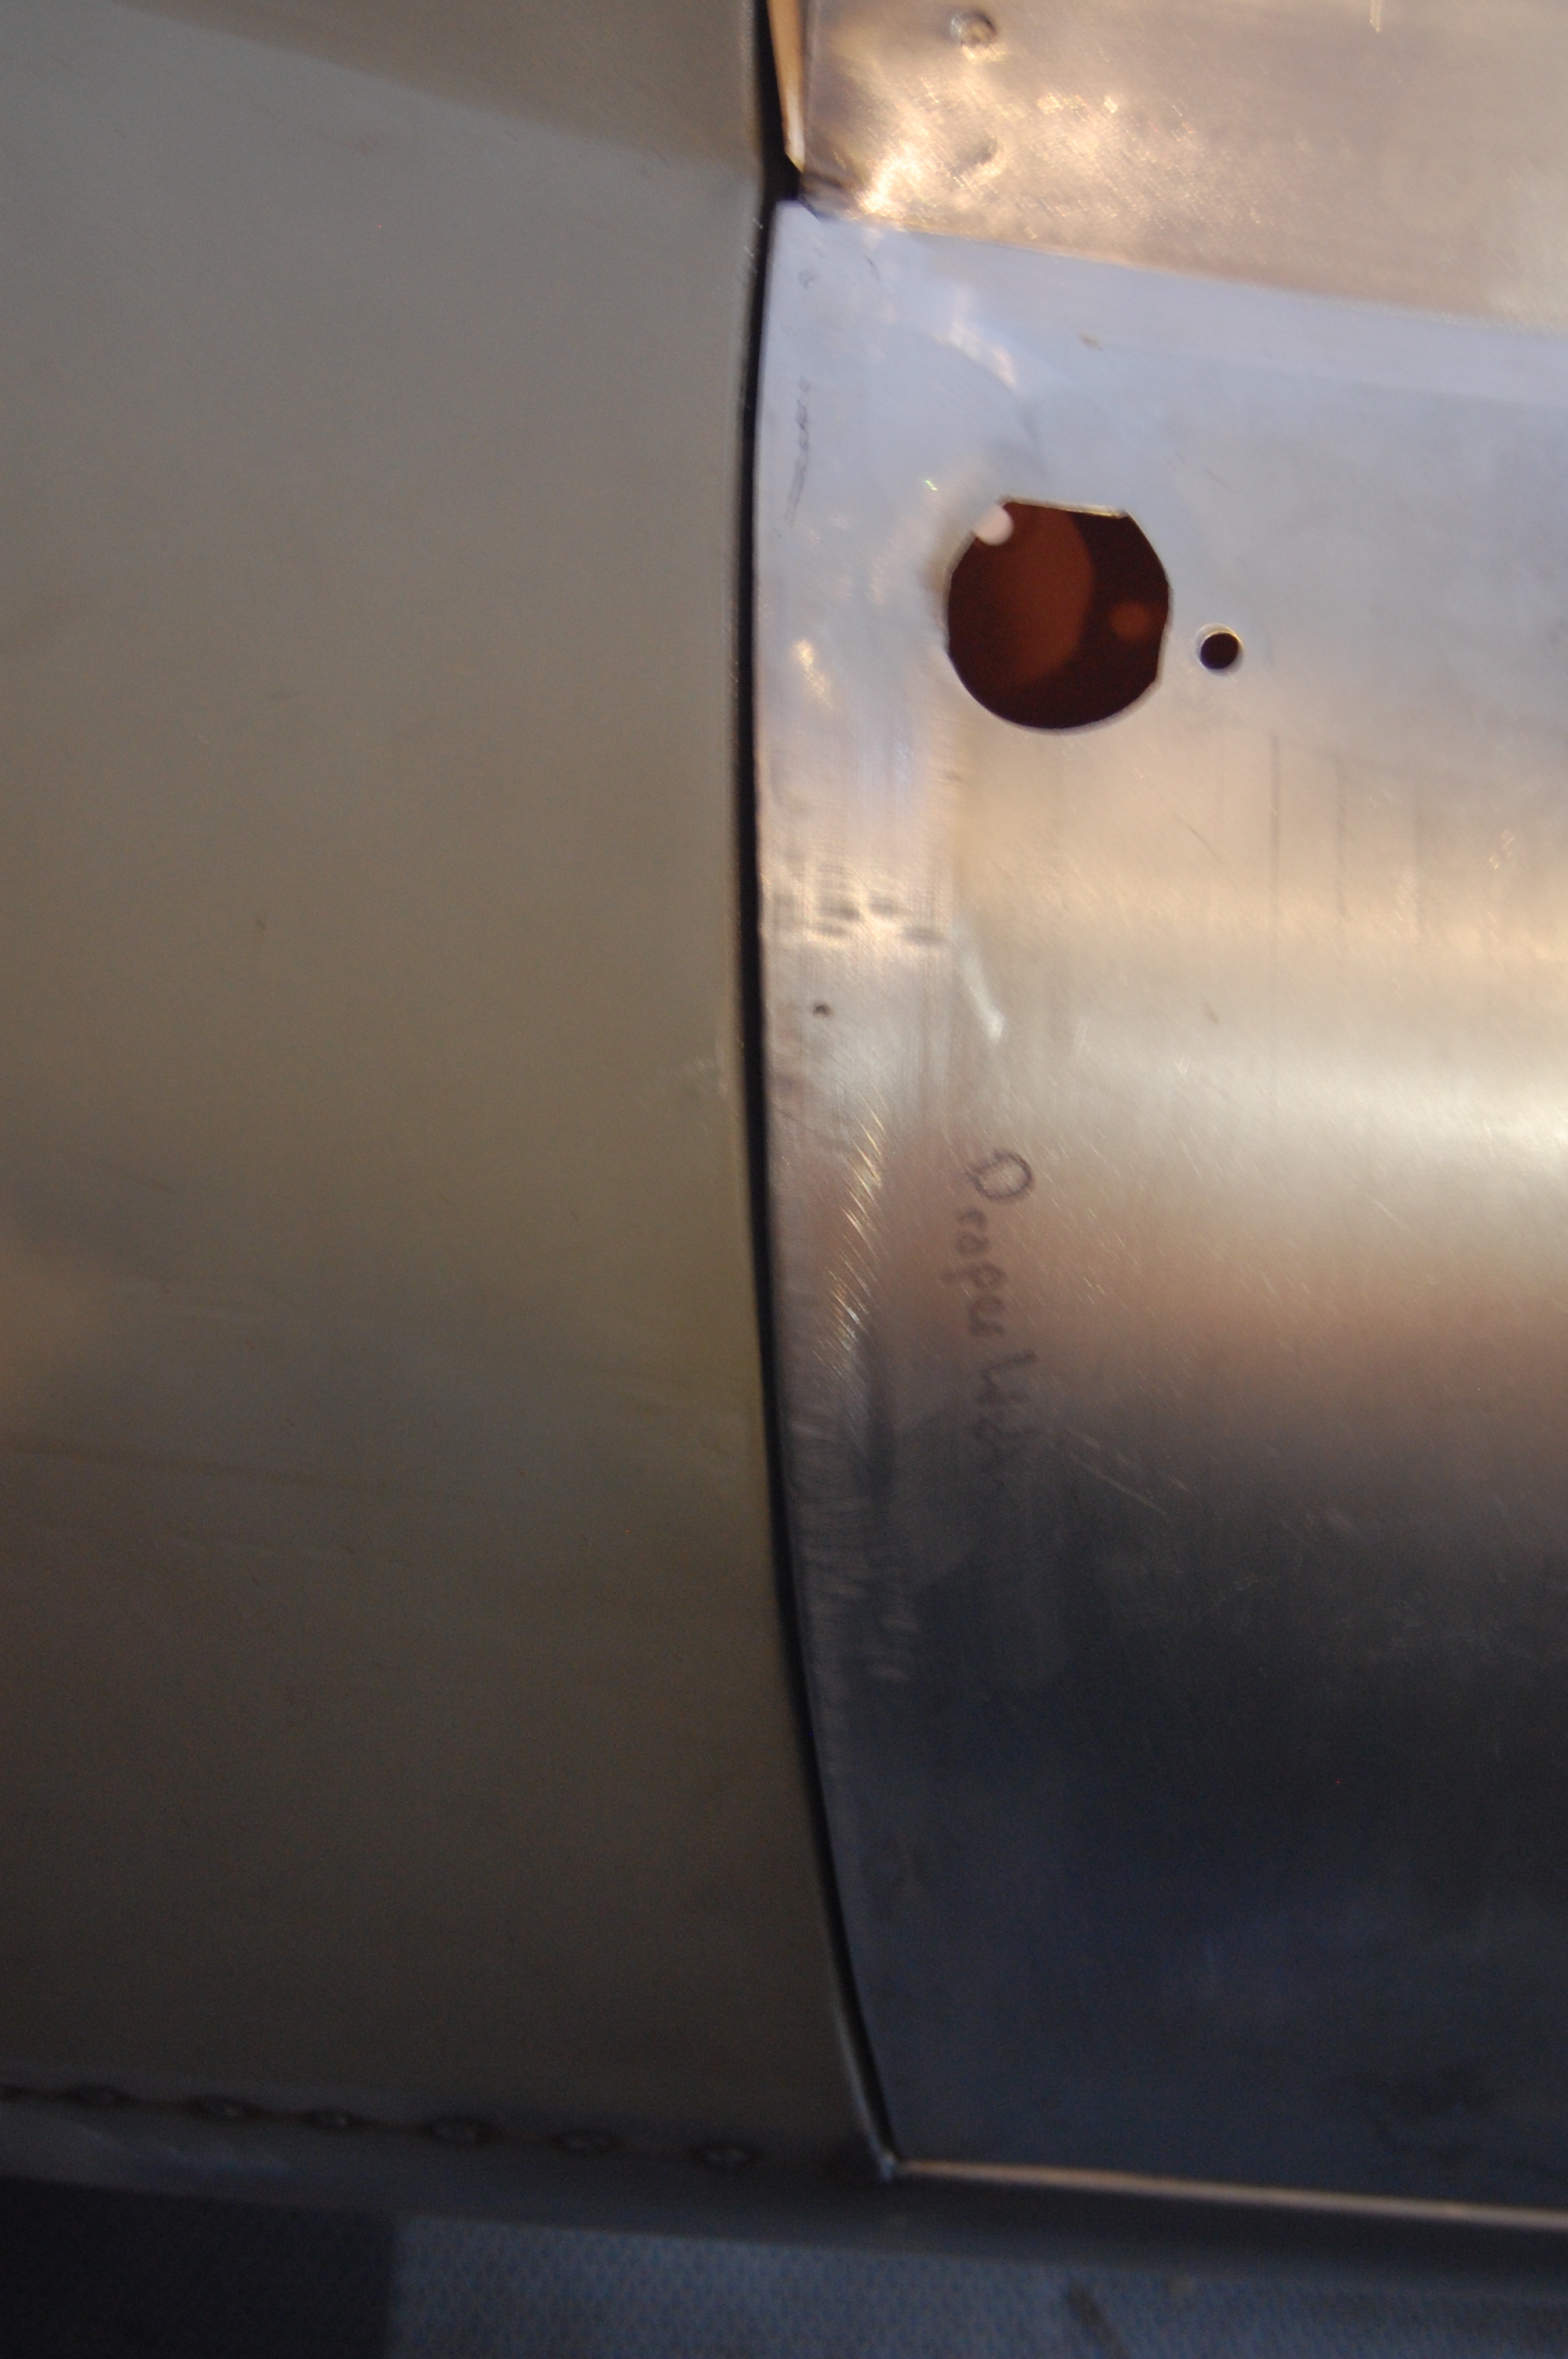
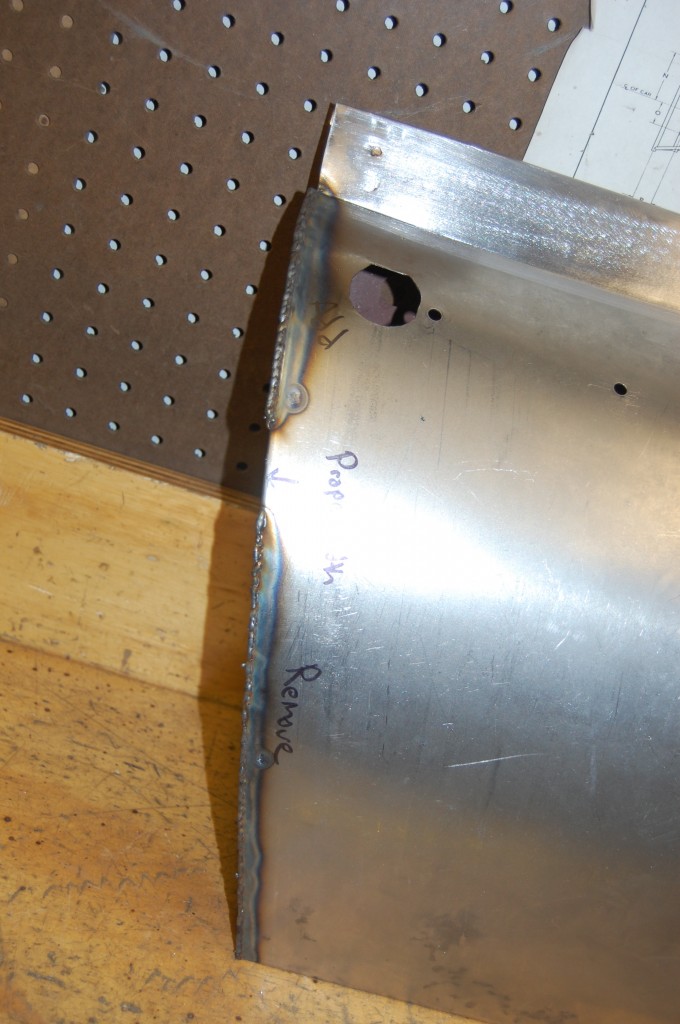
- This was a busy week, to say the least! We started the week building doors for this shell – now, Sunday morning, the shell and the doors are LONG GONE! And when things are that crazy, I don’t stop to take the pictures like I should. Here, the RH skin has been mated to the restored inner shell, and already test fitted to the shell, since the hinge is on there… YOu can see the marks and notes that have been made of where we need to add and remove metal, or just move the edge around a bit.

-

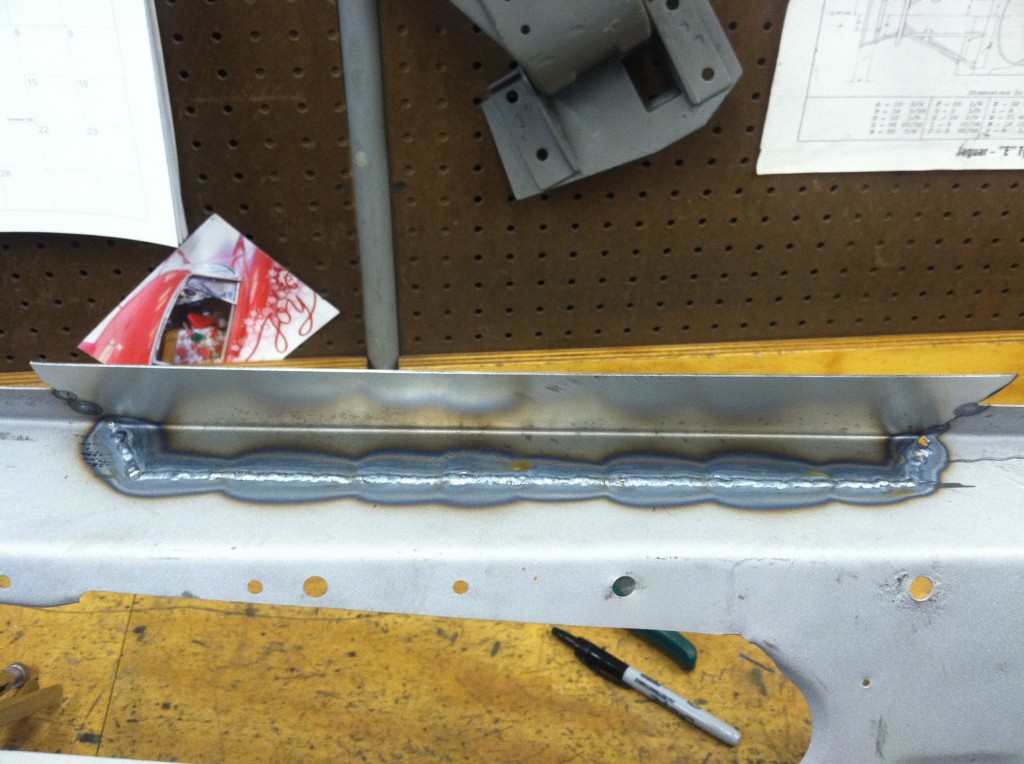
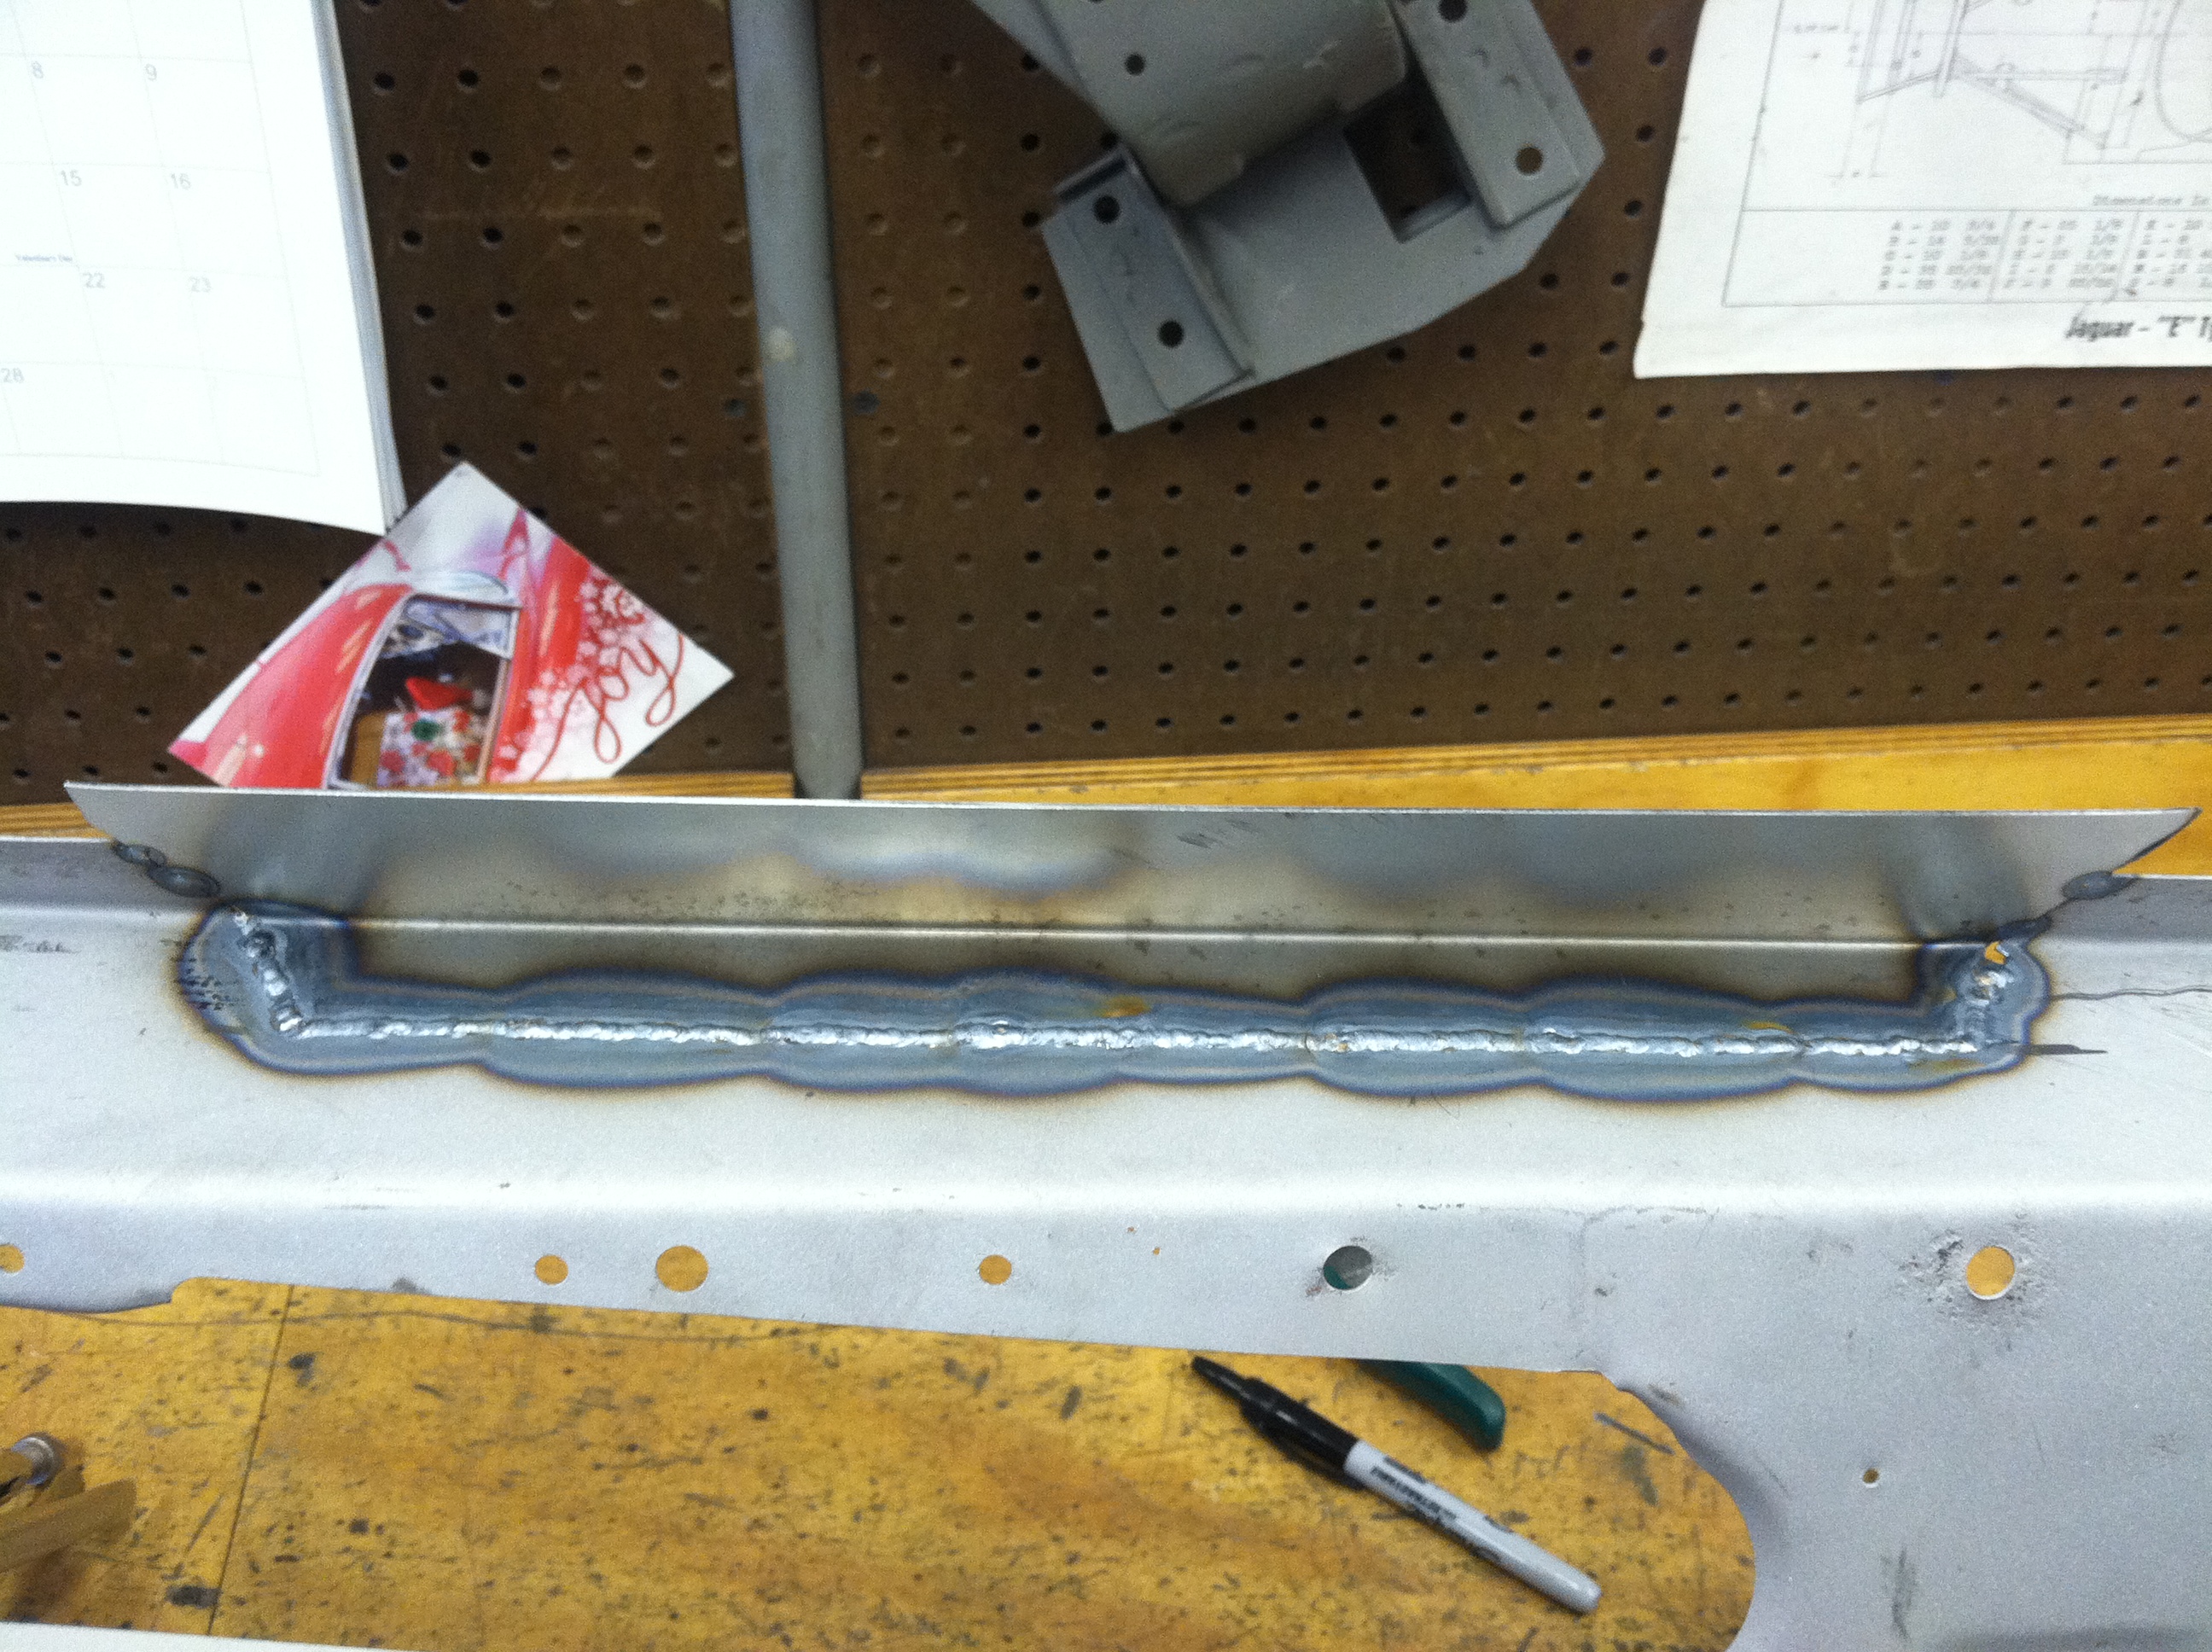
- Now it’s time to add metal. I do this with the MIG, since the whole point is to ADD metal, and that’s what a MIG loves to do…

-
- Here’s the back. The top half needed more, the bottom half needed less. So we’ve ground down the bottom half, and have now re-welded the seams.

-

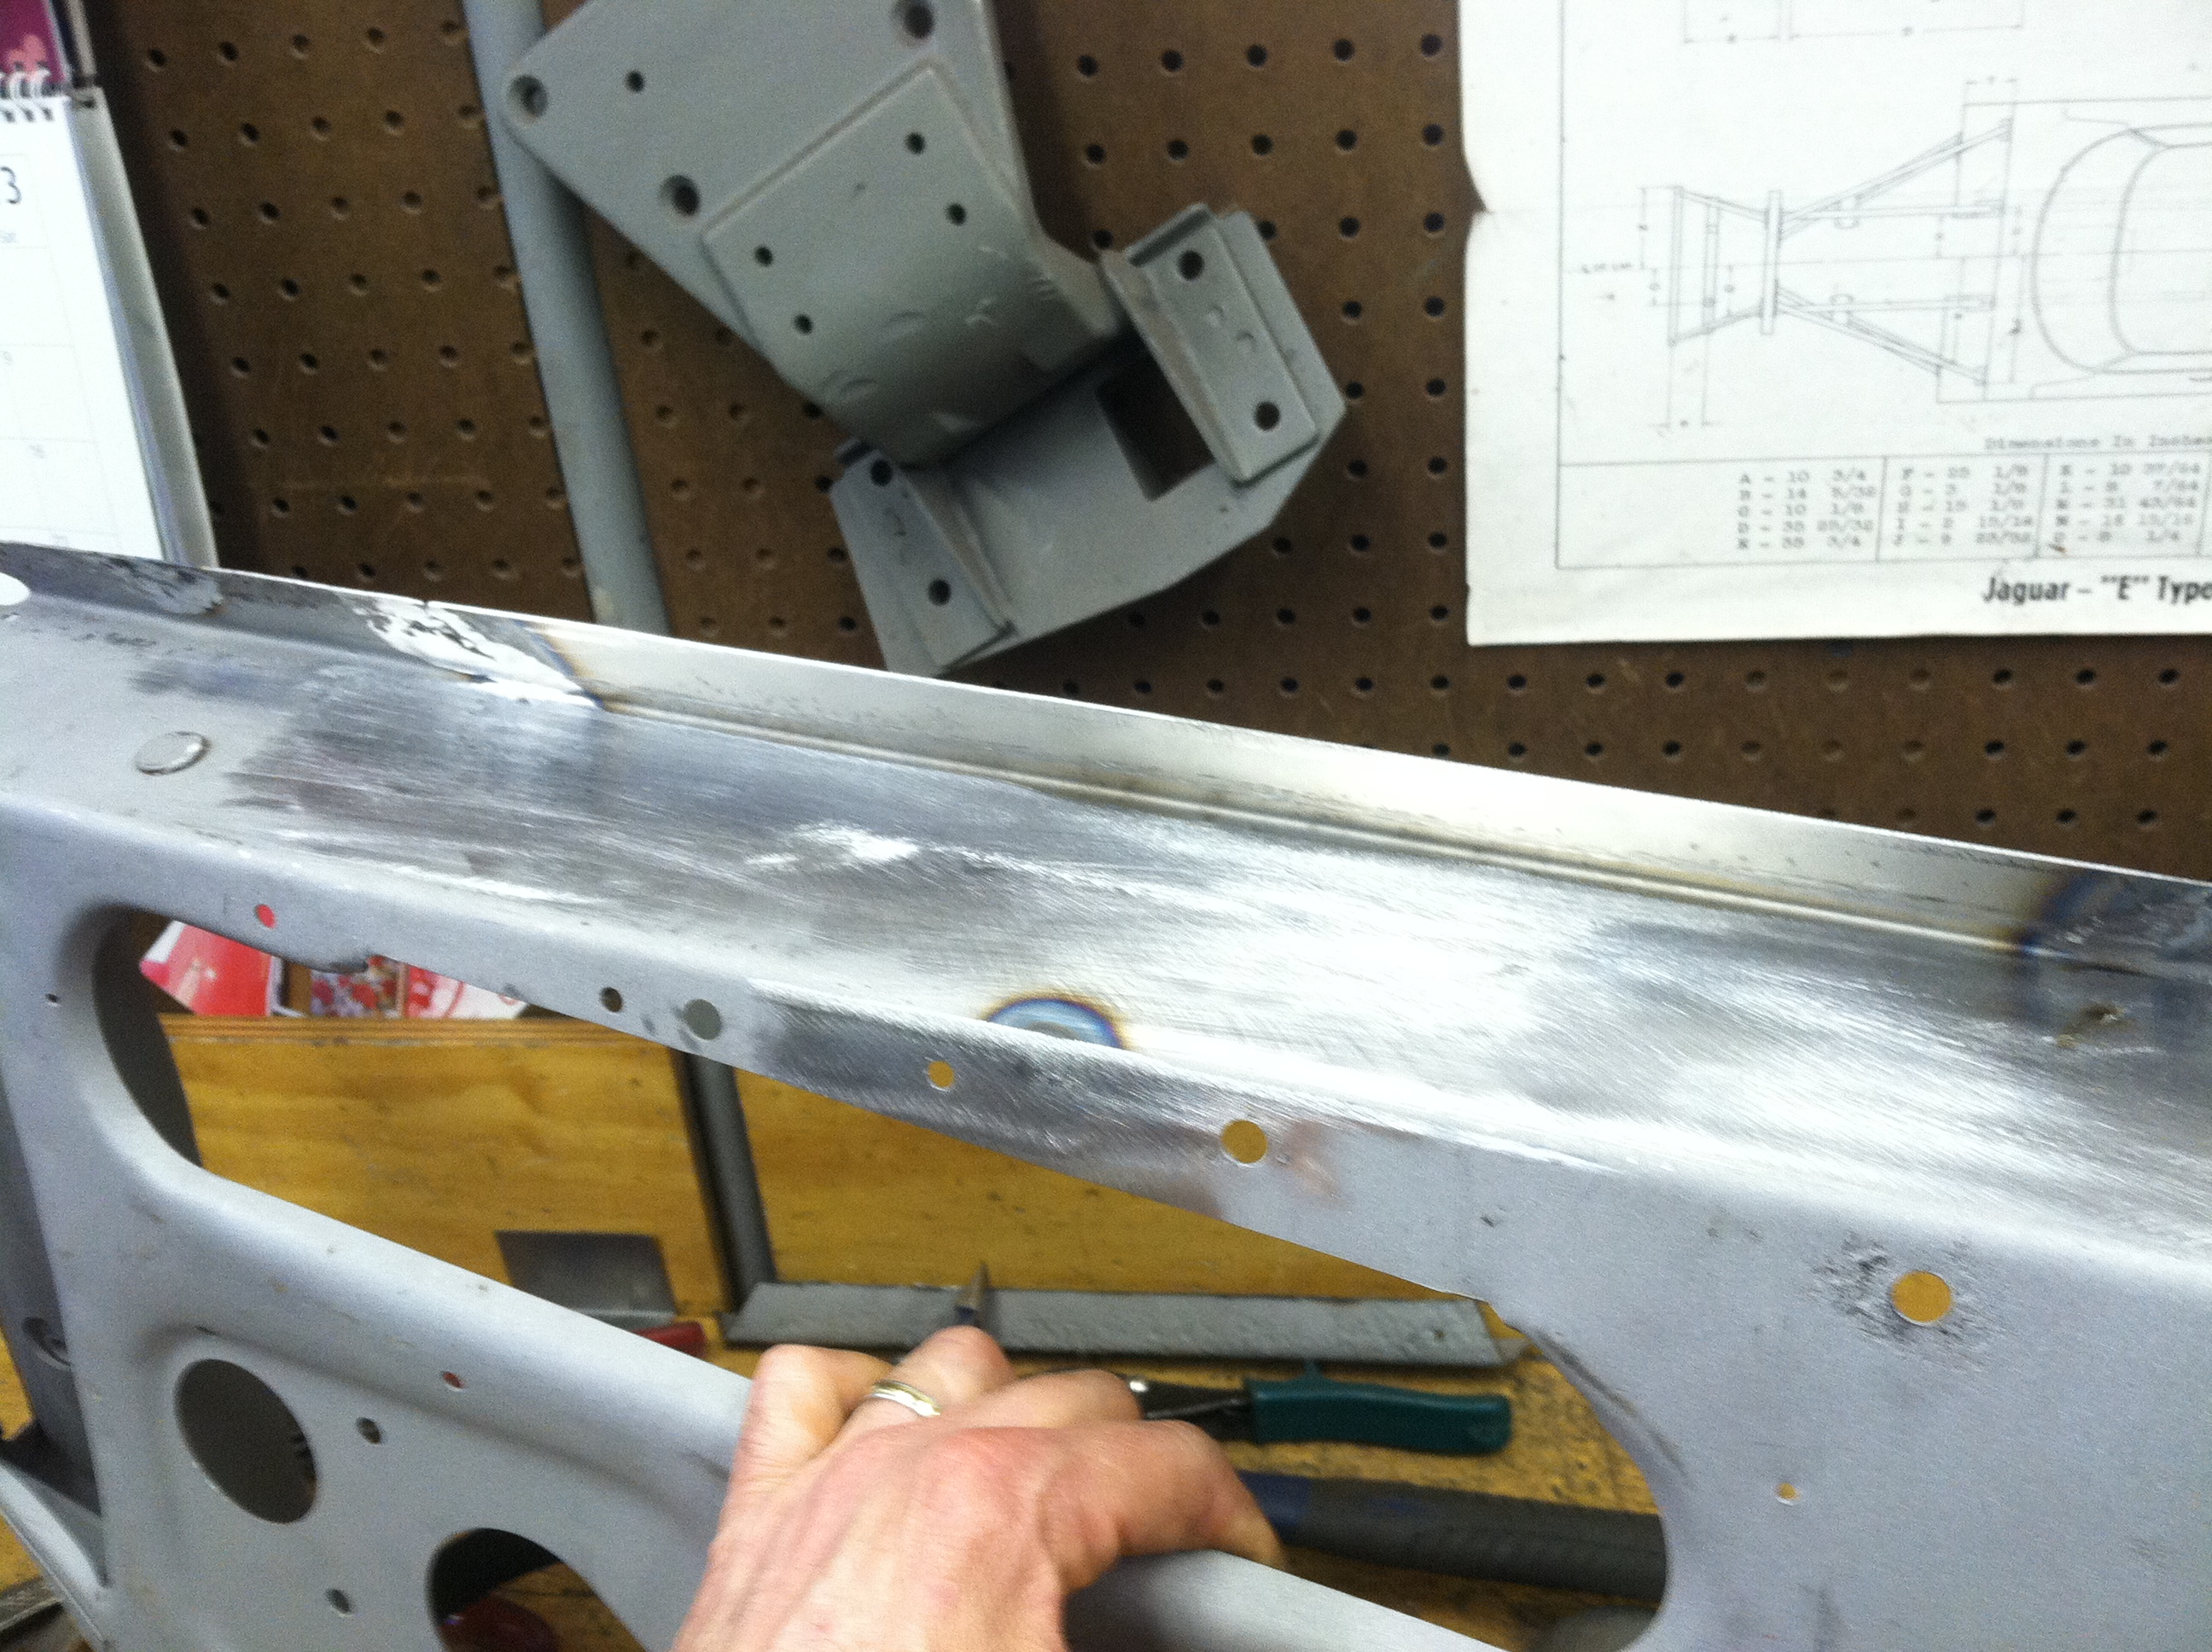
- The edge work is complete and the dges have been re-sculpted inside and out. That work was the real art on these doors. Those edges were PERFECT – inside and out, and when viewed from the edge. I will try to get the owner to send photos of the primed doors when he gets home.
-
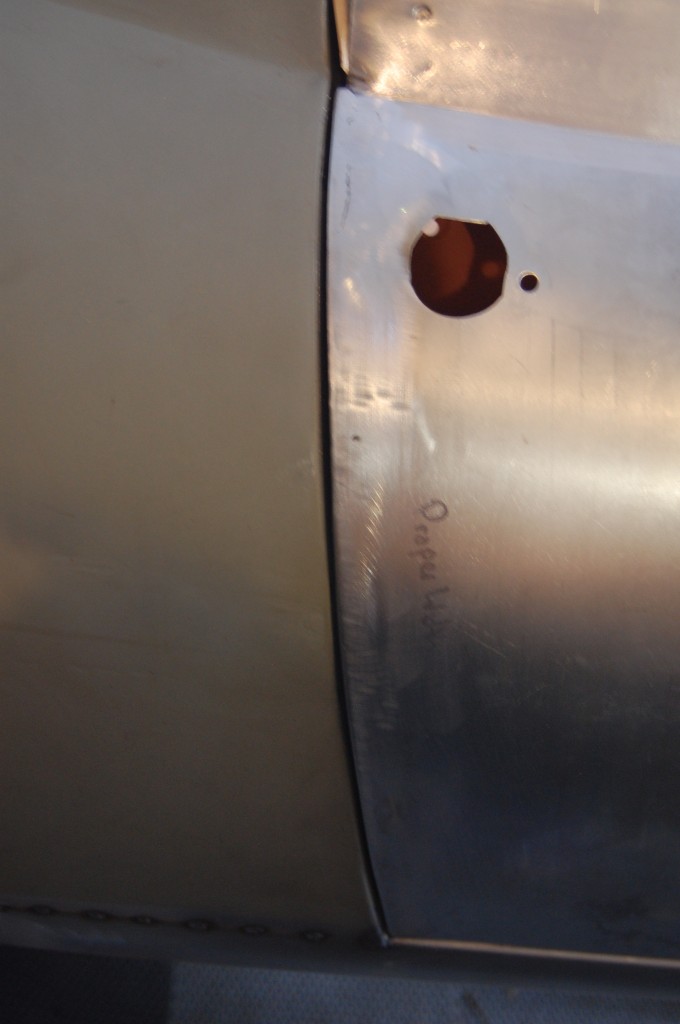
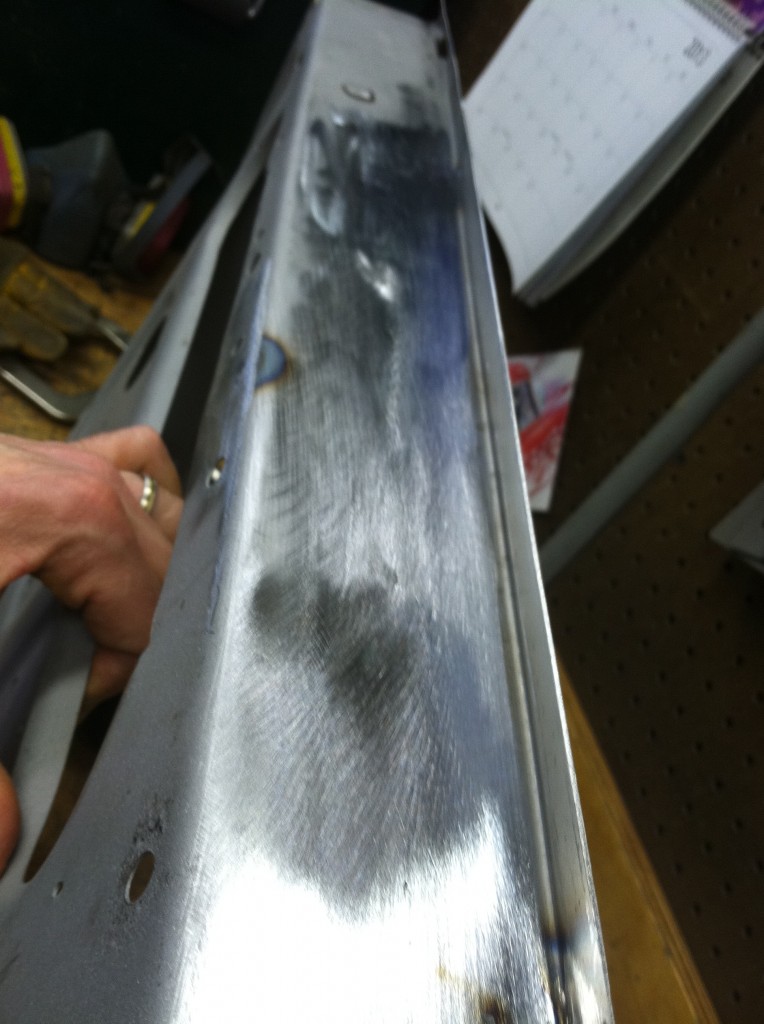
- Here is the rear edge. Not the best photo, but as I said, it was fast and furious this week! The wing is actually not uniform along it’s edge – there is a patch in the lower section (see earlier post), etc. Remember – this is the metalwork phase. Things are where they need to be for the body man to make this seam LASER straight!