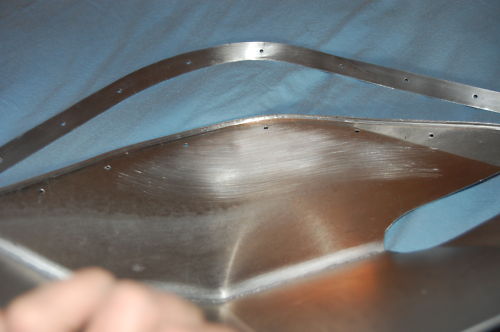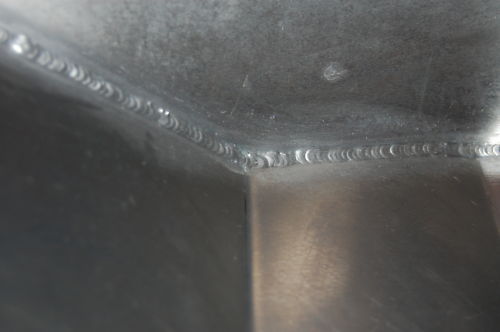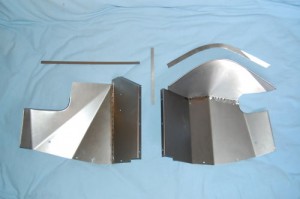
A pair of brand new 4.2-liter E-Type mudshields from Monocoque Metalworks. Every flange, bend, angle, and hole is correct - they are EXACTLY like the real thing, include the rubber-fixing-strips, and aren't dented or covered in under-coating like yours! Don't waste time trying to restore your tired mudshields - these are actually BETTER THAN NEW! - Read on...
This post includes photos and notes on the construction and different styles of E-Type 6-cylinder mudshields. All of our mudshields are painstakingly patterened and formed, and are MORE PRECISE THAN ANYTHING ELSE AVAILABLE! – and they are all available in our online store. Thanks for reading!
When I worked in the Jag shop as a kid, we called these things mudshields – and I guess I’m not even sure what the “official name” is – it probably has “valance” in it, though… Anyway, I’m talking about the vertical panels that bolt to the sides of the frame rails to make up the inner section of the front wheel wells – they are steel. We called the sqaure-ish aluminum shields that attach to the bottom of them and filled in the area between the sill extension and bulkhead “undershields” – and I don’t think we really had a name for the pieces that actually go into the bonnet that mate to these and seal (somewhat) against the rubber strip – although several of my customers seem to call those mudshields too…
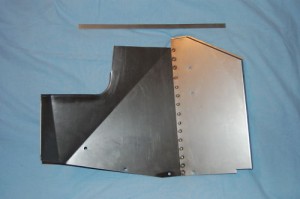
This shot shows the outside of the LH 3.8 mudshield. Note that the rectangular piece in the rear is a rectangle with paralell sides, and the forward piece has one long bend. This bend allows the bottom edge of the mudshield to follow the lower frame rail, and the top edge to mate with the inner bonnet valance.
Actually, the first metal forming project of my life was to repair the LH mudshield on my 3.8 roadster when I was 14. I had the car but didn’t know how any of it worked, my Dad was sick at the time for a couple weeks, and so I was kind of on my own when we first brought it home. The LH mudshield had large square hole flame-cut into it, and I cut some pieces of scrap aluminum and bent some edges on them in a vice, then attached the with sheet metal screws. It’s the kind of thing I would get in the shop nowadays and say, “what the hell is this?” – but at the time, I was really proud of it – and even though it is long gone, I can picture it perfectly…
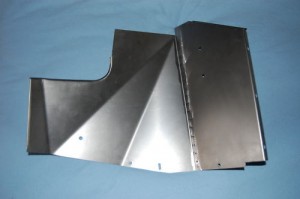
Here is the same LH mudshield, but for a 4.2 with the brake servo unit. Note that the rear piece is now trapezoidal instead of a perfect rectangle (tough to see in this photo), and that there are TWO long bends.
Later on, after a license, several years at the Jag shop, and multiple vintage racing excursions with Bill and Trent Terry, I got onto the “lightweight” kick with my own car and started pulling off everything that didn’t make the car actually function – and I ran around for YEARS without these – and had road grime and gravel all over everything under the bonnet! What I really wanted was a set of aluminum mudshields like Bill had on his red 88 coupe – they were perfect aluminum examples of the factory pieces, and matched the aluminum bonnet, doors, and rear hatch. You’d think the car was super-light with all these aluminum panels, but that car had a roll-cage in it that would hold up the Empire State building! – so I think it may have been a wash on weight…
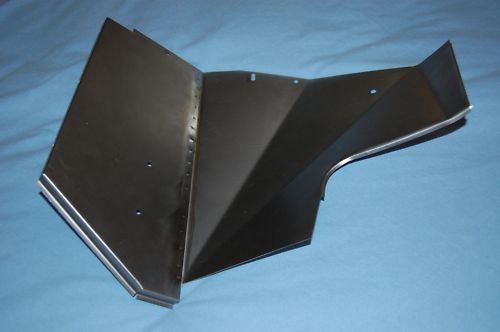
Here is another shot of the 4.2 version. From this angle, you can clearly see the non-rectangular rear piece.
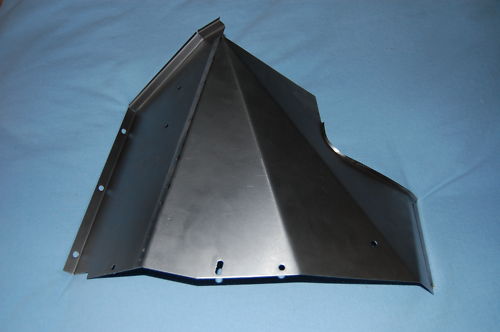
Another angle of the 4.2 LH sheild - note triangular section that provides clearance for the forward end of the brake servo. Note that the top edge is identical to the 3.8 unit - they cleverly only change the layout of the bottom edge!
The original LH mudshield was made in two pieces, spot-welded together with a vertical seam. I don’t know why they formed them this way – as you can form them all in one piece. It was probably to get the most use out of a sheet of steel of a given size… One thing I have always also found strange is that the top edge where the rubber mounts on these panels was always thinner and did not match the forward sill closing panel very well. Our reproductions do form this edge to match the sill perfectly, but we do retain the two-piece spot-welded configuration just like the originals.
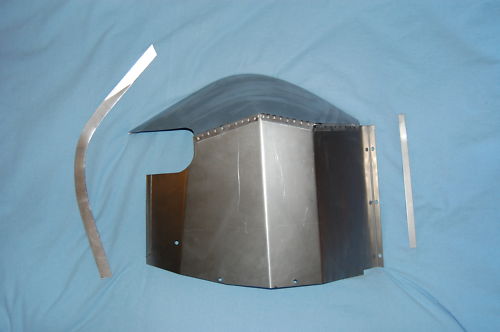
This is the RH mudshield for all E-Types with the XK 6-cylinder engine - it is much different than the LH side. Since the RH side of the XK engine is the intake side, there needs to be additional clearance here for the carburettors and air cleaner assembly, so the inner bonnet valance design is angled on this side, and the mudshield is adjusted as well to match.
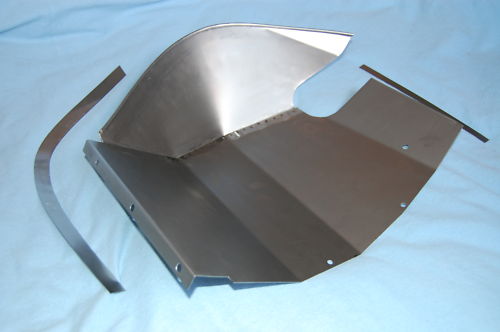
This shot shows the outer view of the RH mudshield, with the wired edge that seemed like an impossibale task when I was younger - now it's just tricky... Note the spot-welded seams in this piece - identical to the original.
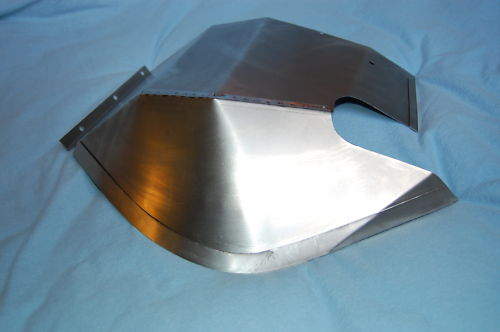
Our RH mudsheild includes the "rubber-fixing-strip" - other manufacturers charge you $42 extra for this piece! And there's is not carefully hand-fitted to the mudshield like seen here...
Anyway, fast-forward 25 years, and I finally got back to where it all started, and found myself out in the shop one night forming up a set of aluminum mudshields. I actually managed to make a half-decent version of the LH side as a kid in some very thin but hard aluminum (I think it may have been heavy flashing stock…), but the RH side with it’s curved and beaded-edge upper section was something I considered to be a part “you just can’t make” – which is true – unless you spend several years building a fabrication shop to do it!
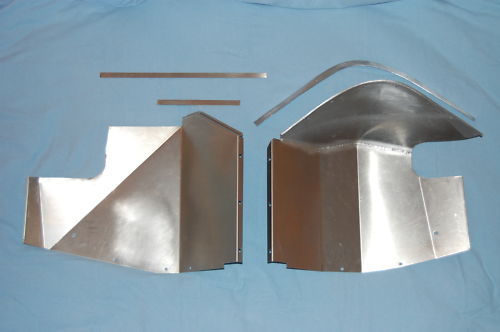
Now we're getting to the fun stuff! Here is my first set of ALUMINUM mudshields! These weighed less than half as much as the steel version - they felt like PAPER in your hands! I initially made these for my own car, but eventually agreed to sell them to the owner of a very nice flat-floor Coupe in Germany. These will look GREAT against his perfect dark blue paint!
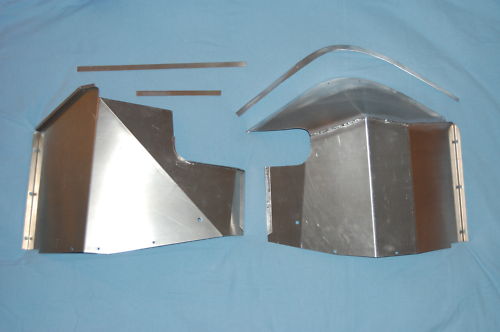
Here is a shot of the inner sides. Note the 3.8 LH mudshield in aluminum - since these are already non-standard pieces, there was no need to reproduce the original 2-piece design, and I instead formed this in one piece of .050 material - about 1/3 thicker than the steel units.

